Introduction: Get Ready to Draw Your Dream Supercar
Have you ever admired the sleek lines and eye-catching design of the Pagani Zonda and wished you could recreate it on paper? Well, you’re in luck! In this step-by-step drawing tutorial, we’ll guide you through the process of bringing the iconic Pagani Zonda to life. So, grab your favorite drawing tools and let’s get started on this artistic journey together!
A Speedy Overview of the Pagani Zonda
The Pagani Zonda is a breathtaking mid-engine sports car produced by Italian manufacturer Pagani. First introduced at the 1999 Geneva Motor Show, this limited-production car has seen various iterations, including coupé, roadster, and barchetta models. Constructed primarily from carbon fiber, the Zonda was initially named “Fangio F1” in honor of Formula One champion Juan Manuel Fangio, but was later renamed after the Zonda wind, a hot air current above Argentina.
Tools of the Trade: What You’ll Need to Draw the Pagani Zonda
While you’re free to use any drawing tools you prefer, we recommend the following for the best results:
- Pencil: A 2B or HB pencil for sketching and a 4B or 6B pencil for shading
- Eraser: A kneaded eraser for removing unwanted marks
- Pen: A fine-tipped pen for inking
- Colored pencils or markers: For adding color and vibrancy to your drawing
- Paper: A smooth, heavyweight paper to hold up to multiple layers and erasing
Step-by-Step Drawing Guide: From Sketch to Supercar
Our Pagani Zonda drawing tutorial is divided into four main parts. We’ll start with a basic sketch, refine the details, ink the drawing, and finally, add color and shading.
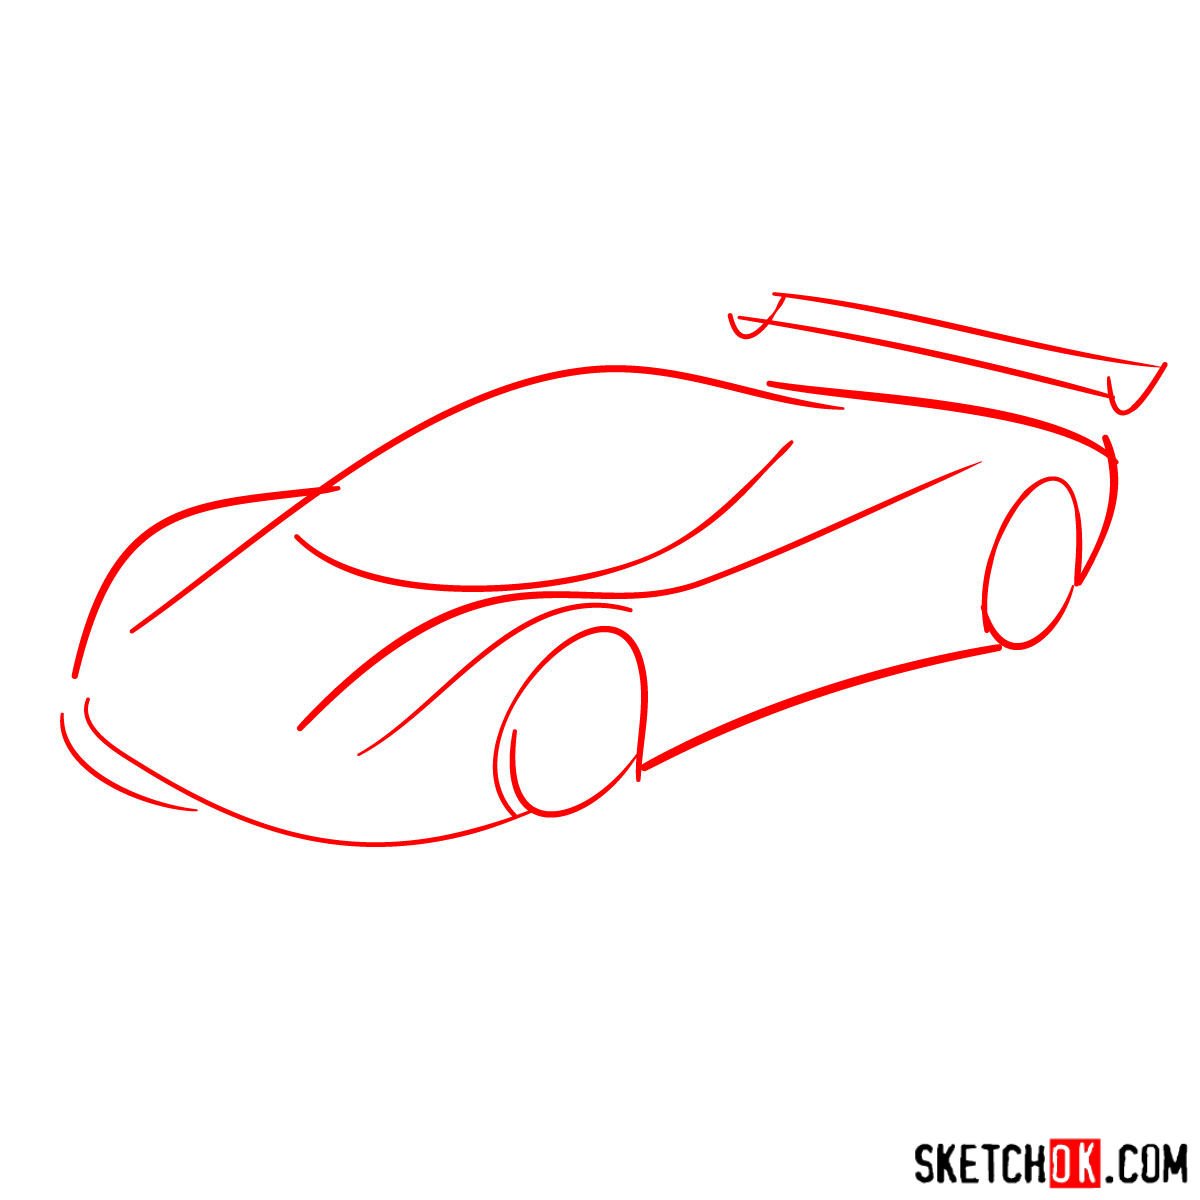
Part 1: Laying the Foundation
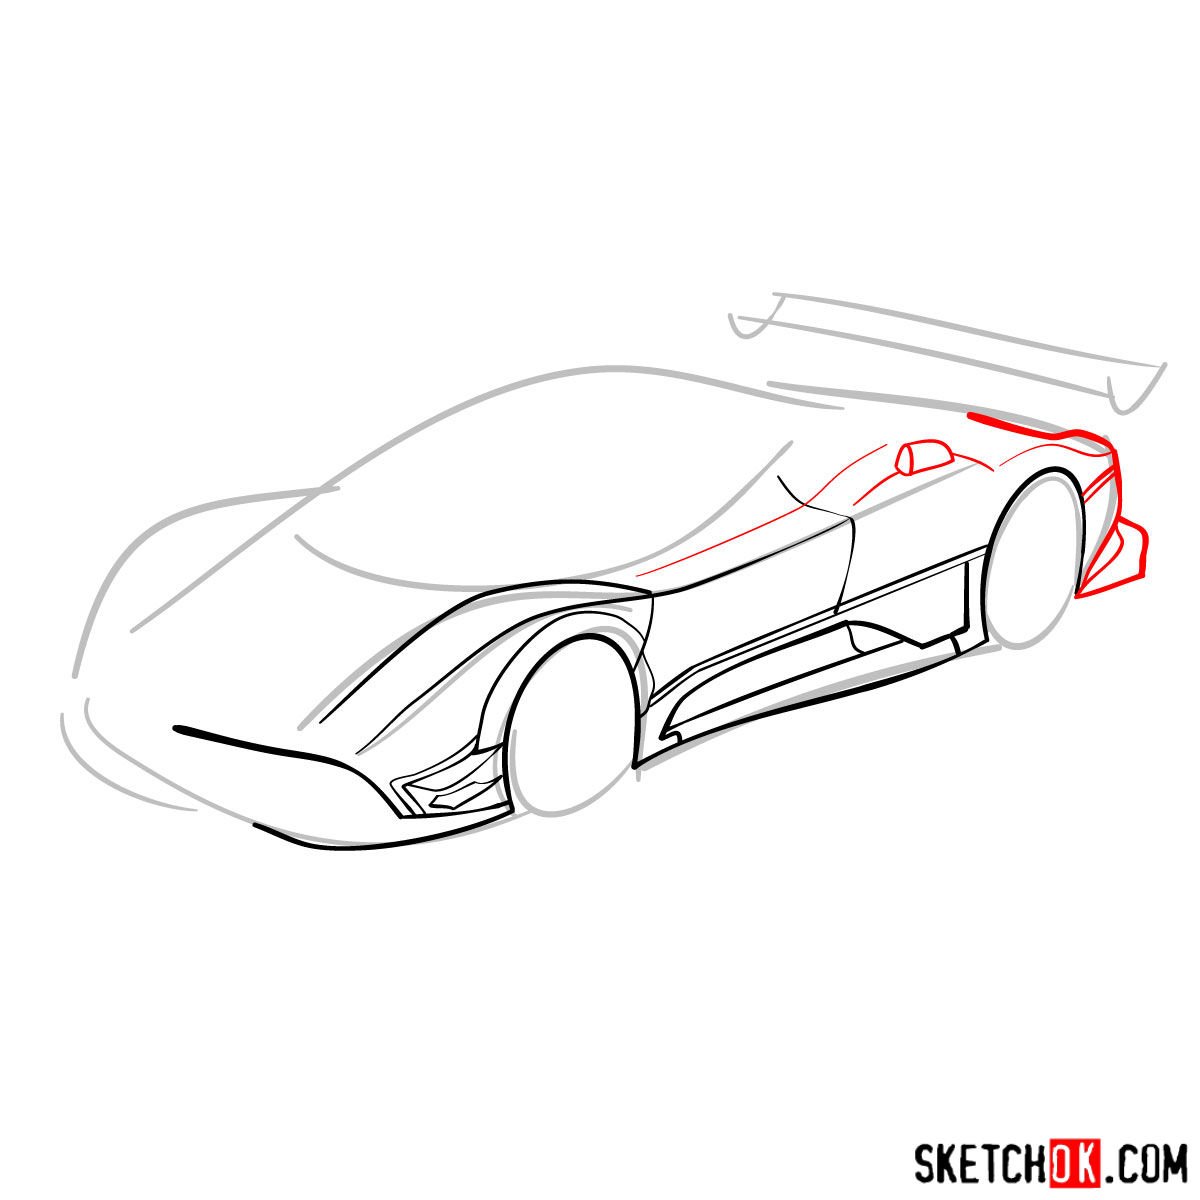
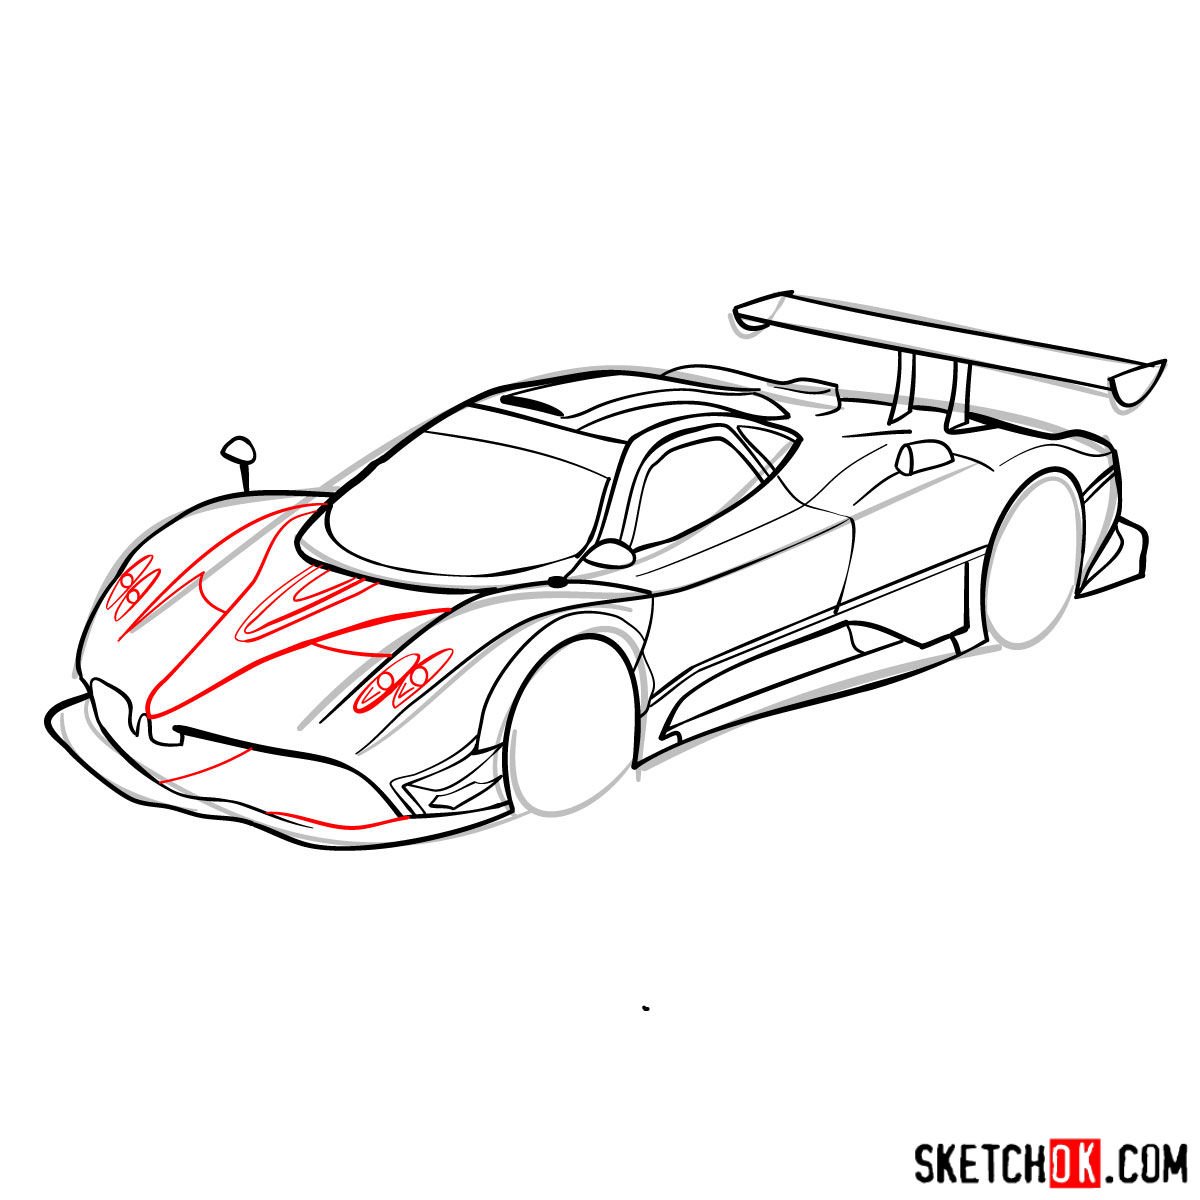
In this initial step, we’ll create the basic structure of the Pagani Zonda using light pencil strokes. This will help us establish the car’s proportions and general shape. Remember, the first image in our tutorial show the basic sketch. Later it will be shown in grey, while the red lines indicate the current step. Take your time and don’t worry if your initial sketch isn’t perfect – you can always refine it later.
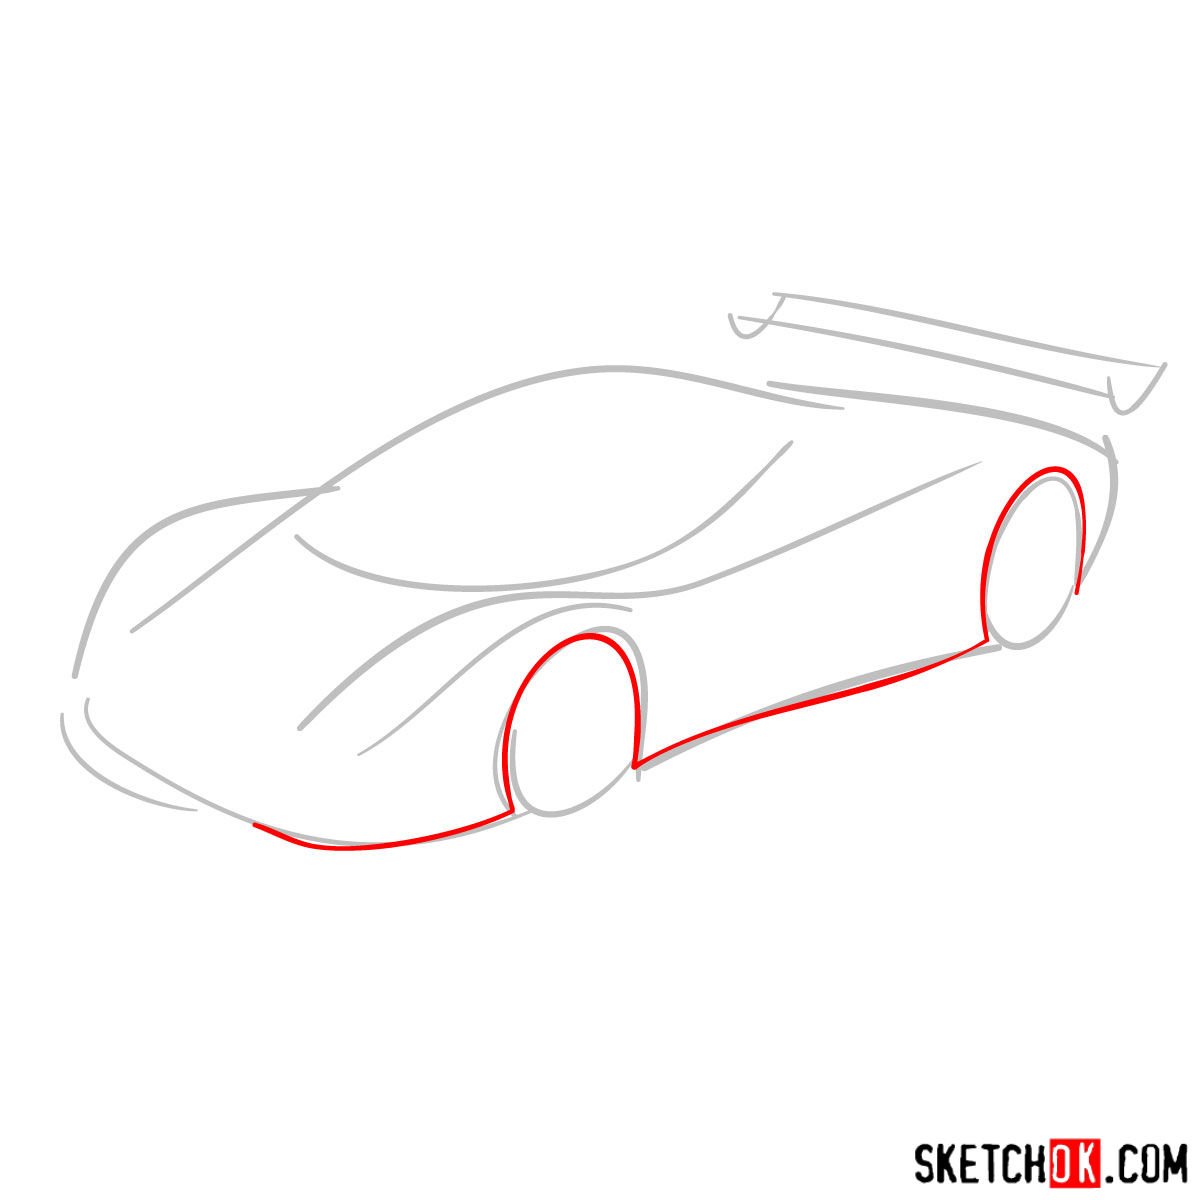
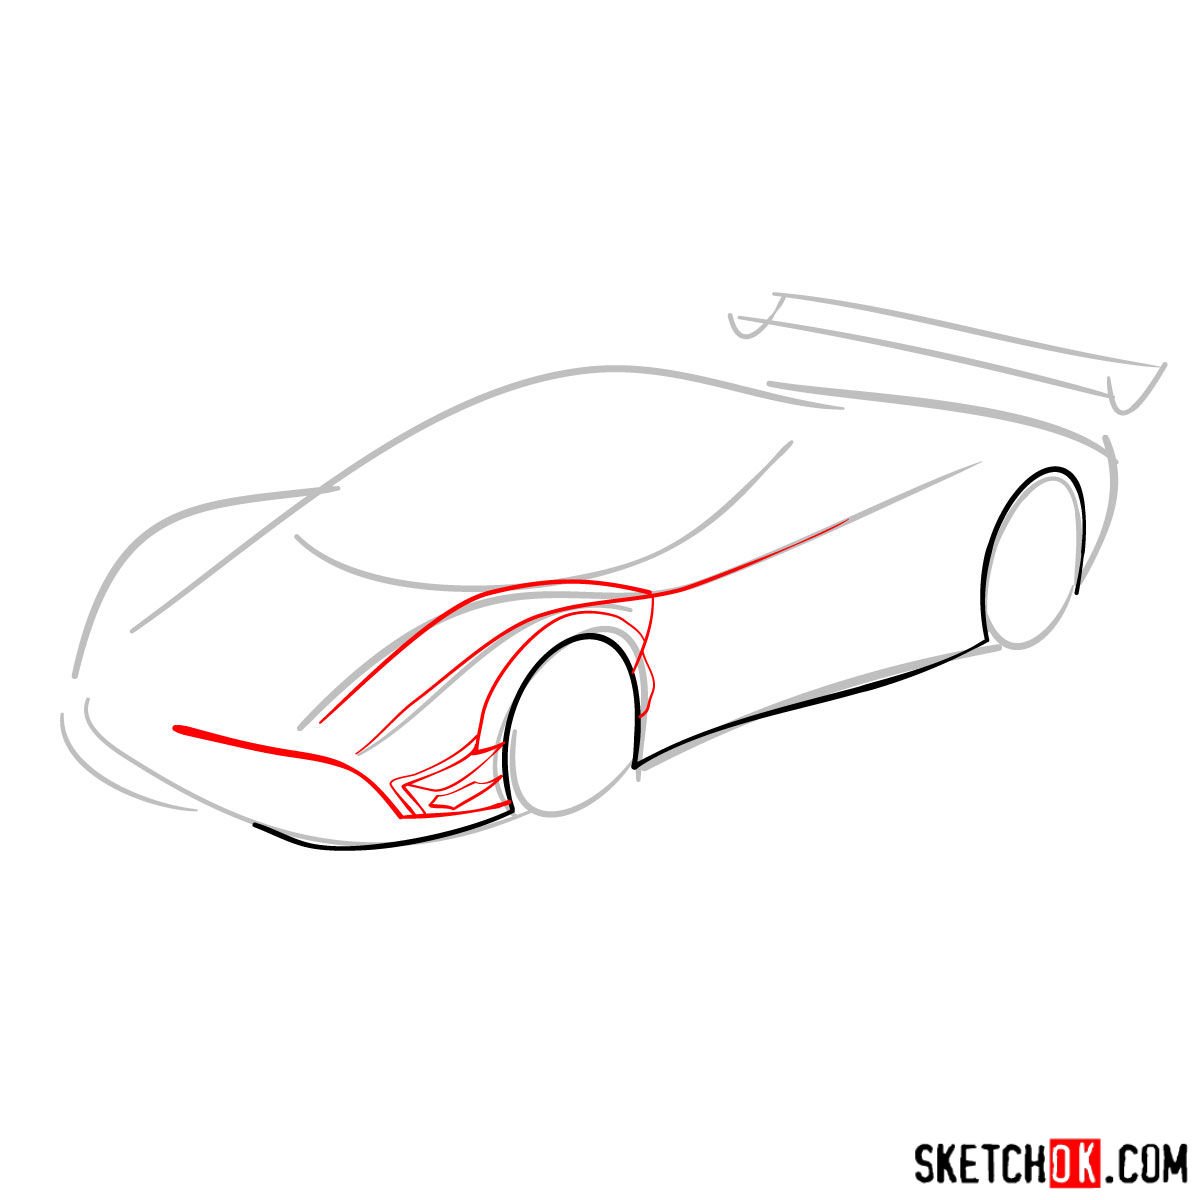
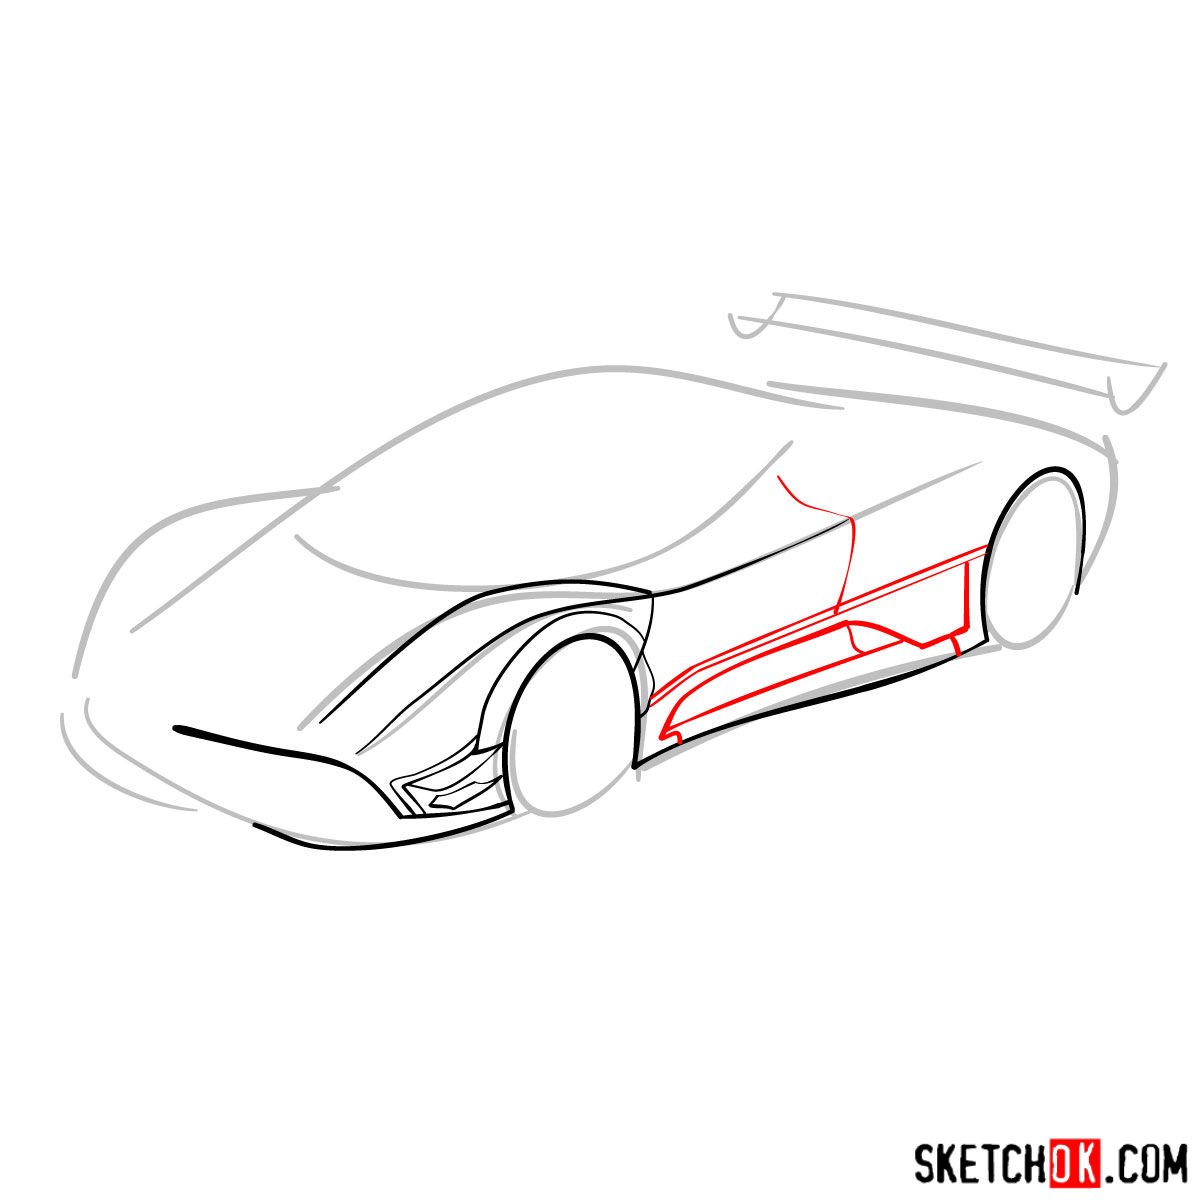
Part 2: Refining the Sketch
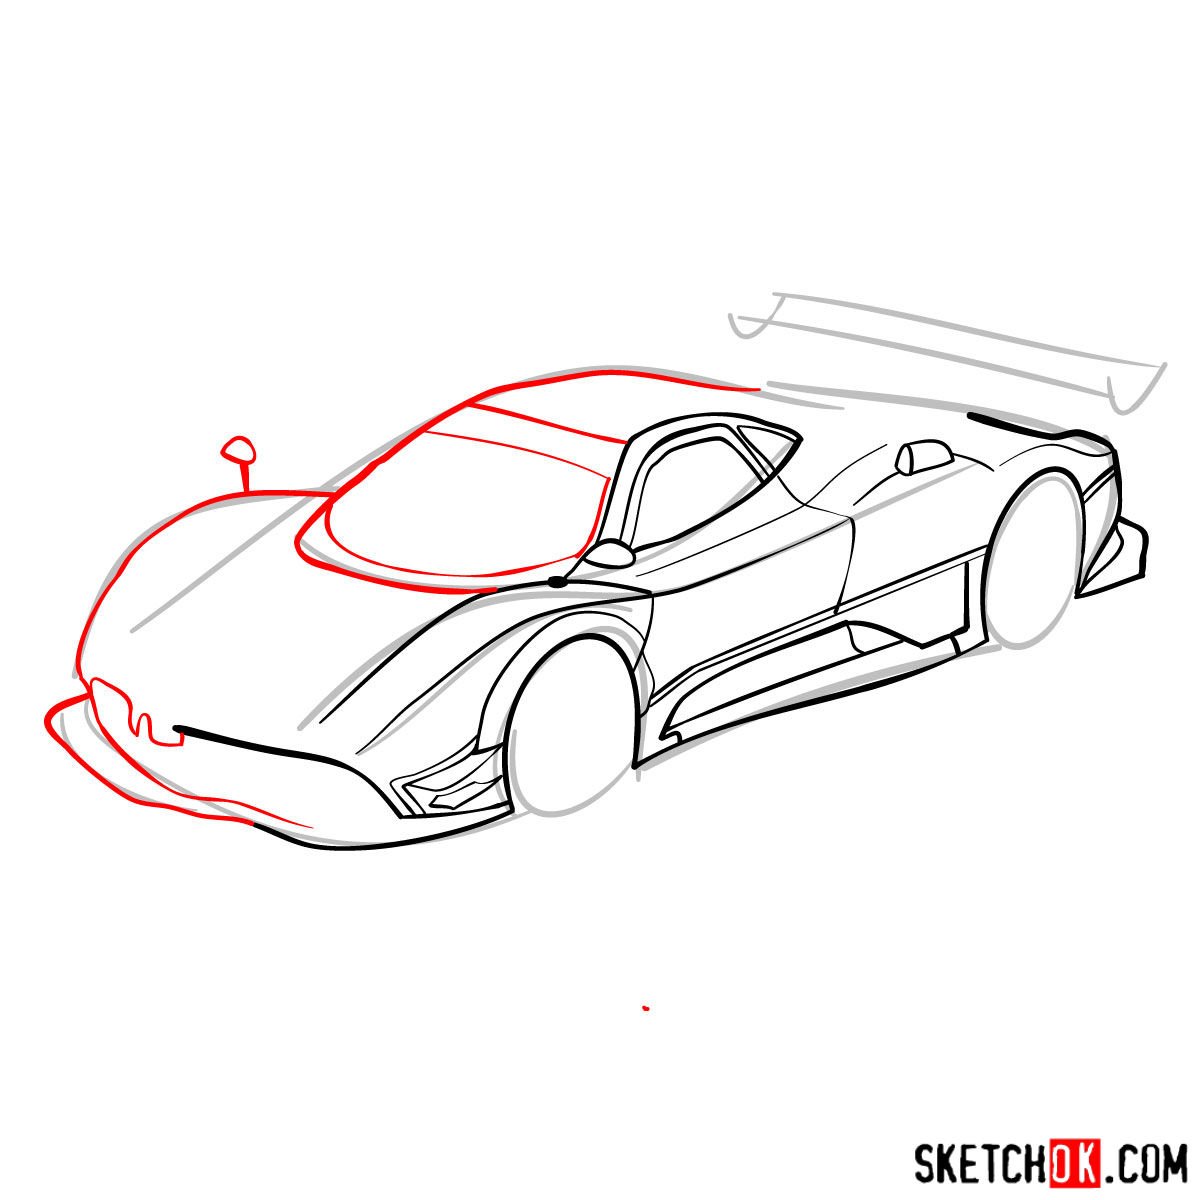
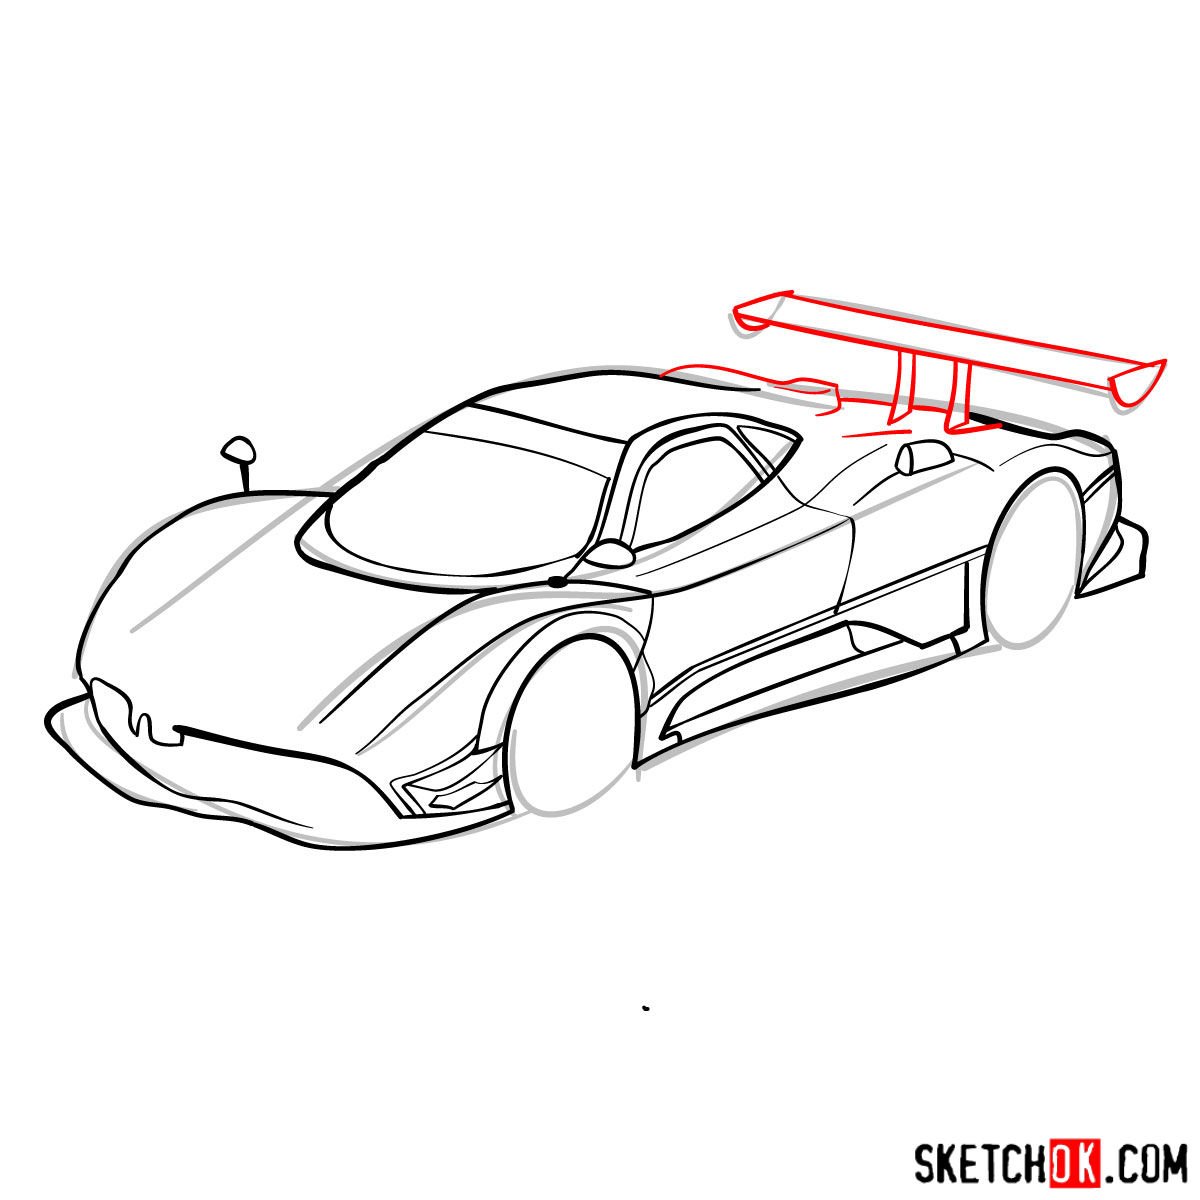
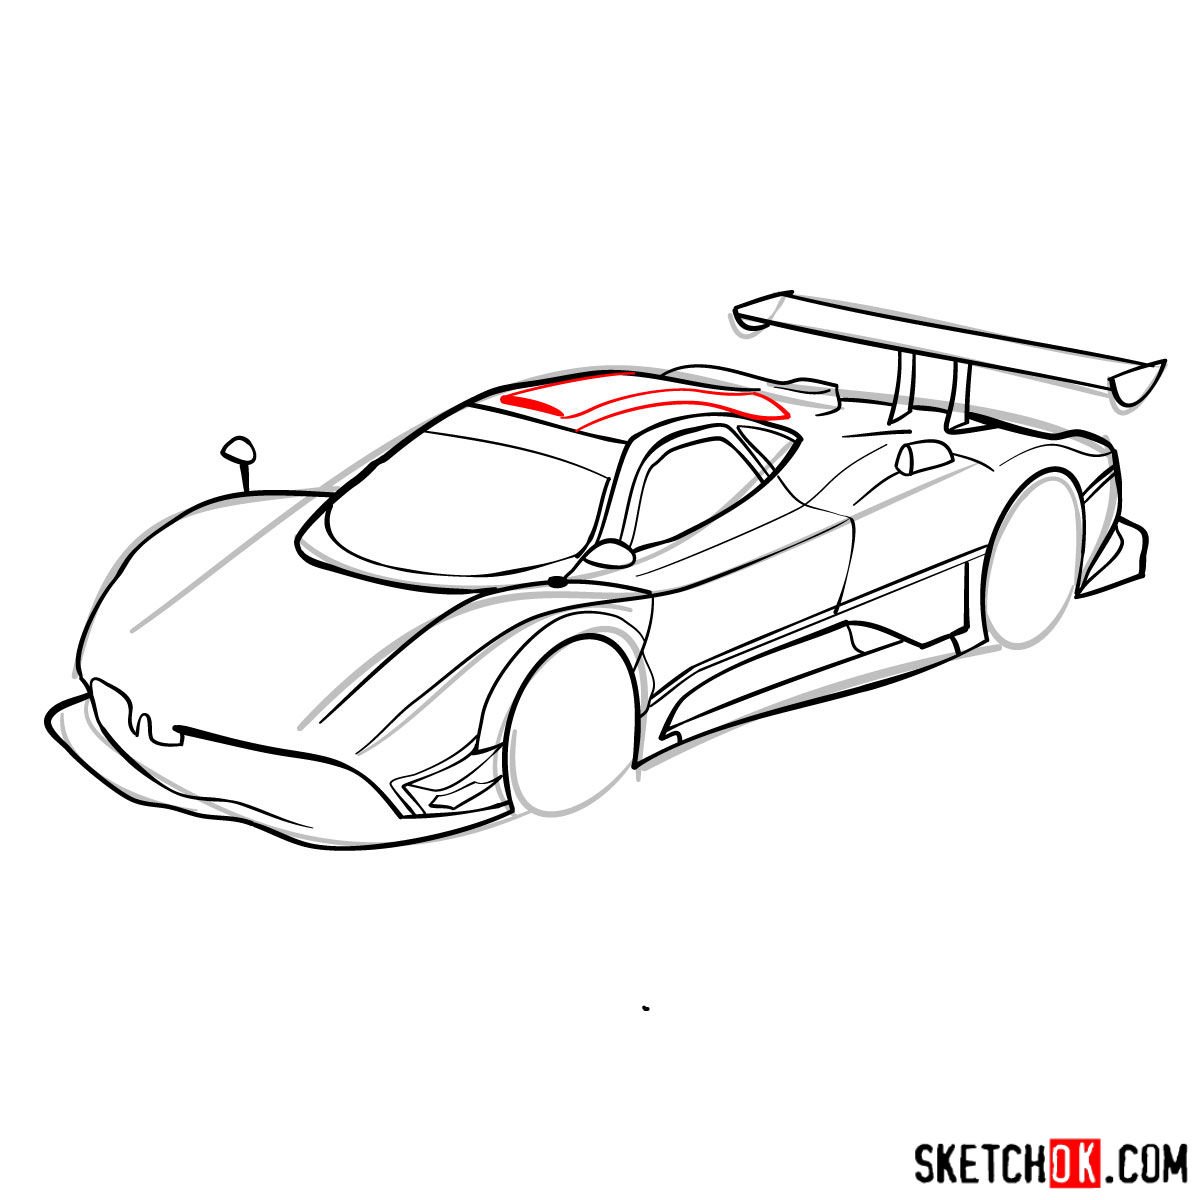
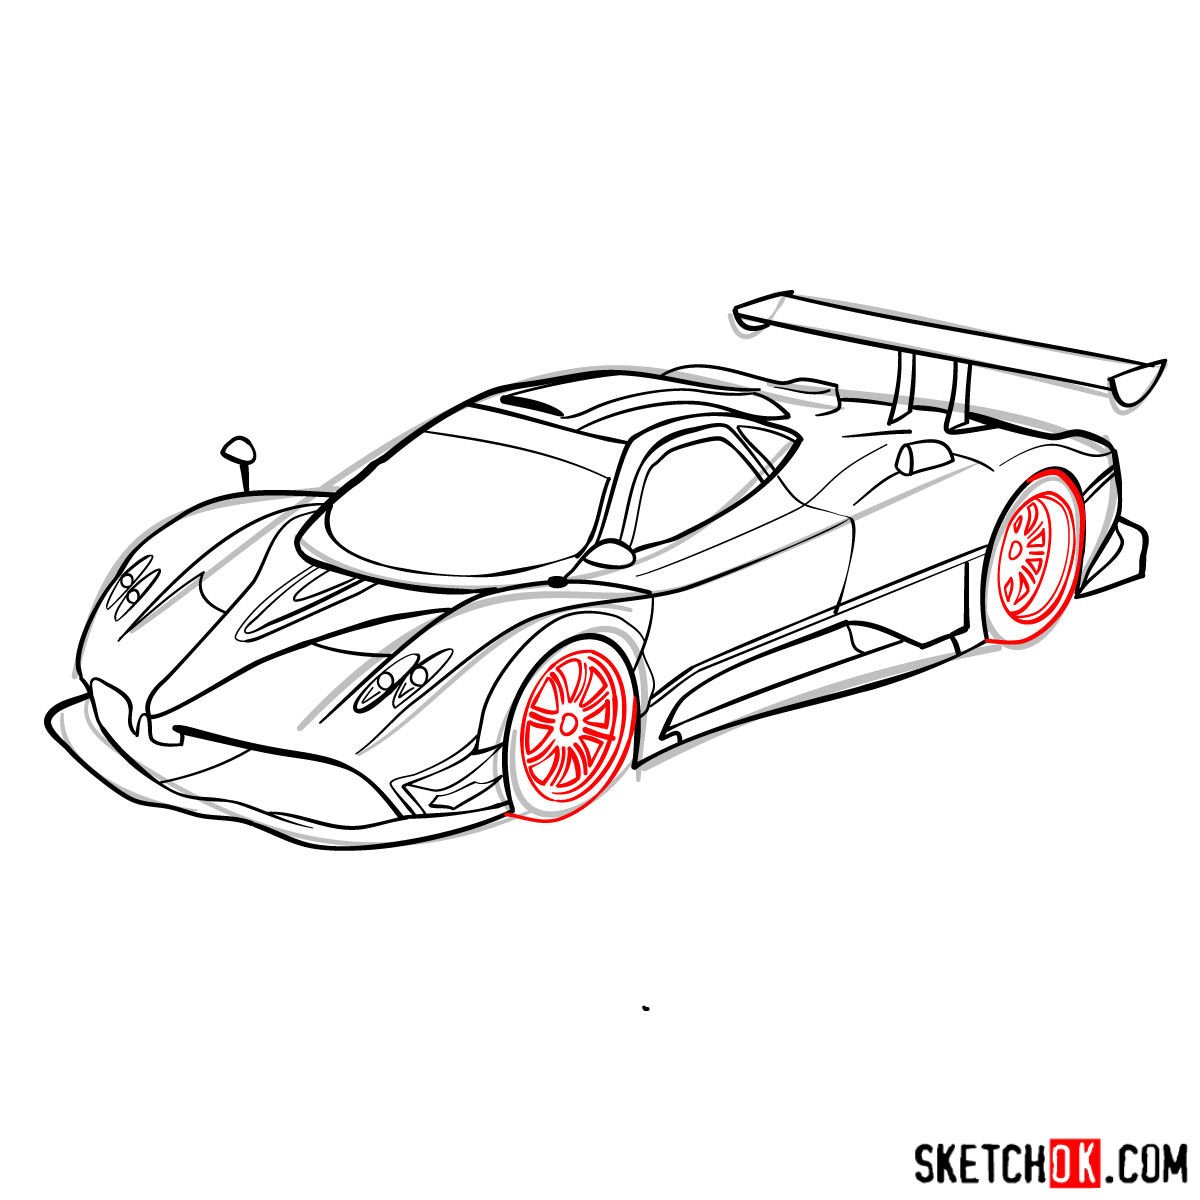
Once you have your basic sketch in place, it’s time to refine the details and improve the proportions. Focus on the car’s distinctive lines and curves, paying close attention to the headlights, taillights, and other distinguishing features. Use the red lines in our images as a guide to help you refine your drawing.

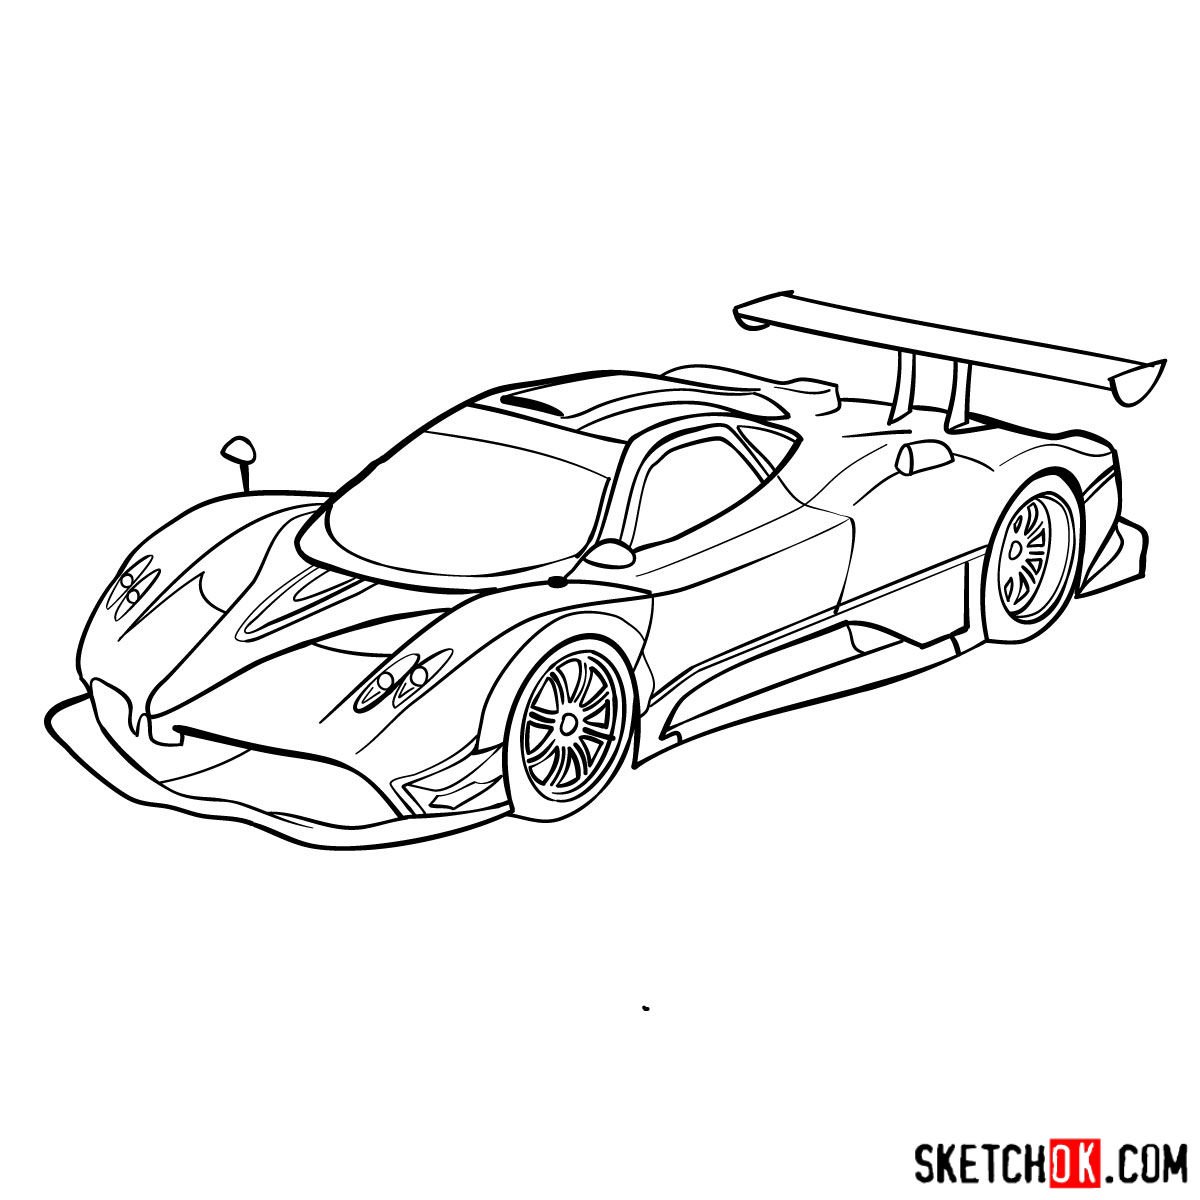
Part 3: Inking the Masterpiece
With your refined sketch complete, it’s time to make your Pagani Zonda drawing pop! Grab a fine-tipped pen and carefully outline your sketch, adding any final touches and details as you go. Don’t forget to erase any remaining pencil lines once you’re done inking to give your drawing a clean, polished look.
Part 4: Coloring and Shading
The final step in our drawing tutorial is to add color, shading, and highlights to your Pagani Zonda. Whether you’re using colored pencils or markers, start with a base color and gradually build up layers to create depth and dimension. Pay attention to the way light interacts with the car’s surface to create highlights and shadows, and use this information to make your drawing more realistic and visually appealing.

That covers how to draw Pagani Zonda, one of the wildest-looking cars ever built. Drop your finished drawing in the comments on the pinned Pinterest post, it’s always great to see how people put their own spin on it.