Welcome to our step-by-step drawing tutorial on how to draw the Gumpert Apollo Sport 2012. In this guide, you’ll discover the process of sketching, refining, inking, and coloring this iconic supercar. So grab your drawing tools and let’s embark on an artistic journey that will help you unlock your full potential as an automotive artist!
Apollo Sport 2012: The Beast on Wheels
Before we dive into the drawing process, let’s take a moment to appreciate the Gumpert Apollo Sport 2012. This car is a record-breaking machine with a rich racing pedigree, thanks to its carbon fiber bodywork, powerful engine, and lightweight construction. With its aggressive design and unparalleled performance, it’s no wonder the Apollo Sport 2012 has captured the hearts of car enthusiasts worldwide. Now, let’s bring this automotive legend to life on paper.
Must-Have Materials for Your Gumpert Apollo Drawing
Although you can use any drawing tools you like, we recommend the following materials for the best results:
- Pencils with varying hardness (HB, 2B, and 4B)
- Eraser
- Pencil sharpener
- Fineliner or ink pen
- Colored pencils or markers
- Drawing paper
Step-by-Step Guide: From Sketch to Supercar Masterpiece
Now that we’re all set, let’s begin our Gumpert Apollo Sport 2012 drawing journey. This tutorial consists of four main parts, guiding you through every stage of the drawing process.
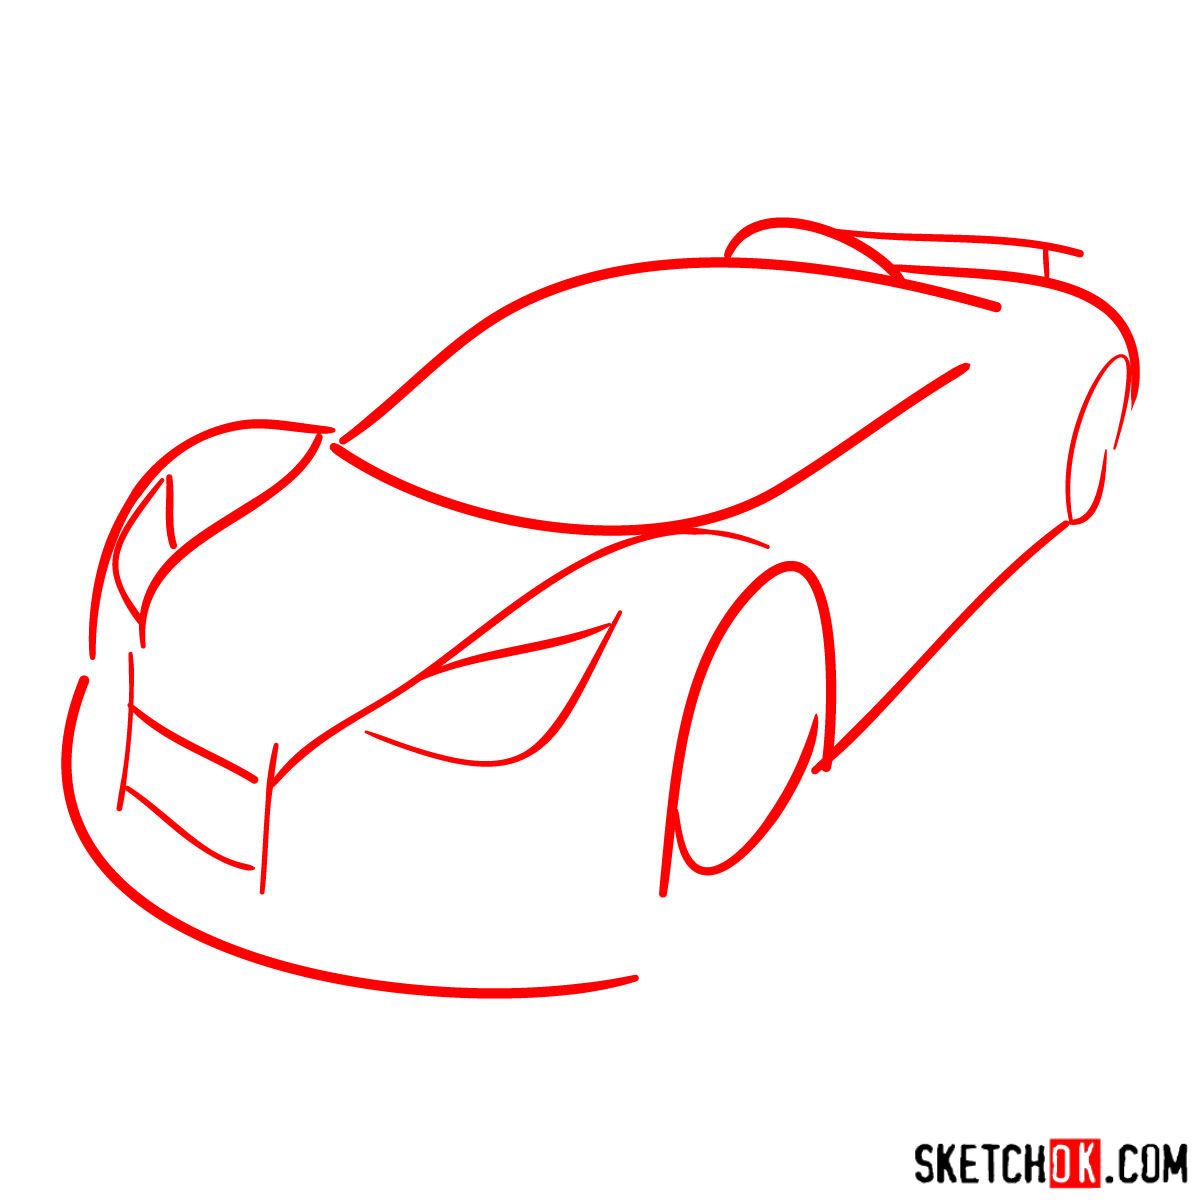
Part 1: Laying the Foundation
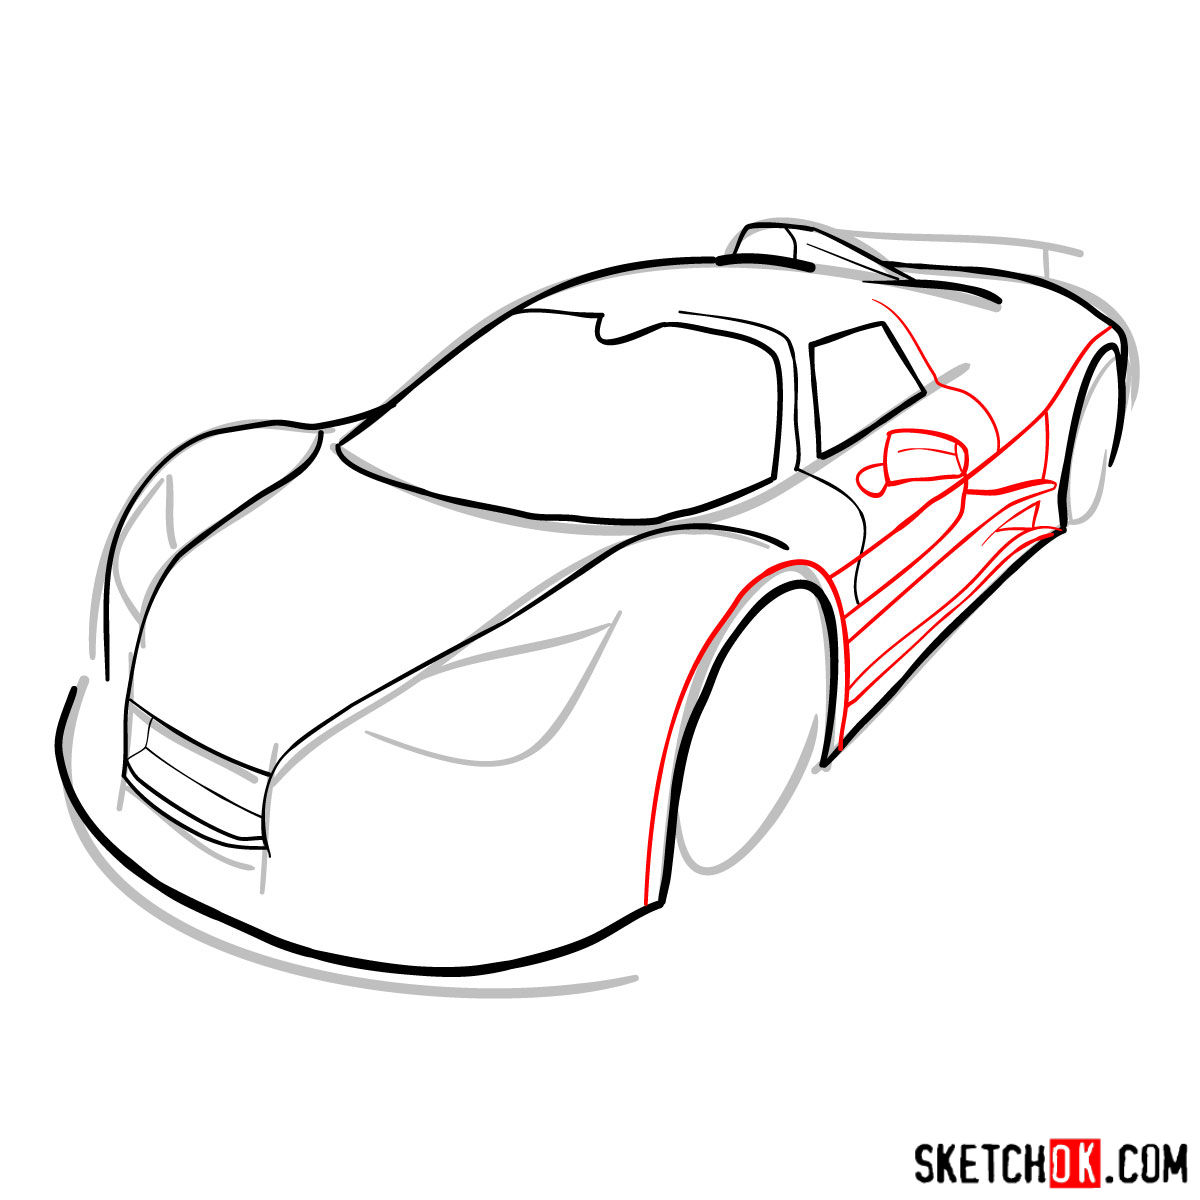
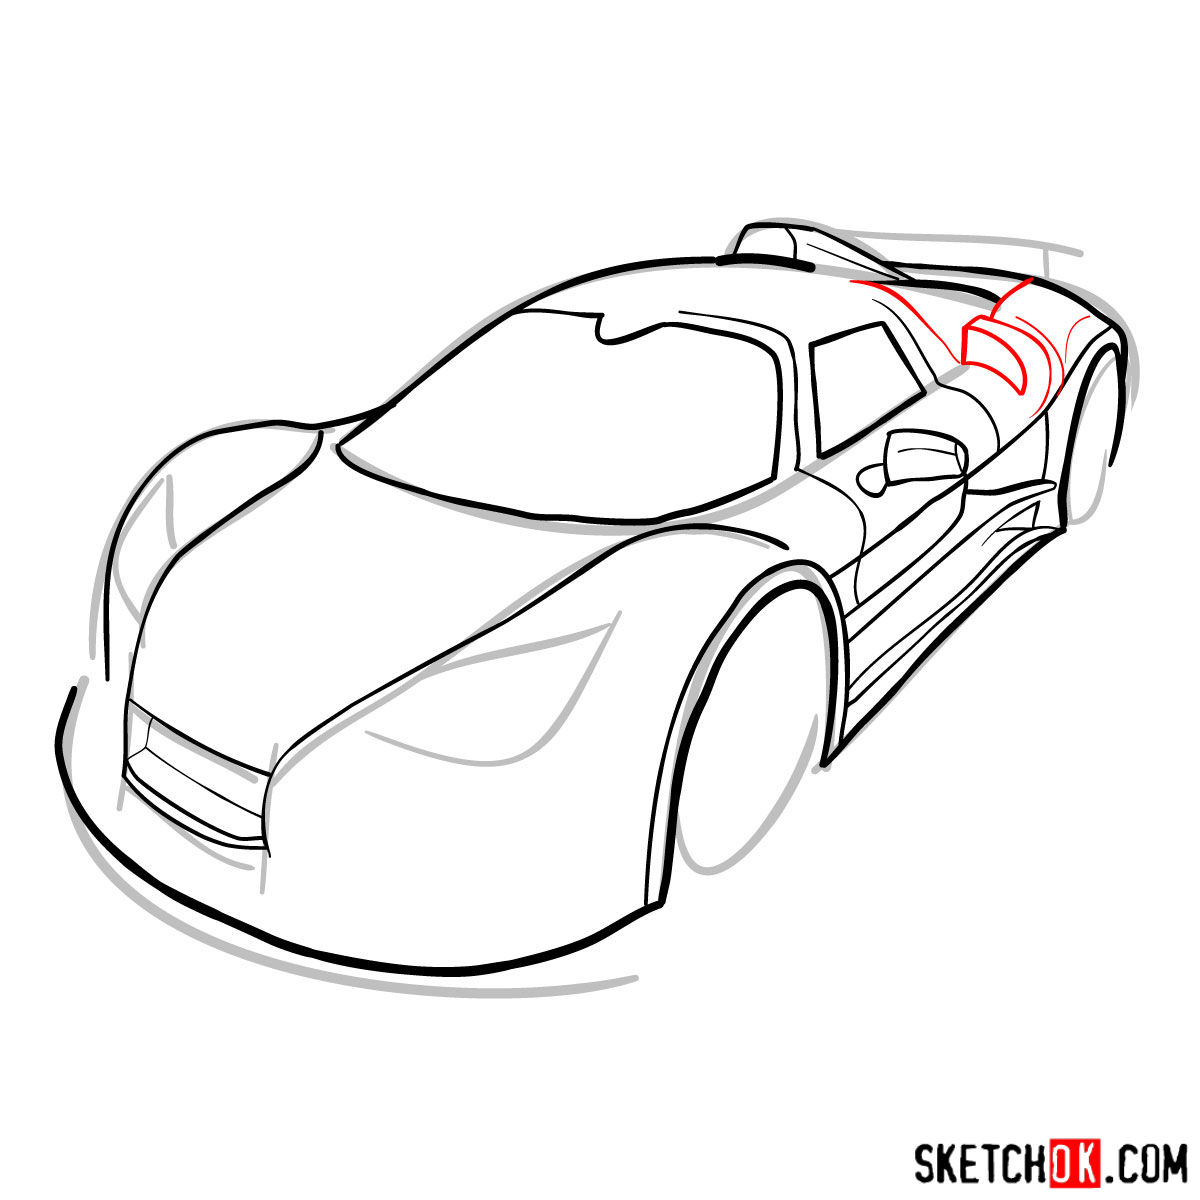
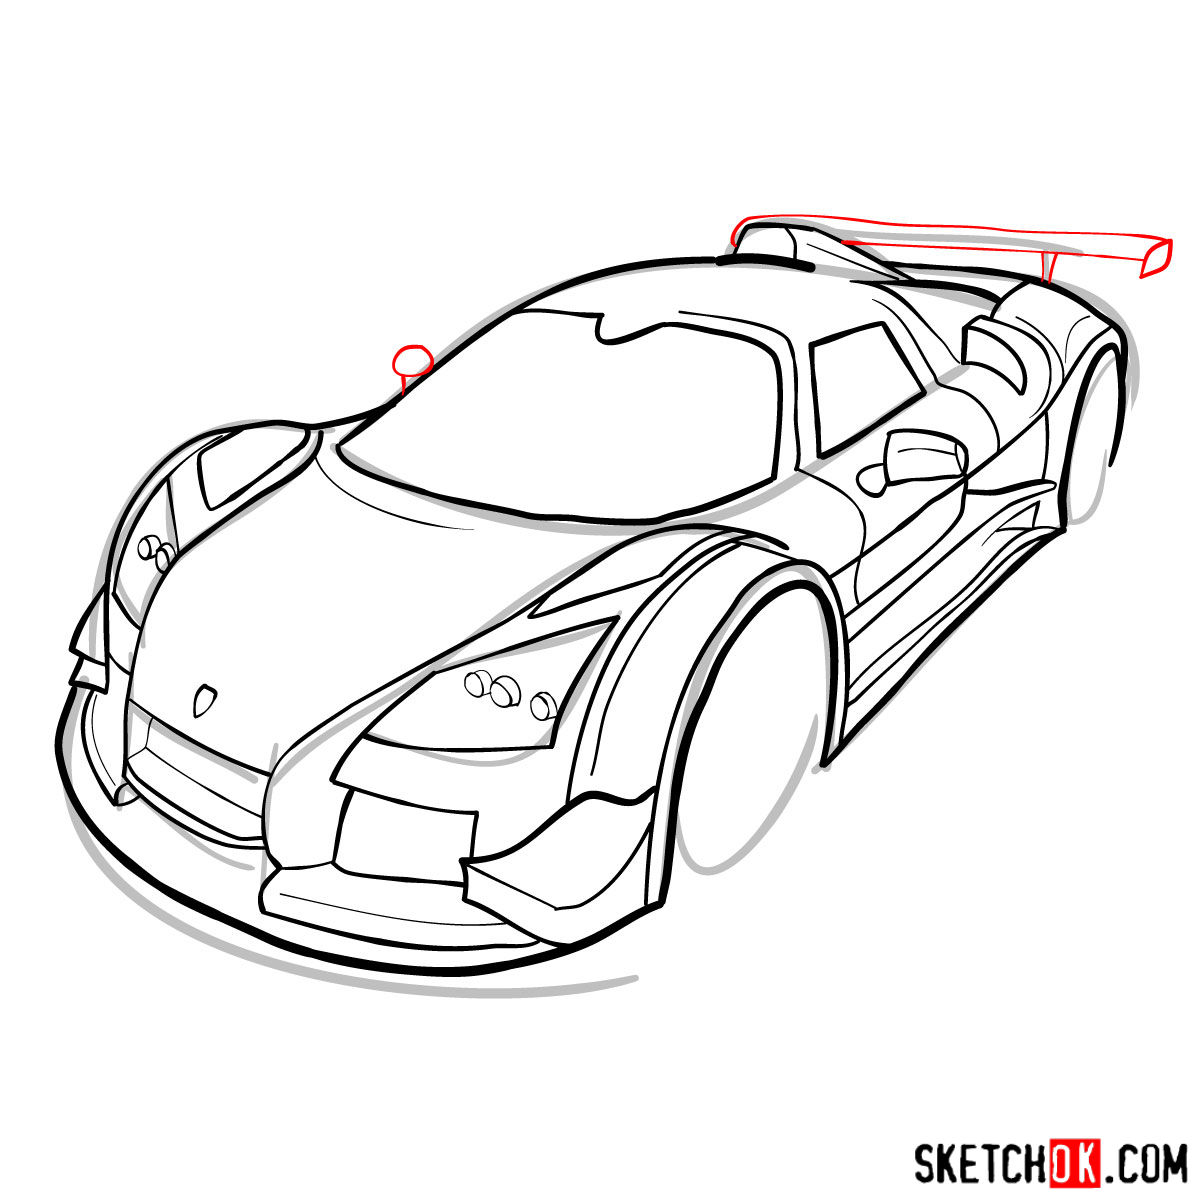
In this initial stage, you’ll create a basic structure using light pencil strokes. Focus on capturing the overall proportions and shapes of the Gumpert Apollo Sport 2012. Remember, the red color in the reference images represents the current step, while the grey color is the basic proportions sketch, and the black color indicates the completed lines.
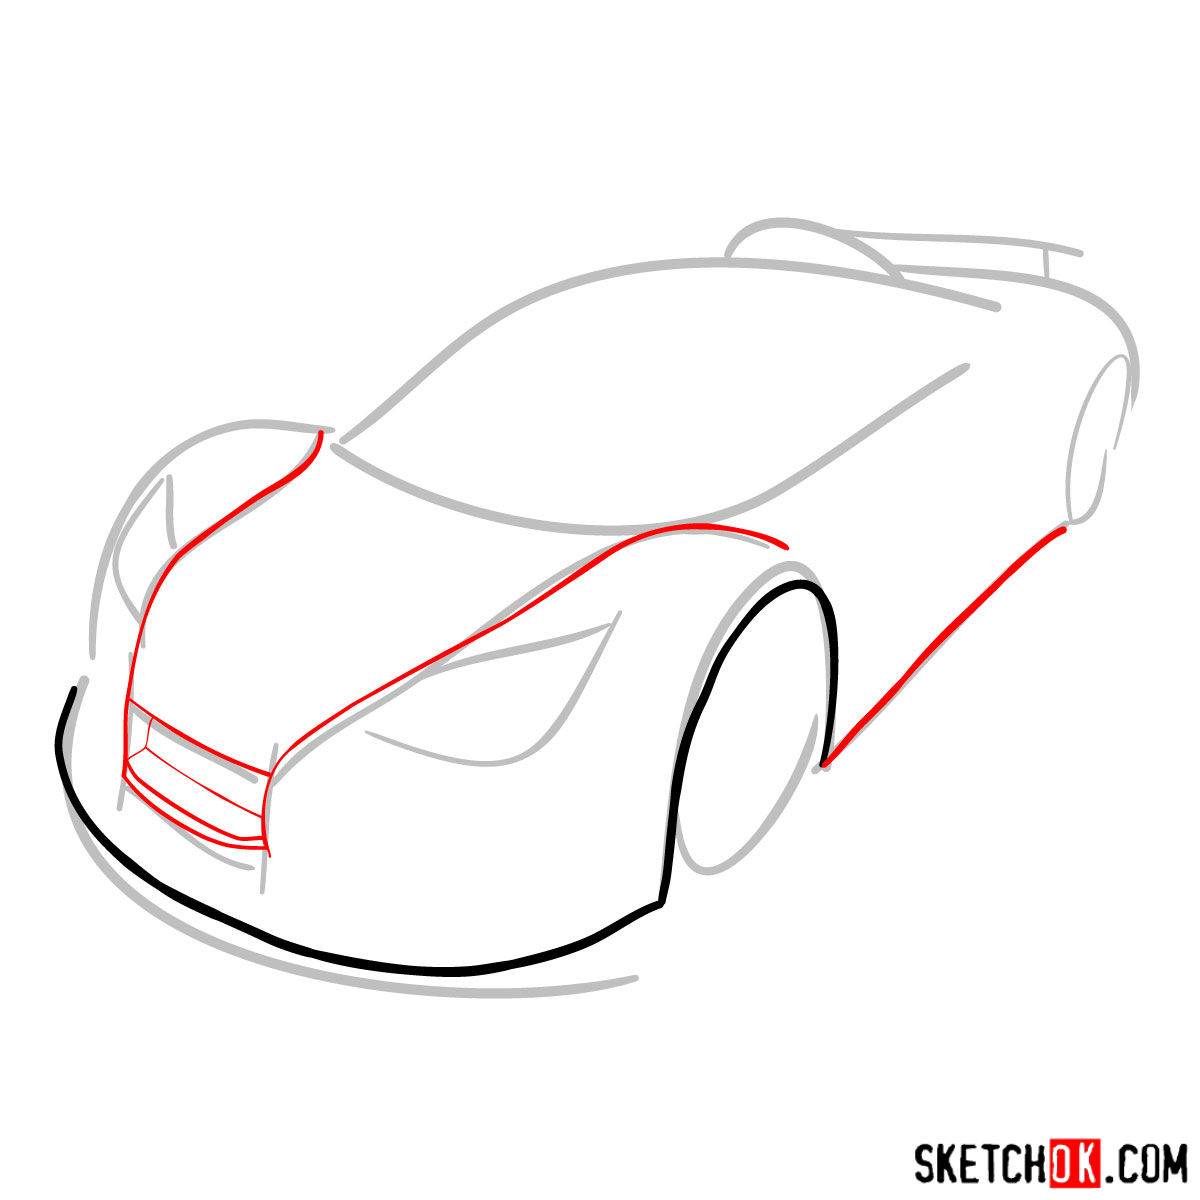
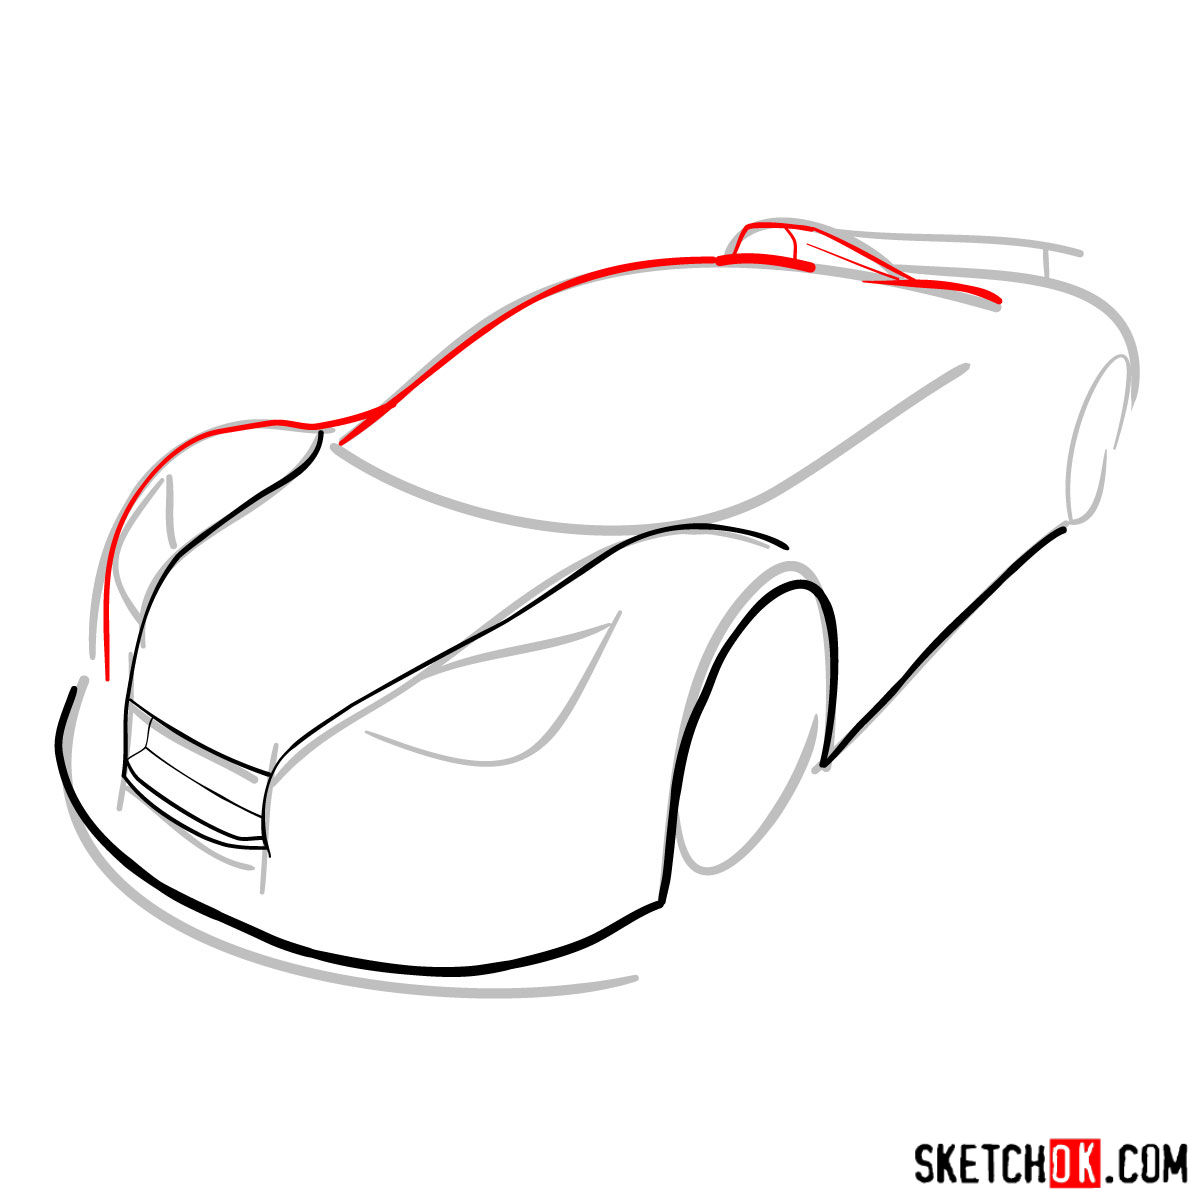
Part 2: Refining the Sketch
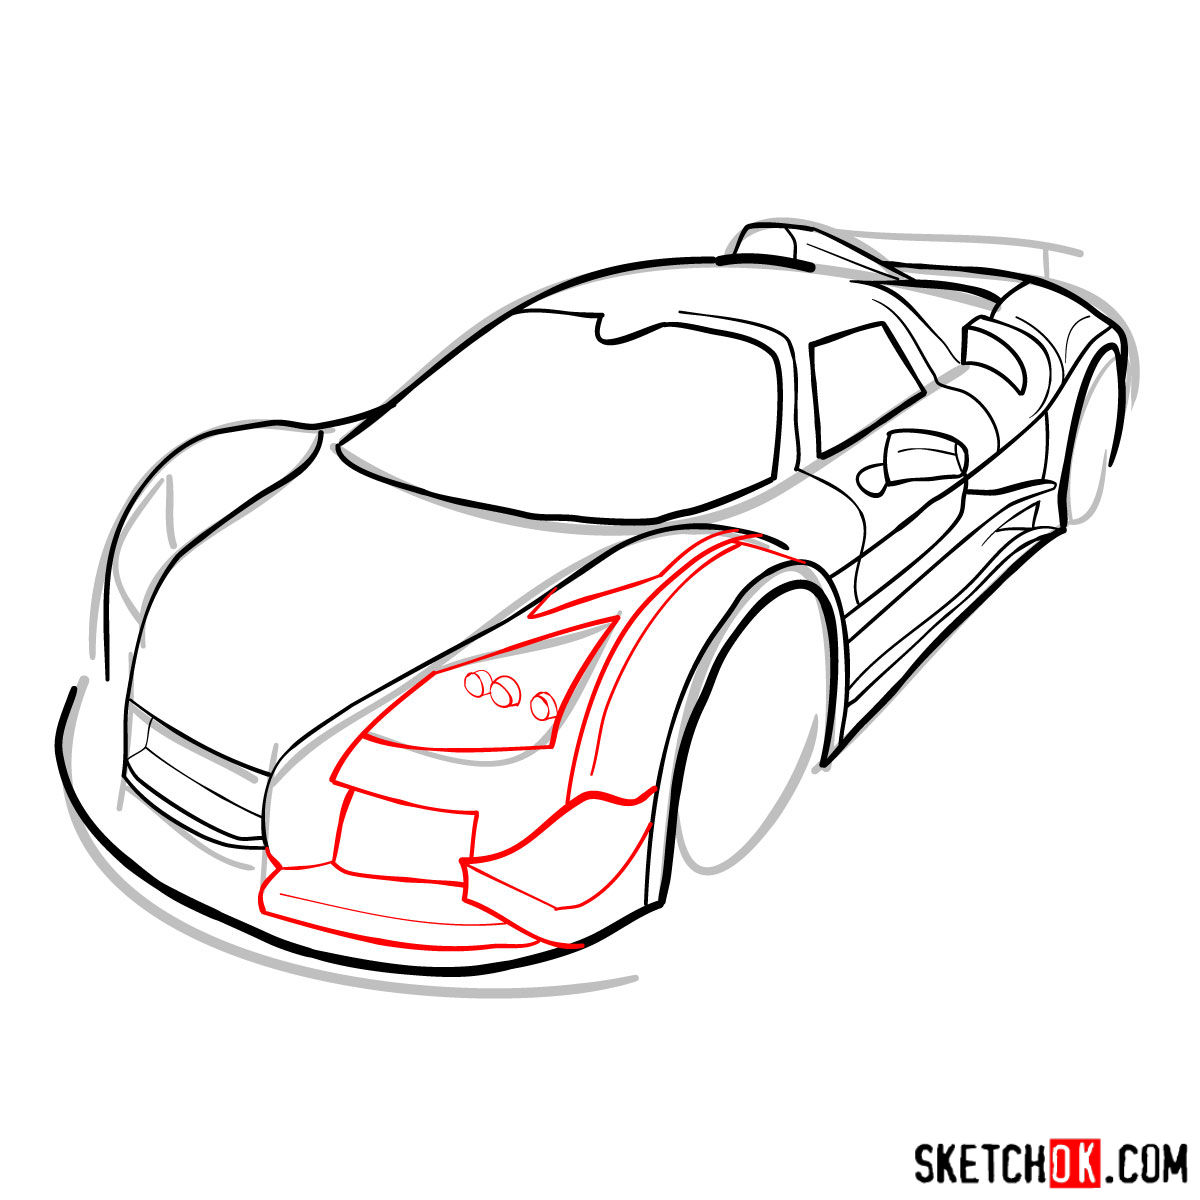
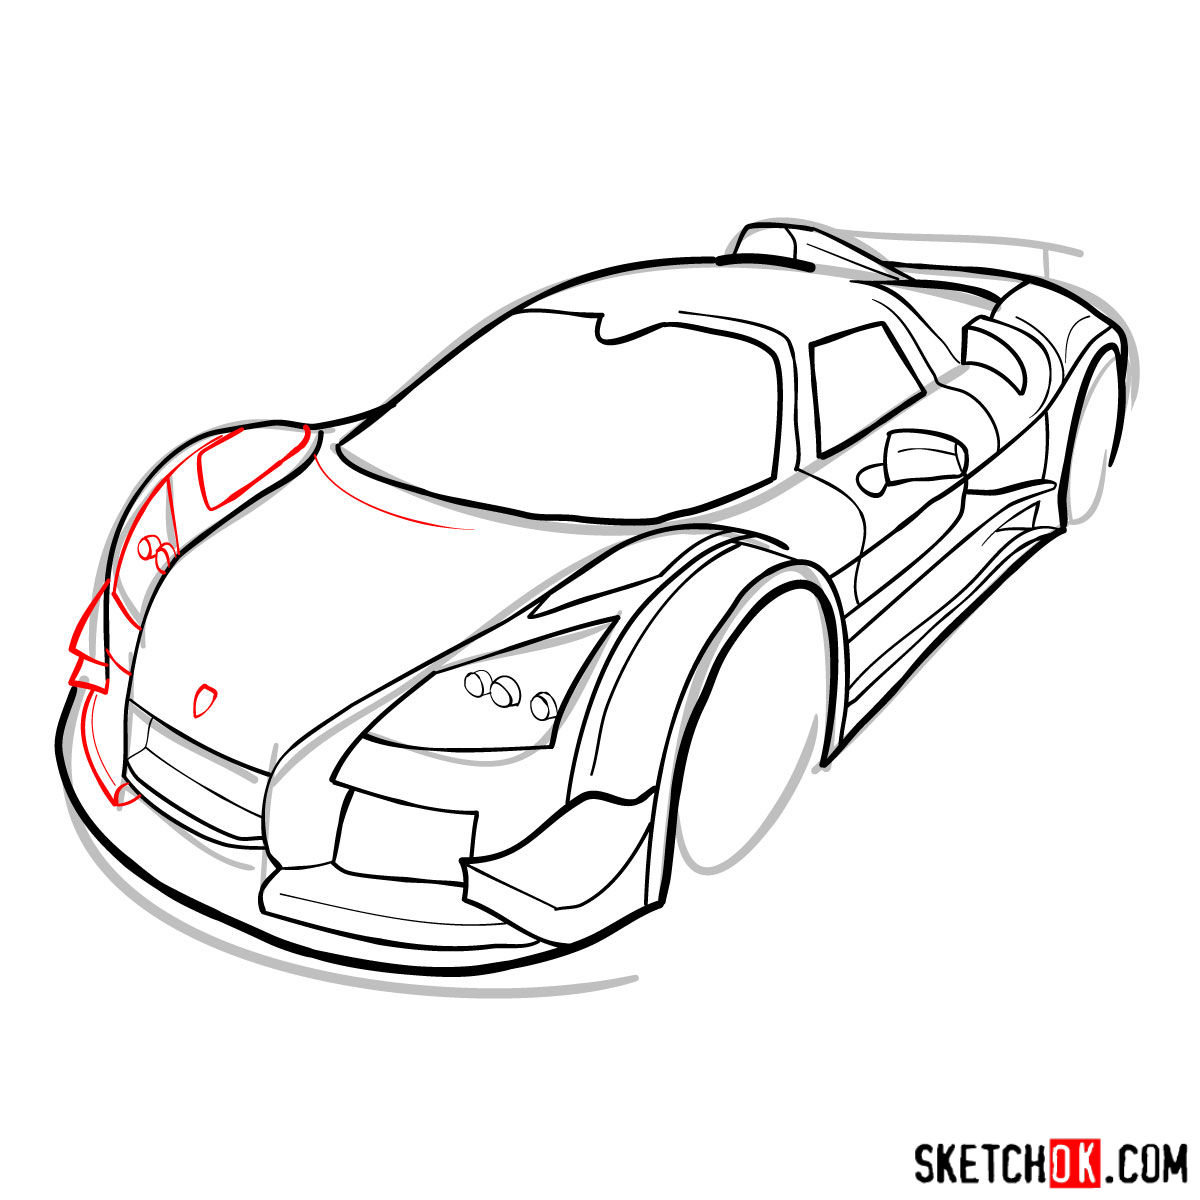
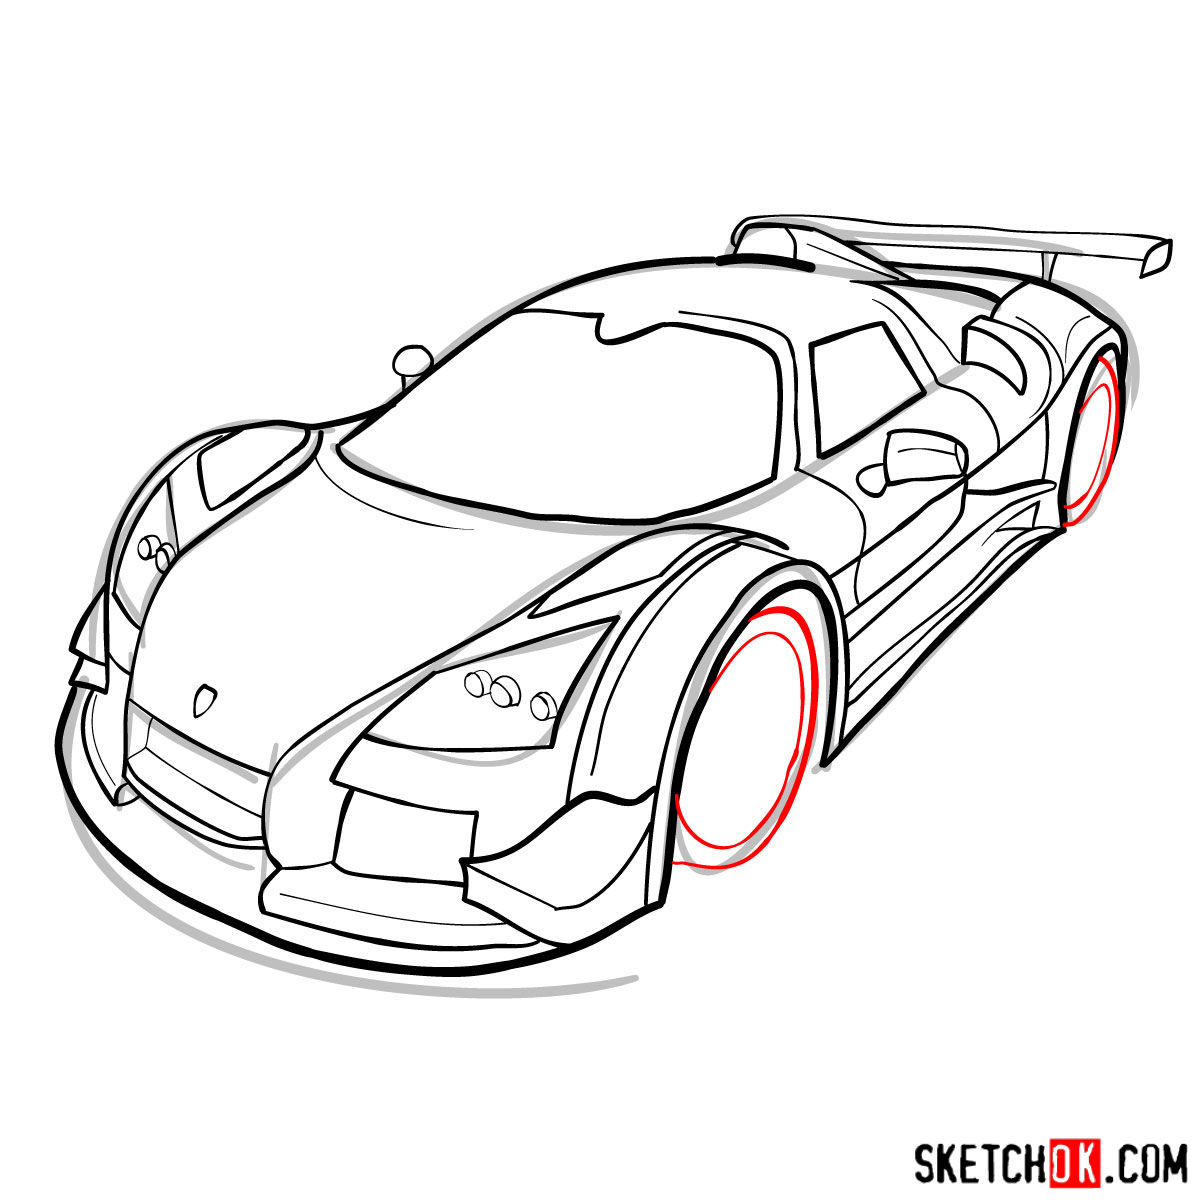
With the basic structure in place, it’s time to refine your sketch. Add more details to your drawing, such as the headlights, grille, and wheels. Don’t forget to improve the proportions and lines to make your Gumpert Apollo drawing more accurate. As you progress, refer to images of other remarkable supercars like the Koenigsegg Agera R, the Pagani Zonda, and the Porsche 918 for inspiration and guidance.


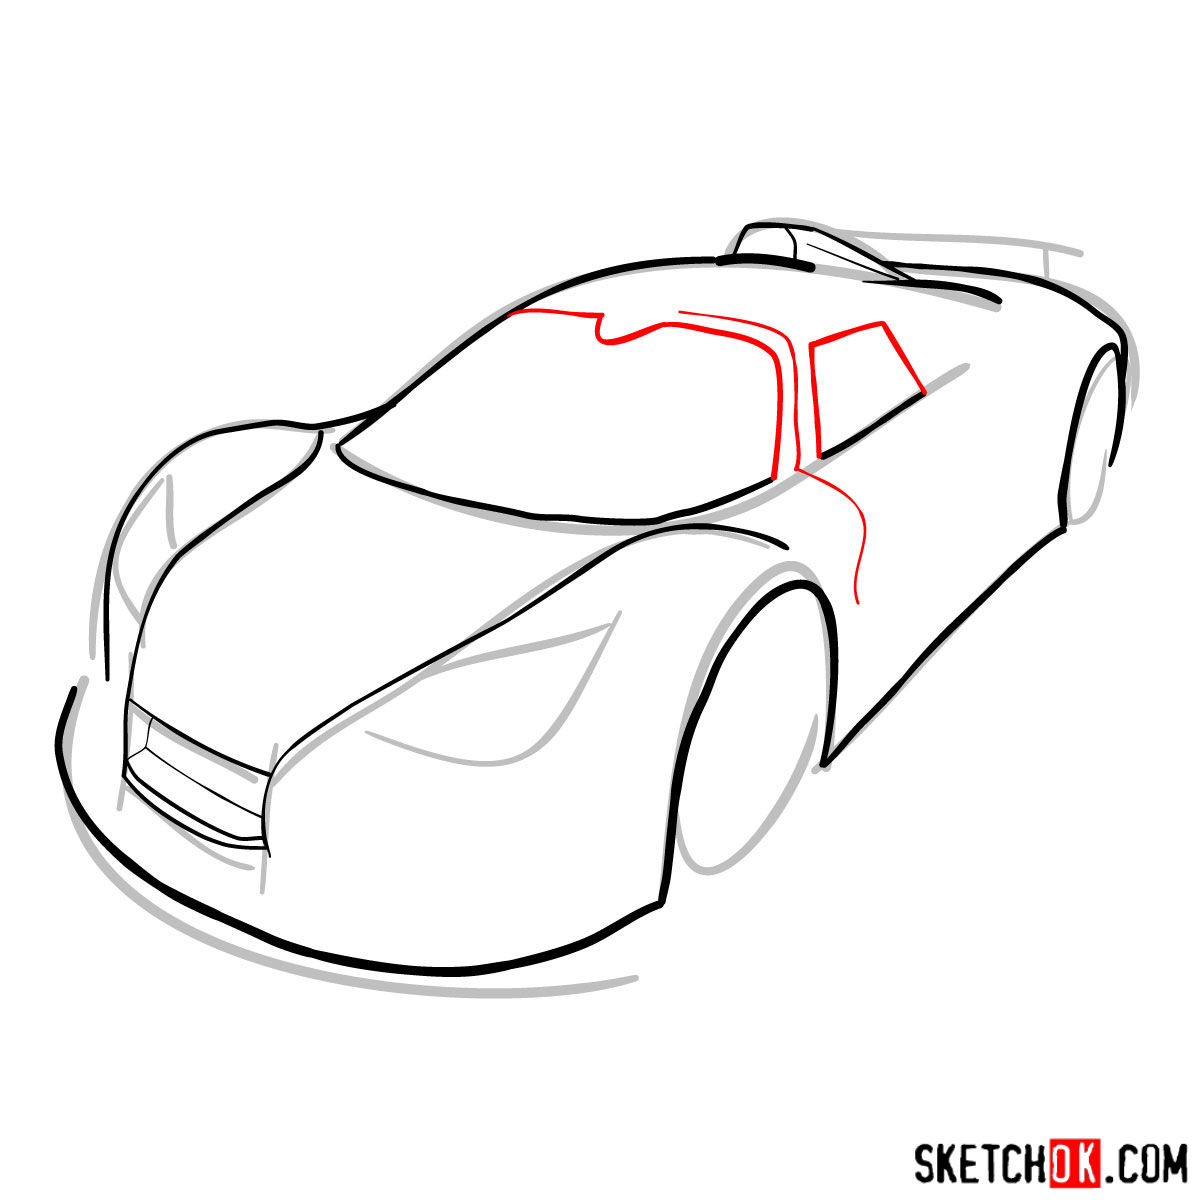
Part 3: Inking the Masterpiece
Once you’re satisfied with your refined sketch, grab your fineliner or ink pen and start outlining the Gumpert Apollo Sport 2012. Be patient and precise during this stage, as clean lines are essential for a polished final result. After you’ve finished inking, gently erase any remaining pencil marks to reveal your striking illustration.
Part 4: Coloring and Shading the Beast
Now comes the fun part: coloring your Gumpert Apollo Sport 2012 drawing. Using colored pencils or markers, add vibrant hues to your artwork while paying attention to the car’s unique color scheme. Incorporate shading and highlights to give your illustration depth and dimension, making it look more realistic and captivating.

That wraps up how to draw Gumpert Apolo Sport 2012, one of those rare machines that looks as wild on paper as it does on the track. If you prefer watching rather than reading, the SketchOk YouTube channel regularly uploads drawing videos that might be worth checking out. And if you want to show off your finished Gumpert Apolo, the pinned tutorial post on Pinterest is a great spot to drop your result and see what others have done with it.