
Last Updated on May 13, 2026
With Halloween around the corner, it’s the perfect time to master how to draw a Witch Hat. This iconic piece isn’t just a symbol of magic, but it carries with it stories of enchantments, spells, and mystery. Whether perched upon the head of a wicked sorceress or lying beside a bubbling cauldron, the witch hat has fascinated many. In this guide, we’ll dive into sketching this magical accessory with all its intricate details.
Enchanting Details: The Witch Hat’s Distinguishing Features
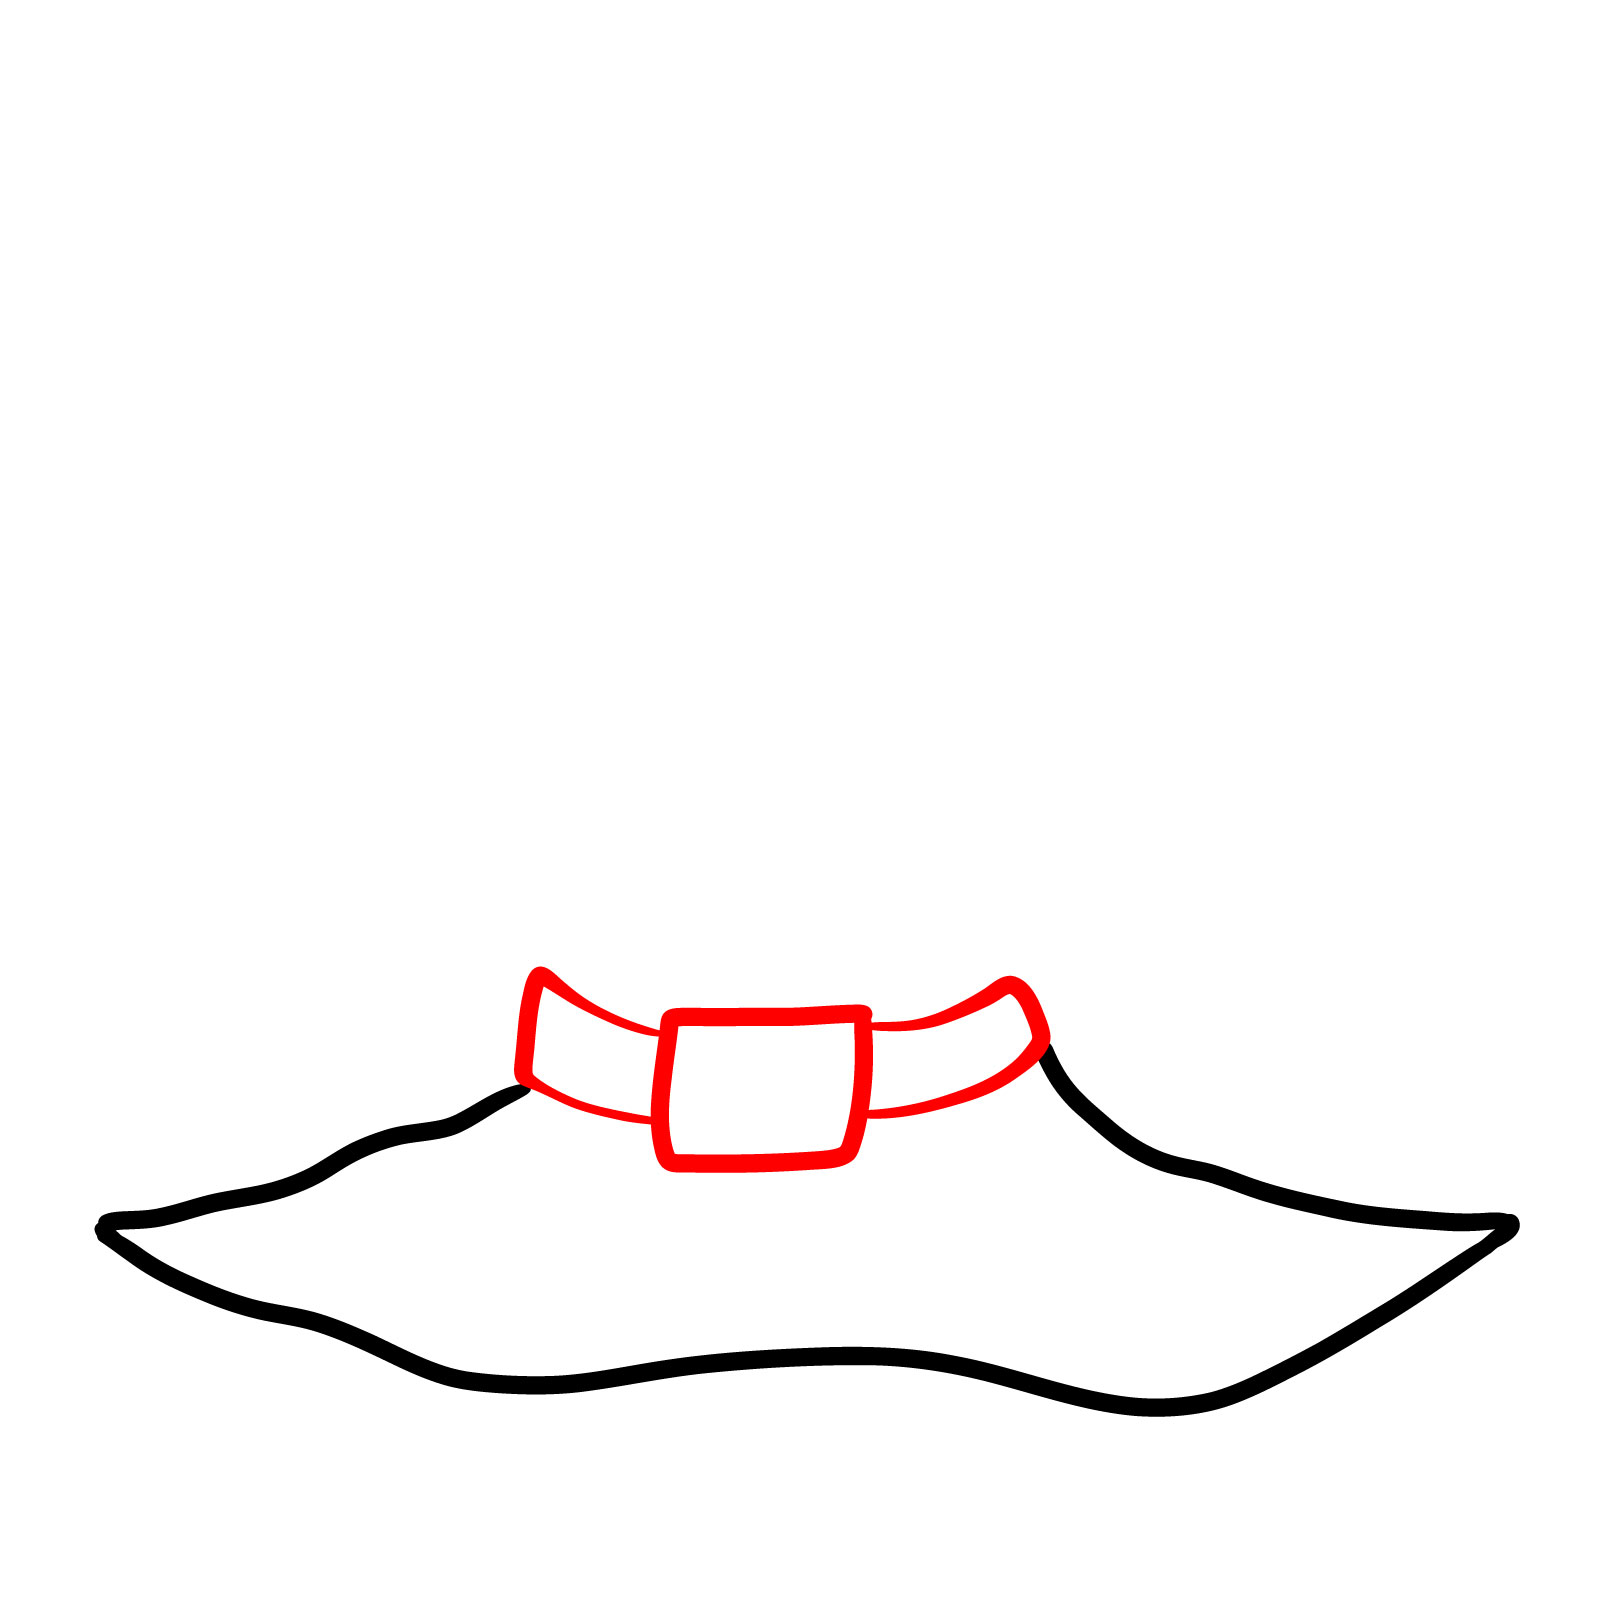
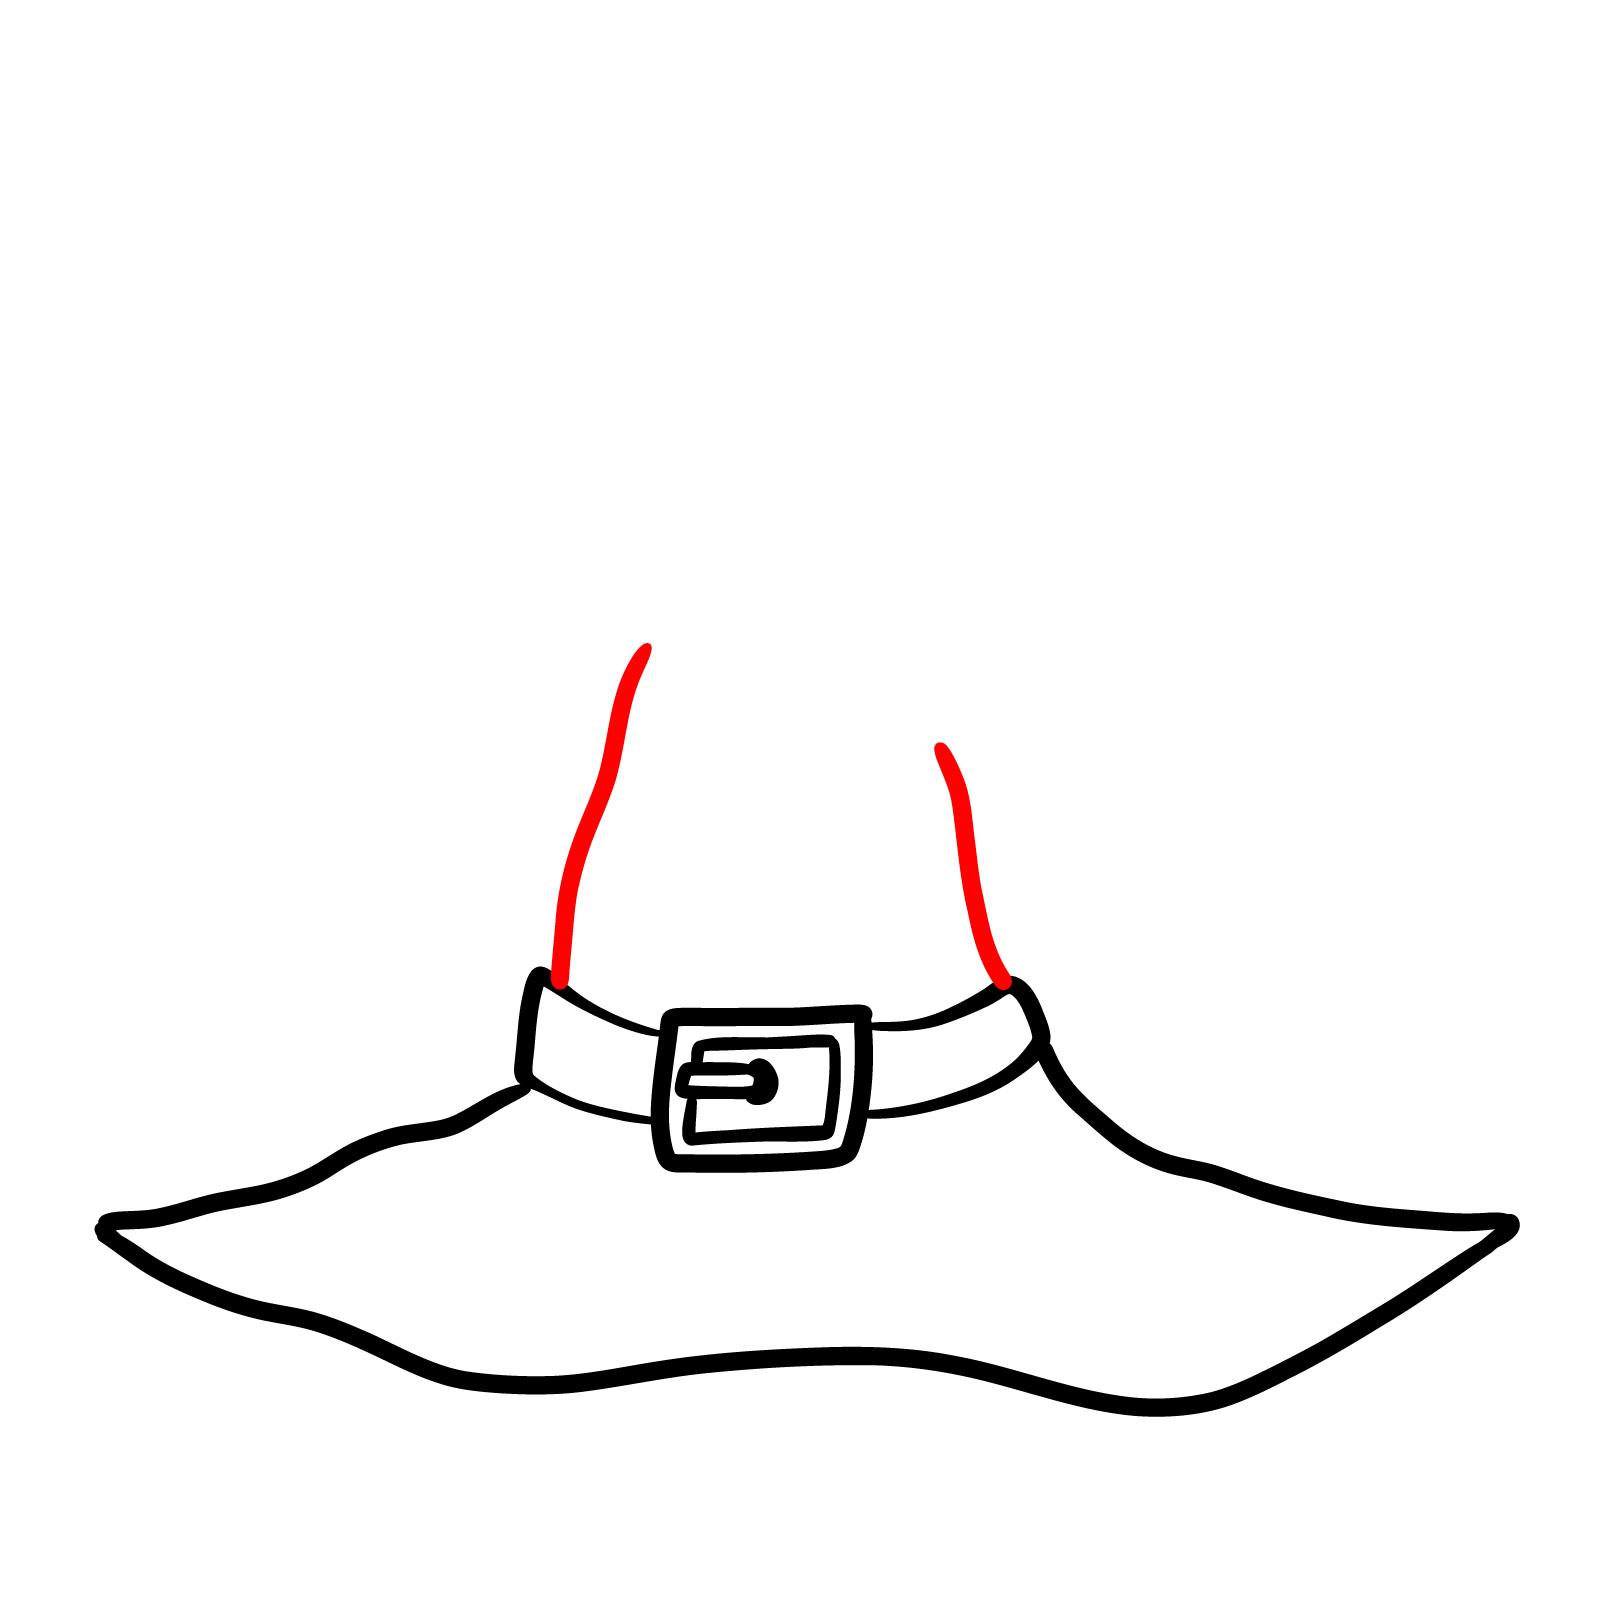
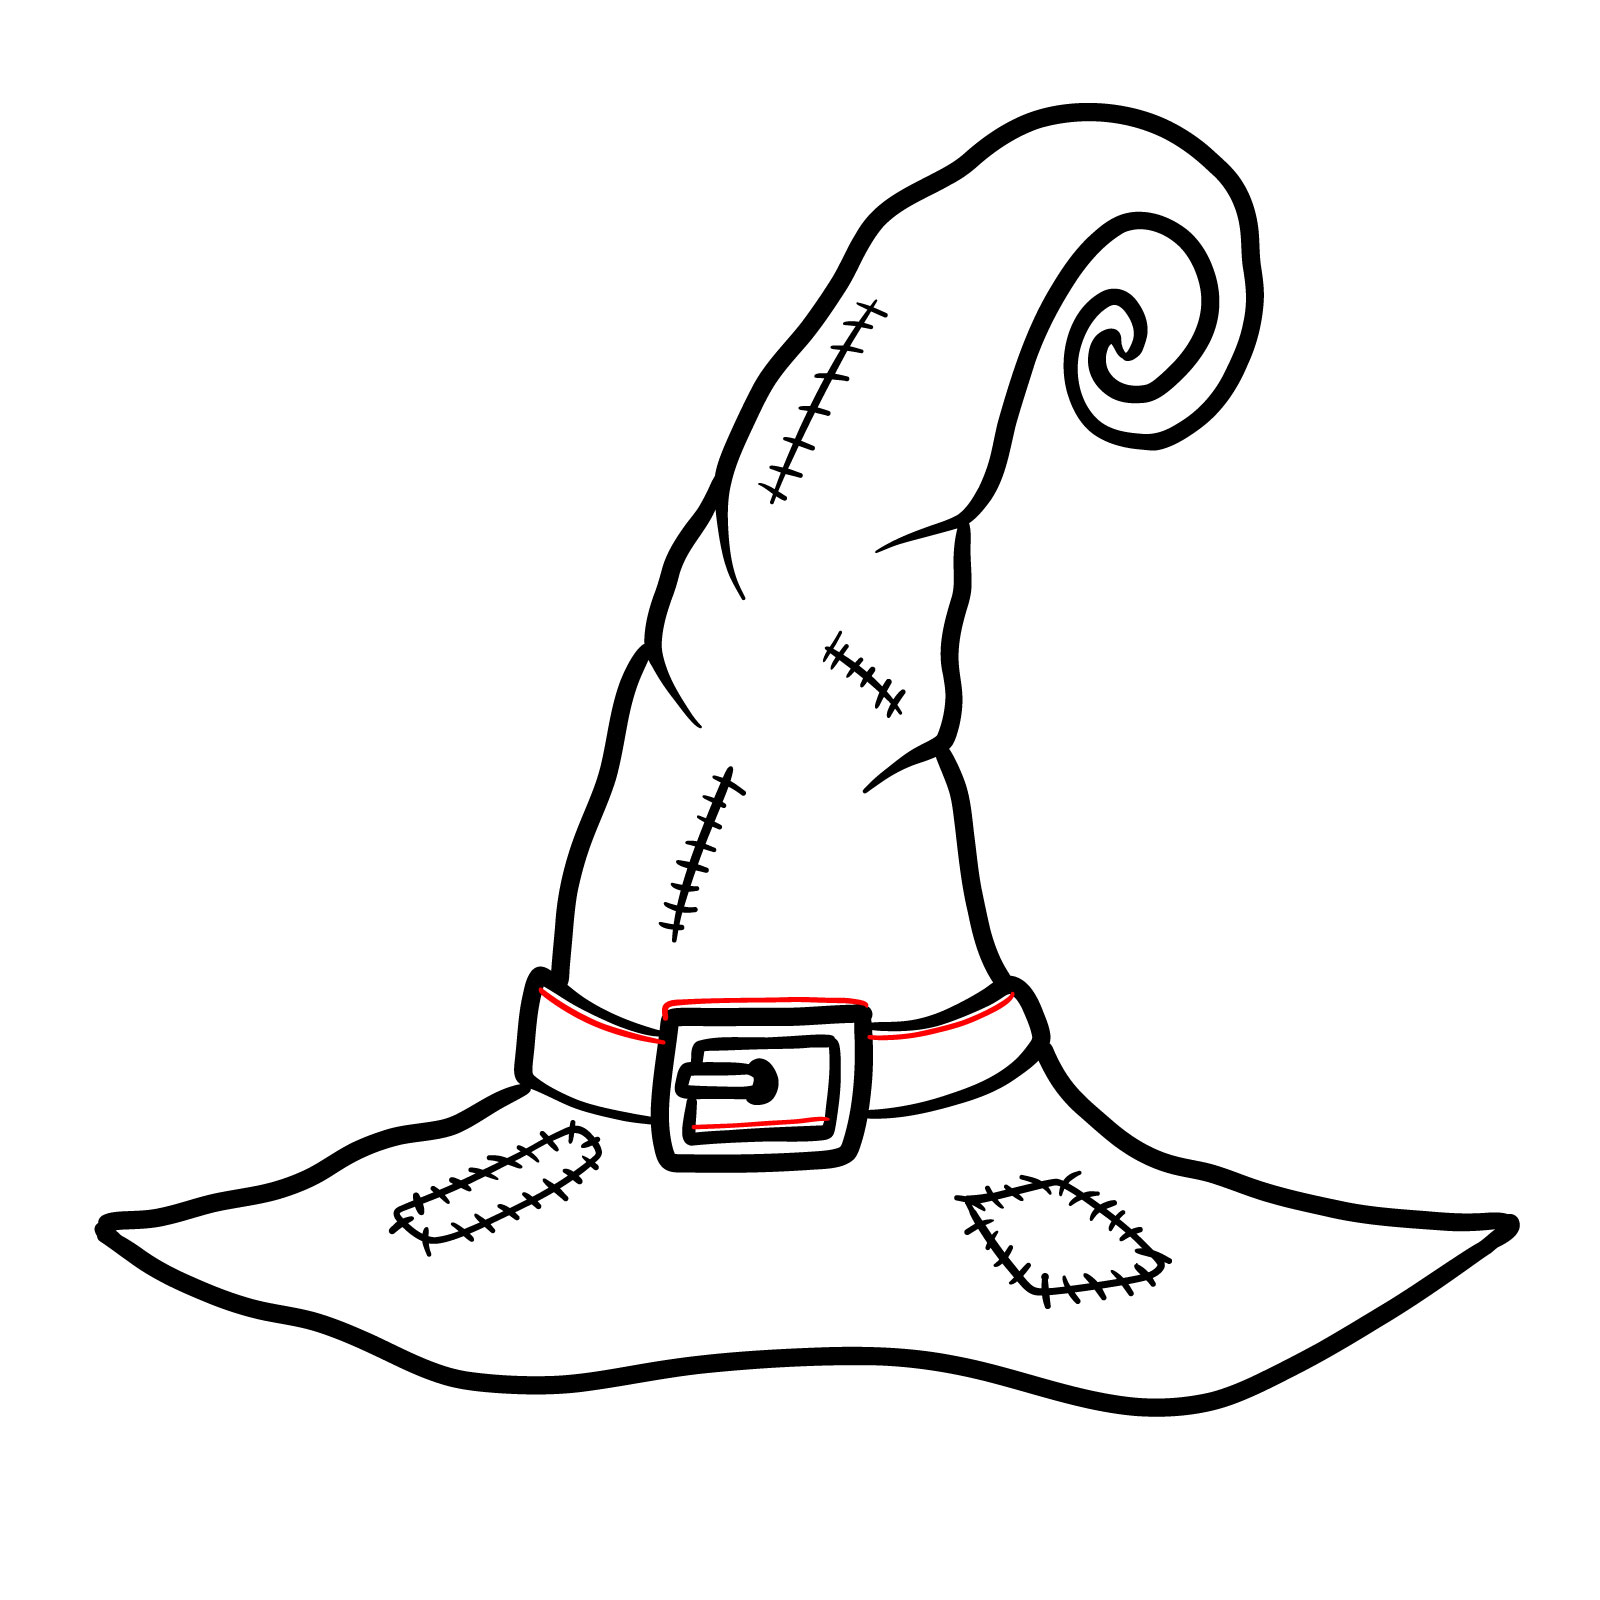
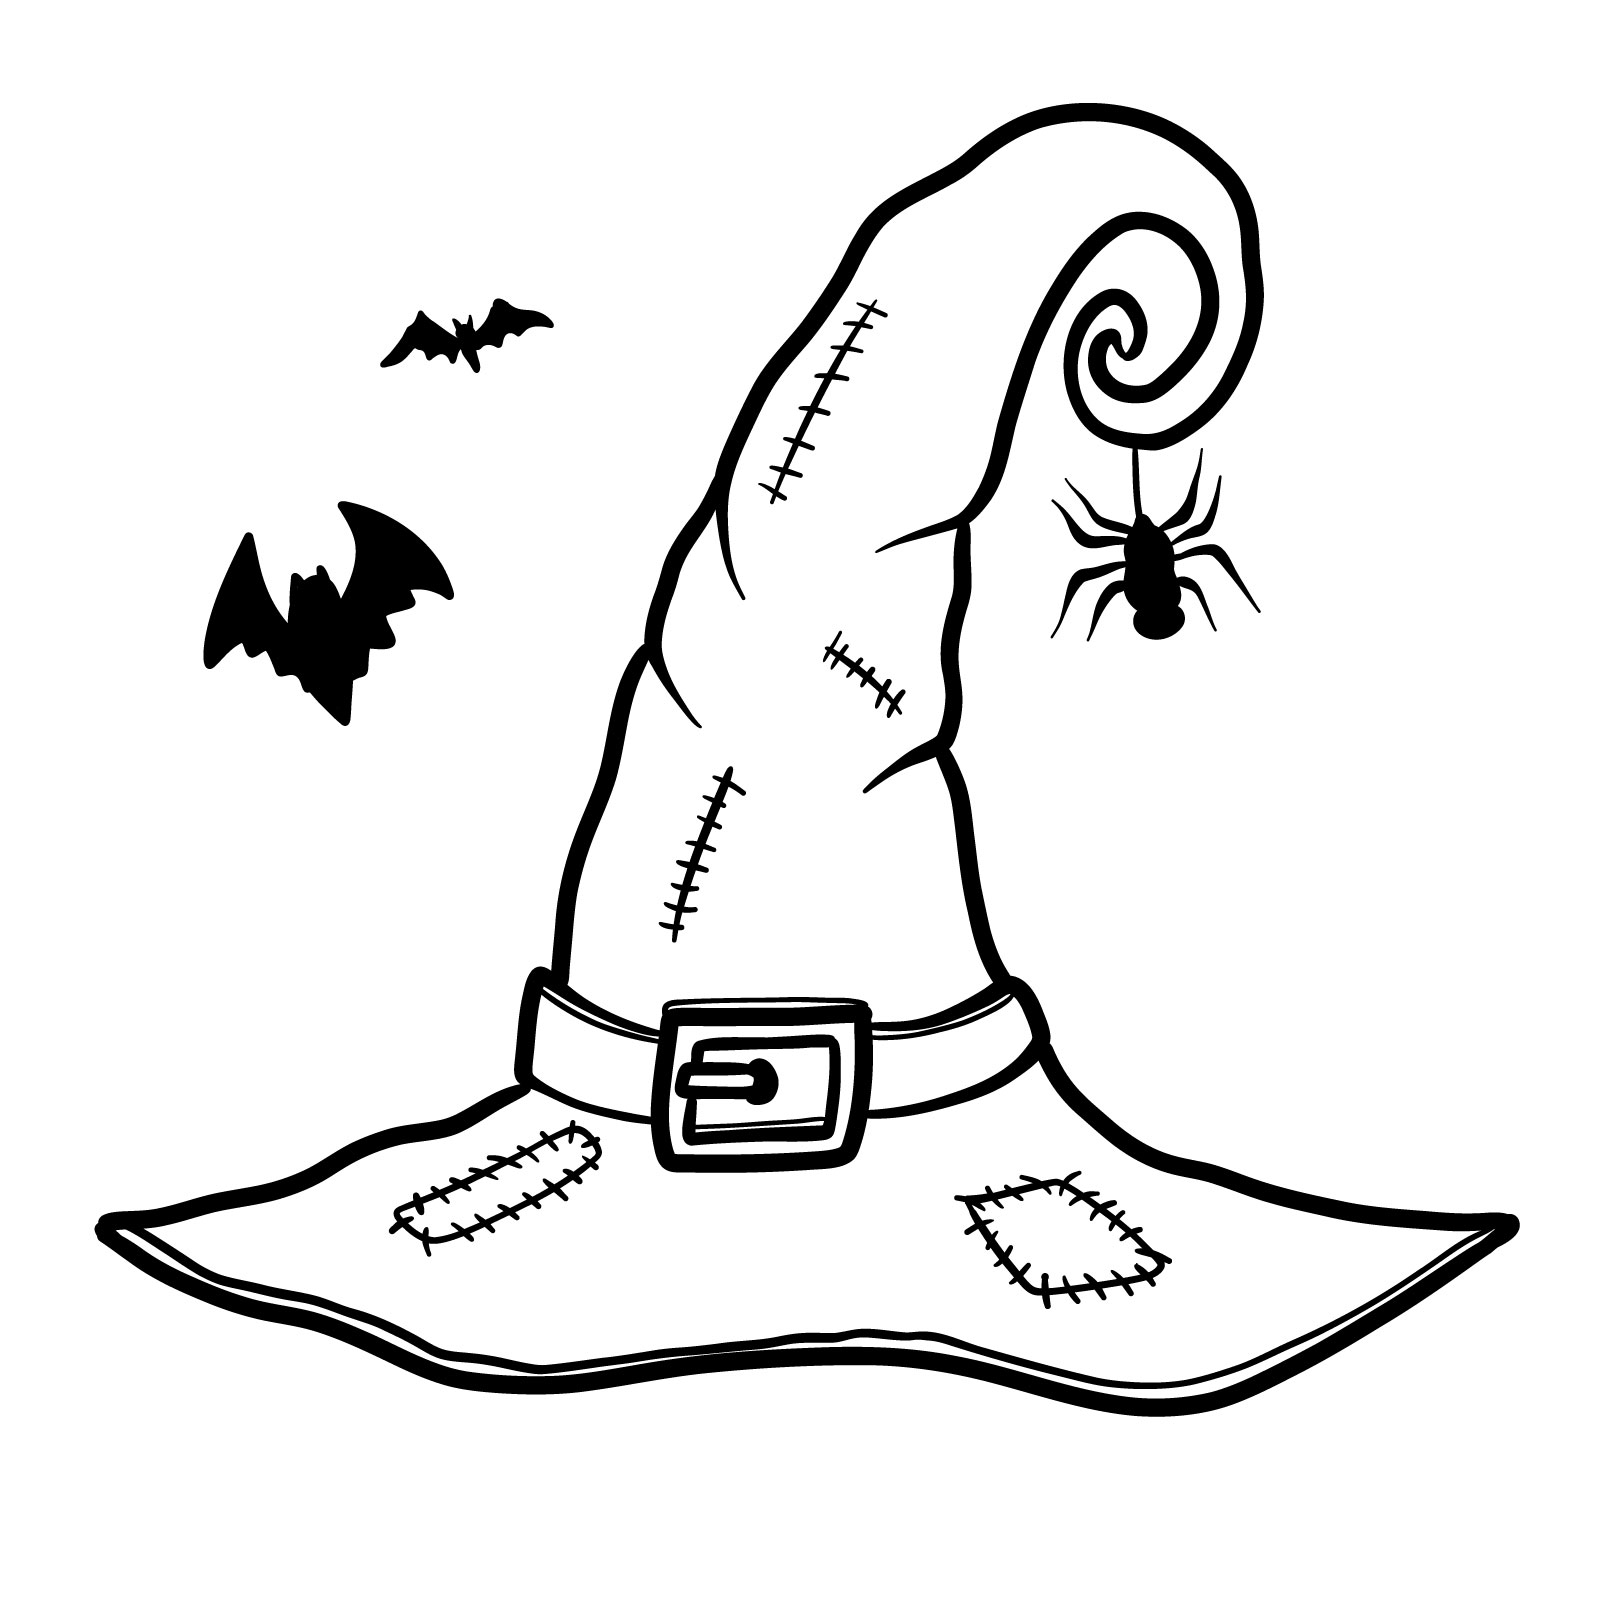
- Ribbon with a Buckle: Adding a touch of character and elegance to the hat.
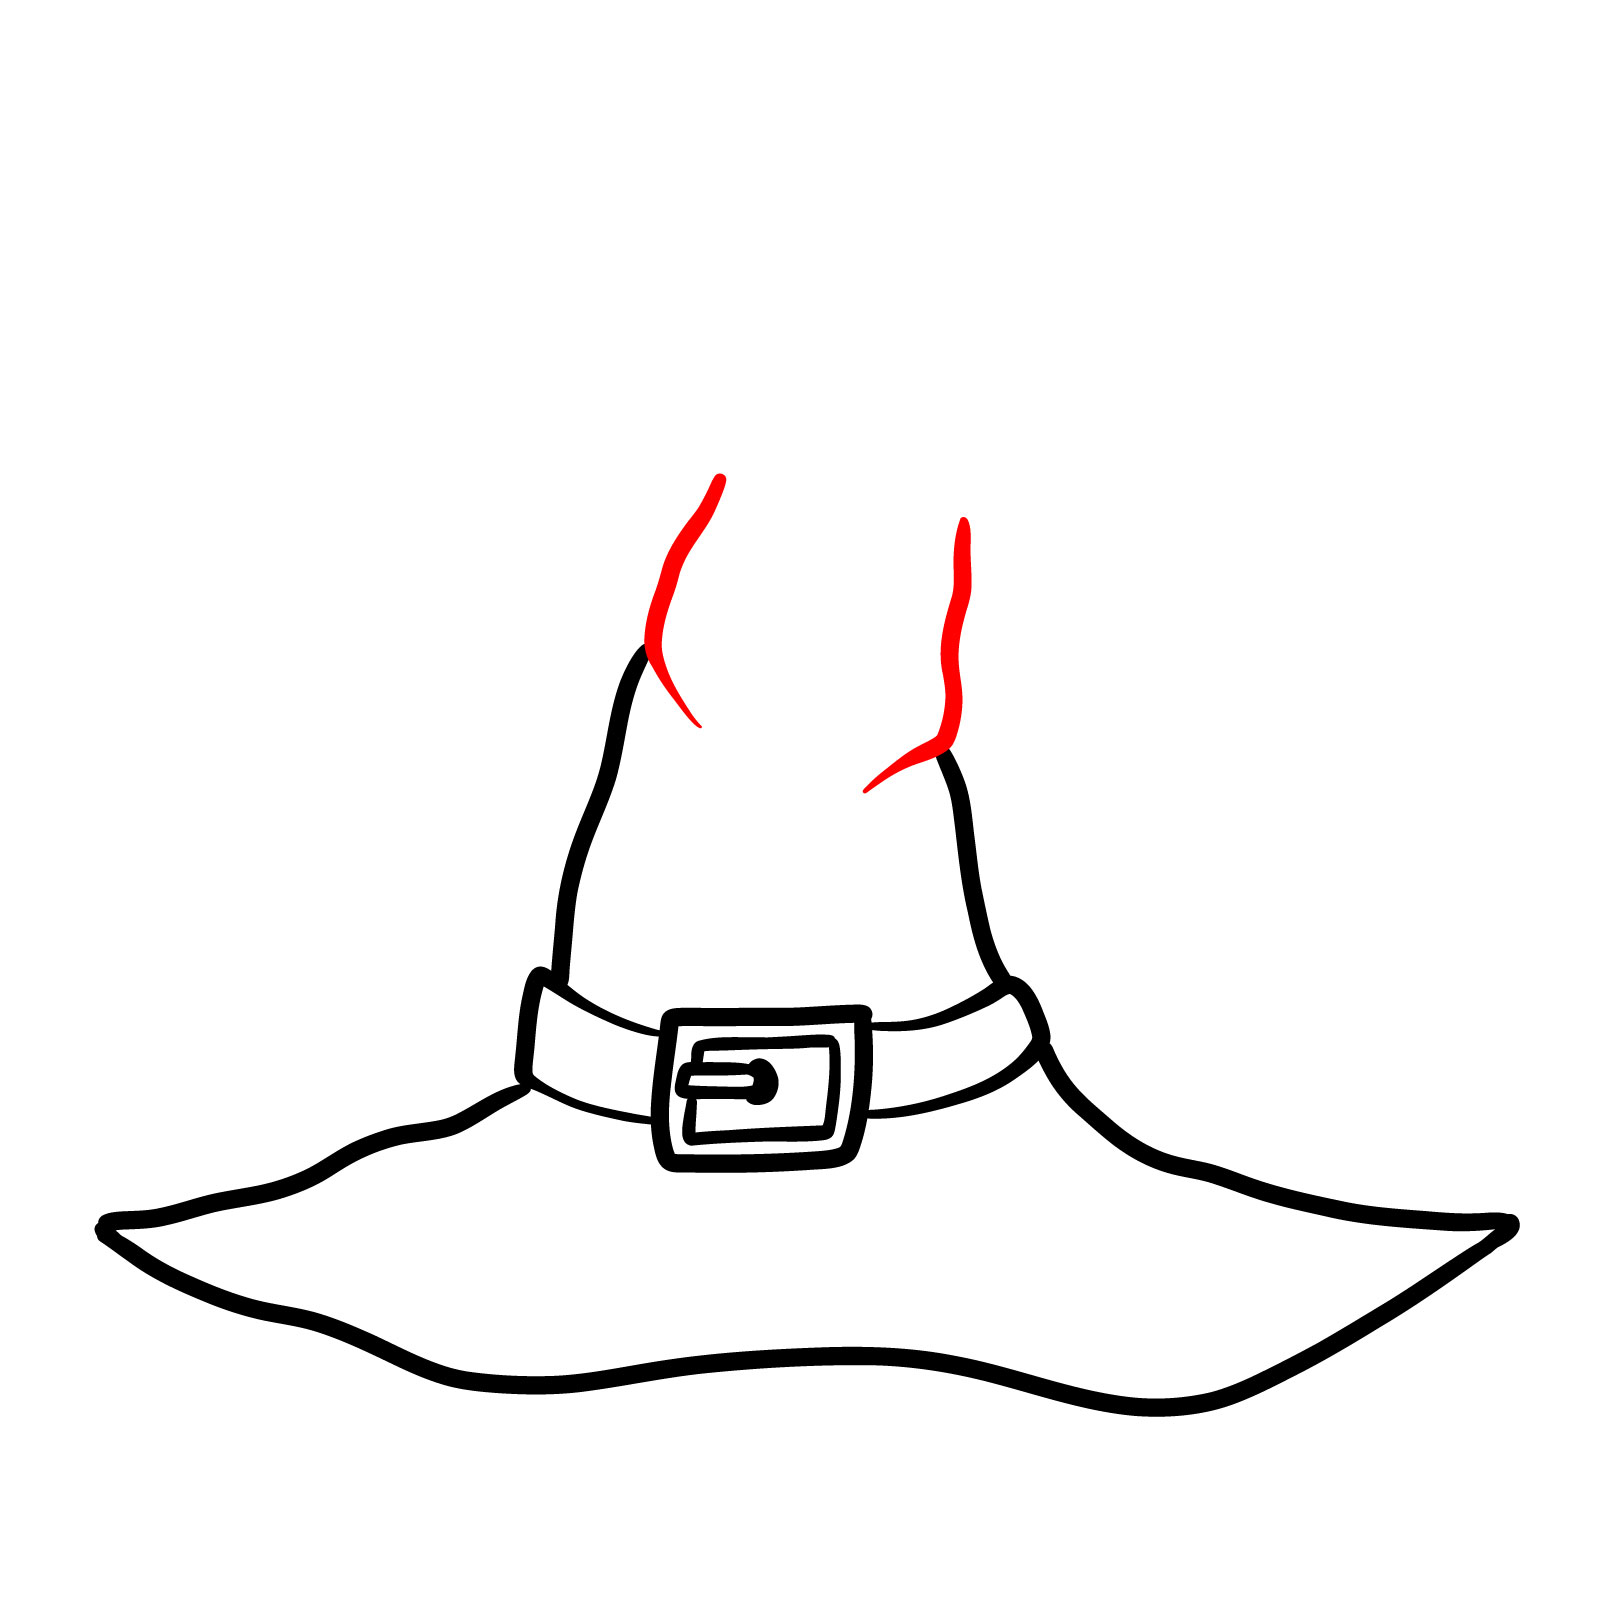
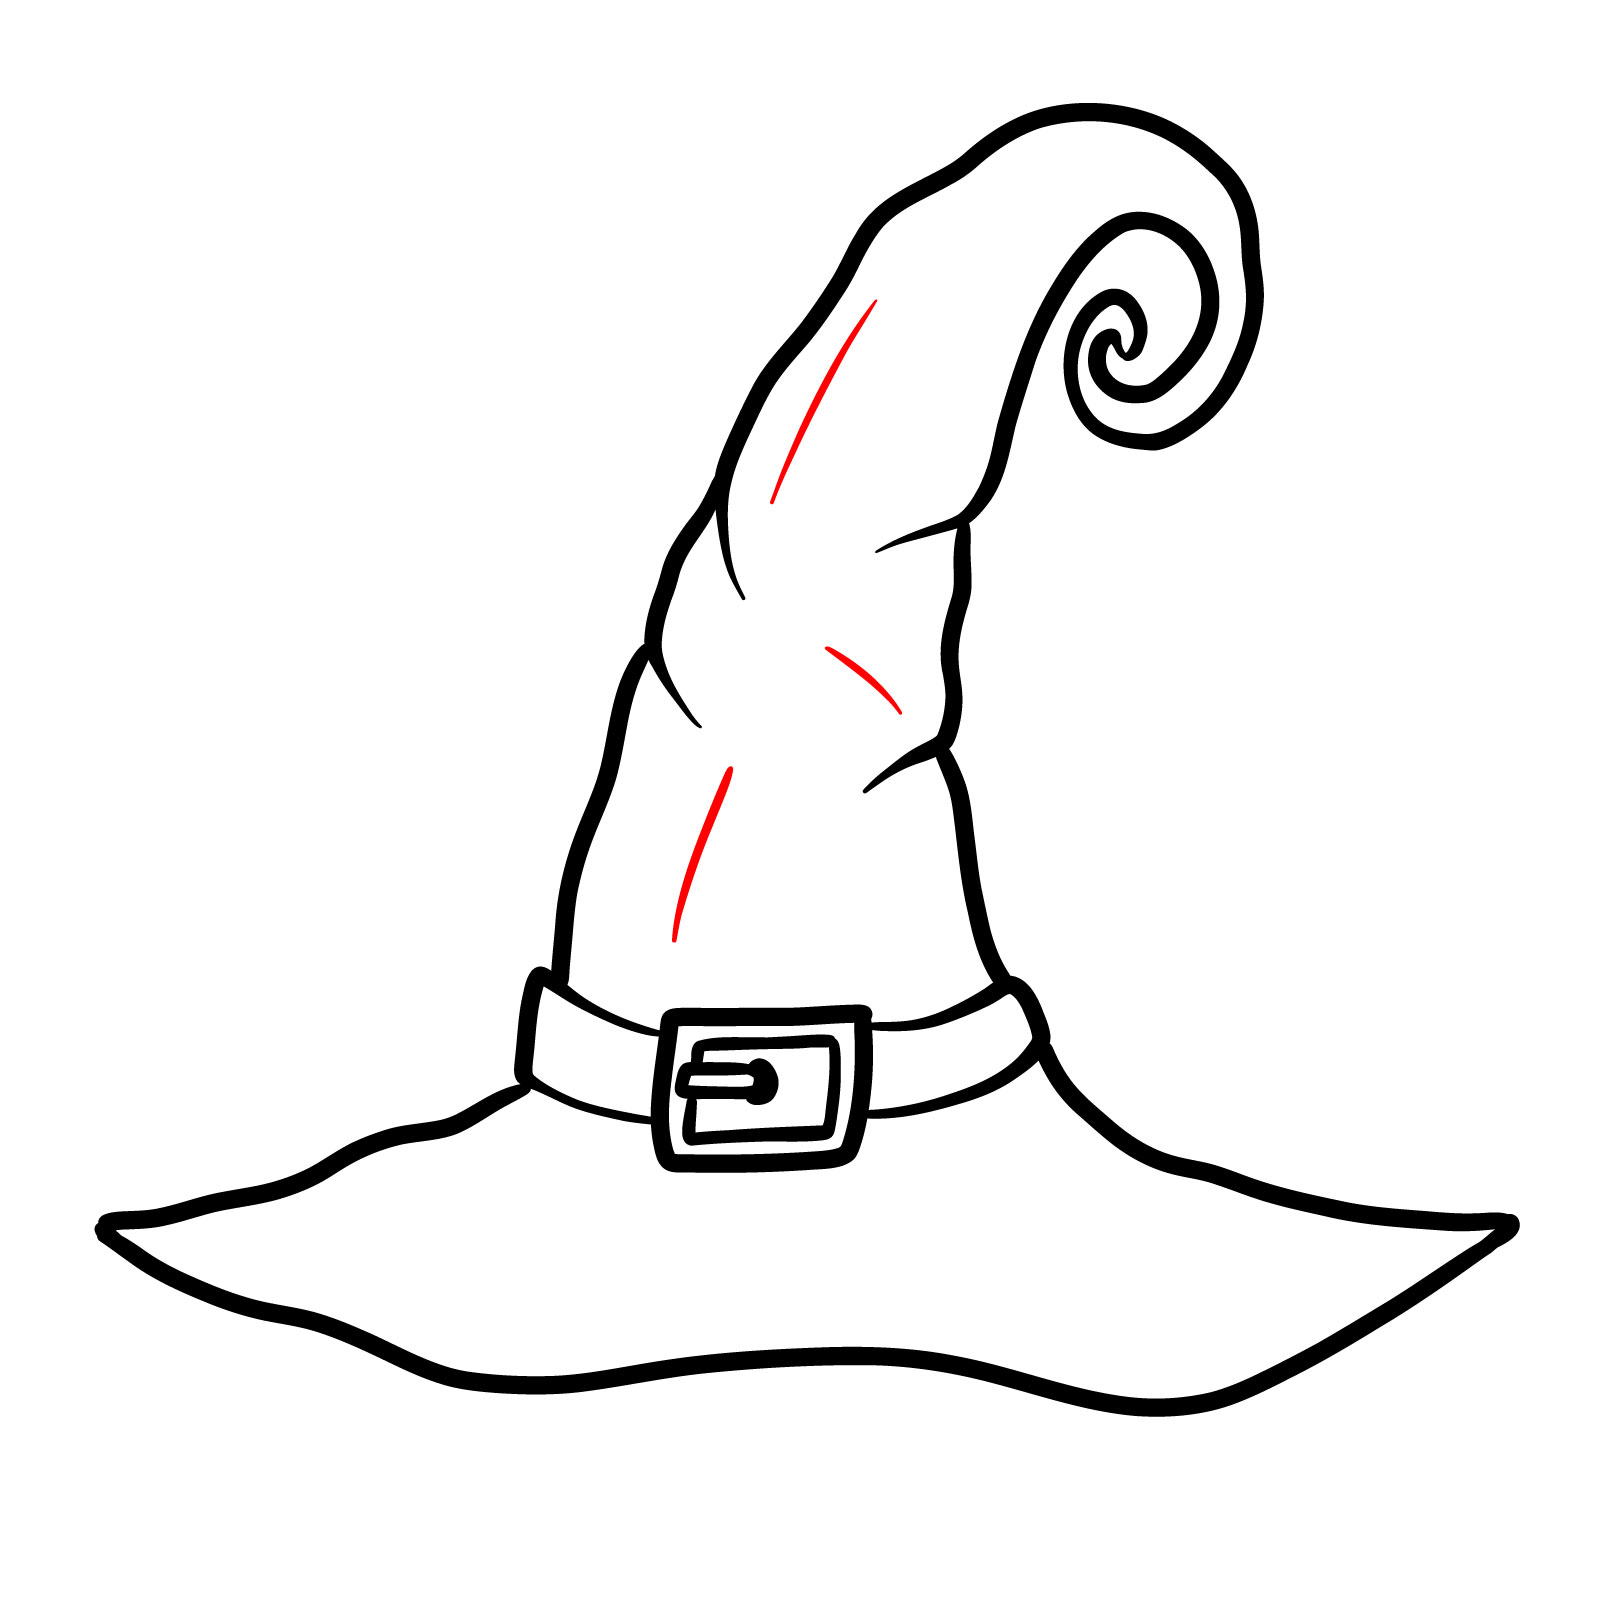
- Pointed and Twirling Tip: A unique shape that ends with a slight playful twist.
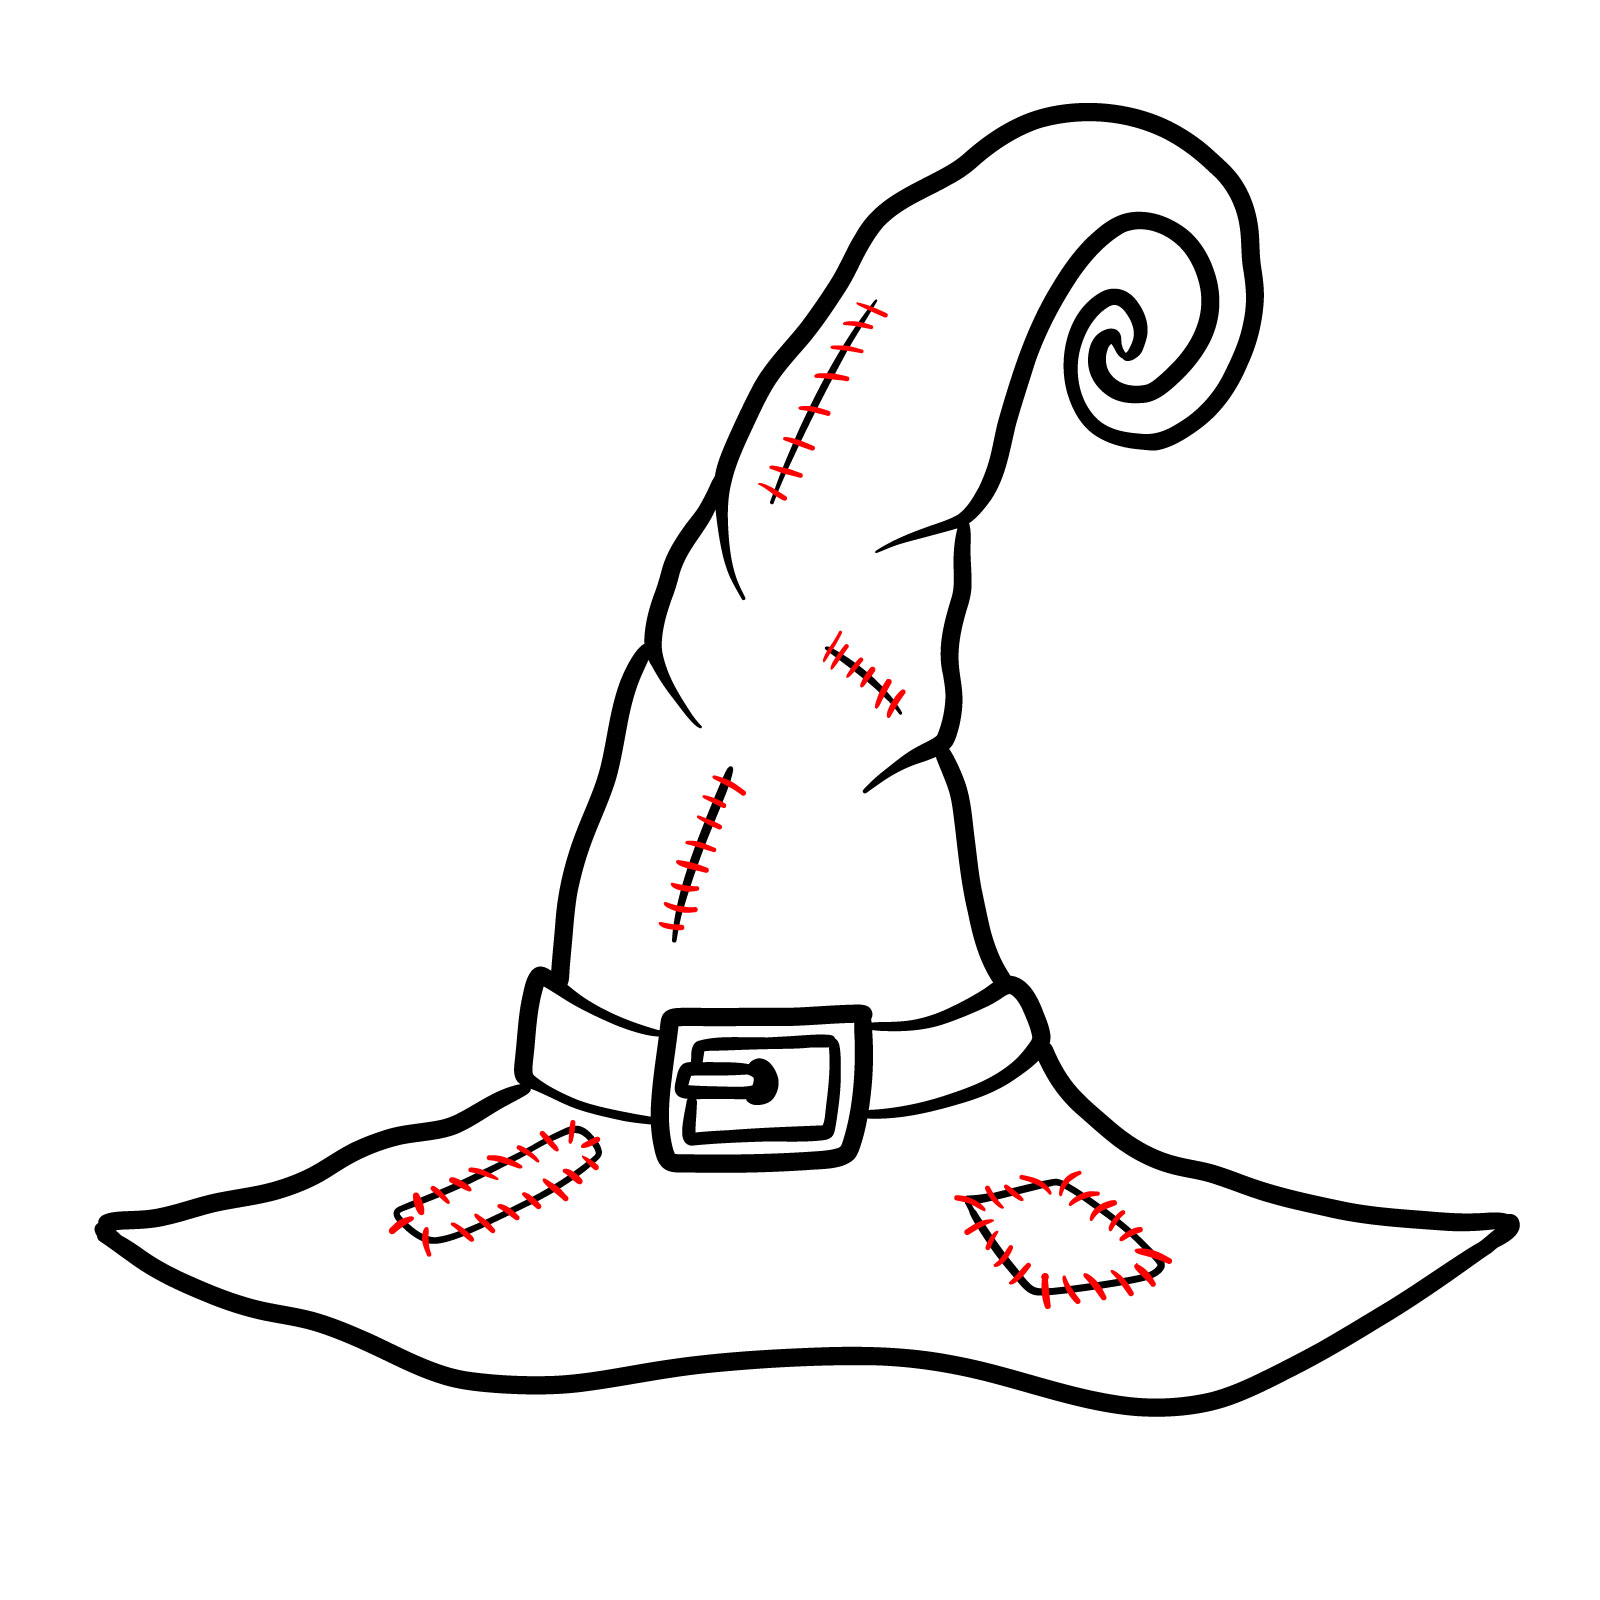
- Torned Lines & Patches: Gives the hat an ancient and worn-out look, telling tales of its many adventures.
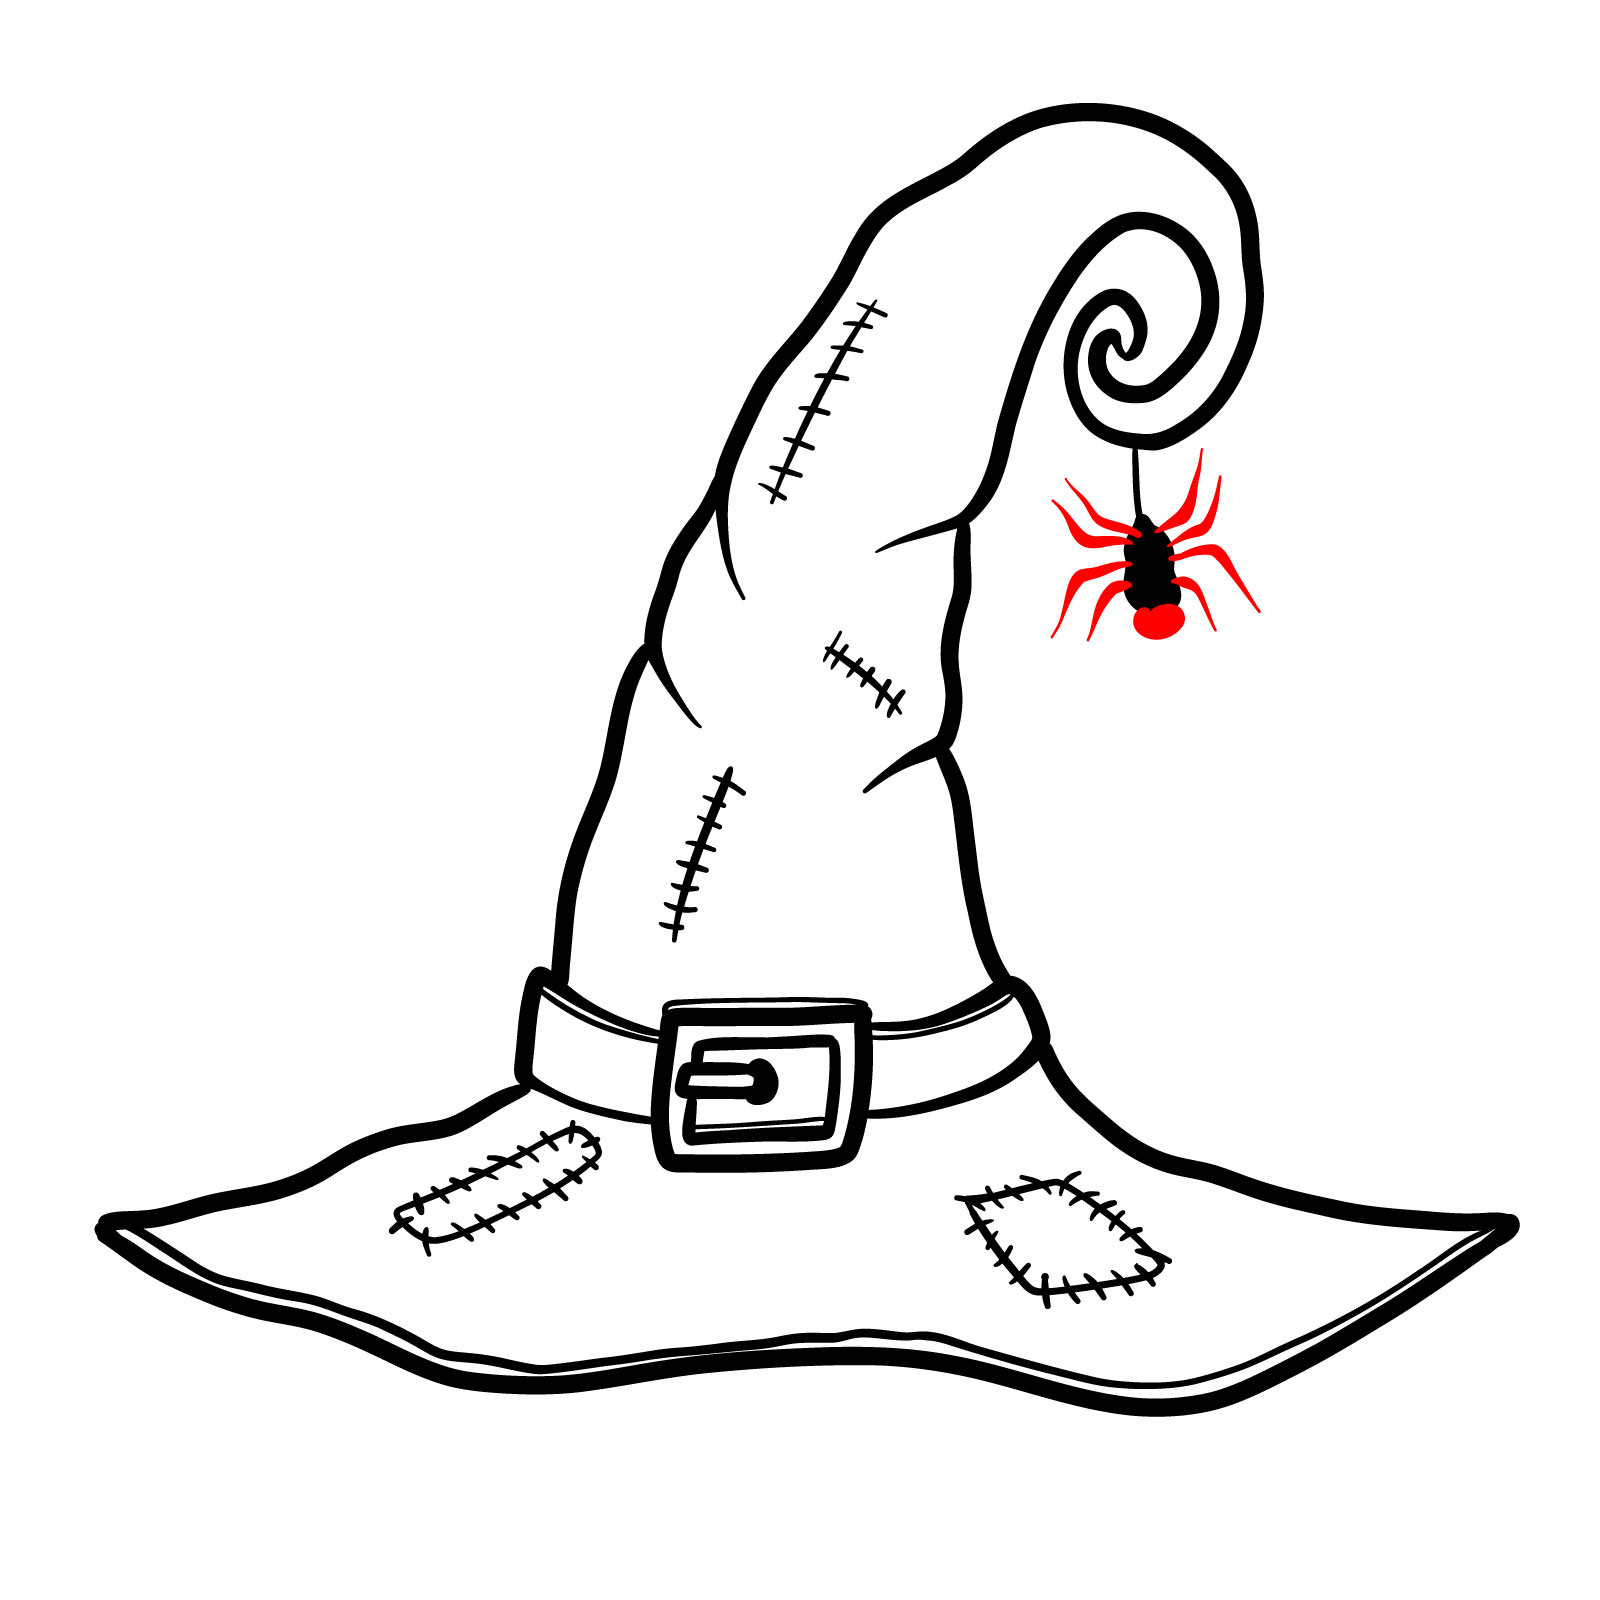
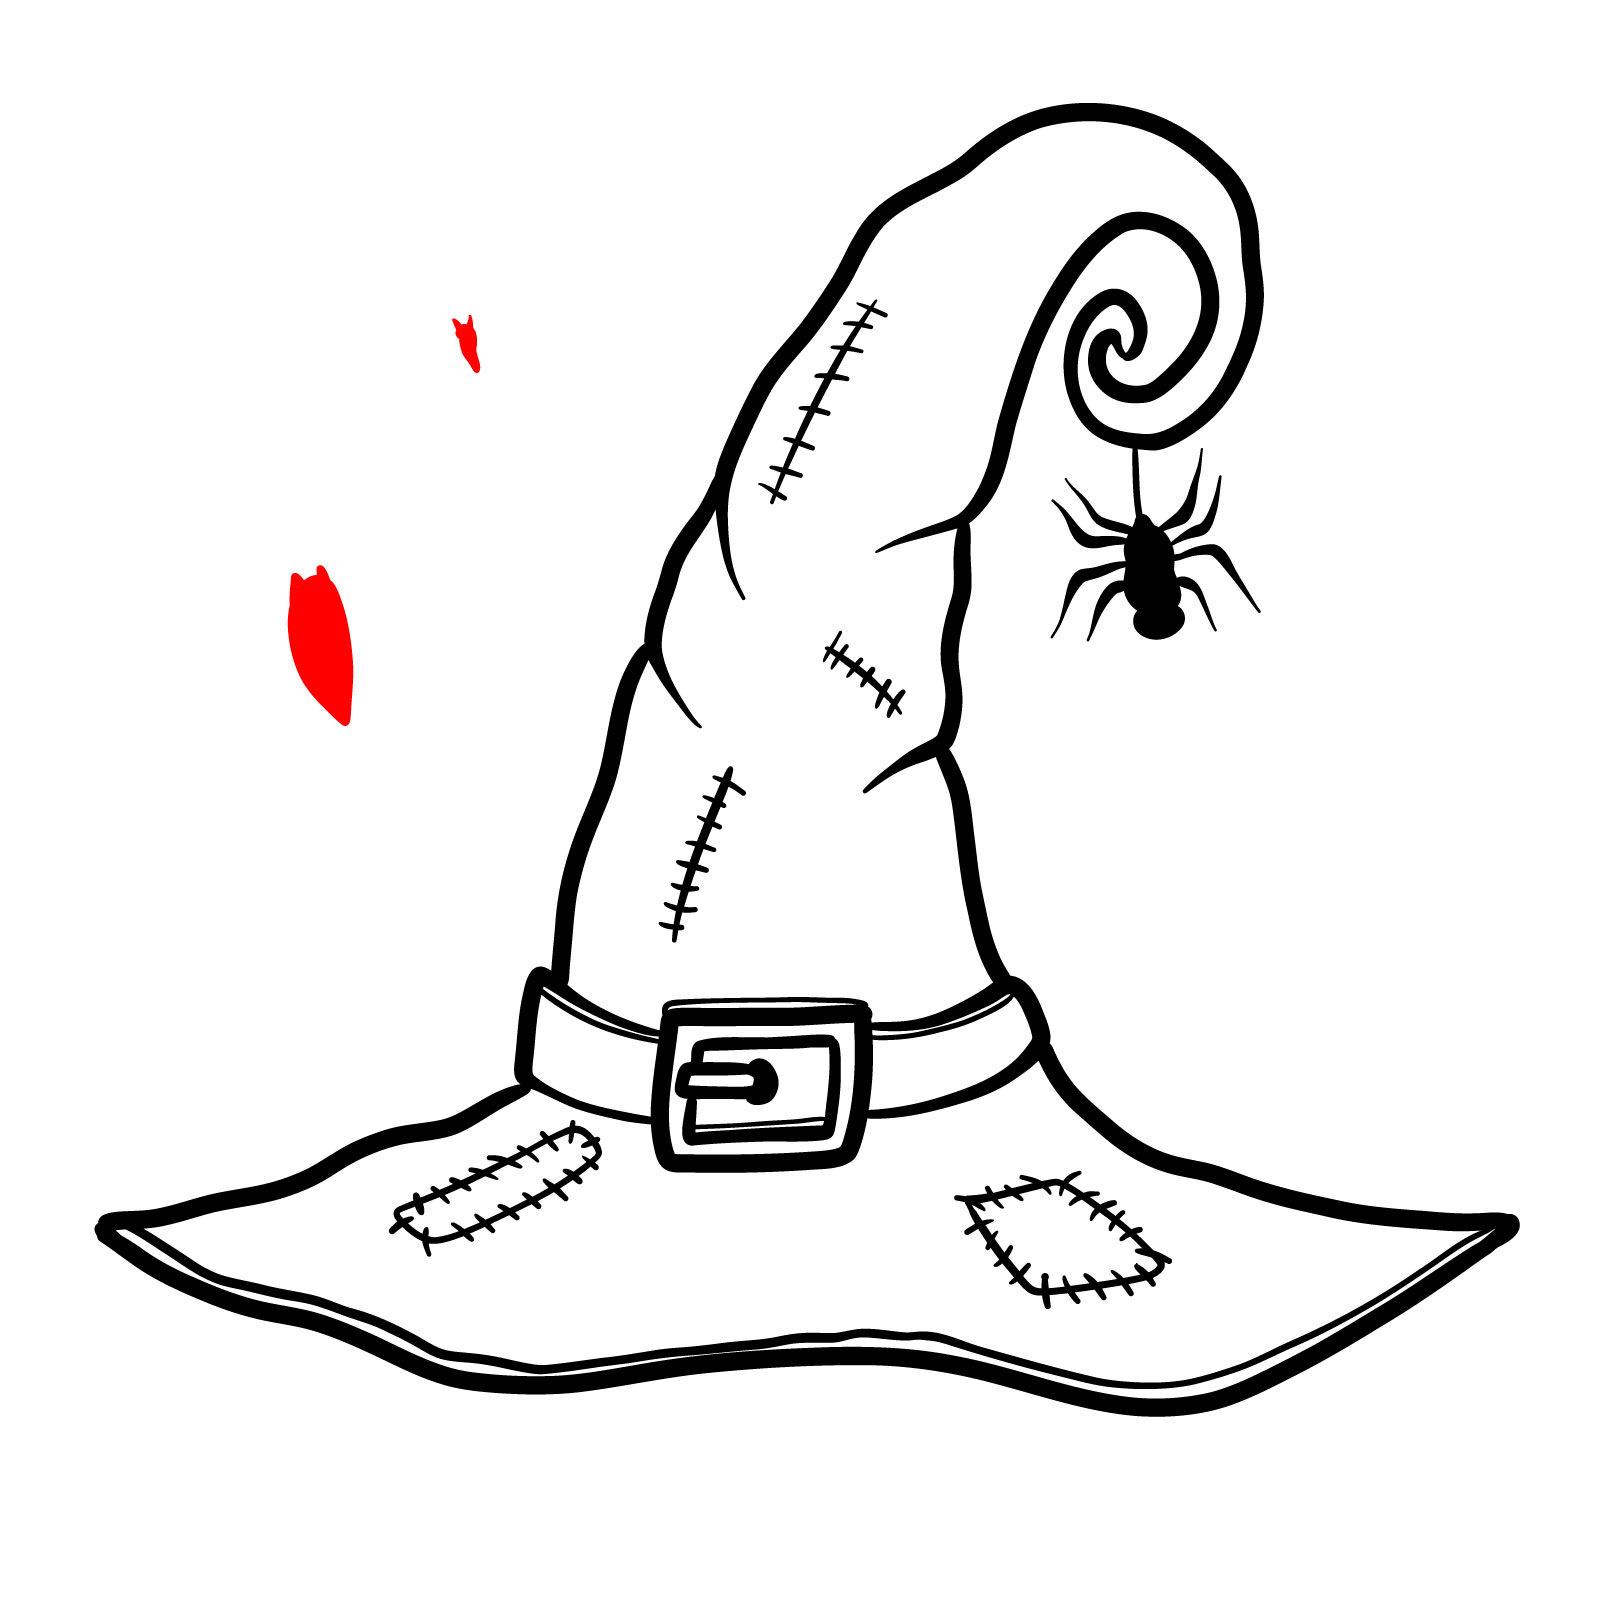
- Spider: A creepy crawler dangling from the tip adds a spooky touch, perfect for Halloween.
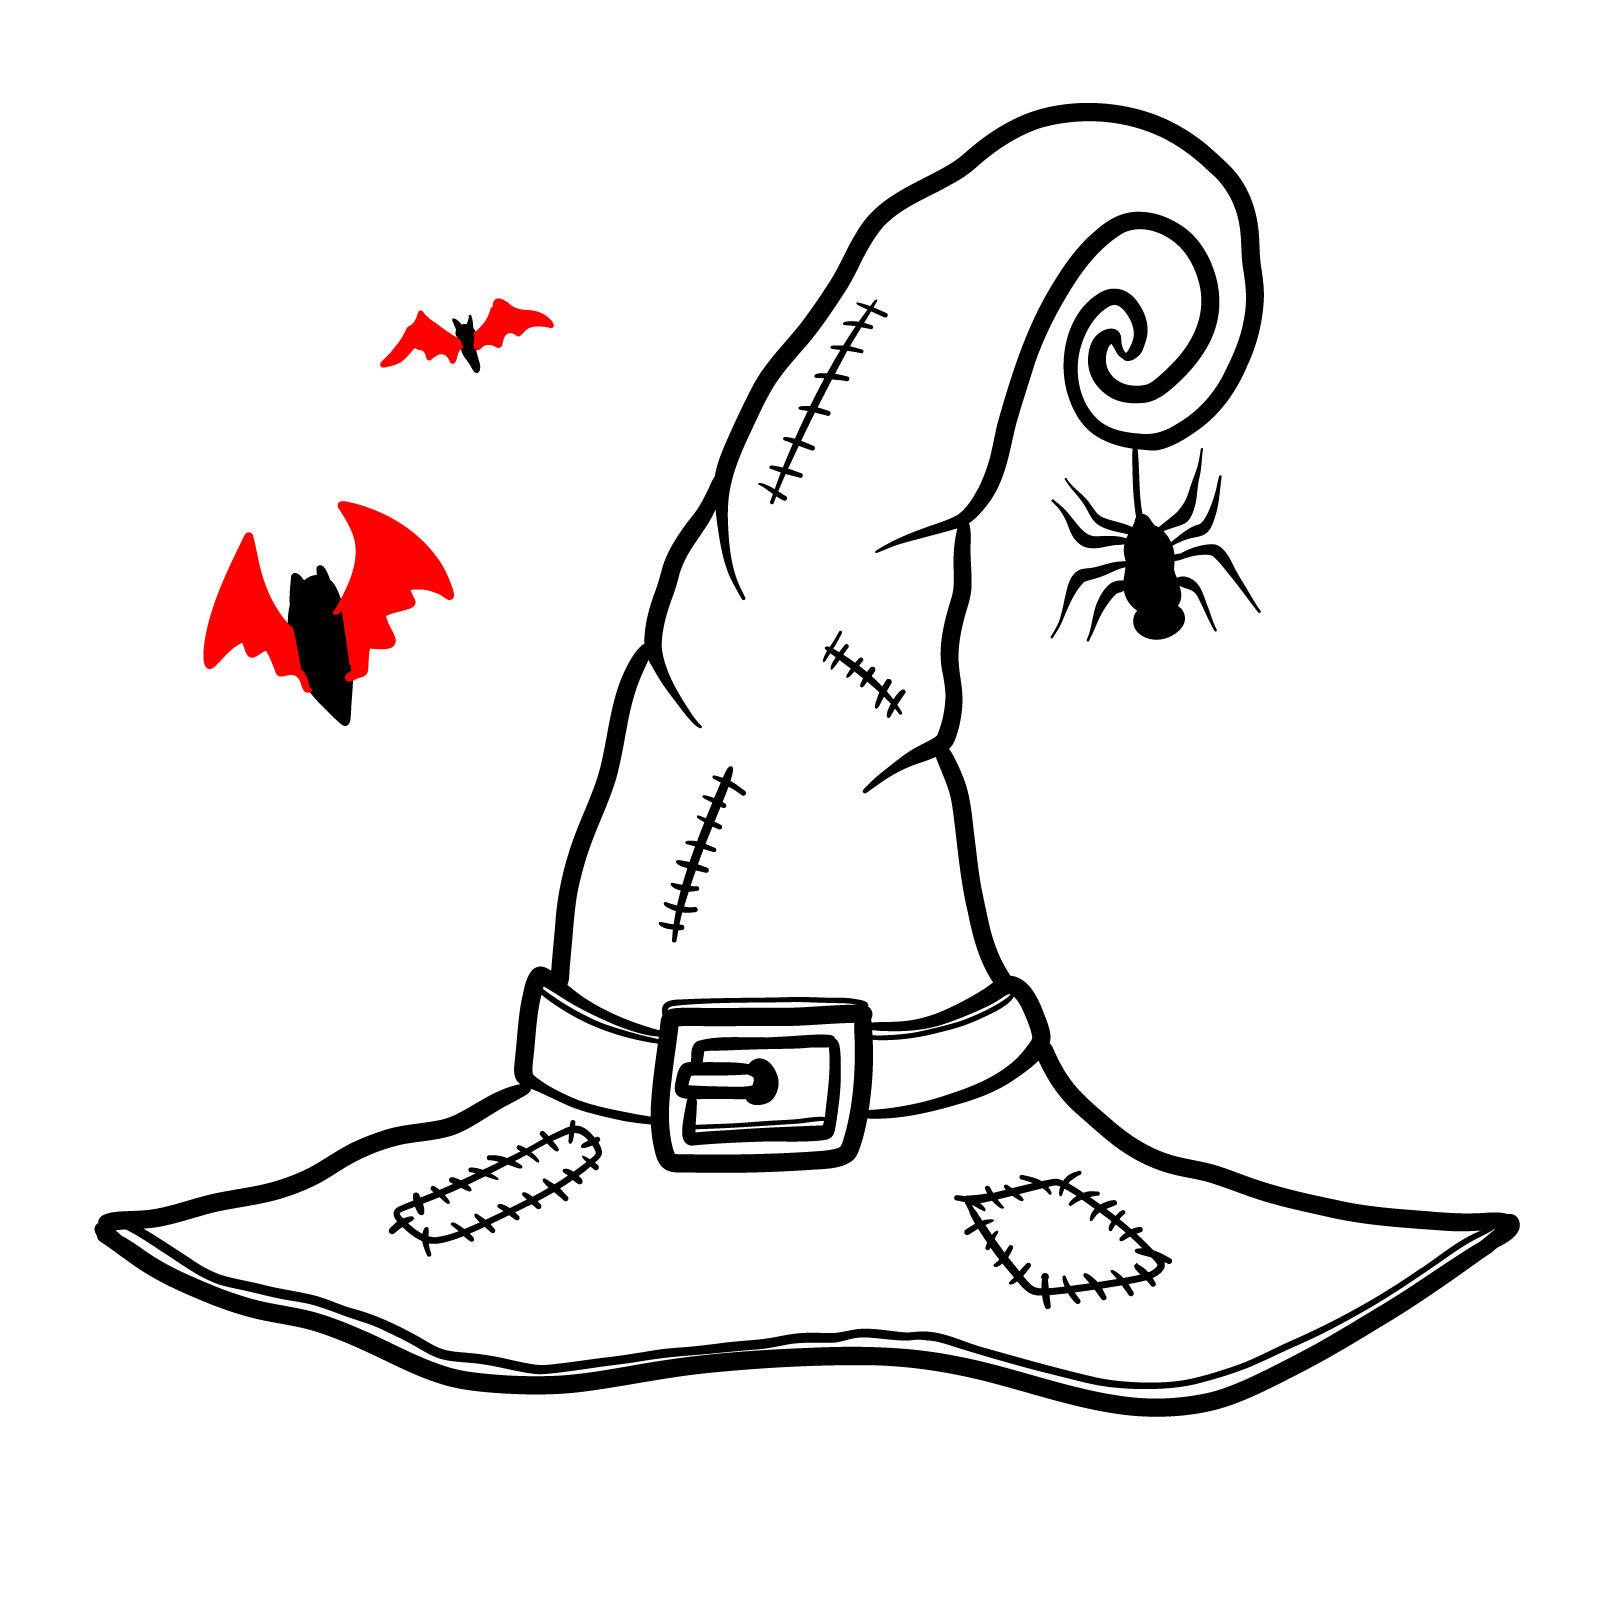
- Shadowy Bats: These mysterious creatures of the night complement the eerie ambiance of the scene.
If you’re looking to expand on this, consider adding other Halloween favorites, such as broomsticks, cauldrons, or even a mischievous black cat! Or maybe sketch Elsa as a witch wearing the same hat?
Understanding the Guide and Its Colorful Secrets
This tutorial is unique in its approach. To help you grasp every step, we’ve color-coded our instructions:
- Red Color: Highlights the current drawing phase.
- Black Color: Represents the lines you’ve already crafted.
- Grey Color: Illustrates the basic sketch for proportion accuracy.
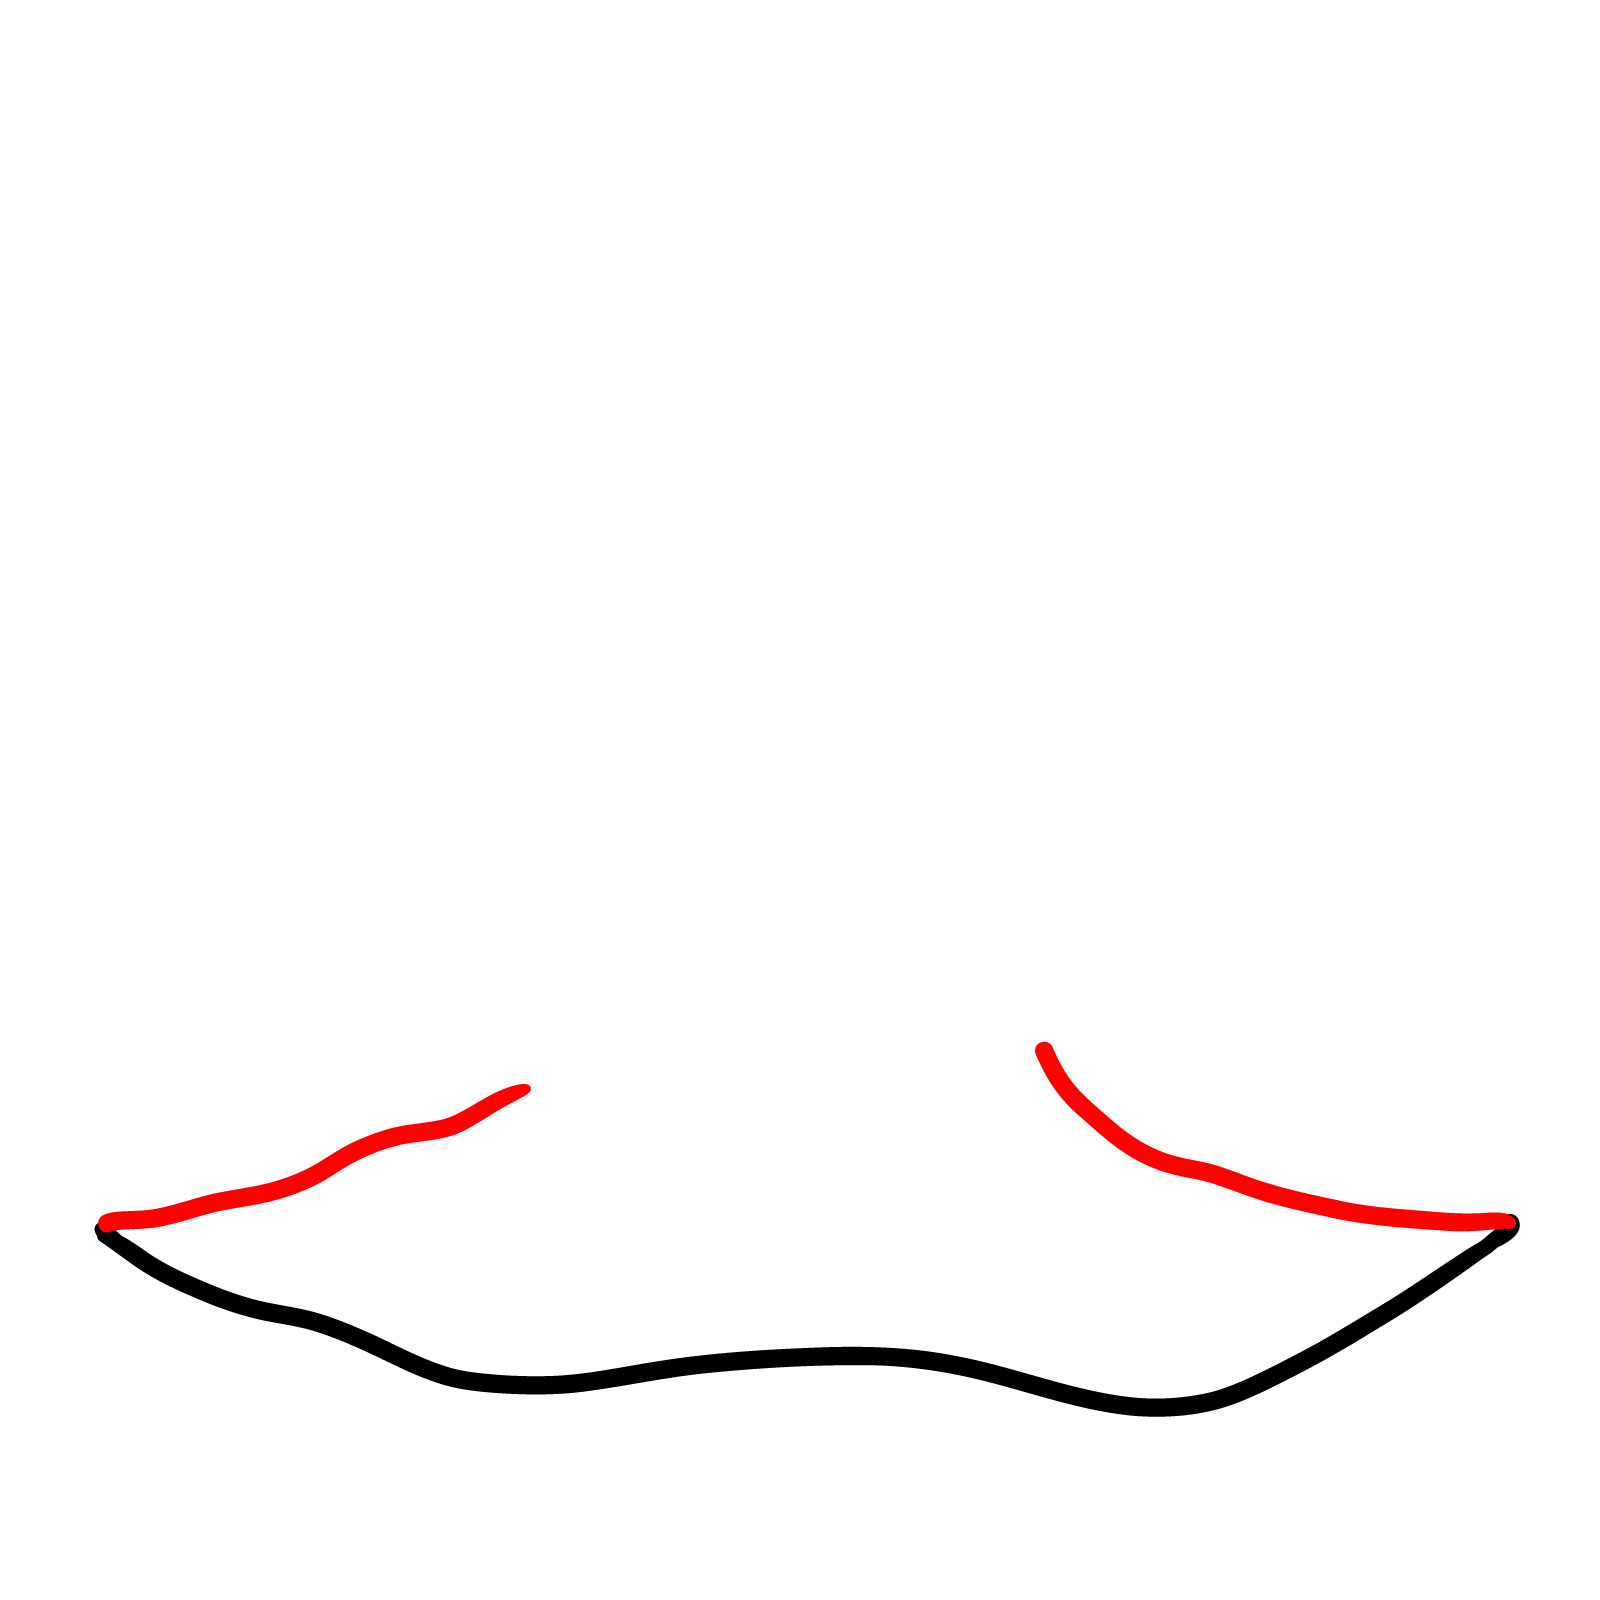
With 17 steps to follow, begin with light pencil strokes to get the basic structure right. Once satisfied, delve into inking your masterpiece. Ensure the ink dries completely before erasing pencil lines to achieve a clean finish.


Your first attempt at learning how to draw a witch hat probably won’t look exactly the way you pictured it, and that’s completely fine, most people need a few tries before it clicks. Set it aside, come back to it, or just draw it again right now while it’s fresh. More guides like this one get added regularly, so following SketchOk on Pinterest, Facebook, or checking the YouTube channel is a good way to keep the practice going.