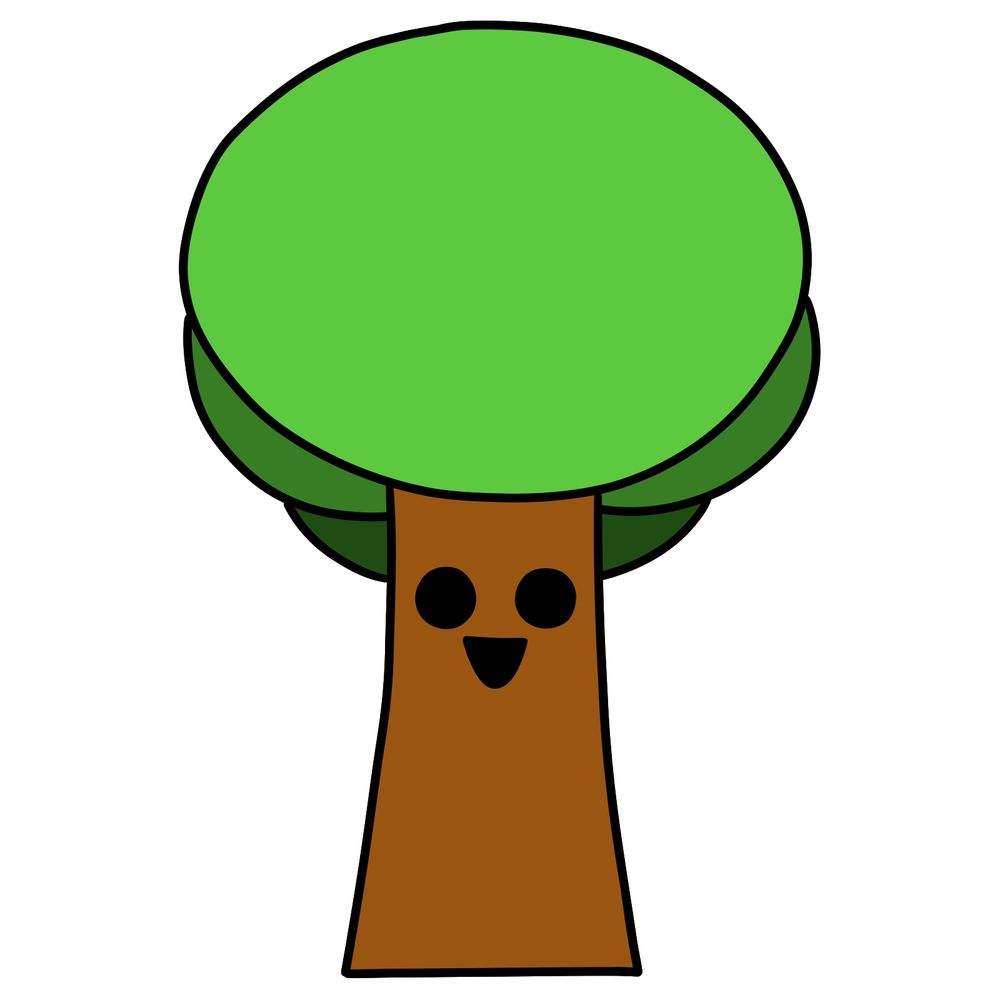
In this guide, I’ll go through how to draw Mr. Tree from the Incredibox Sprunki mod. It’s a basic cartoon-style character with clean shapes, so the complexity is very low. This one’s great for building confidence with simple forms and line control.
What to Pay Attention to When Drawing Mr. Tree
- Perfectly round leaf canopy with a smooth outline
- Simple vertical trunk with a slight inward curve
- Big circular eyes spaced evenly apart
- Triangle-shaped mouth placed between the eyes
- Layers of green in the foliage to show a bit of depth
If you’re working on more characters from the Incredibox Sprunki mod, try drawing Fun Bot, Mr. Fun Computer, or Mr. Sun next.
How the Color Layers Work in the Guide
The drawing tutorial uses colors to separate each part of the process:
- Red Color: These are the lines to focus on during the current step.
- Black Color: These show the previous lines that have already been drawn.
This is a straightforward drawing, but it’s important to keep the proportions of the eyes and canopy consistent to maintain the cartoon look. The mouth placement and curve of the trunk can also affect the expression, so I recommend sketching lightly first.


If you enjoy these guides and want to support the project, you can donate using this button:
If you end up finishing the sketch, feel free to share your Mr. Tree drawing in the comments on the pinned Pinterest article. Most people usually upload their results there.
Follow SketchOk for more drawing tutorials like this one:

