Introduction: Time to Draw Your Armored Robin
Are you ready to create an amazing Armored Robin drawing? In this step-by-step tutorial, we’ll show you how to draw the iconic sidekick-turned-superhero in his battle-ready armor. So, grab your favorite tools and let’s dive into the exciting world of superheroes and vigilantes!
The Story Behind the Mask: Robin’s Journey
Robin, the famed sidekick of Batman, has a rich history with several characters donning the iconic mantle over the years. From Dick Grayson’s debut in 1940 to Damian Wayne’s recent adventures, each iteration of Robin has brought something unique to the table. Throughout their journeys, these characters have evolved, taking on new identities such as Nightwing, Red Hood, and Red Robin. Whether they were fighting alongside Batman or forging their own path, the Robins have always been a significant part of the DC Comics universe.
Armored Robin is a more battle-ready version of the character, equipped to take on even the most formidable foes. Inspired by the characters’ fascinating history and ever-changing appearance, let’s get started on our Armored Robin drawing!
Tools of the Trade: Gathering Your Art Supplies
Before we embark on our drawing adventure, make sure you have the following supplies handy:
- Pencil (for sketching)
- Erasers (for correcting mistakes)
- Inking pens (for outlining)
- Colored pencils, markers, or paints (for coloring)
- Paper or sketchbook (to create your masterpiece)
Remember, these are just recommendations – feel free to use whatever tools you’re most comfortable with!
Creating Your Armored Robin: A Step-by-Step Guide
This tutorial consists of a series of images designed to help you create your very own superhero drawing. Pay attention to the colors in the images: red indicates the current step, gray represents the basic proportion sketch, and black shows what has already been drawn. Let’s dive into each part of the process!
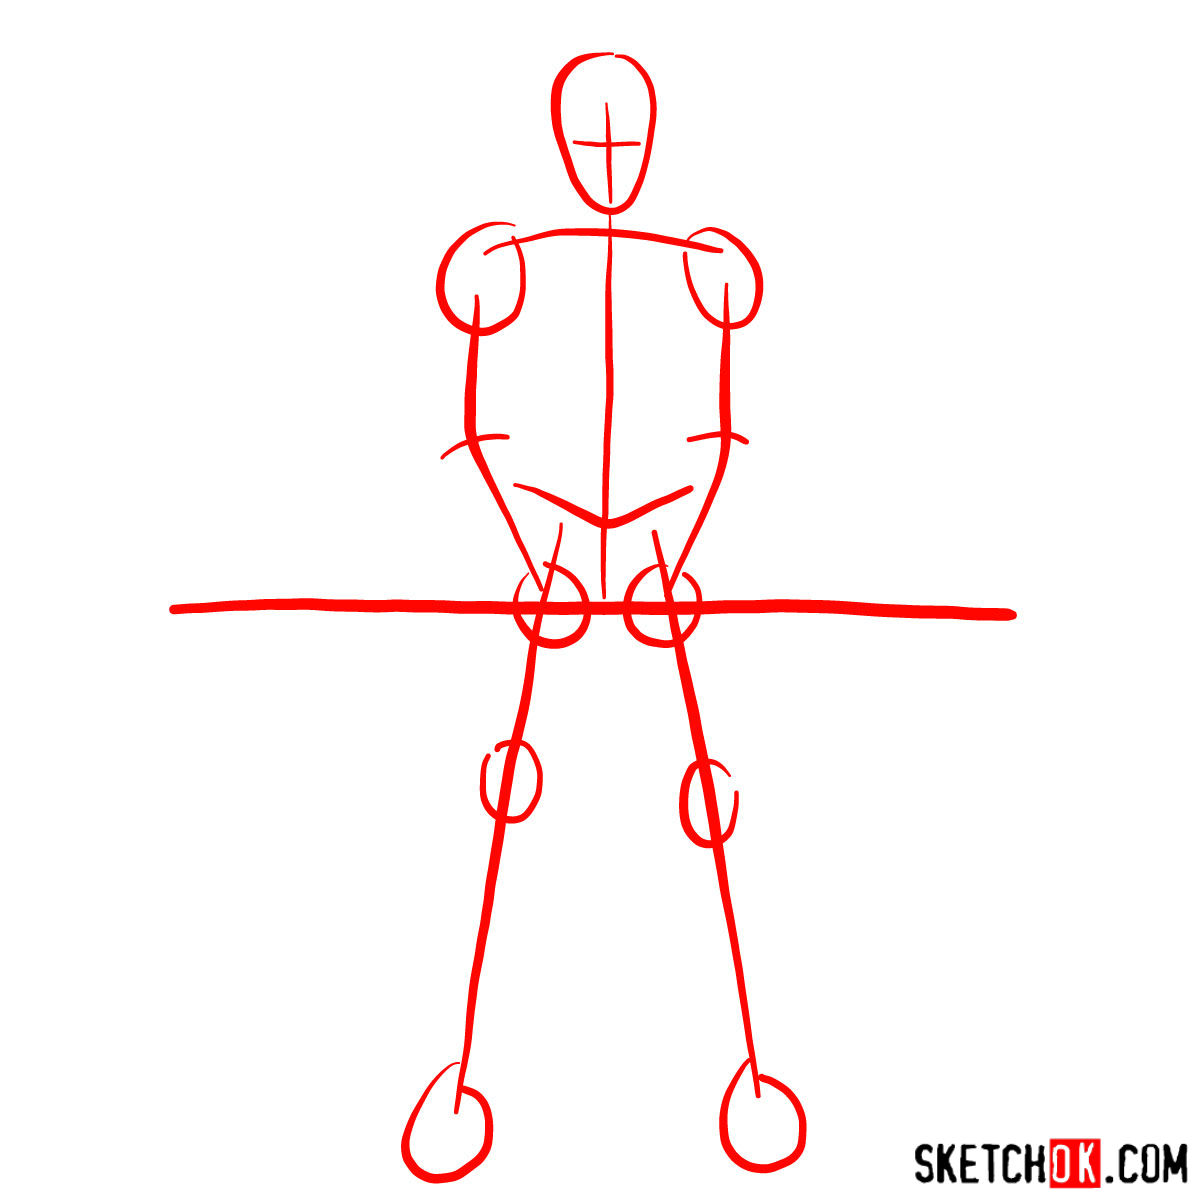
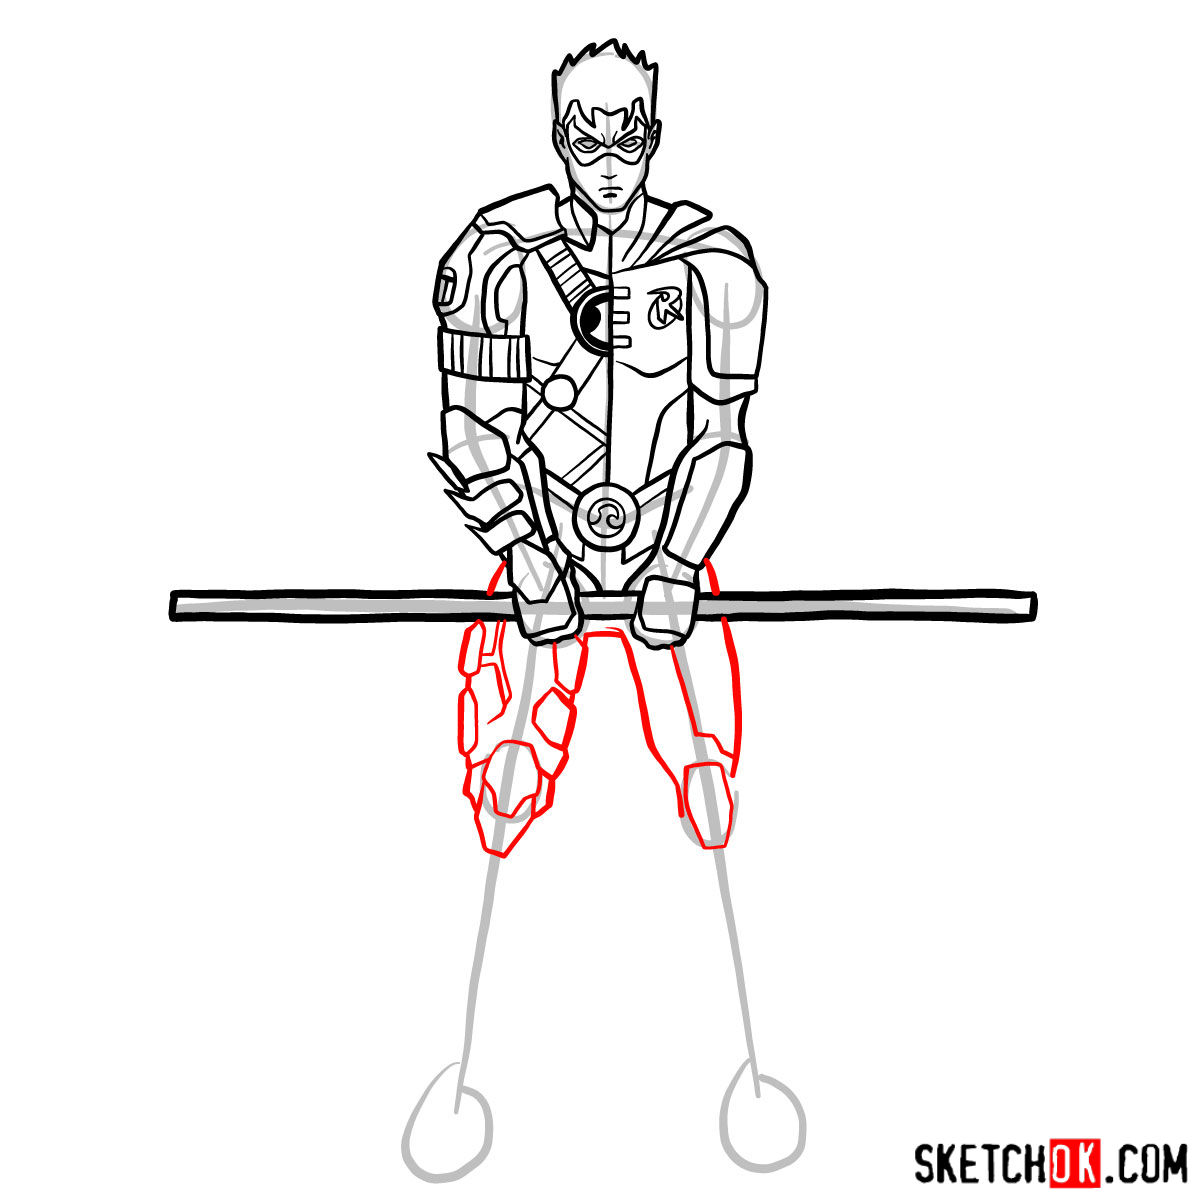
Part 1: Laying the Foundation with a Basic Sketch
The first step in drawing Armored Robin is to create a basic sketch using light pencil strokes. This will help you establish the overall structure and proportions of the character. Focus on capturing the pose and general shape of him, and don’t worry about the details just yet. Remember, this is just the beginning!
Once you’re satisfied with your basic sketch, it’s time to refine it by adding more precise lines and details. Be patient and take your time to achieve a well-proportioned and dynamic Robin drawing.
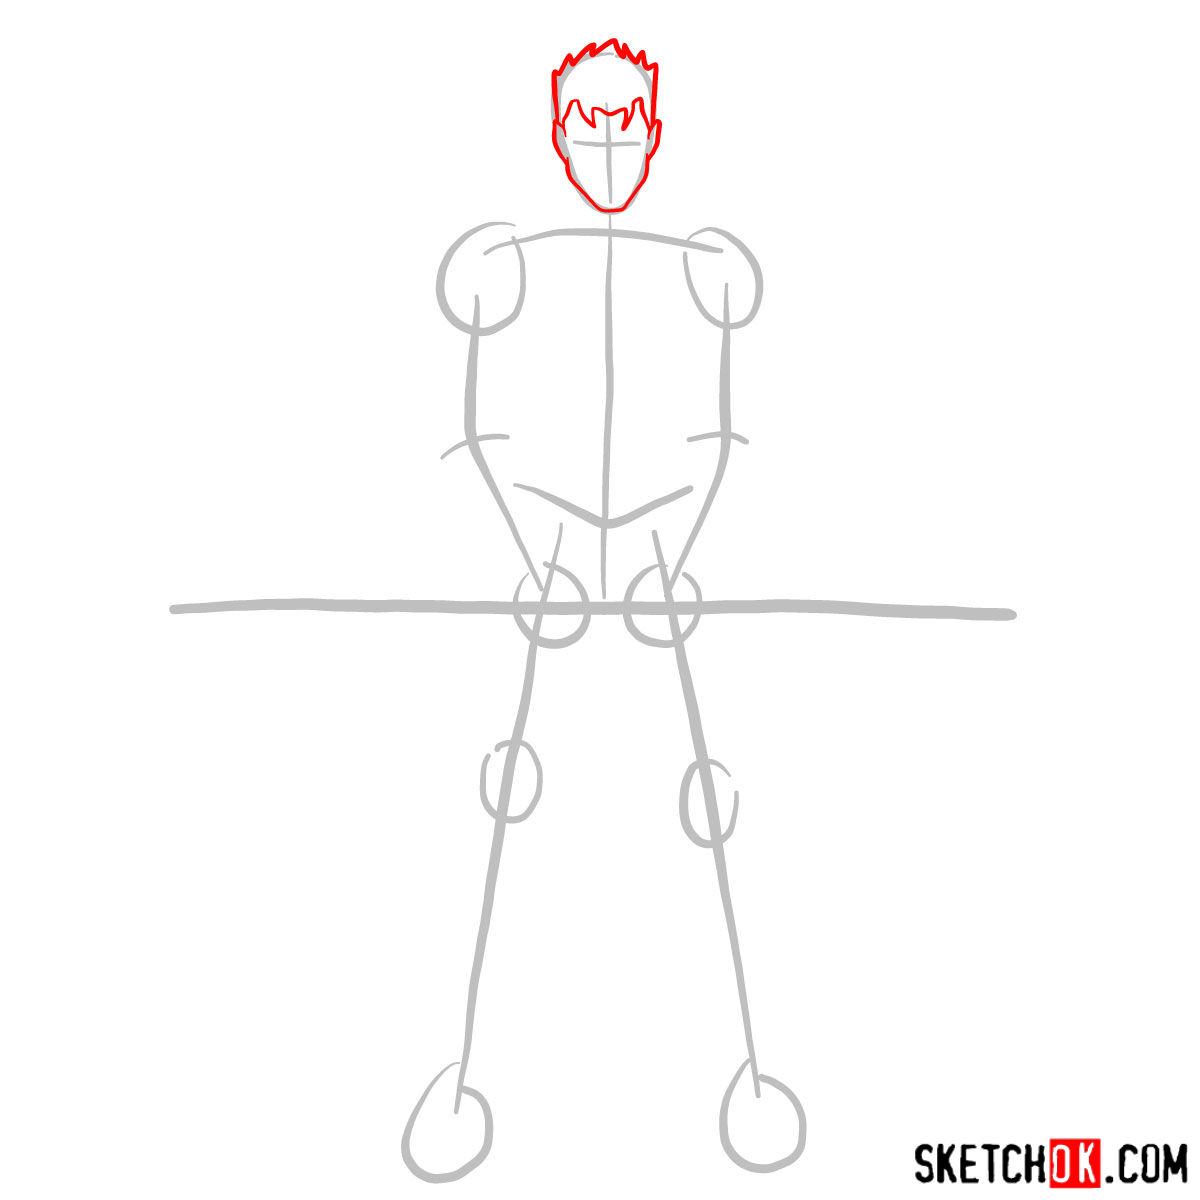
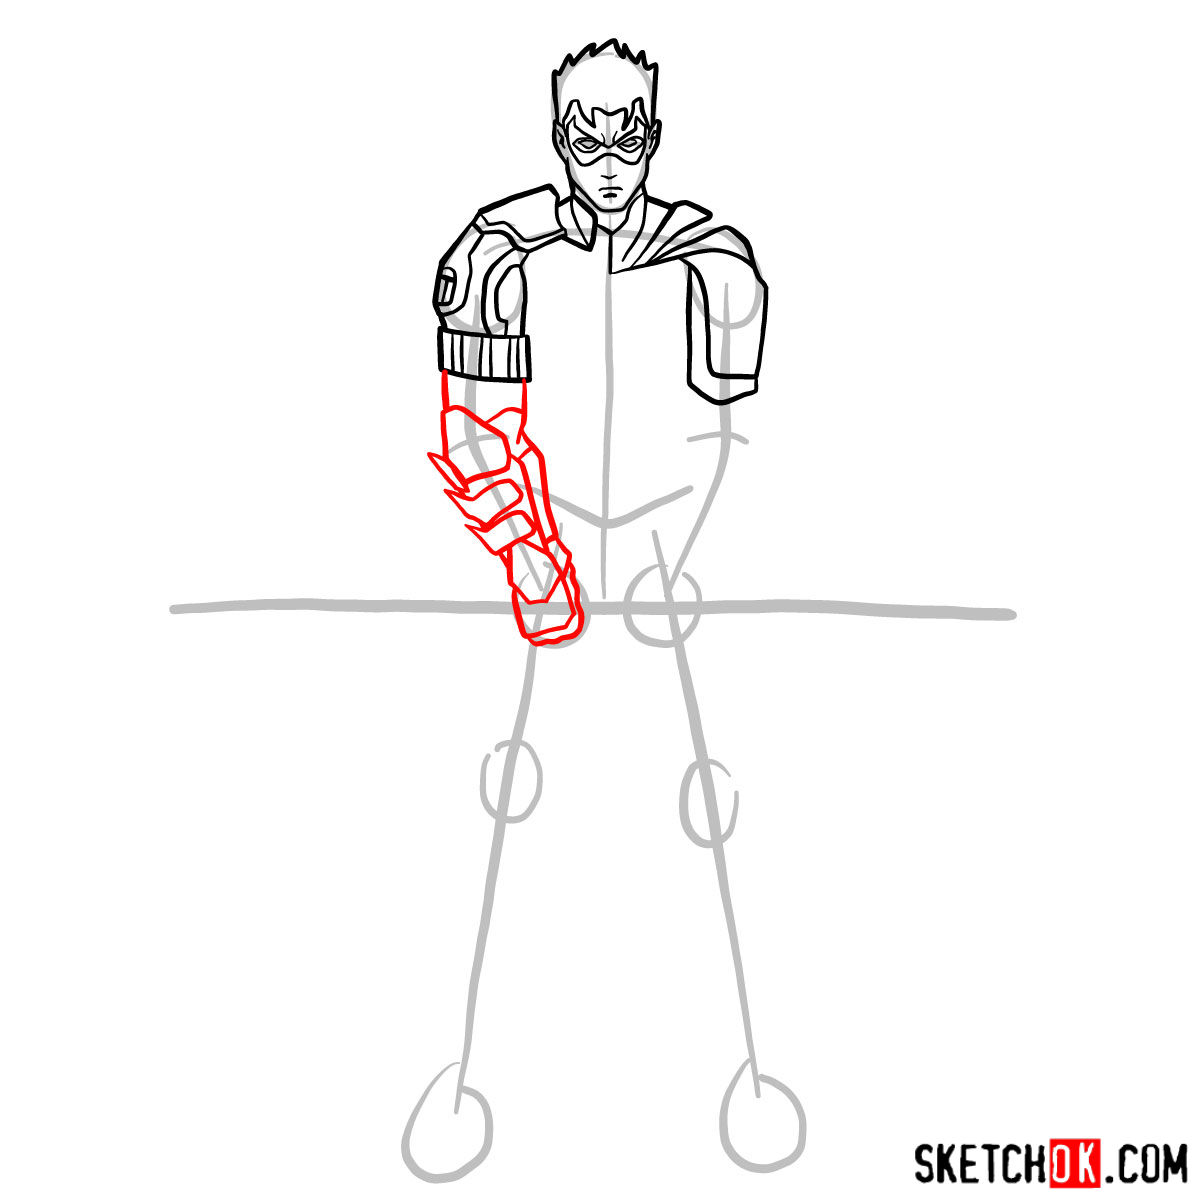
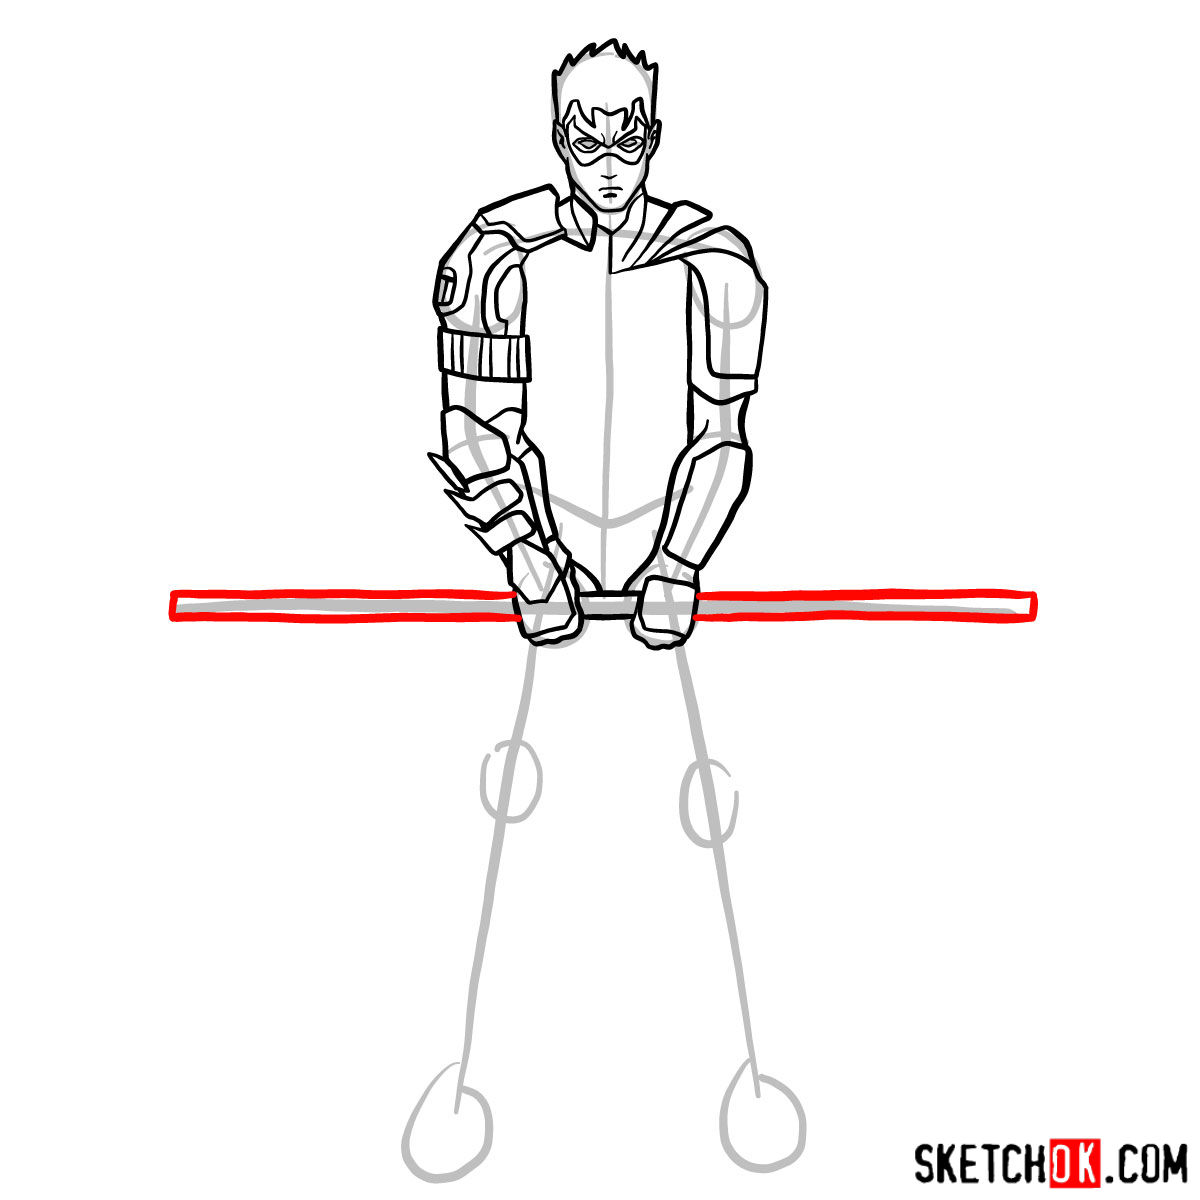
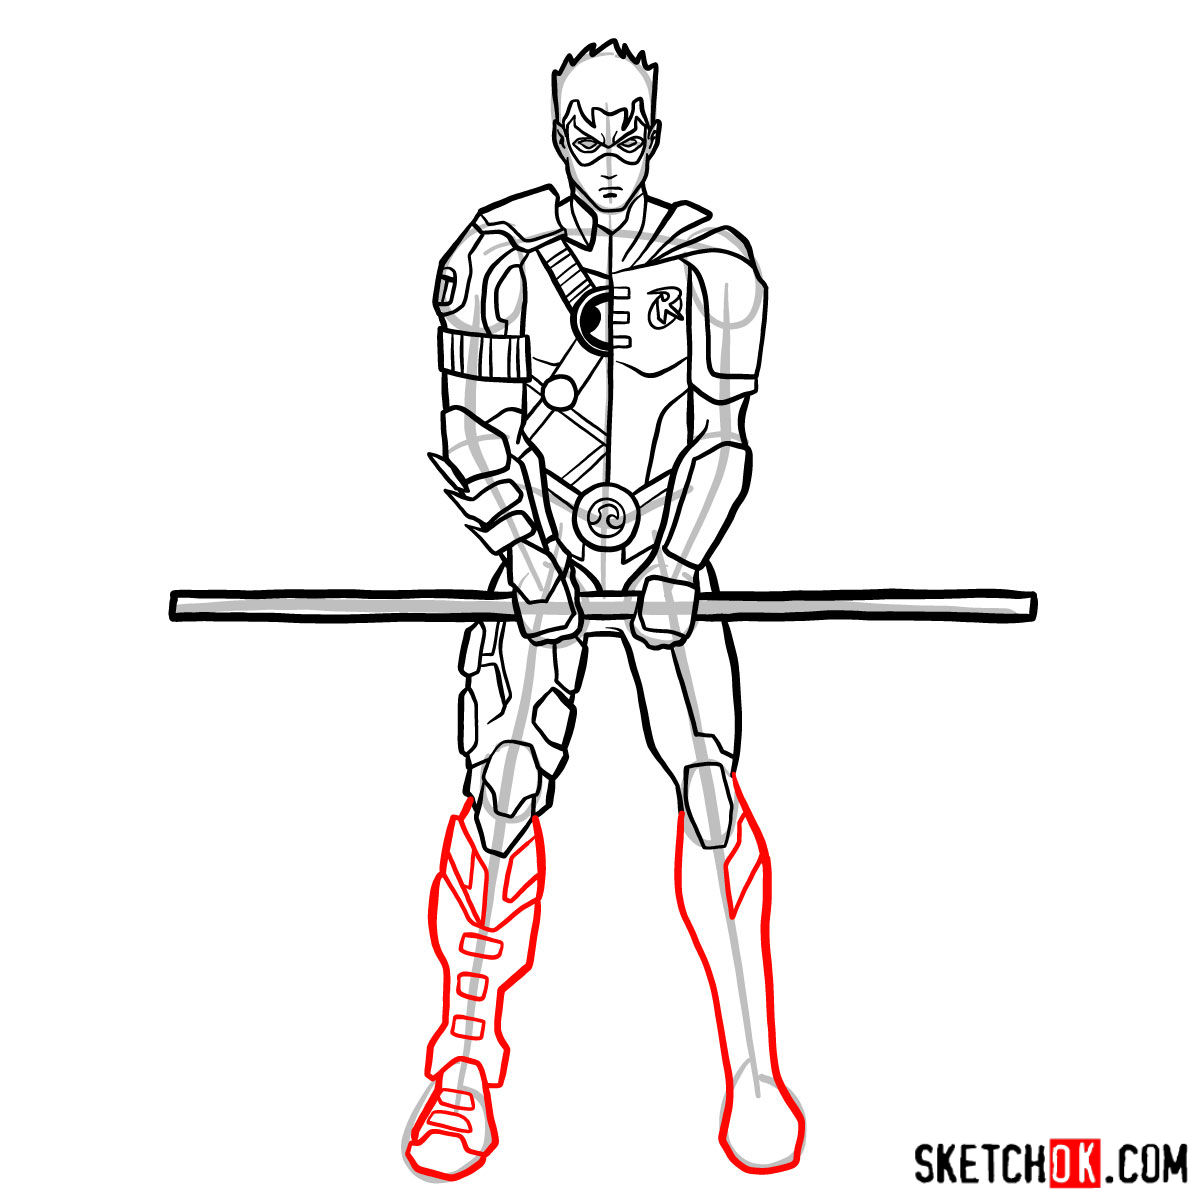
Part 2: Refining the Sketch
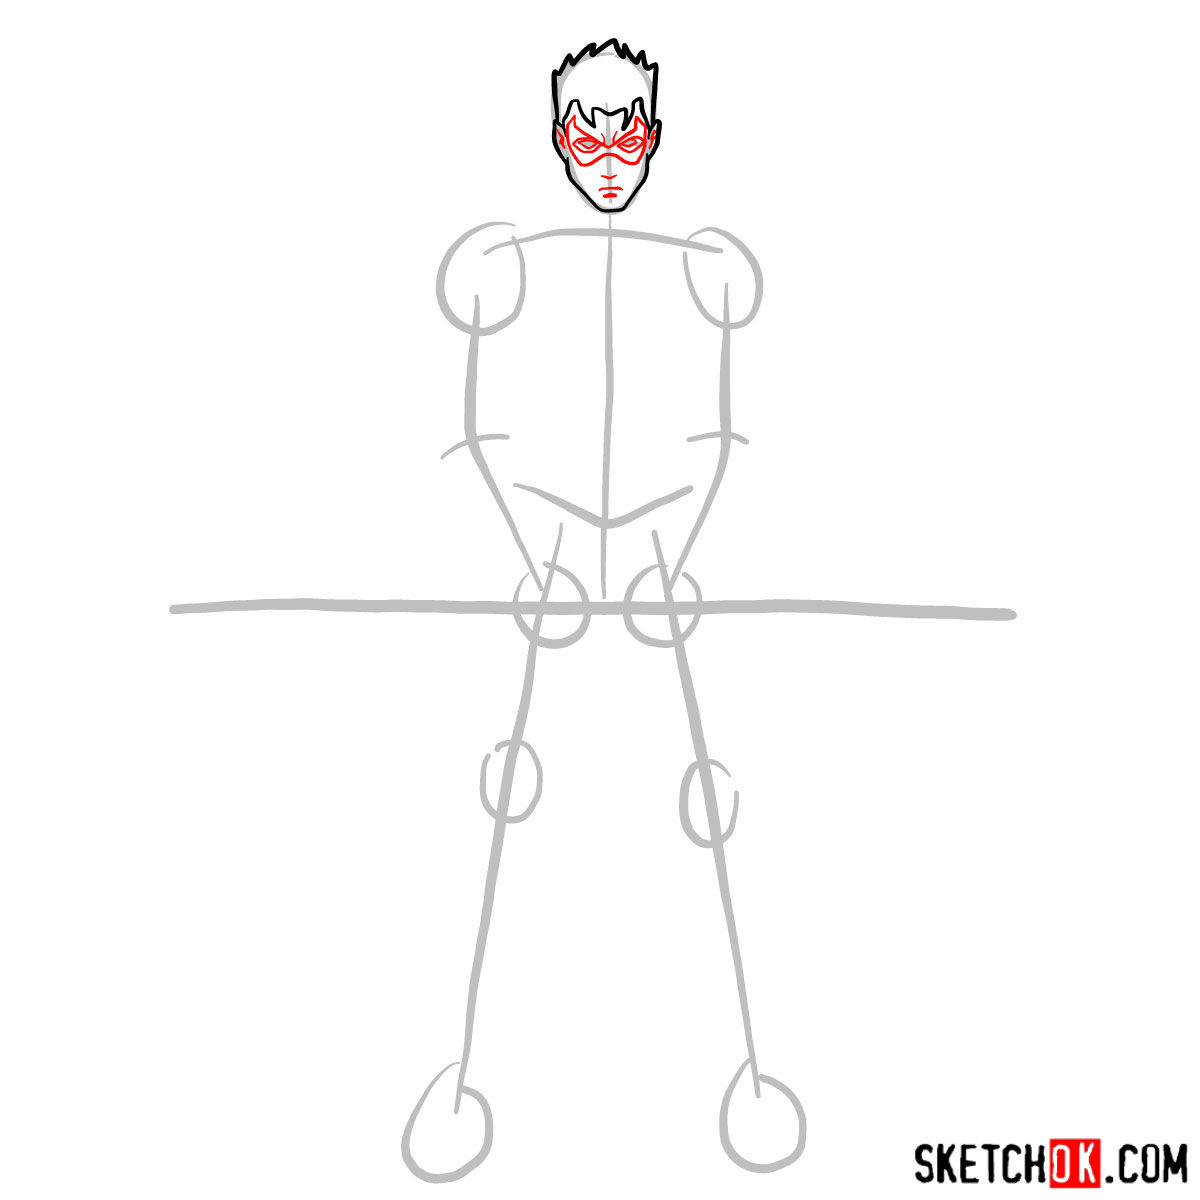
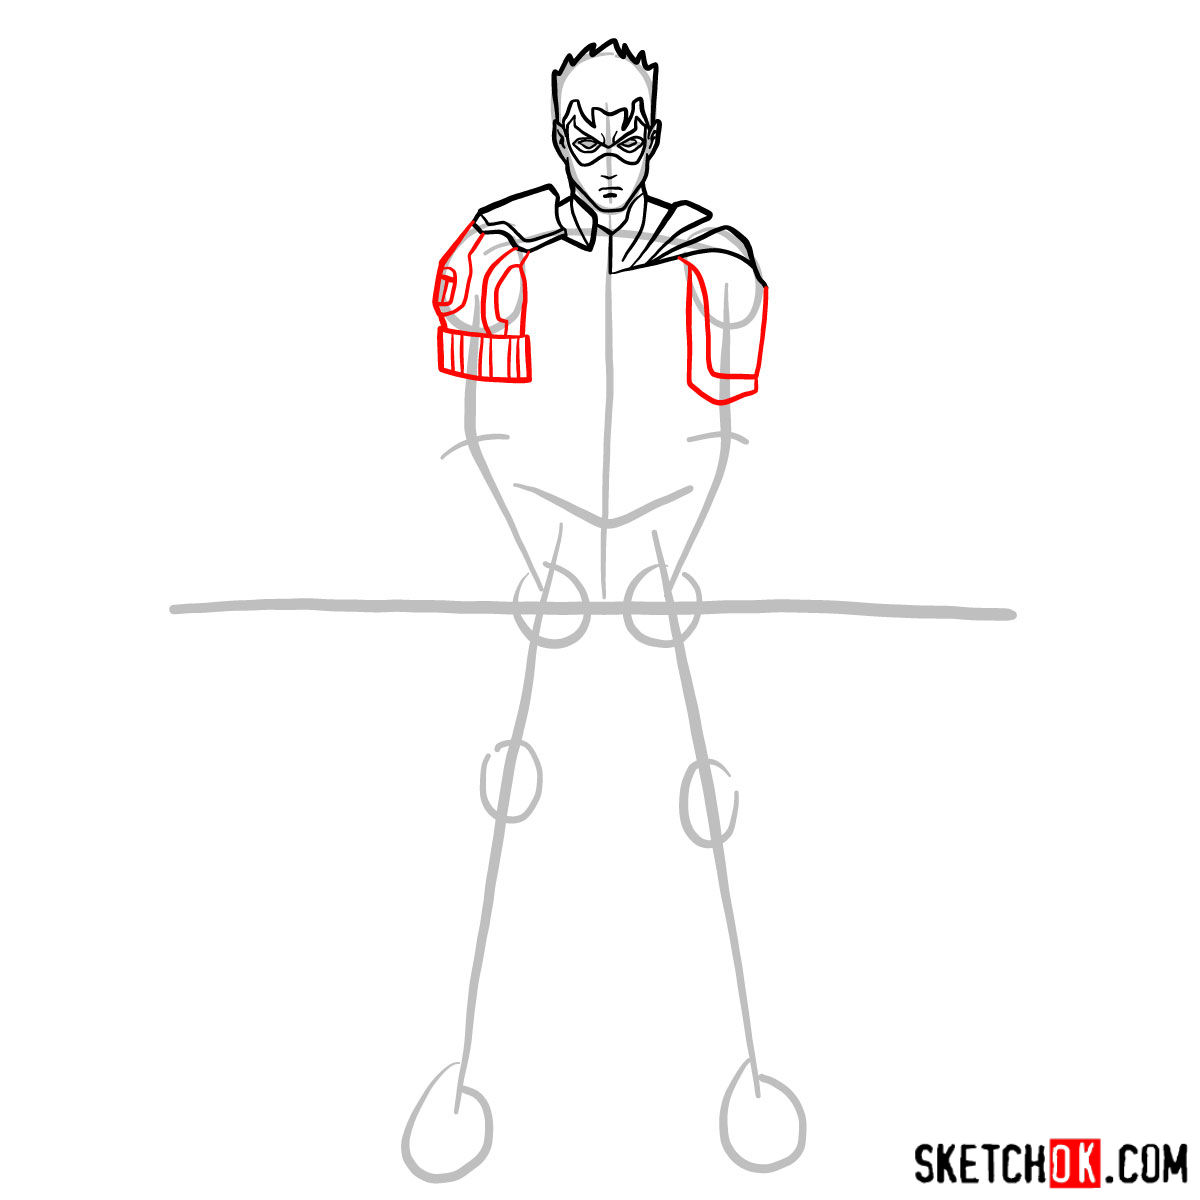
Now that you have a solid foundation, it’s time to refine your sketch. Start by adding details to the face, such as the eyes, nose, and mouth. Next, work on the armor, defining its shape and adding intricate elements to make it look more realistic. As you progress, don’t forget to adjust the proportions and make corrections as needed. This step is all about perfecting your sketch and bringing the superhero to life.
Once you’re satisfied with the refined sketch, it’s time to move on to inking your drawing. This will give your artwork a polished, professional look.


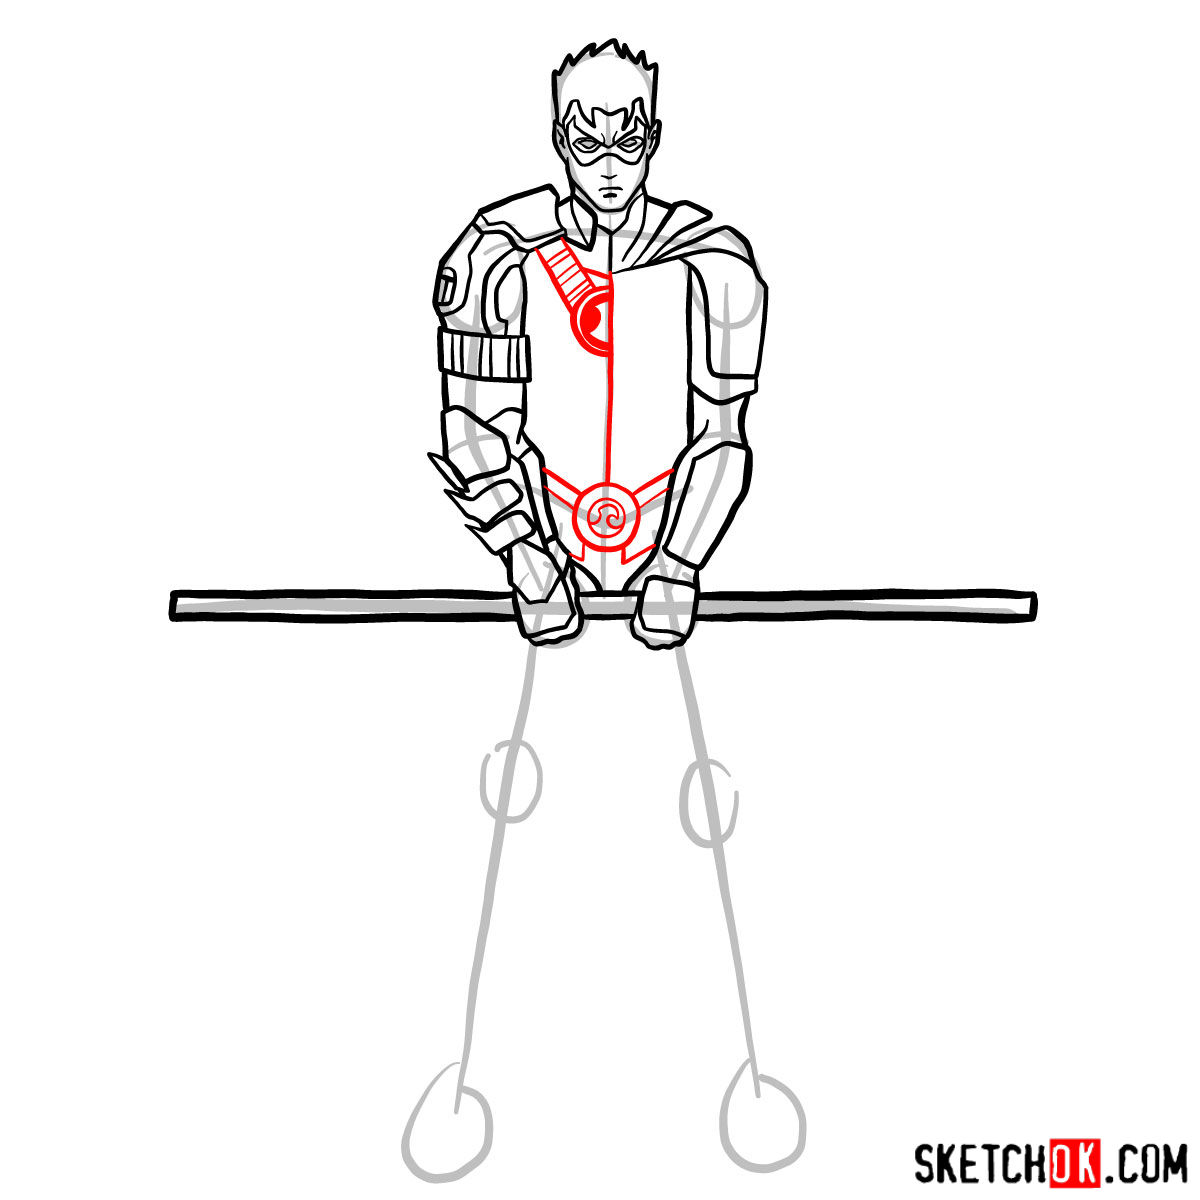

Part 3: Inking Your Masterpiece
In this step, use your inking pens to carefully outline your drawing. Begin with the face and work your way down to the rest of the body, making sure to emphasize the details in the armor. Be mindful of line weight, as varying thickness can add depth and dimension to your drawing. Once you’ve finished inking, let it dry for a moment and then gently erase any remaining pencil lines.
With your drawing inked, it’s time to add color and bring Robin in his armor to life!

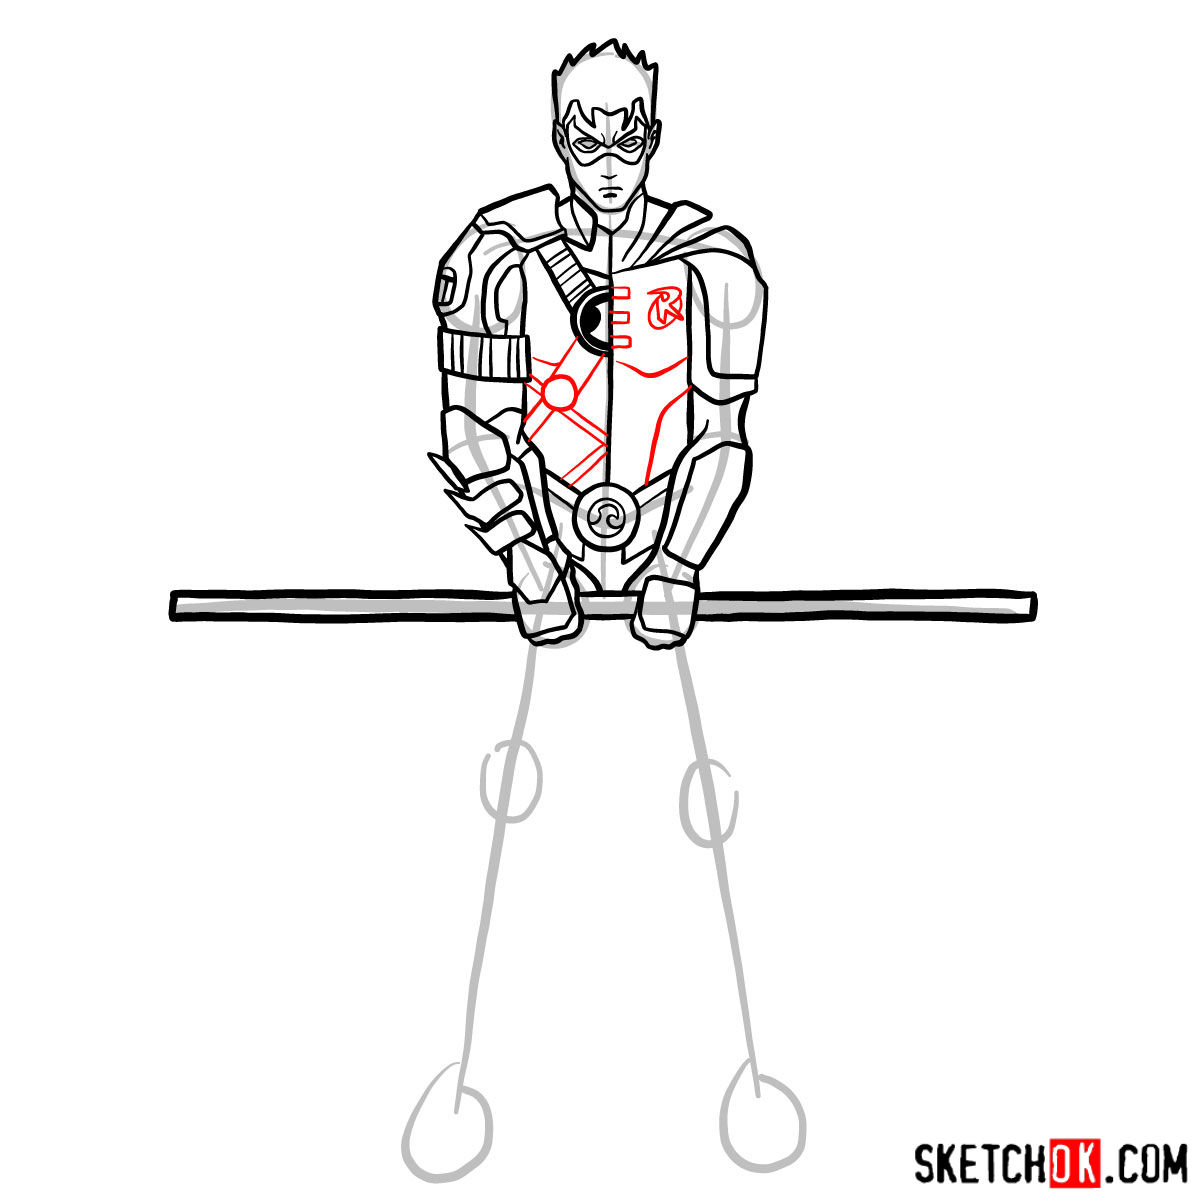
Part 4: Coloring and Shading Your Drawing
Choose your preferred coloring medium – colored pencils, markers, or paints – and begin adding color to your drawing. Start by laying down base colors for each section, and then build up layers to create depth and dimension. Pay attention to the direction of light and use shading and highlights to make your drawing more realistic.
As you color, don’t forget to add details to the armor, such as metallic sheen and battle damage. These finishing touches will make your drawing truly stand out!

That covers how to draw Robin in armor from start to finish, and with a bit of practice the armored details will start feeling a lot more natural. If you like watching along while you draw, the SketchOk YouTube channel puts out drawing videos regularly and is worth checking out. You can also find Robin pinned over on Pinterest, where the comments are a great spot to drop your finished version and see what others have come up with.