Last Updated on May 14, 2026
Welcome to this ultimate guide on how to draw Quicksilver from Marvel Comics! As you follow the steps in our series of images, you’ll be amazed at how your drawing skills improve, and by the end of this tutorial, you’ll have created your very own Quicksilver masterpiece. So, let’s gear up and dive into the world of the speedy Pietro Maximoff!
Quicksilver: Speeding Through Marvel’s Universe
First introduced in The Uncanny X-Men #4 in 1964, Quicksilver was created by the legendary duo of Stan Lee and Jack Kirby. Born as Pietro Maximoff, he is the twin brother of the Scarlet Witch and has a long history of being both an adversary and a hero. His superhuman speed has made him a prominent figure in the X-Men and Avengers comics. Known for his complicated family ties, Pietro is the son of Magneto and half-brother of Polaris. He has also made appearances in various movie, television, and video game adaptations, portrayed by actors such as Aaron Taylor-Johnson and Evan Peters.
Get Set, Draw! Gather Your Art Supplies
Before we start our Quicksilver drawing journey, make sure you have the necessary tools and materials. We recommend using:
- Pencils (HB, 2B, and 4B)
- Erasers
- Sharpener
- Drawing paper
- Fineliner pens or markers
- Colored pencils or markers (optional)
Remember, these are just suggestions; feel free to use your favorite art supplies to make your Quicksilver drawing truly your own.
Step-by-Step Drawing Guide: From Sketch to Speedster
Now that you’re all set, let’s begin our step-by-step tutorial. We’ll start with a basic sketch and refine it before inking and coloring our artwork.
Part 1: Basic Sketch
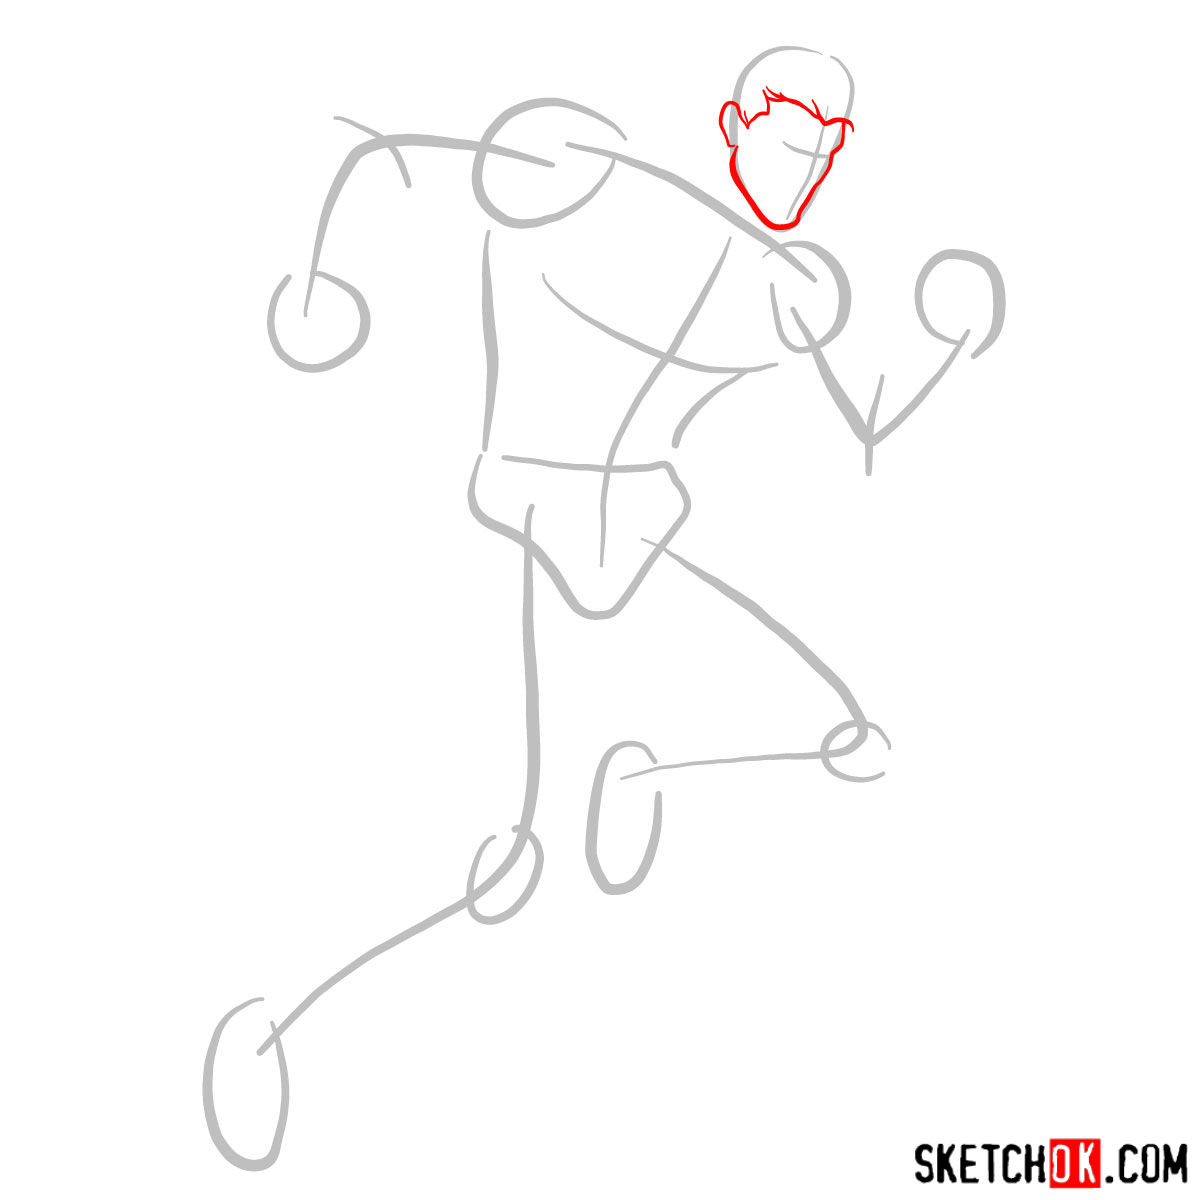
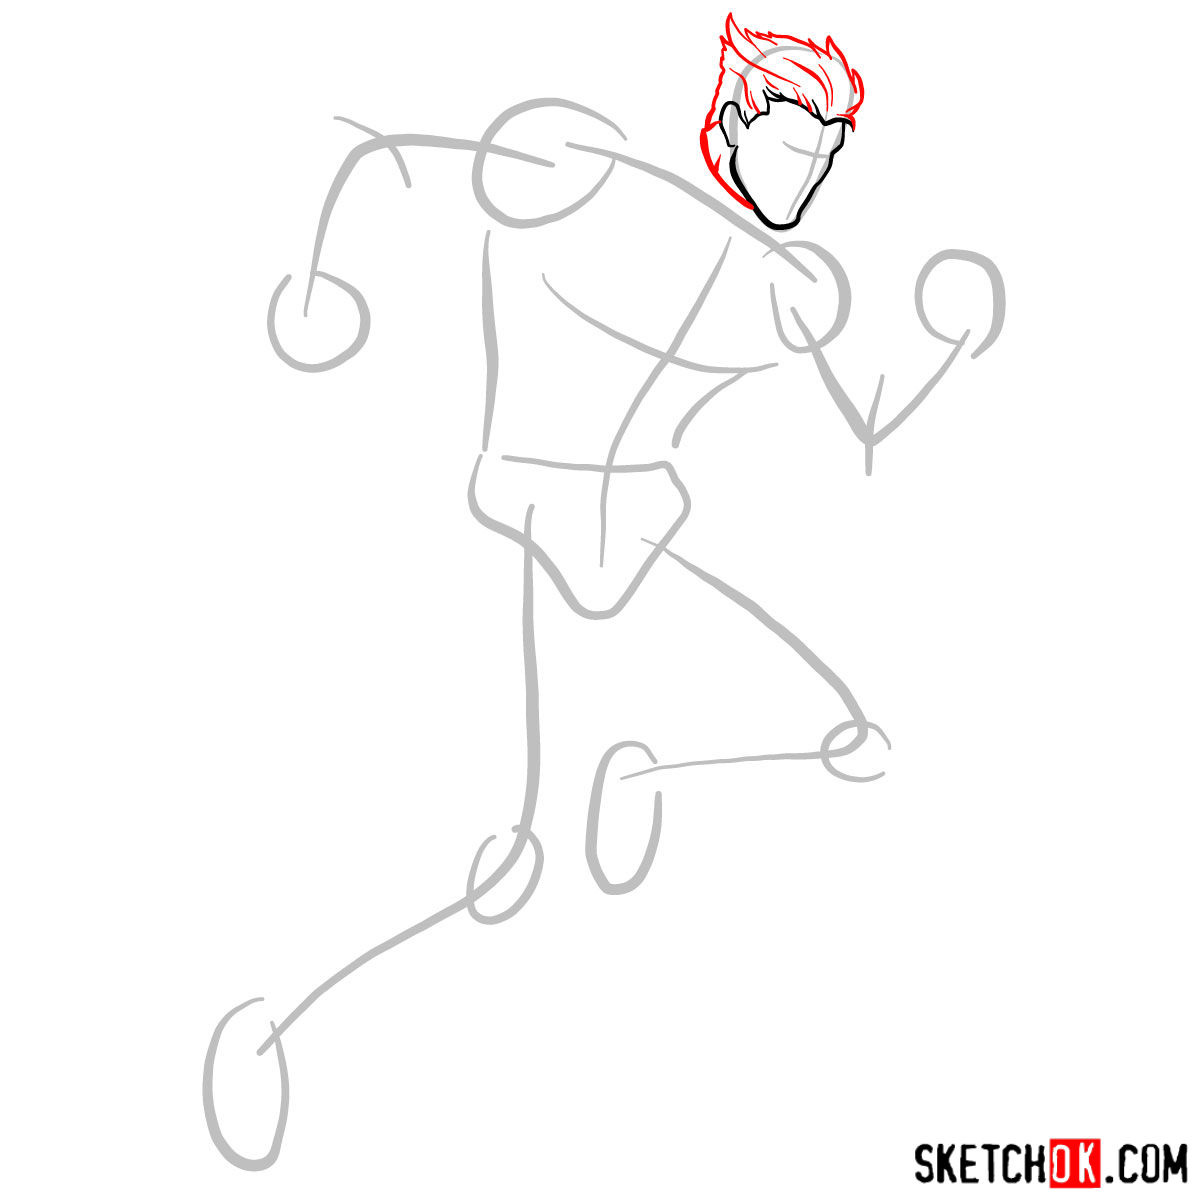
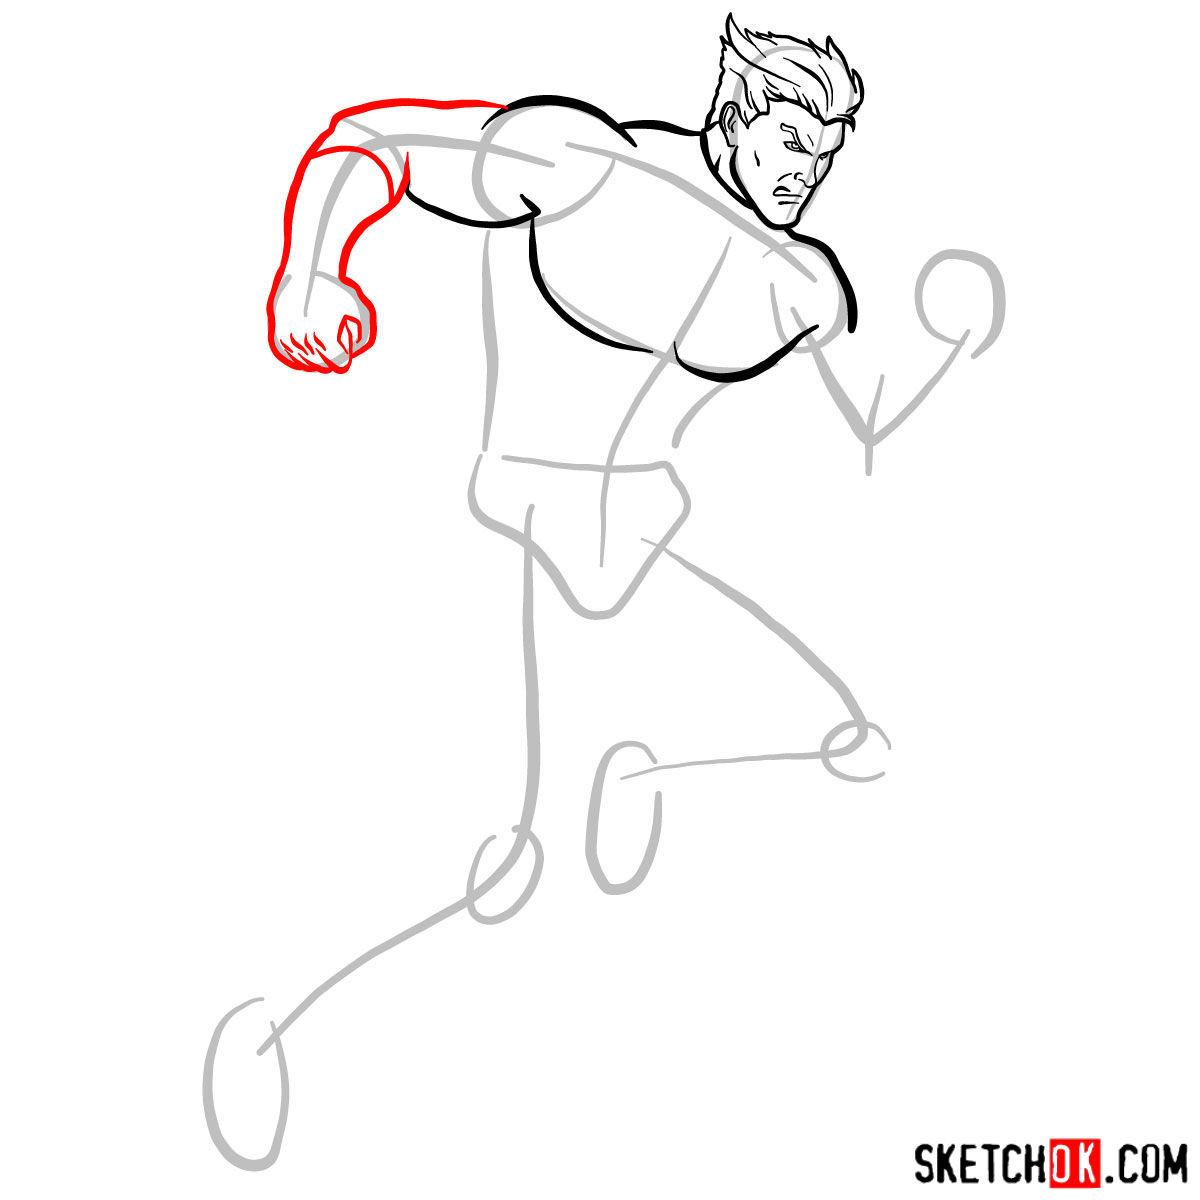
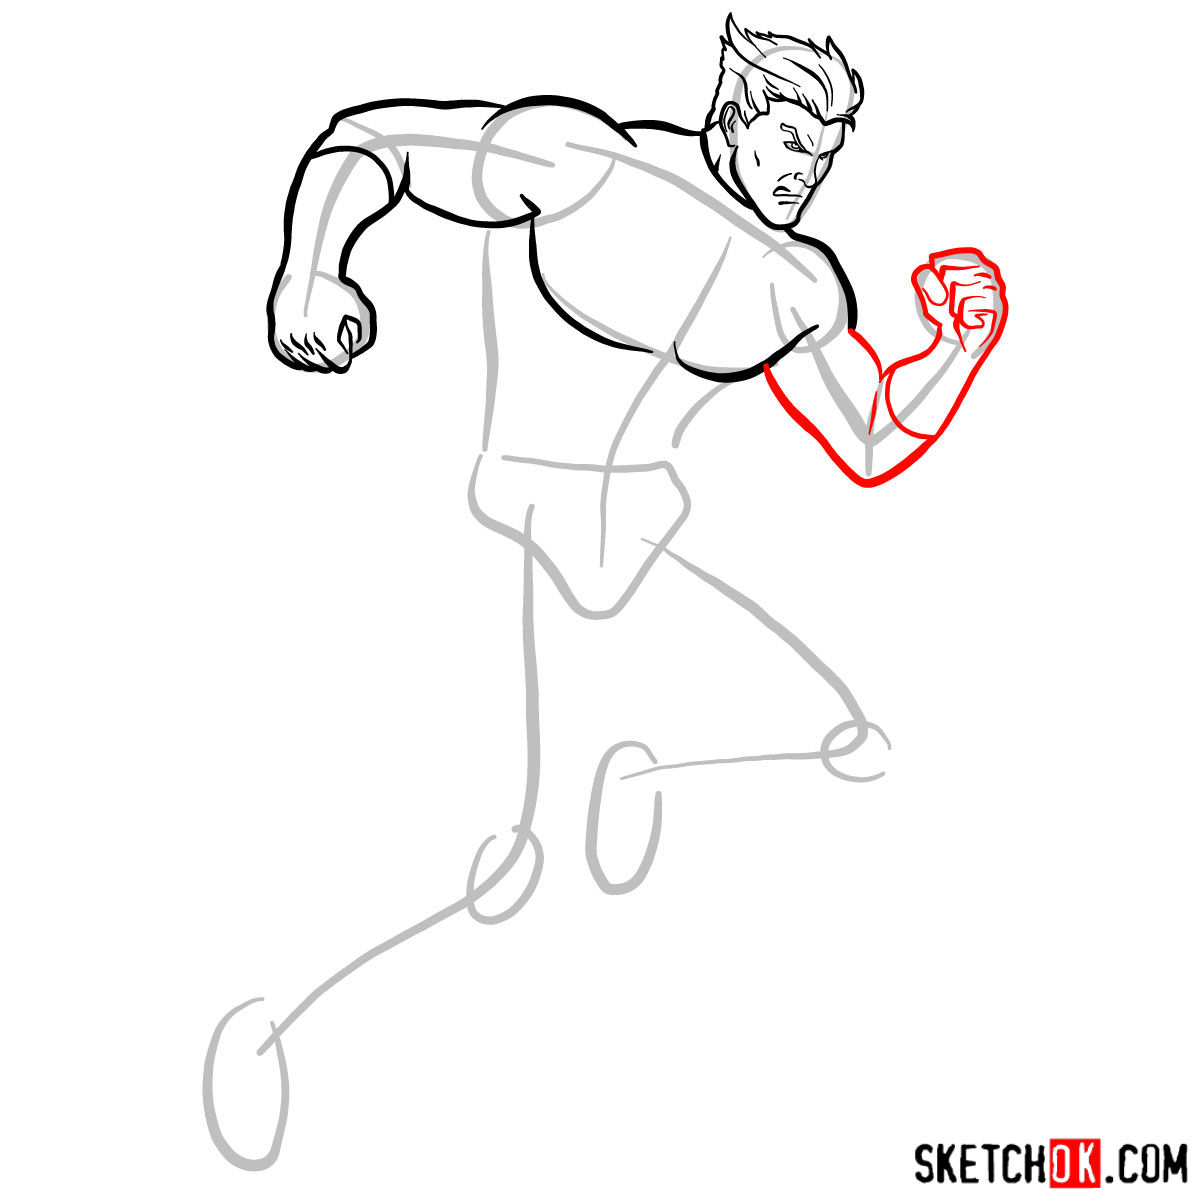
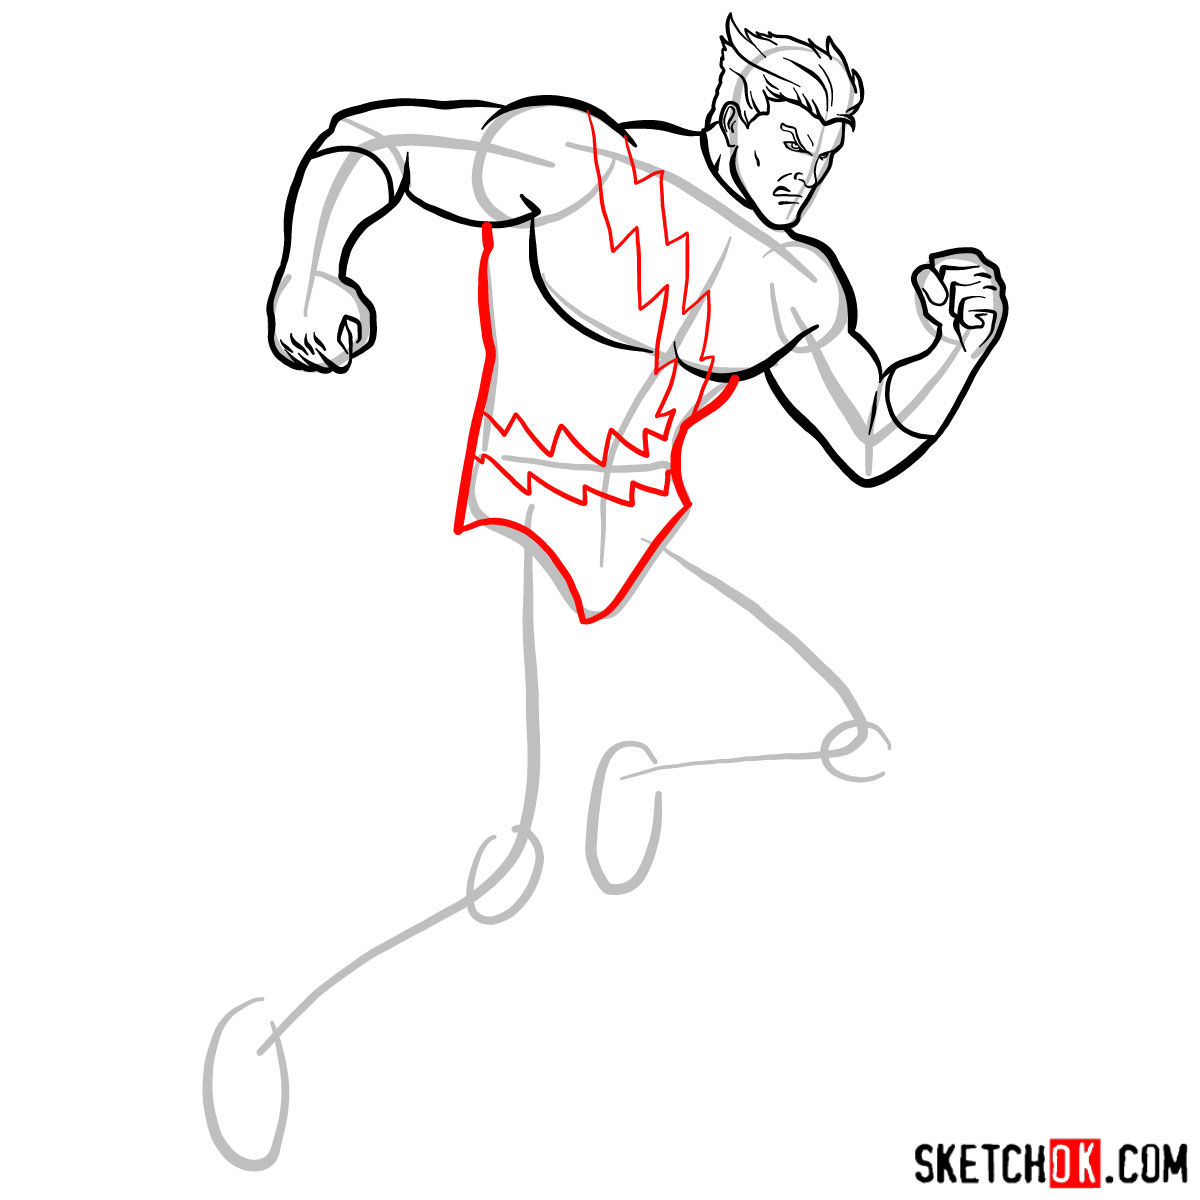
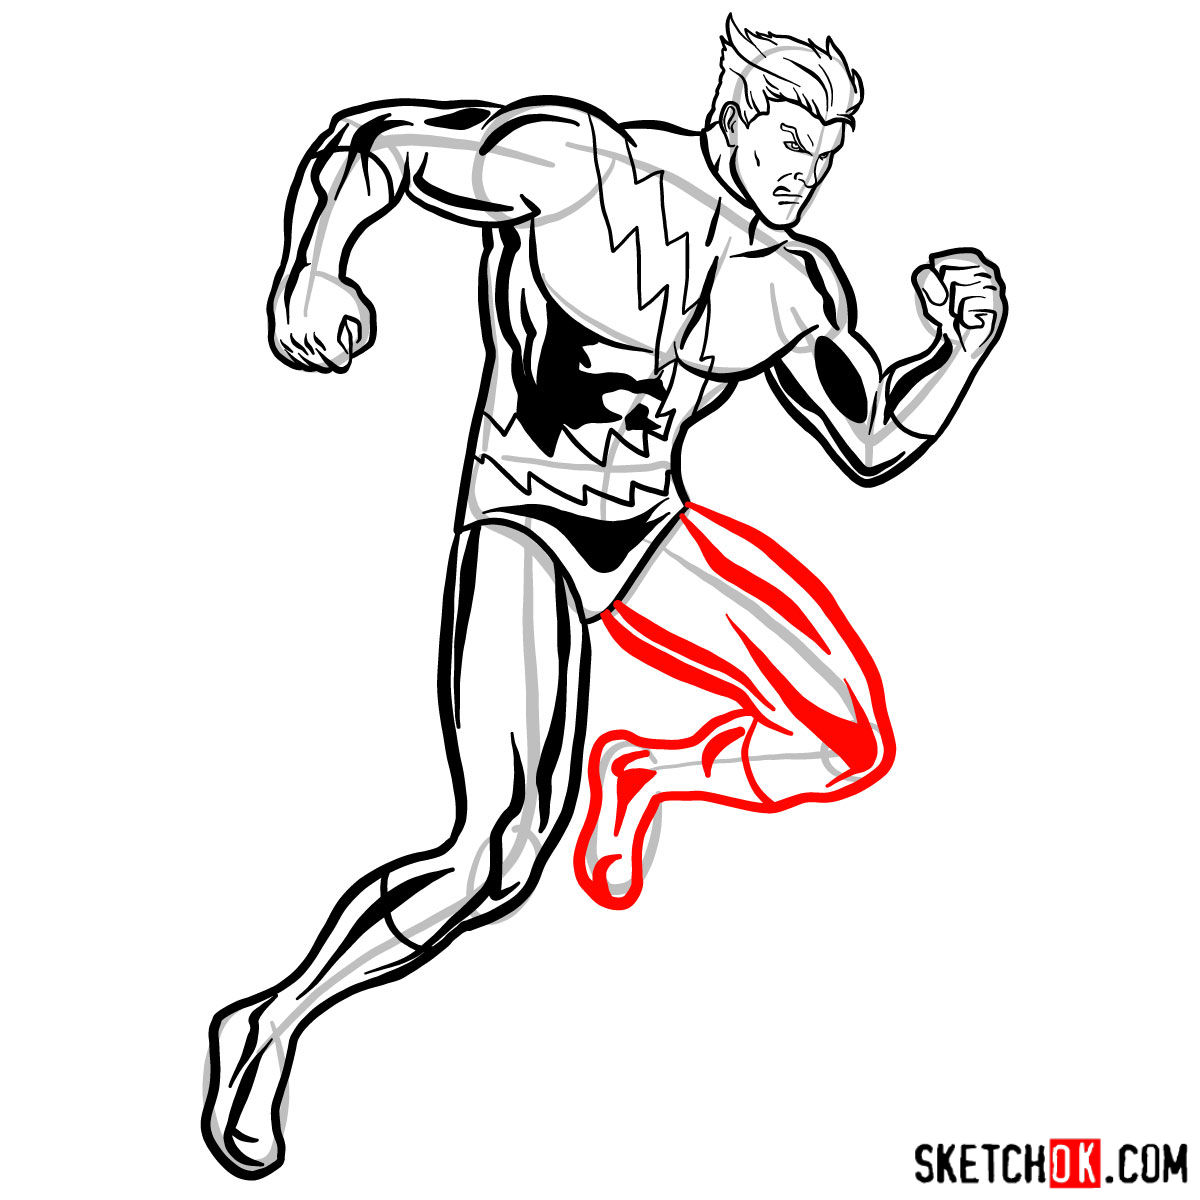
In this first step, we’ll create the foundation of our Quicksilver drawing with light pencil strokes. This basic structure will help us maintain accurate proportions and guide us through the drawing process. Focus on capturing Pietro’s dynamic pose and muscular physique while keeping in mind the red color in the image shows the current drawing step, the grey color represents the basic proportions sketch, and the black color indicates what has already been drawn.

Part 2: Refining the Sketch
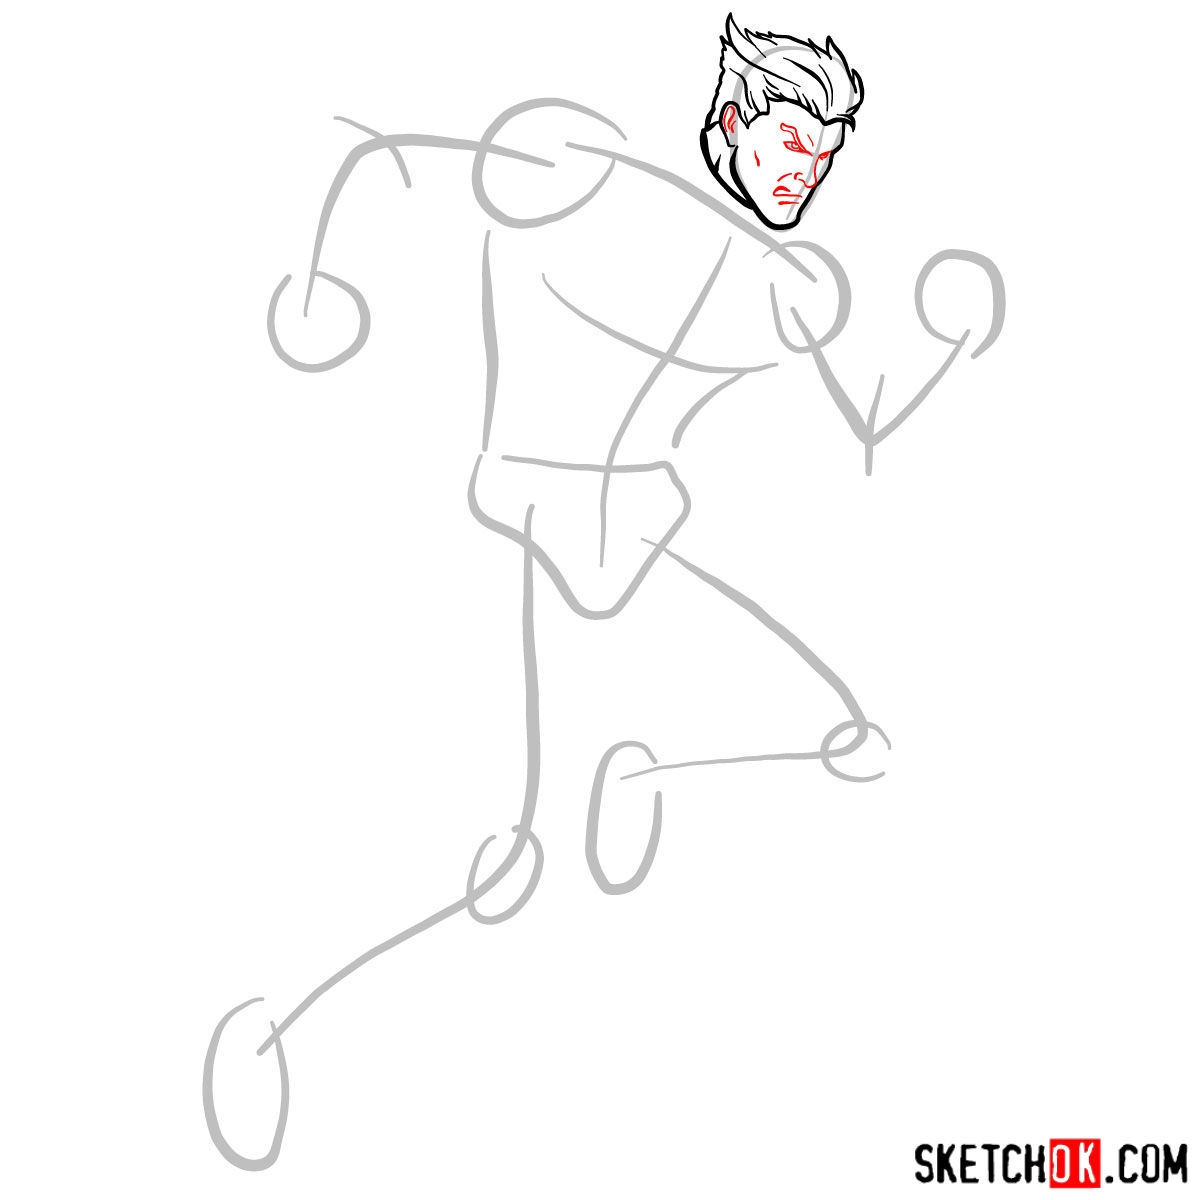
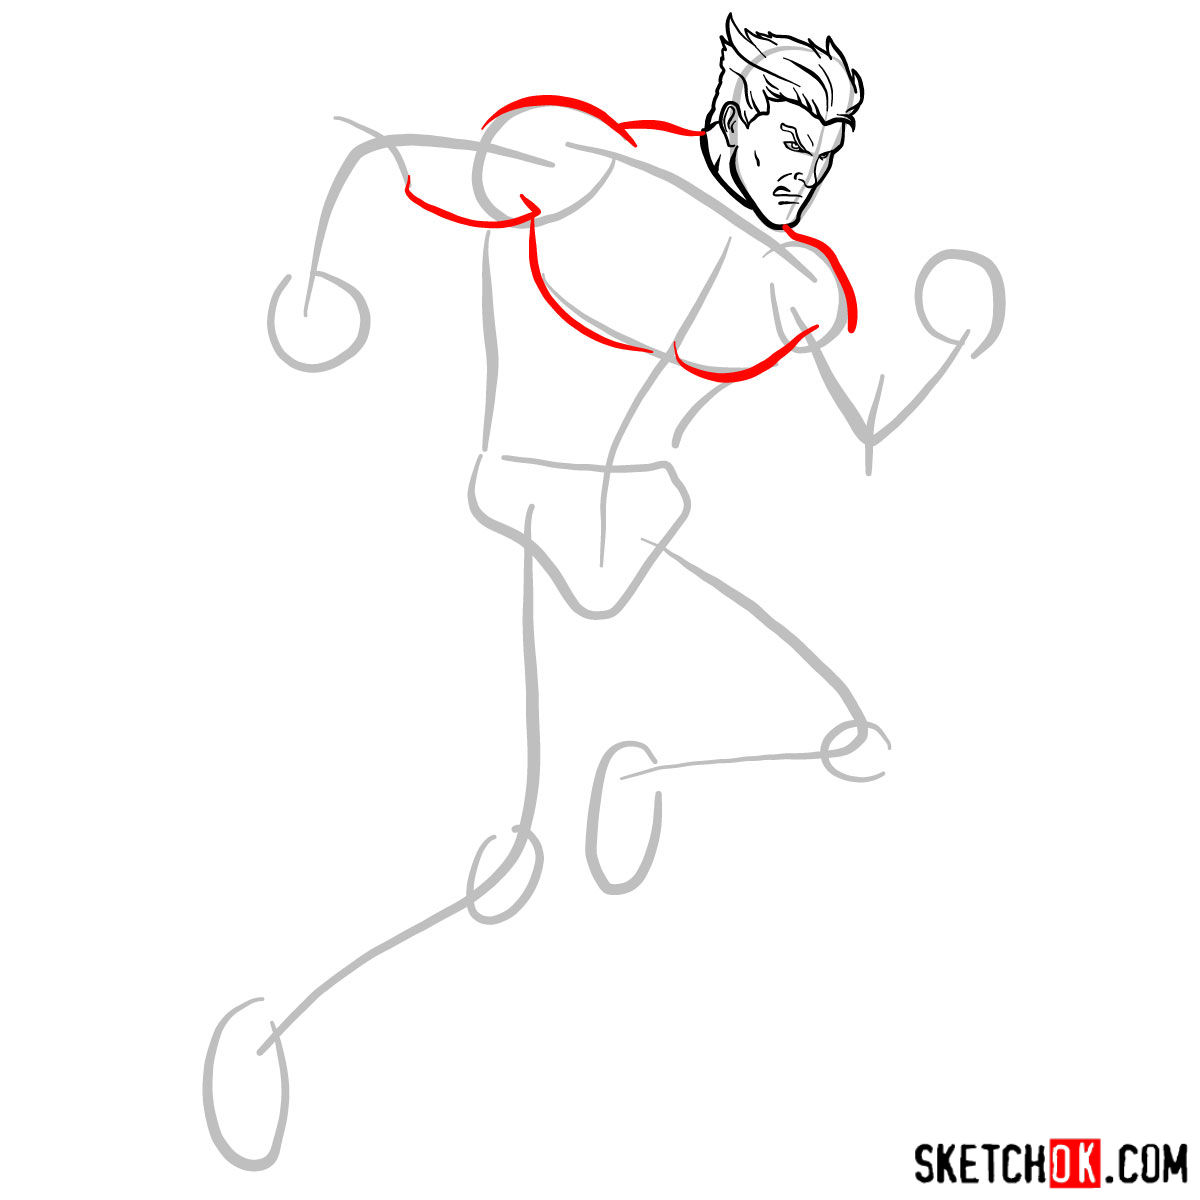
With our basic sketch in place, it’s time to refine it by adding details and improving proportions. Carefully examine the facial features, costume elements, and overall shape of Quicksilver. Take your time, and don’t be afraid to make adjustments as needed to achieve a more polished sketch.


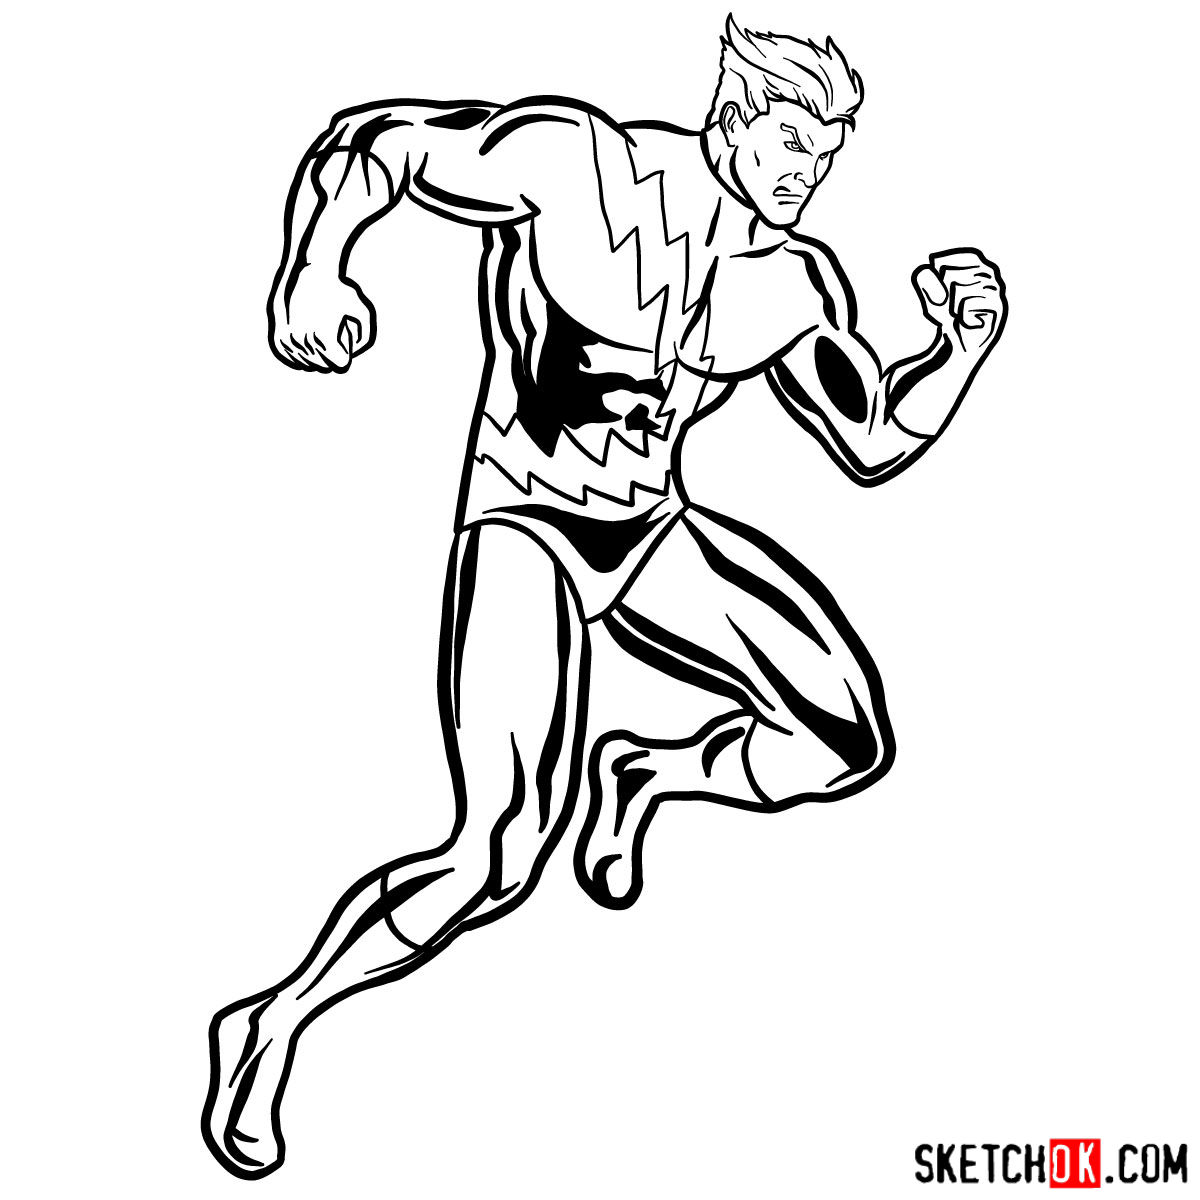
Part 3: Inking
Once you’re satisfied with your refined sketch, grab your fineliner pens or markers and start outlining Quicksilver’s figure. Pay attention to line weight and quality, and add final touches like hair strands, folds in clothing, and any other details that will make your drawing stand out. Remember to let the ink dry before erasing any pencil lines to avoid smudging your artwork.
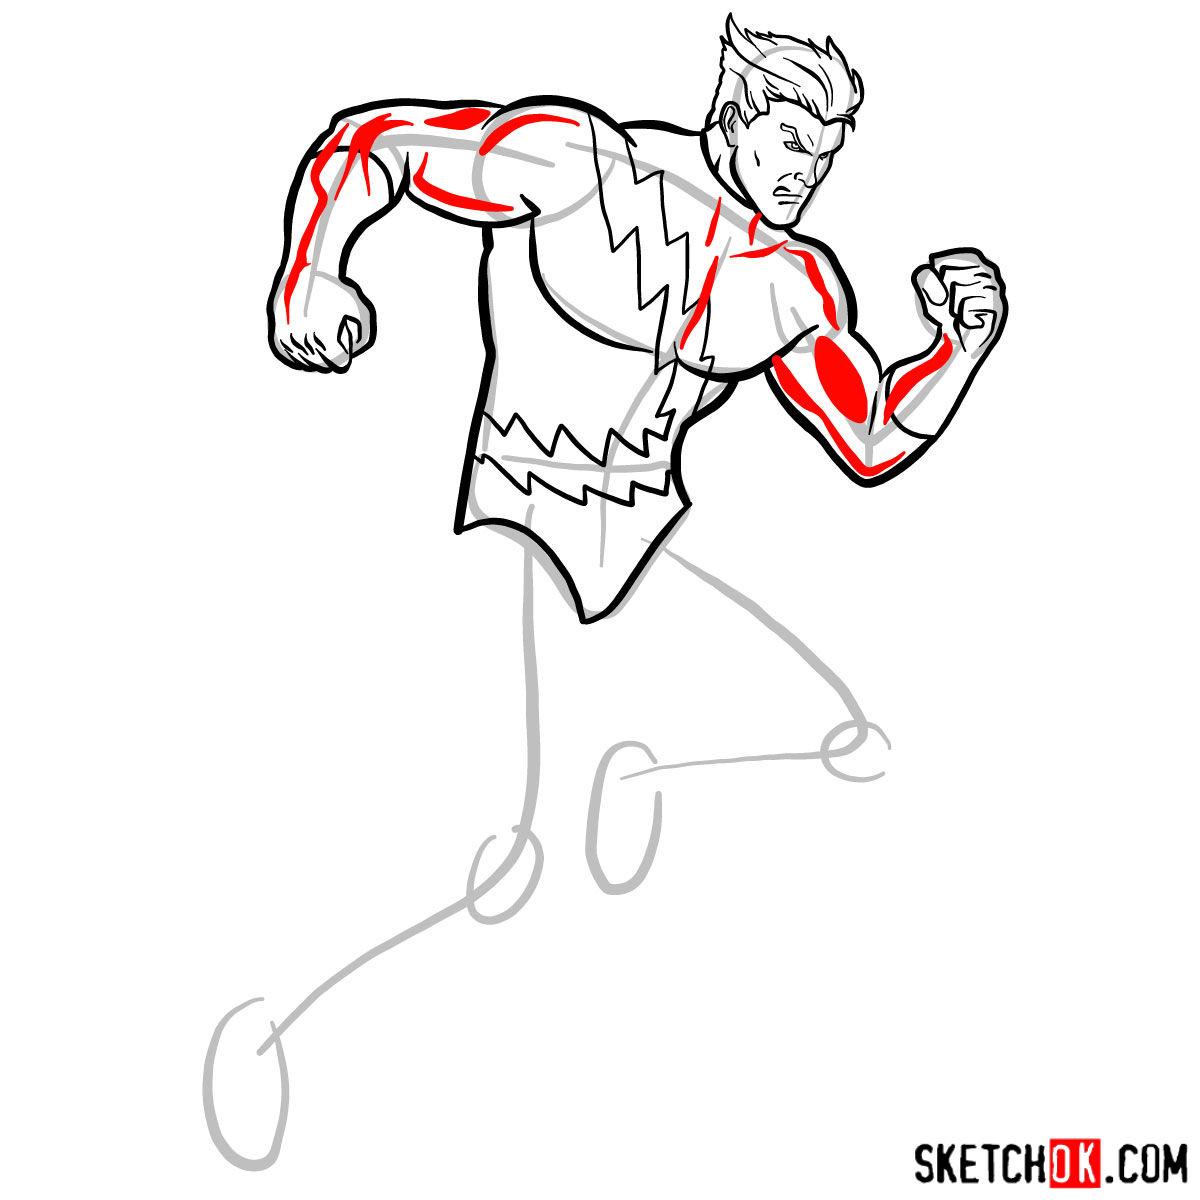
Part 4: Coloring and Shading
Now that your drawing is inked, it’s time to bring it to life with color, shading, and highlights. Choose your preferred coloring medium, whether it’s colored pencils, markers, or even digital tools, and start adding color to your drawing. Focus on creating depth and dimension by adding shadows and highlights, taking into consideration the light source and the reflective properties of Quicksilver’s costume.

If your version of Quicksilver doesn’t match the final image exactly, that’s completely fine, learning how to draw Quicksilver is really about building the habit of observation and practice, not chasing a perfect copy. Every attempt gets you a little more comfortable with fast poses and dynamic figures, so keep the sketches even if they feel rough. The pinned post on Pinterest is a good spot to drop your work-in-progress drawings if you want to share them with others going through the same process.