Welcome, aspiring artists! Today, we’ll be showing you how to draw masked Hawkeye, the skilled archer and prominent member of the Avengers. By following this step-by-step tutorial, you’ll be able to create a stunning portrayal of Clint Barton in his mysterious mask. Let’s dive into the world of Marvel Comics and bring this iconic character to life!
The Archer’s Tale: Clint Barton, the Masked Hawkeye
Before we begin drawing, let’s take a moment to explore the story behind masked Hawkeye. Created by Stan Lee and Don Heck, Hawkeye first appeared as a supervillain in 1964 but later joined the ranks of the Avengers in 1965. Clint Barton has been a significant member of various Avengers teams, including the founding of the West Coast Avengers. He has also taken on the alias of Ronin and mentored Kate Bishop as his successor.
Portrayed by Jeremy Renner in the Marvel Cinematic Universe, Hawkeye has been a fan-favorite character for many years. With his sharp wit and exceptional archery skills, he has earned his place as one of Marvel’s top heroes. In this tutorial, we’ll focus on drawing Hawkeye wearing his distinctive mask, which adds an air of mystery and intrigue to the character.
As you work on your drawing, you might also find inspiration in other Marvel characters with fascinating masks, such as Spider-Man, Black Panther, and Winter Soldier.
Recommended Art Supplies
Before we start drawing, let’s gather the necessary materials and tools. While you can use any art supplies you prefer, we recommend the following:
- Pencils (HB, 2B, and 4B)
- Eraser
- Paper
- Fineliner pens or inking pens
- Colored pencils, markers, or paints
Step-by-Step Guide: From Sketch to Masterpiece
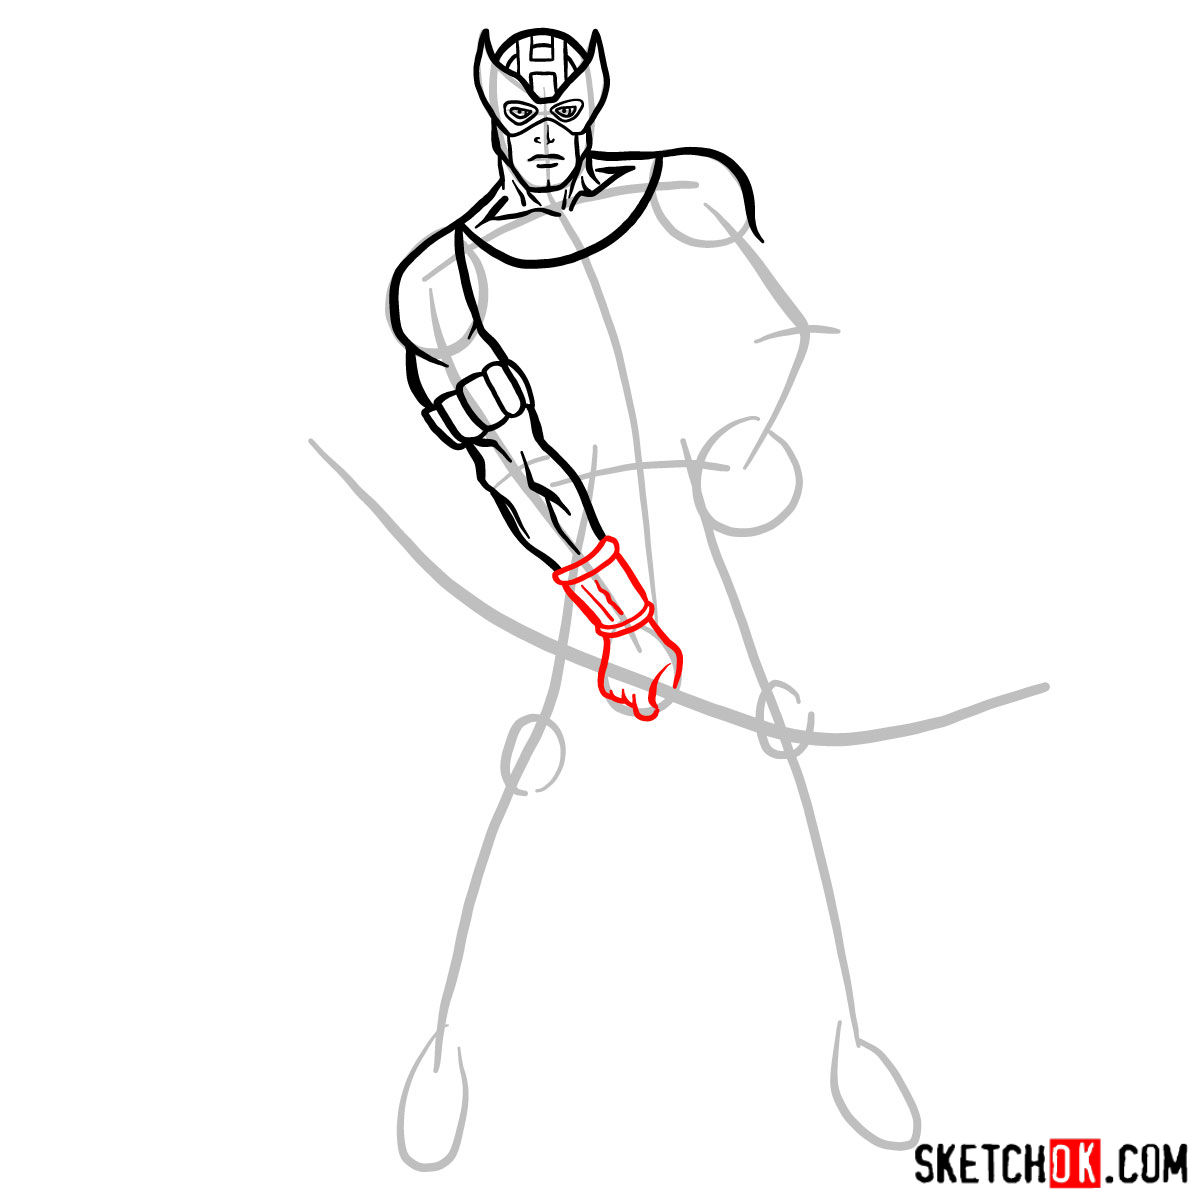
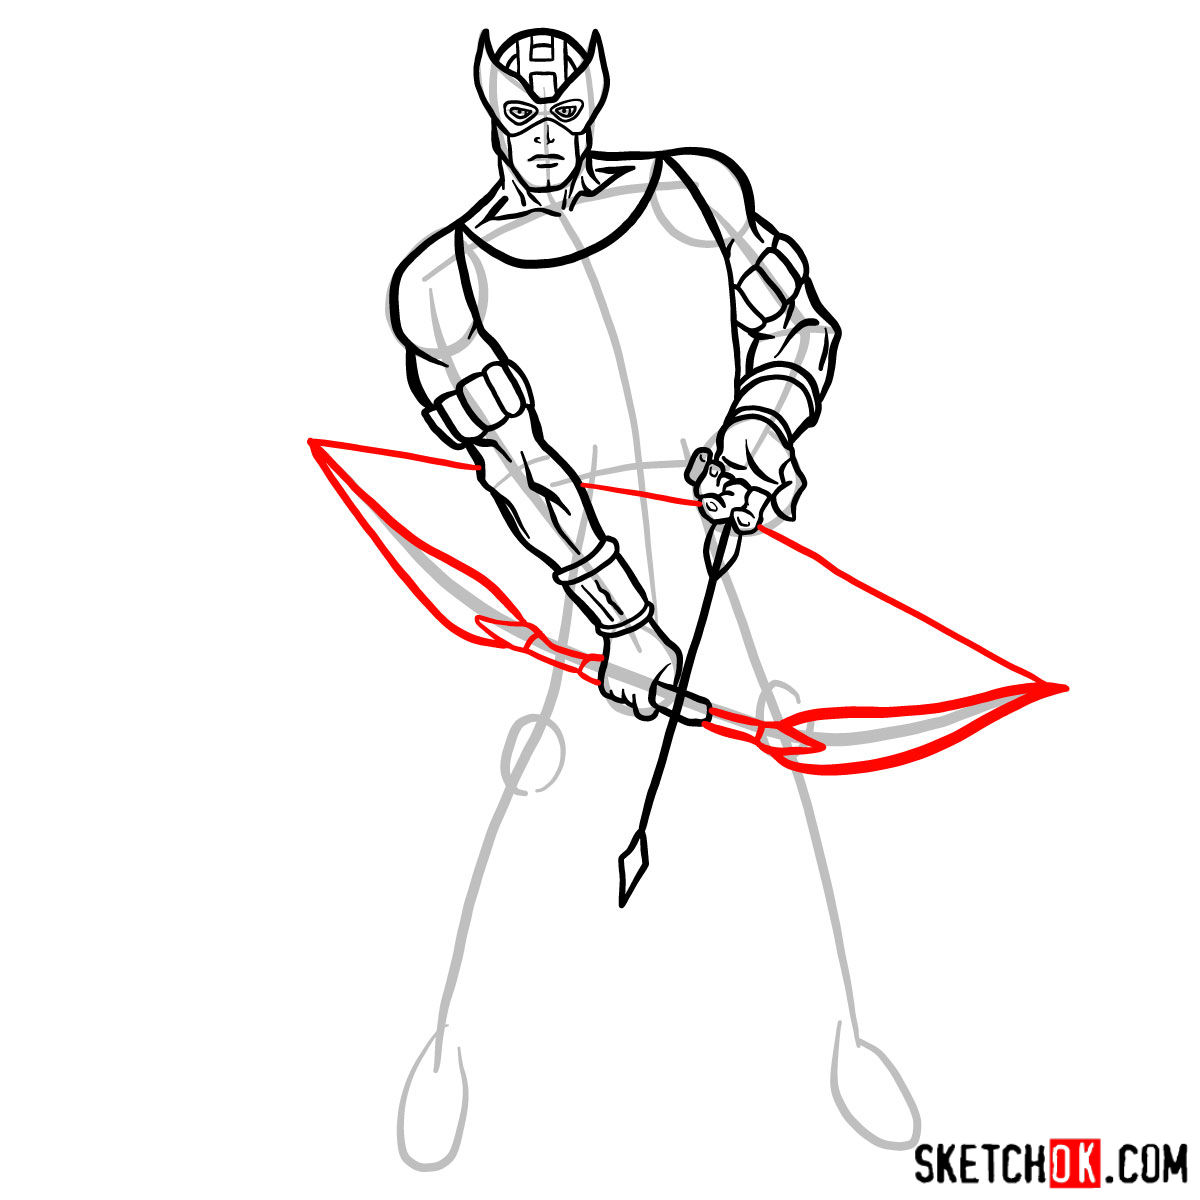
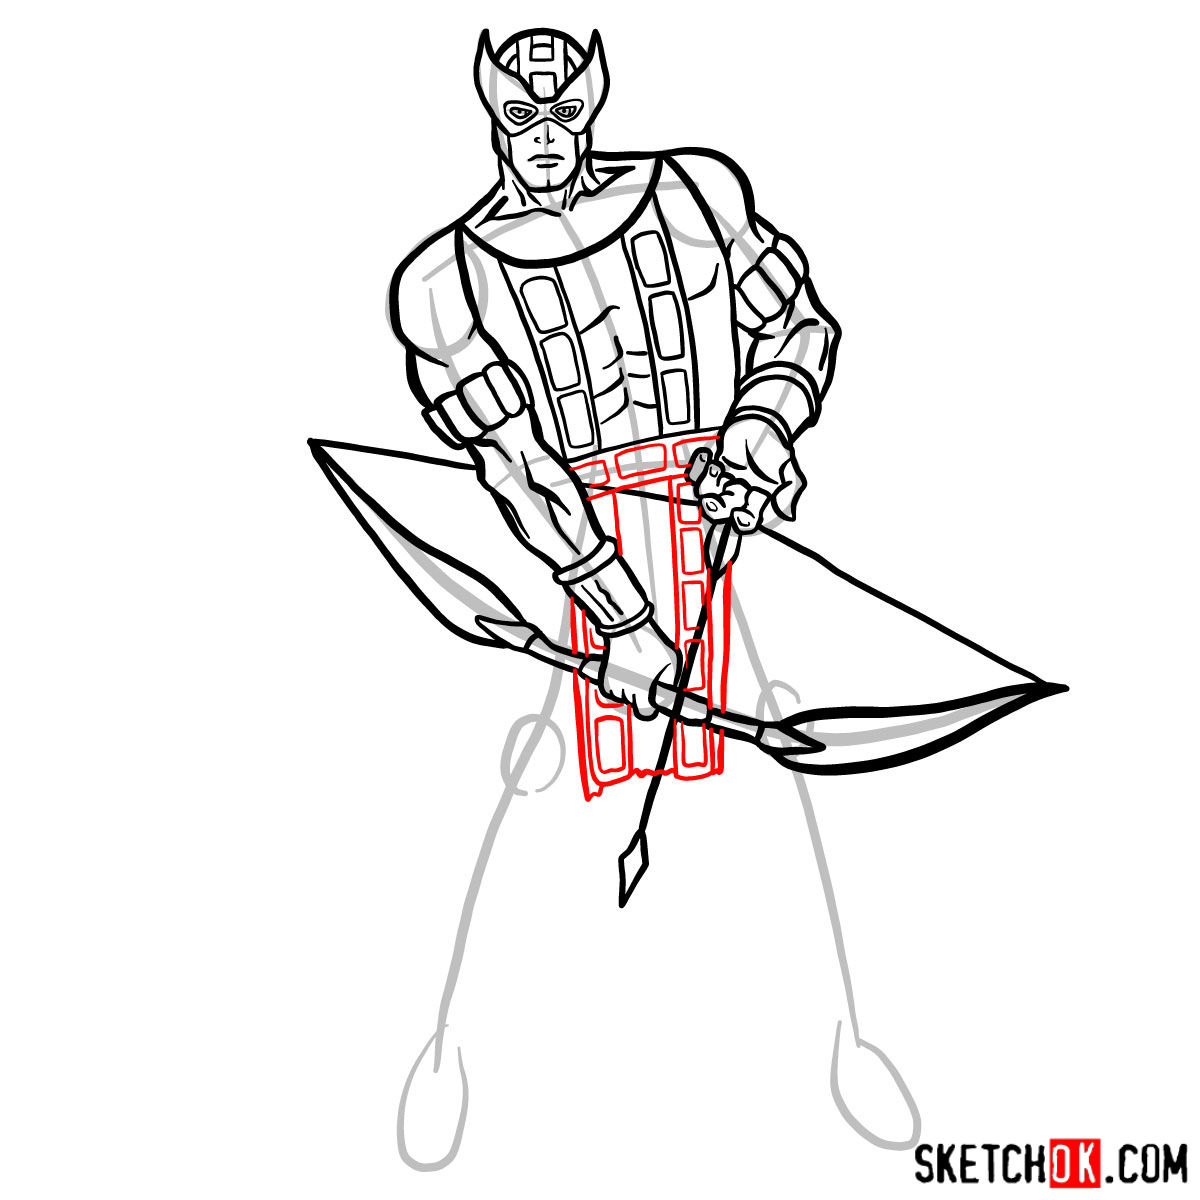
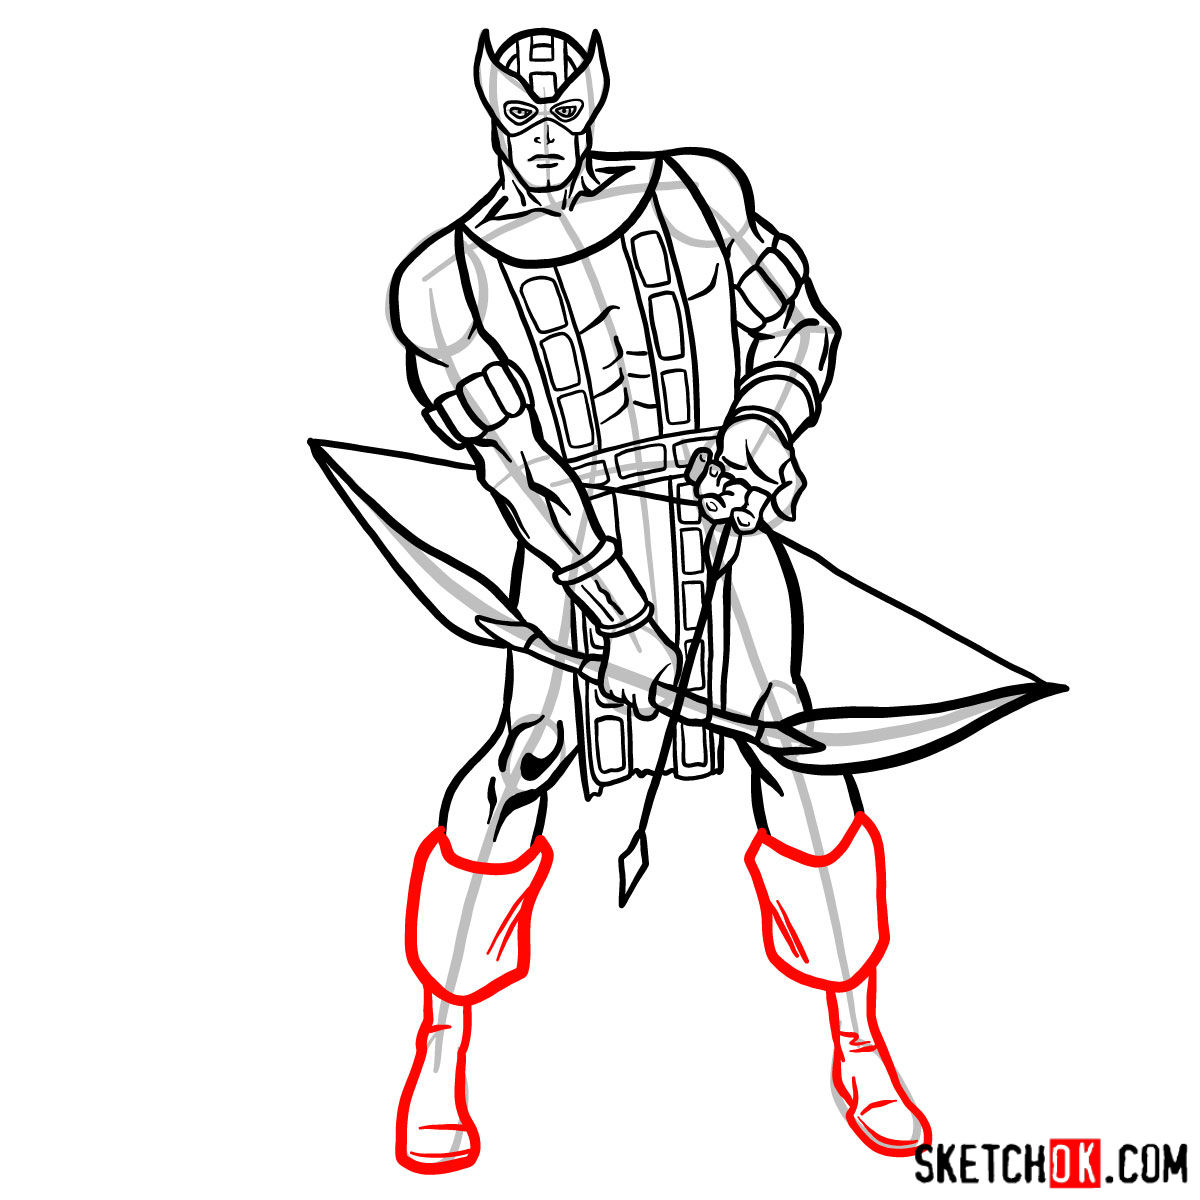
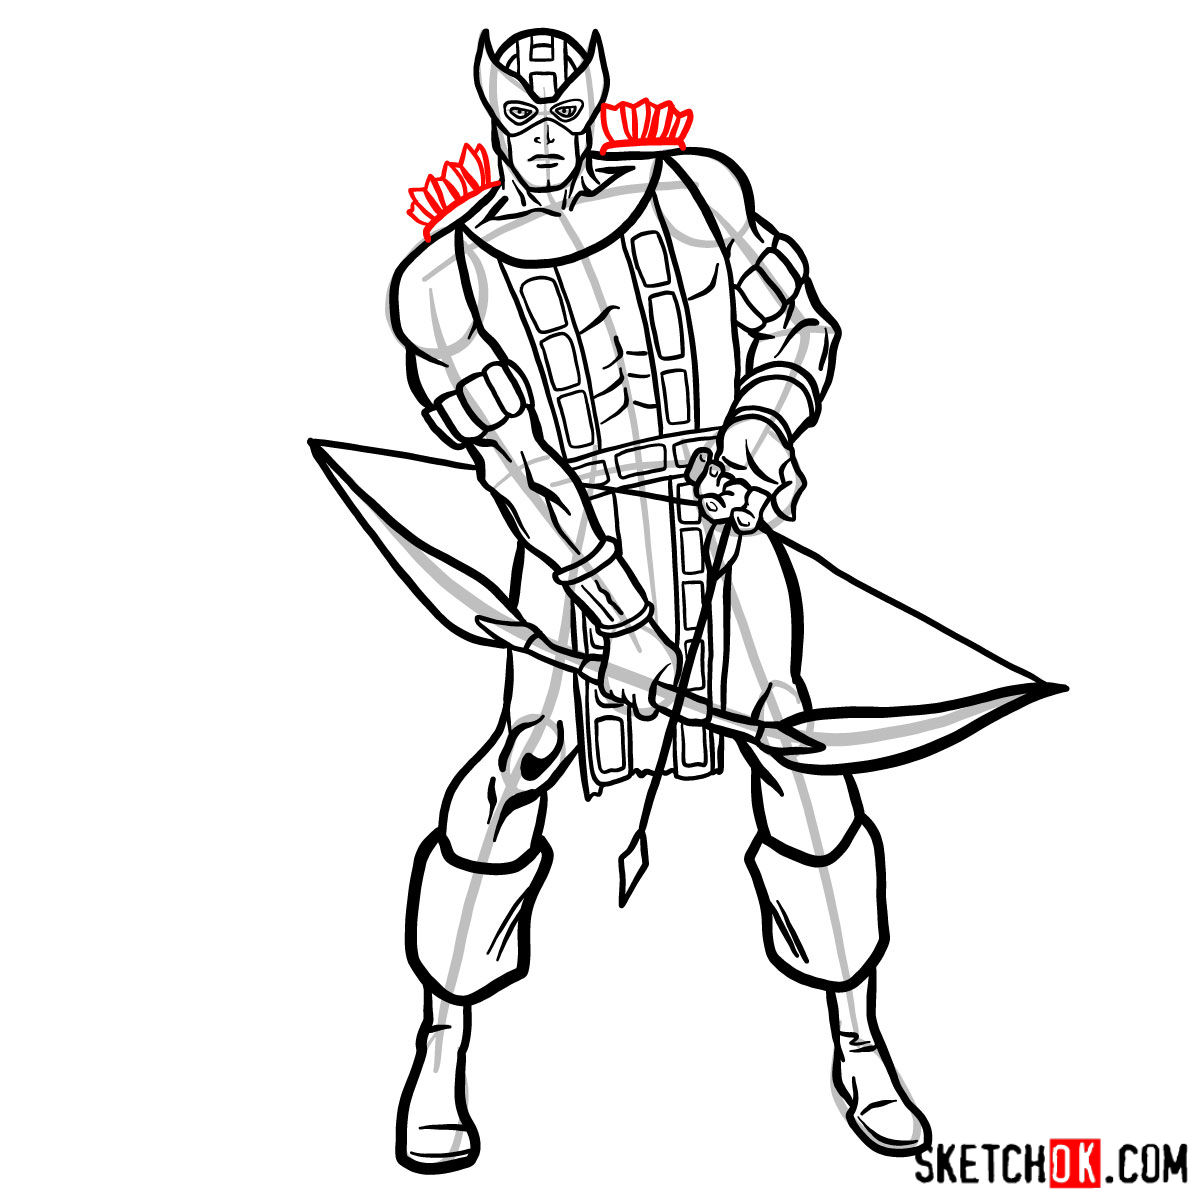
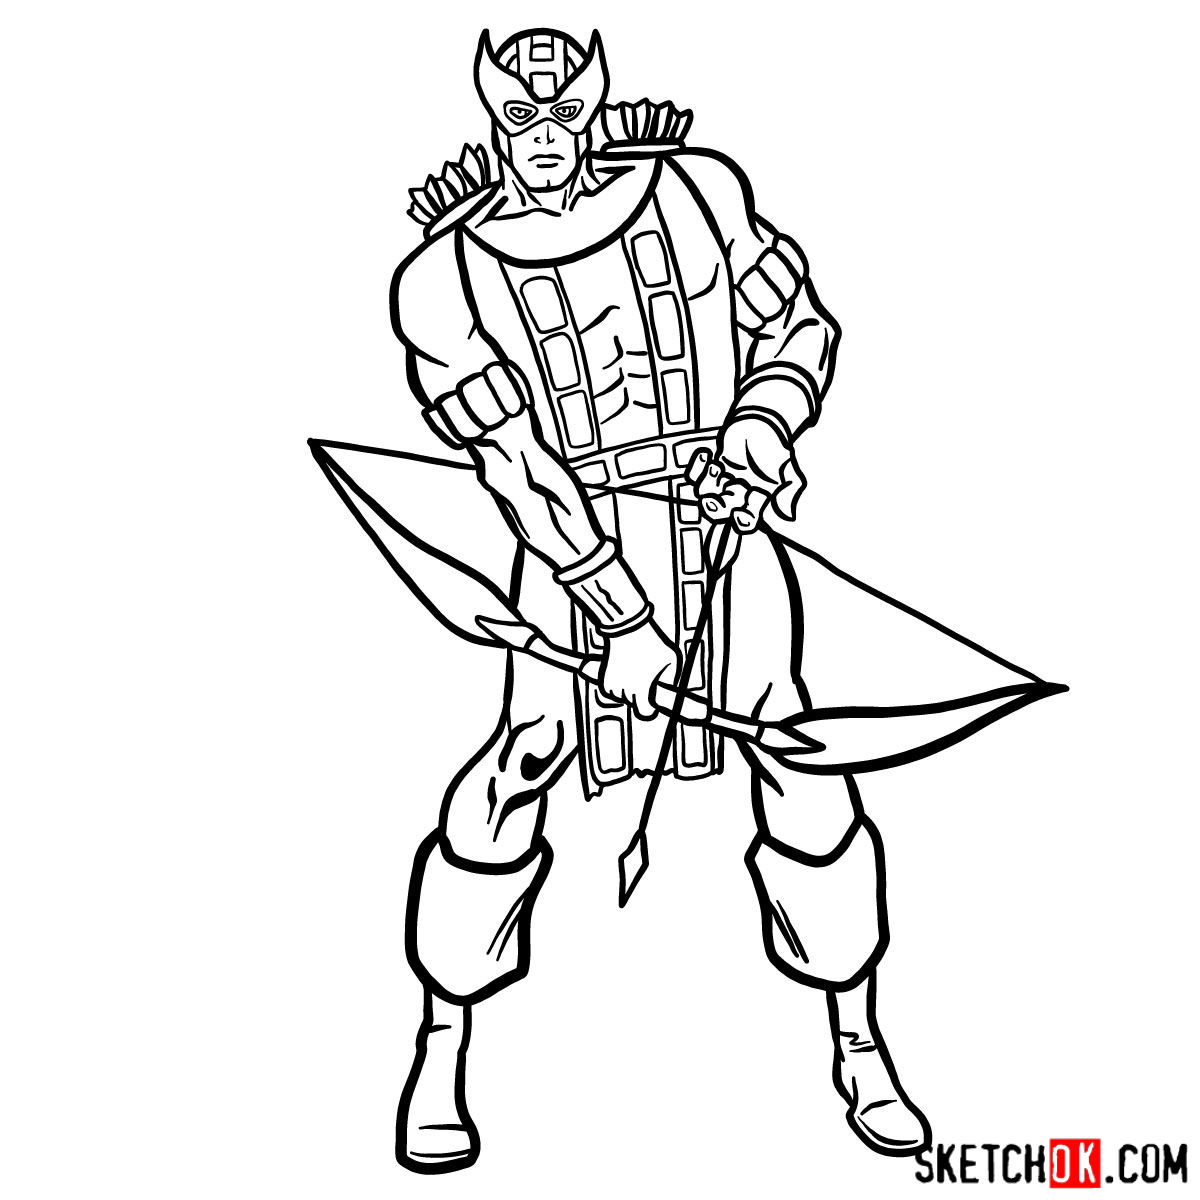
This tutorial is designed to help you draw masked Hawkeye through a series of images, each building upon the previous step. The red color in each image indicates the current step, the grey represents the basic proportions sketch, and the black shows previously drawn lines.
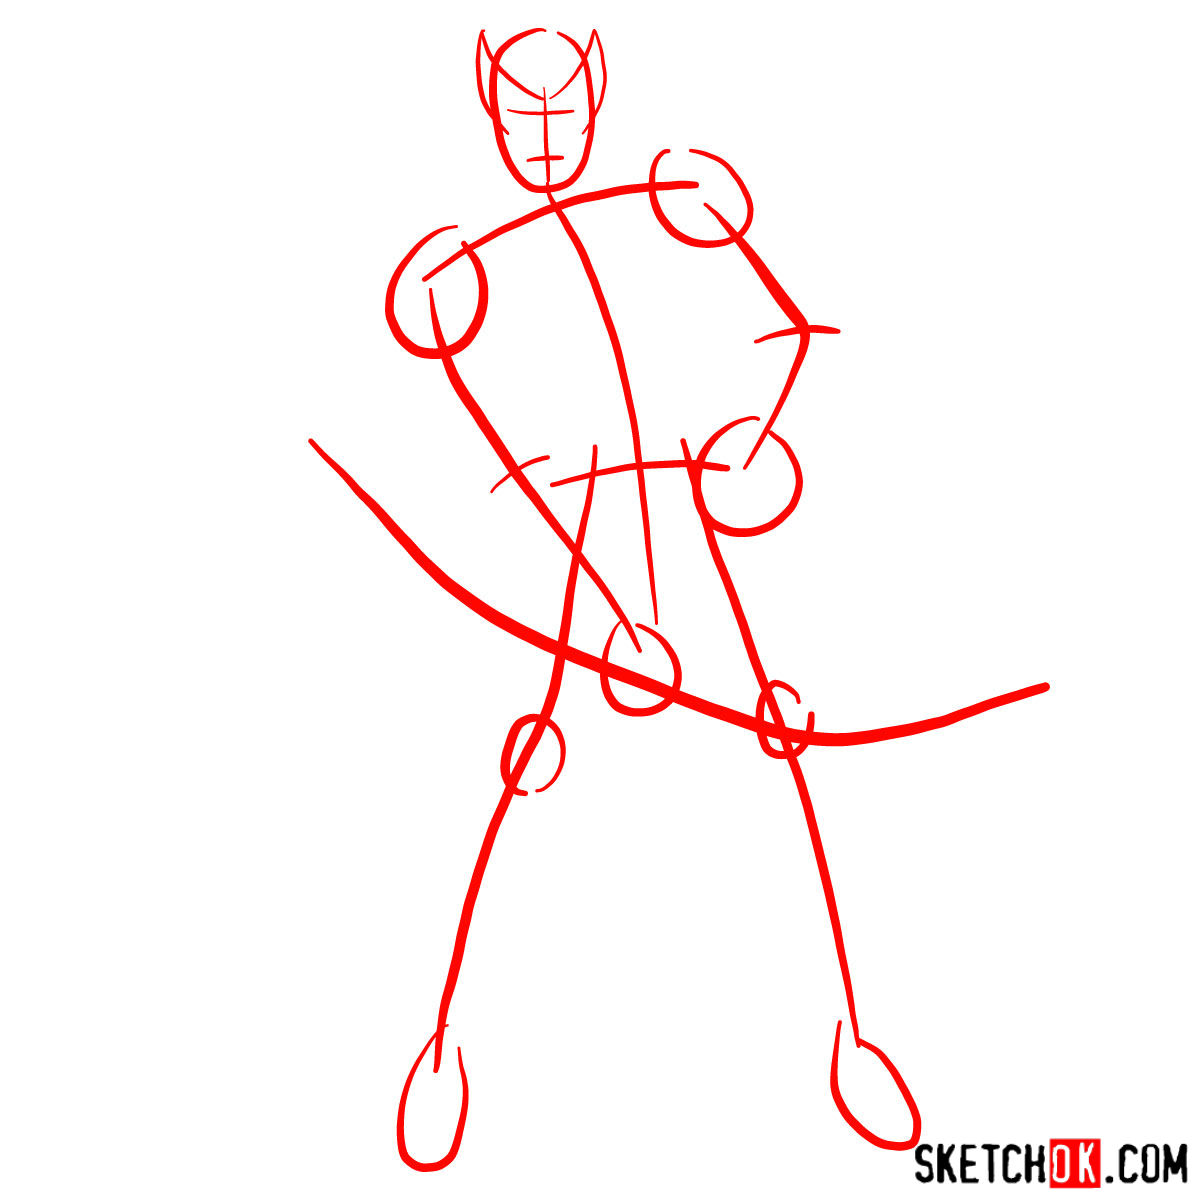
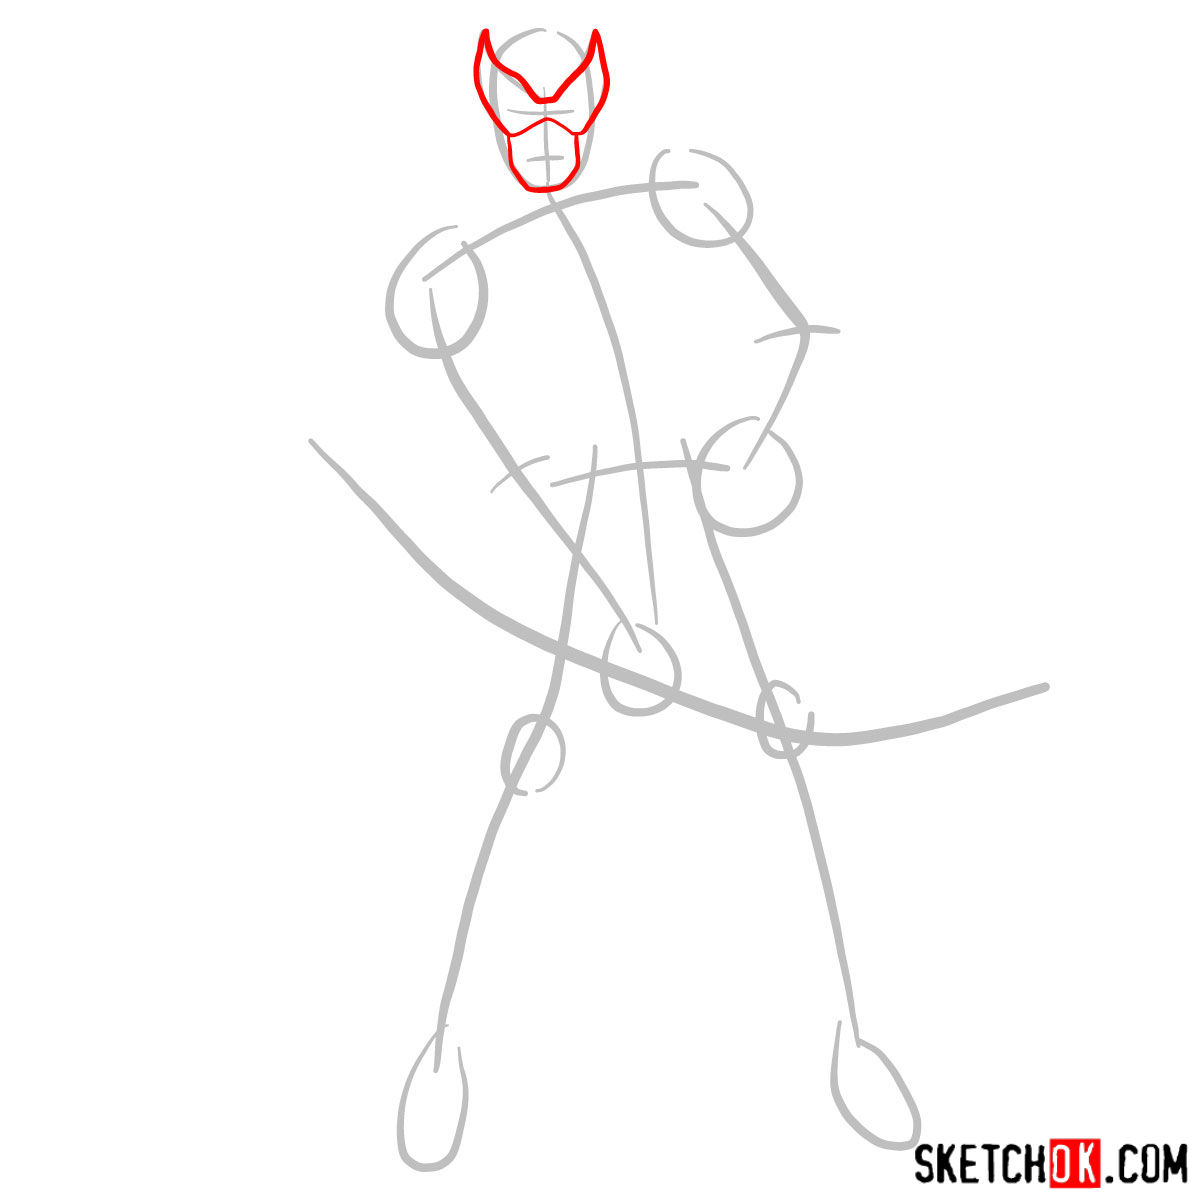
Part 1: Laying the Foundation
Begin by creating a basic sketch using light pencil strokes. This initial step is crucial for establishing accurate proportions and building the character’s structure. Don’t worry about the details yet; focus on capturing Hawkeye’s overall shape and posture.
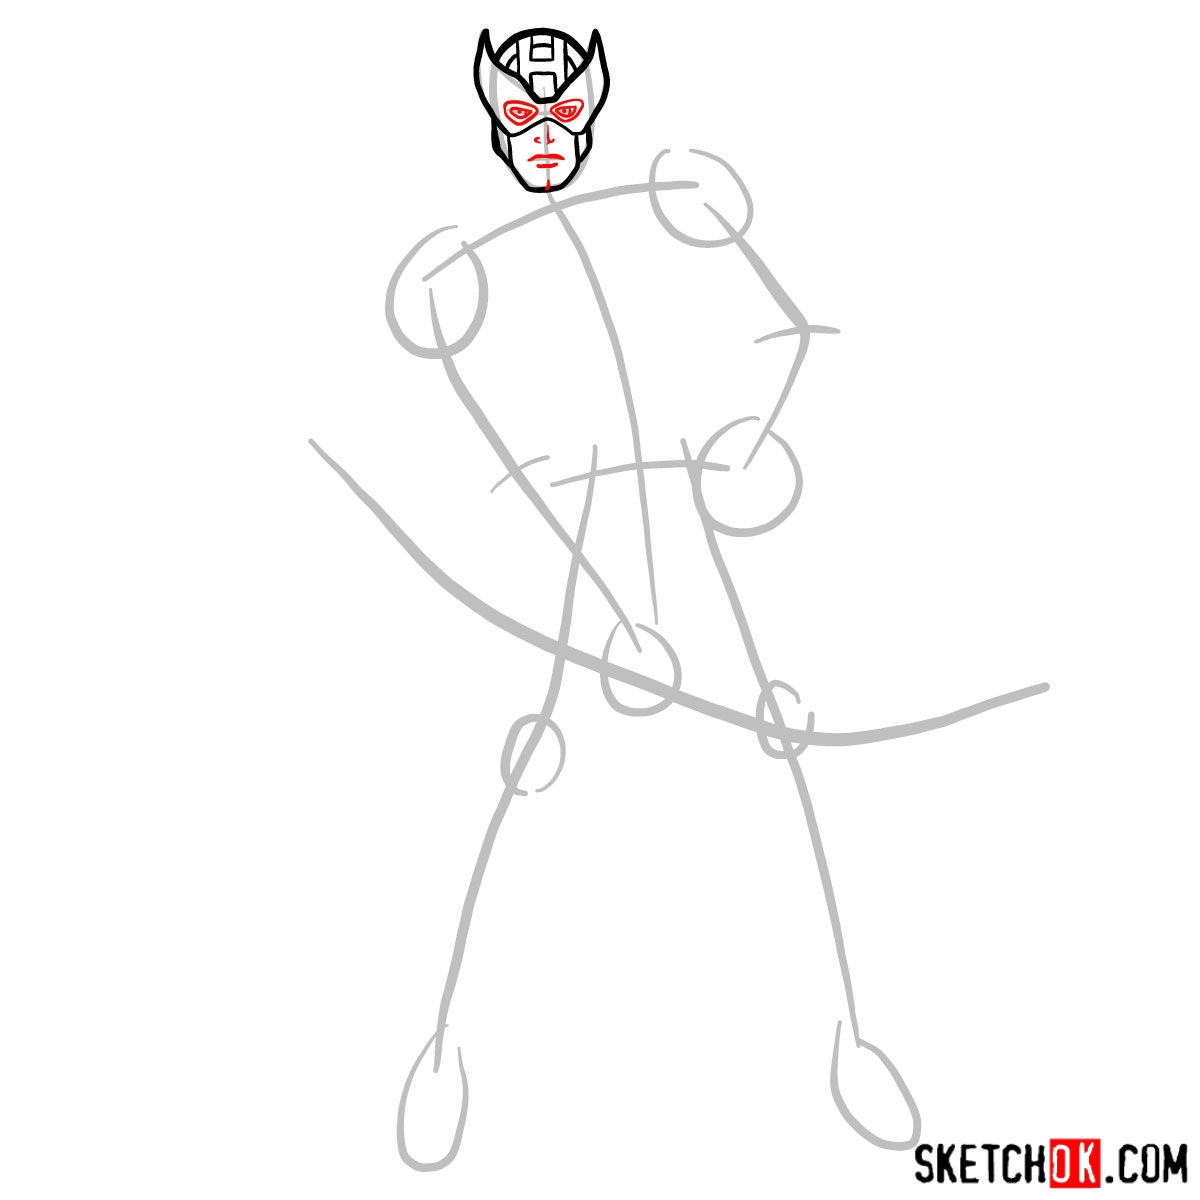
Part 2: Honing the Sketch
With the foundation in place, it’s time to refine your sketch. Add details and improve the proportions to create a more accurate representation of masked Hawkeye. Pay close attention to the character’s facial features, costume, and weaponry as you work on this stage.


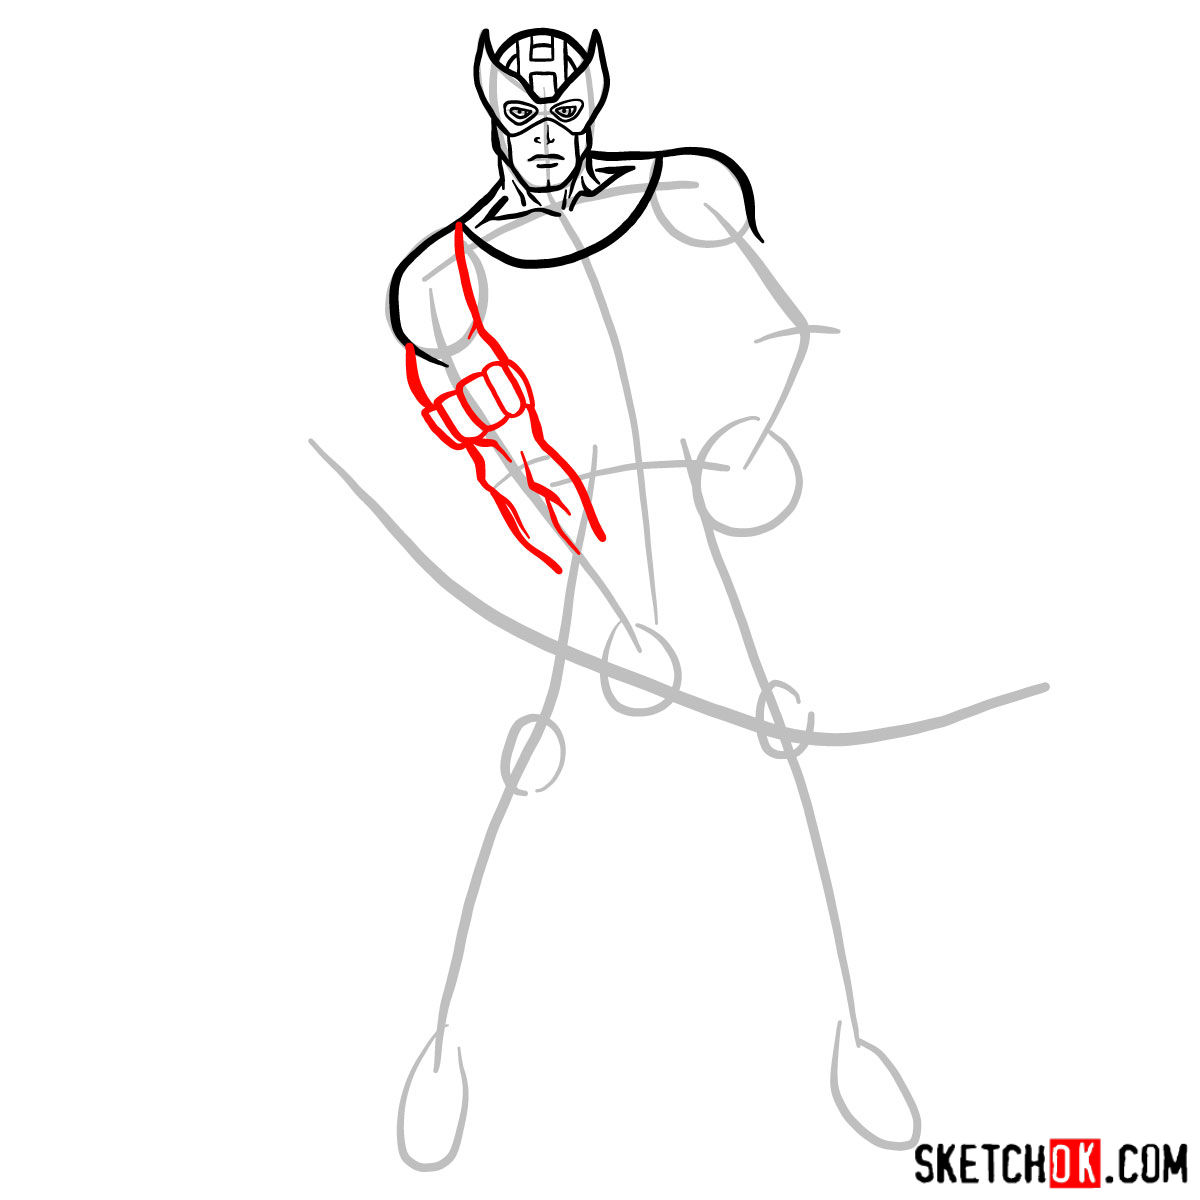


Part 3: Inking the Masterpiece
Once you’re satisfied with the refined sketch, proceed to ink your drawing. Use fineliner pens or inking pens to outline and add final touches to your artwork. Be mindful of line weight and consistency to create a polished and professional look.
Part 4: Bringing Color to Life
Now that your drawing has been inked, it’s time to add color, shading, and highlights. You can use colored pencils, markers, or paints, depending on your preference. Focus on capturing the distinctive color palette of masked Hawkeye and adding depth and dimension to your drawing through shading and highlights.

Your first attempt at learning how to draw Hawkeye in mask might not turn out exactly how you pictured it, and that’s completely fine. Most people’s early sketches look a little rough, so keep that one around as a reference and try again. More guides come out regularly, so following SketchOk on Pinterest, Facebook, or YouTube is a good way to stay in the loop.