The Merc with a Mouth crosses his arms in this portrait guide showing how to draw Deadpool from waist up with his katana handle visible over his shoulder. Wade Wilson stands ready with his signature red and black suit and utility belt loaded with pouches. From Marvel Comics, Deadpool has fought alongside Cable, Colossus, and various X-Force members throughout his chaotic career.
Sketching Deadpool to the Waist
This focused tutorial covers 11 steps, constructing Deadpool from his masked head down to his belt with arms crossed confidently over his muscular chest!
Deadpool’s Design in This Pose
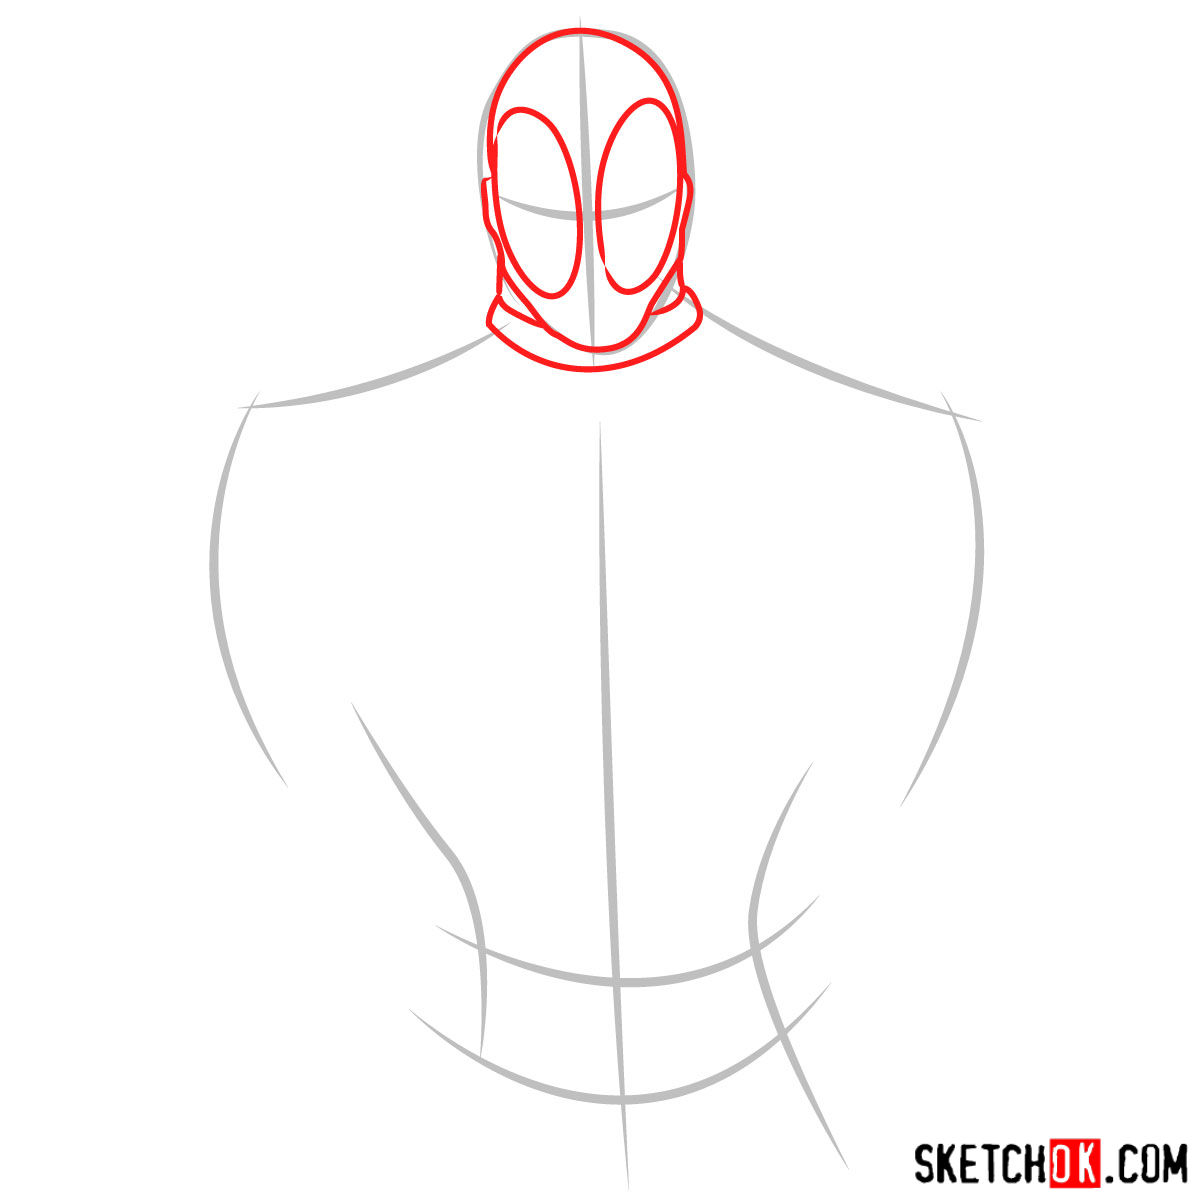
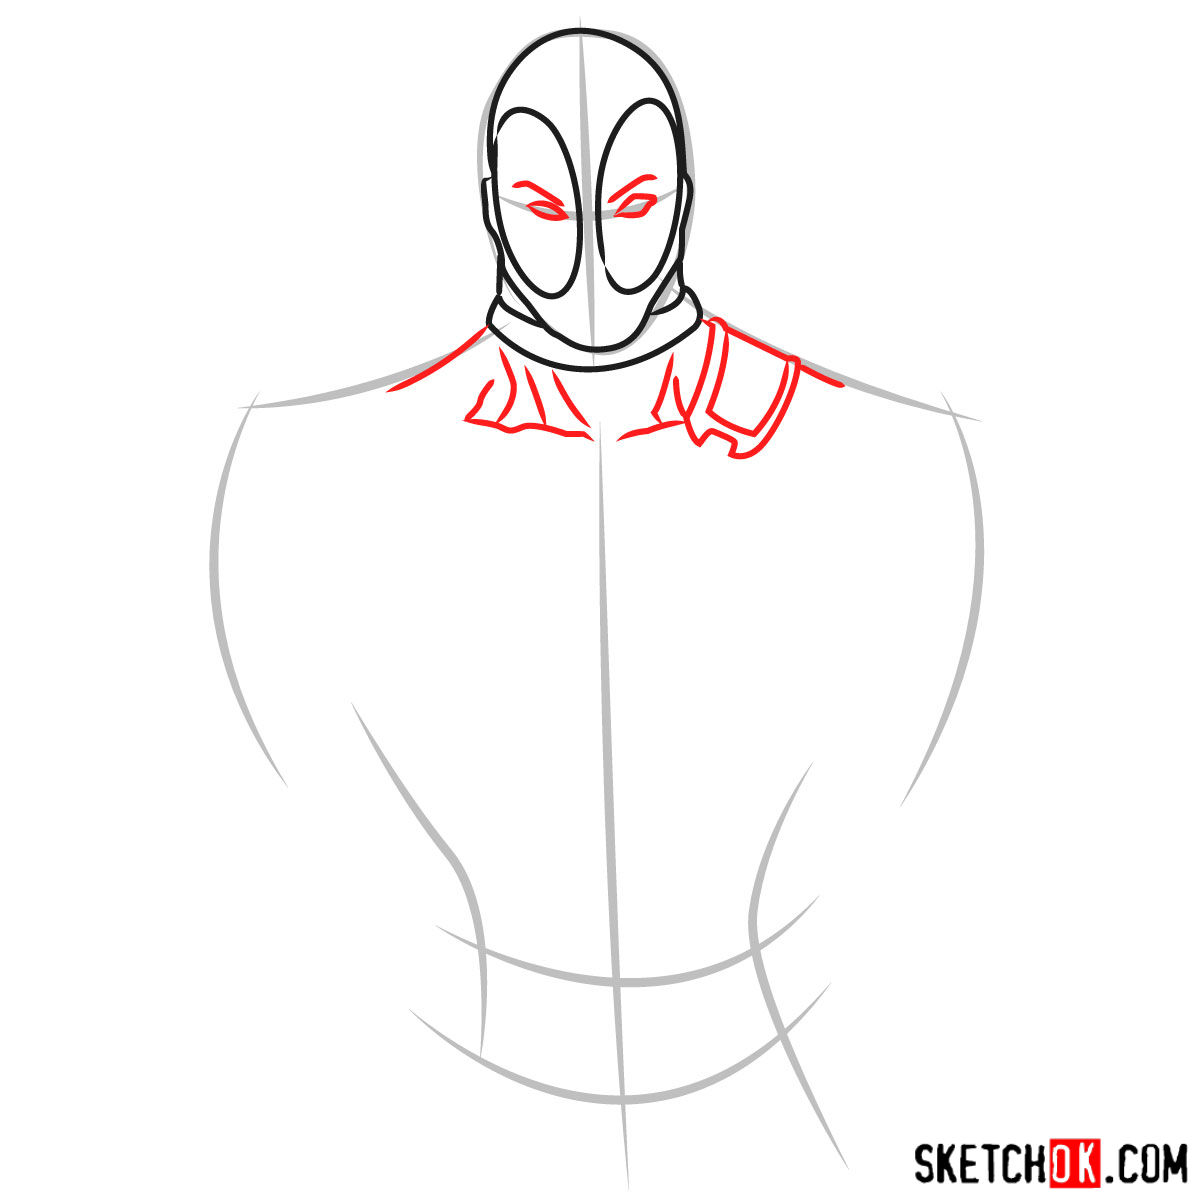
- Red mask with black sections around the eyes
- White eye patches with slightly narrowed expression
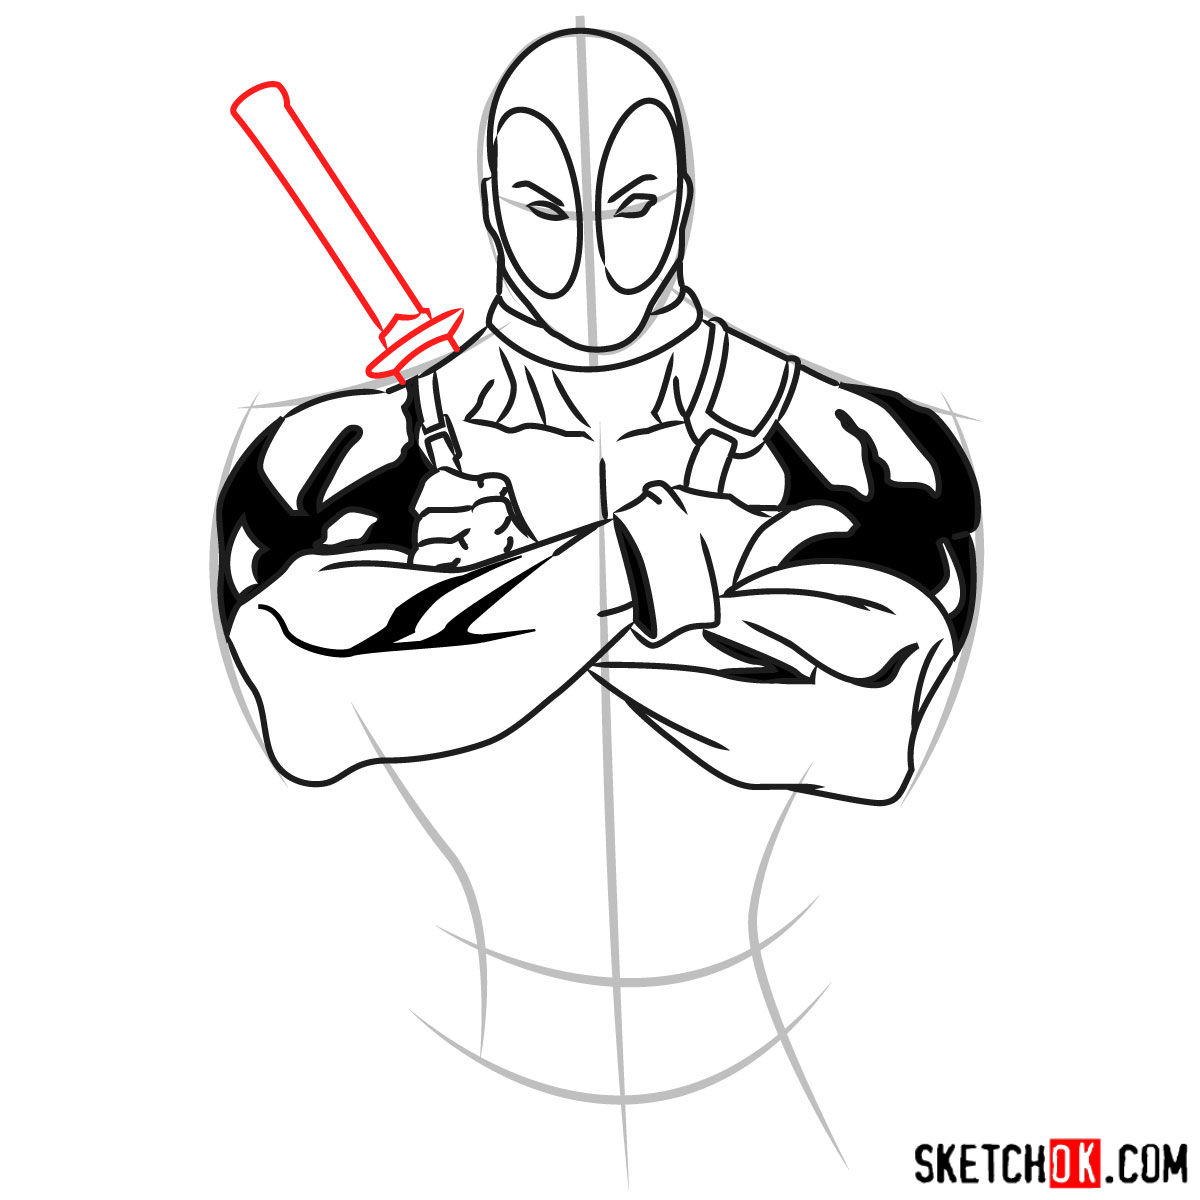
- Katana handle poking over the right shoulder
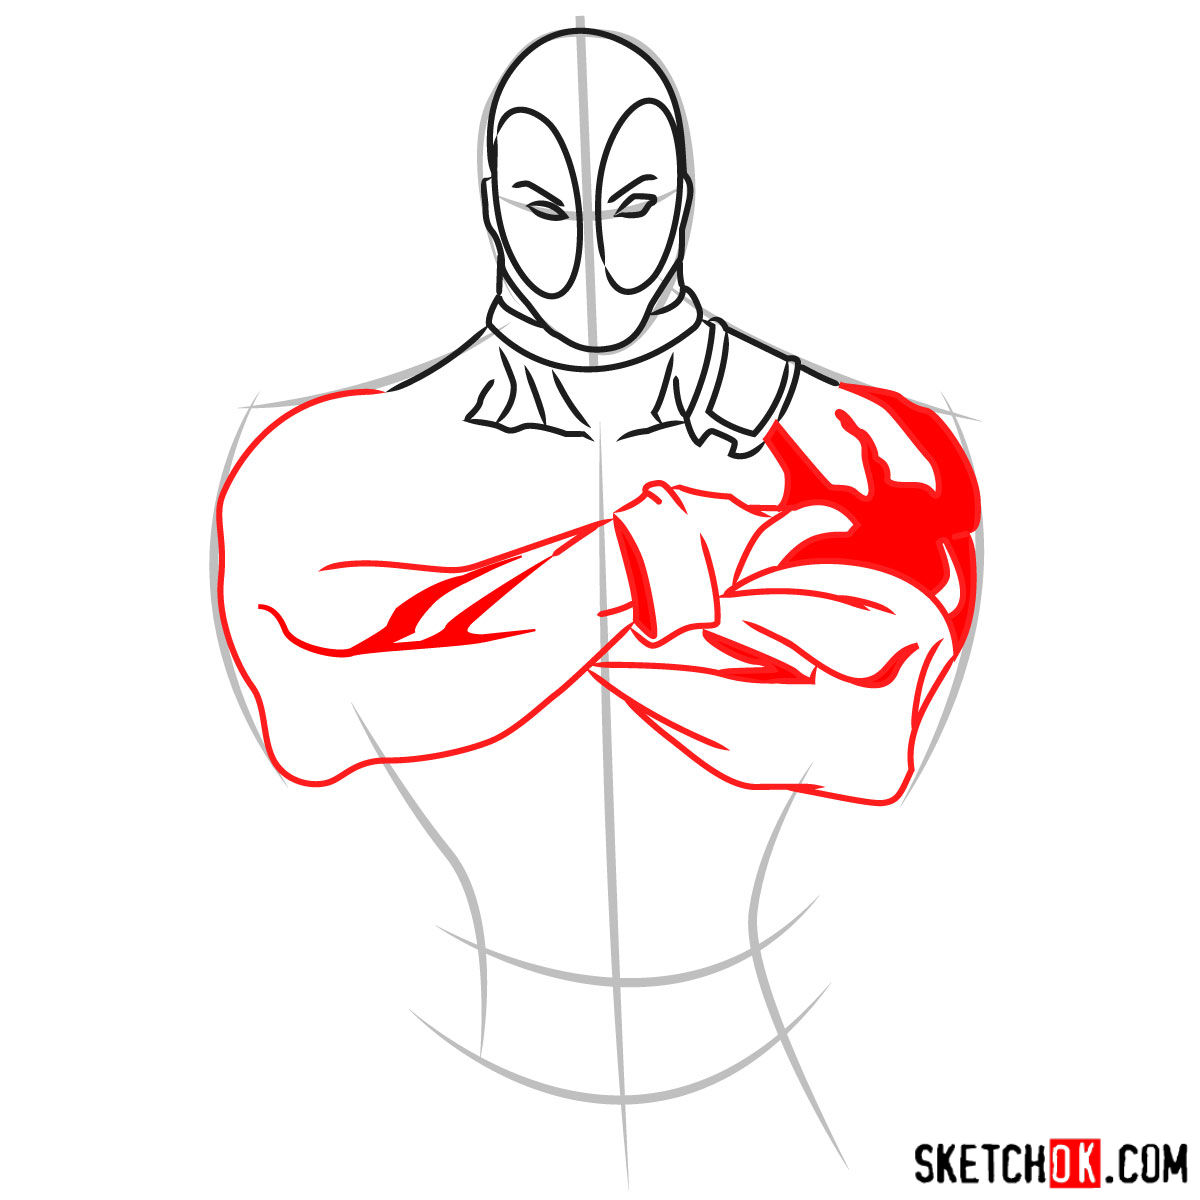
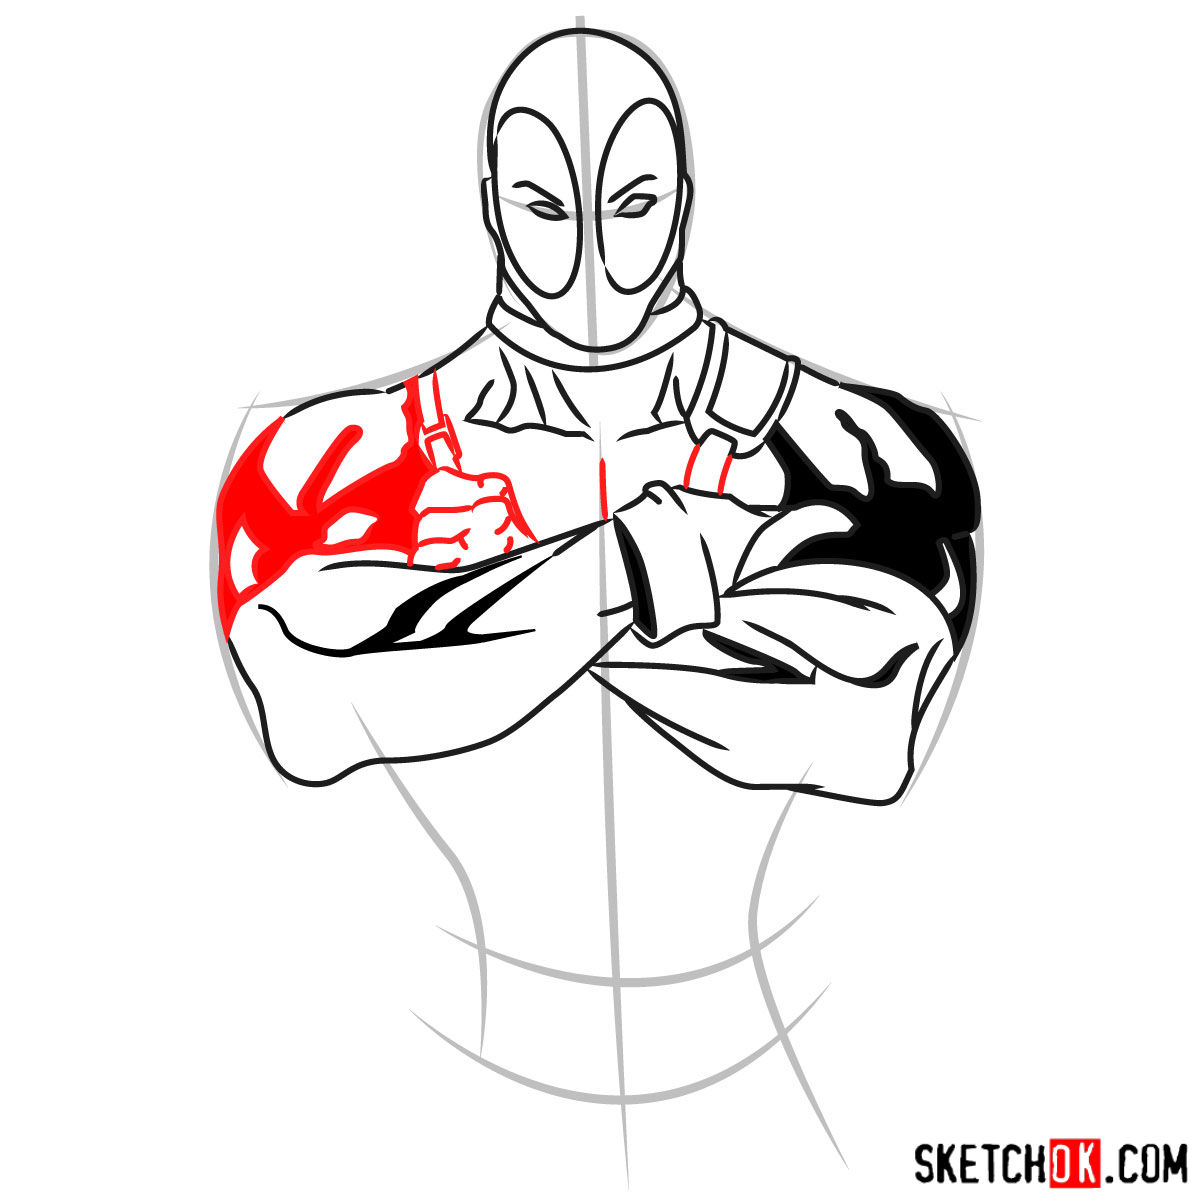
- Red and black suit with muscular definition
- Arms crossed showing forearm details
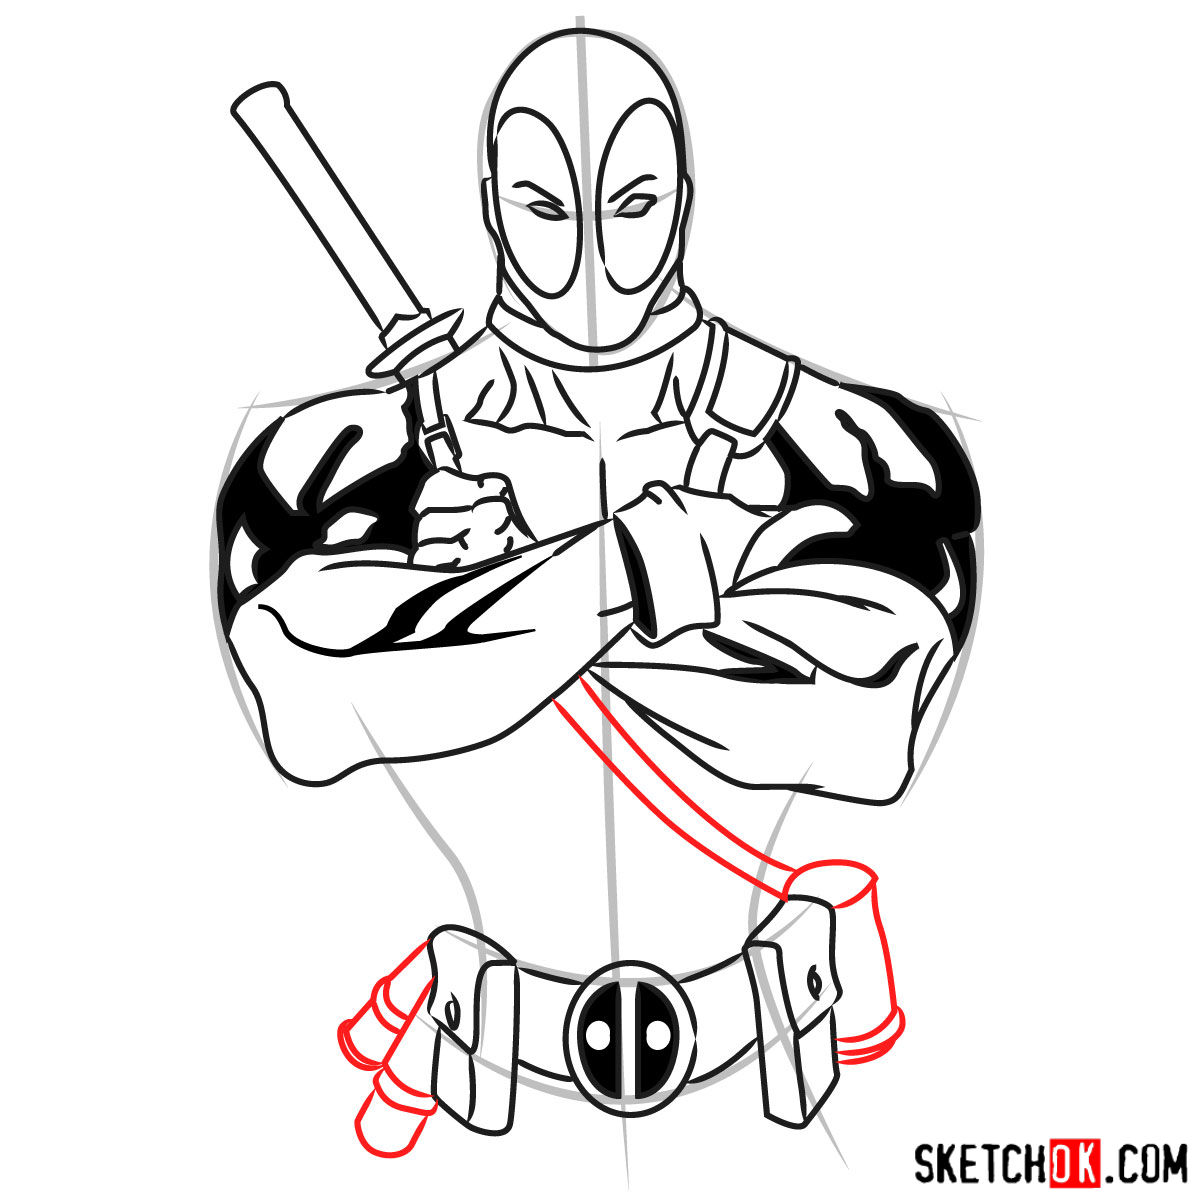
- Brown leather straps crossing the chest
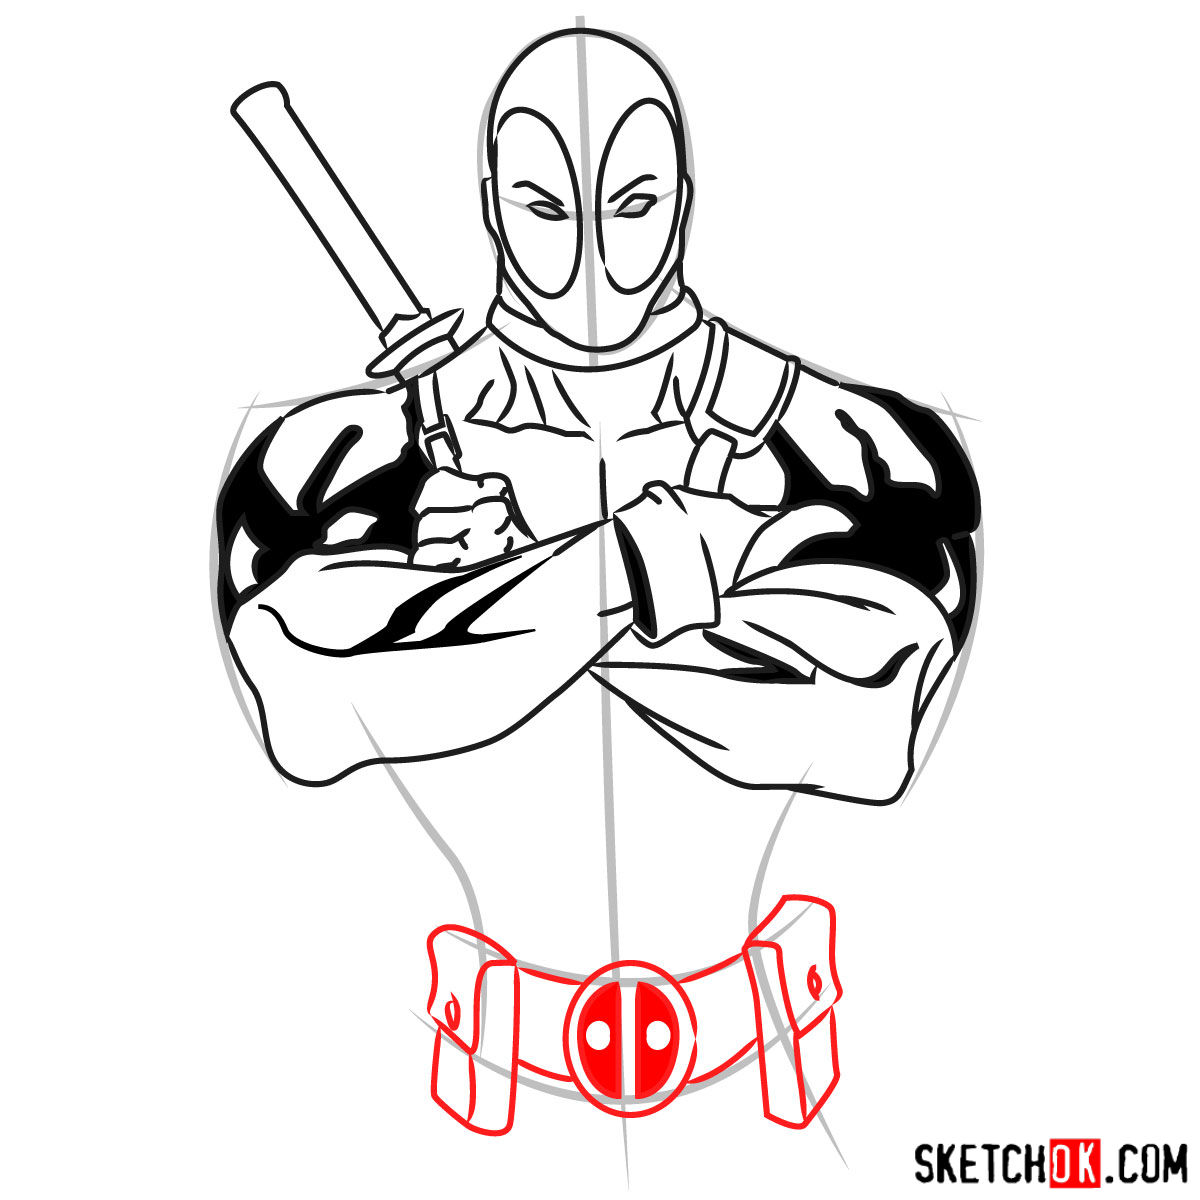
- Utility belt with Deadpool logo buckle
- Multiple brown pouches on the belt
This portrait version offers a quicker alternative to the full body Deadpool tutorial. For Wade with his partner, check out the Cable and Deadpool duo guide. Drawing Deadpool requires attention to the contrast between his red suit sections and the black details throughout his costume.
Working Through 11 Steps
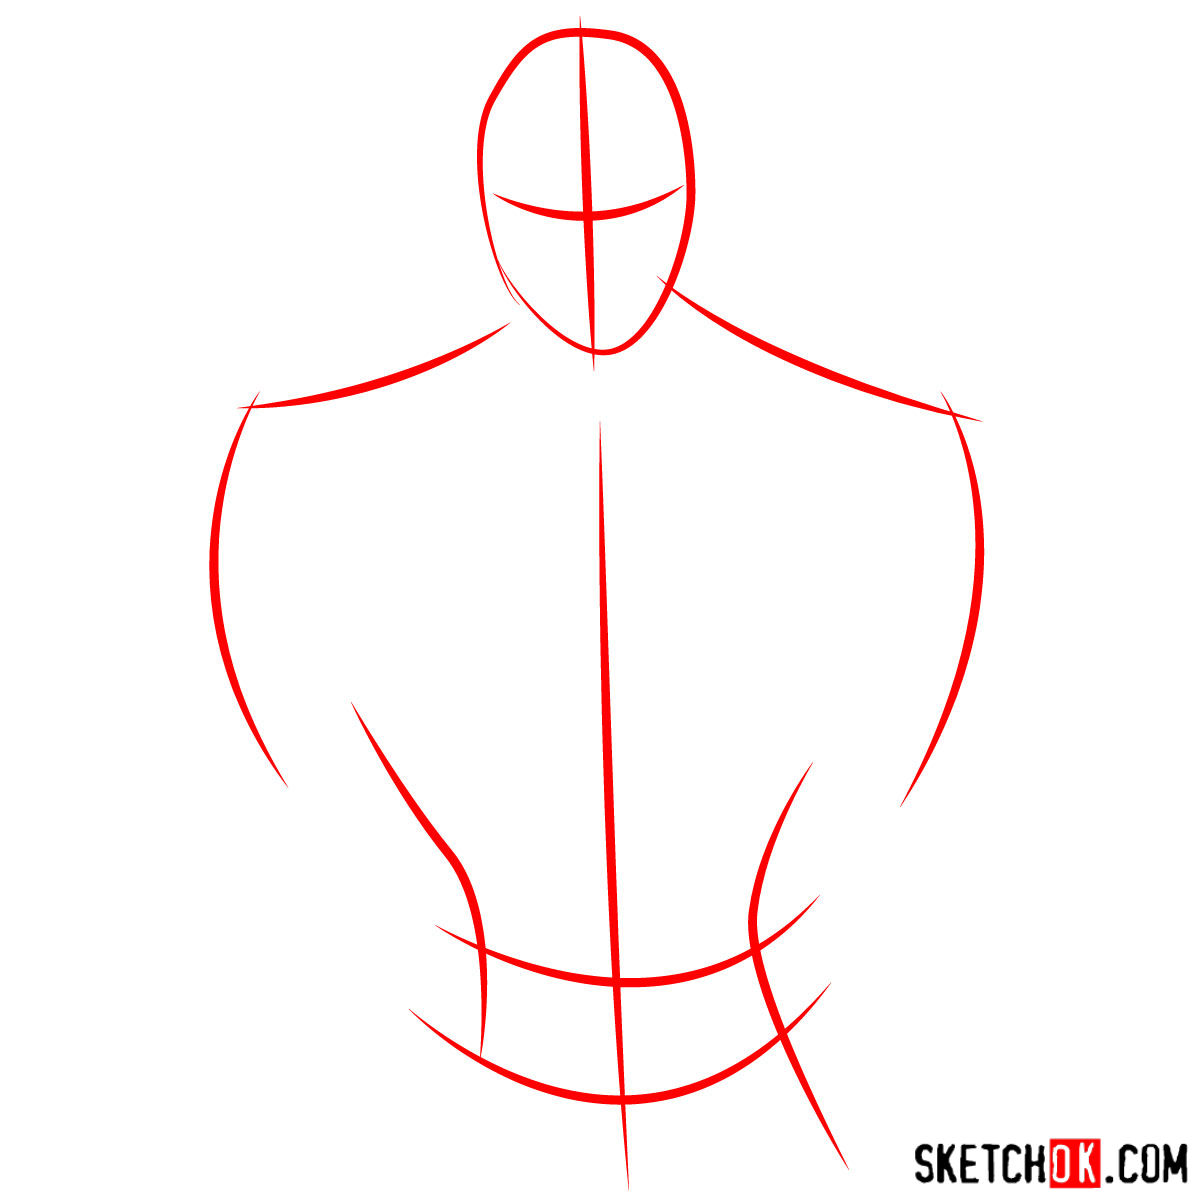
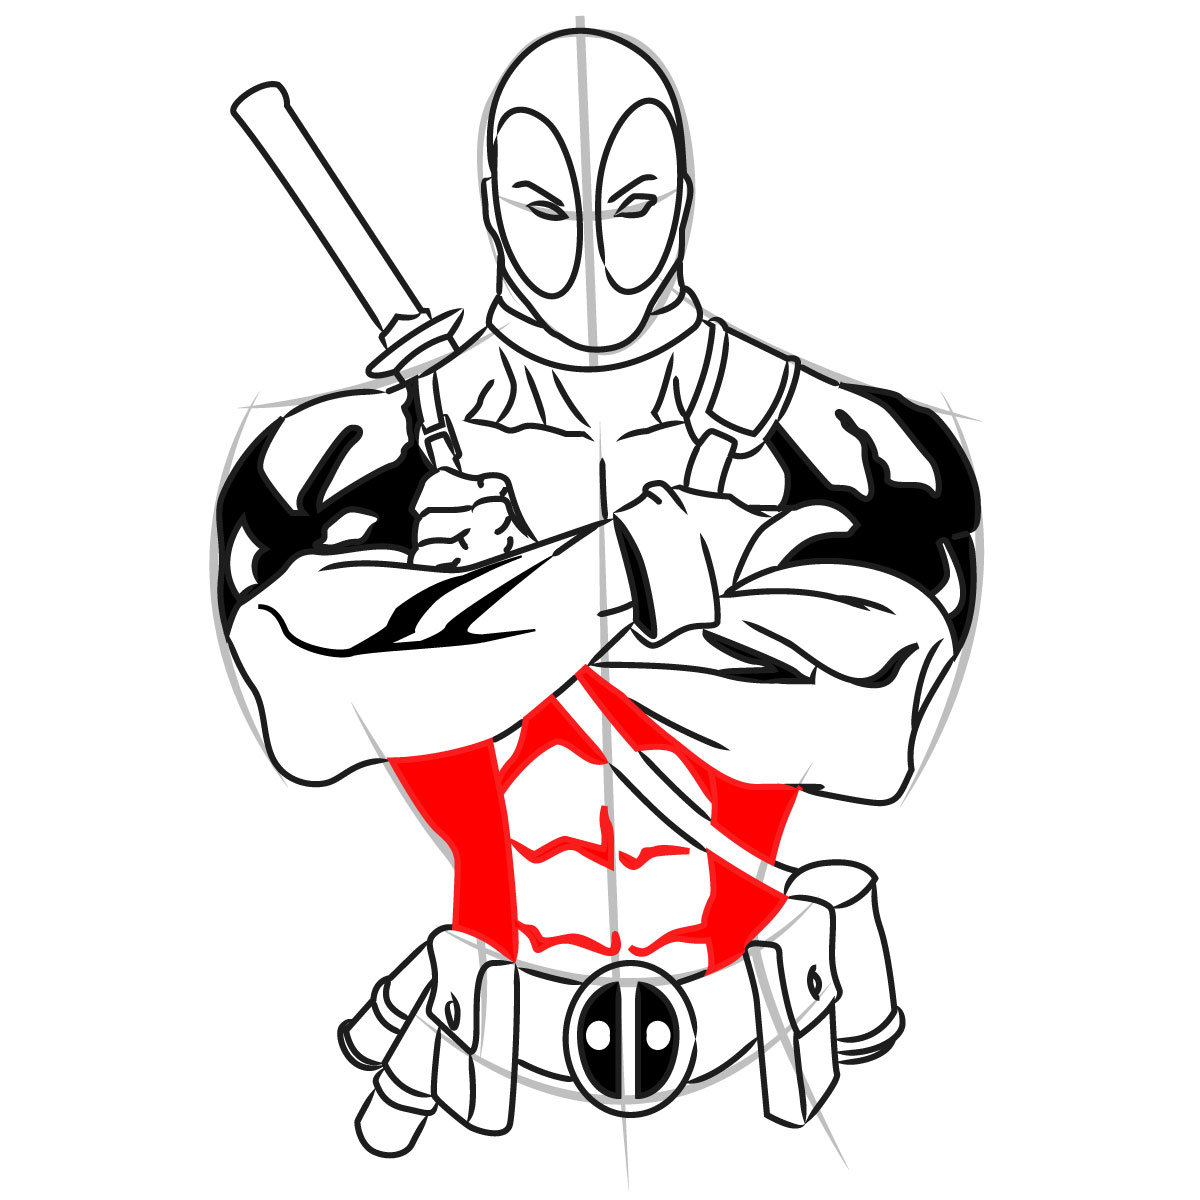
The crossed arms pose needs careful foreshortening. Track your work with these indicators:
- Red Color: lines added in the current step.
- Black Color: lines completed earlier.
- Gray Color: base sketch for structure.
How to Draw Deadpool: Portrait Tutorial


Share Your Deadpool Drawing!
That wraps up all 11 steps to draw Deadpool with his arms crossed and katana ready behind him. The belt pouches and logo buckle add character detail to this portrait composition. Drop your comments below and post links to your finished Merc with a Mouth artwork!