Introduction: Your Journey to Drawing Arsenal Begins!
Are you ready to embark on an artistic adventure? In this step-by-step tutorial, you’ll learn how to draw Arsenal, the iconic DC Comics superhero, also known as Roy Harper. By following our detailed guide, you’ll soon be able to recreate this archery expert in stunning detail. Let’s dive into the world of superheroes and bring your artistic skills to new heights!
Discovering Arsenal: A Superhero’s Tale
Before we begin, let’s get acquainted with the character we’ll be drawing. Roy Harper, a.k.a Arsenal, has a rich history in the DC Comics universe. Starting as Speedy, the teen sidekick of Green Arrow, he eventually grew into his own as Arsenal and later as Red Arrow. Throughout his journey, he fought crime alongside prominent superhero groups such as the Teen Titans, the Seven Soldiers of Victory, the Outsiders, Checkmate, the Justice League, and the Outlaws. Known for his exceptional marksmanship, Arsenal is a force to be reckoned with.
Fun fact: In 2013, ComicsAlliance ranked Roy Harper #50 on their list of the “50 Sexiest Male Characters in Comics”. So, not only are you about to draw a skilled archer, but also a heartthrob!
Equip Yourself: Gather Your Artistic Arsenal
Before starting your drawing journey, make sure you have the right tools at hand. While you can use any drawing materials you prefer, we recommend the following:
- Pencils: A range of graphite pencils from 2H to 6B
- Eraser: A soft, non-abrasive eraser for corrections
- Paper: Quality drawing paper, suitable for pencils and ink
- Inking tools: Fineliner pens or markers for outlining
- Coloring tools: Colored pencils or markers for adding color and shading
A Step-by-Step Guide to Drawing Arsenal
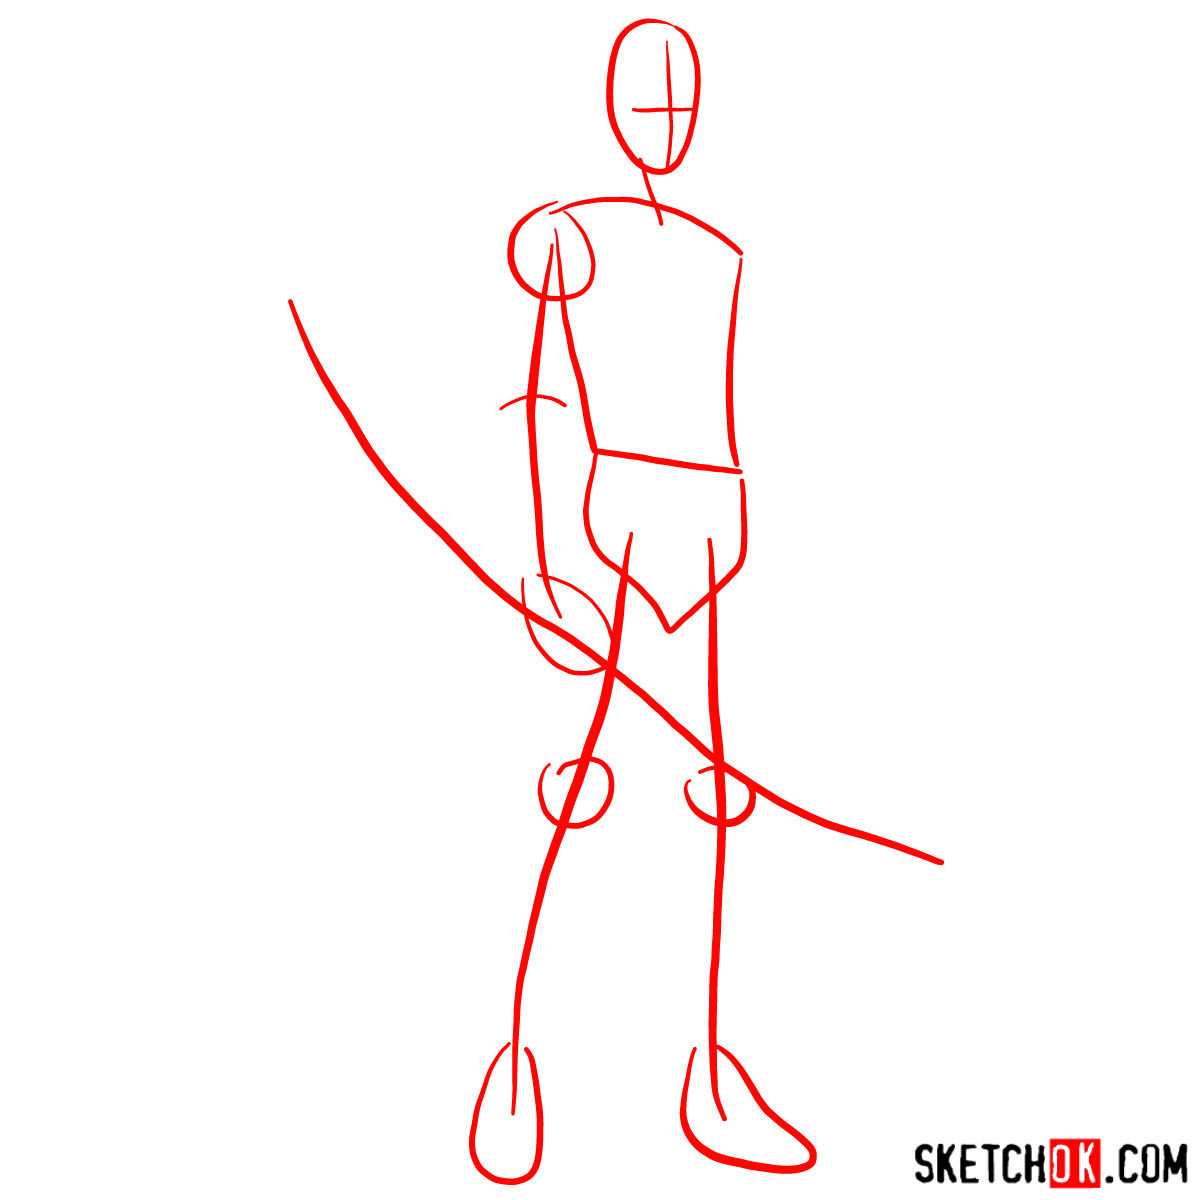
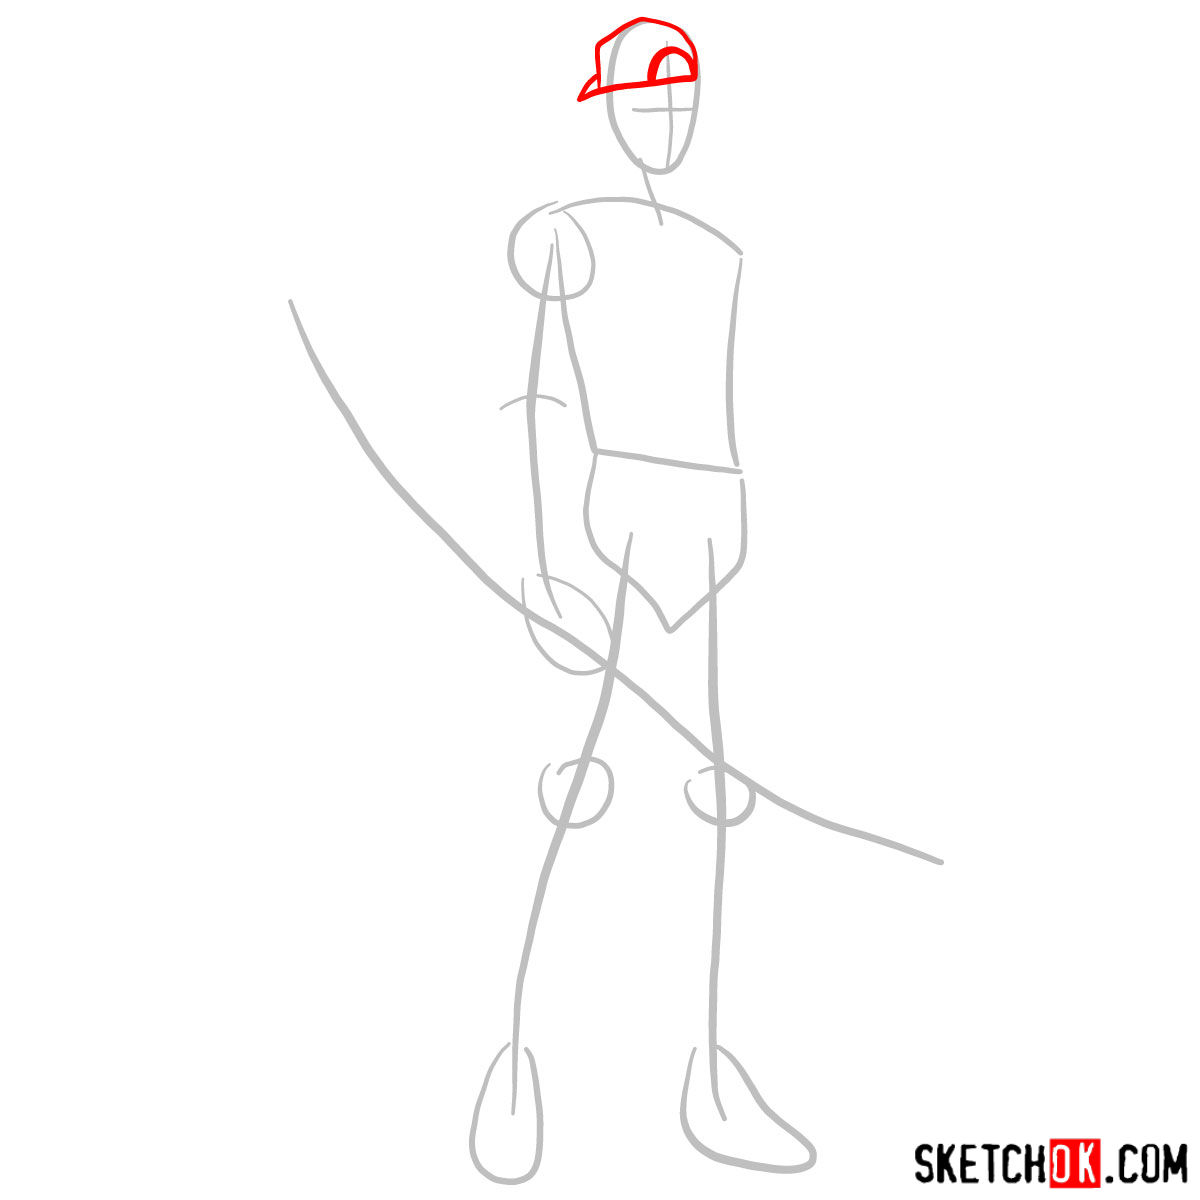
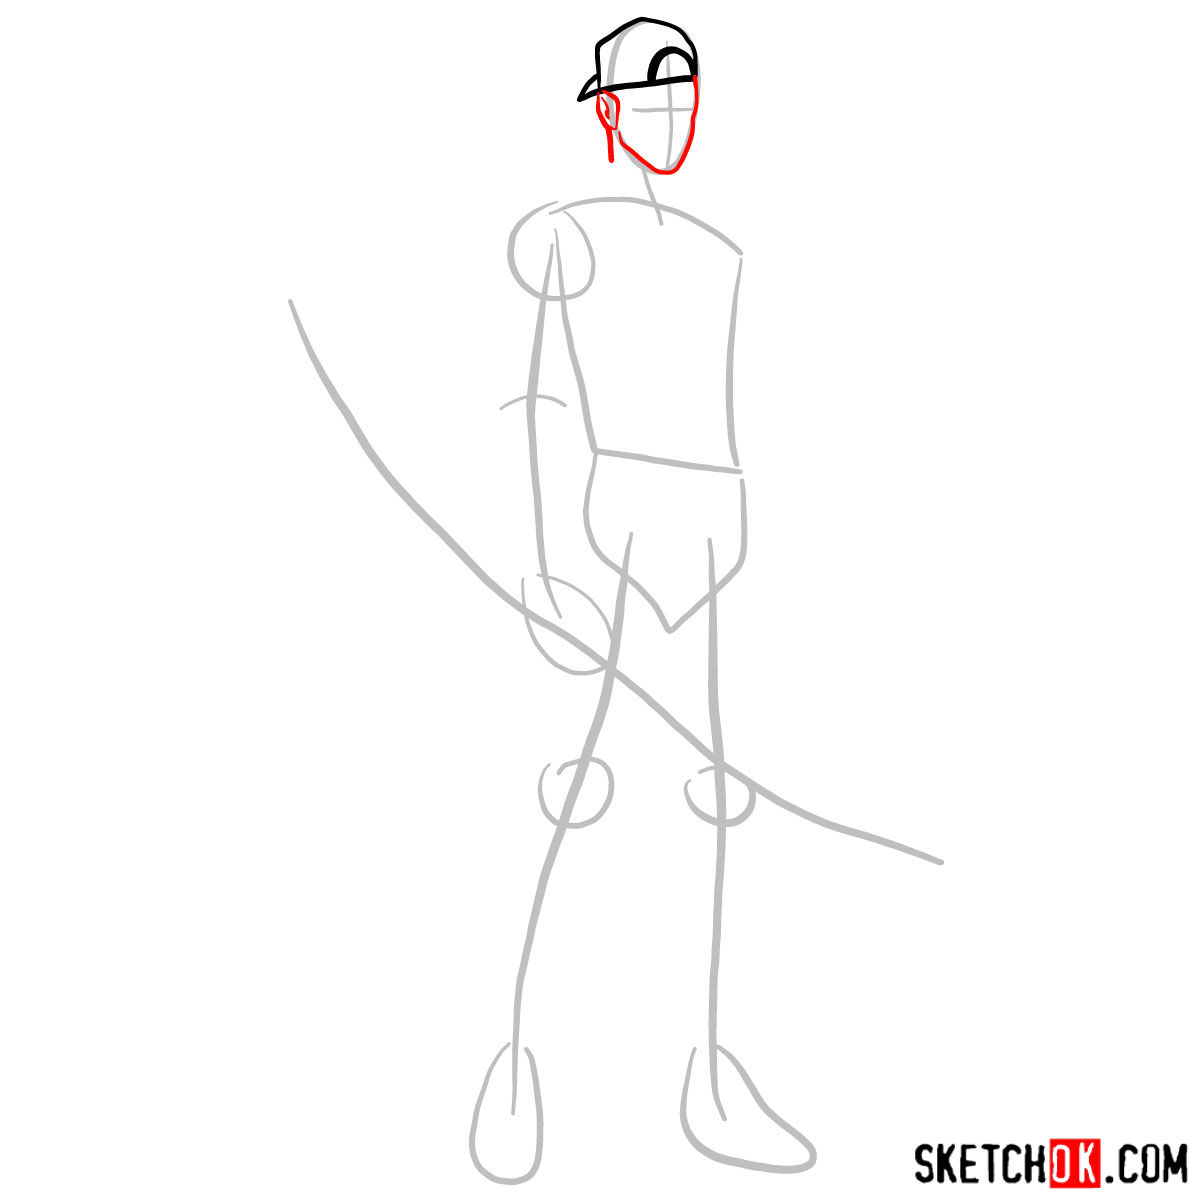
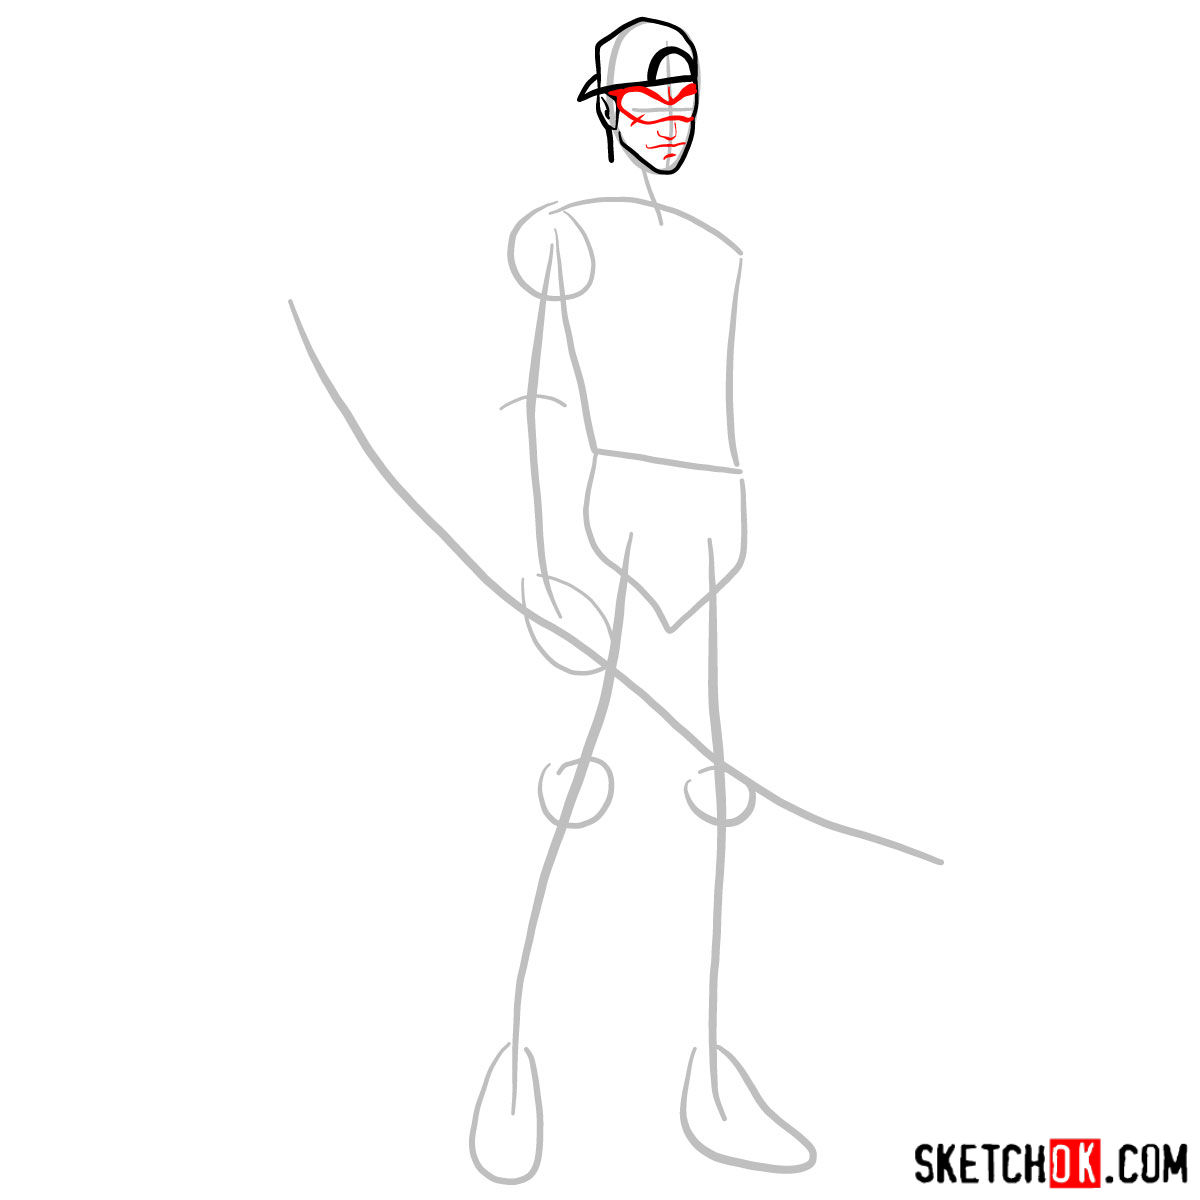
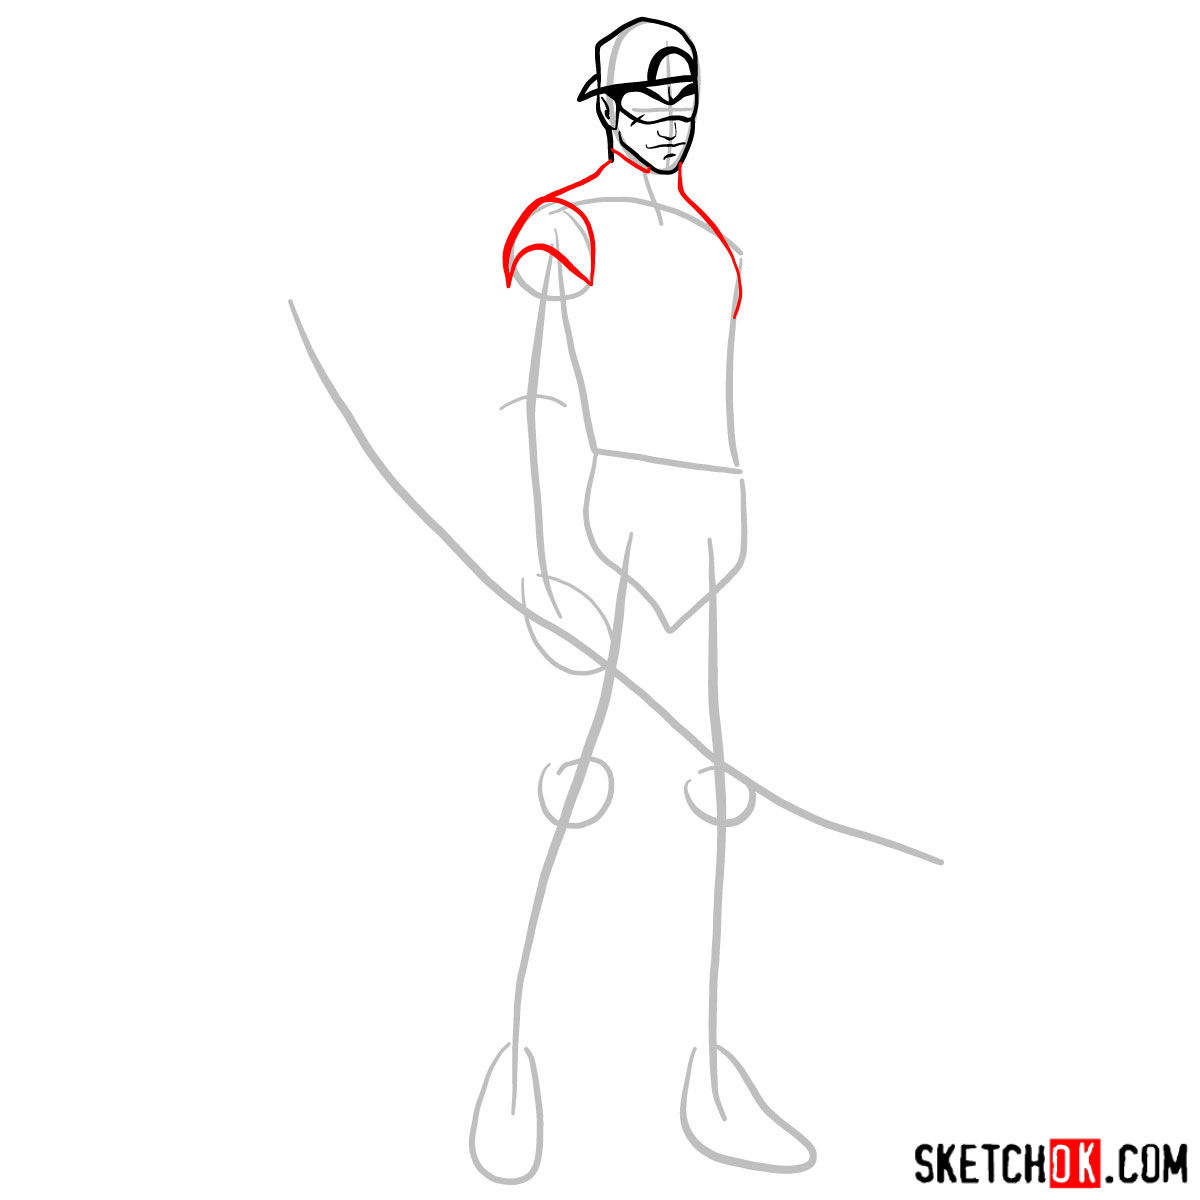
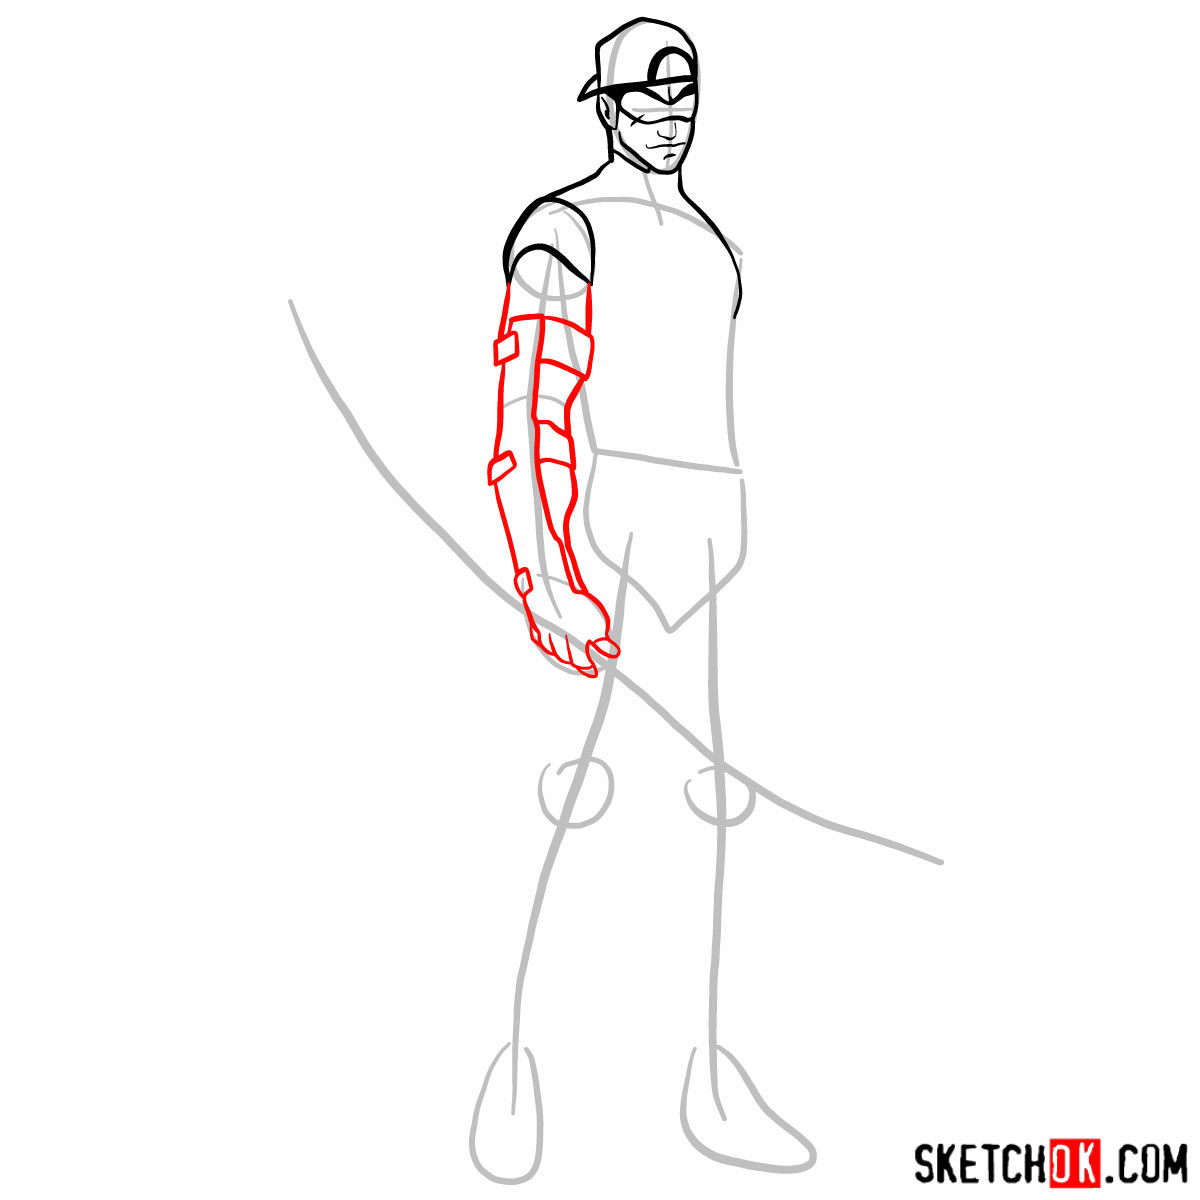
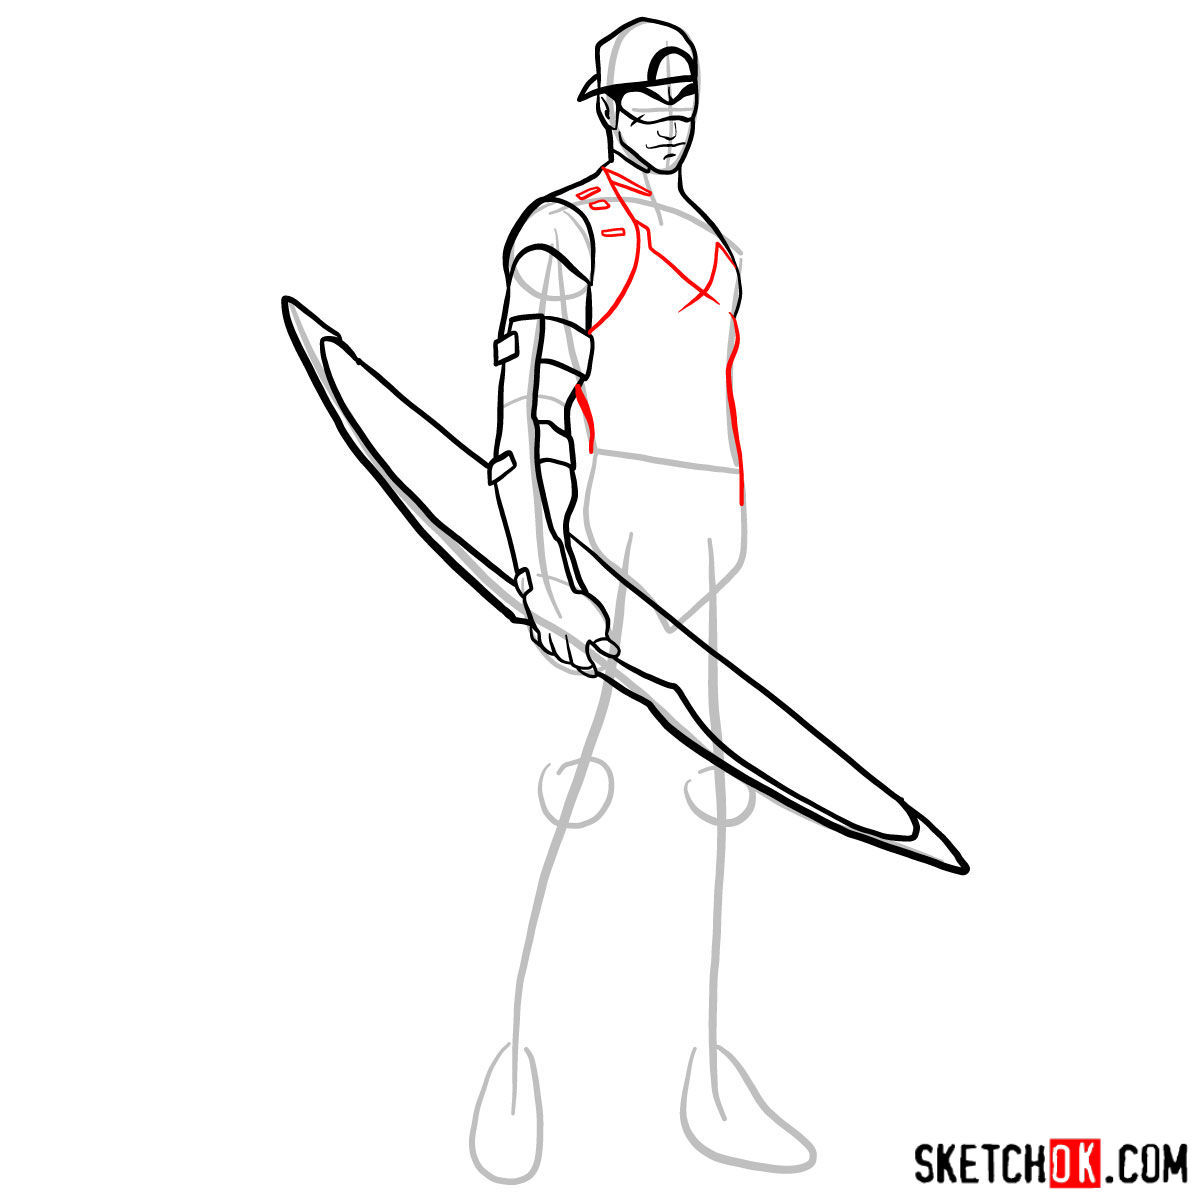
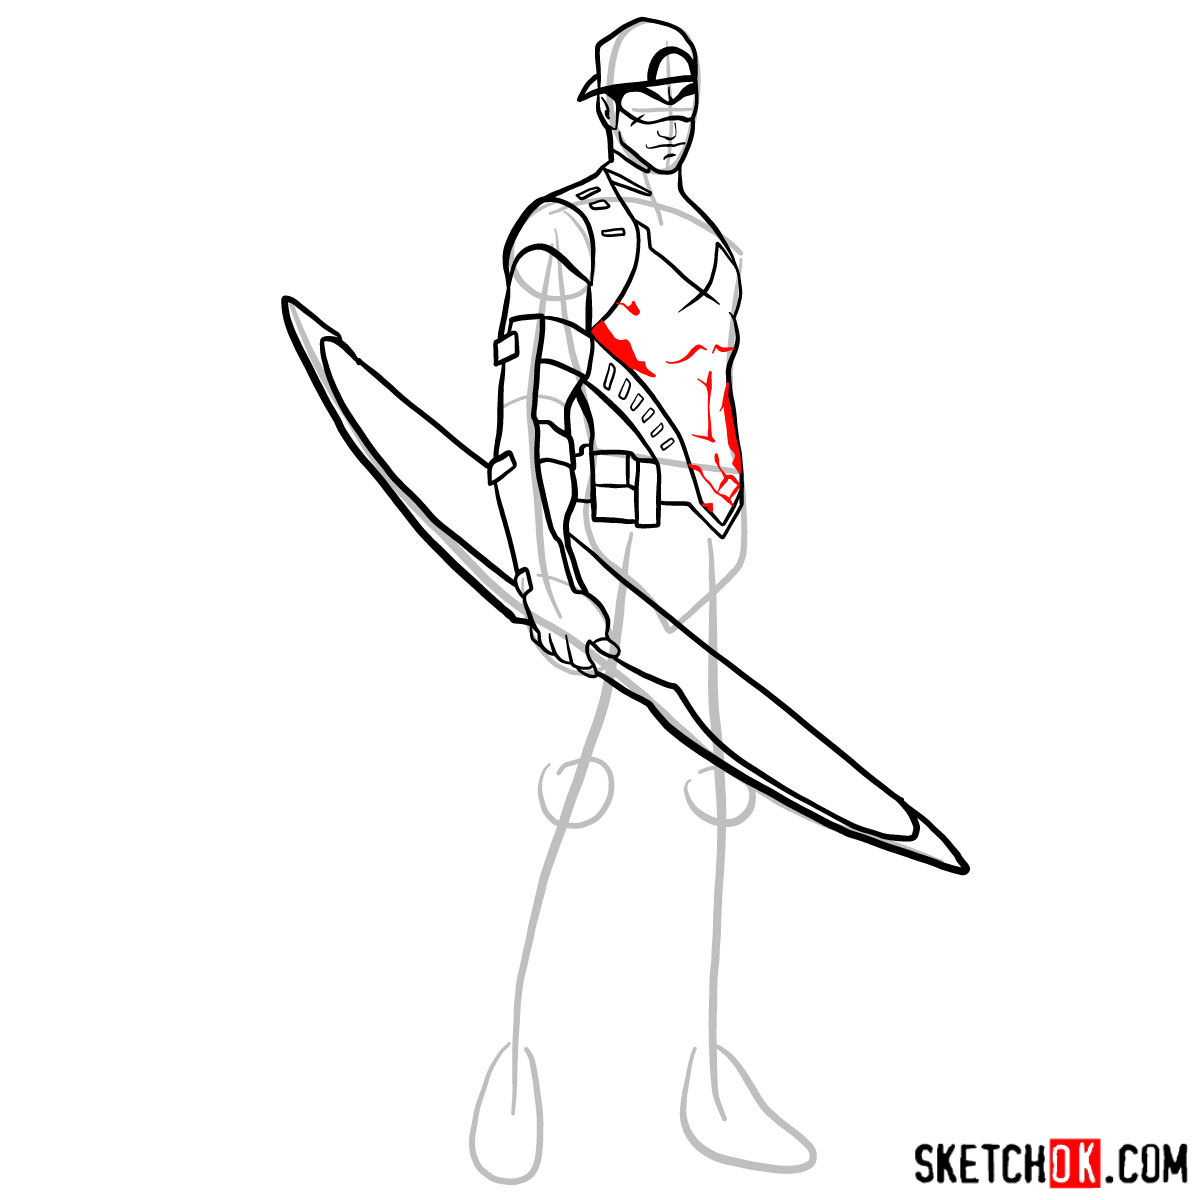
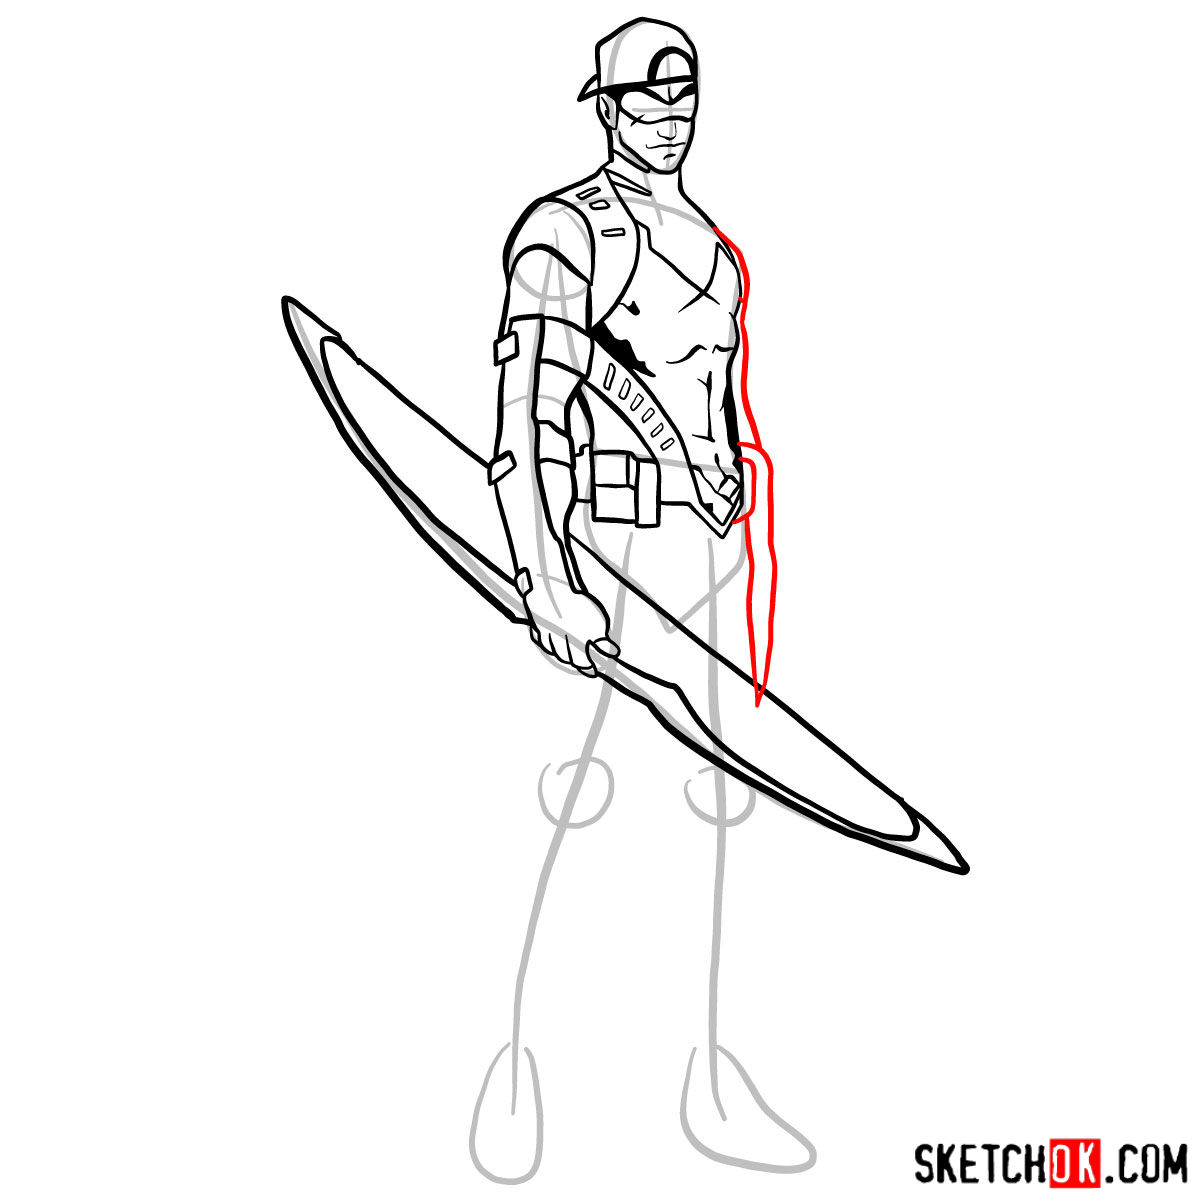
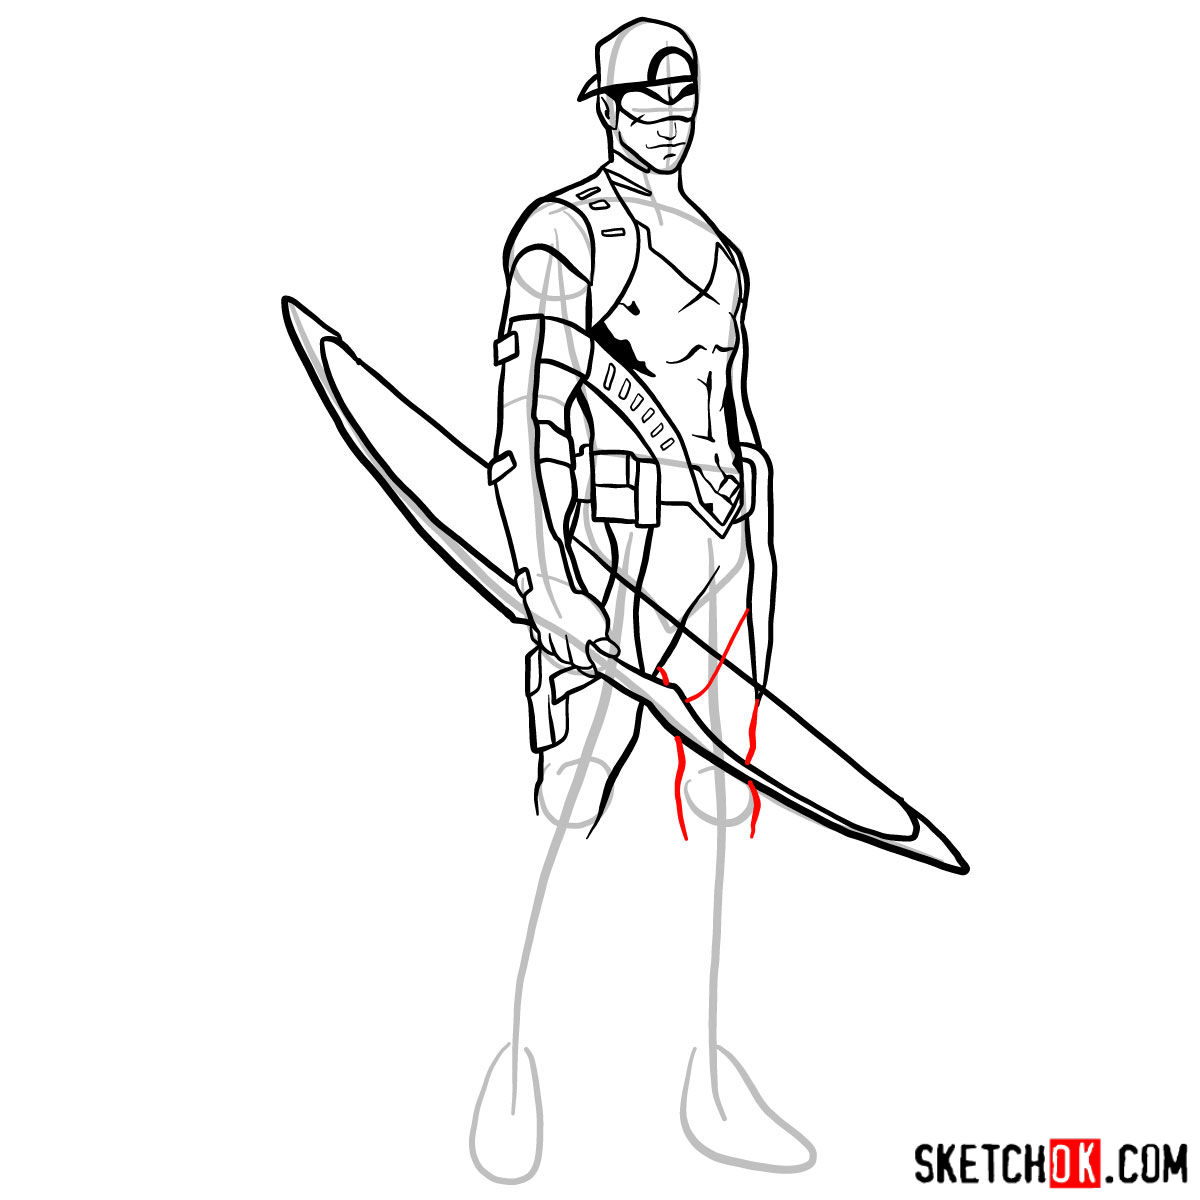
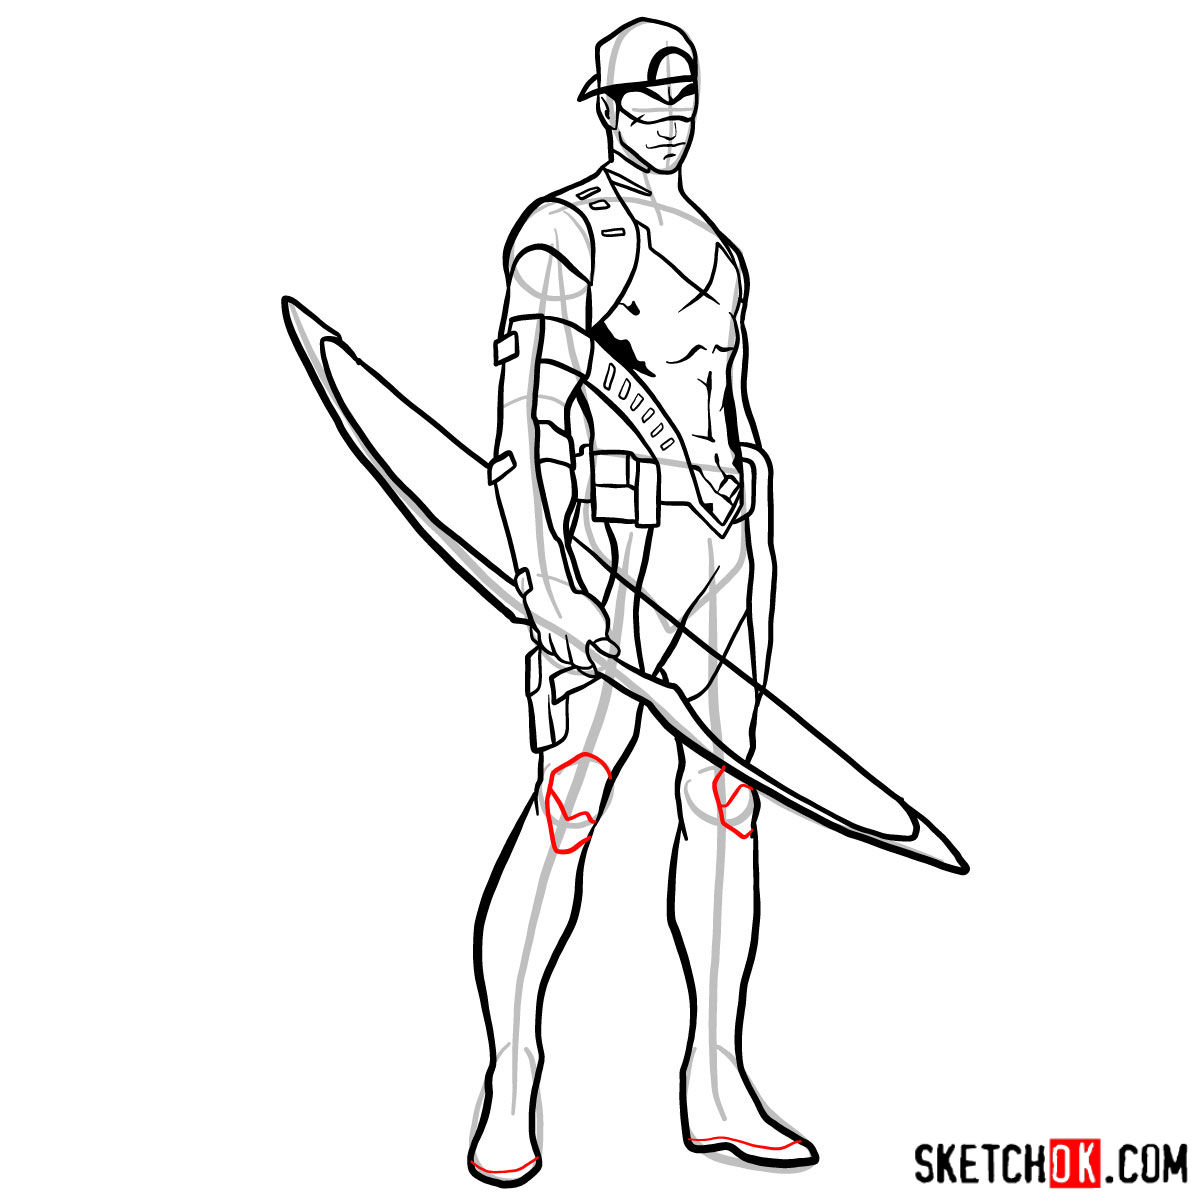
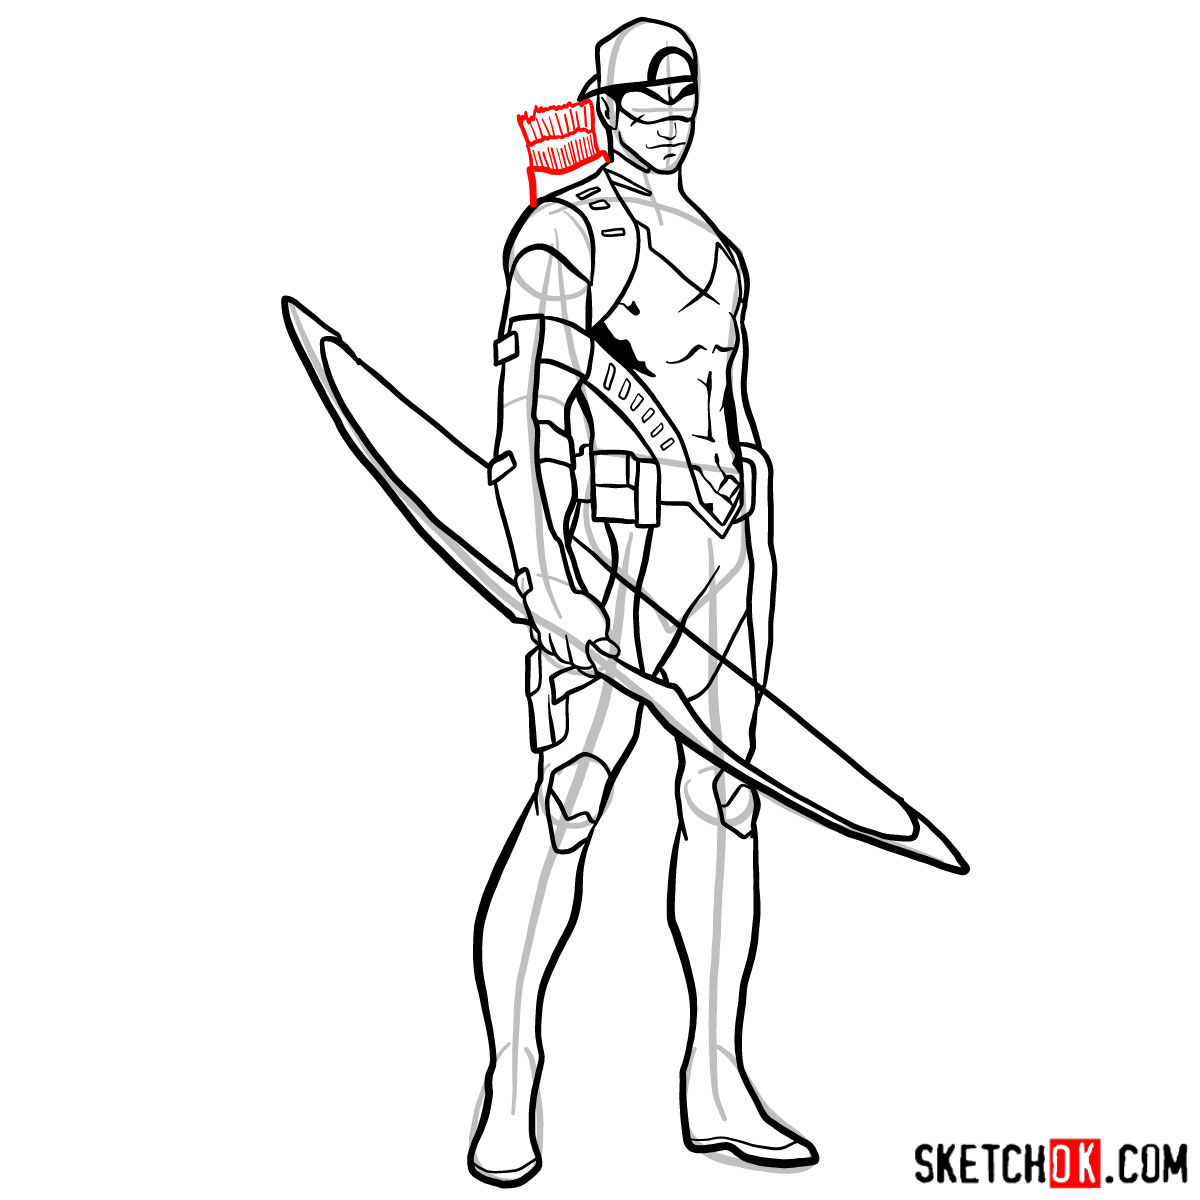
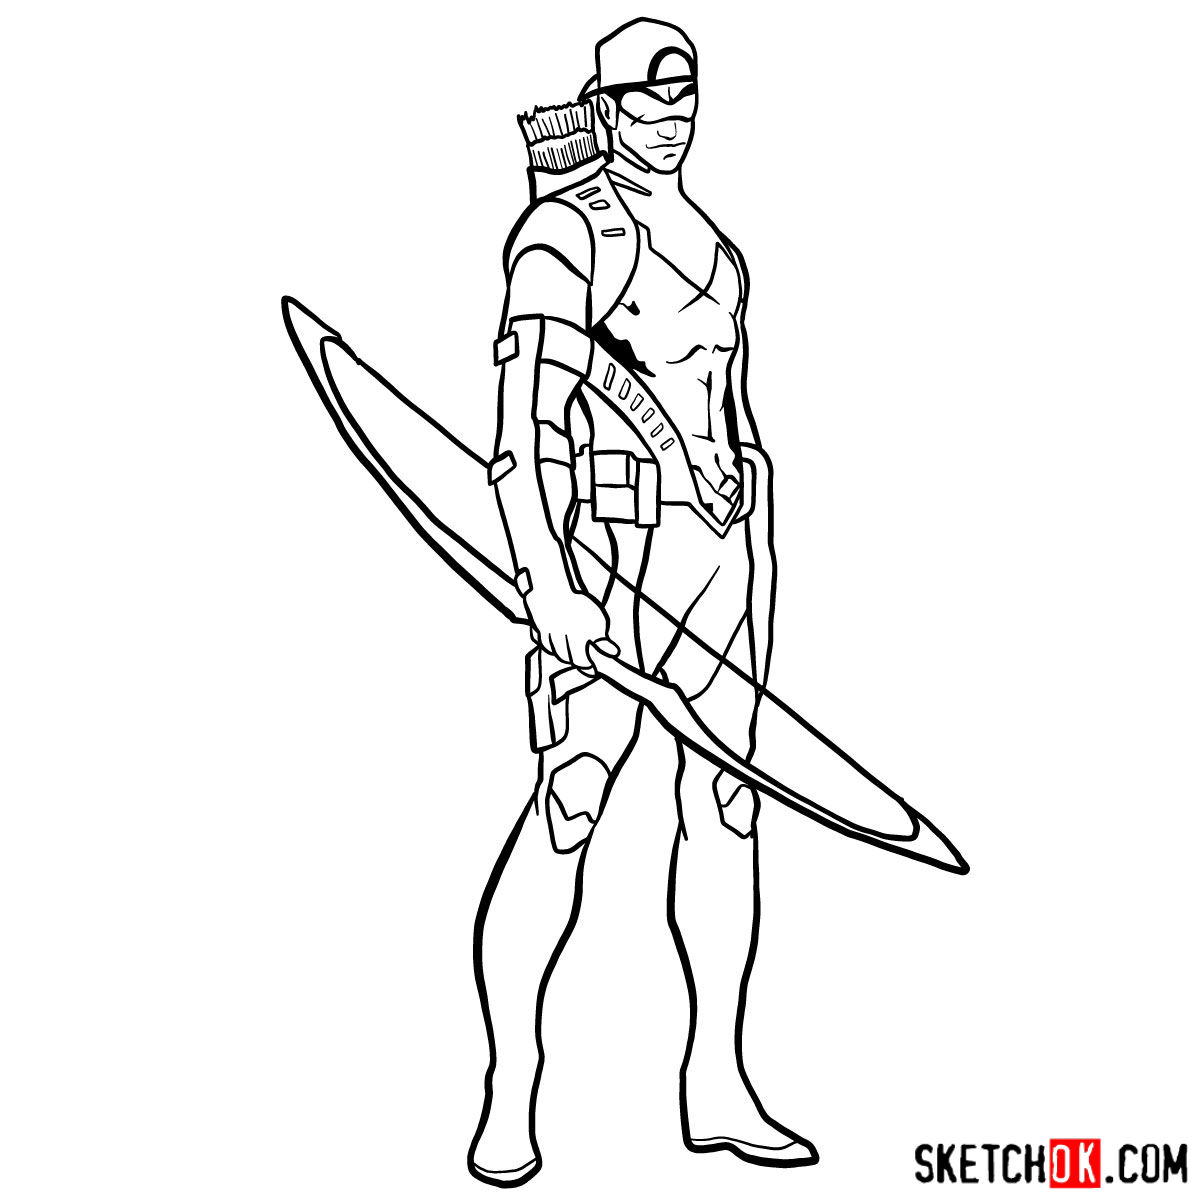
In this guide, you’ll find a series of images that will help you create your very own Arsenal drawing. The images use red, grey, and black colors to indicate different stages of the drawing process. The red color shows the current drawing step, the grey color represents the basic proportions sketch, and the black color highlights what has already been drawn. Keep this in mind as you follow the tutorial.
Part 1: Laying the Foundations
Start by lightly sketching the basic structure of Arsenal’s body, focusing on accurate proportions and placement. Use gentle pencil strokes during this stage, as these lines will be refined later. This foundation is crucial to achieving a convincing representation of Arsenal and will serve as a guide for adding details in the next step.
Part 2: Refining the Sketch
With the basic structure in place, it’s time to refine your sketch. Begin by working on Arsenal’s facial features, capturing his intense gaze and chiseled jawline. Next, add details to his costume, such as the iconic arm guard and quiver, which hold his arrows. Adjust the proportions and poses as needed to create a dynamic and lifelike representation of the character.


Part 3: Inking
Once you’re satisfied with your refined sketch, it’s time to bring Arsenal to life with ink. Carefully trace over your pencil lines using a fineliner pen or marker, outlining the character’s features and adding final touches. Remember to let the ink dry completely before erasing any remaining pencil marks, to avoid smudging your artwork.
Part 4: Coloring and Shading
The final step in your Arsenal drawing journey is adding color, shading, and highlights. Choose your preferred coloring tools, such as colored pencils or markers, and begin by applying base colors to the different areas of Roy Harper’s costume. Next, add shading and highlights to create depth and dimension, making your drawing truly come alive.
 DC")
Enhance Your Art: Tips and Techniques
Looking to level up your Arsenal drawing? Here are some tips and techniques to help you improve your skills:
- Study anatomy and human proportions to create more convincing poses and accurate body structures.
- Practice drawing different facial expressions to convey Arsenal’s emotions and personality.
- Experiment with various shading techniques to add depth and realism to your artwork.
Frequently Asked Questions
Q: What are some common mistakes when drawing Arsenal?
A: Some common mistakes include inaccurate proportions, stiff poses, and lack of facial expressions. To avoid these pitfalls, study human anatomy, practice drawing dynamic poses, and experiment with various facial expressions.
Q: Can I use digital tools to draw this superhero?
A: Absolutely! Digital tools offer a range of possibilities for drawing and coloring. Just be sure to follow the same basic principles of sketching, refining, inking, and coloring, as described in this guide.
Now that you’ve completed your step-by-step guide to drawing Arsenal, it’s time to share your masterpiece with the world! Don’t forget to practice regularly to hone your skills and explore other characters in the DC Comics universe, like Batman of the Future, Red Robin, or Nightwing.
If you’ve enjoyed this tutorial and would like to support the regular release of free drawing guides on SketchOk, consider buying us a coffee! You can do so by clicking here. Your support helps keep the creative juices flowing and ensures that aspiring artists like yourself have access to these tutorials. Cheers to unleashing your inner superhero!