Introduction: Becoming a Batman Sketching Superhero
Are you ready to channel your inner artist and create a jaw-dropping Gotham Knight drawing? In this step-by-step tutorial, we’ll guide you through the process and teach you how to draw Batman in his classic suit, without breaking a sweat. With a series of images and helpful advice, you’ll be on your way to crafting a stunning piece of art. So, grab your favorite drawing tools, and let’s dive into the world of Gotham City’s protector!
A Glimpse into the World of the Dark Knight
Before we jump into the drawing process, let’s take a moment to understand Batman’s origin and story. Batman, a.k.a Bruce Wayne, first appeared in Detective Comics #27 in 1939. Created by Bob Kane and Bill Finger, Batman is a wealthy playboy and philanthropist who, after witnessing the murder of his parents, decides to fight crime in Gotham City. With no superpowers, Batman relies on his intellect, physical prowess, and vast fortune to protect his city from evildoers like the Joker, Penguin, and Riddler.
Over the years, Batman has donned various suits and styles, with his classic grey suit remaining a fan favorite. Batman’s classic suit is characterized by a grey bodysuit, black cape and cowl, and a yellow utility belt.
Your Trusty Tools for Battling the Blank Page
Before we embark on this artistic adventure, gather the following materials to ensure a smooth drawing experience:
- Pencils (HB, 2B, and 4B recommended)
- Eraser
- Sharpener
- Paper or sketchbook
- Fineliner pens or markers for inking
- Colored pencils or markers for coloring
Remember, these are merely suggestions, and you’re welcome to use any tools you prefer.
Step-by-Step Guide to Drawing the Caped Crusader
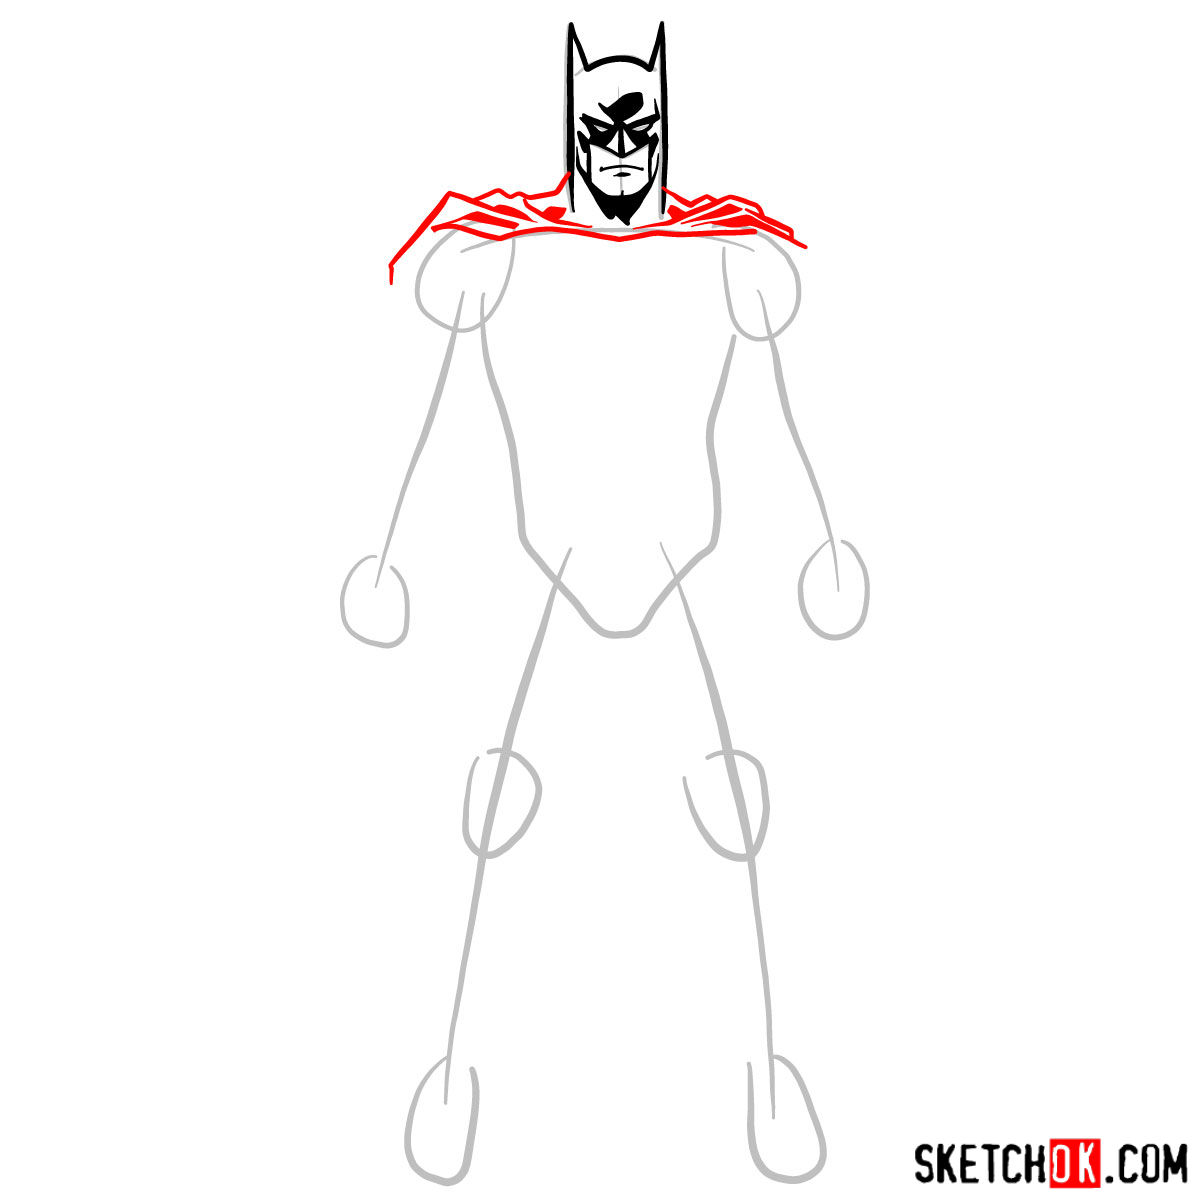
Our drawing guide consists of four main parts, each focusing on a different aspect of the drawing process. Before we dive in, note that the images in this guide use red, grey, and black colors to indicate different stages of the drawing. Red represents the current step, grey denotes the basic proportions sketch, and black shows what has already been drawn.
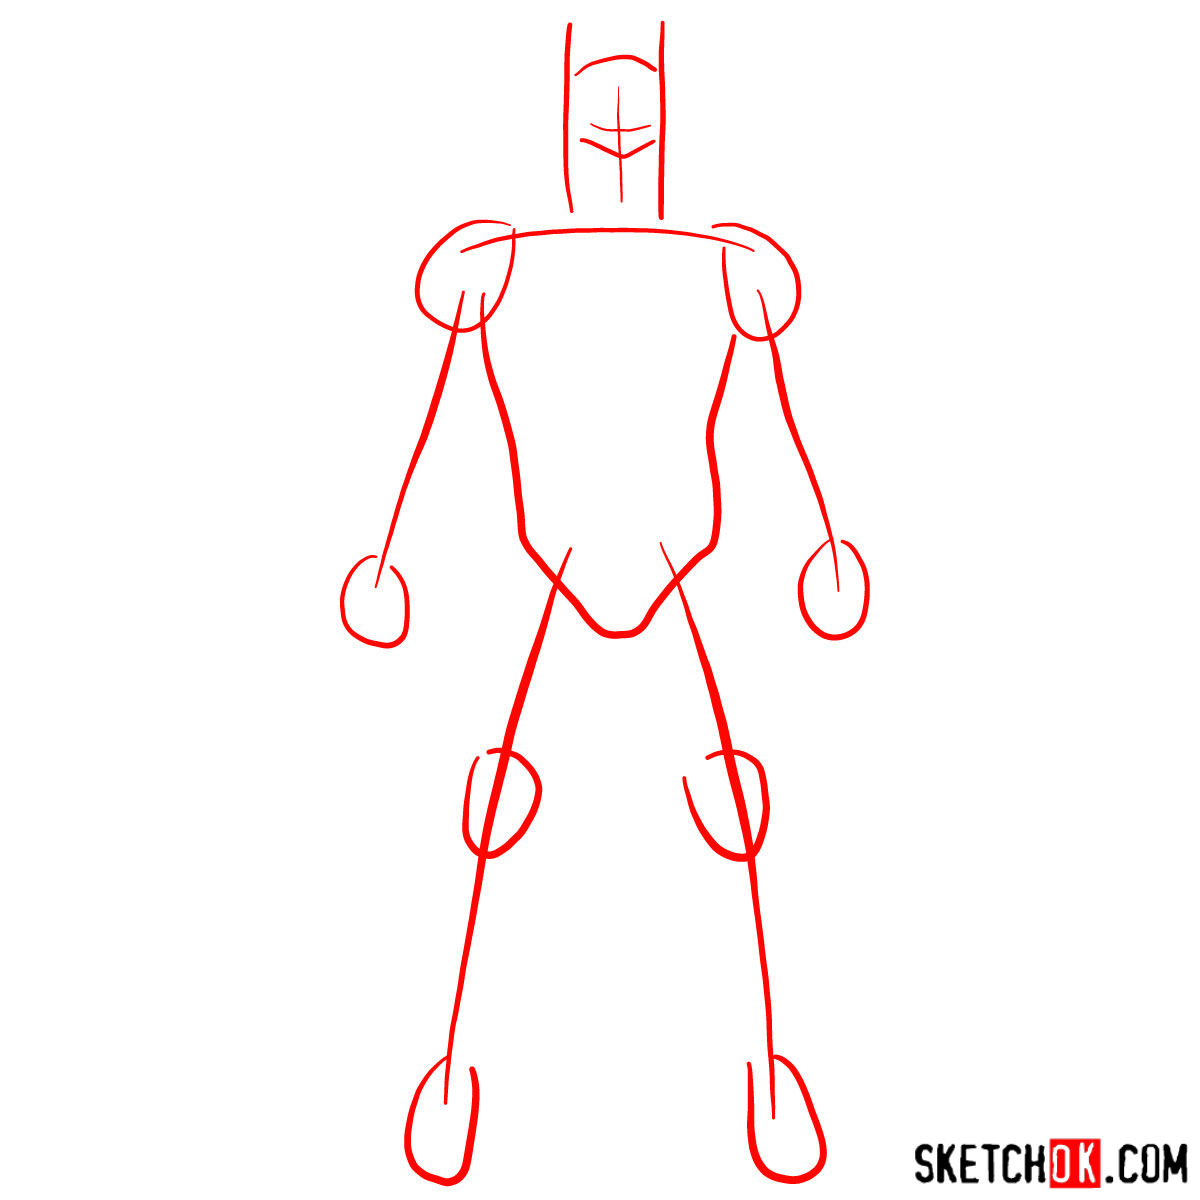
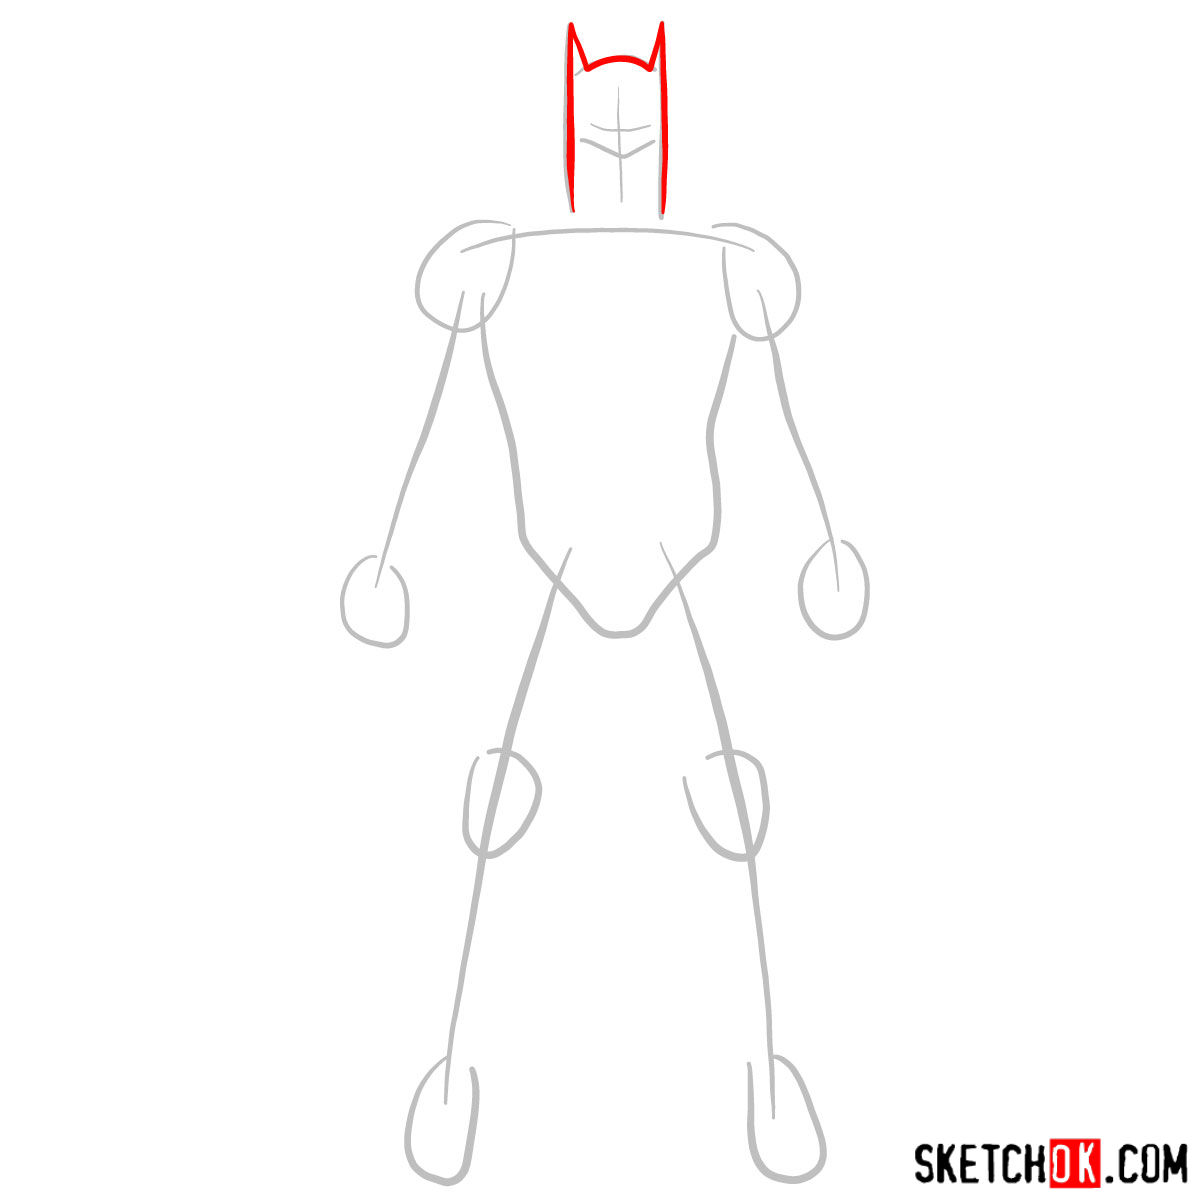
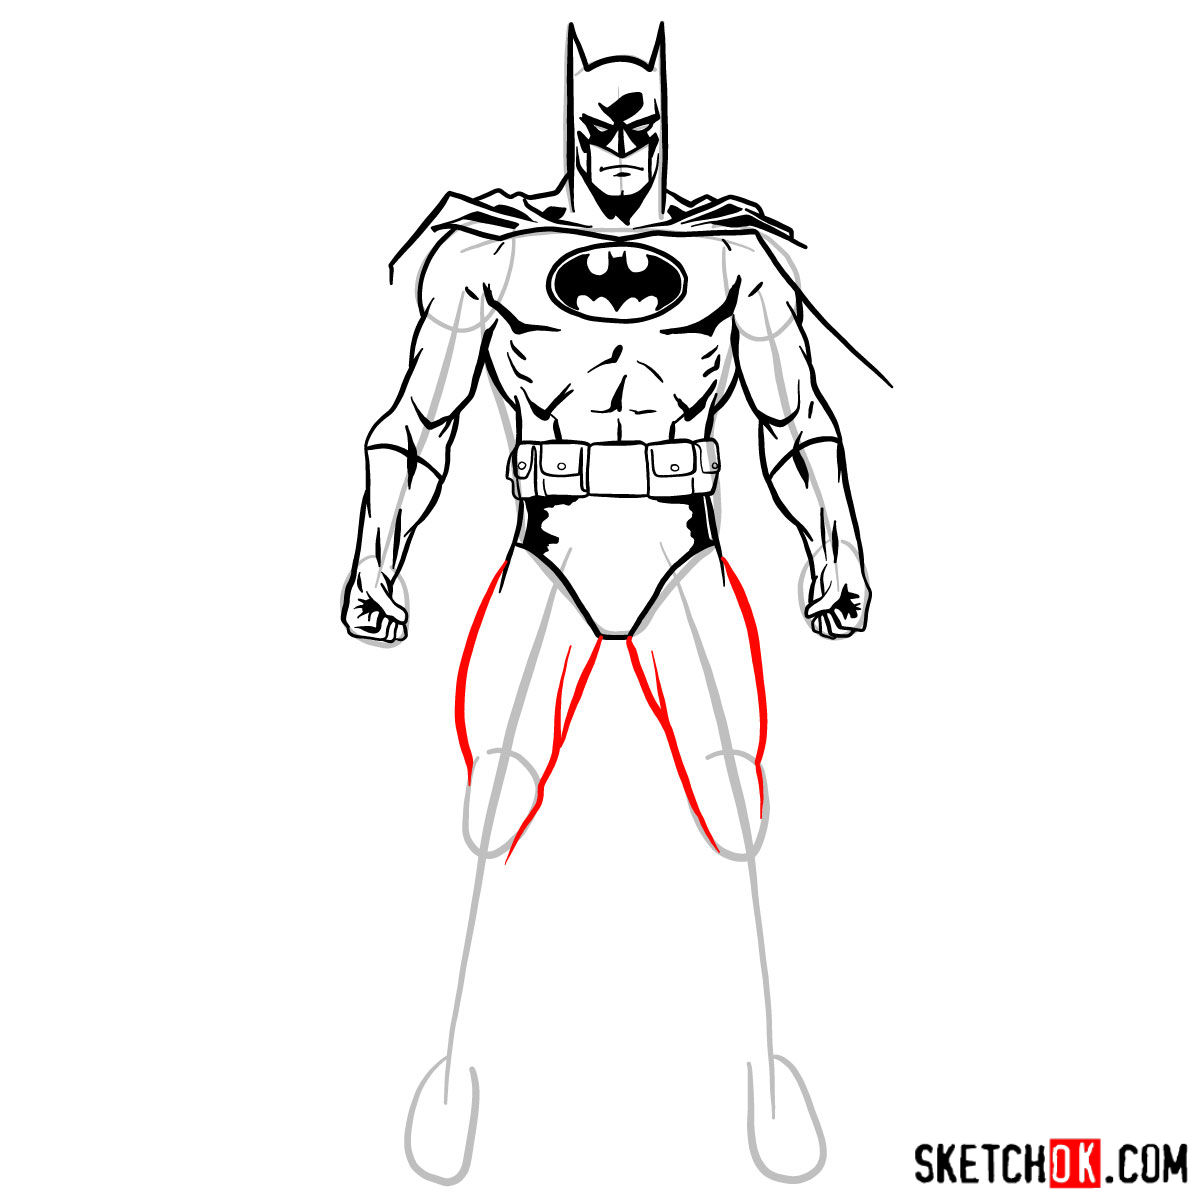
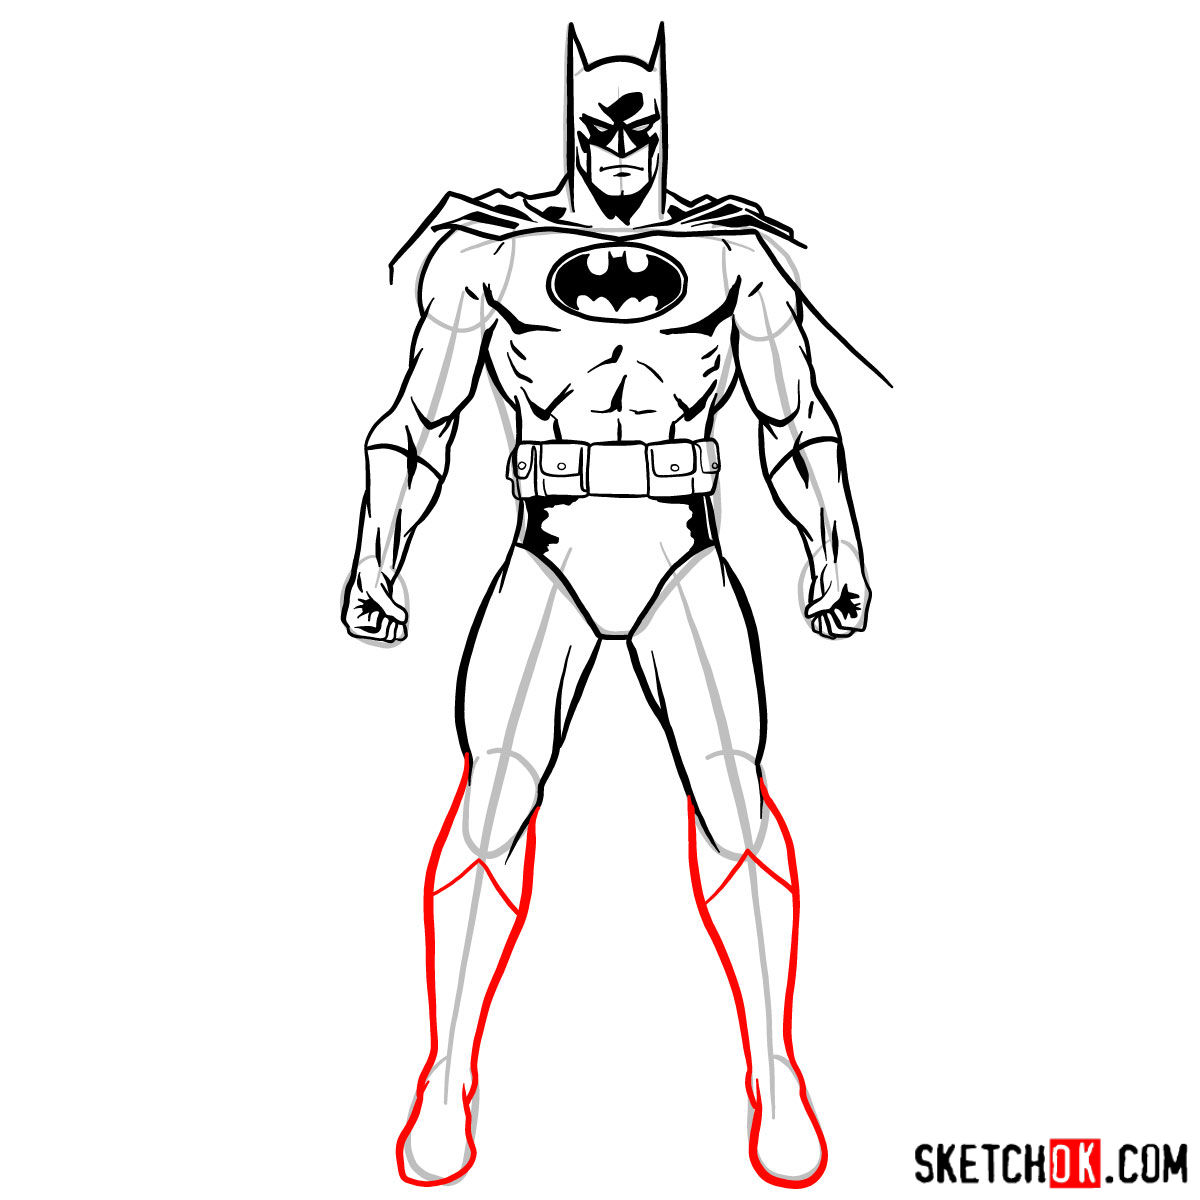
Part 1: Laying the Foundation
Start by creating a basic sketch of Batman’s figure using light pencil strokes. This initial sketch will serve as a foundation for proportions and positioning. Focus on getting the general shape and structure of Batman’s body, including his muscular build and iconic mask.
Remember, this is just the beginning, so don’t worry if it’s not perfect. The goal is to establish a solid starting point for refining and detailing your Batman drawing.
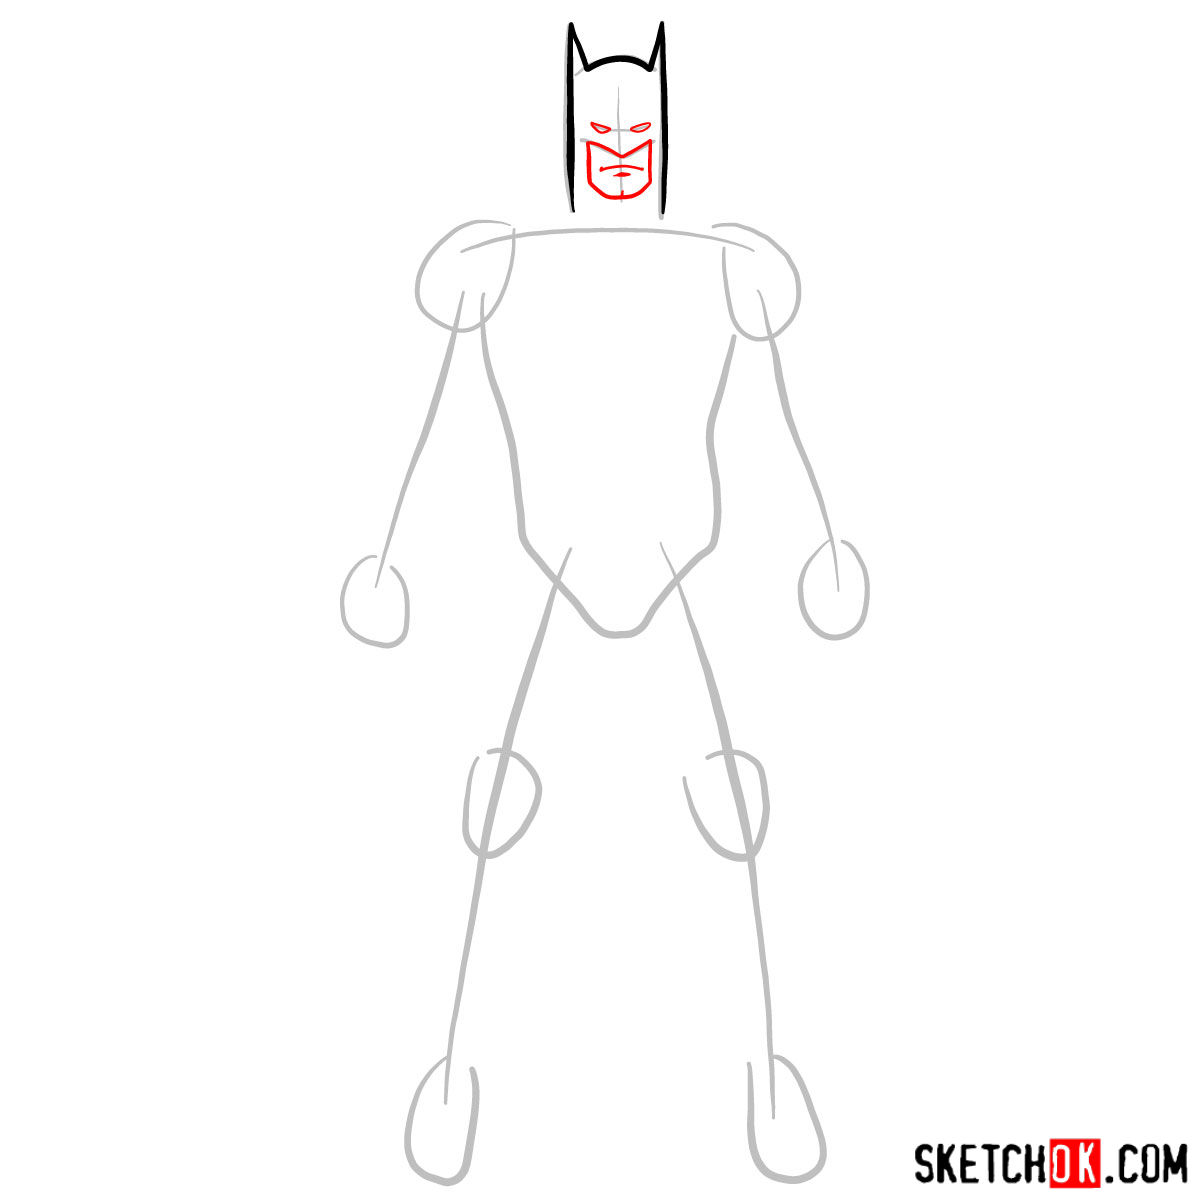
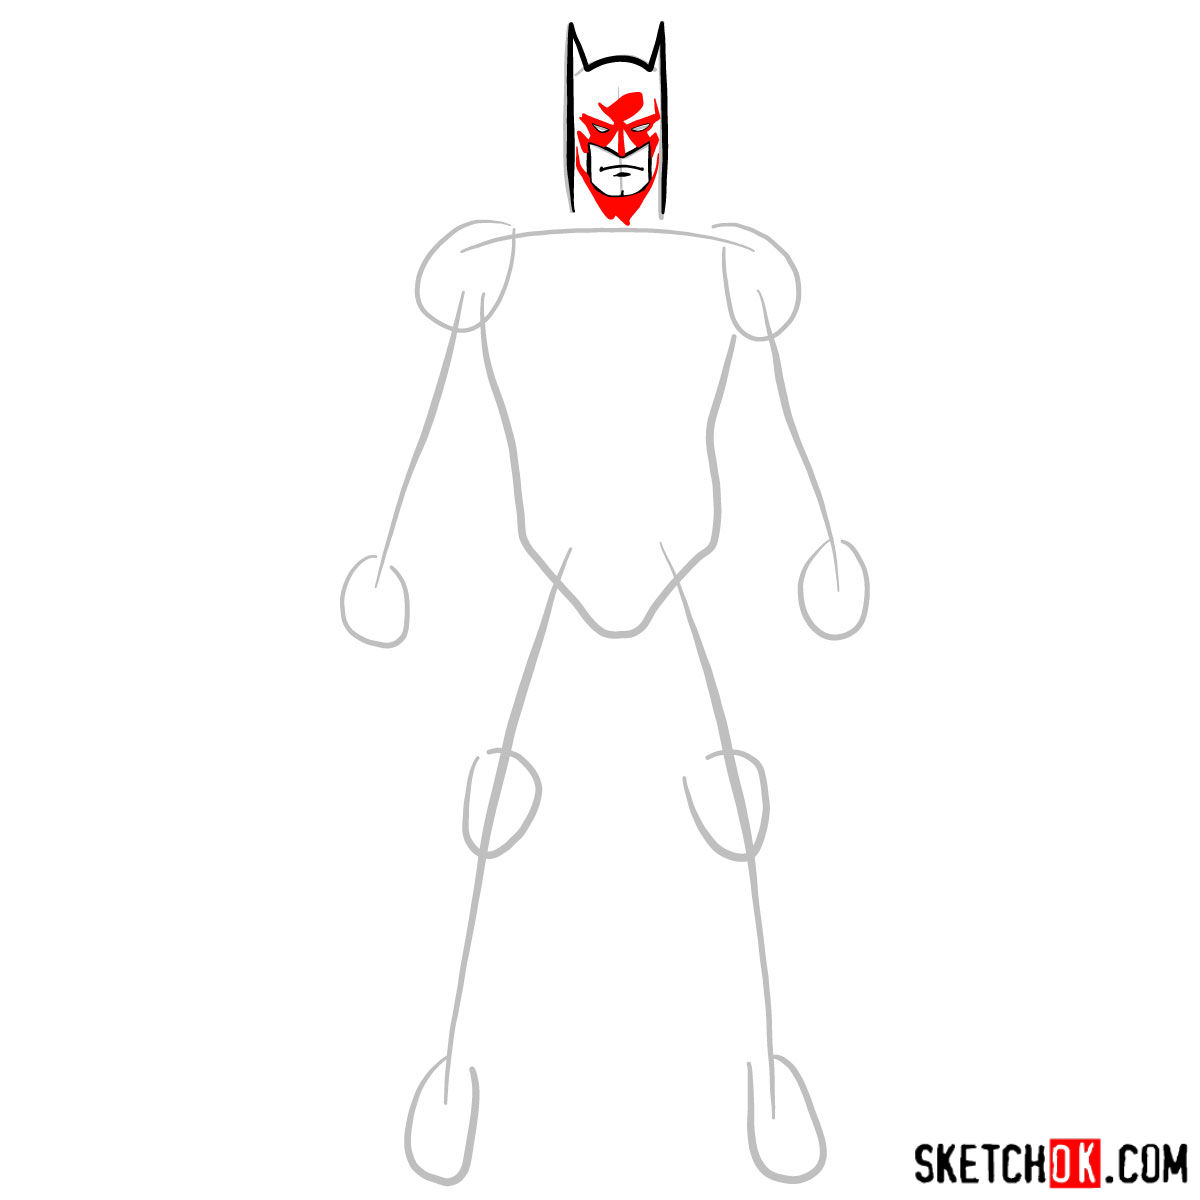
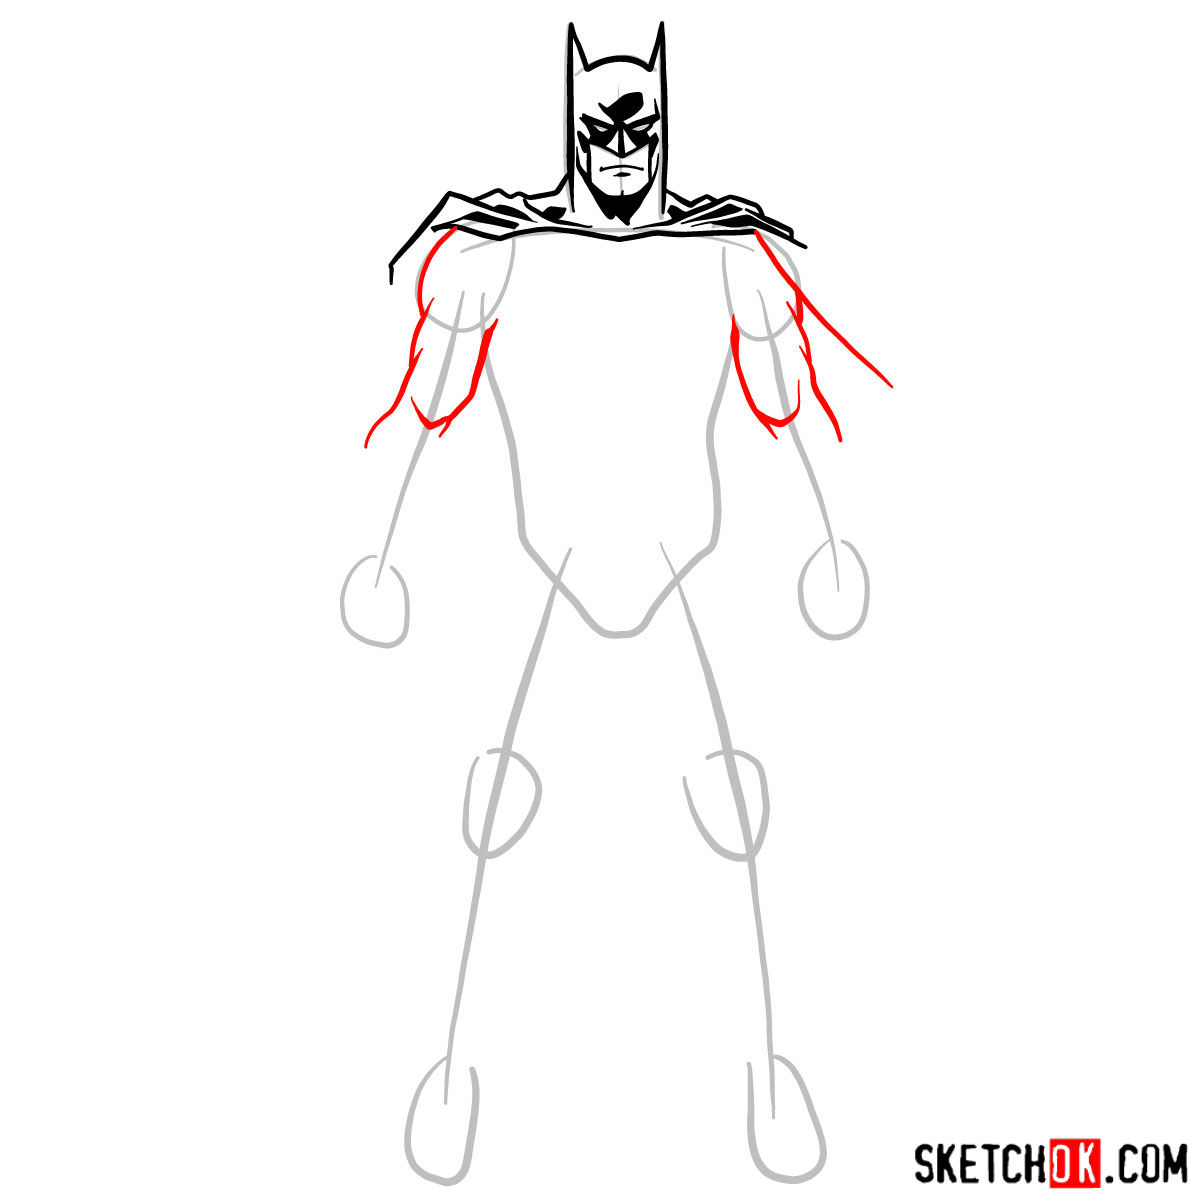
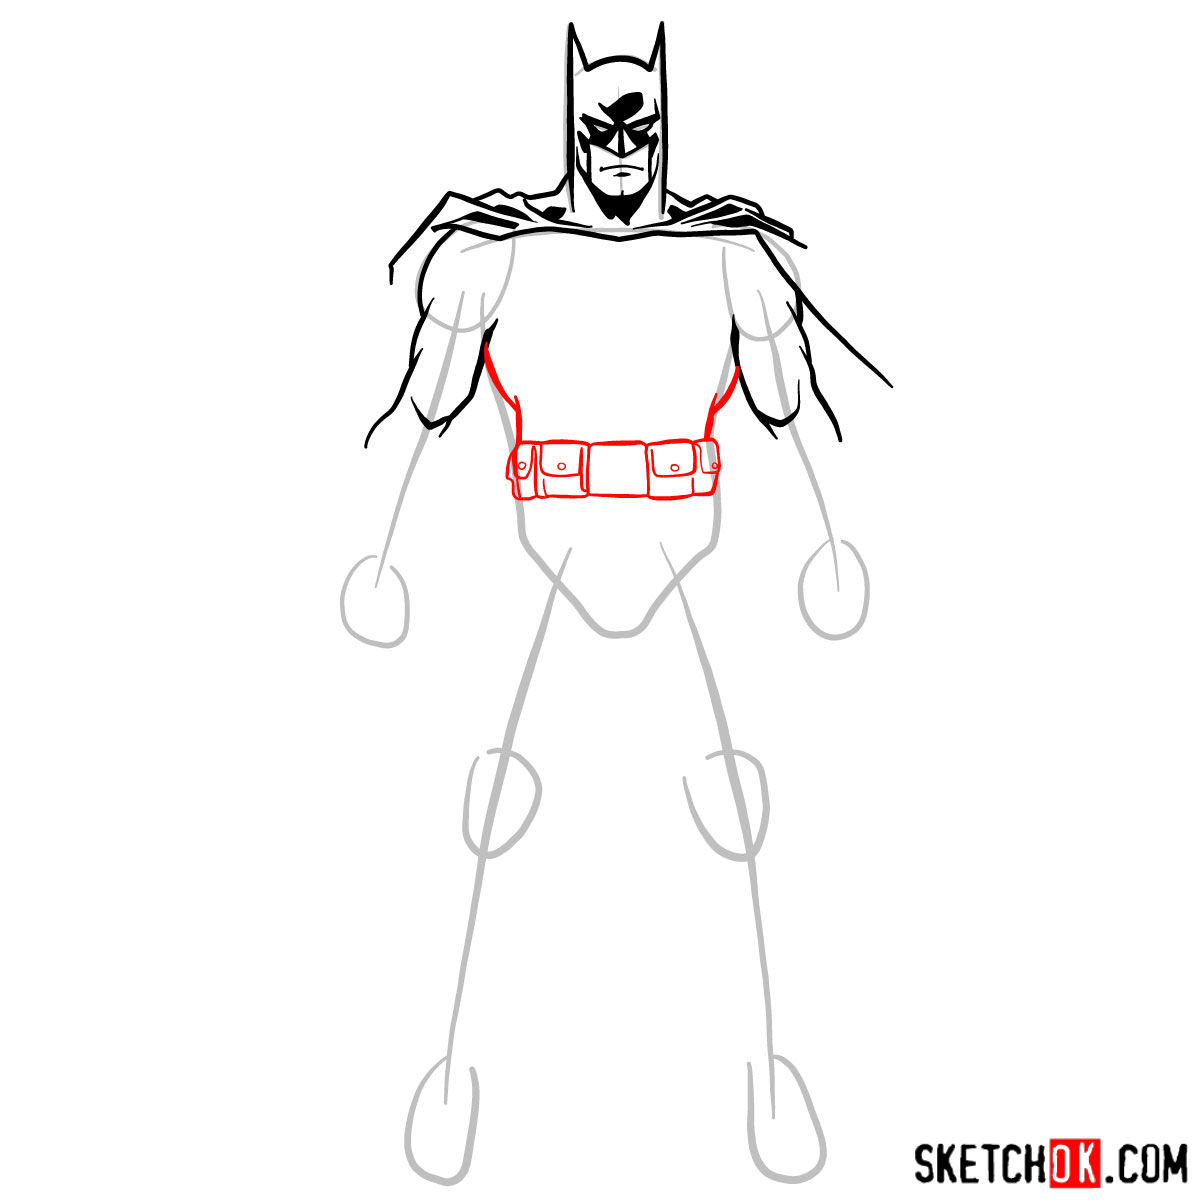
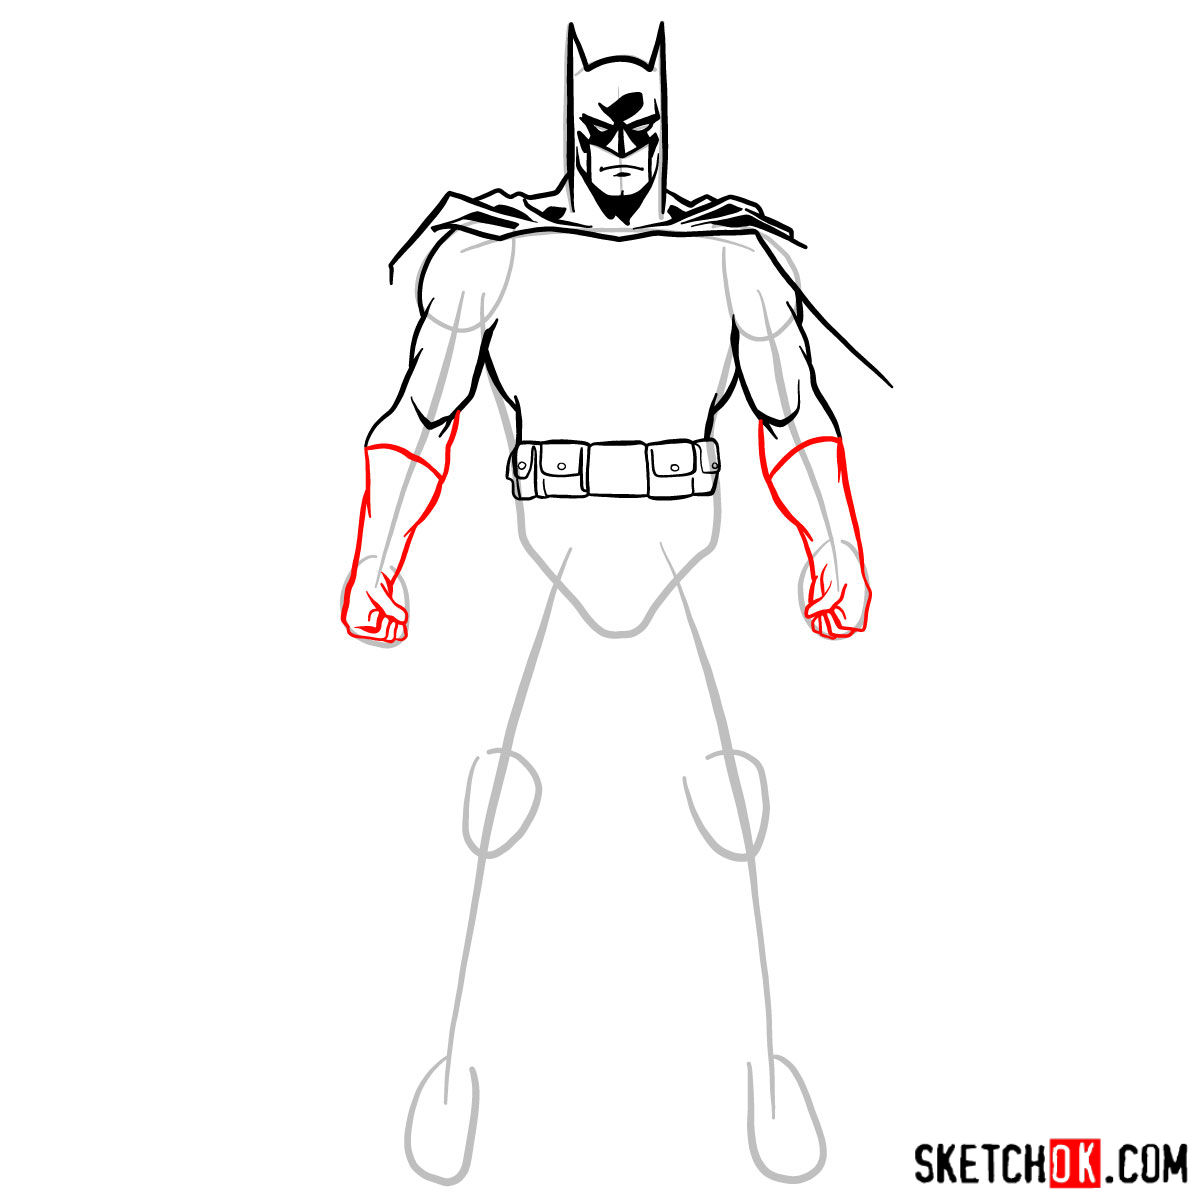
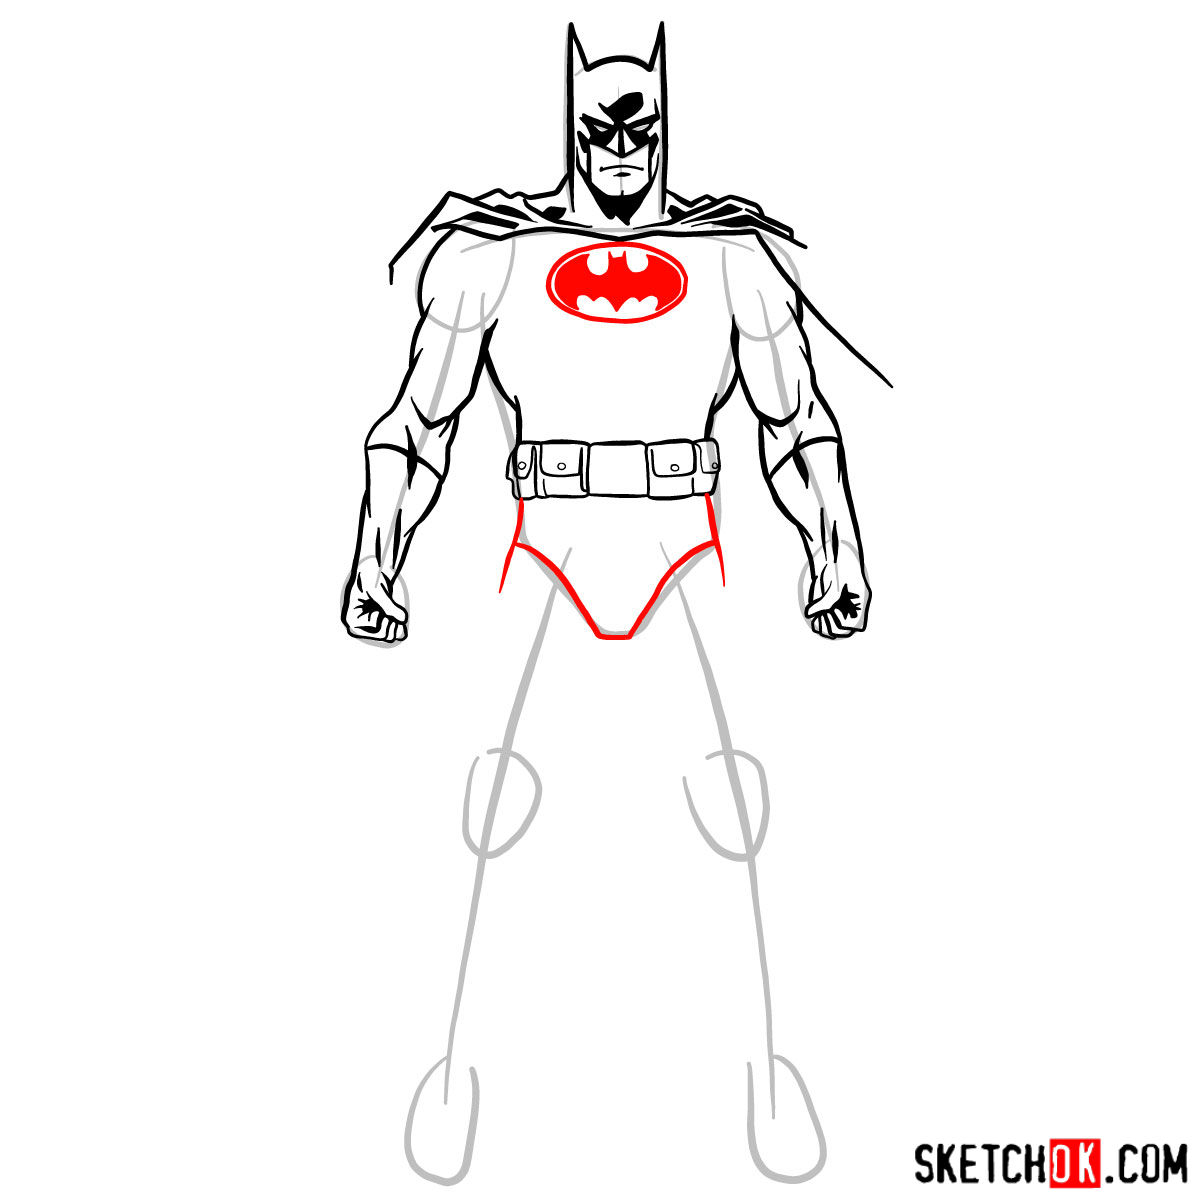
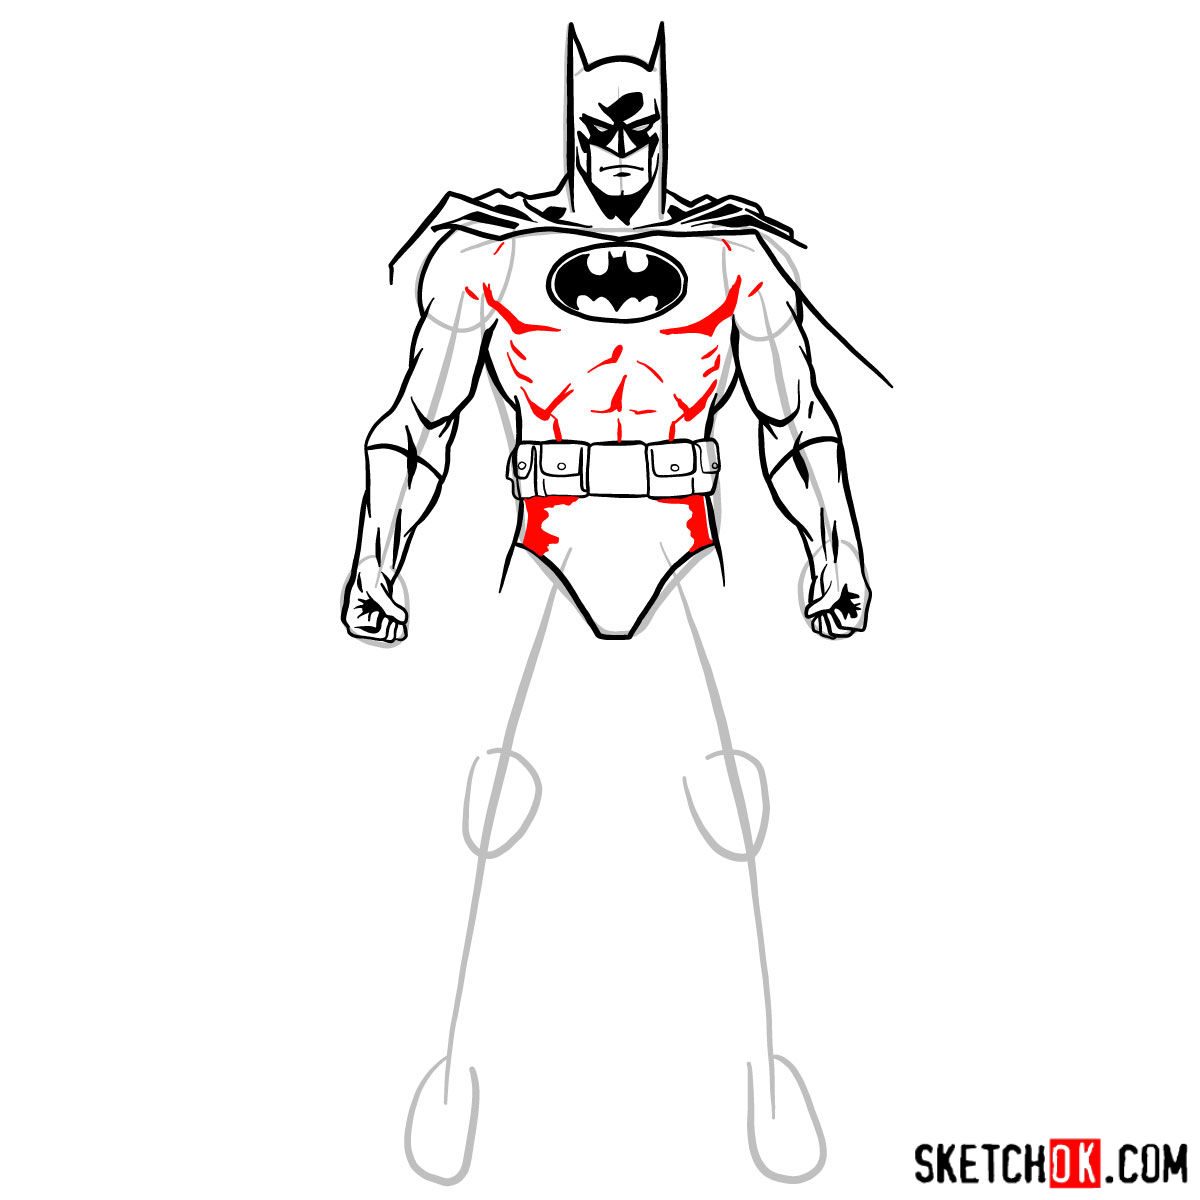
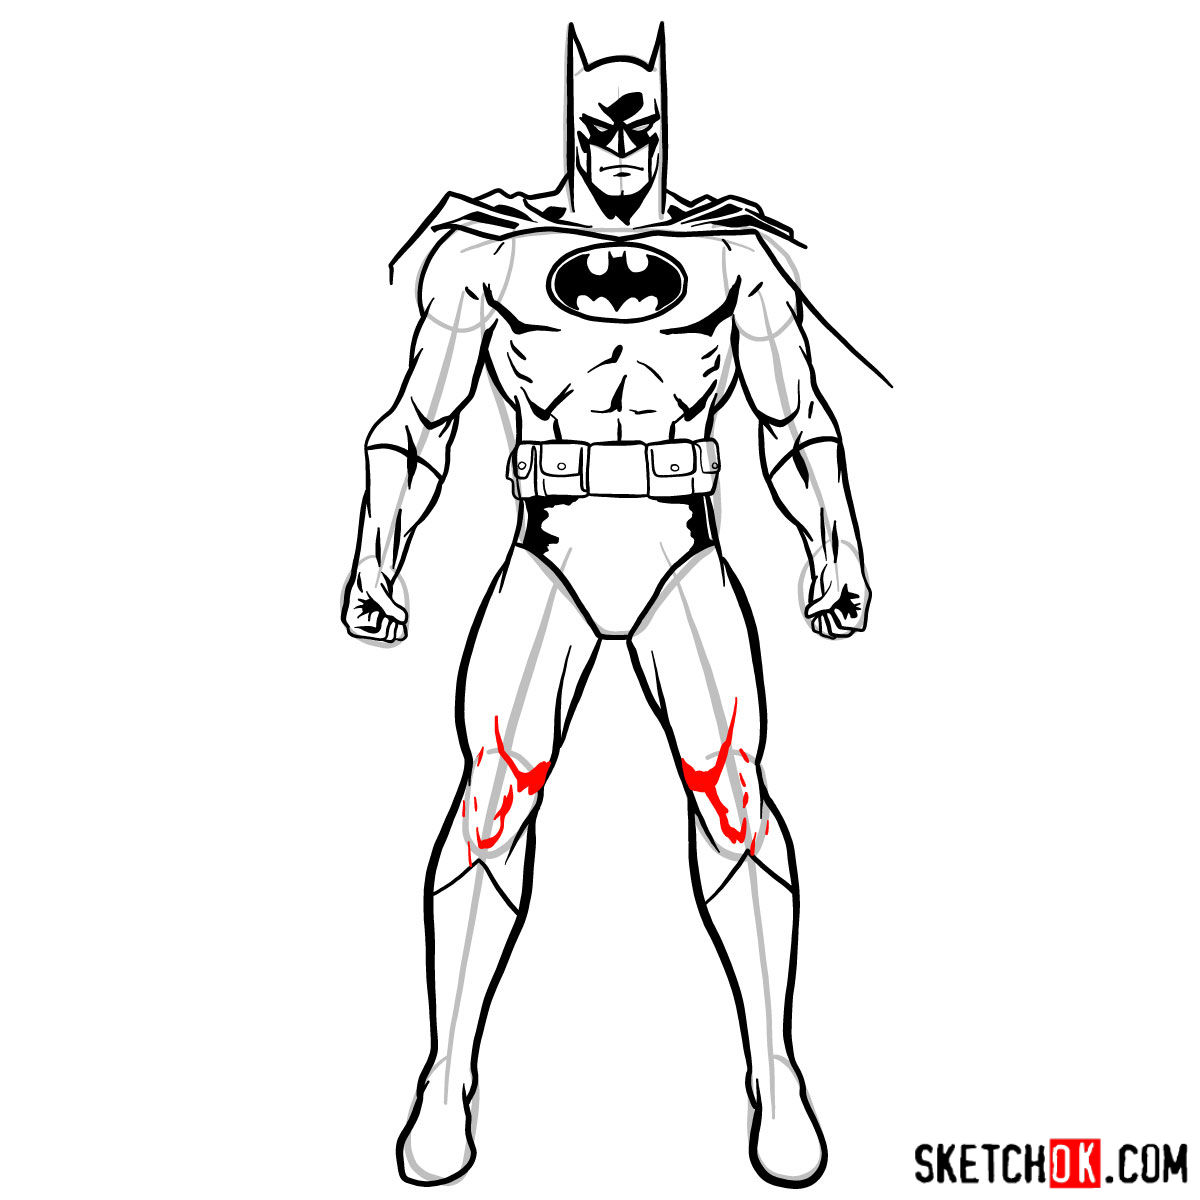
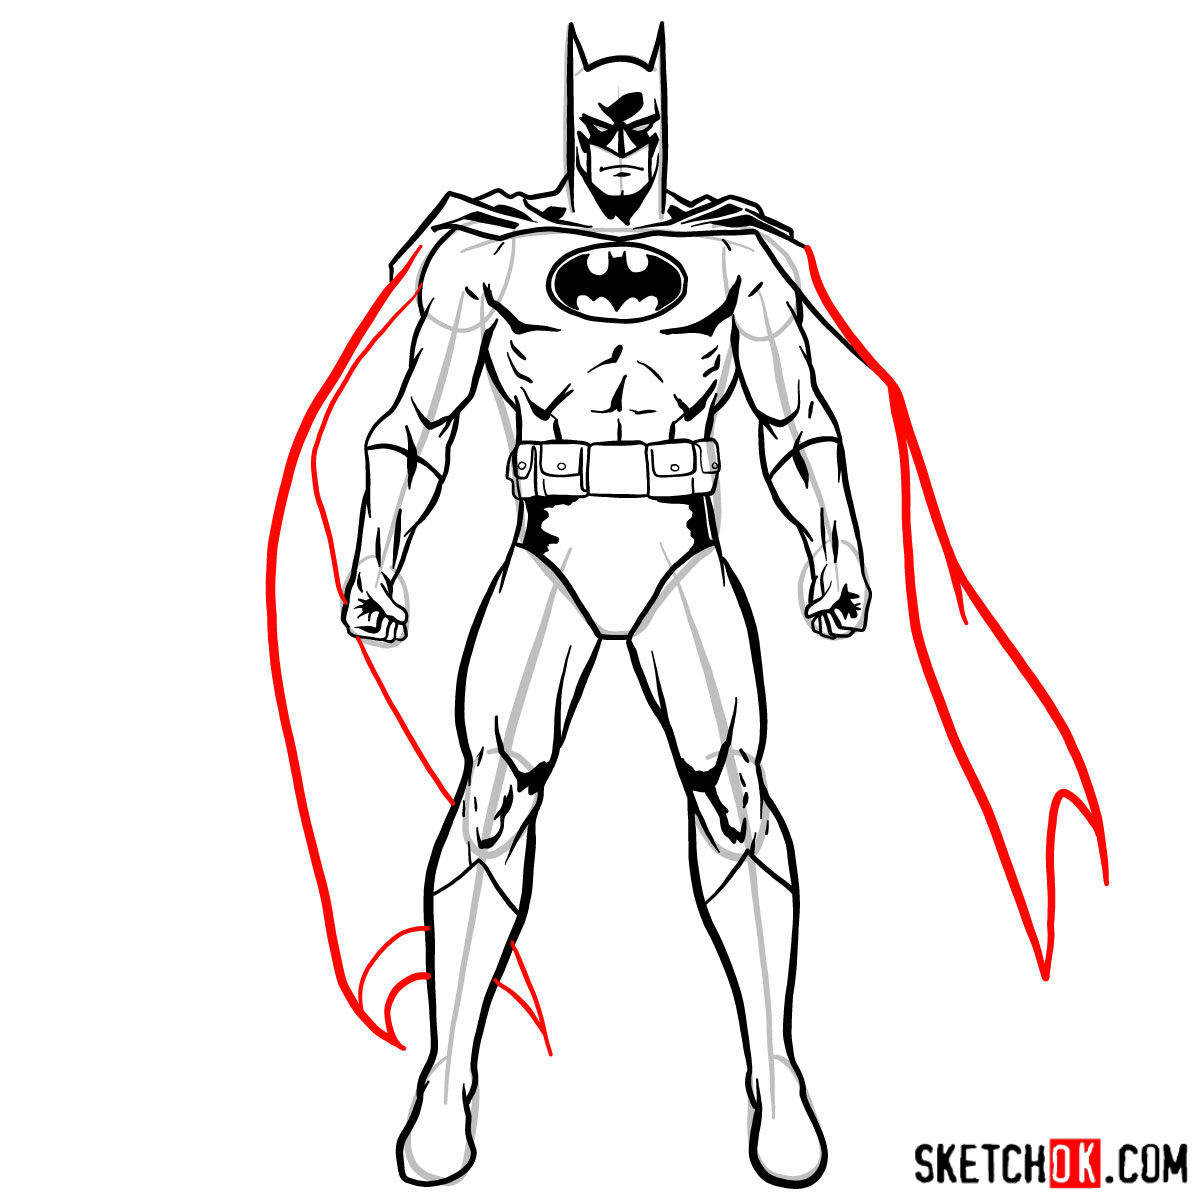
Part 2: Refining the Sketch
With the basic structure in place, it’s time to refine your sketch. Add details to Batman’s costume, such as the emblem on his chest, his utility belt, and the folds of his cape. Make adjustments to proportions as needed to ensure accuracy and create a more dynamic pose. This step will bring your Batman drawing to life and prepare it for the next stage.
Feel free to take your time in this phase, as it’s crucial for setting the stage for a polished final piece.
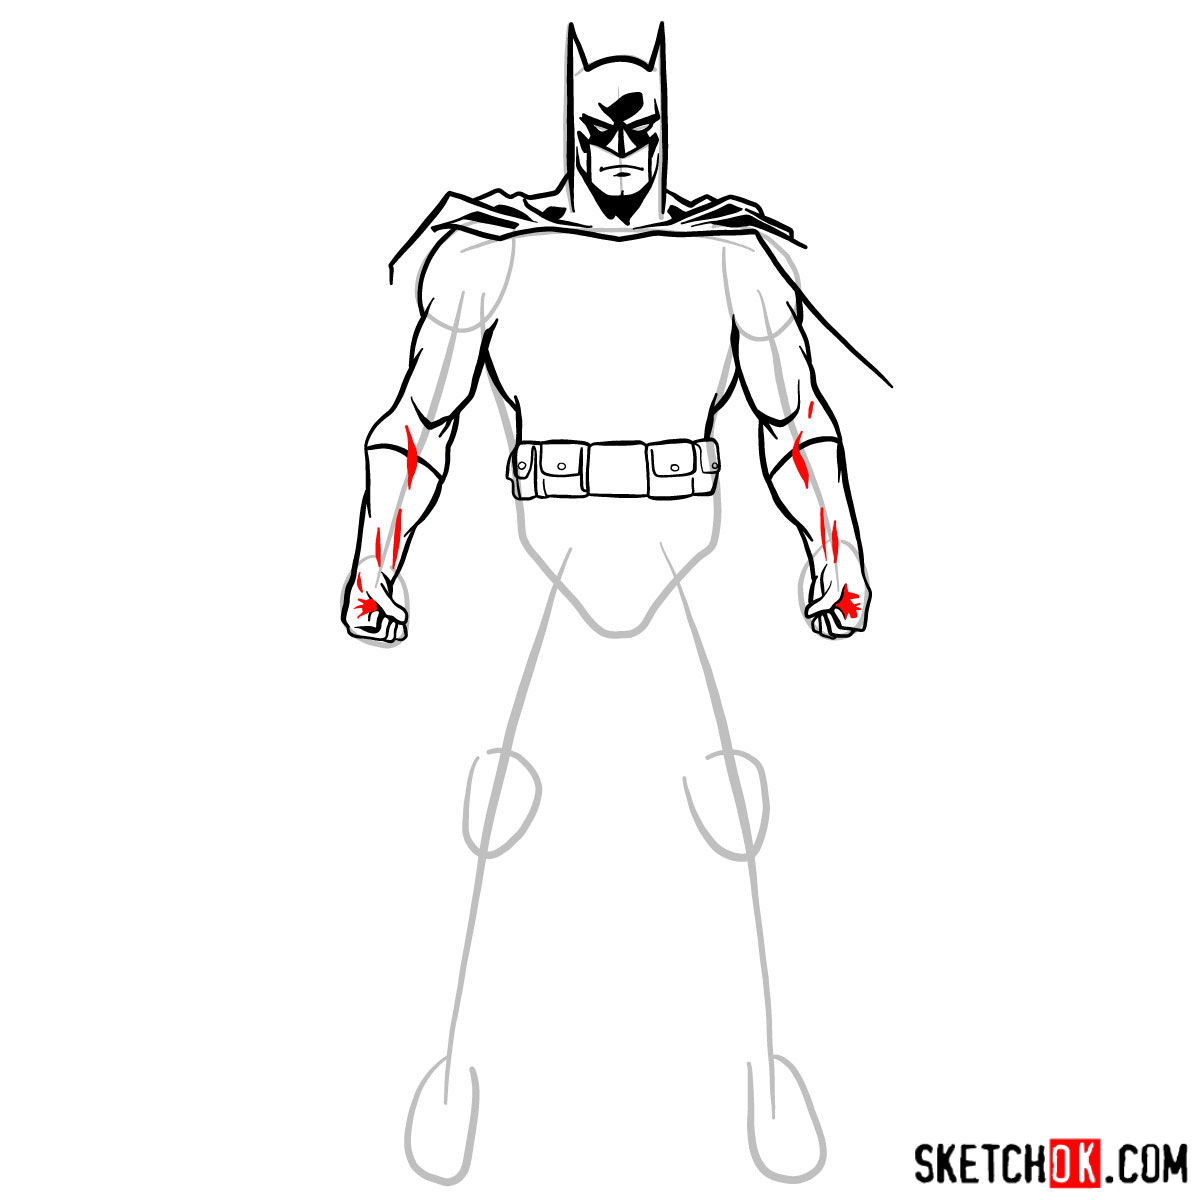
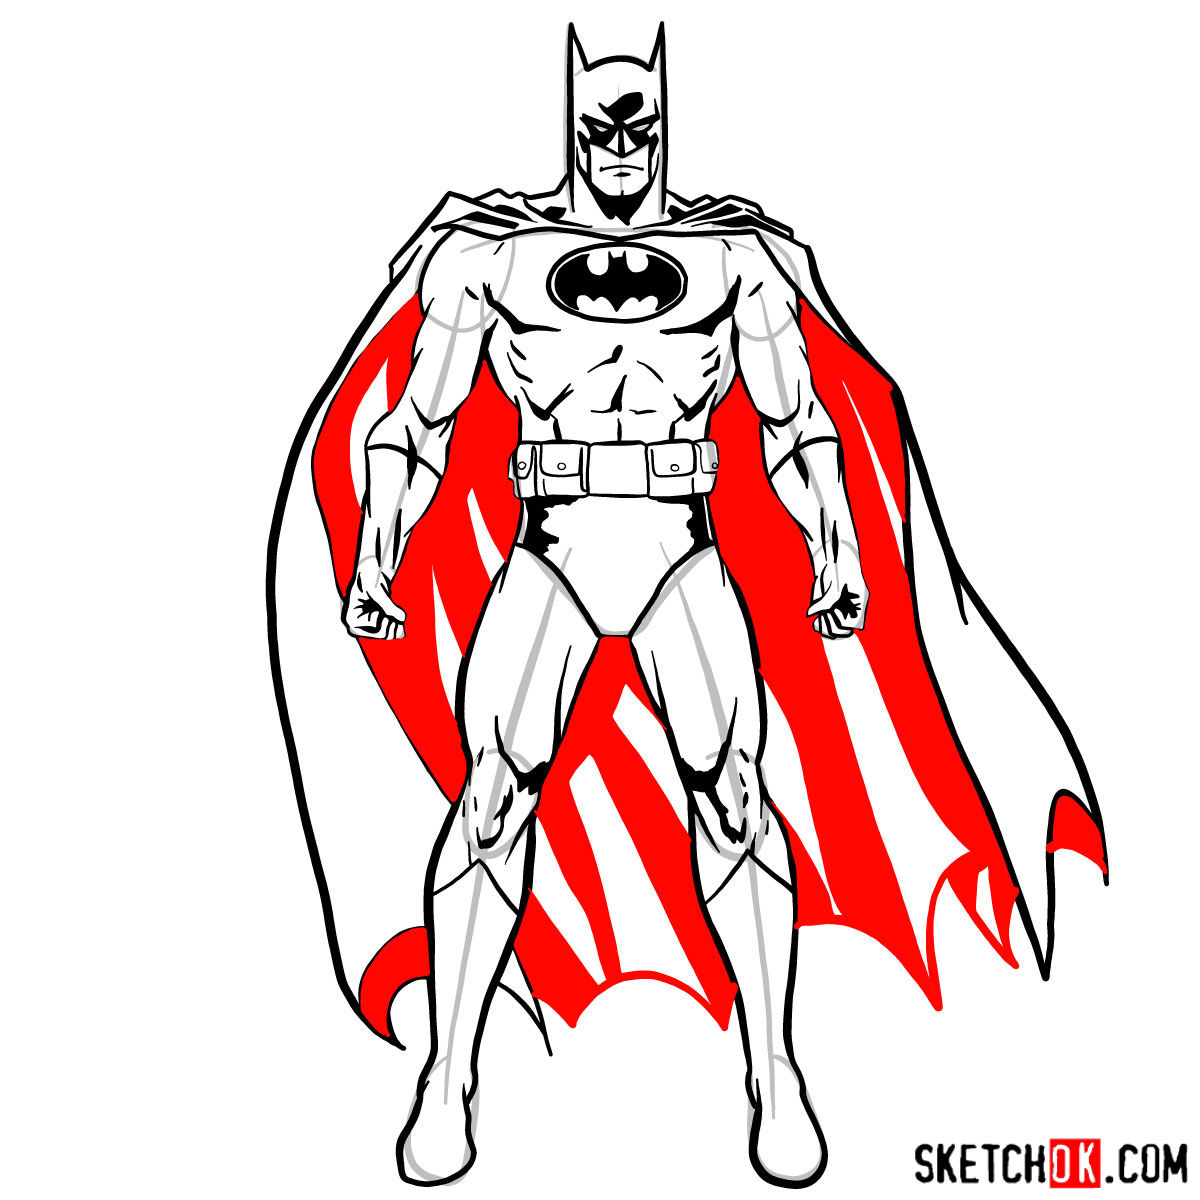
Part 3: Inking
Once you’re satisfied with your refined sketch, it’s time to add ink. Carefully outline your drawing using a fineliner pen or marker, emphasizing Batman’s contours and details. Remember to let the ink dry before erasing any pencil lines to prevent smudging.
Inking adds depth and contrast to your drawing, giving it a professional finish. Be patient and deliberate with your strokes for the best results.
Part 4: Coloring and Shading
Now for the fun part: adding color to your Batman drawing! Use colored pencils or markers to fill in Batman’s classic grey suit, black cape and cowl, and yellow utility belt. Apply shading and highlights to create depth and dimension, giving your drawing a realistic and dynamic appearance.
Experiment with different techniques and don’t be afraid to make bold choices when it comes to color and shading. This is your chance to make your Batman drawing truly stand out.

Working through how to draw Batman in a classic suit can feel a little awkward the first time, especially getting the cowl and cape proportions to sit right together, but a lot of those shapes tend to click into place on a second pass. Batman rewards the extra attempt, so don’t write off your first try as a failure, just use it as a rough map for the next one. If you want a steady stream of new guides like this one, there’s an email signup form at the top of the page that sends a weekly batch of fresh tutorials straight to your inbox.