Last Updated on May 14, 2026
As one of animation’s most iconic characters, Minnie Mouse exudes charm, elegance, and a pinch of mischief. Drawing her is not just about capturing a character; it’s about encapsulating an era of animation. This guide will navigate you through the process of sketching Minnie Mouse’s irresistibly cute face.
Minnie’s Distinctive Facial Features
Drawing Minnie Mouse is akin to threading together various key features that define her. Here’s a breakdown of what makes Minnie, well, Minnie:
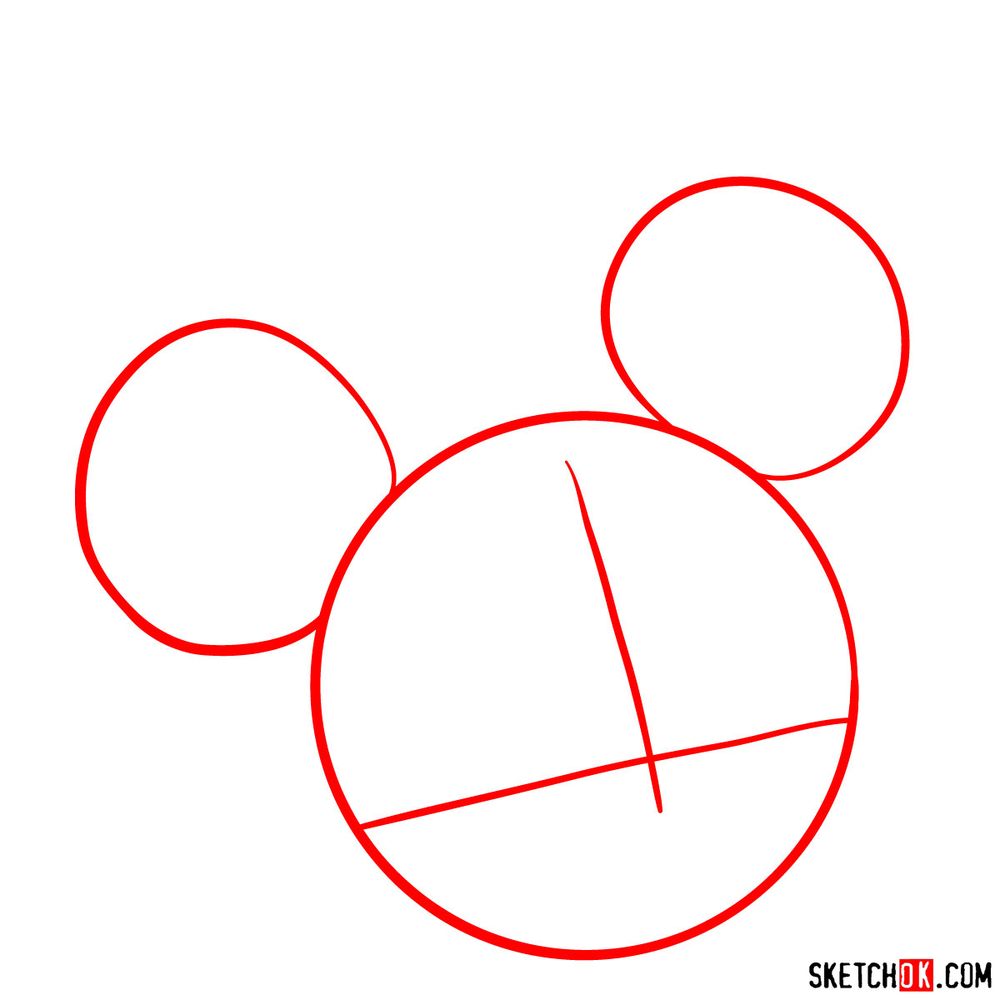
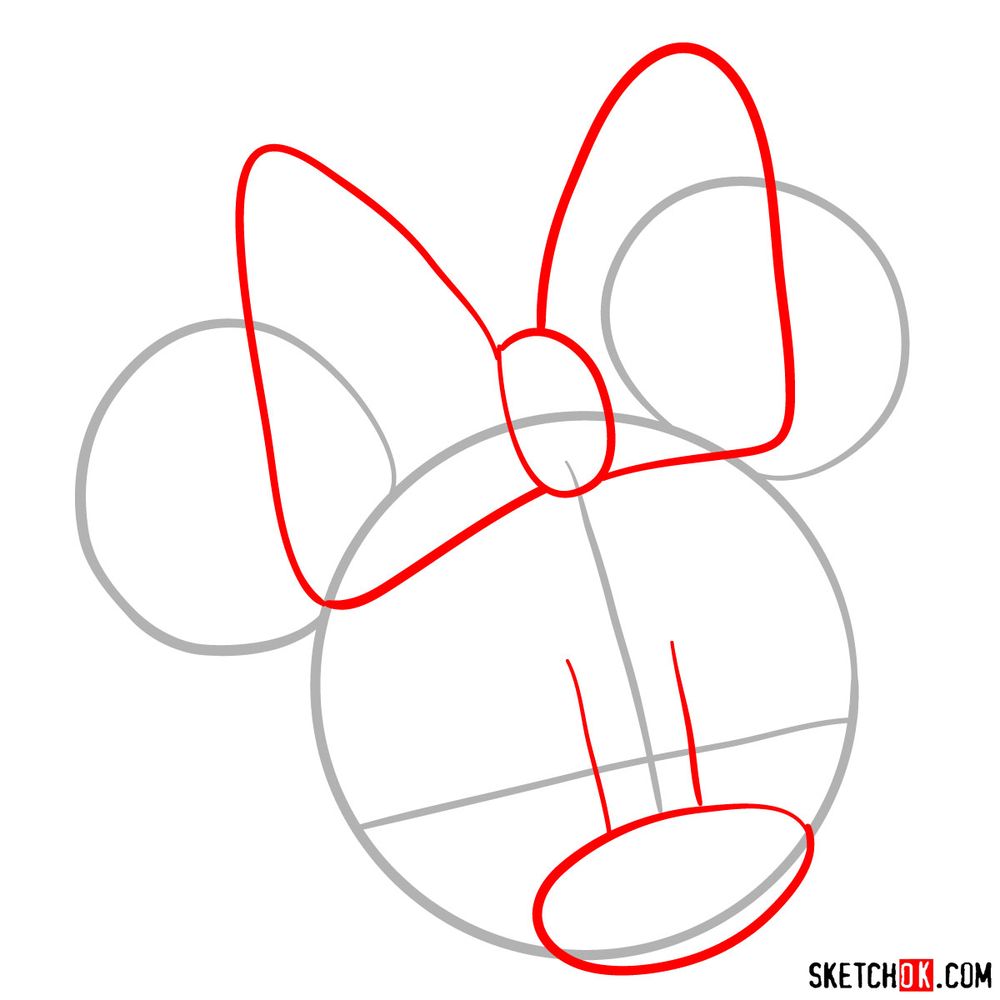
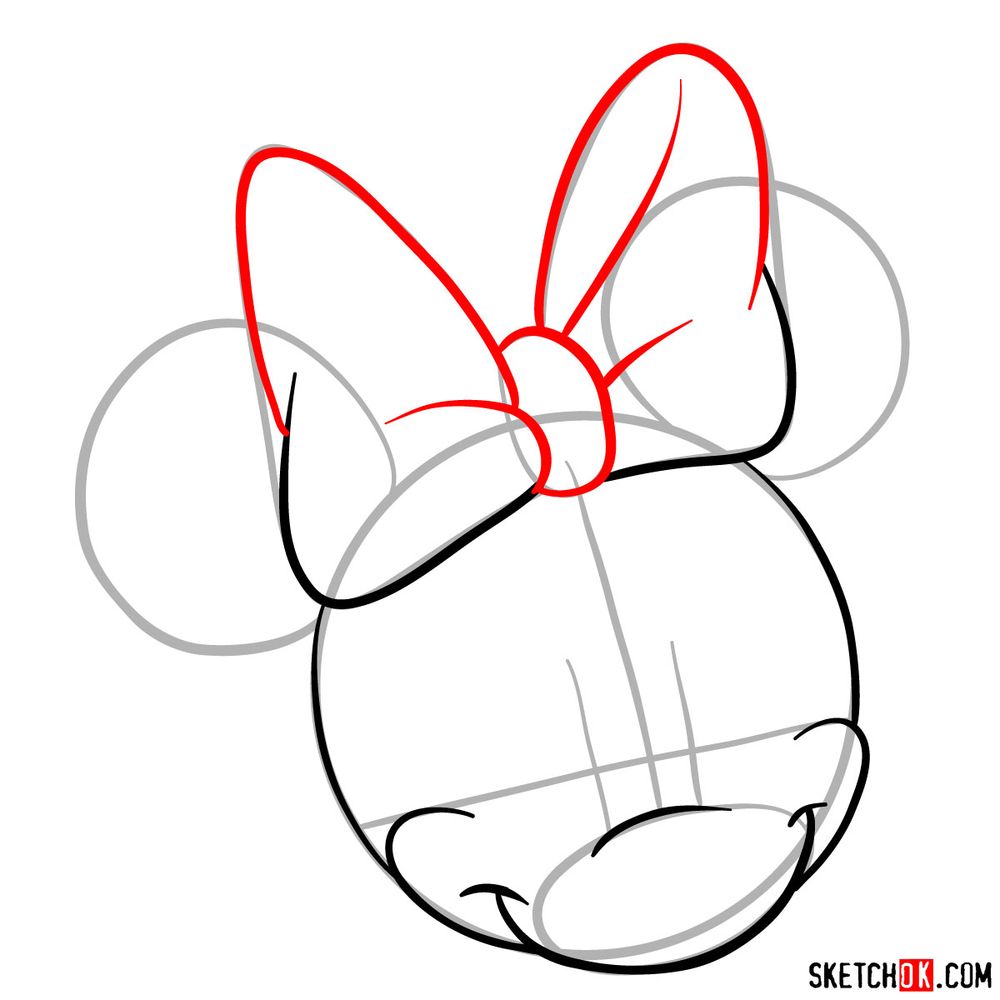
- Head: A near-perfect circle, accented by her round, floppy ears.
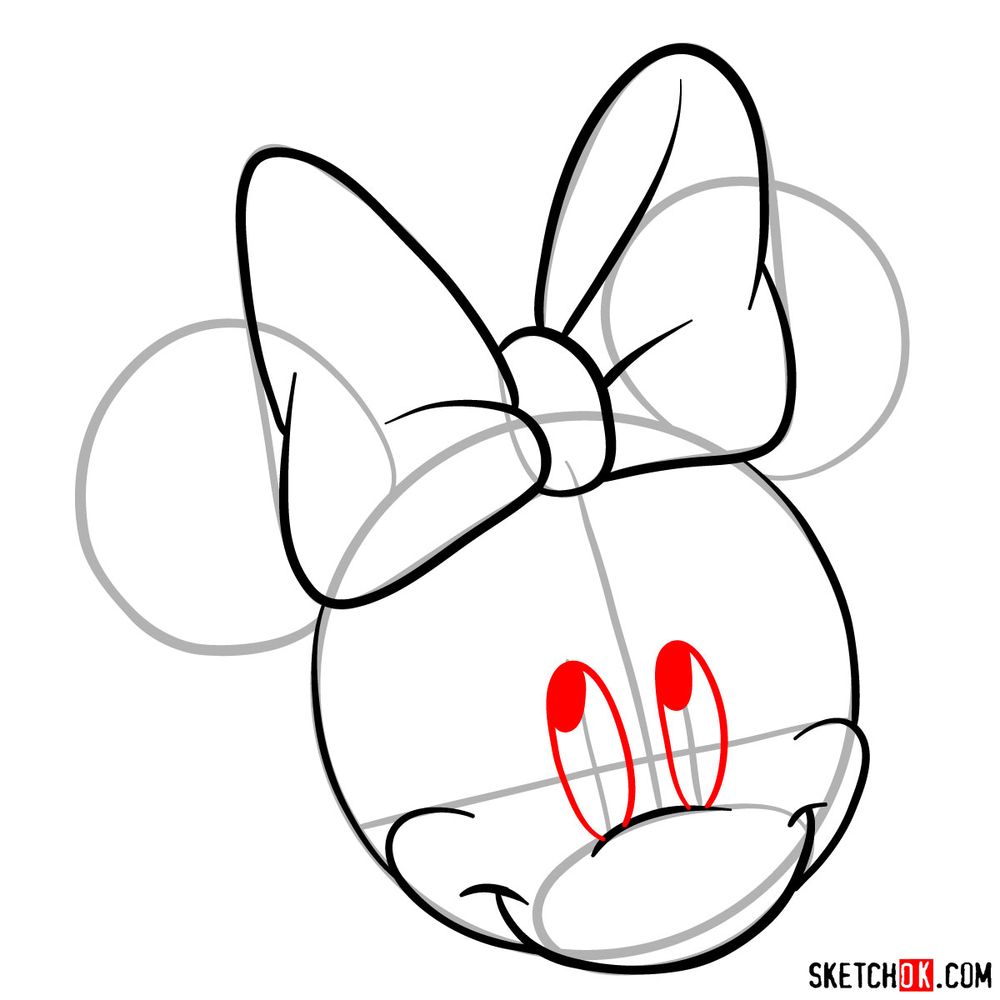
- Face: Large, expressive eyes paired with long, batting eyelashes.
- Nose: A cute, small button that sits right in the middle.
- Bow: Minnie’s signature large bow that adorns the top of her head.
Once you’ve mastered drawing Minnie, consider adding her lifelong partner, Mickey Mouse, or even his pet, Pluto to your canvas.
Color-coded Path to Perfection
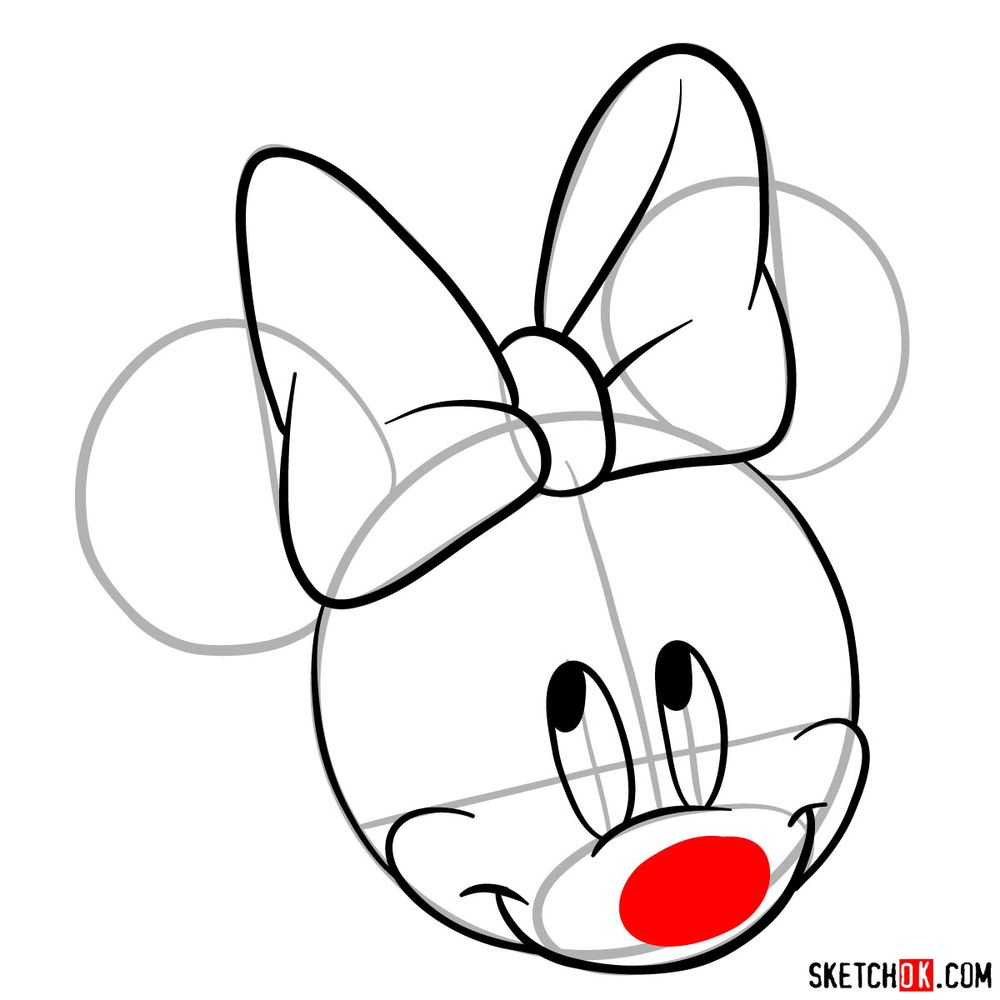
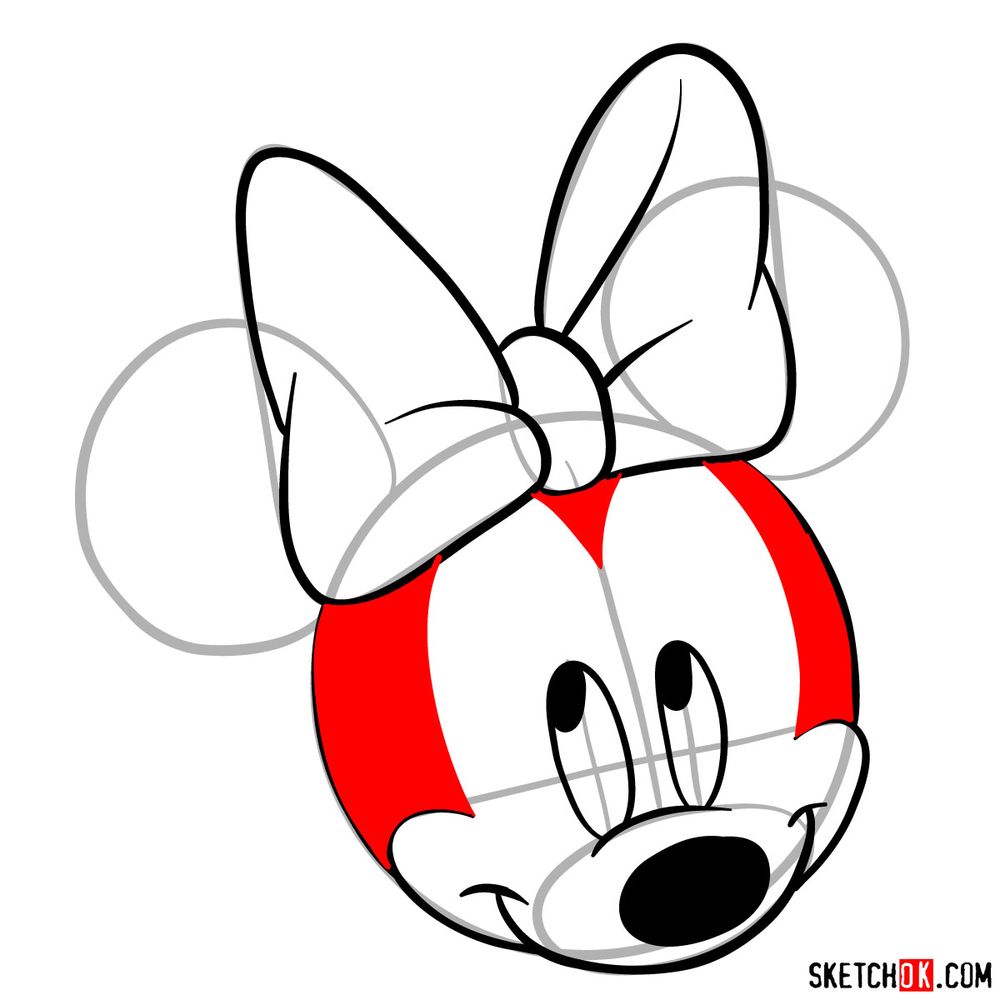
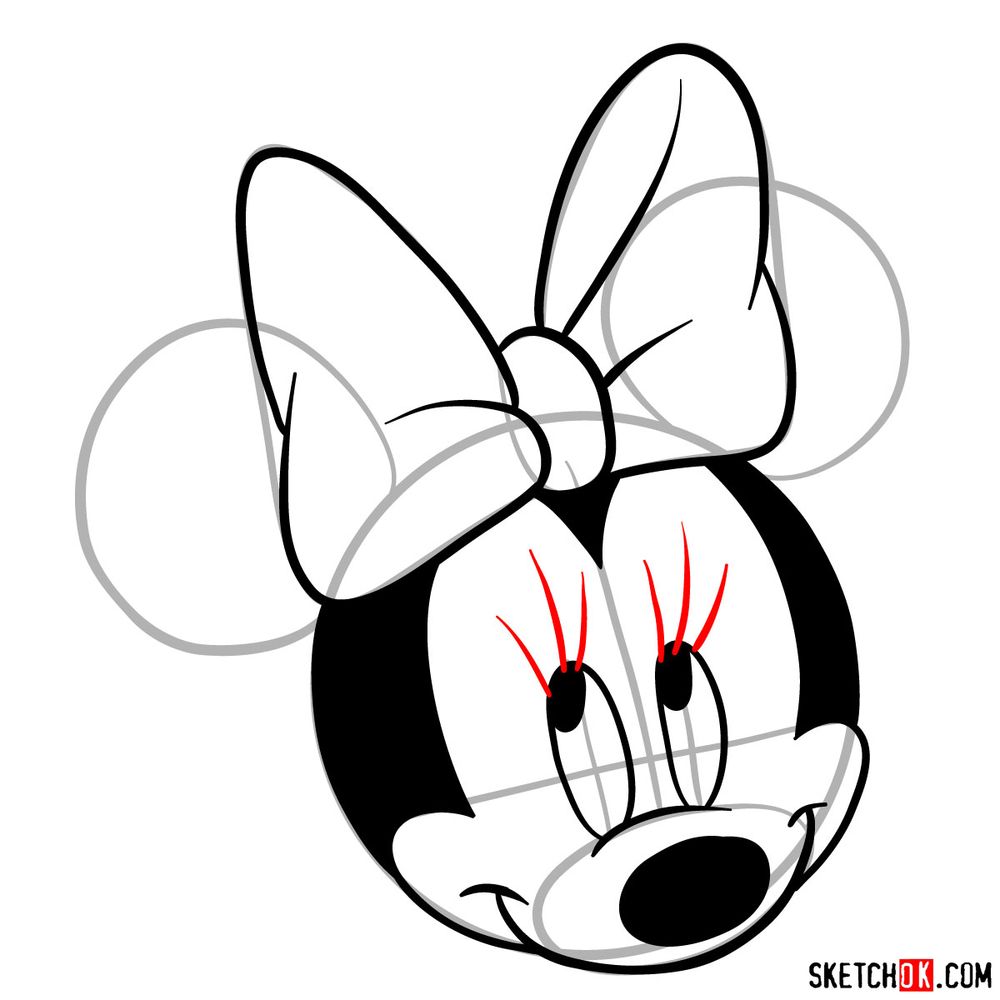
This guide splits the drawing process into 12 methodical steps. To aid in understanding:
- Red Color: Pinpoints the current drawing focus.
- Black Color: Highlights lines from prior steps.
- Grey Color: Depicts the basic sketch, particularly evident in the initial 2 steps, which set the foundation of proportions.
Once your Minnie sketch feels complete, you can choose to ink it. Let the ink dry thoroughly to prevent smudging, then erase underlying pencil marks for a clean look.


Your first attempt at Minnie Mouse’s cute face might not turn out exactly how you pictured it, and that’s completely fine, most people need a few tries before things click into place. Keep that first sketch around though, it’s useful to look back and see how much you improve. More guides go up regularly, so following SketchOk on Pinterest or Facebook is a good way to stay in the loop, and if you’re looking for how to draw the cute face of Minnie Mouse in 12 steps as a video walkthrough, check the YouTube channel since some guides do get turned into videos over time.