Home » Cartoon Characters » Various » How to draw Wile E. Coyote

How to draw Wile E. Coyote

Artistry and imagination unite as we take a creative journey to learn how to draw Wile E. Coyote, the mischievous character from the beloved Looney Tunes series. This timeless cartoon has graced our screens since 1949, captivating us with the relentless antics of the wily predator in his futile pursuits to outsmart and capture the Road Runner. Through this guide, we’ll take the complexities of animation and break them down into easily digestible steps for both beginners and seasoned artists alike.

Character Aesthetics and Points of Focus

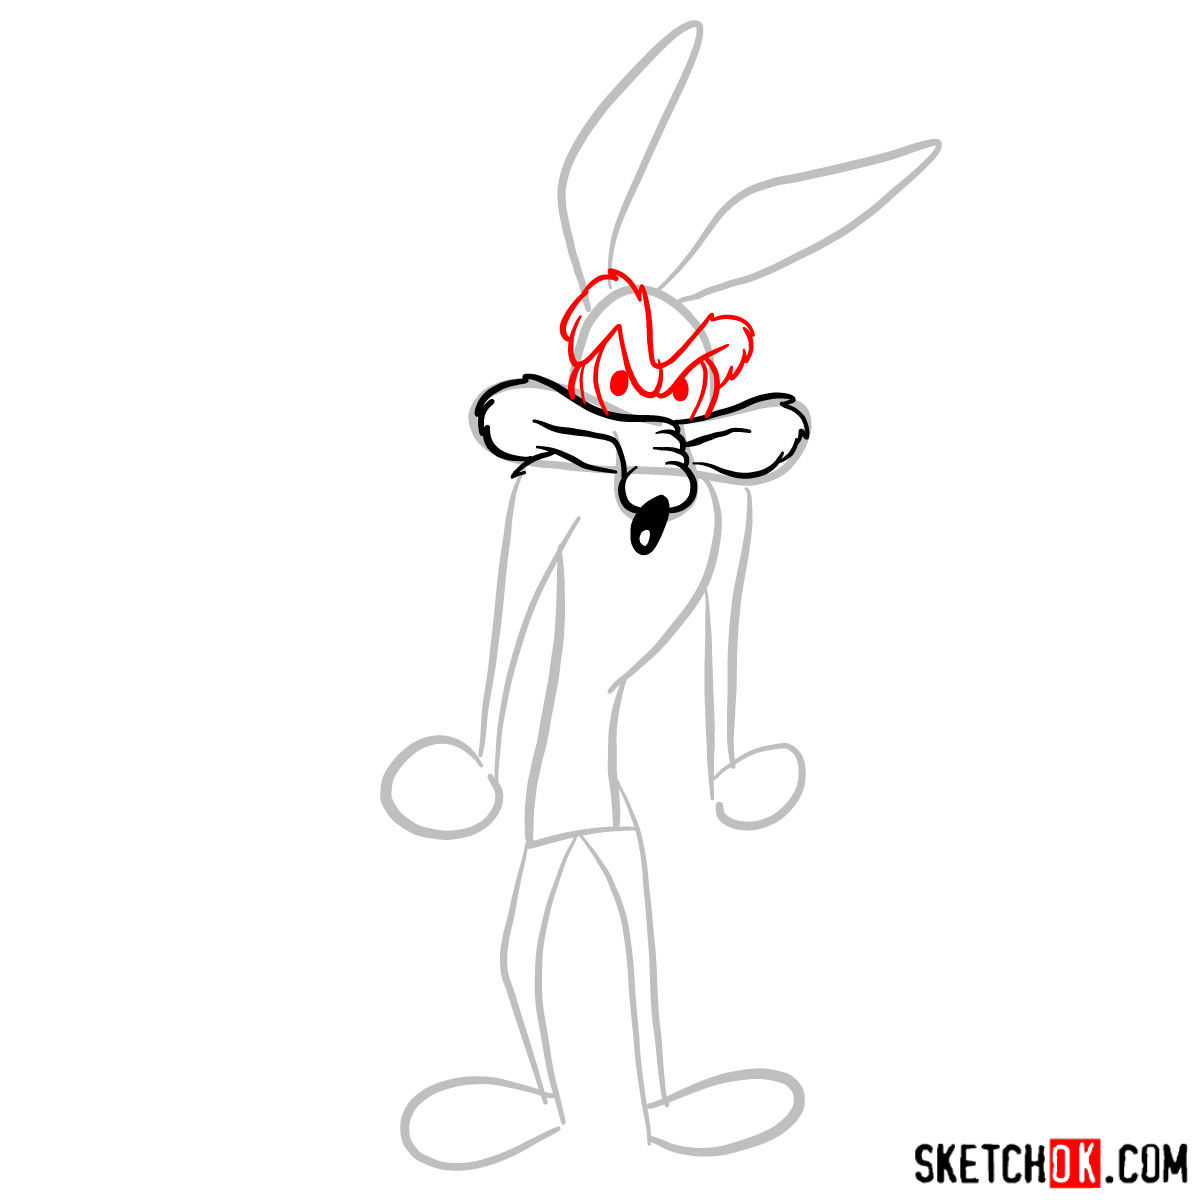
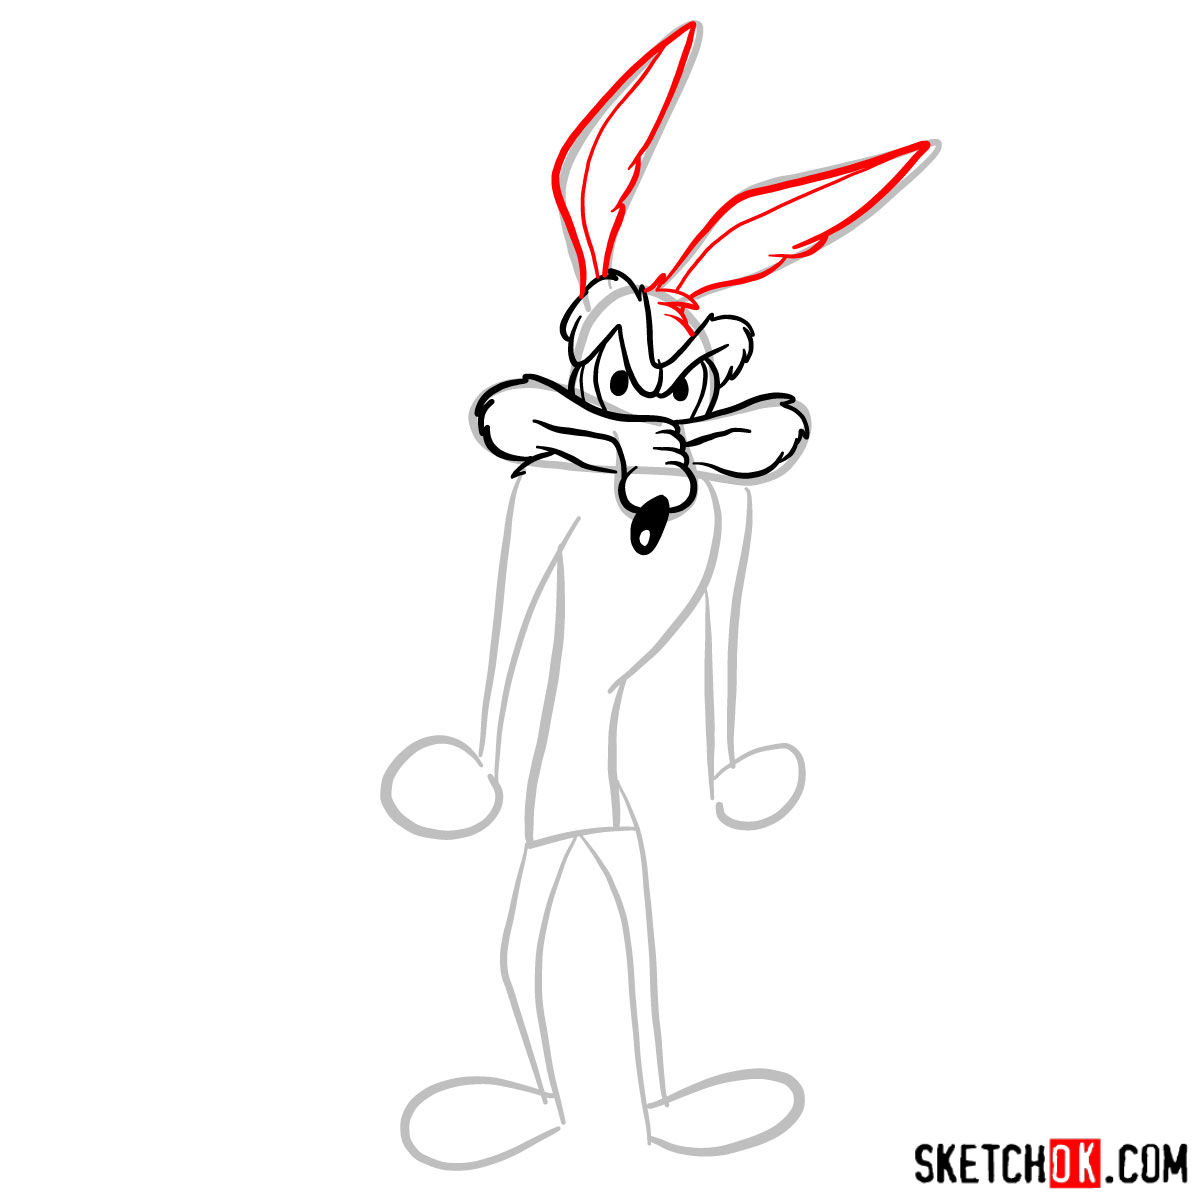
Before embarking on this sketching quest, it’s essential to familiarize yourself with the unique characteristics and nuances of Wile E. Coyote. Unlike some other Looney Tunes characters, the coyote features more angular designs. From his elongated snout to his expressive eyes and distinct fur texture, every detail contributes to his distinctively cunning yet comically tragic persona.

If you are a fan of the series, you might also consider adding other iconic characters such as Daffy Duck or the crafty Bugs Bunny to your drawing for a complete Looney Tunes ensemble.

Guide Specifications

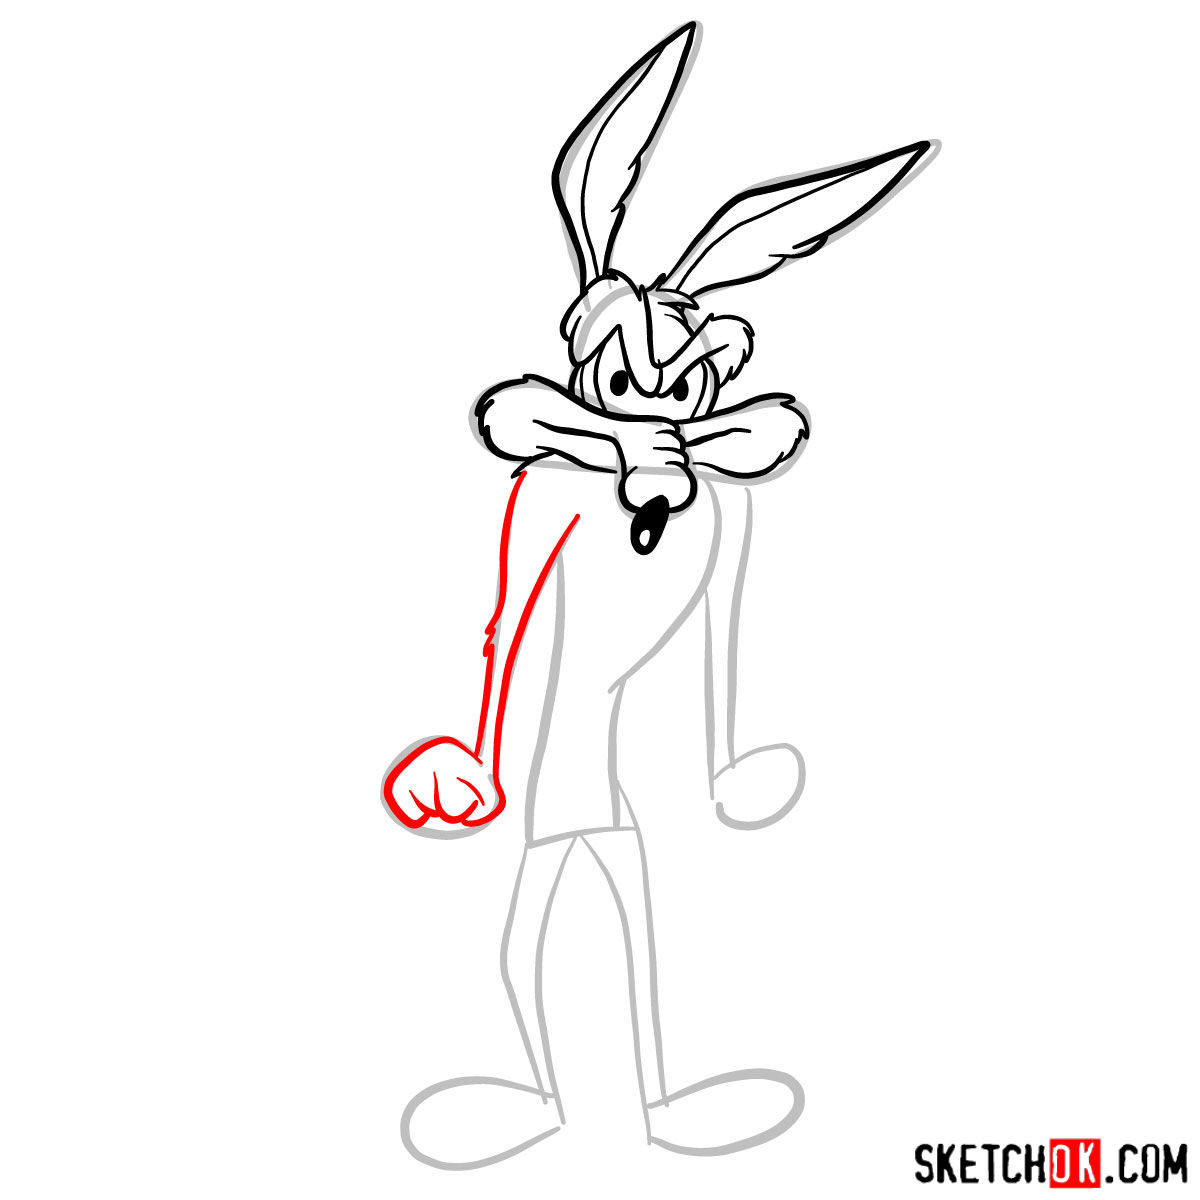
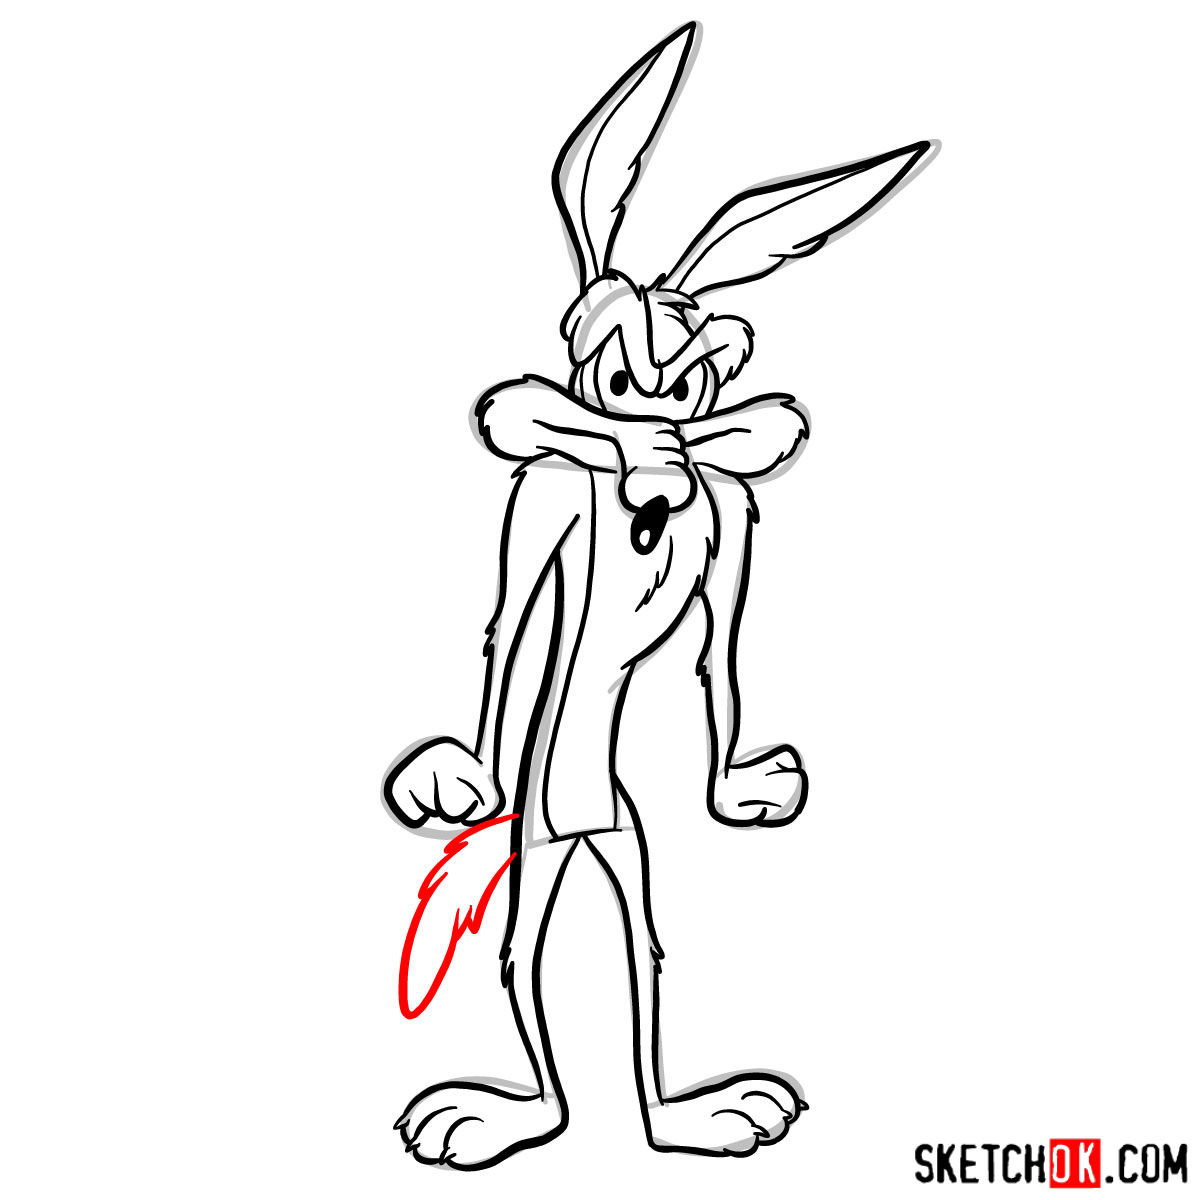
This step-by-step guide is designed to simplify the drawing process. To help you stay focused and organized, we’ve employed a color-coding system:

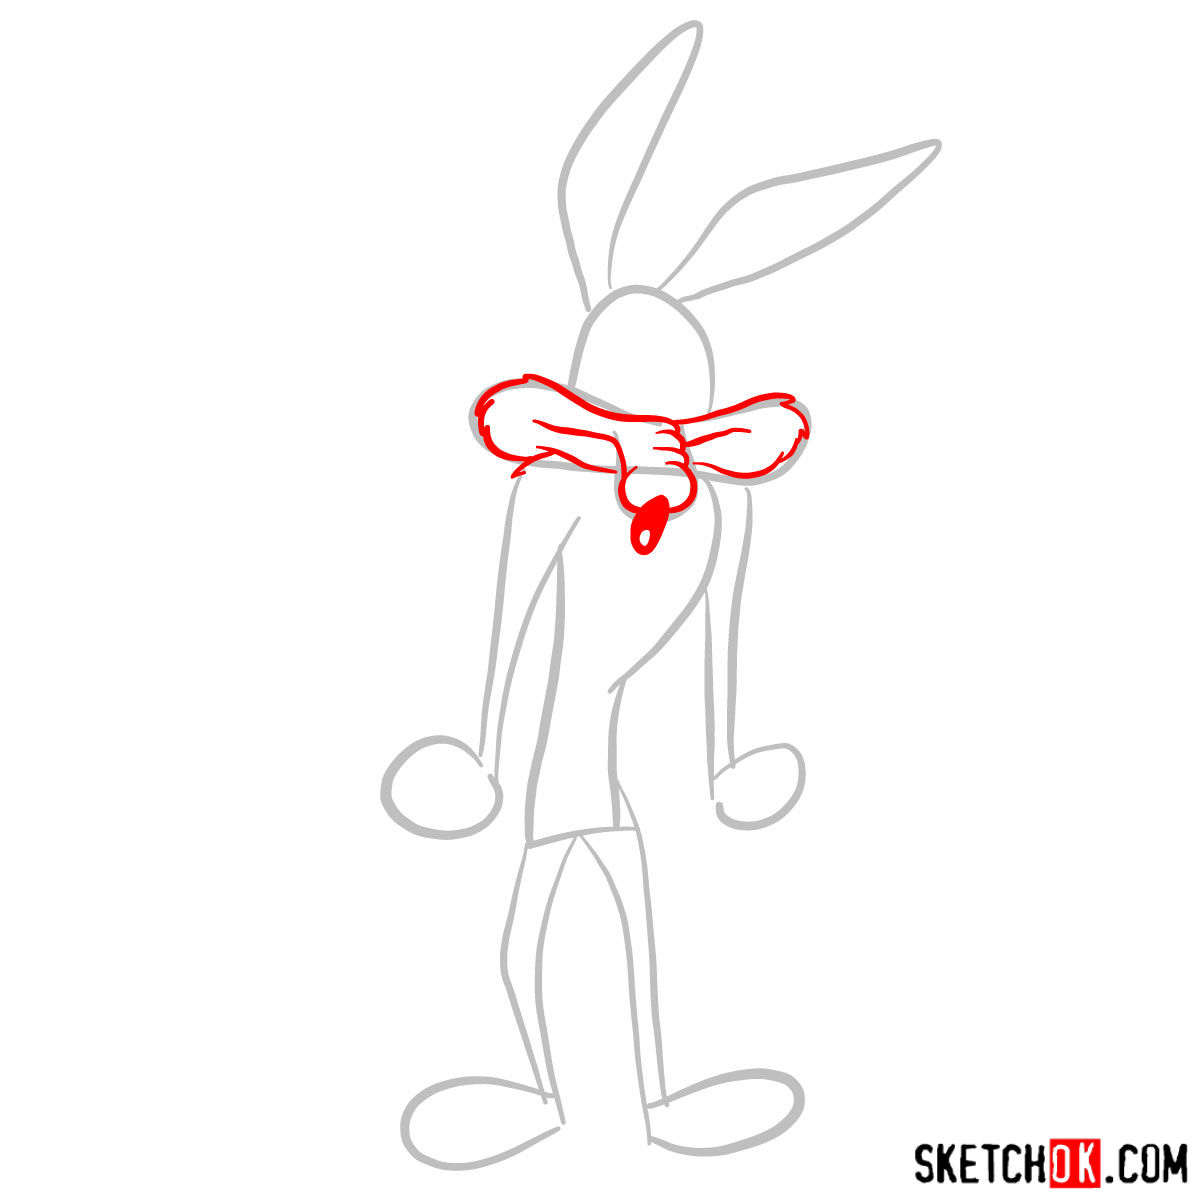
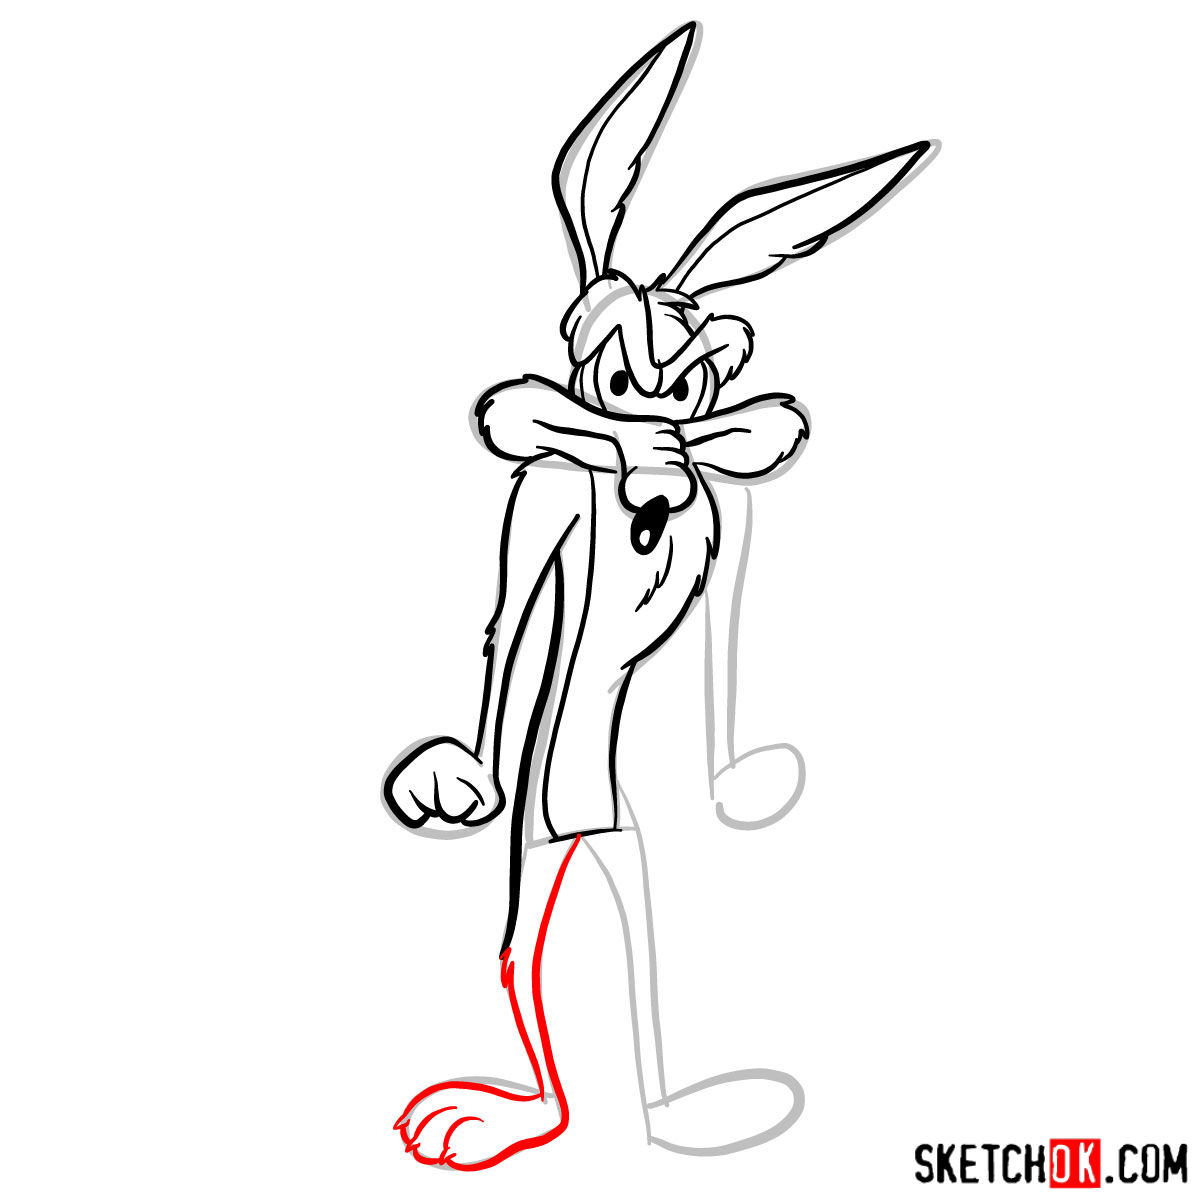
  • Red Color: Indicates the current step you should be concentrating on.
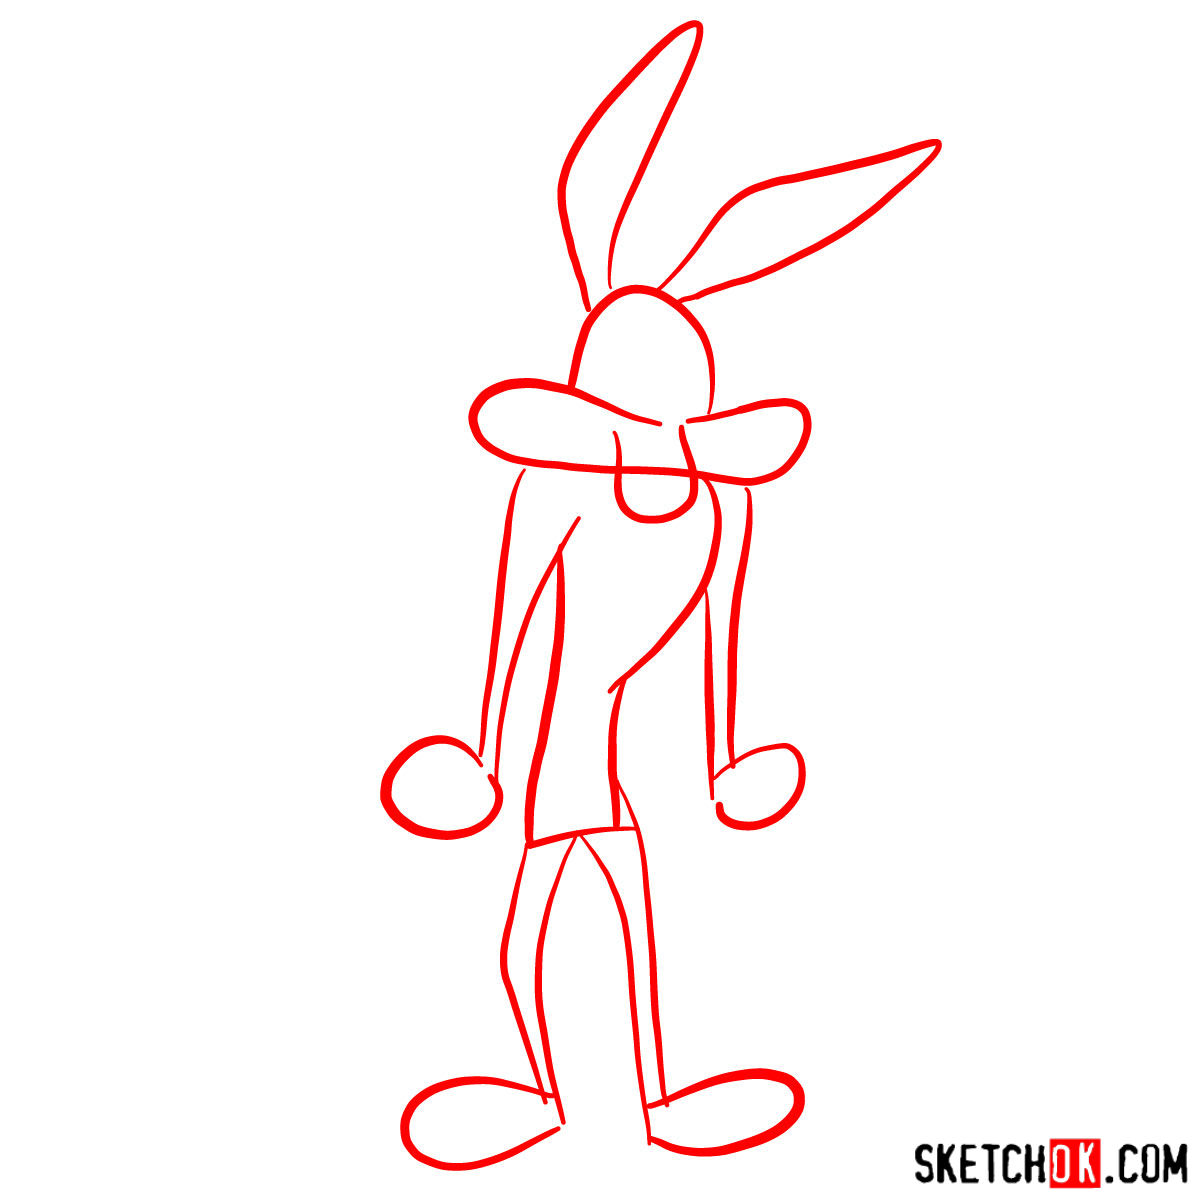
  • Grey Color: Reveals the fundamental sketch, outlining the basic structure and proportions.
  • Black Color: Showcases the previously drawn lines, helping you track your progress.

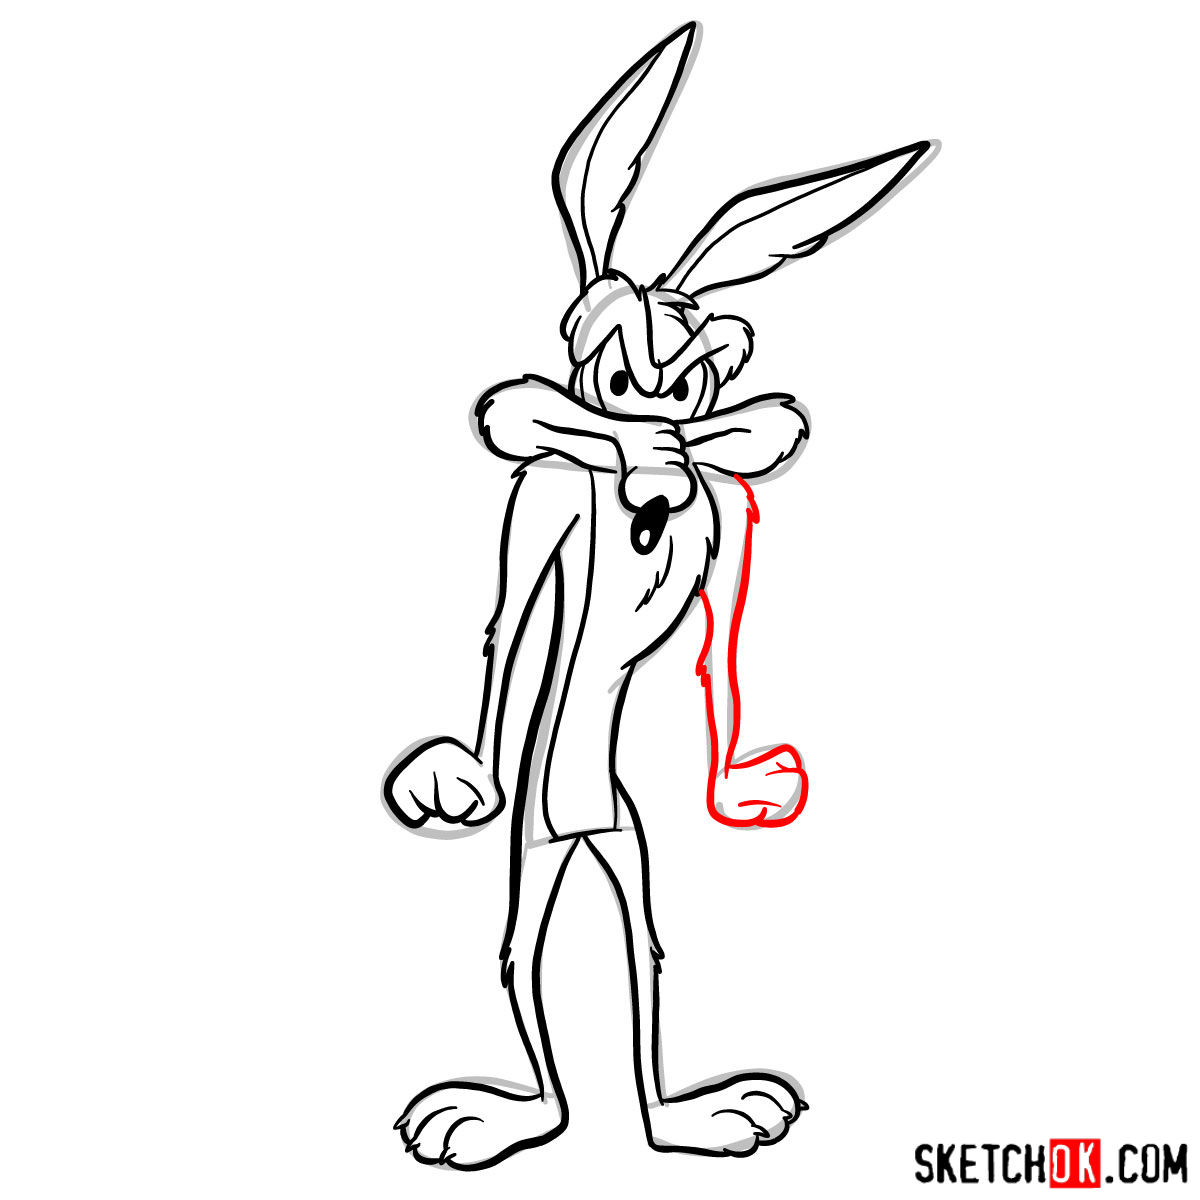
Comprised of 12 well-thought-out steps, the guide begins with creating a basic sketch using light pencil strokes. This foundational stage aids in maintaining accurate proportions throughout your drawing journey. As you near the final steps, you can opt to ink the sketch. It’s advisable to wait until the ink dries before erasing the pencil marks to avoid smudging.

The last image of the guide also serves as a color reference, providing you with a vibrant palette to bring your Wile E. Coyote to life.

Step 01

How to draw Wile E. Coyote - step 01Pin

Step 02

How to draw Wile E. Coyote - step 02Pin

Step 03

How to draw Wile E. Coyote - step 03Pin

Step 04

How to draw Wile E. Coyote - step 04Pin

Step 05

How to draw Wile E. Coyote - step 05Pin

Step 06

How to draw Wile E. Coyote - step 06Pin

Step 07

How to draw Wile E. Coyote - step 07Pin

Step 08

How to draw Wile E. Coyote - step 08Pin

Step 09

How to draw Wile E. Coyote - step 09Pin

Step 10

How to draw Wile E. Coyote - step 10Pin

Step 11

How to draw Wile E. Coyote - step 11Pin

Step 12

How to draw Wile E. CoyotePin

FAQs on Drawing Wile E. Coyote

What is the best technique for capturing Wile E. Coyote’s unique fur texture?

Wile E. Coyote’s fur texture is quite unique and slightly rough, giving him a rugged, outdoor look. Light, quick pencil strokes can capture this roughness. Layering these strokes can help create a sense of depth and volume in his fur.

How do I sketch Wile E. Coyote’s cunning expression?

Wile E. Coyote’s expressions are largely defined by his eyes and eyebrows. Wide, oval eyes merged in the middle with centered pupils suggest a surprised or shocked look. Slanting the eyebrows downward towards the center of the face can help convey a scheming or plotting expression. Remember, practice is the key to mastering these facial cues.

How do I capture the proportions of Wile E. Coyote’s elongated snout?

Wile E. Coyote’s elongated snout is one of his distinguishing features. Begin by sketching a guideline that outlines the general direction and length of the snout. Then, use this guideline to shape the top and bottom of the snout, making sure to maintain symmetry and balance with the rest of the face.

Wrapping Up

Learning how to draw Wile E. Coyote is more than just a lesson in art—it’s a dive into the heart of a timeless classic that’s loved by many. It’s an opportunity to embrace your creativity and improve your artistic skills. If you enjoyed this guide and found it helpful, please consider supporting the SketchOk project by donating here.

By contributing, you’re not only ensuring that we can continue creating useful drawing guides, but you also get a say in what tutorials we work on next. Spread the word by sharing the link to this guide on your favorite social platforms. Find us on Facebook, Instagram, and Pinterest.

So, pick up those pencils and let’s get drawing!

Did you like the tutorial?

You can support the author of this website and also suggest your own ideas for new drawings by making a small donation here:

Leave a Comment

14