Last Updated on May 14, 2026
One of the greatest pleasures for an artist is bringing a beloved character to life through their craft. Shag Rugg, from the iconic Hillbilly Bears series, has long captured the hearts of viewers with his mischievous behavior and charming personality. And now, it’s your chance to sketch this adorable troublemaker, with our detailed guide on how to draw Shag Rugg. Whether you’re an amateur sketch artist or a professional illustrator, this guide is sure to be a fun and enriching experience.
Understanding Shag Rugg’s Design
Before embarking on your drawing journey, it’s essential to get acquainted with Shag Rugg’s unique design. Shag is the youngest member of the Rugg family. He’s a mischievous bear who looks up to his father and constantly finds himself in the throes of mischief.
Here are some crucial aspects of Shag’s design to keep in mind while sketching:
- The Youngster: As the youngest member of the family, Shag Rugg carries a certain boyish charm and innocence. Try to capture this in his eyes and the overall structure of his body.
- The Trouble Maker: Shag’s rebellious side should shine through his posture and expressions. A cheeky grin or an impish gleam in his eyes can be great additions.
- Family Resemblance: Since Shag is part of the Rugg family, some characteristics should be similar to his family members, Paw and Maw, and his sister, Floral. This might be a fun way to create a series of sketches for the entire family!
Guide to Sketching Shag Rugg
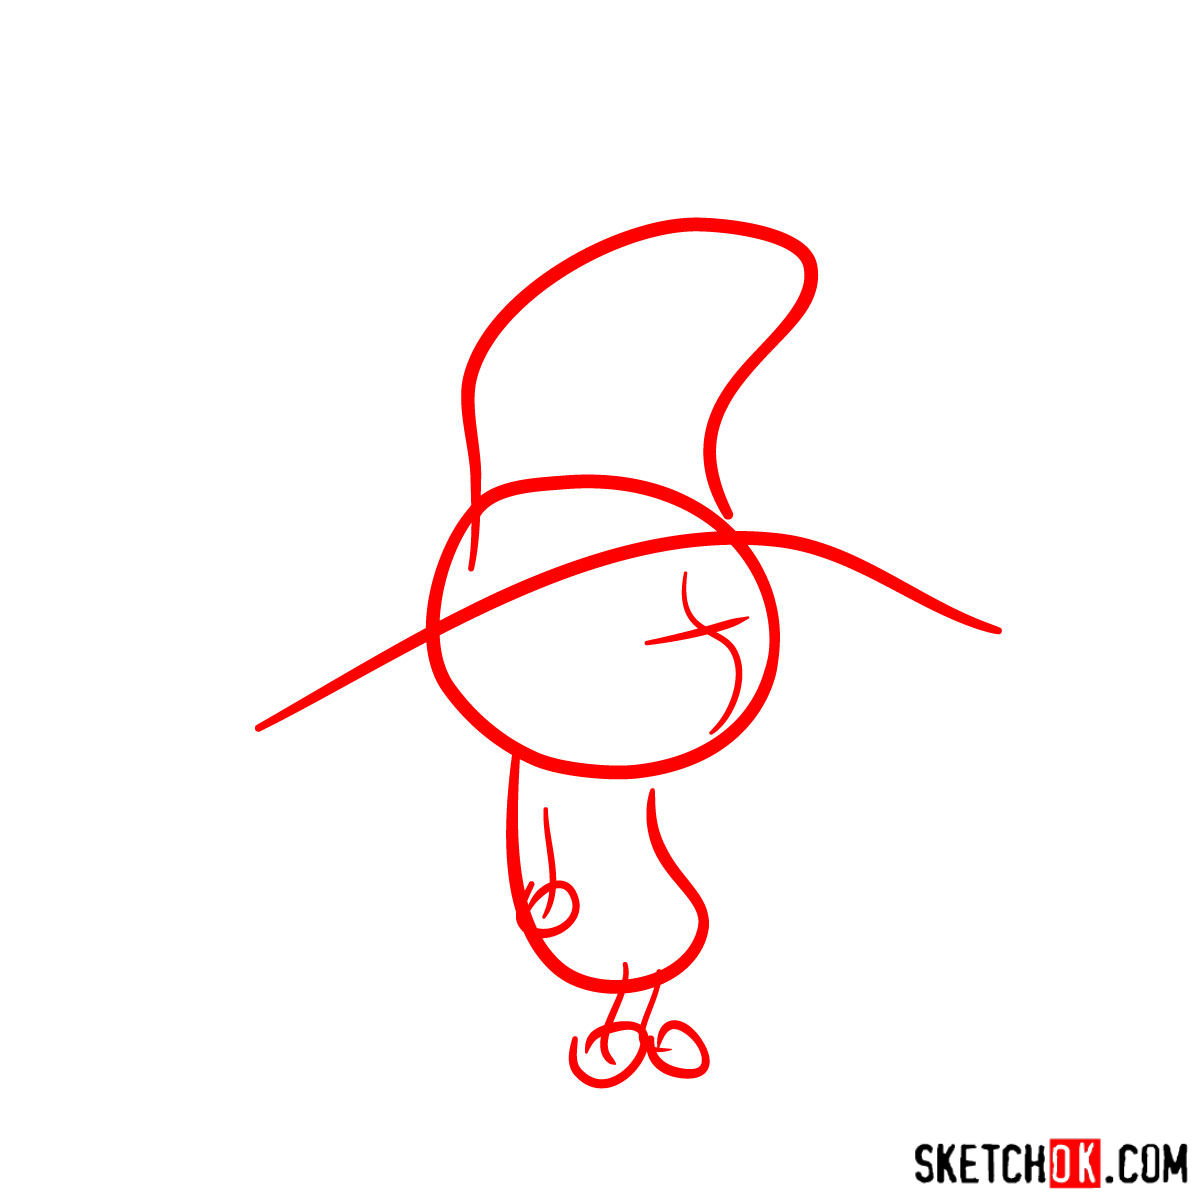
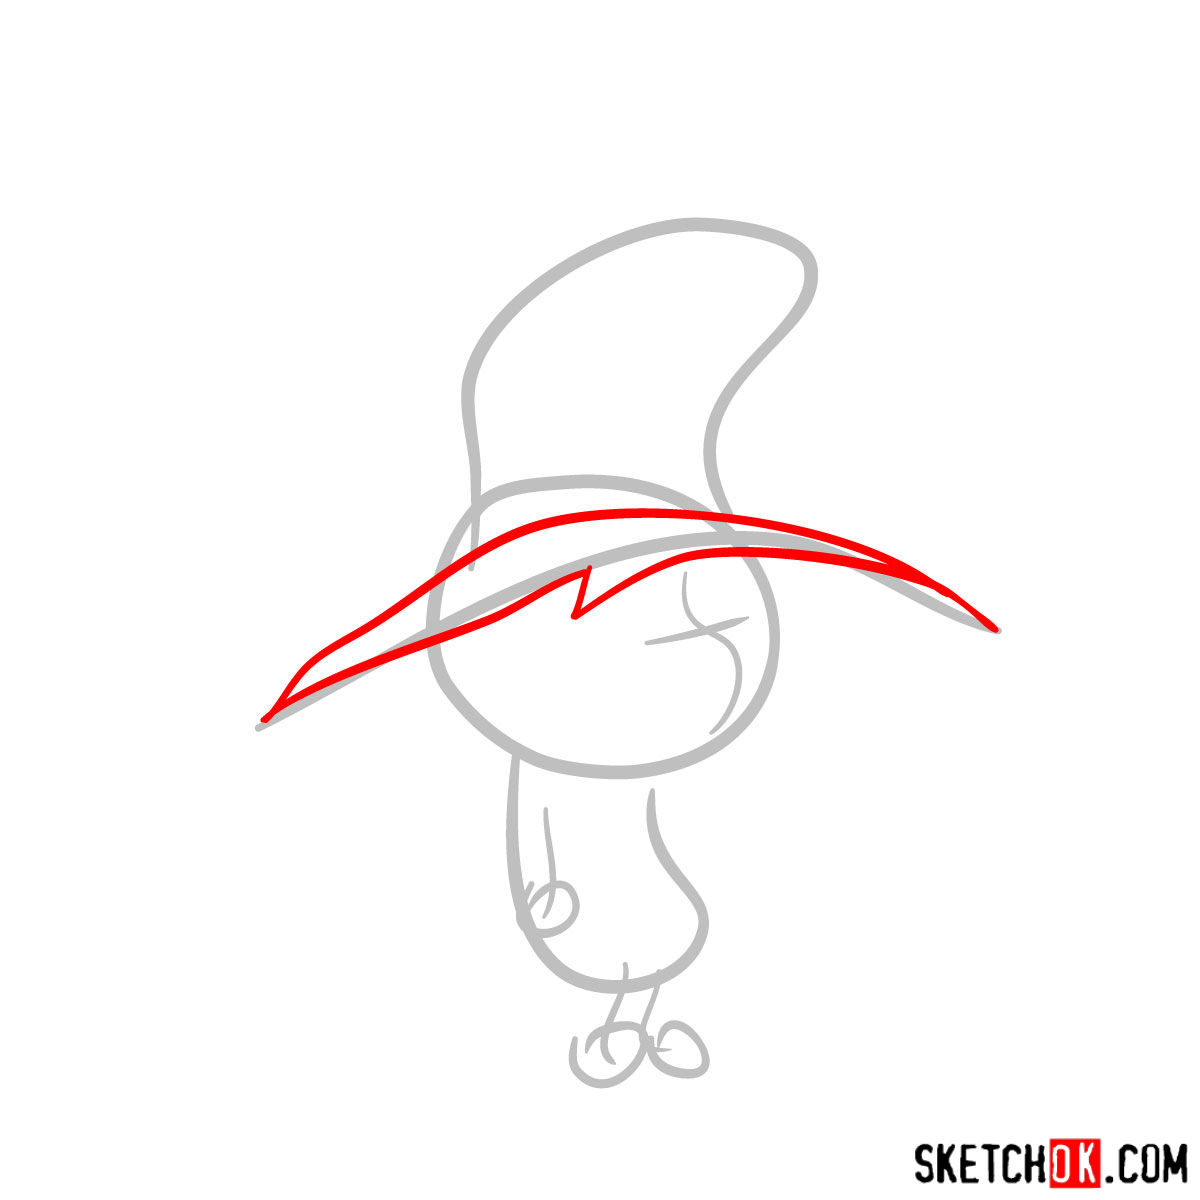
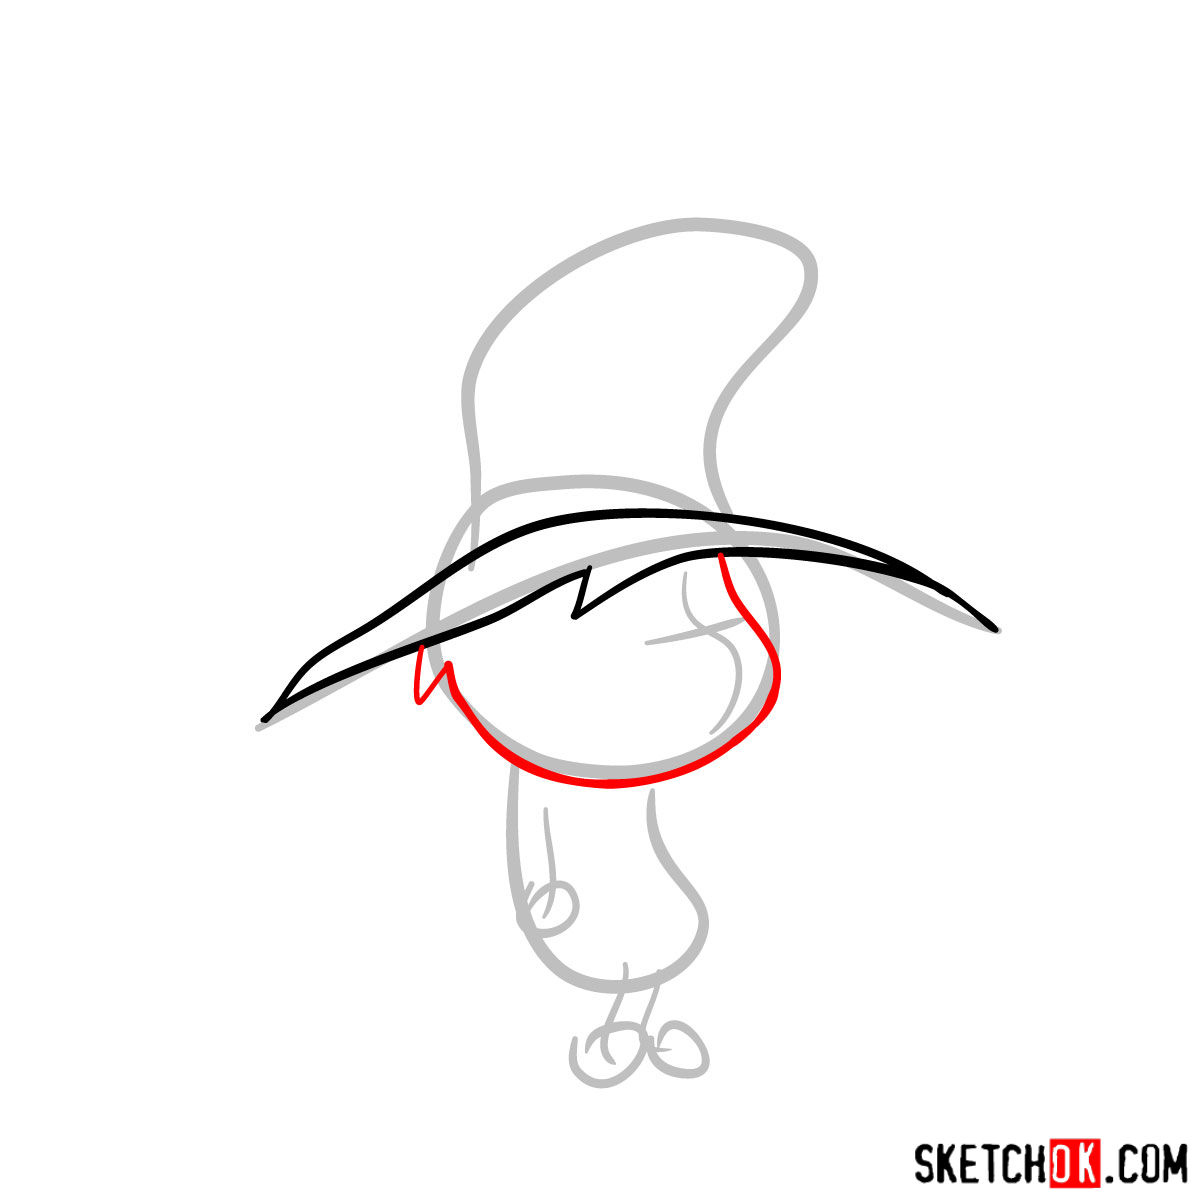
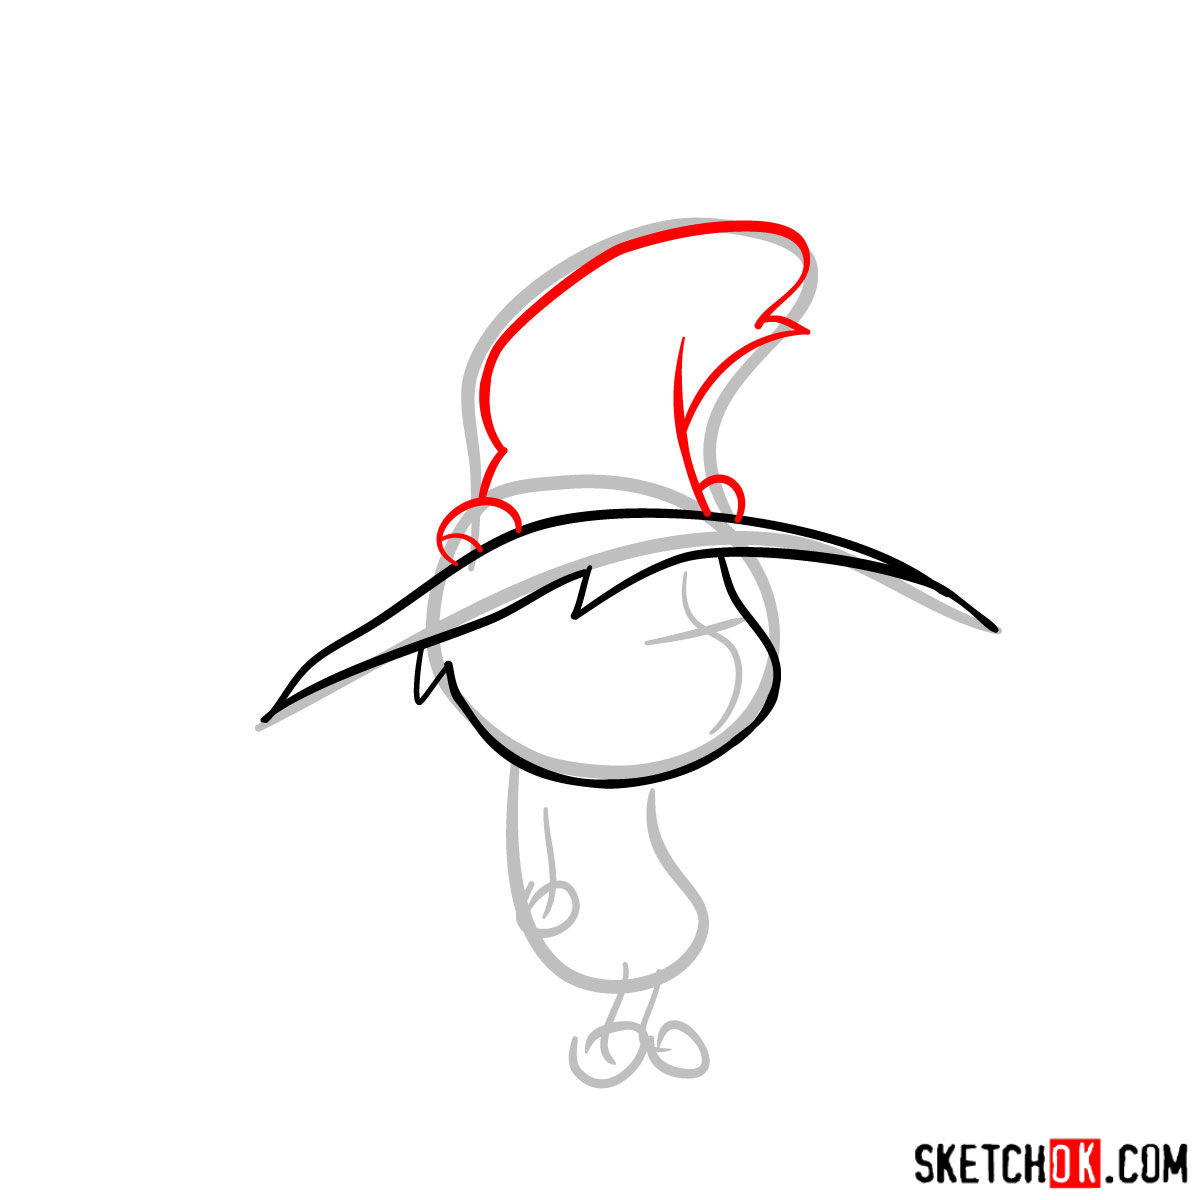
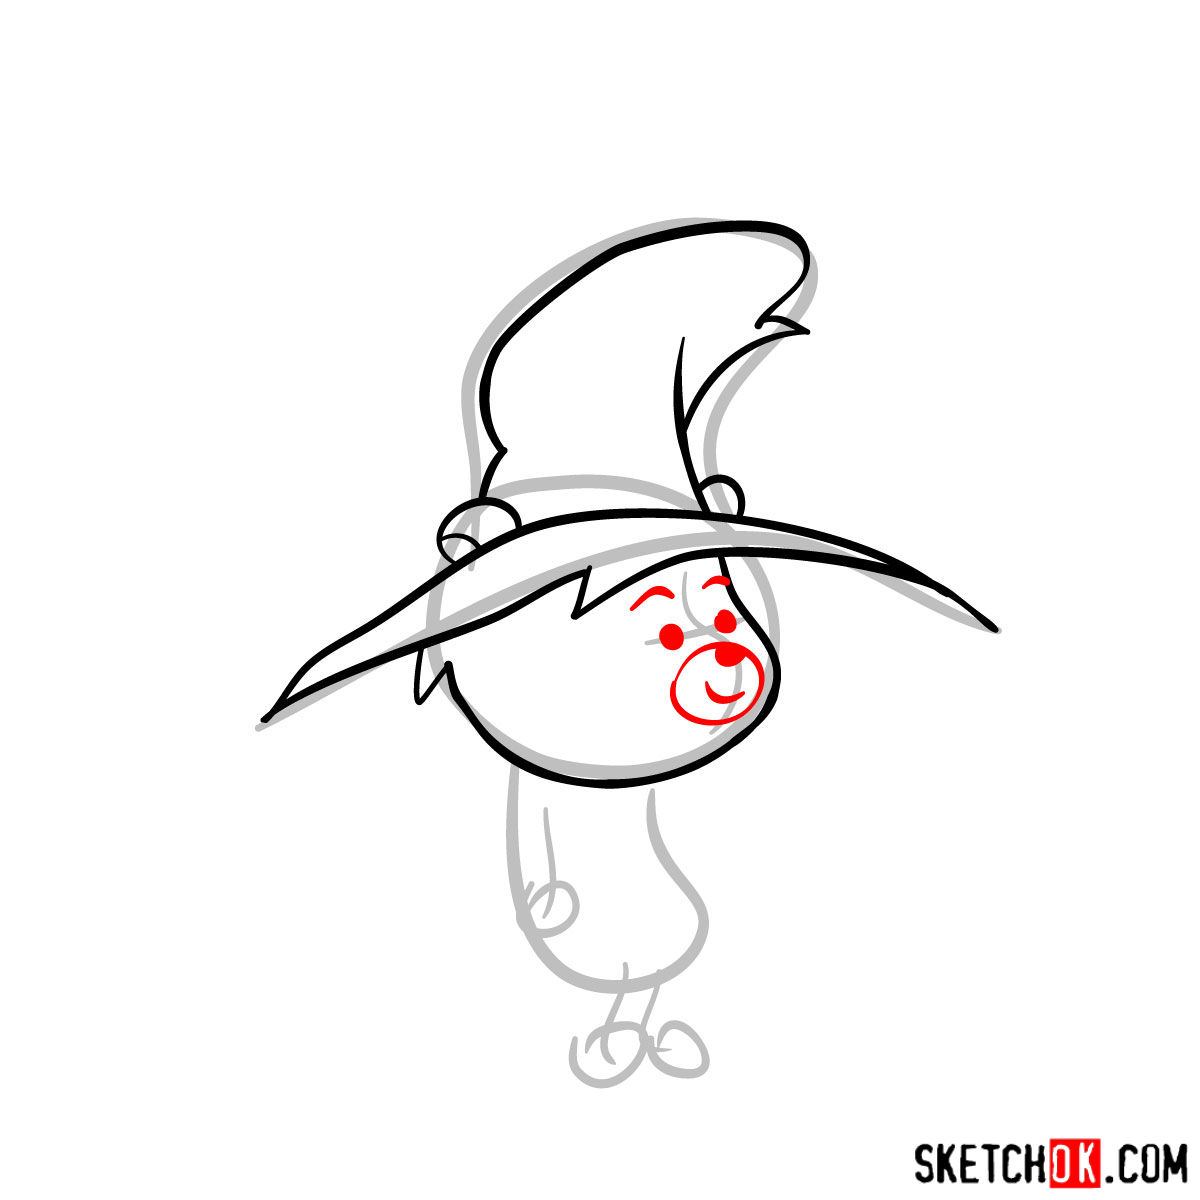
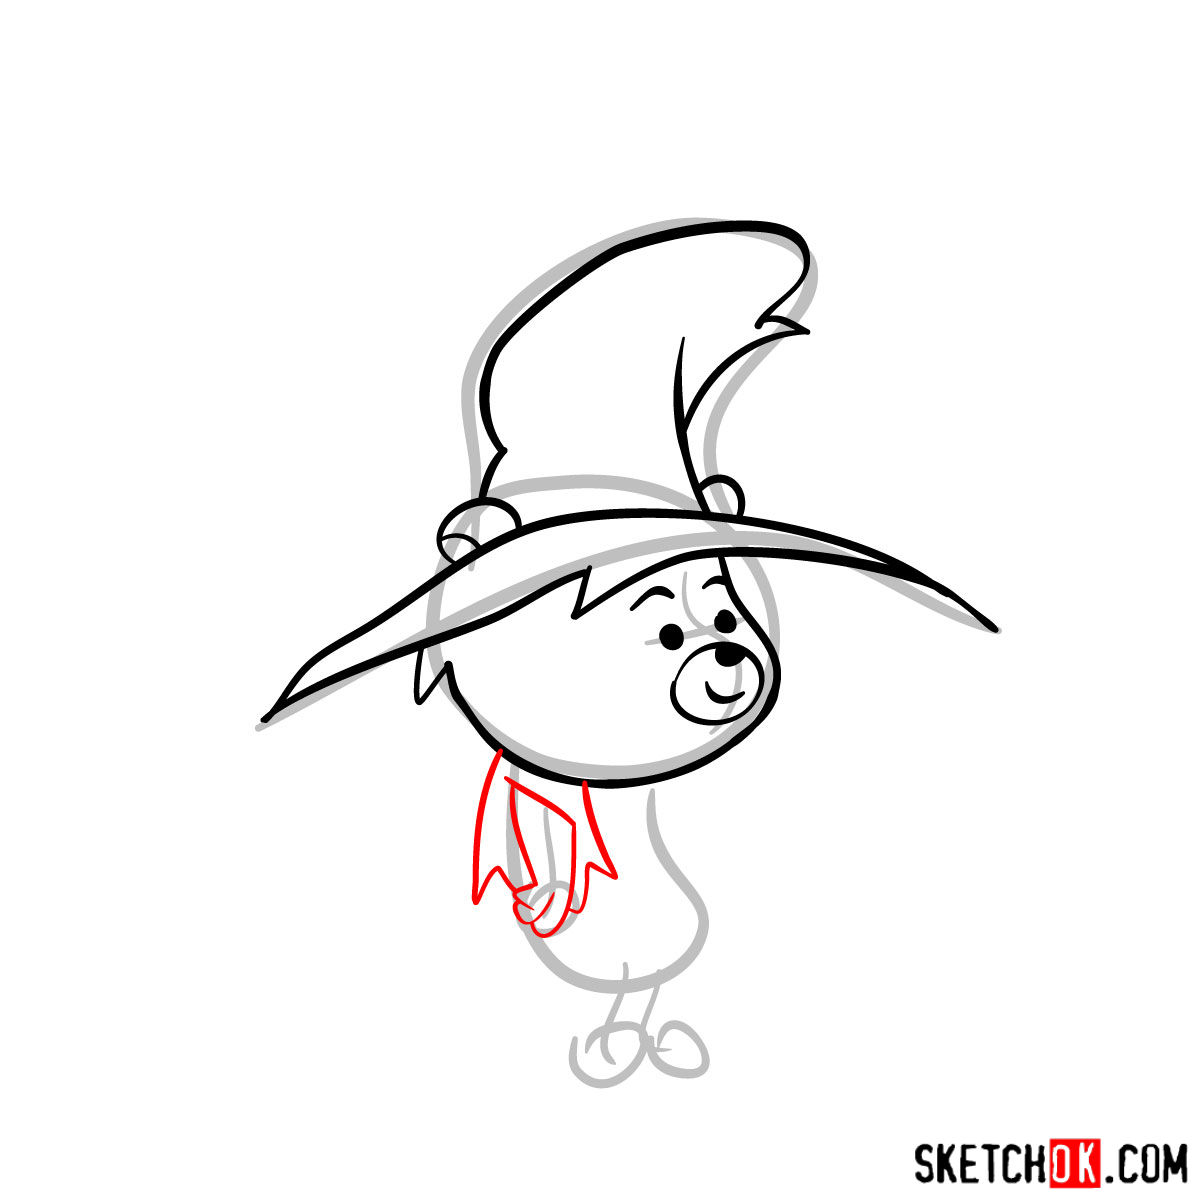
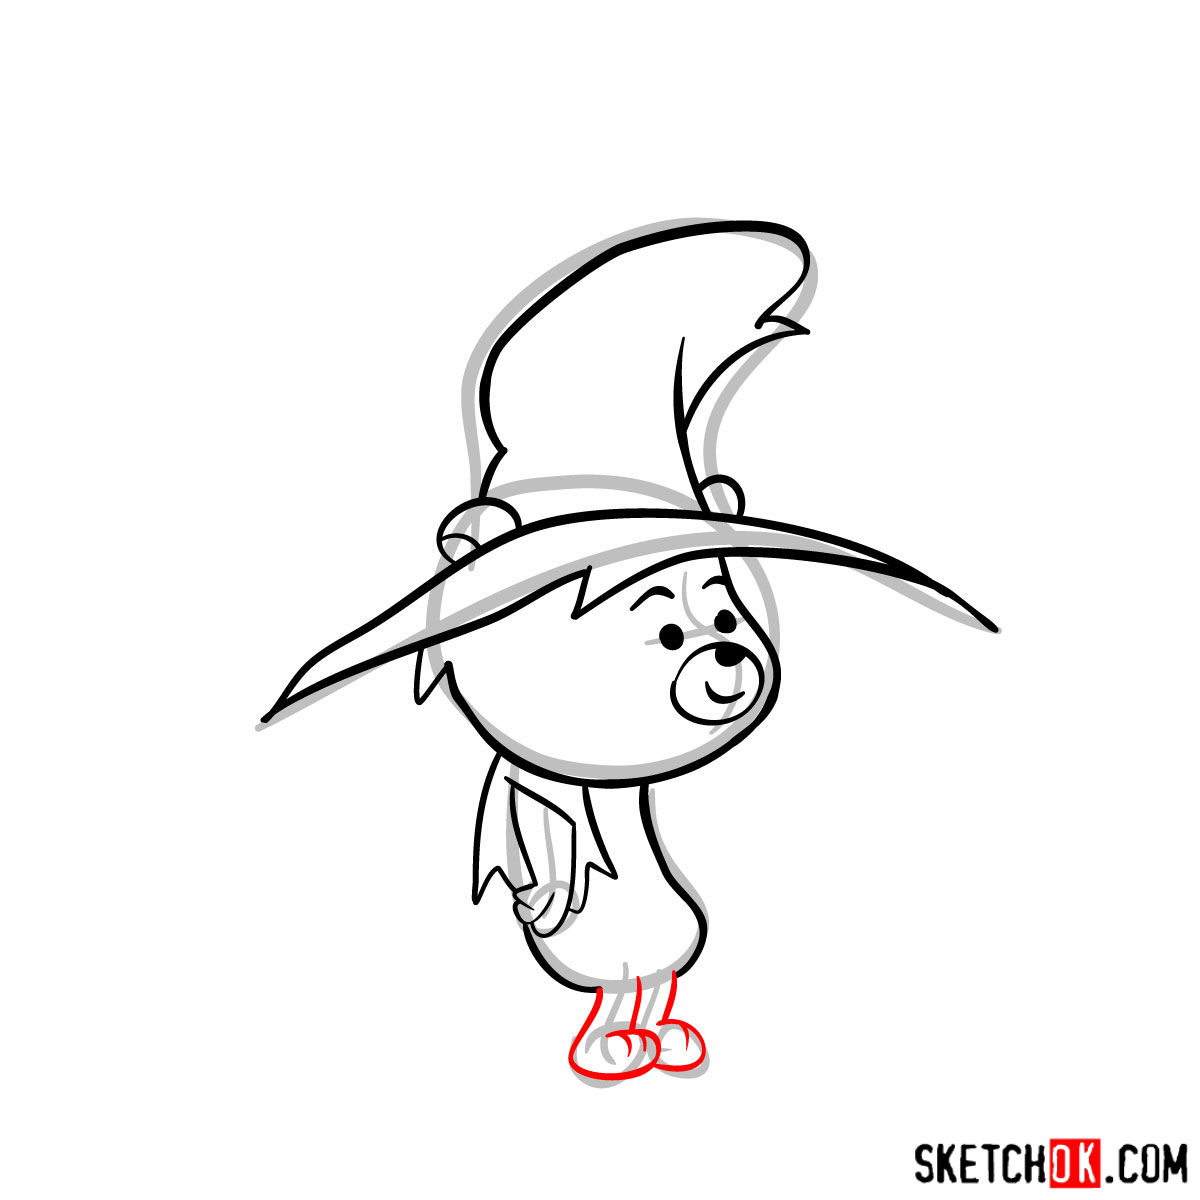
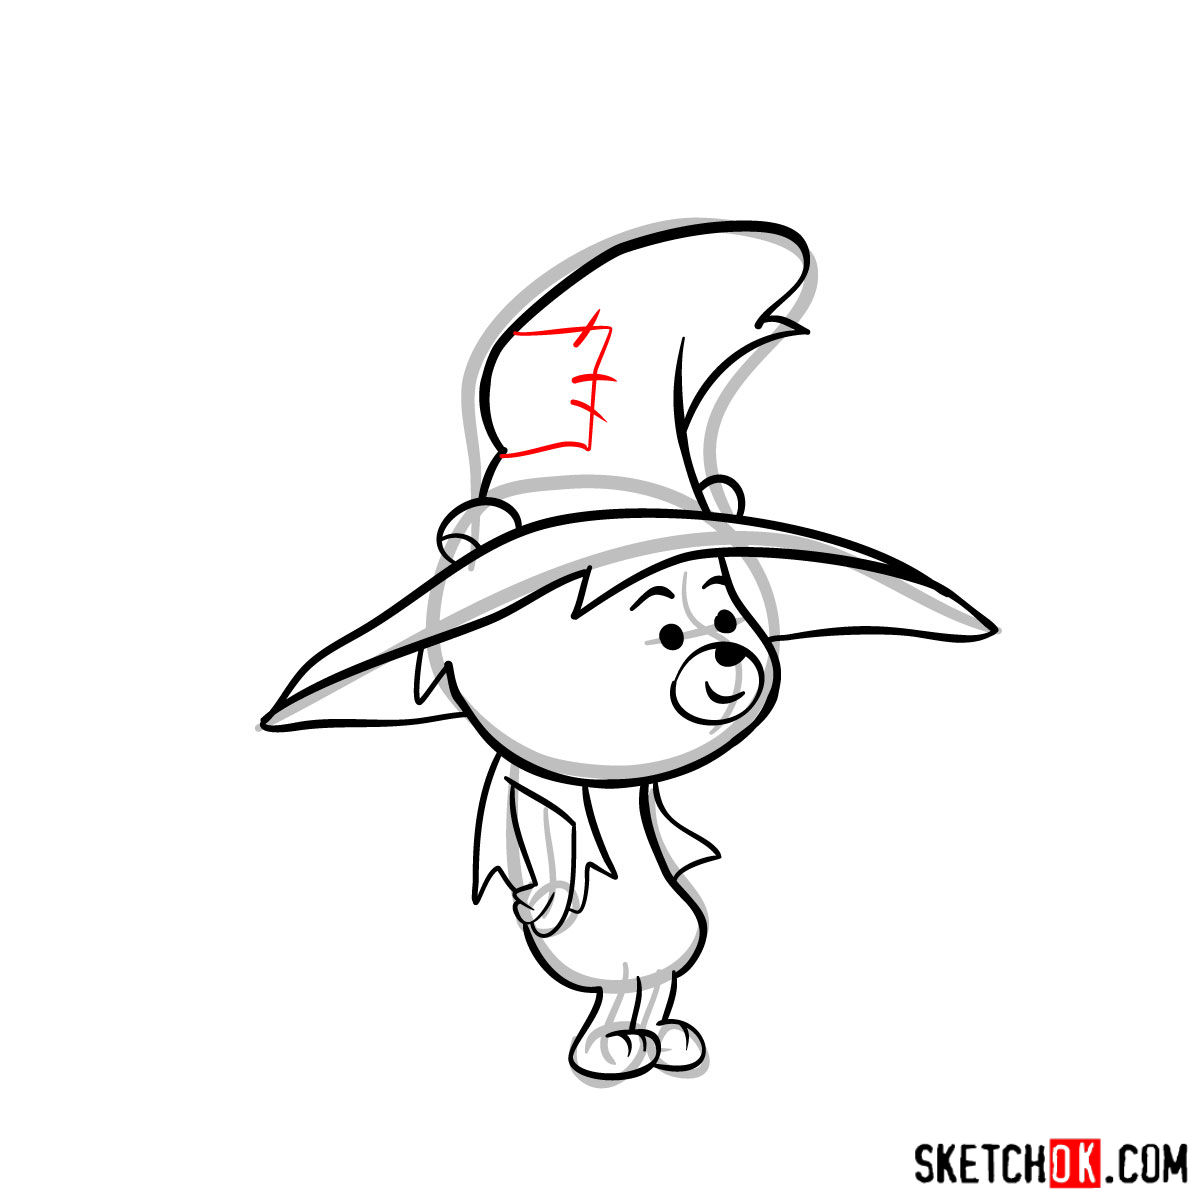
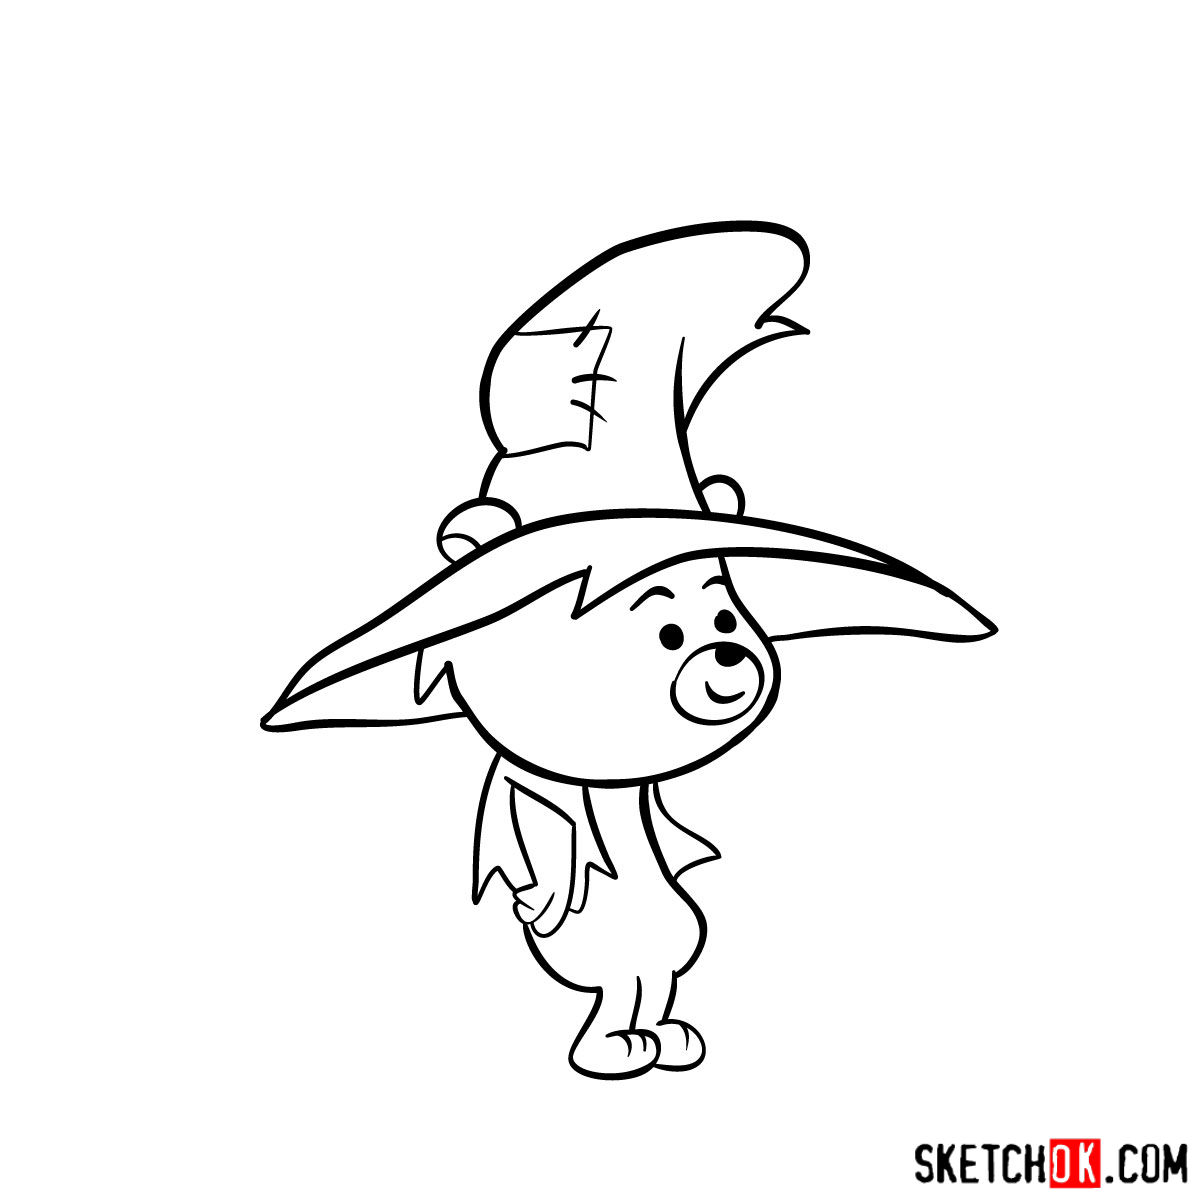
Our step-by-step guide consists of 12 well-defined stages to help you draw Shag Rugg. Each stage is highlighted with specific colors to guide you seamlessly through the process.
- Red Color: The red color indicates the current step in your drawing process. These are the lines you should be working on right now.
- Black Color: The black color illustrates the lines you’ve previously drawn. It serves as a reference for your progress and context for your next steps.
- Grey Color: The grey color displays the basic proportions and outlines. These are the initial sketches you create to build the foundation of your final drawing.
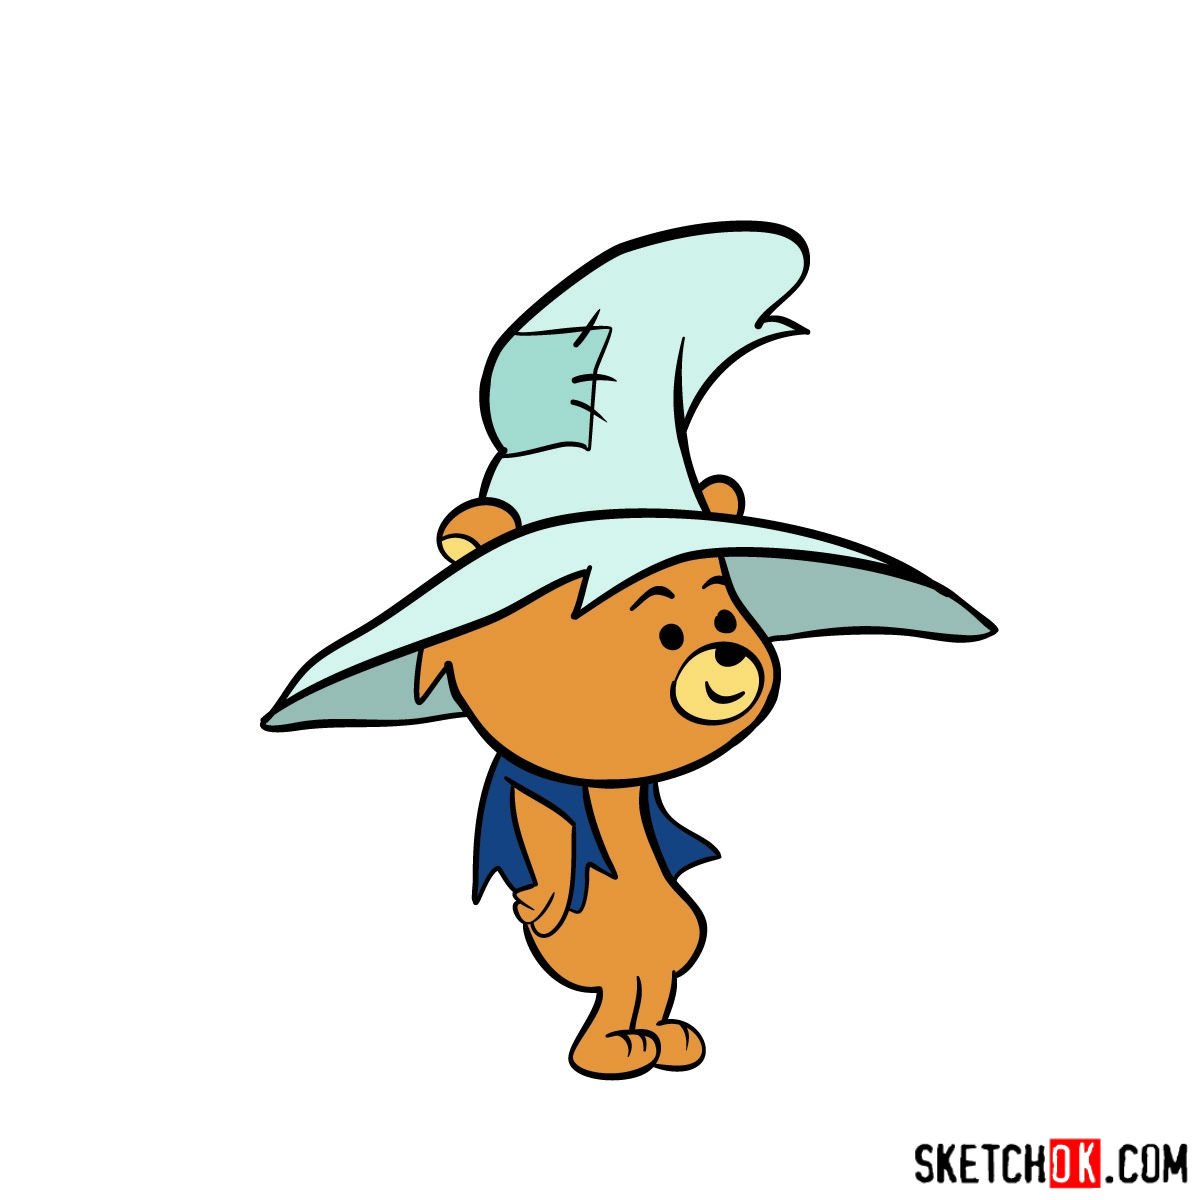
Remember, the first step is focused on creating a basic sketch using light pencil strokes for proportion purposes. In the last stage, you have the choice to ink your sketch. If you choose to ink your sketch, make sure to wait until the ink dries completely before erasing the pencil lines. This avoids smudging the ink and keeps your artwork clean and crisp. If you decide to add colors, use the last image as a reference.


Now that you know how to draw Shag Rugg, was he easier or harder to pull off than you expected? That shaggy fur texture can be tricky to get right, so don’t sweat it if it takes a couple of tries. Drop your finished drawing in the comments on the pinned Pinterest post, since that’s where most of the good conversations happen.
