Home » Cartoon Characters » Various » How to draw Rocky and Bullwinkle together

How to draw Rocky and Bullwinkle together

Step into the whimsical world of Frostbite Falls, as we bring you a unique drawing guide on how to capture the quintessential charm of Rocket “Rocky” J. Squirrel and his affable companion, Bullwinkle J. Moose. This eccentric and endearing duo hail from the classic animated series, Rocky and Bullwinkle, and are primed to make an appearance on your drawing board!

Key Features of Rocky and Bullwinkle

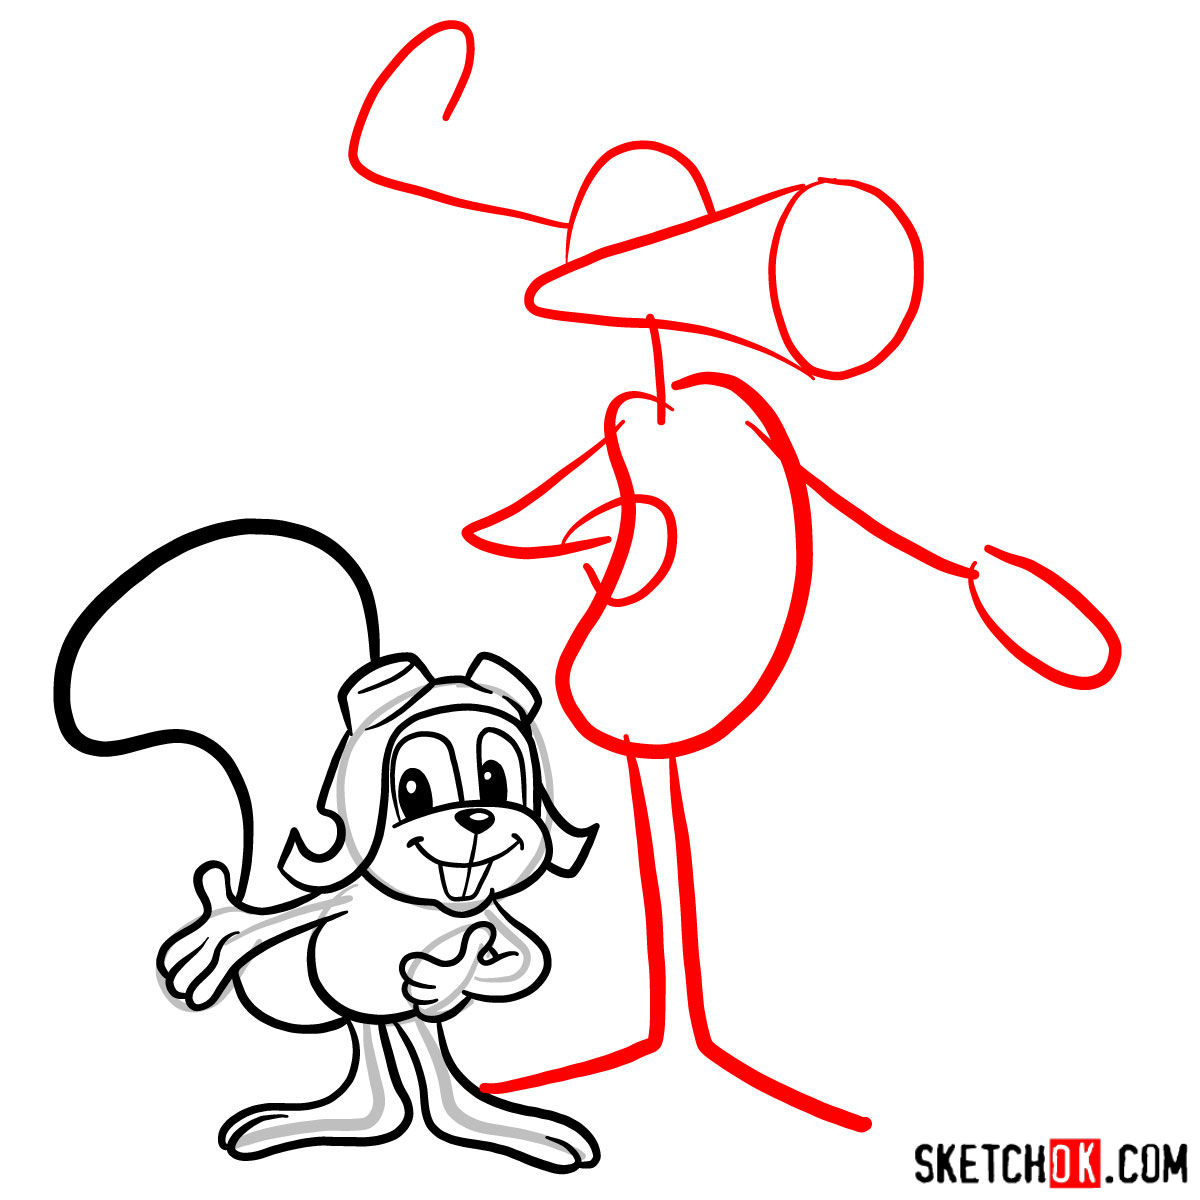
Before embarking on your drawing journey, let’s familiarize ourselves with the unique features of these characters. Rocky, the flying squirrel, is the epitome of dynamism with his nimble structure and alert eyes. On the other hand, Bullwinkle, the good-natured moose, steals the show with his large antlers, broad snout, and the whimsical expression that always seems to grace his face. Don’t forget to include the duo’s shared home – the picturesque town of Frostbite Falls – as the backdrop for an authentic touch. For those willing to go the extra mile, adding the mischievous characters Boris Badenov and Natasha Fatale will provide depth and intrigue to your drawing.

The Ultimate Guide to Drawing Rocky and Bullwinkle

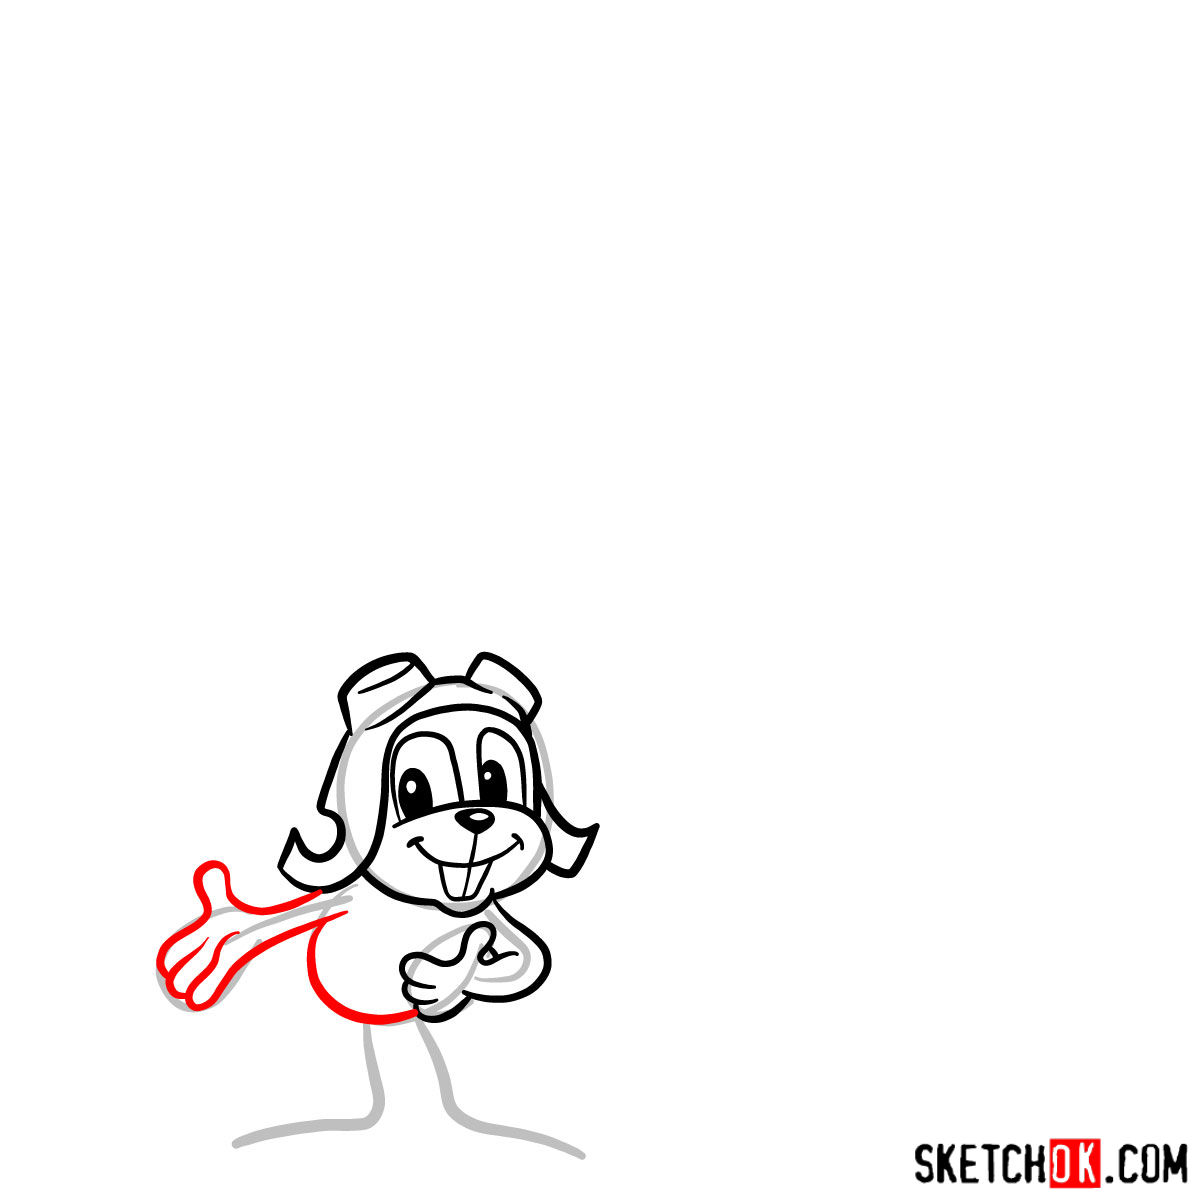
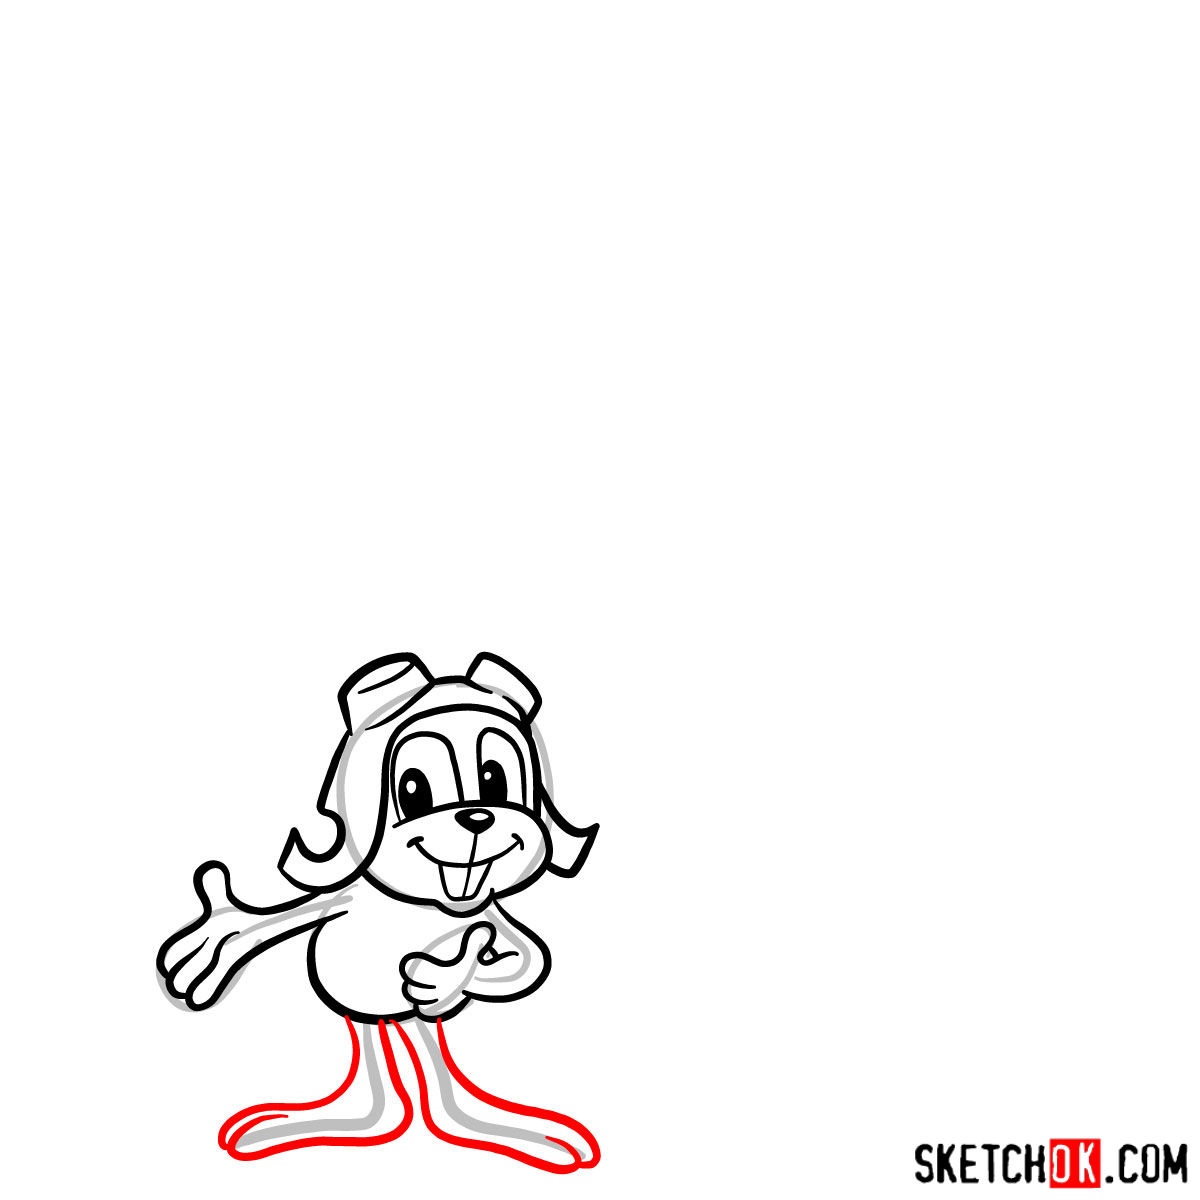
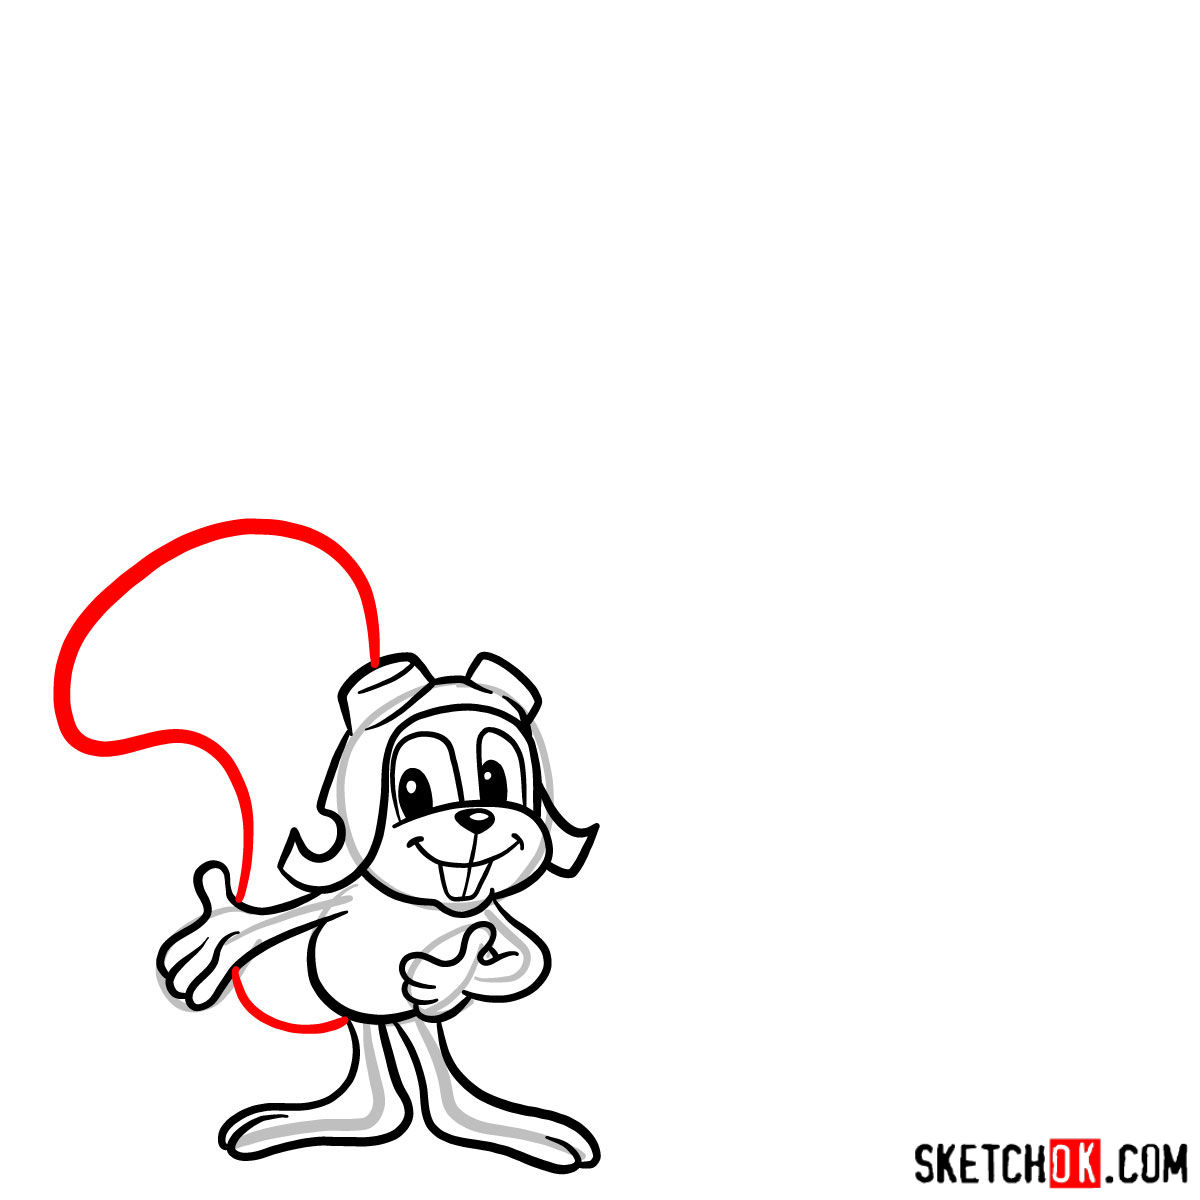
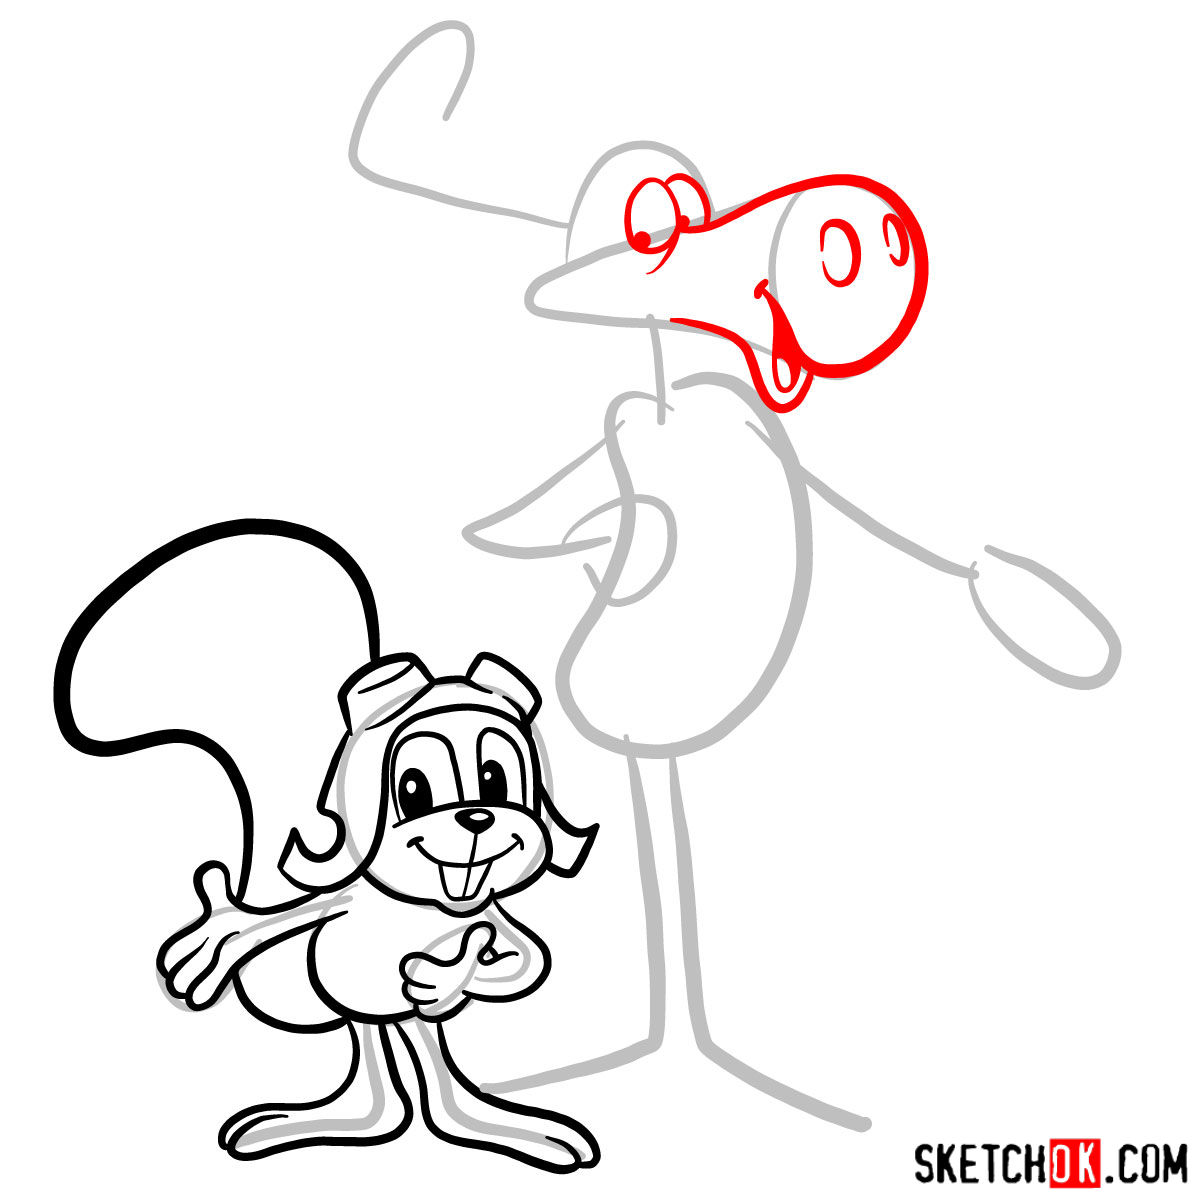
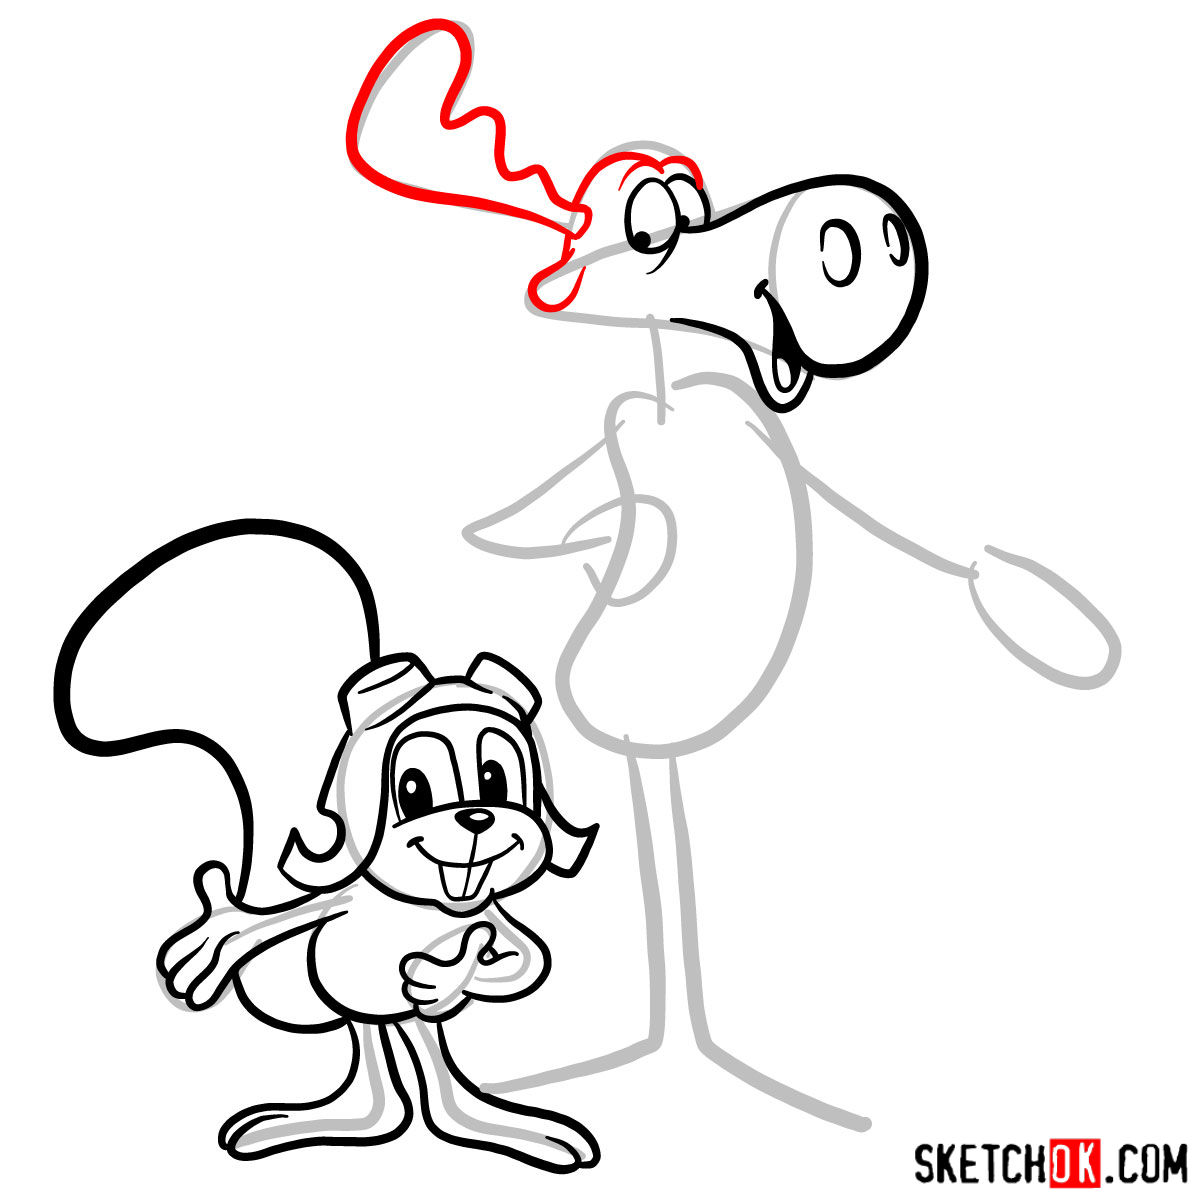
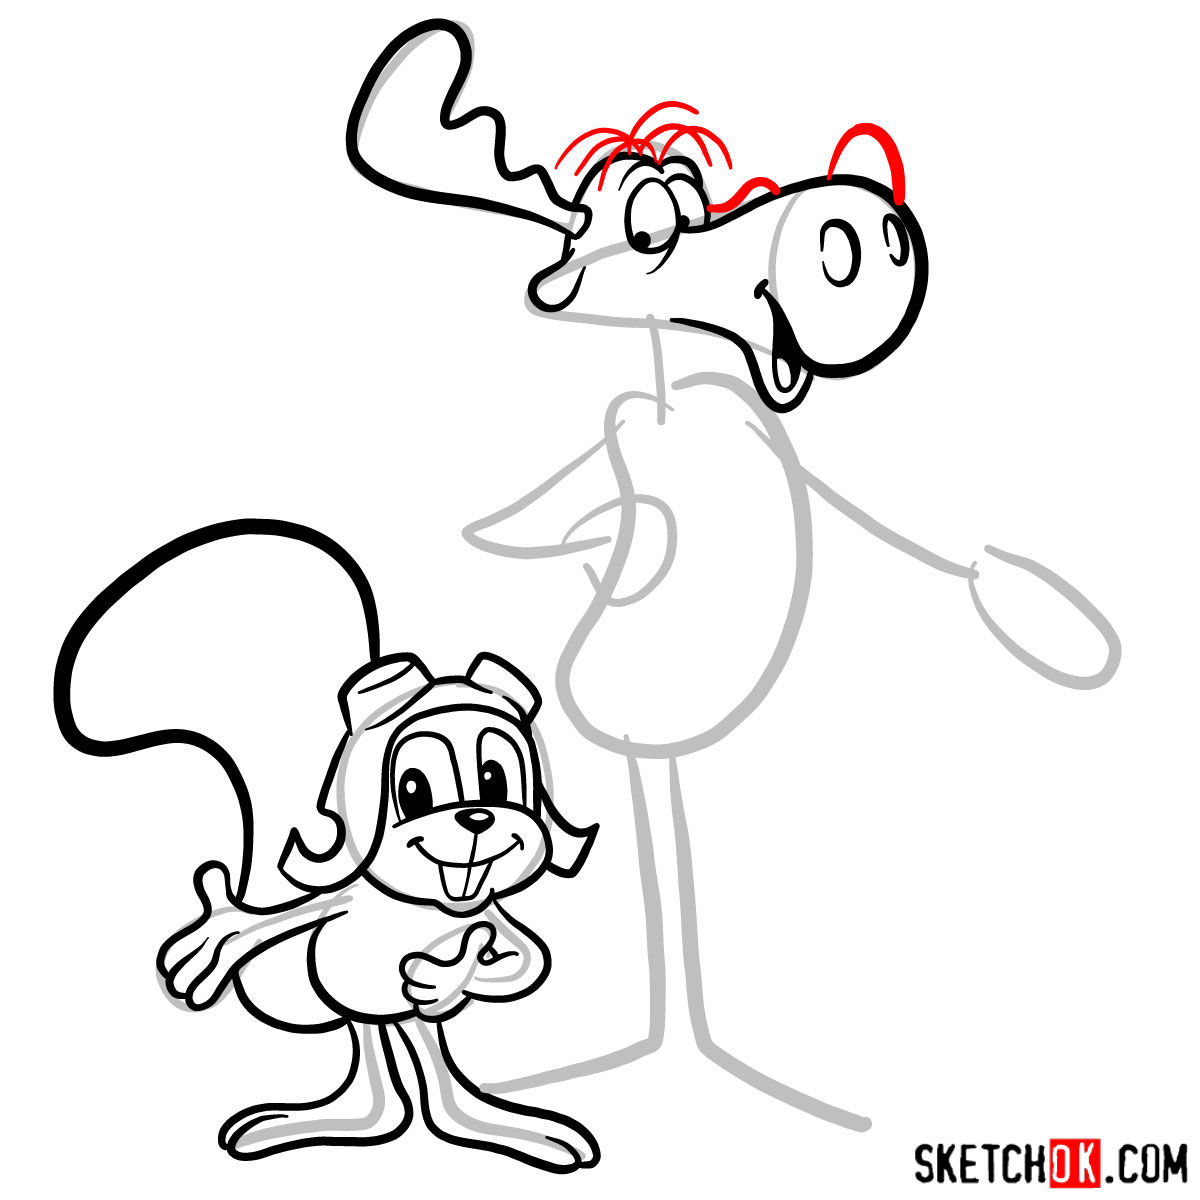
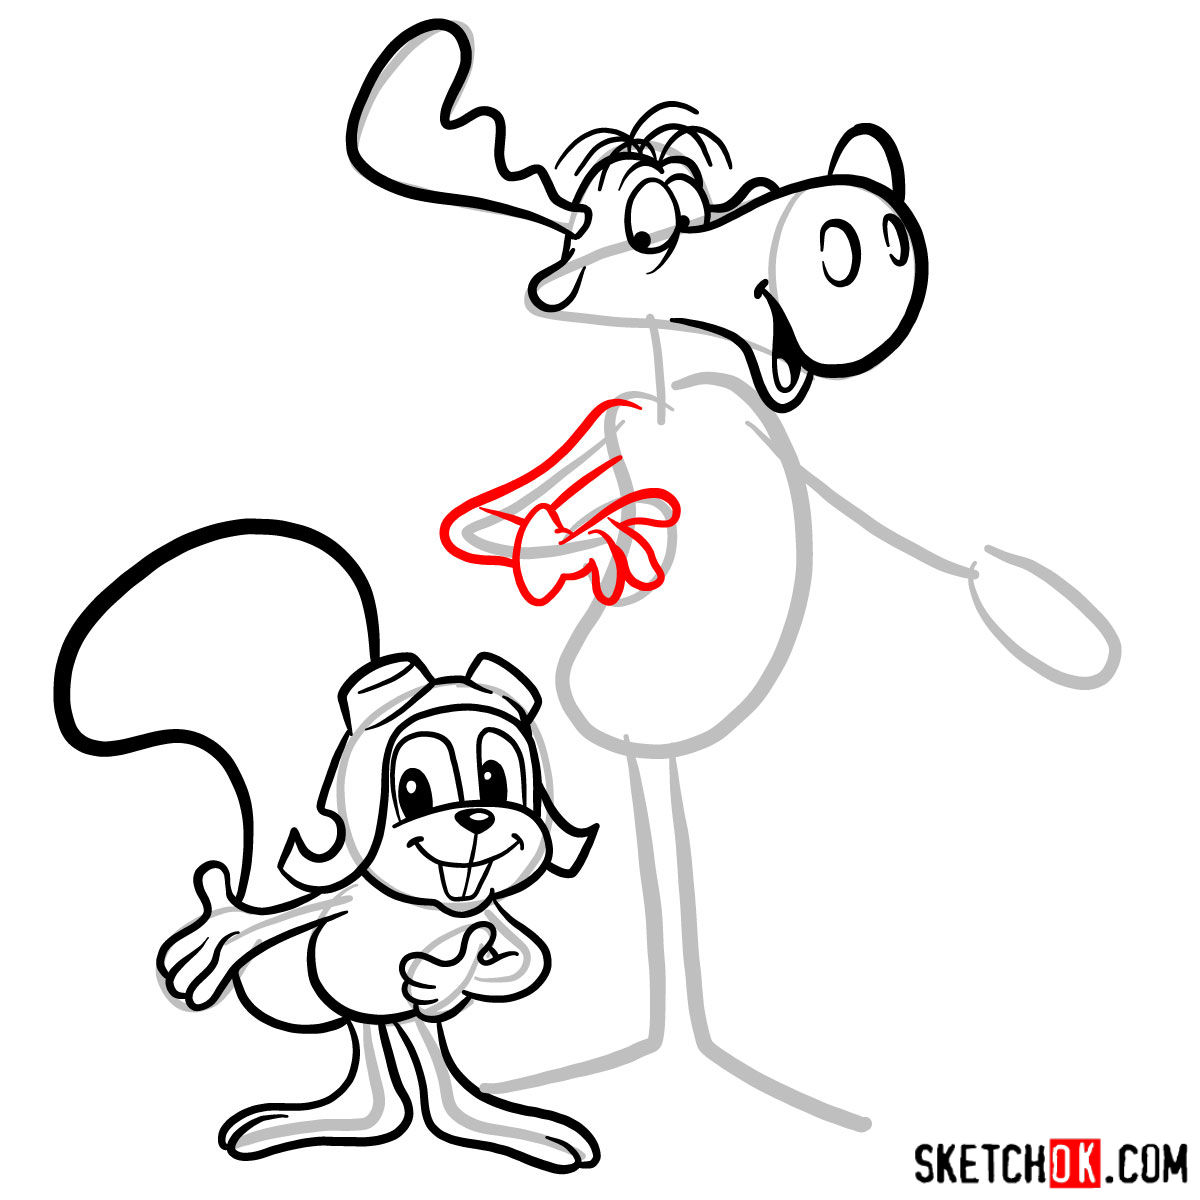
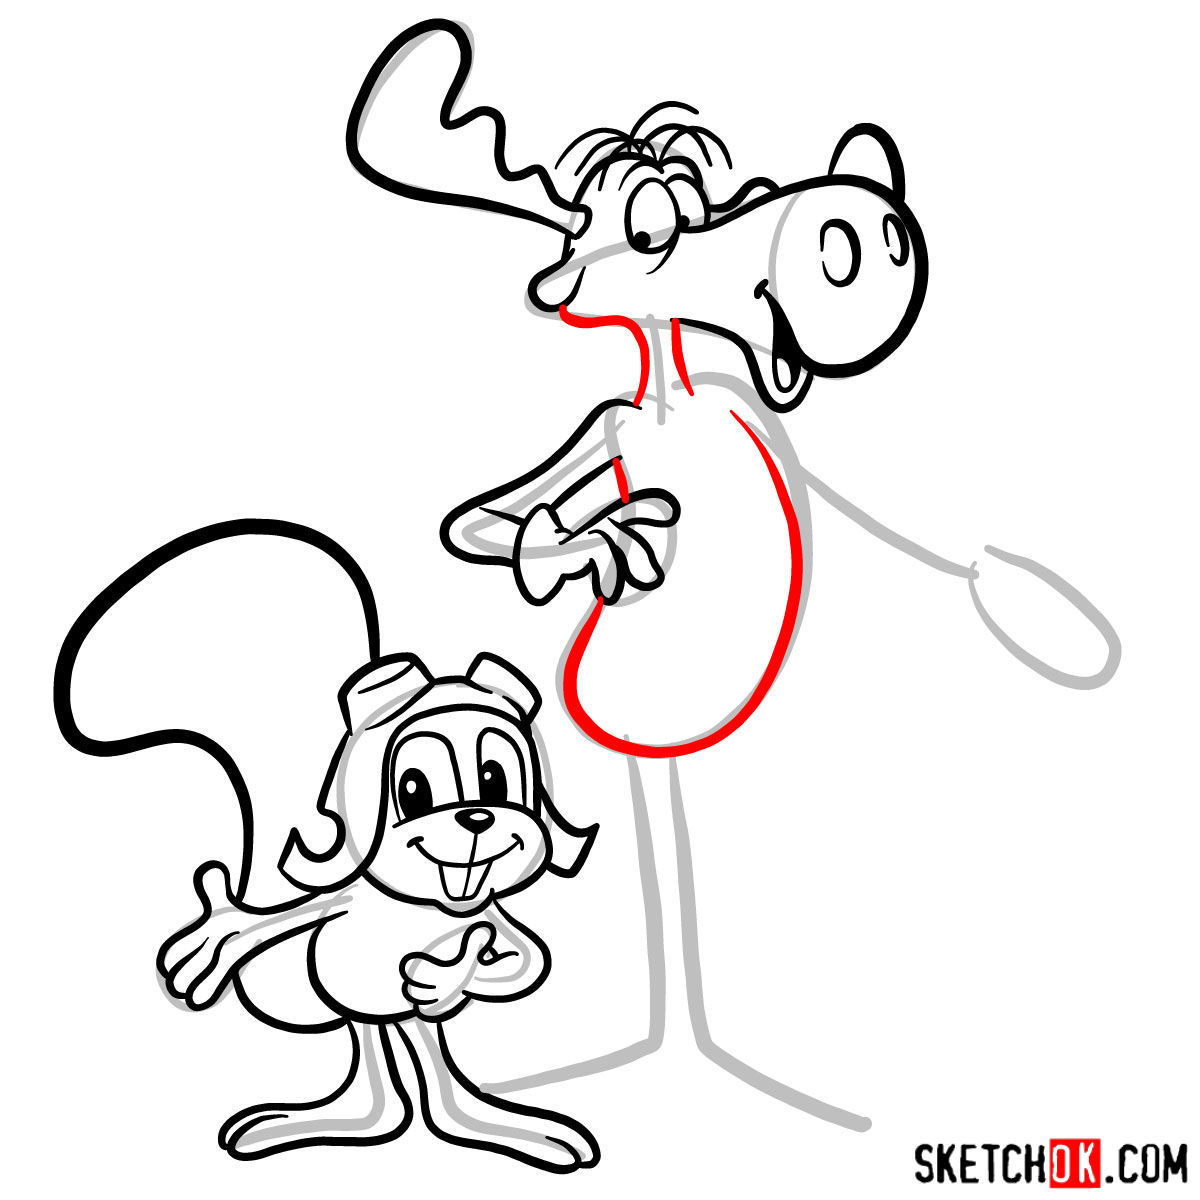
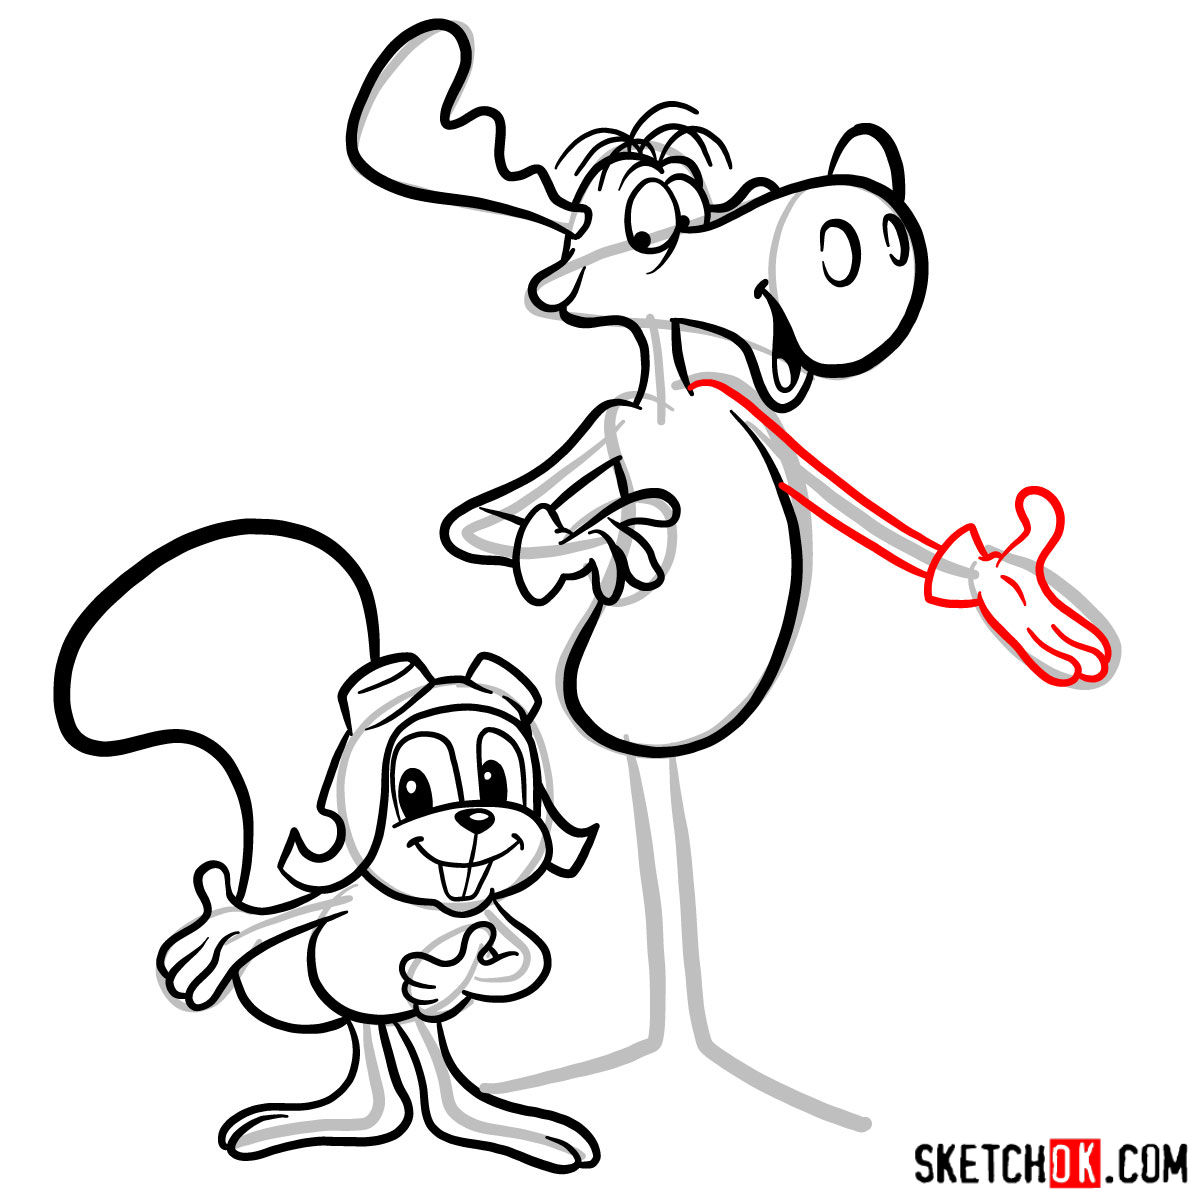
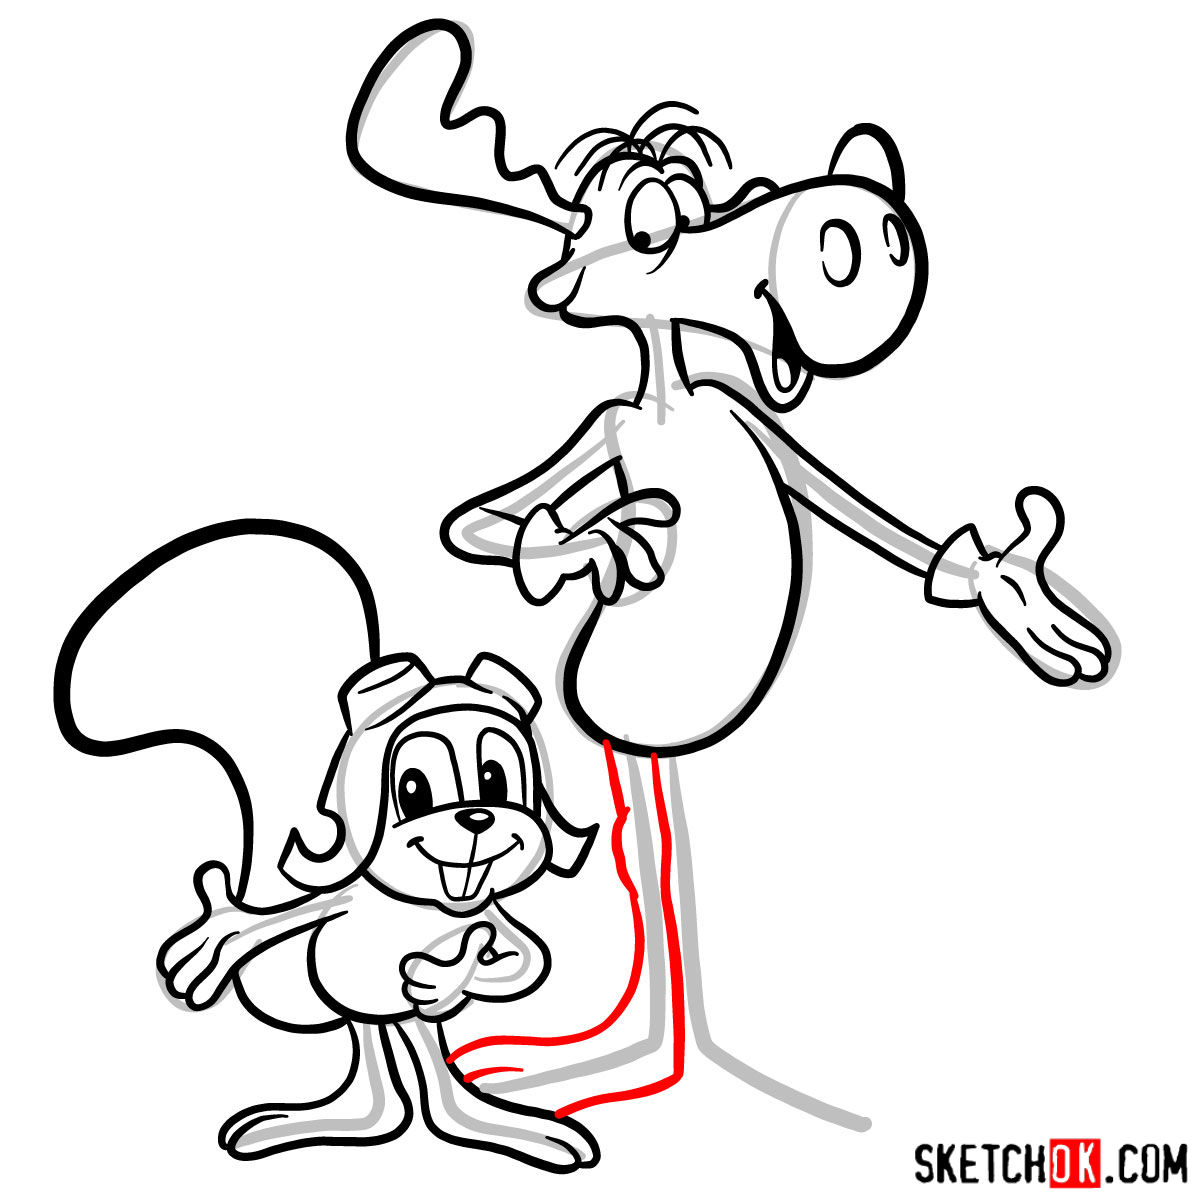
This guide, consisting of 19 comprehensive steps, will navigate you through the process of drawing Rocky and Bullwinkle. Throughout the tutorial, you will notice the following color codes:

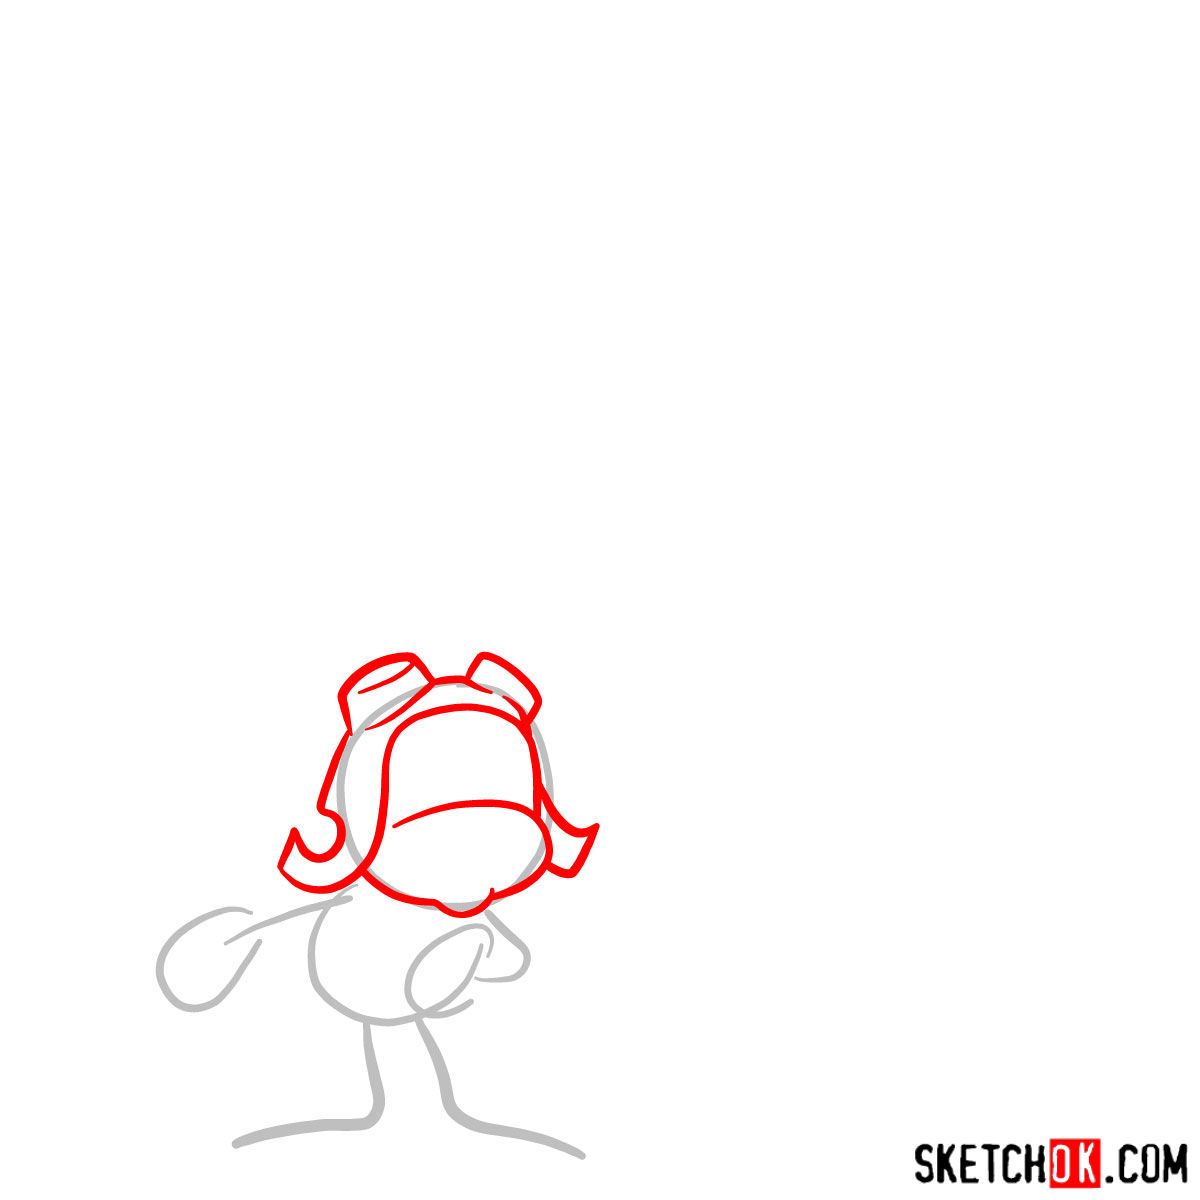
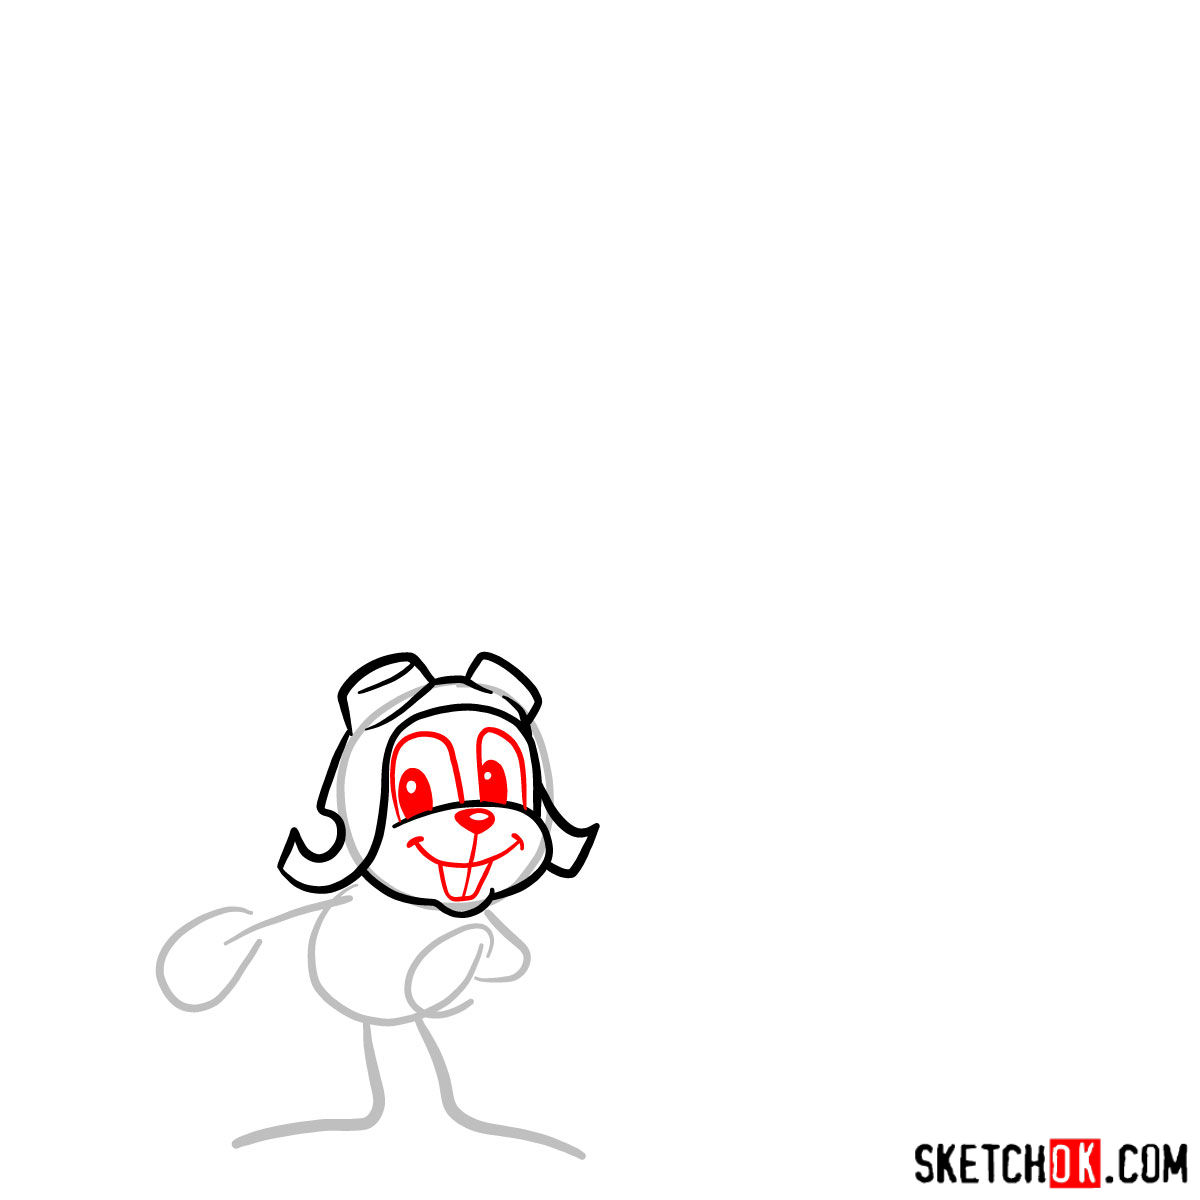
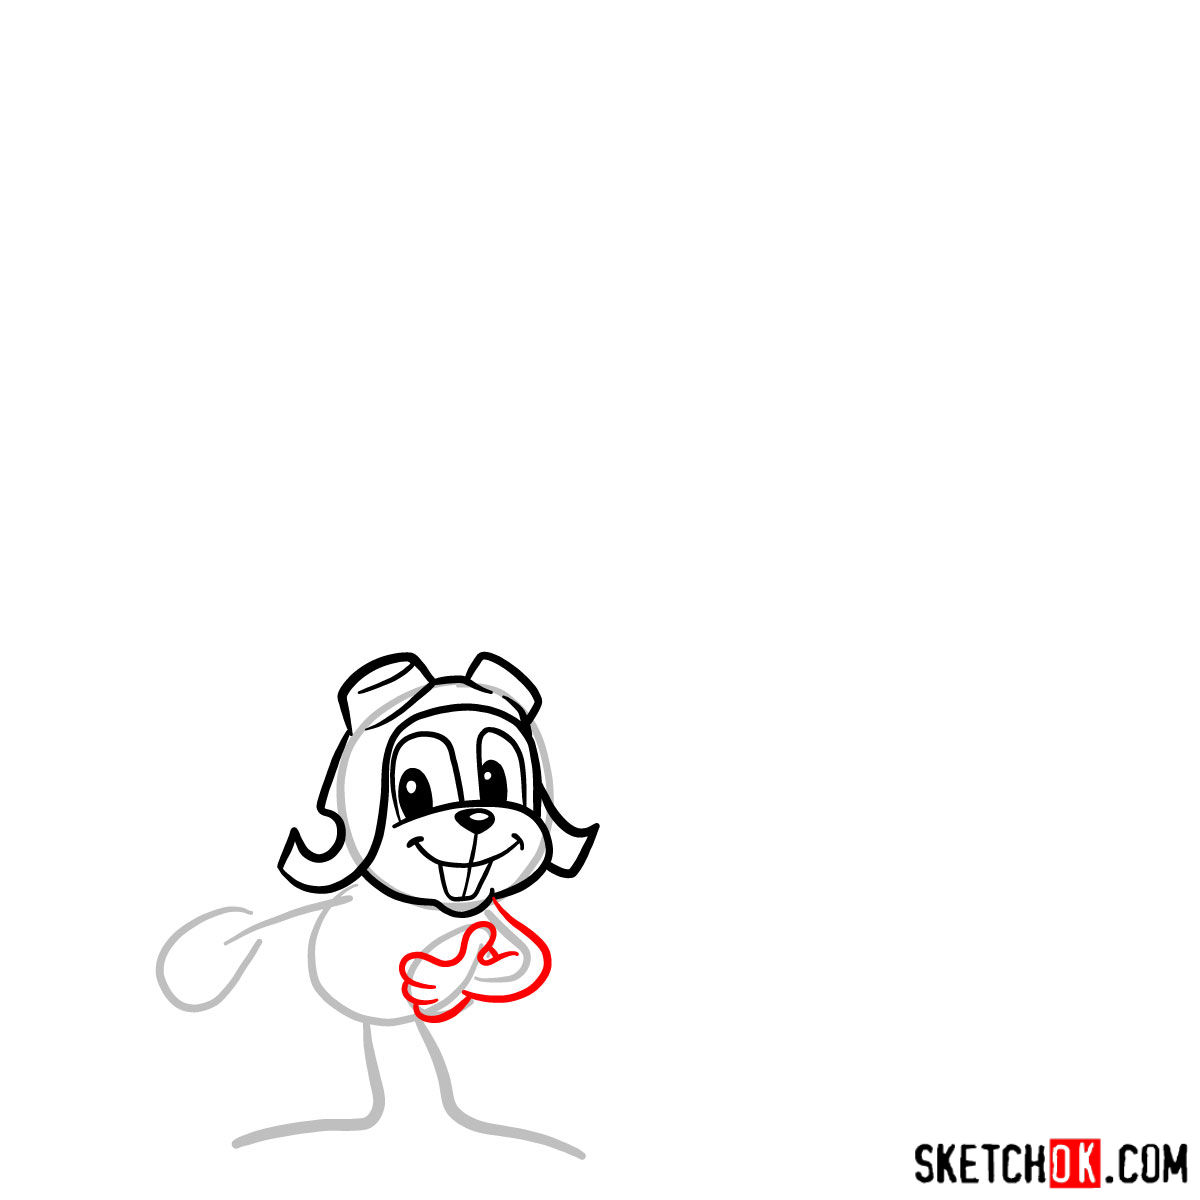
  • Red Color: Represents the current drawing step.
  • Black Color: Highlights the lines that were drawn in the previous steps.
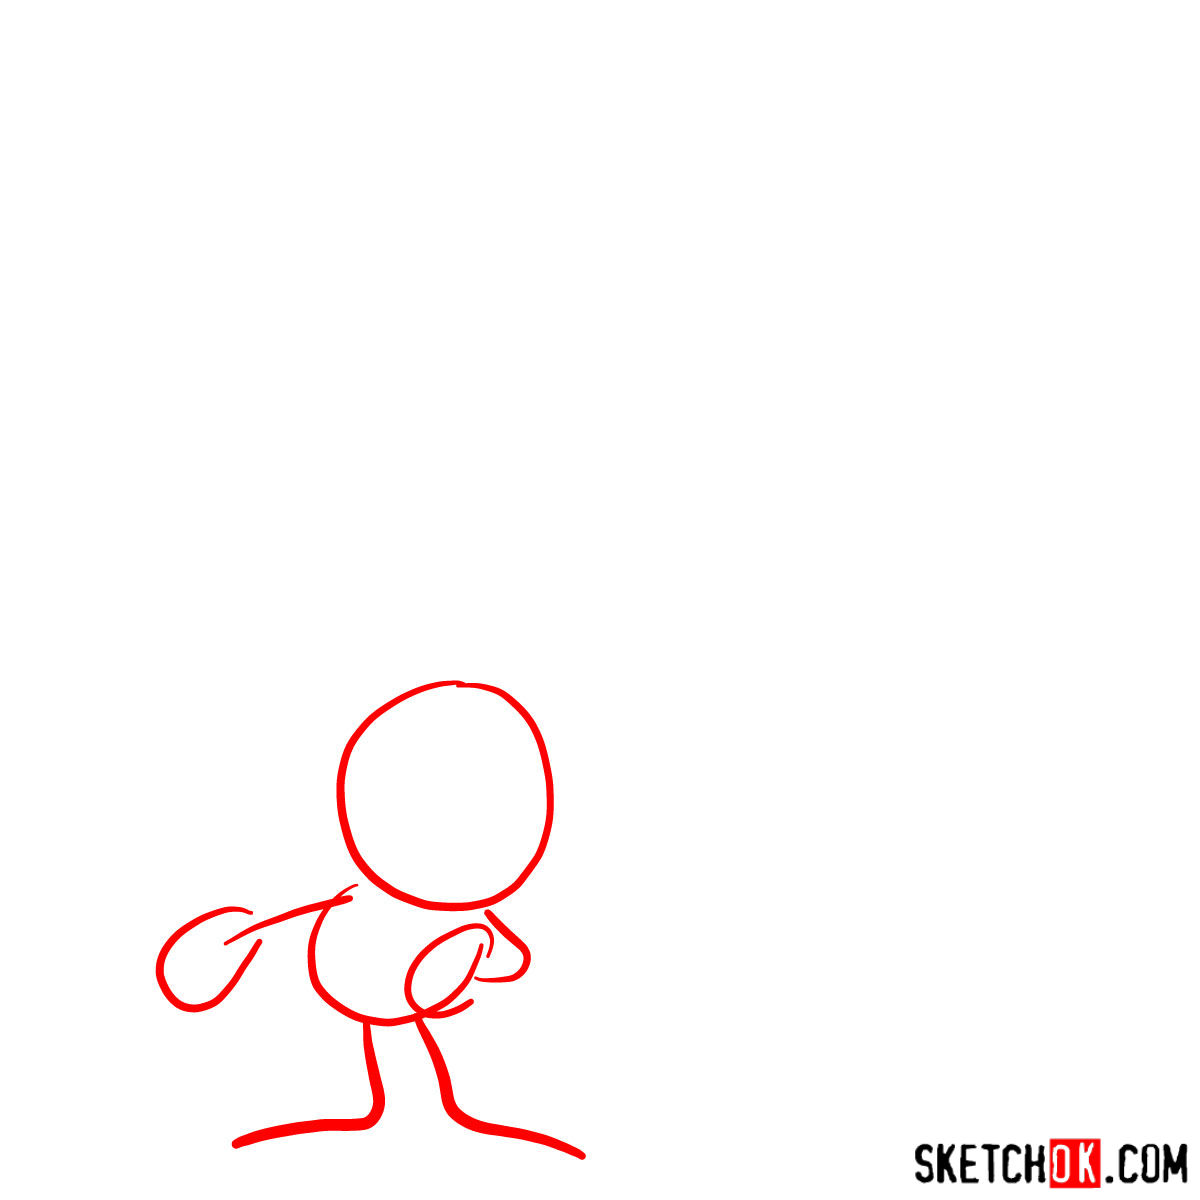
  • Grey Color: Showcases the basic sketch or the foundational structure.

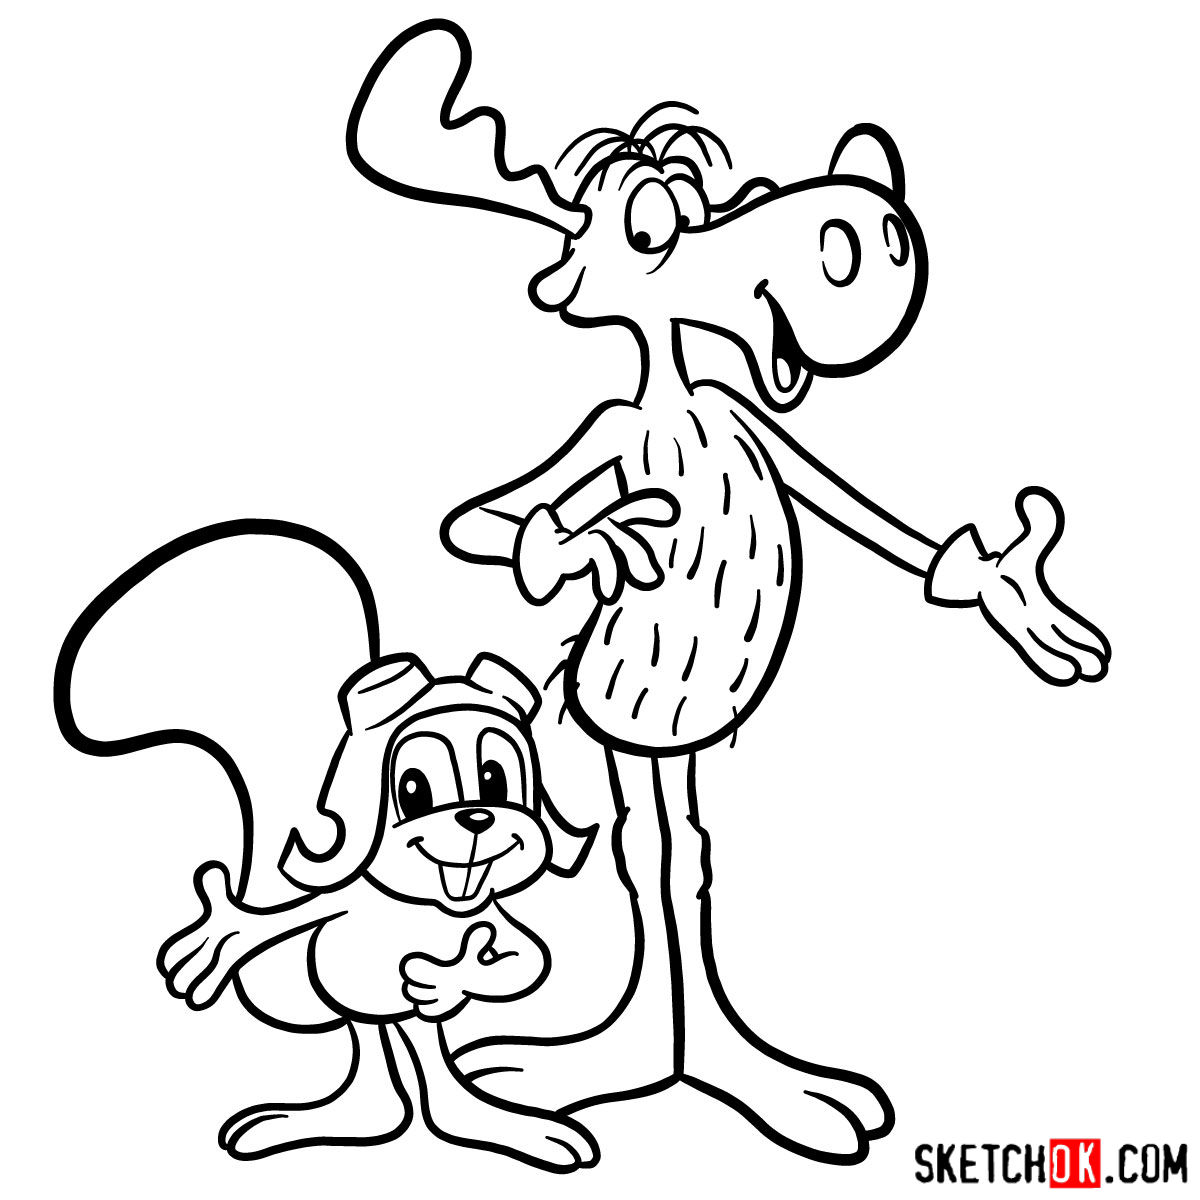
The guide begins with the creation of a basic sketch, using light pencil strokes. After drawing out the entire scene, you may choose to ink the sketch. Once the ink has dried, gently erase the pencil lines to give your artwork a clean, professional look. You can use the last image of the guide as a reference for coloring.

Step 01

How to draw Rocky and Bullwinkle together - step 01

Step 02

How to draw Rocky and Bullwinkle together - step 02

Step 03

How to draw Rocky and Bullwinkle together - step 03

Step 04

How to draw Rocky and Bullwinkle together - step 04

Step 05

How to draw Rocky and Bullwinkle together - step 05

Step 06

How to draw Rocky and Bullwinkle together - step 06

Step 07

How to draw Rocky and Bullwinkle together - step 07

Step 08

How to draw Rocky and Bullwinkle together - step 08

Step 09

How to draw Rocky and Bullwinkle together - step 09

Step 10

How to draw Rocky and Bullwinkle together - step 10

Step 11

How to draw Rocky and Bullwinkle together - step 11

Step 12

How to draw Rocky and Bullwinkle together - step 12

Step 13

How to draw Rocky and Bullwinkle together - step 13

Step 14

How to draw Rocky and Bullwinkle together - step 14

Step 15

How to draw Rocky and Bullwinkle together - step 15

Step 16

How to draw Rocky and Bullwinkle together - step 16

Step 17

How to draw Rocky and Bullwinkle together - step 17

Step 18

How to draw Rocky and Bullwinkle together - step 18

Step 19

How to draw Rocky and Bullwinkle together

Frequently Asked Questions

What’s the best approach for drawing Bullwinkle’s antlers?

Antlers can be tricky due to their complex structure. Start with a basic shape and add details gradually. Using light strokes at first can help with adjustments and corrections.

How can I capture Rocky’s dynamic expression?

Rocky’s expressions are key to his character. Pay attention to his eyes and eyebrows. Remember, practice makes perfect. Don’t be afraid to erase and redraw until you’re satisfied.

Any tips for sketching the background scene?

For background scenes, start with broad shapes and details. Perspective is crucial here. Remember, objects further away should be smaller to give depth to your scene.

Bring the Story to Life

Now that you know how to draw Rocky and Bullwinkle, it’s time to pick up your pencil and start sketching. By following this guide, you’ll not only refine your artistic skills but also revive the delightful nostalgia that these characters bring.

After you’re done, why not share your masterpiece with the world? Post it on your social media, tag us or simply share the link to this guide. You can find us on Facebook, Instagram, and Pinterest. By spreading the word, you can inspire others to embark on their own drawing adventures.

Your support is crucial in keeping our project alive and thriving. If you enjoy our tutorials, consider making a donation. Every contribution helps us create more free drawing guides and opens the possibility for you to suggest ideas for future tutorials. Let’s continue to bring creativity to every corner of the world, one drawing at a time.

Did you like the tutorial?

You can support the author of this website and also suggest your own ideas for new drawings by making a small donation here:

Leave a Comment