")
Ever found yourself mesmerized by the heartwarming tale of Oliver, the charismatic orange tabby from Disney’s Oliver & Company? Well, you’re in luck. Our step-by-step tutorial will guide you on how to draw Oliver, capturing his vibrant spirit and charming aesthetics, all with the swish of a pencil!
Oliver’s Aesthetic: Points to Ponder
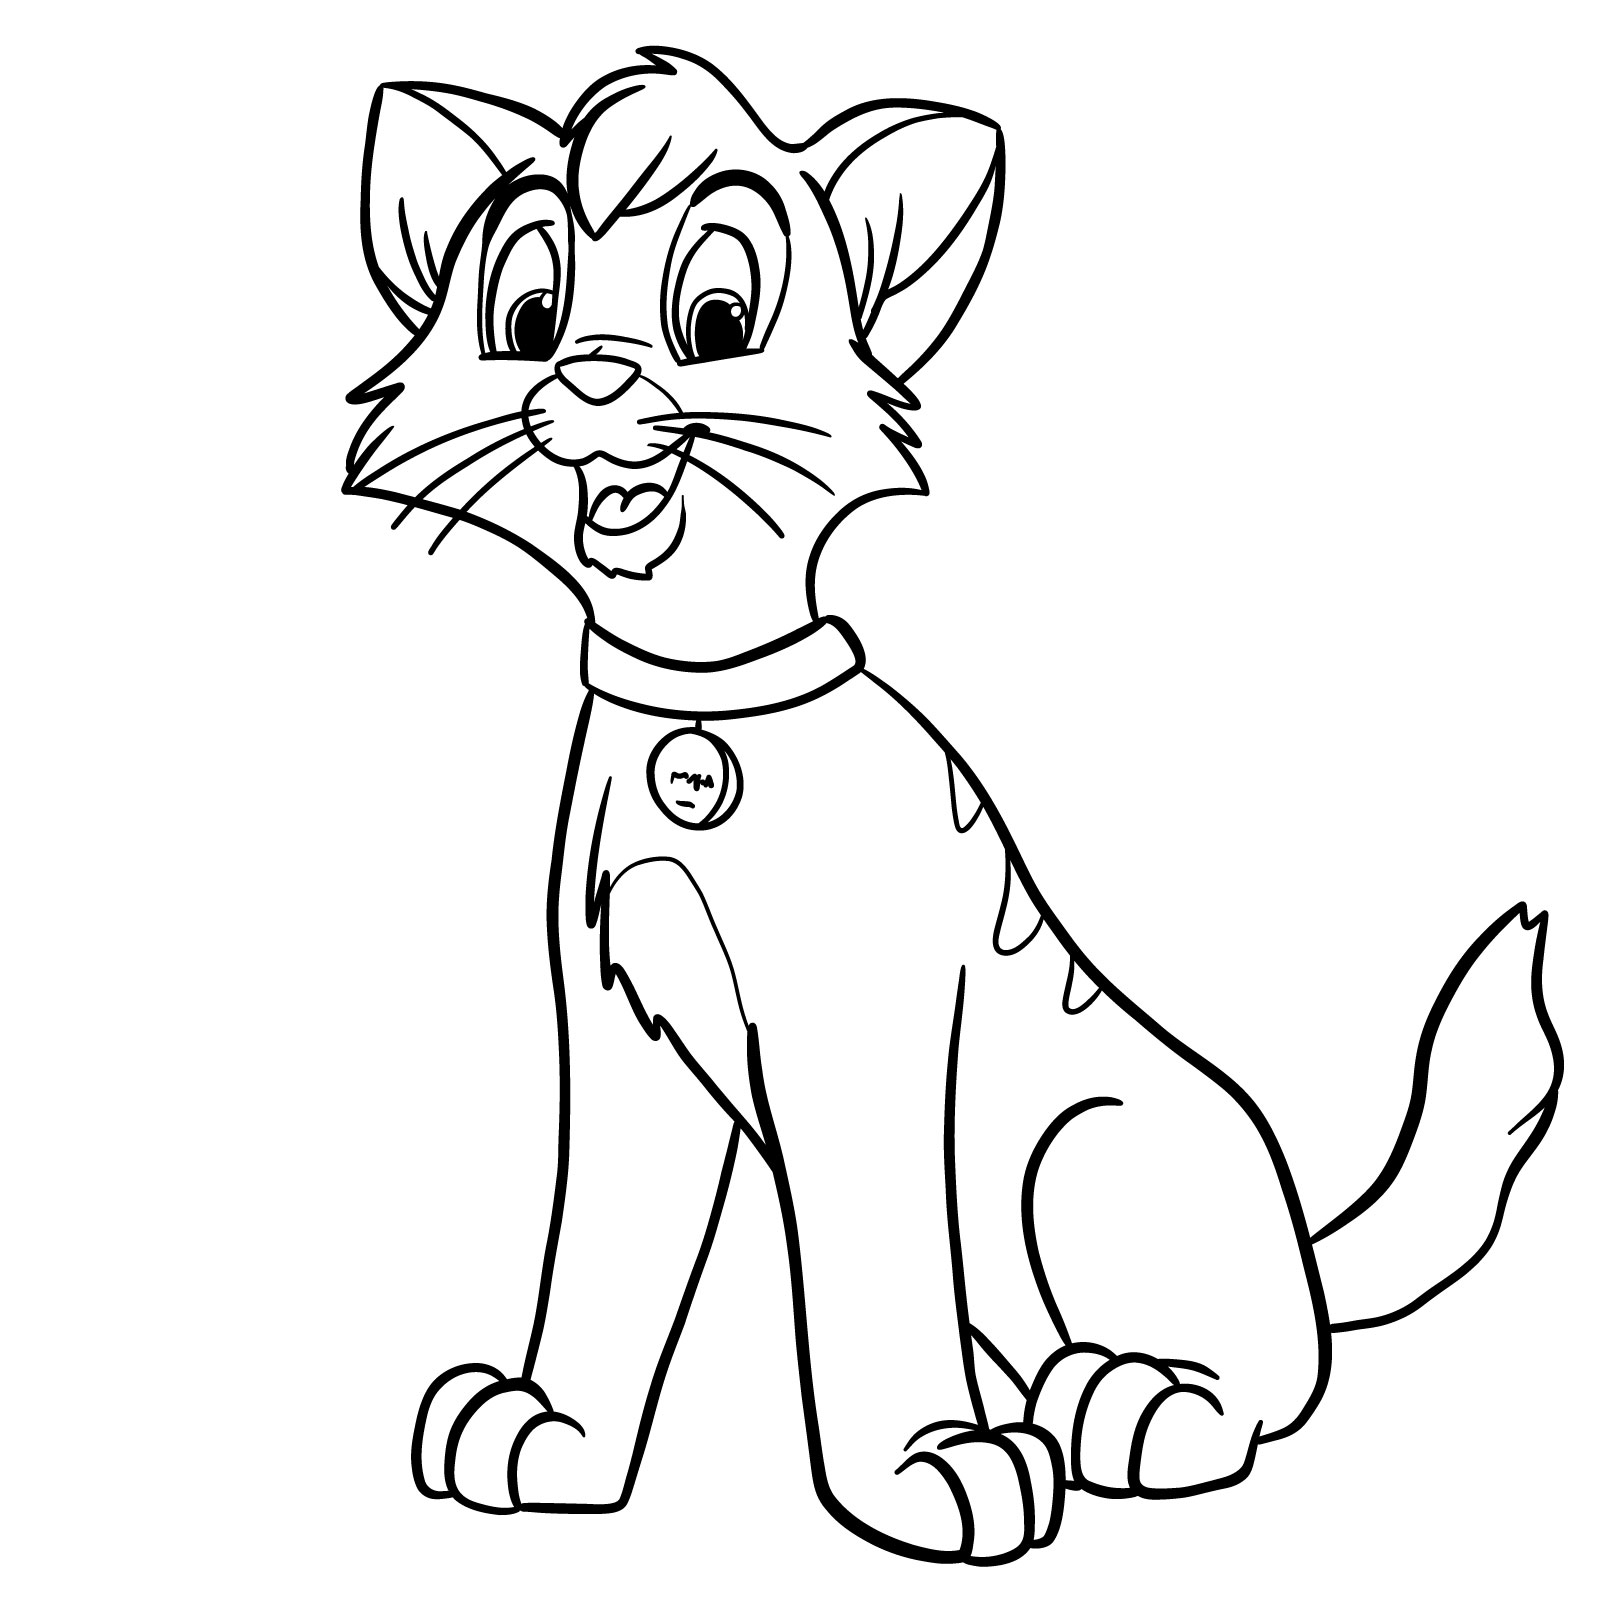
- Appearance: Oliver is a petite, slender orange Tabby kitten. His defining feature is the tuft of longer hair between his ears, accompanied by three prominent dark orange stripes on his back. Oliver’s white muzzle adds a soft contrast to his overall appearance.
- Collar: In the progression of the story, Oliver dons a blue collar adorned with a gold tag, a symbol of his adoption by the loving Jenny Foxworth.
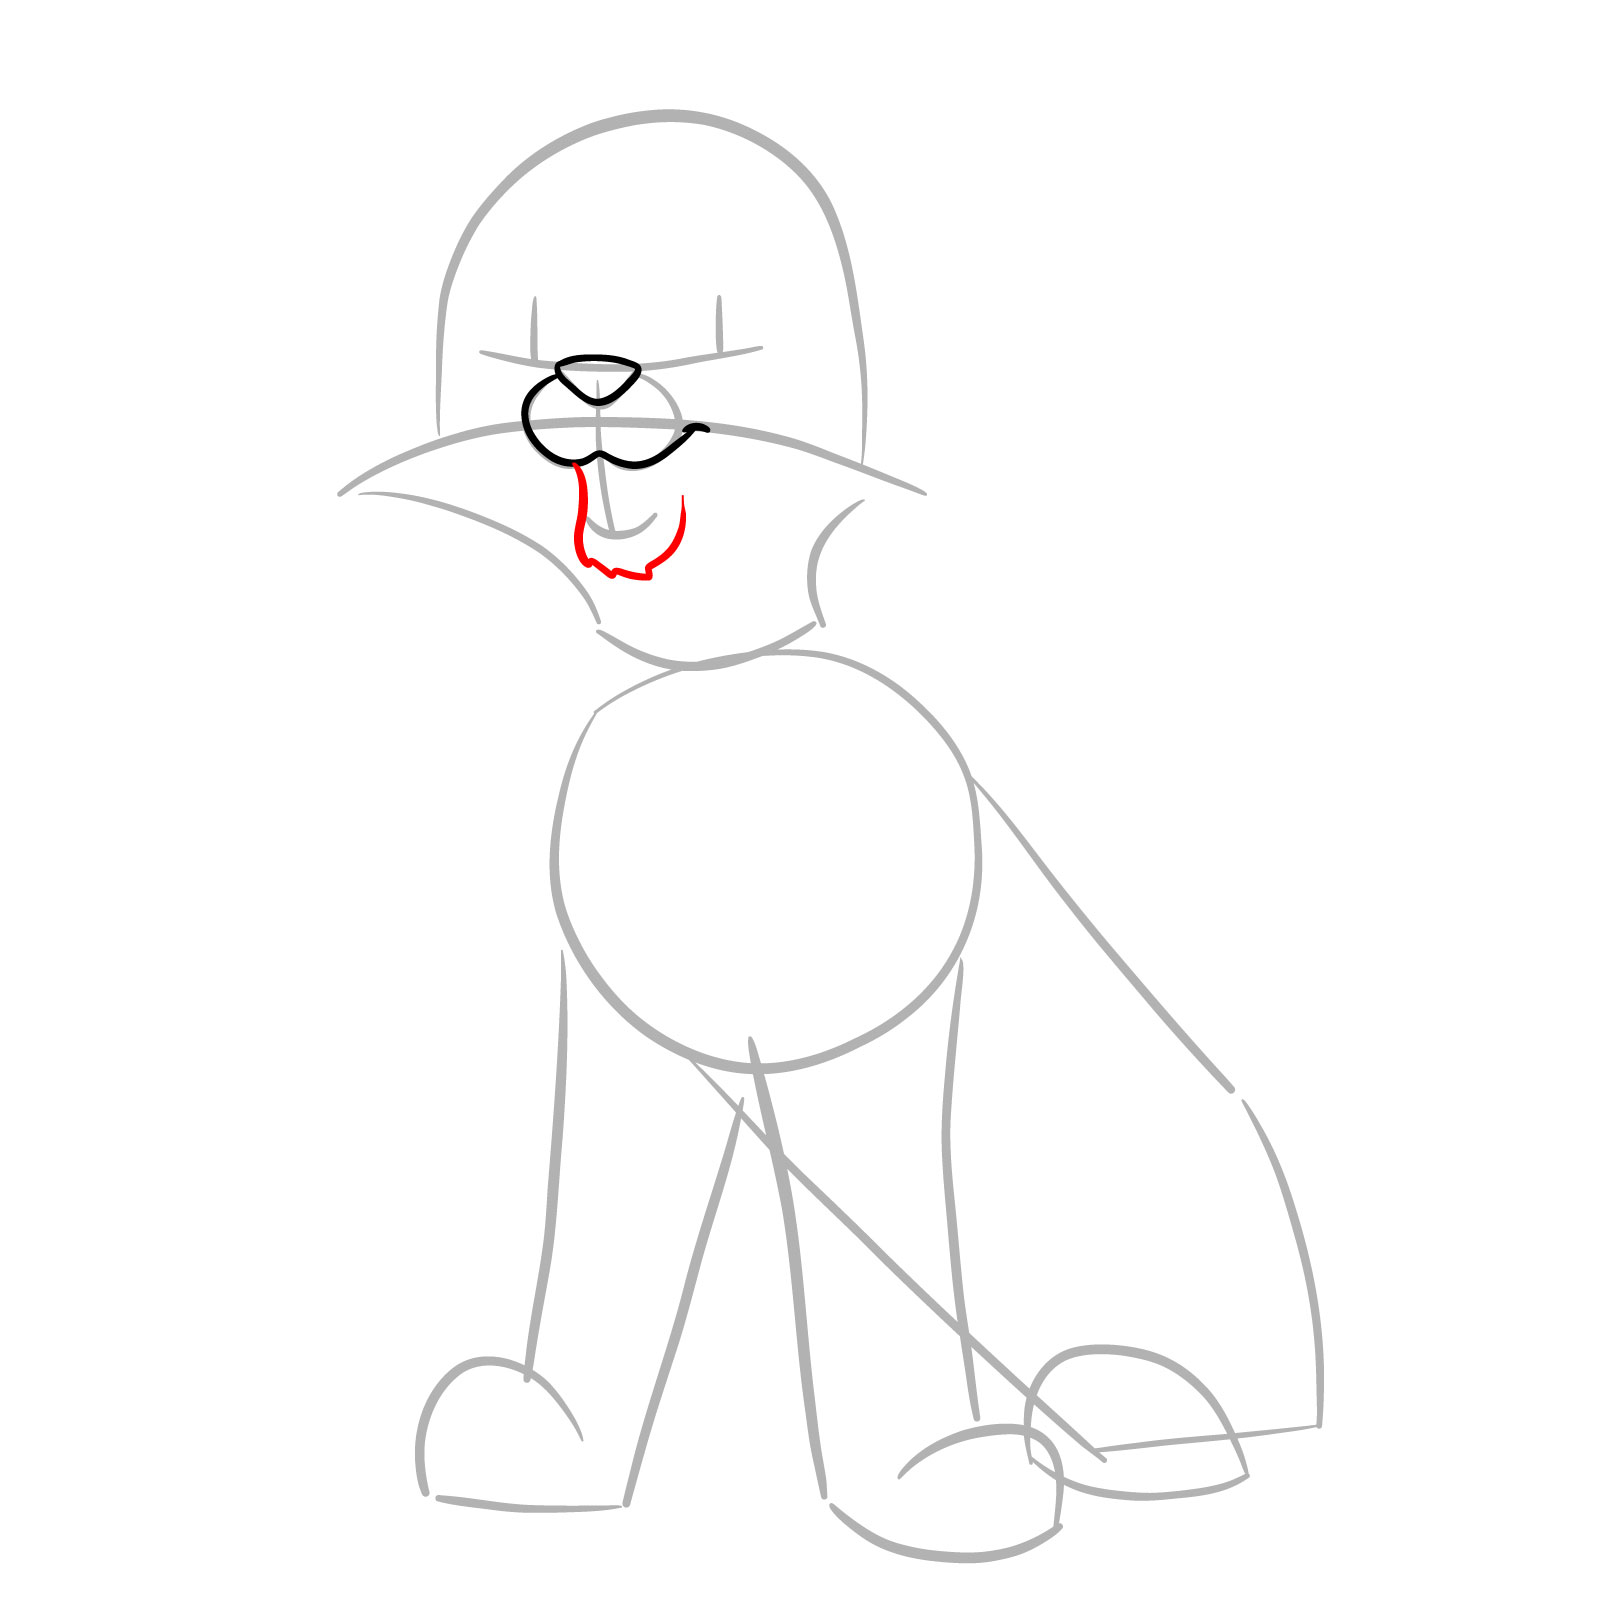
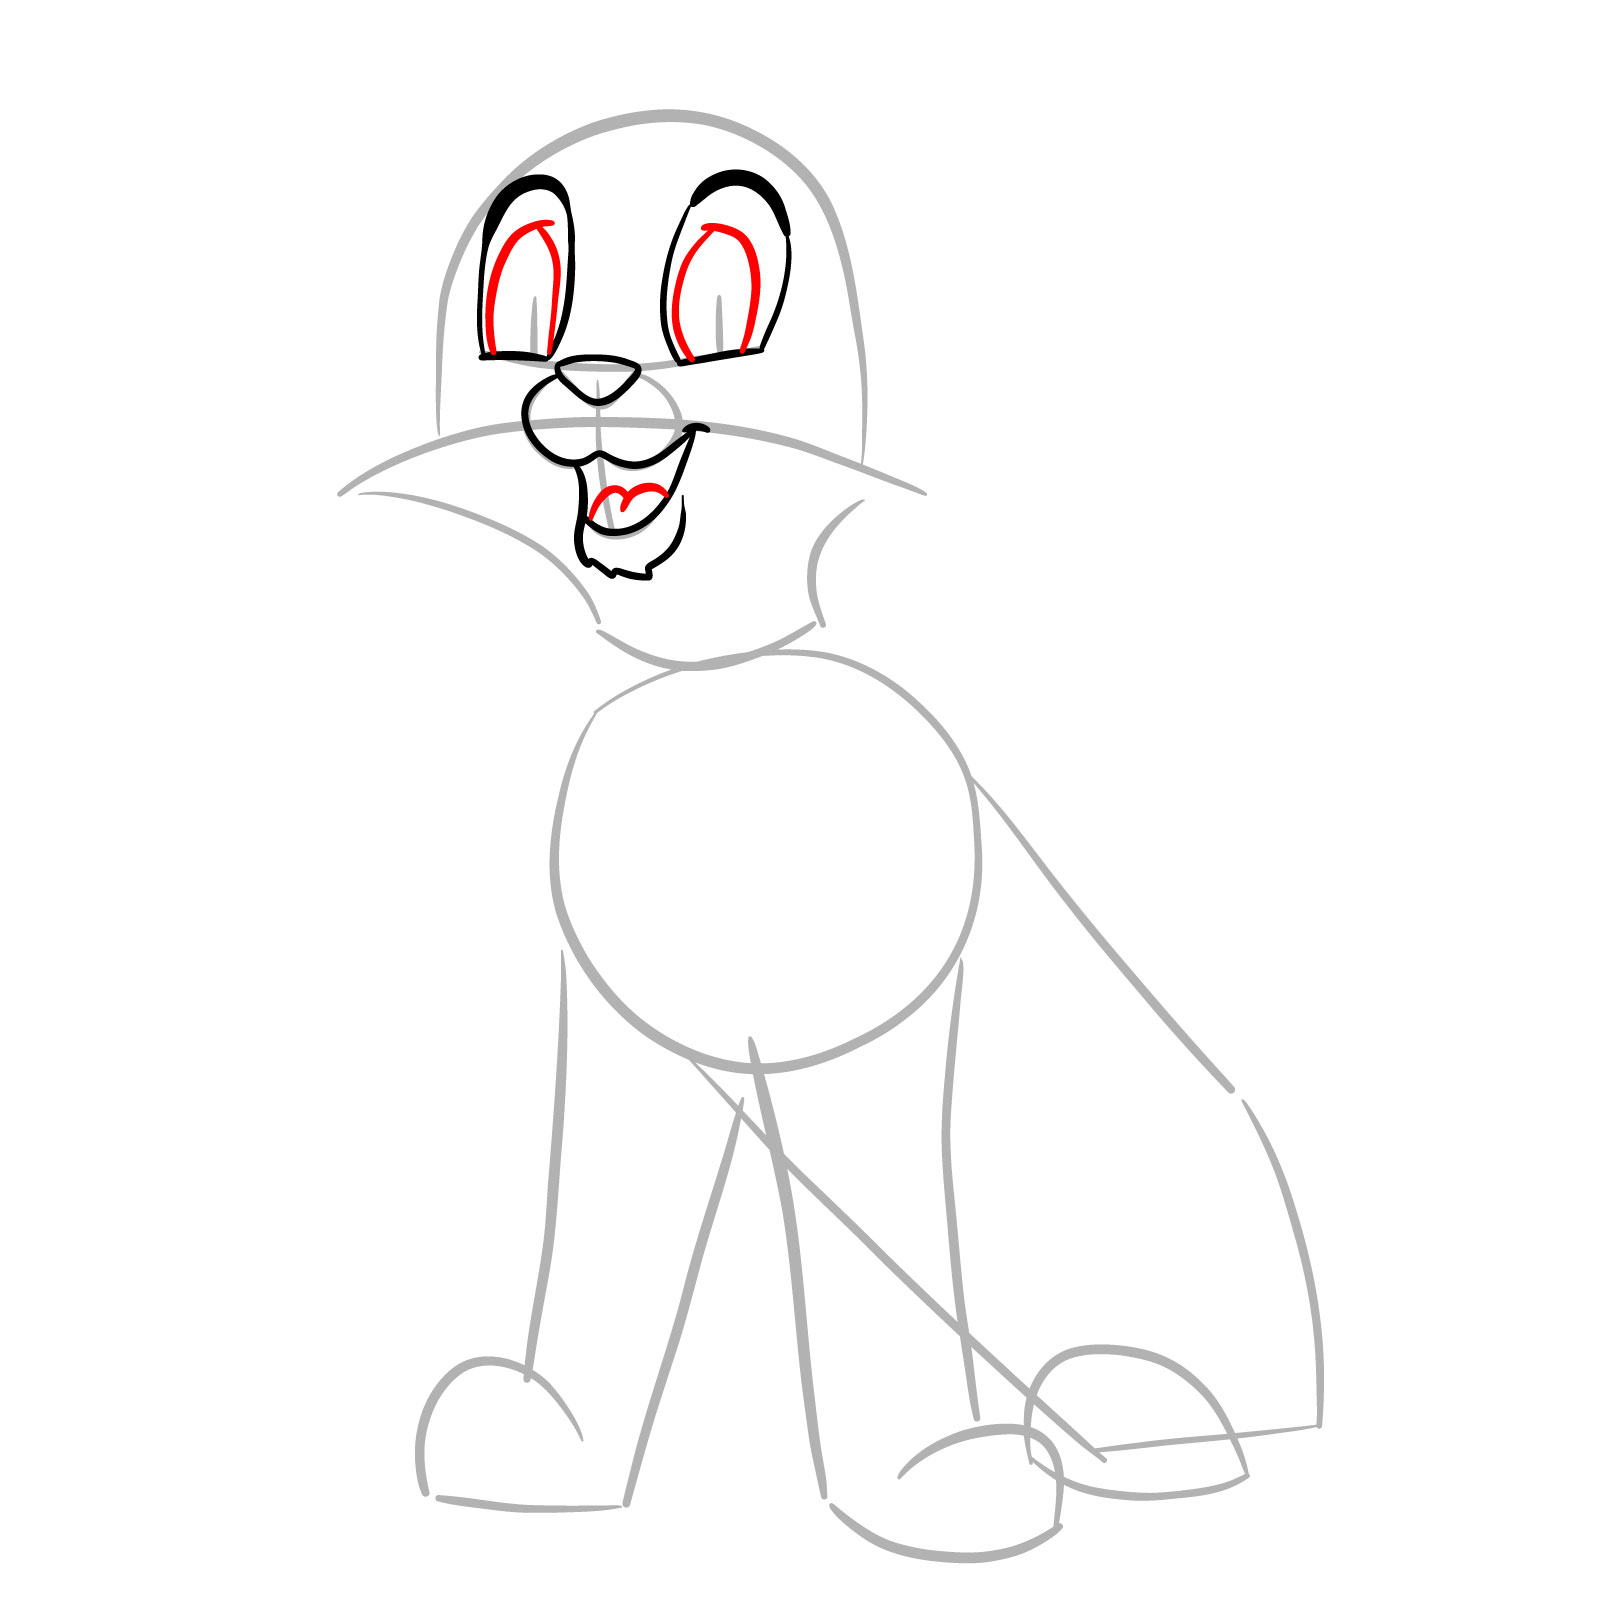
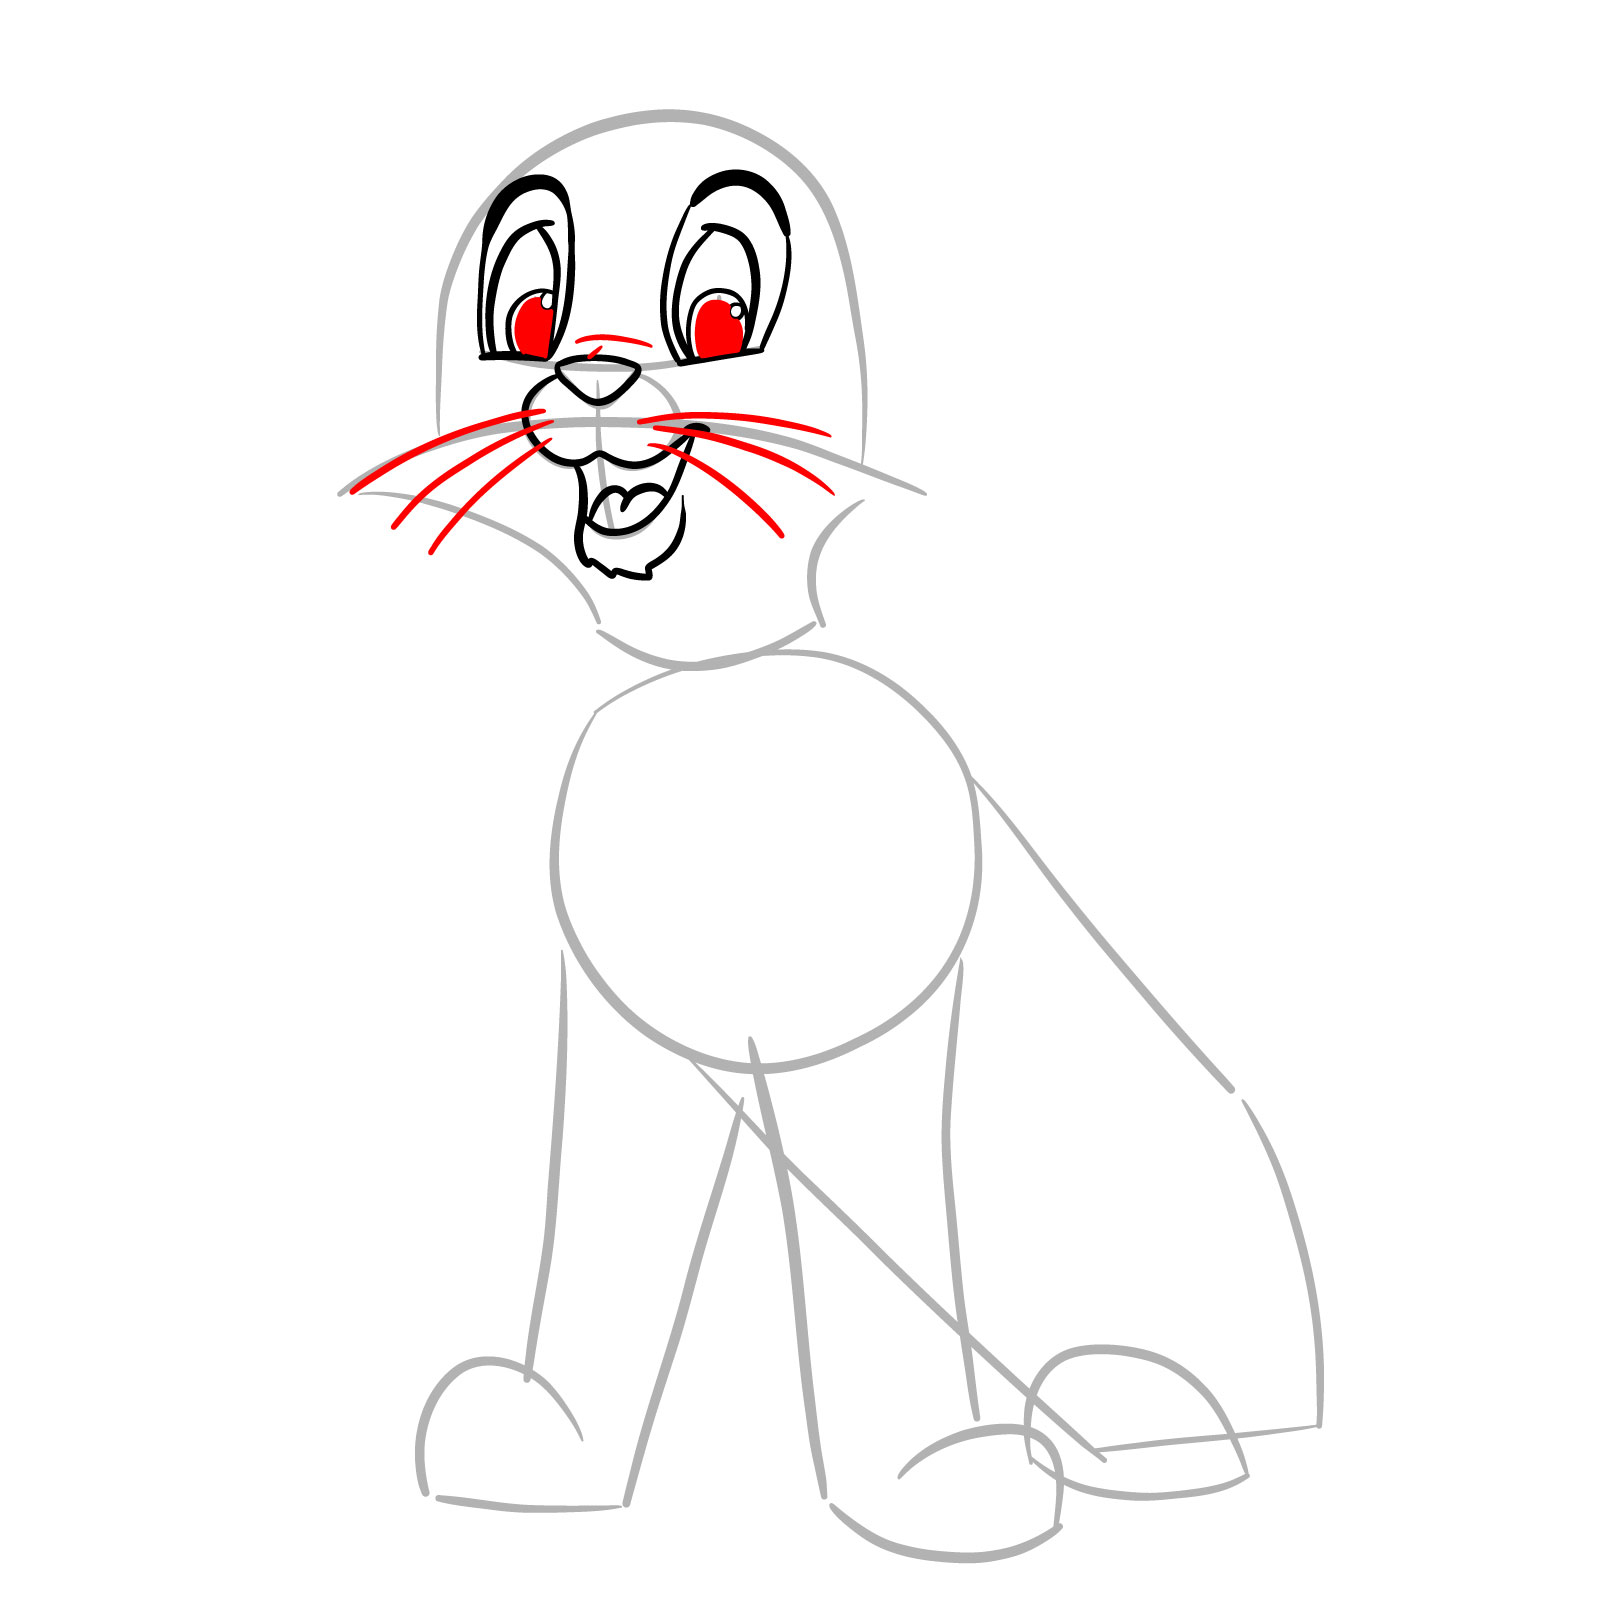
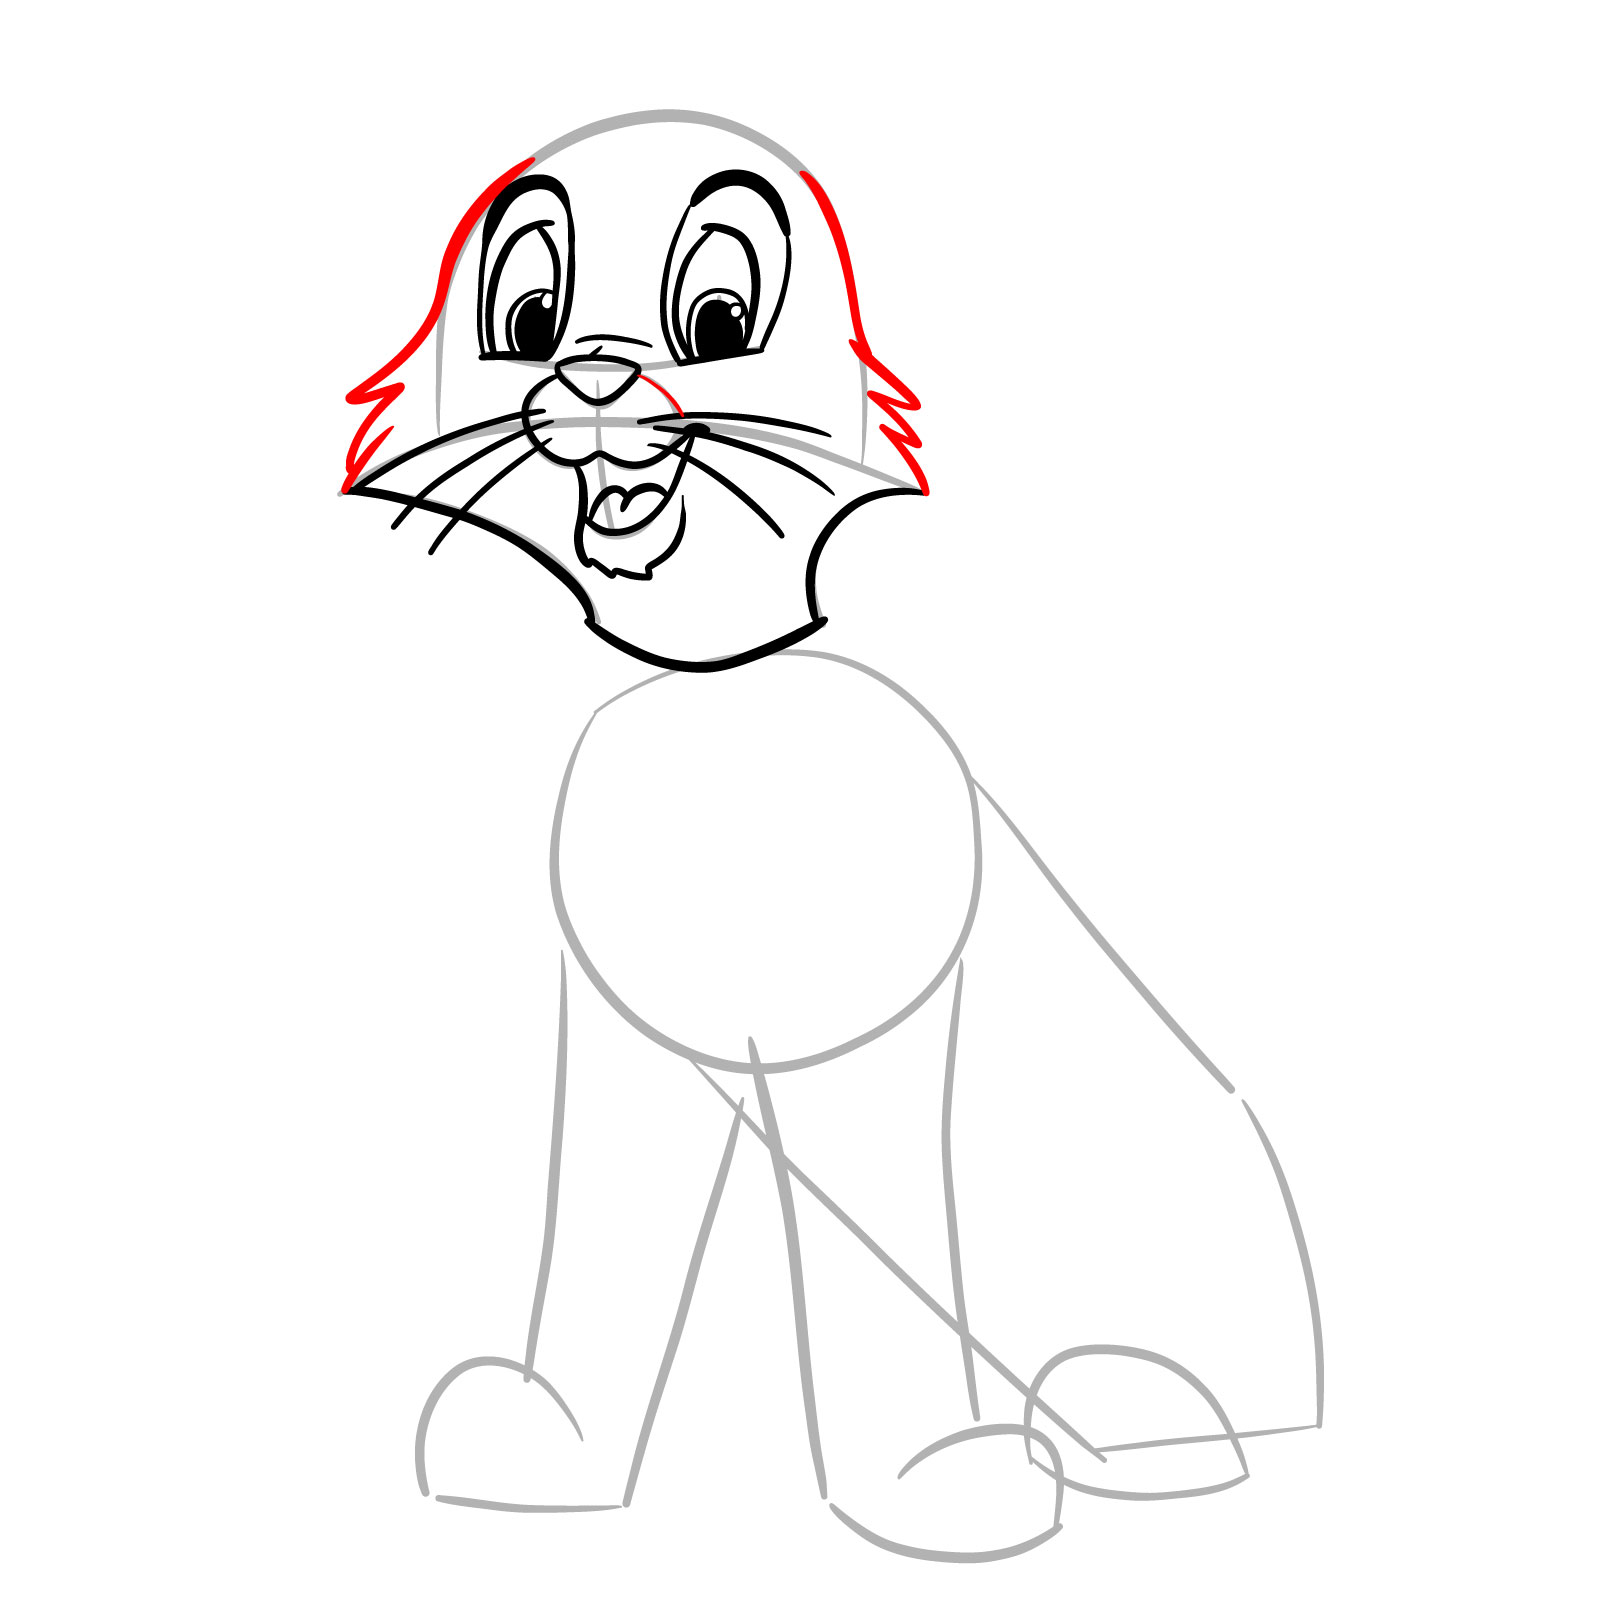
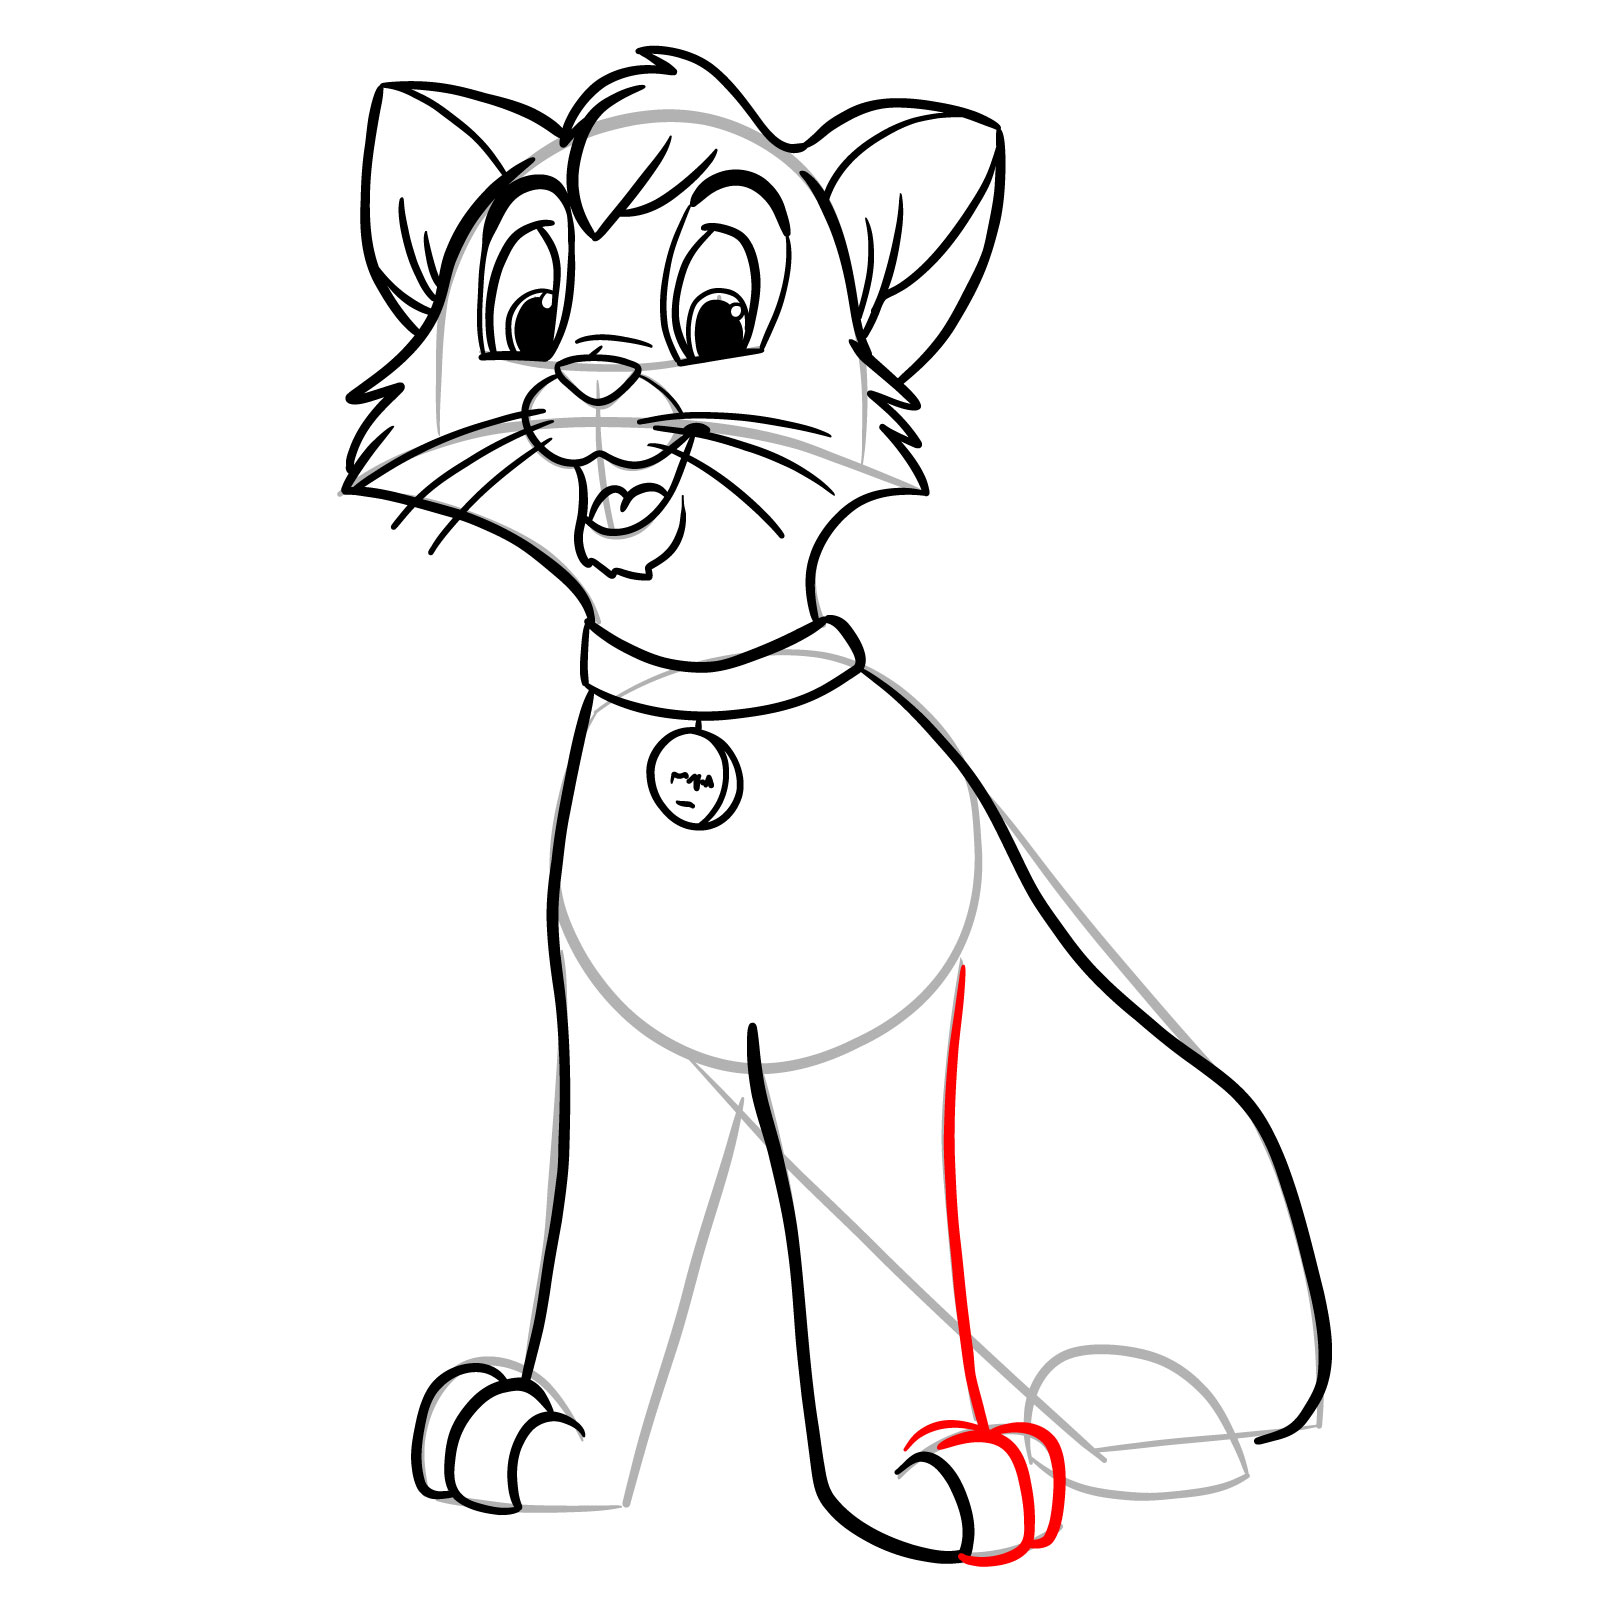
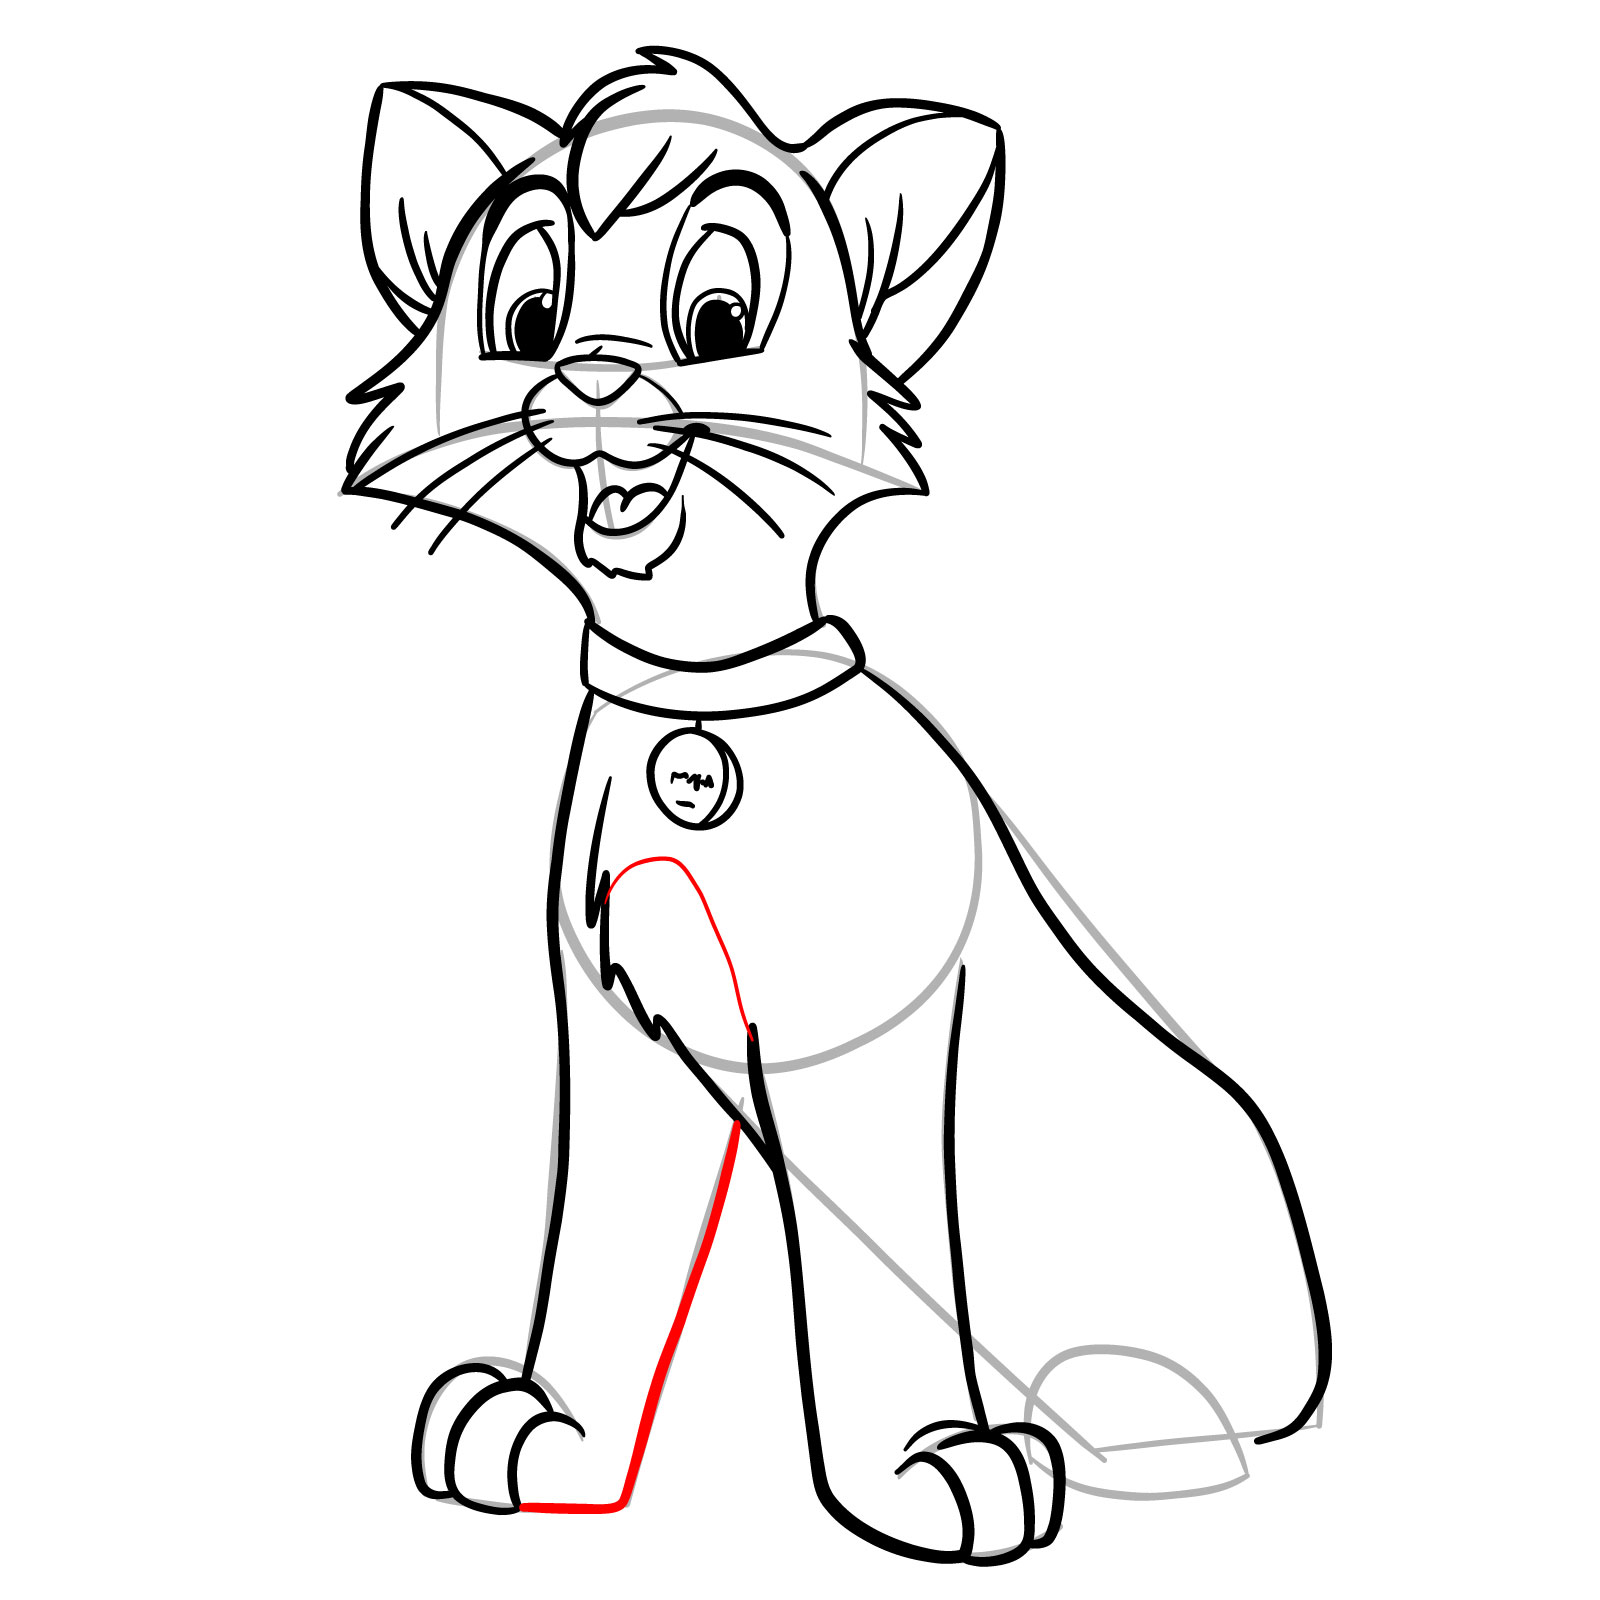
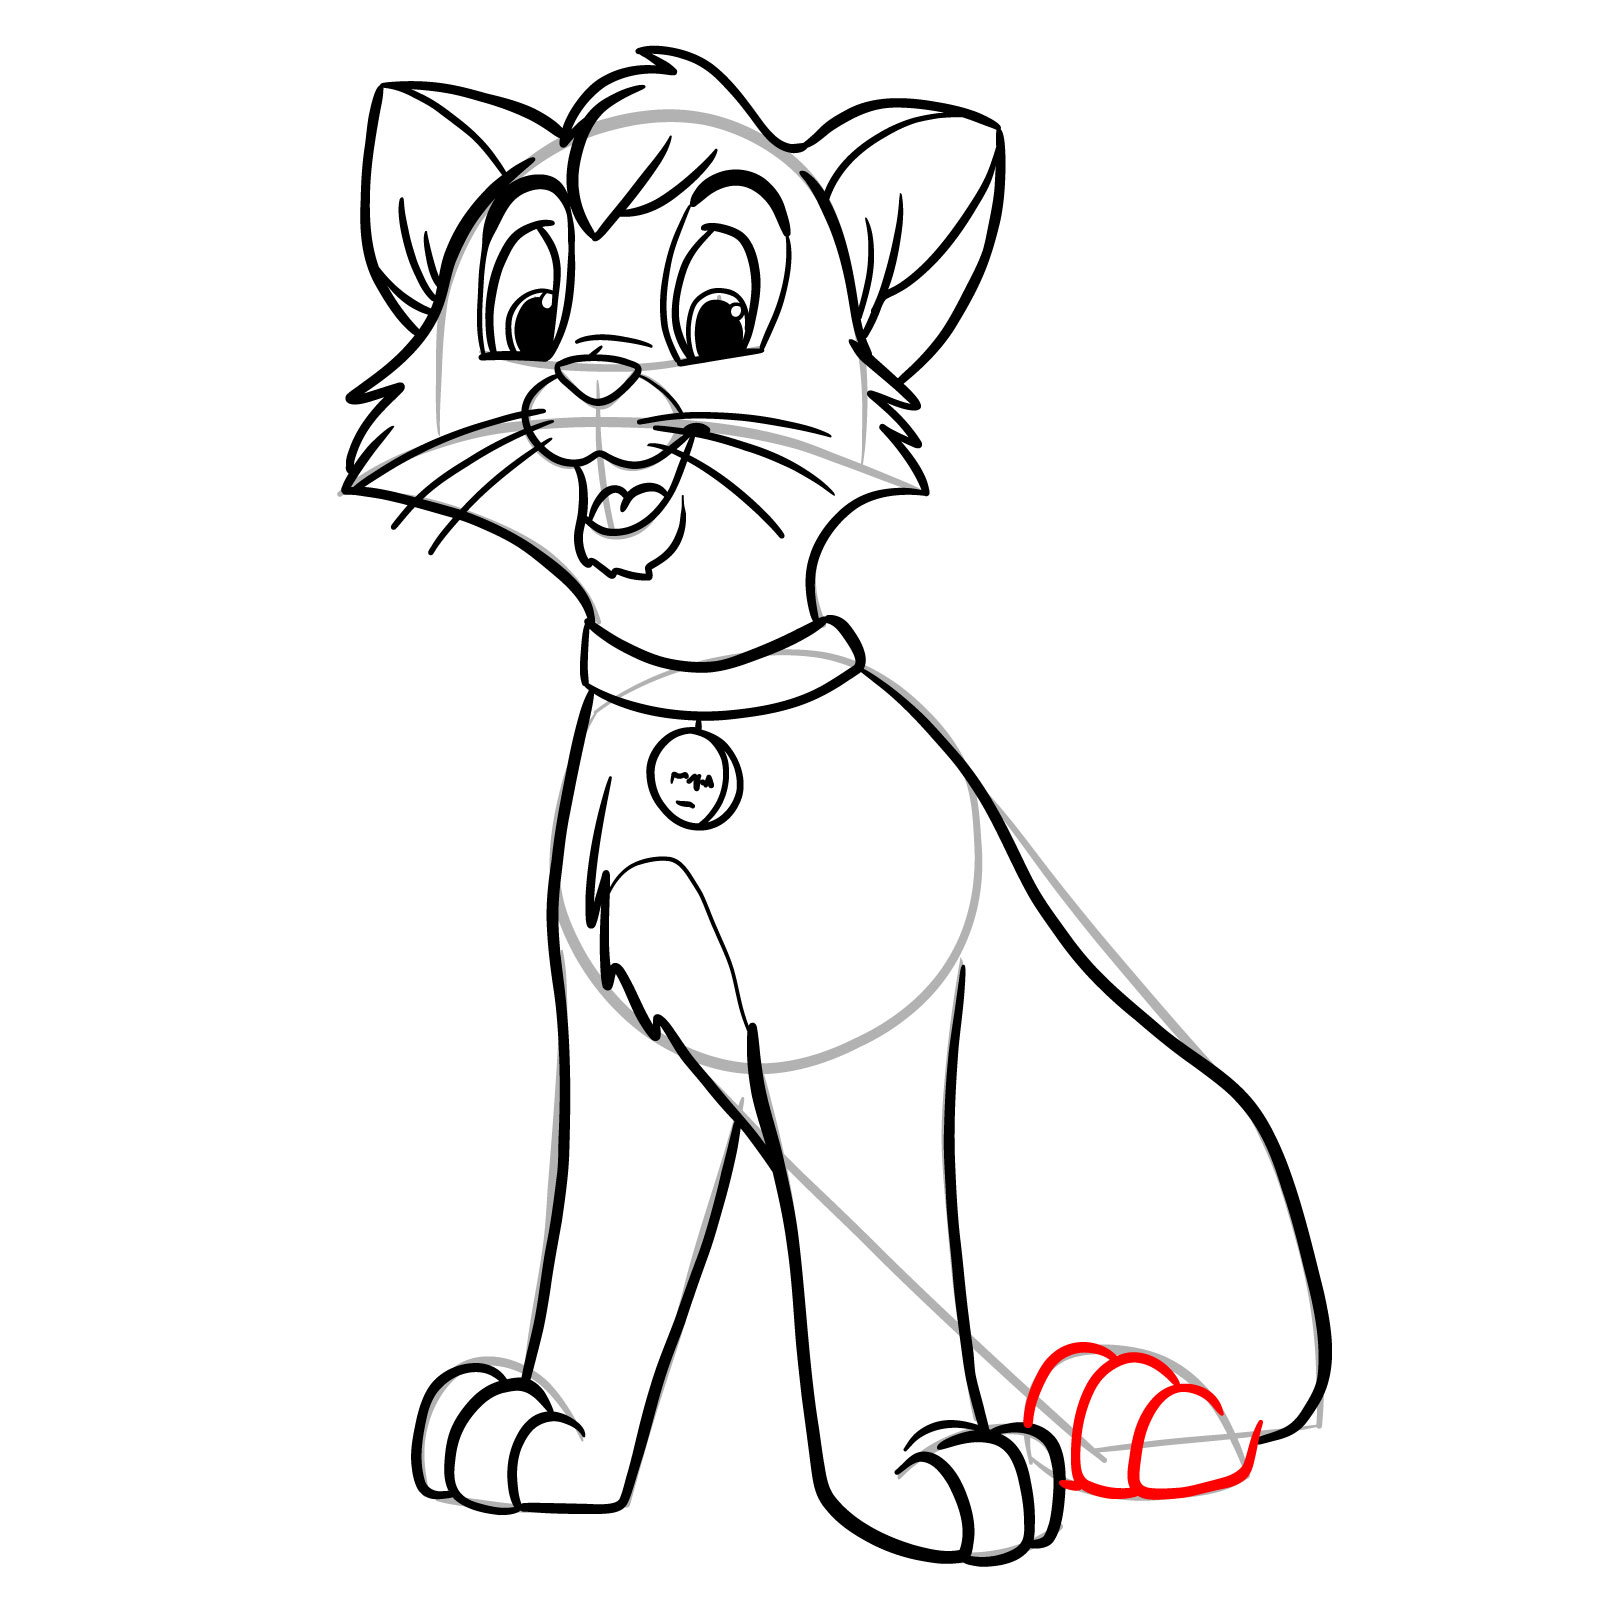
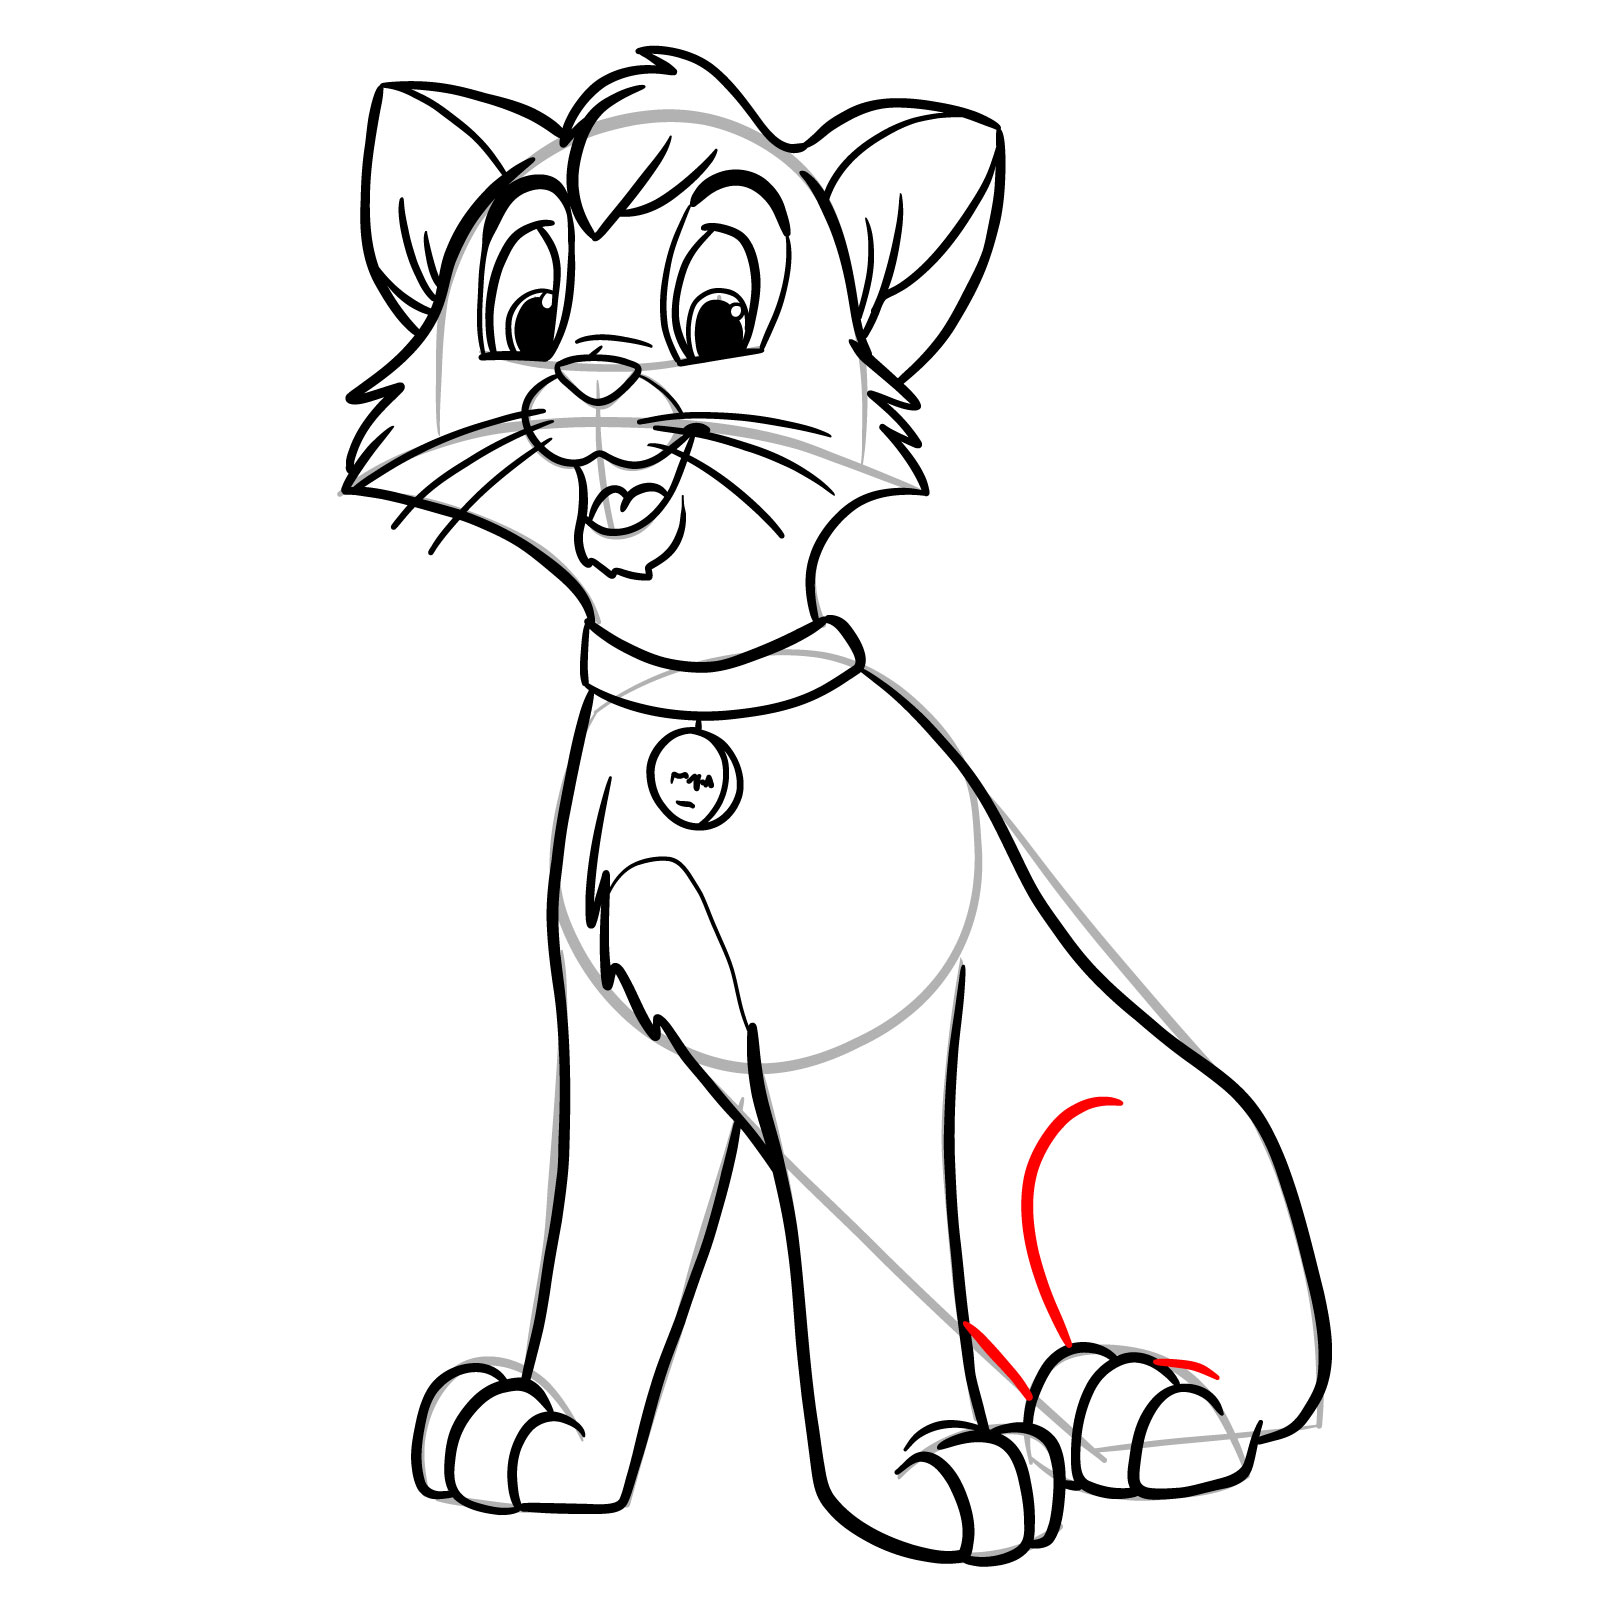
The Artistic Roadmap
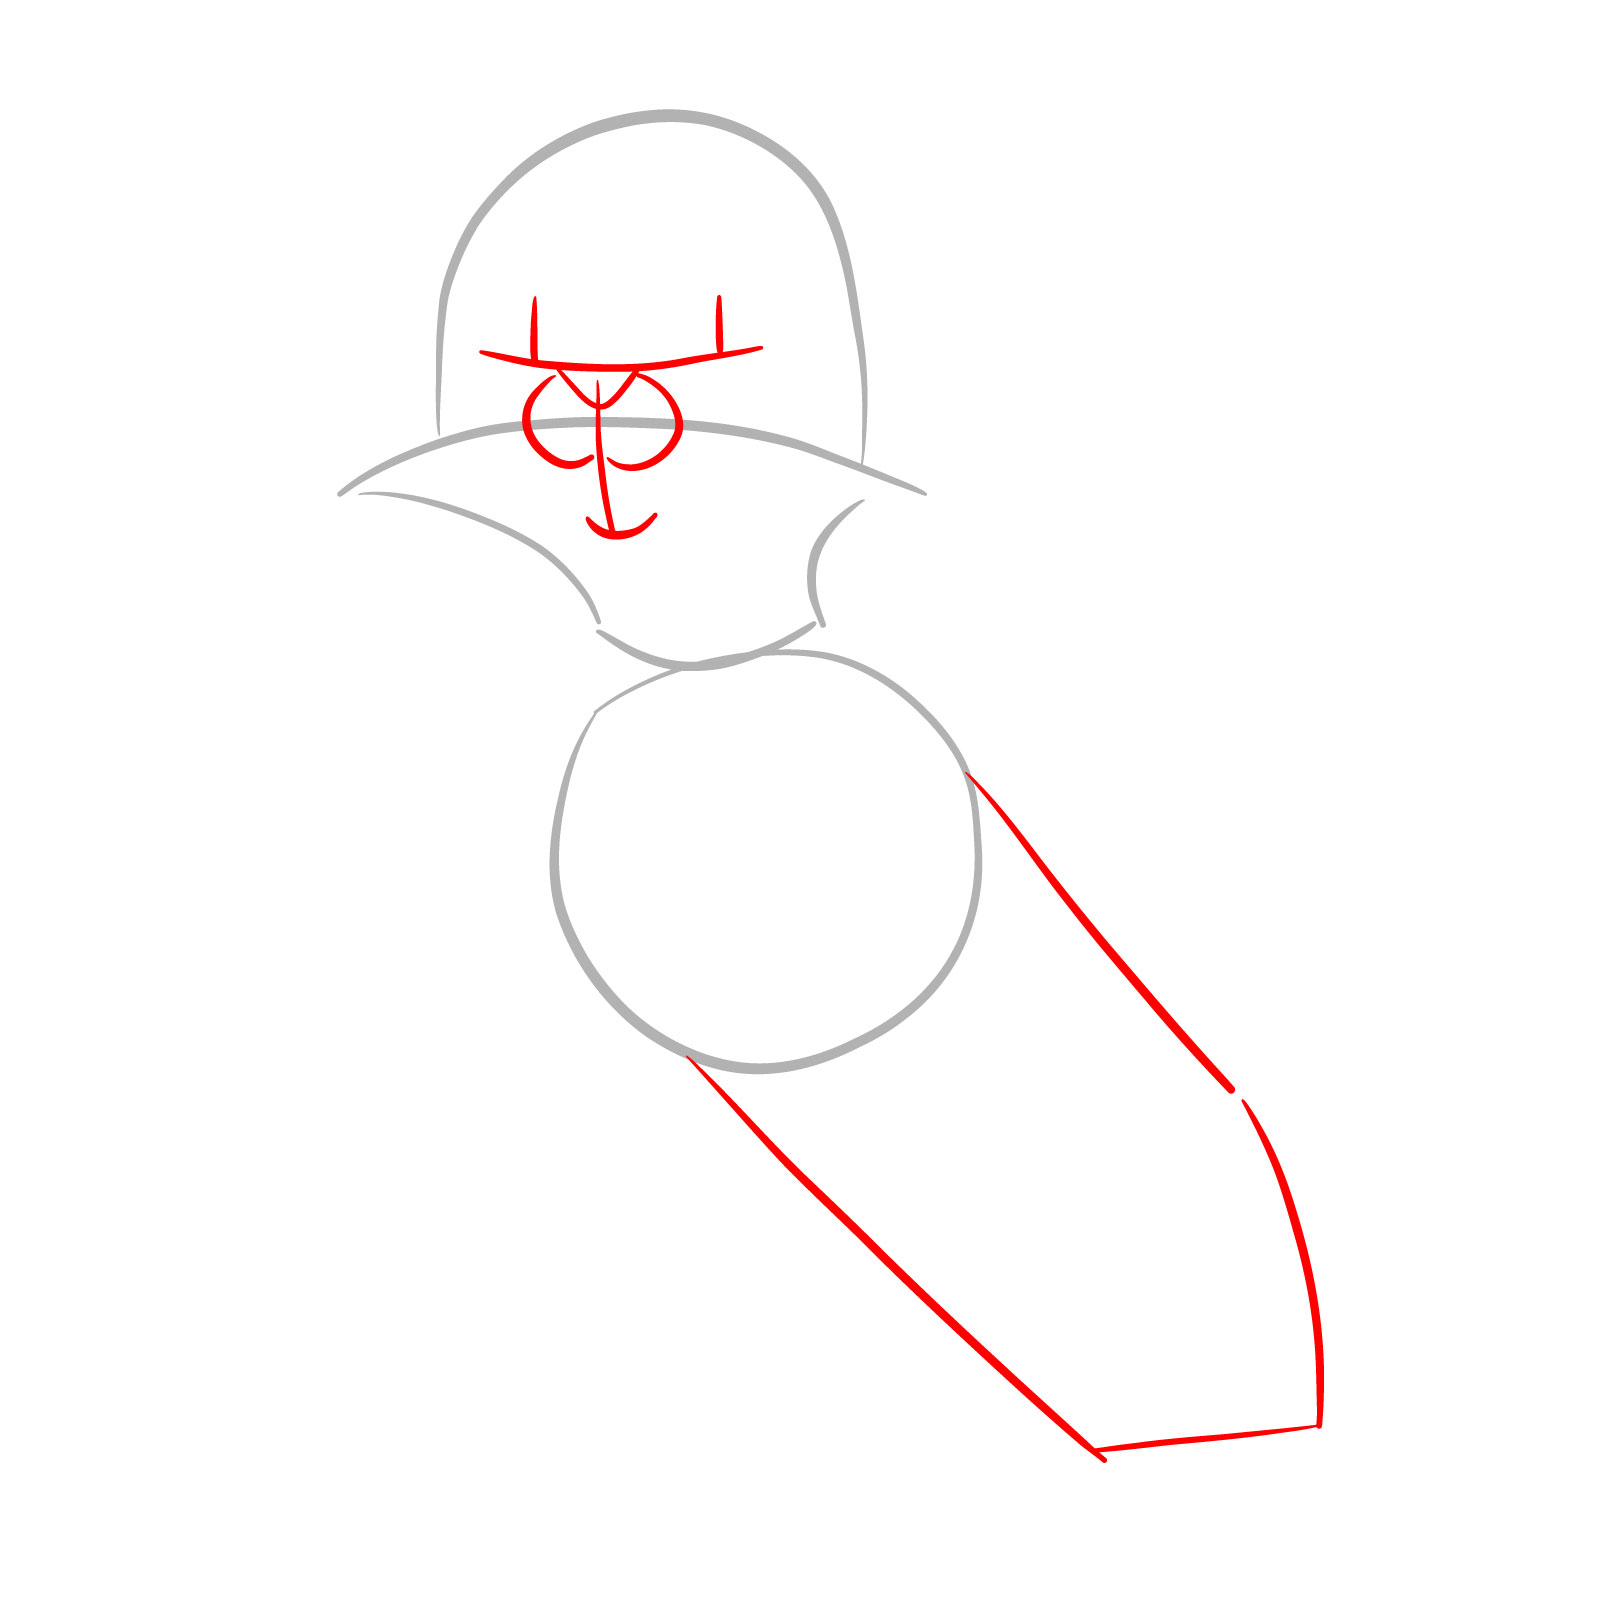
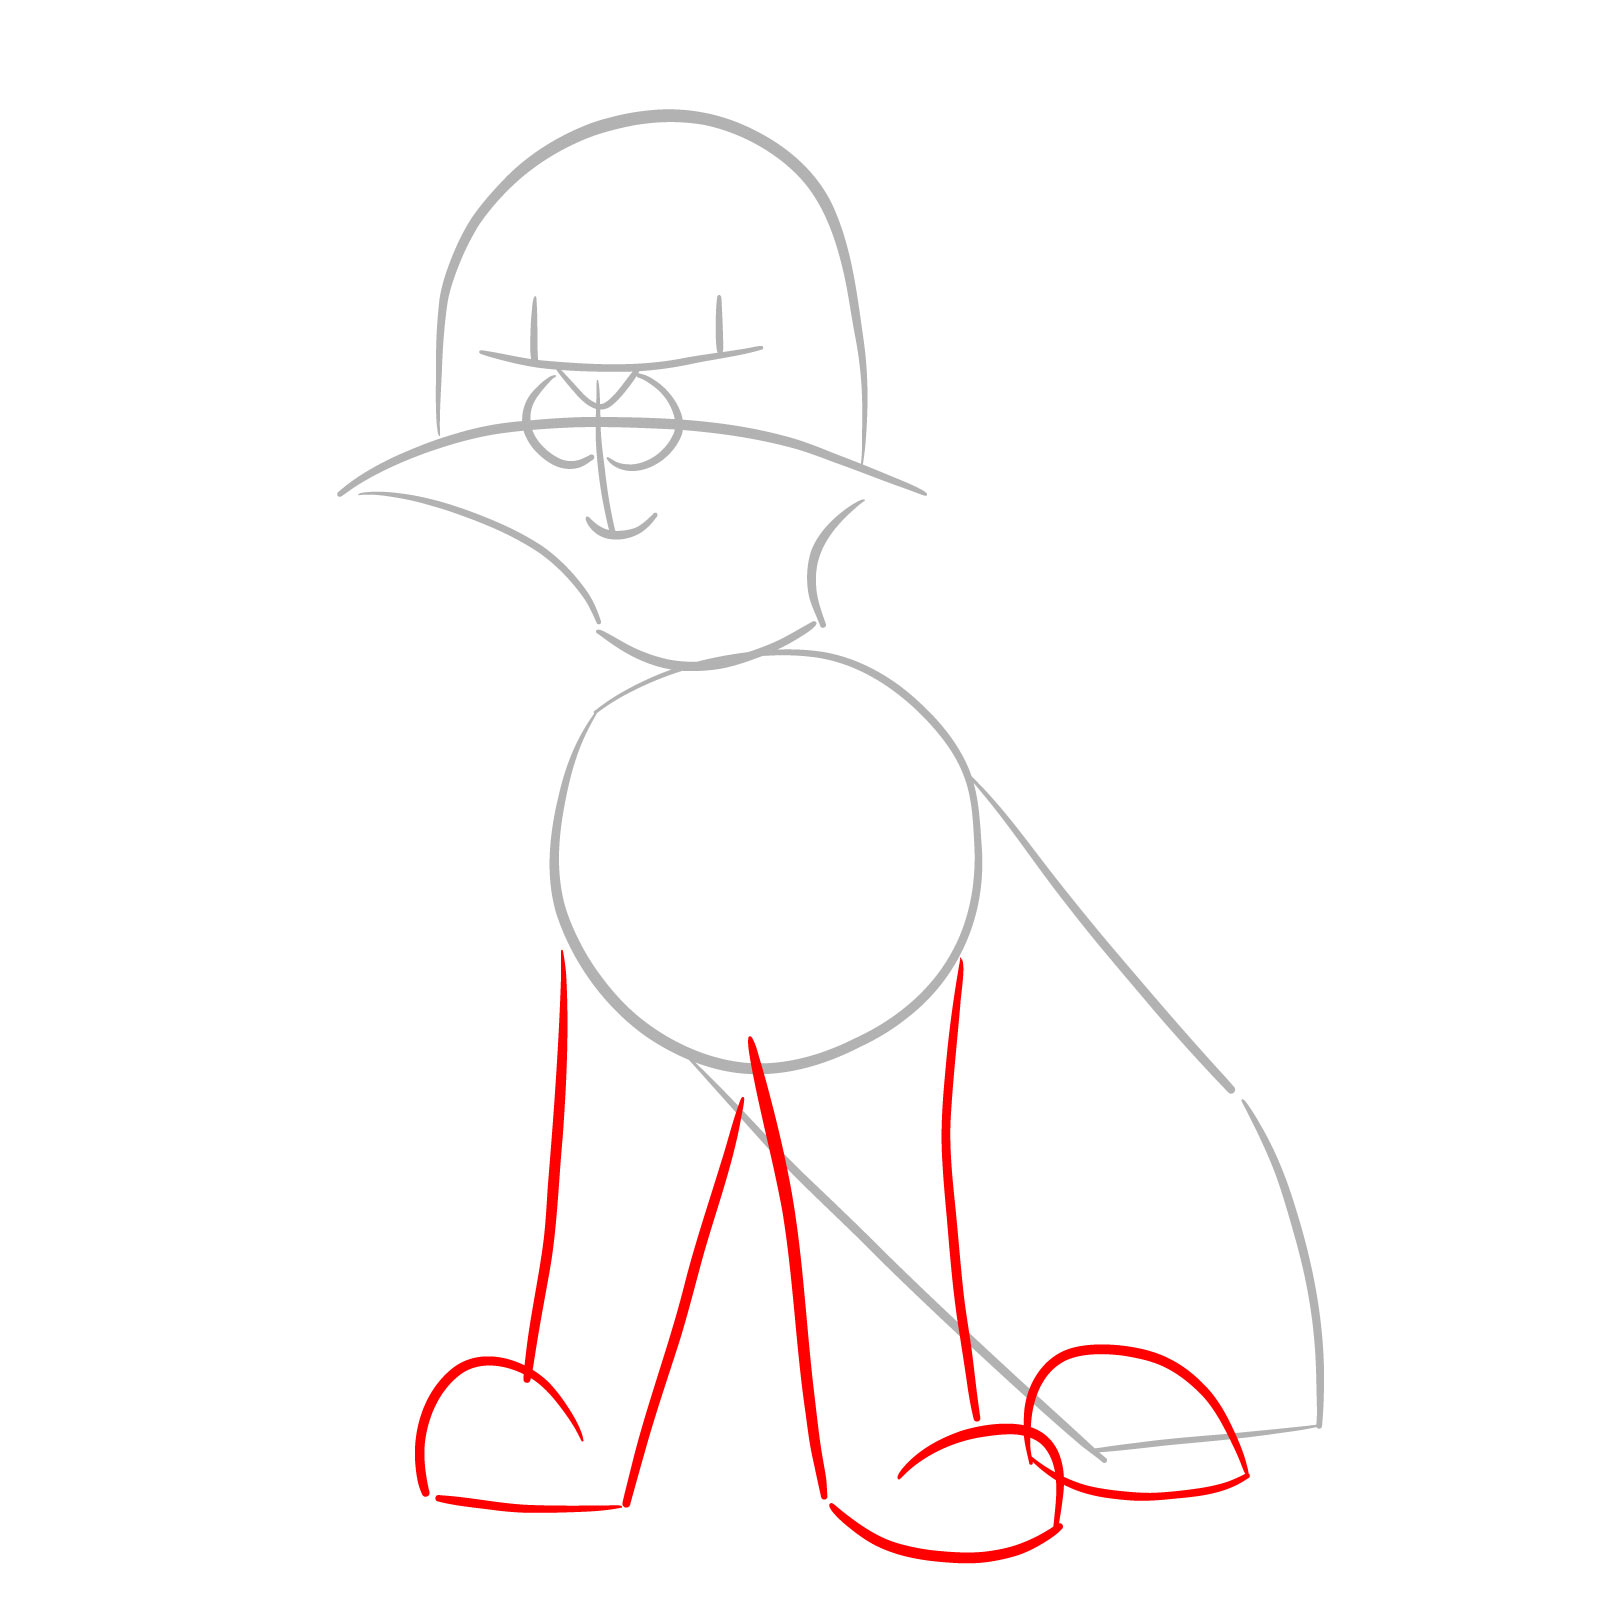
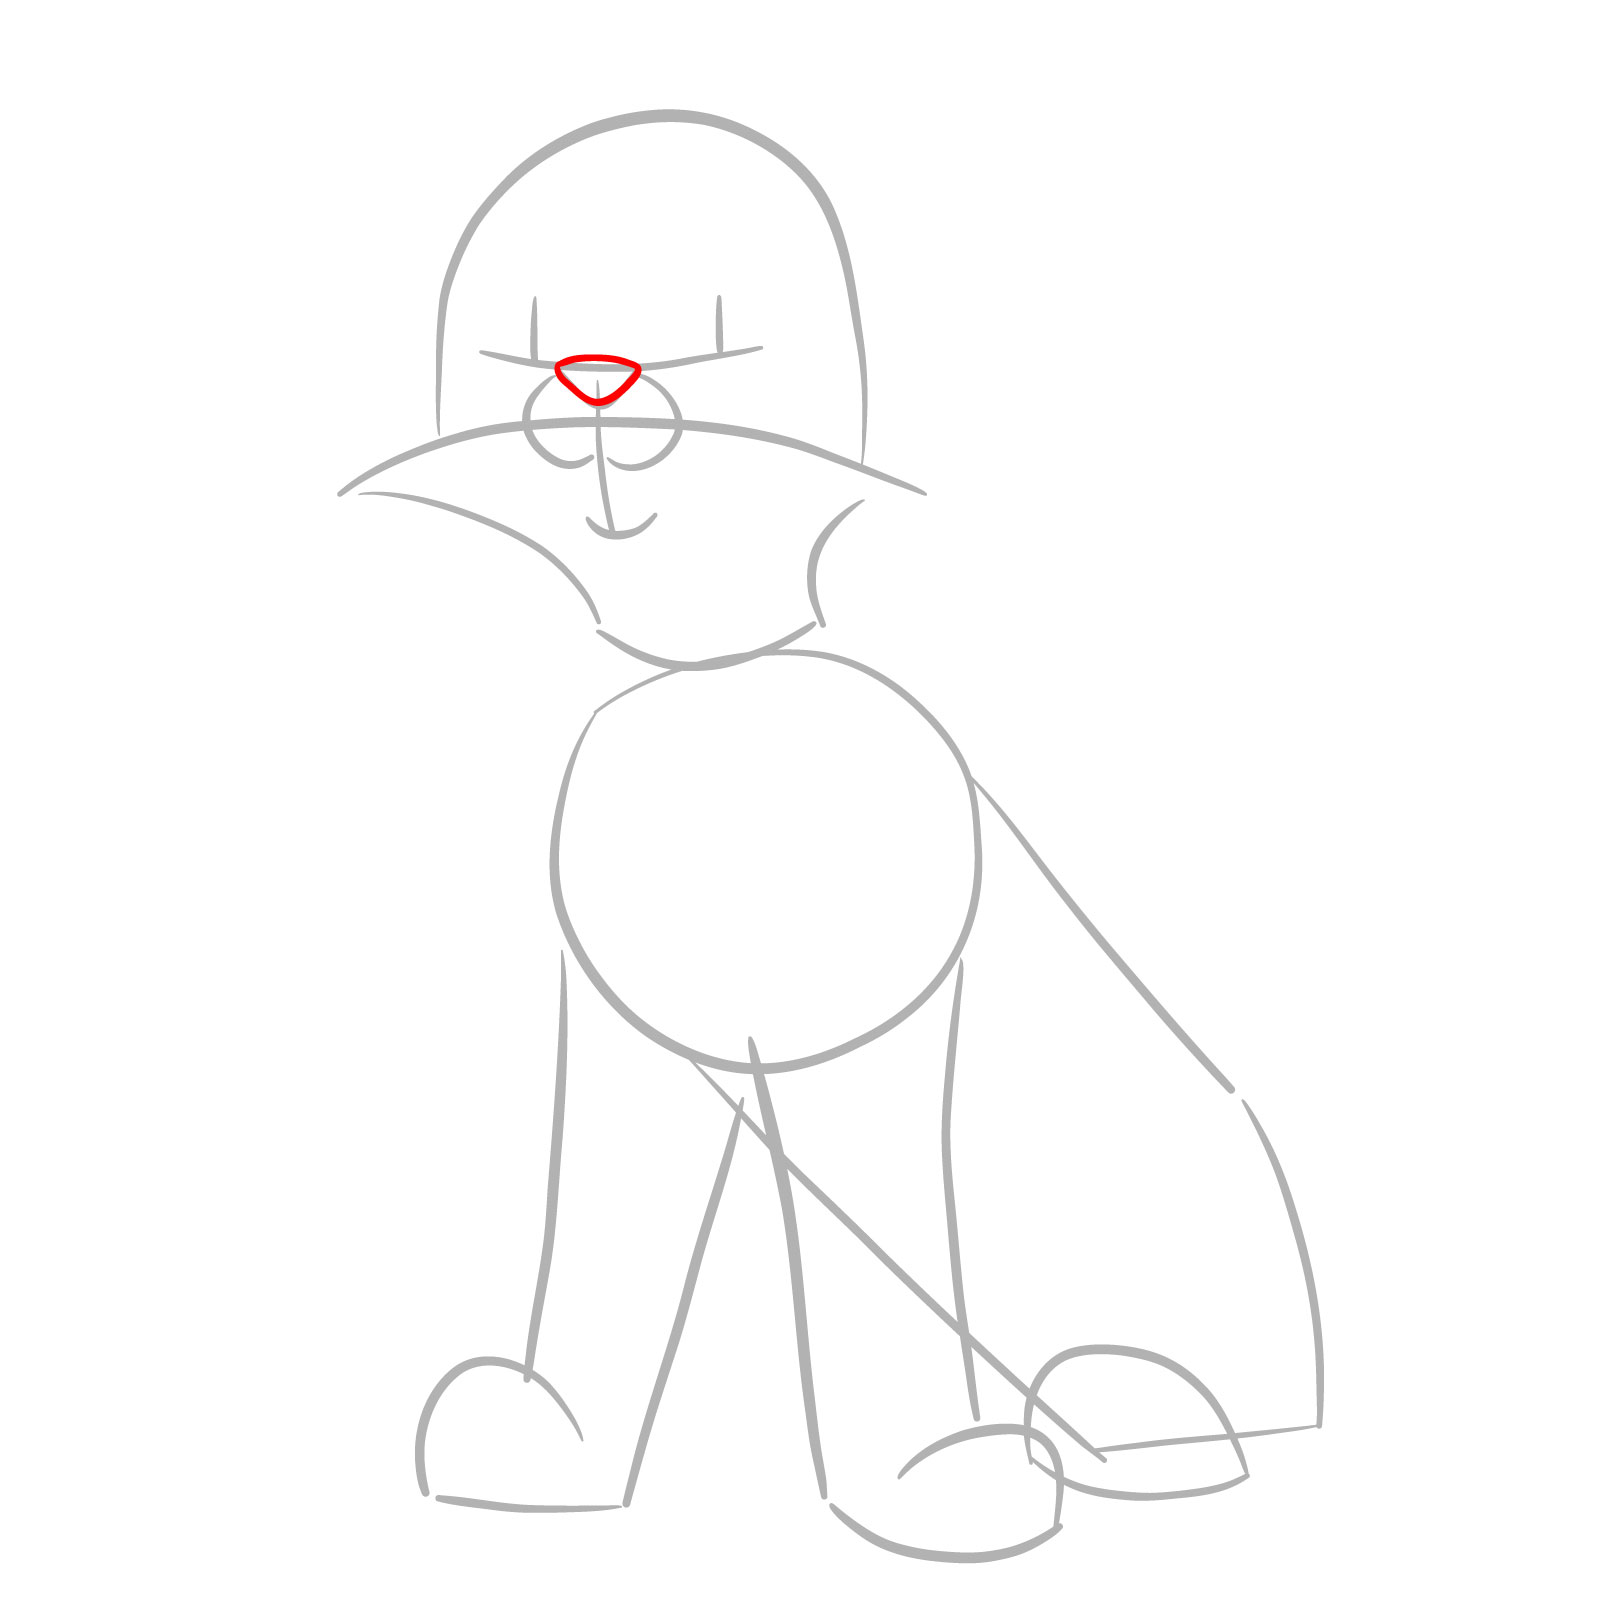
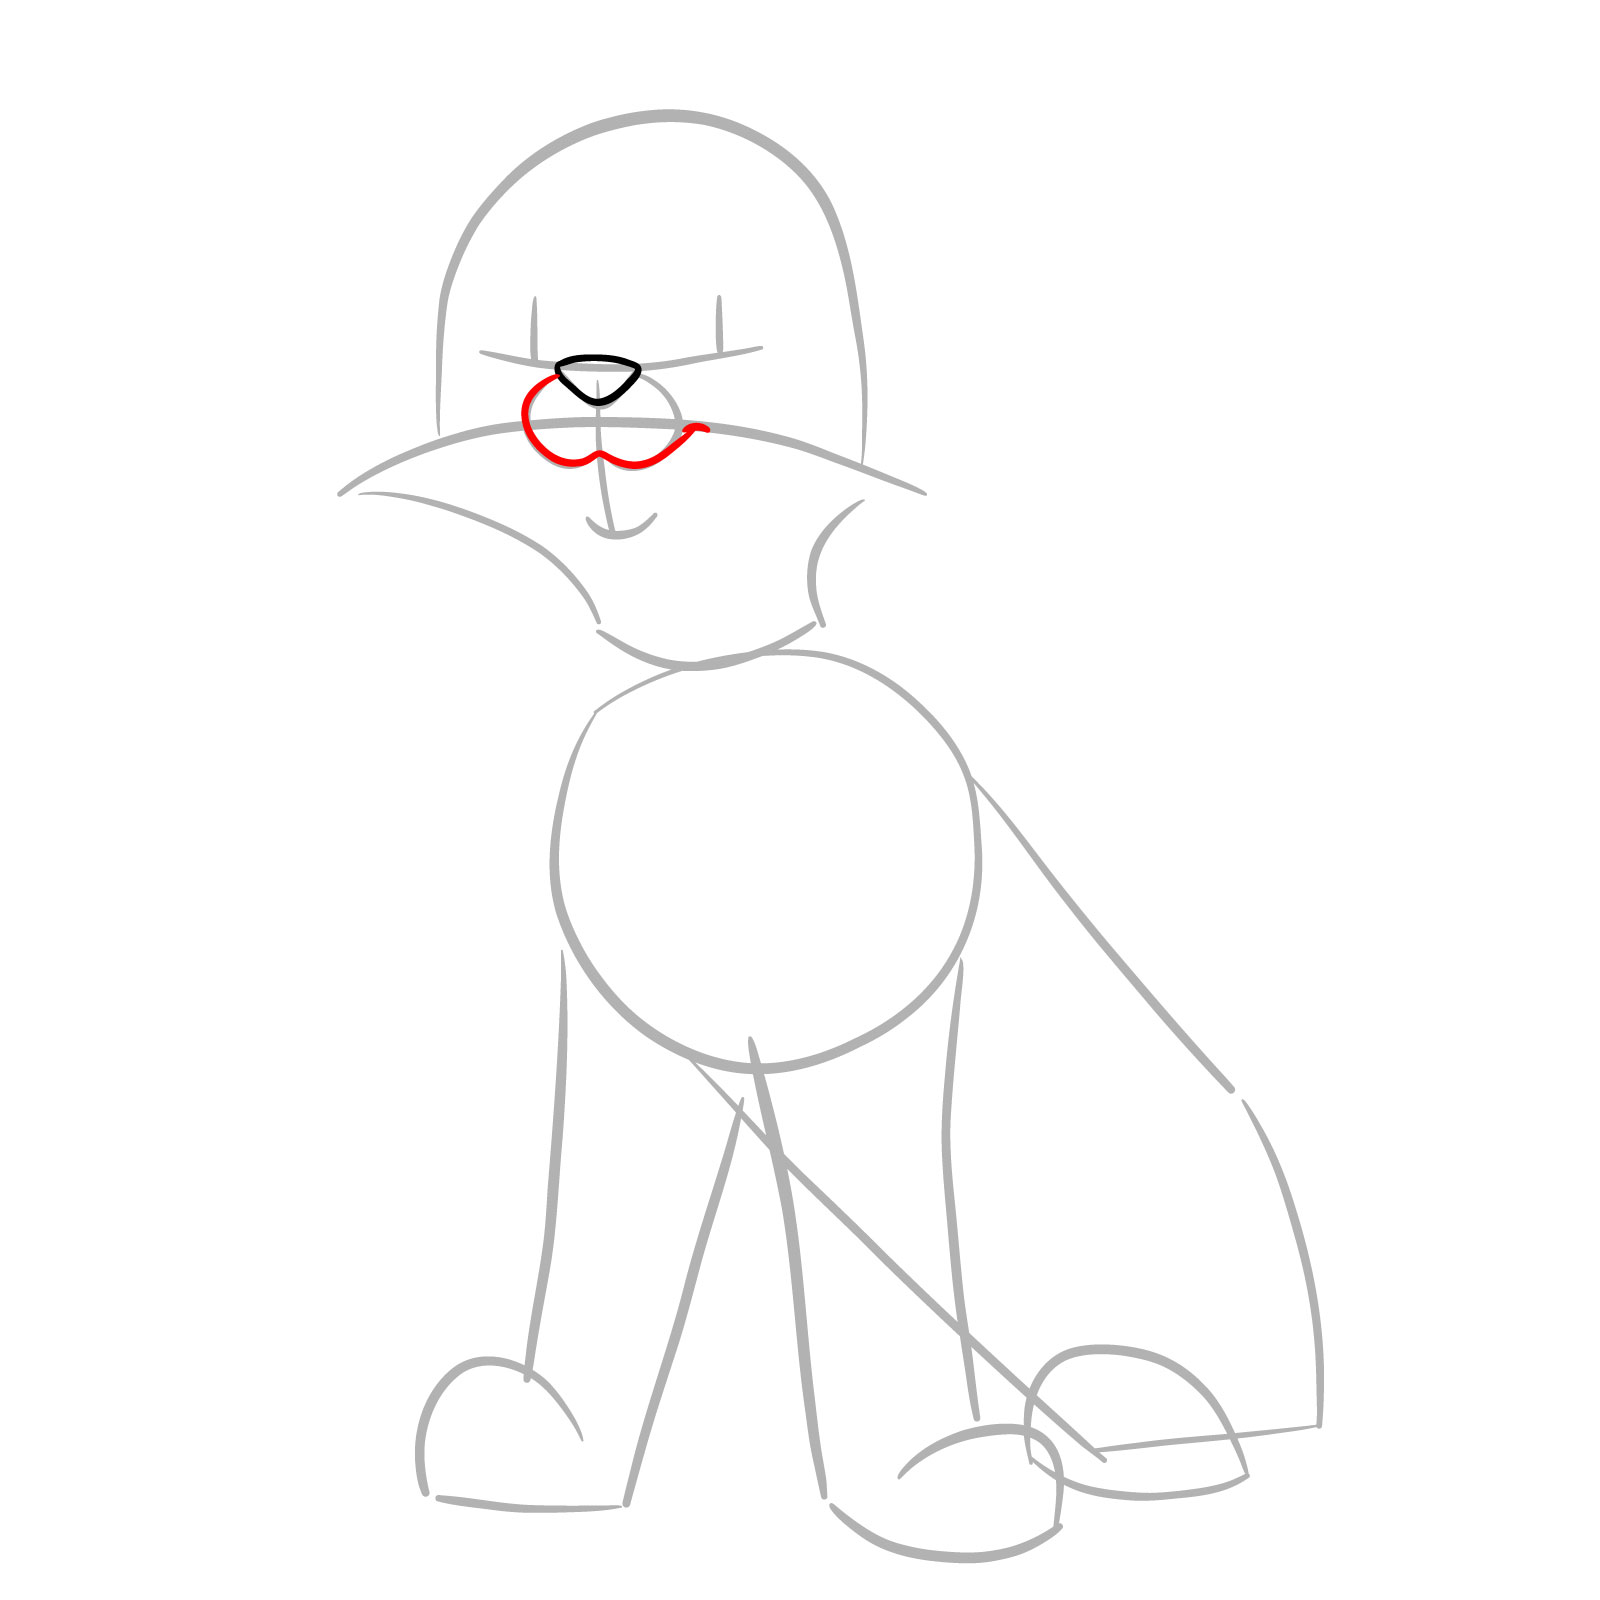
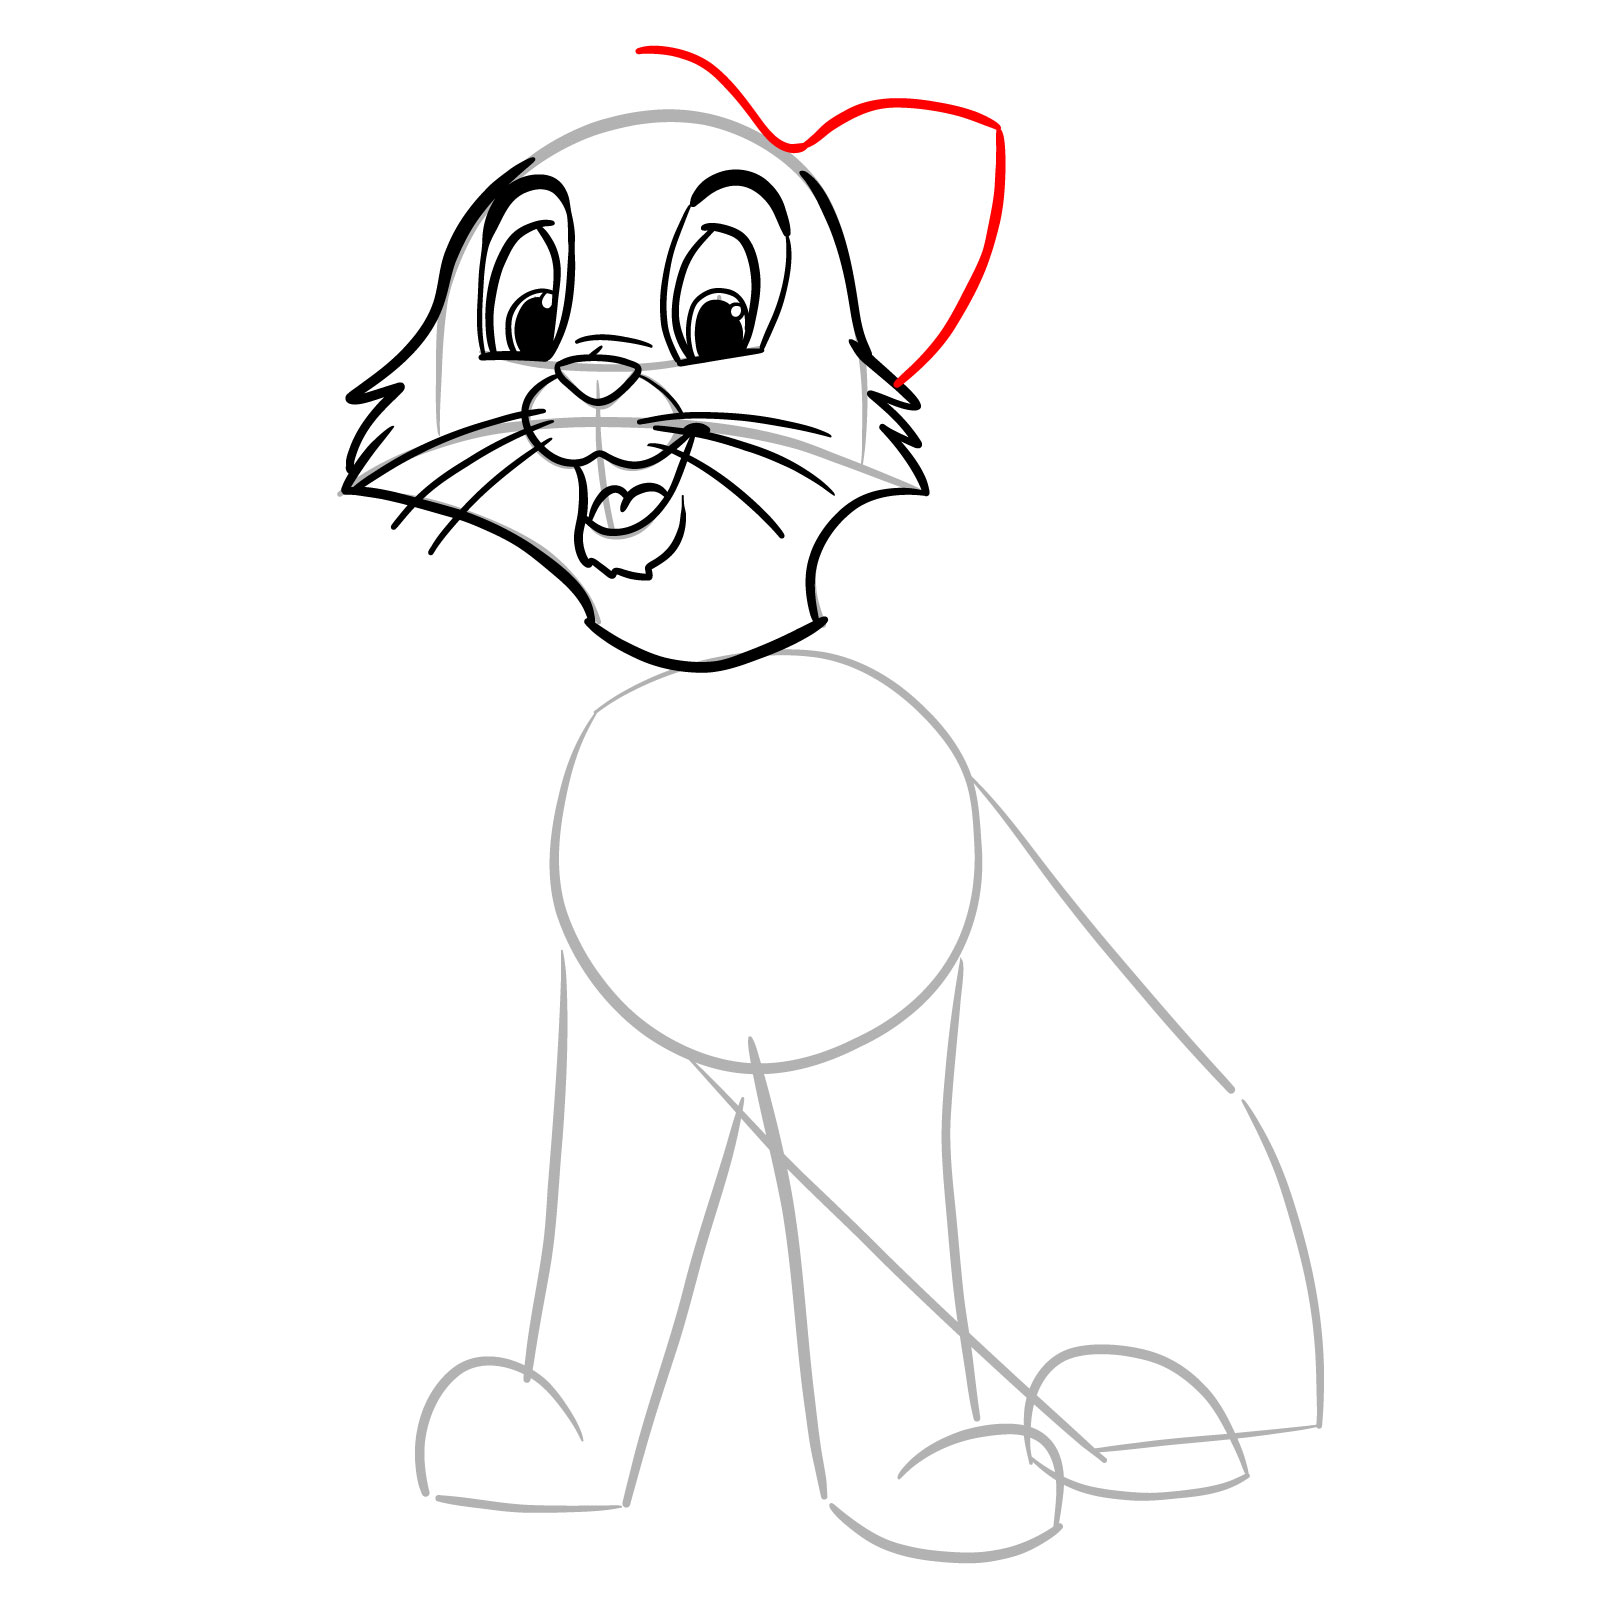
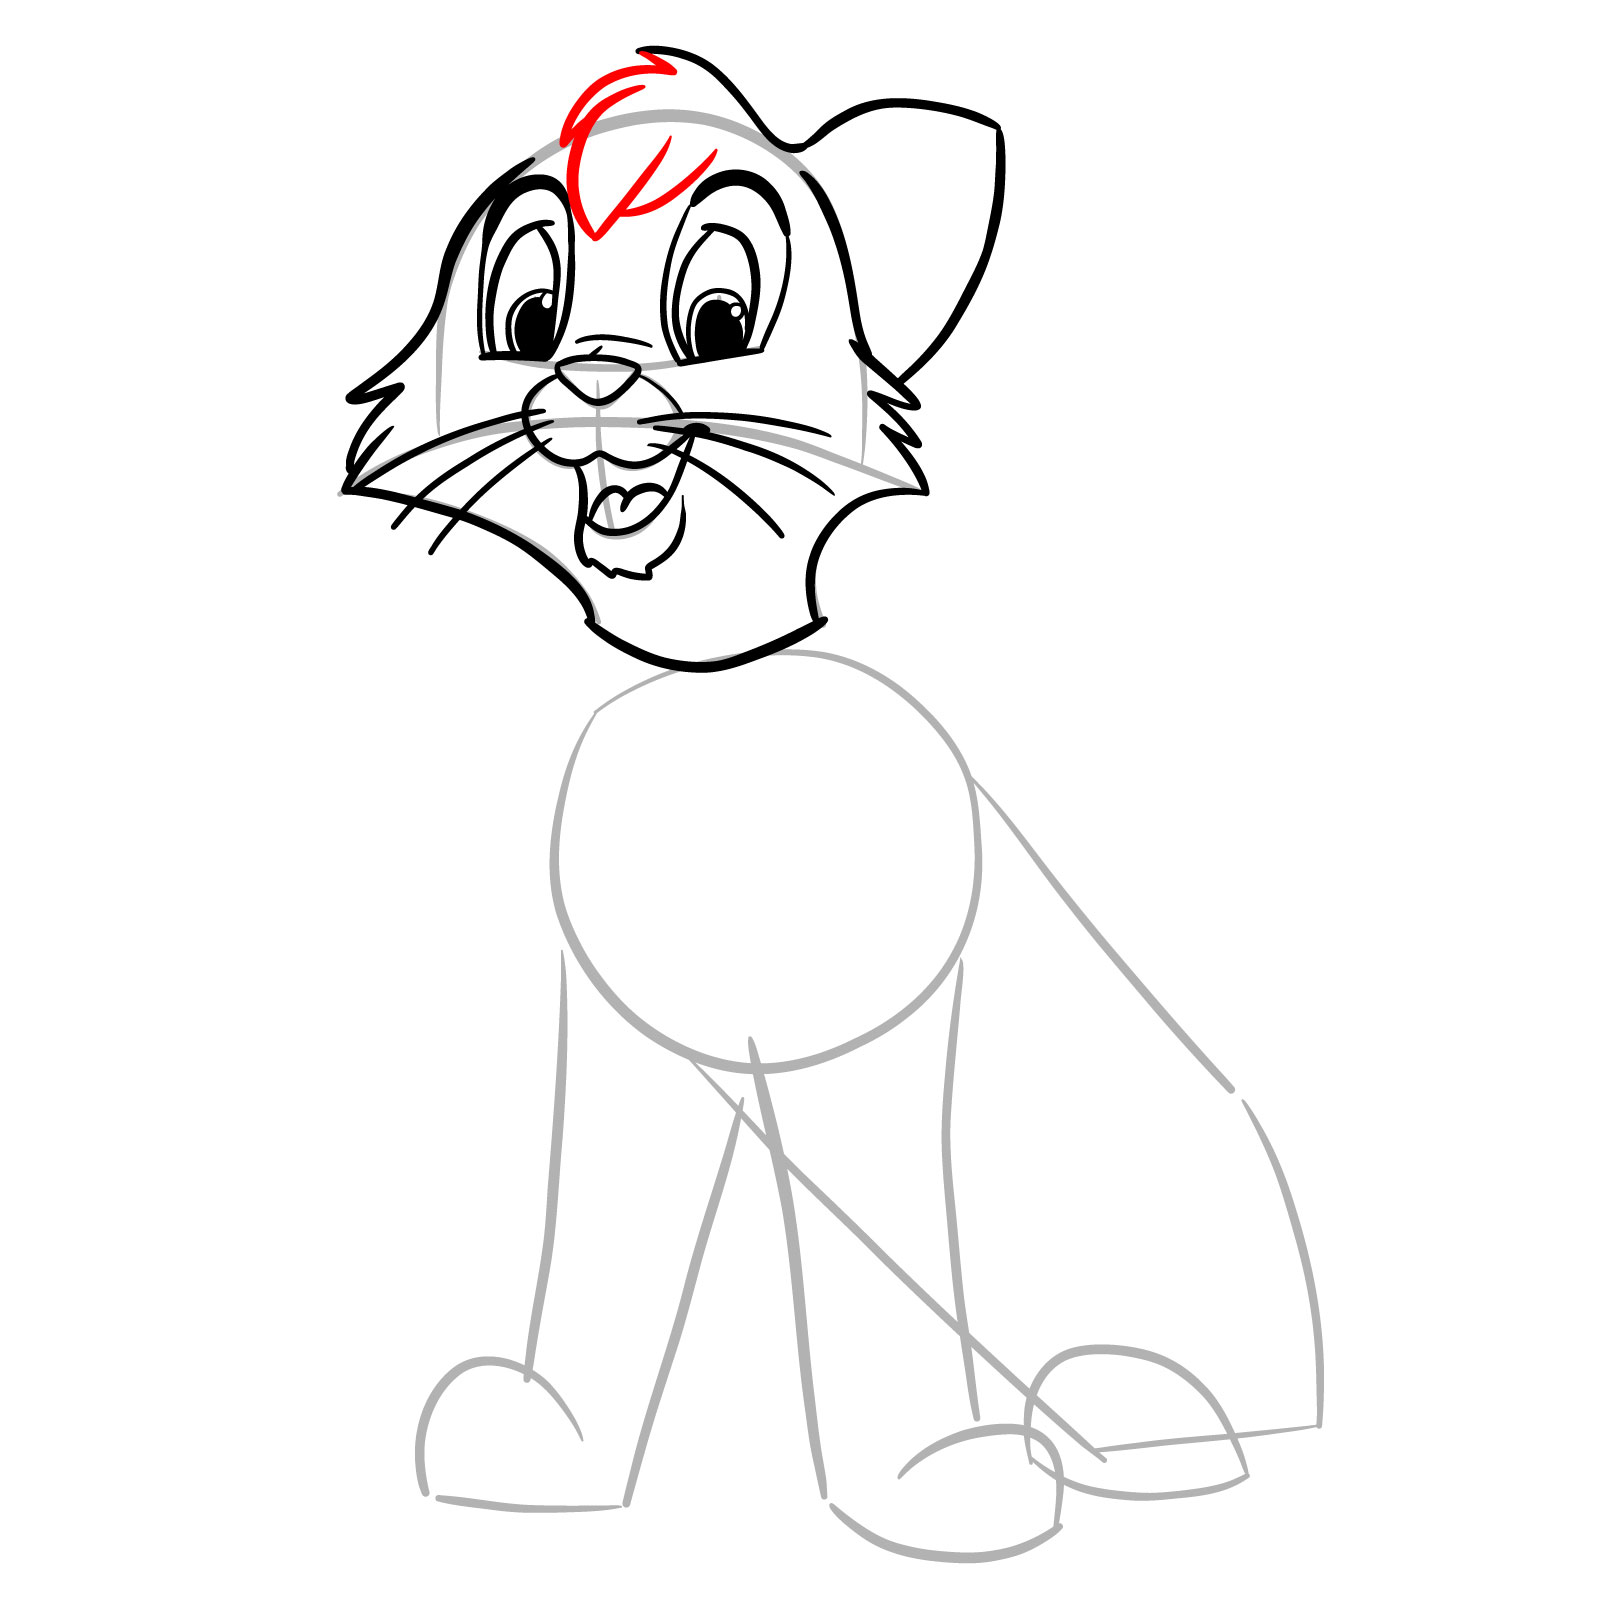
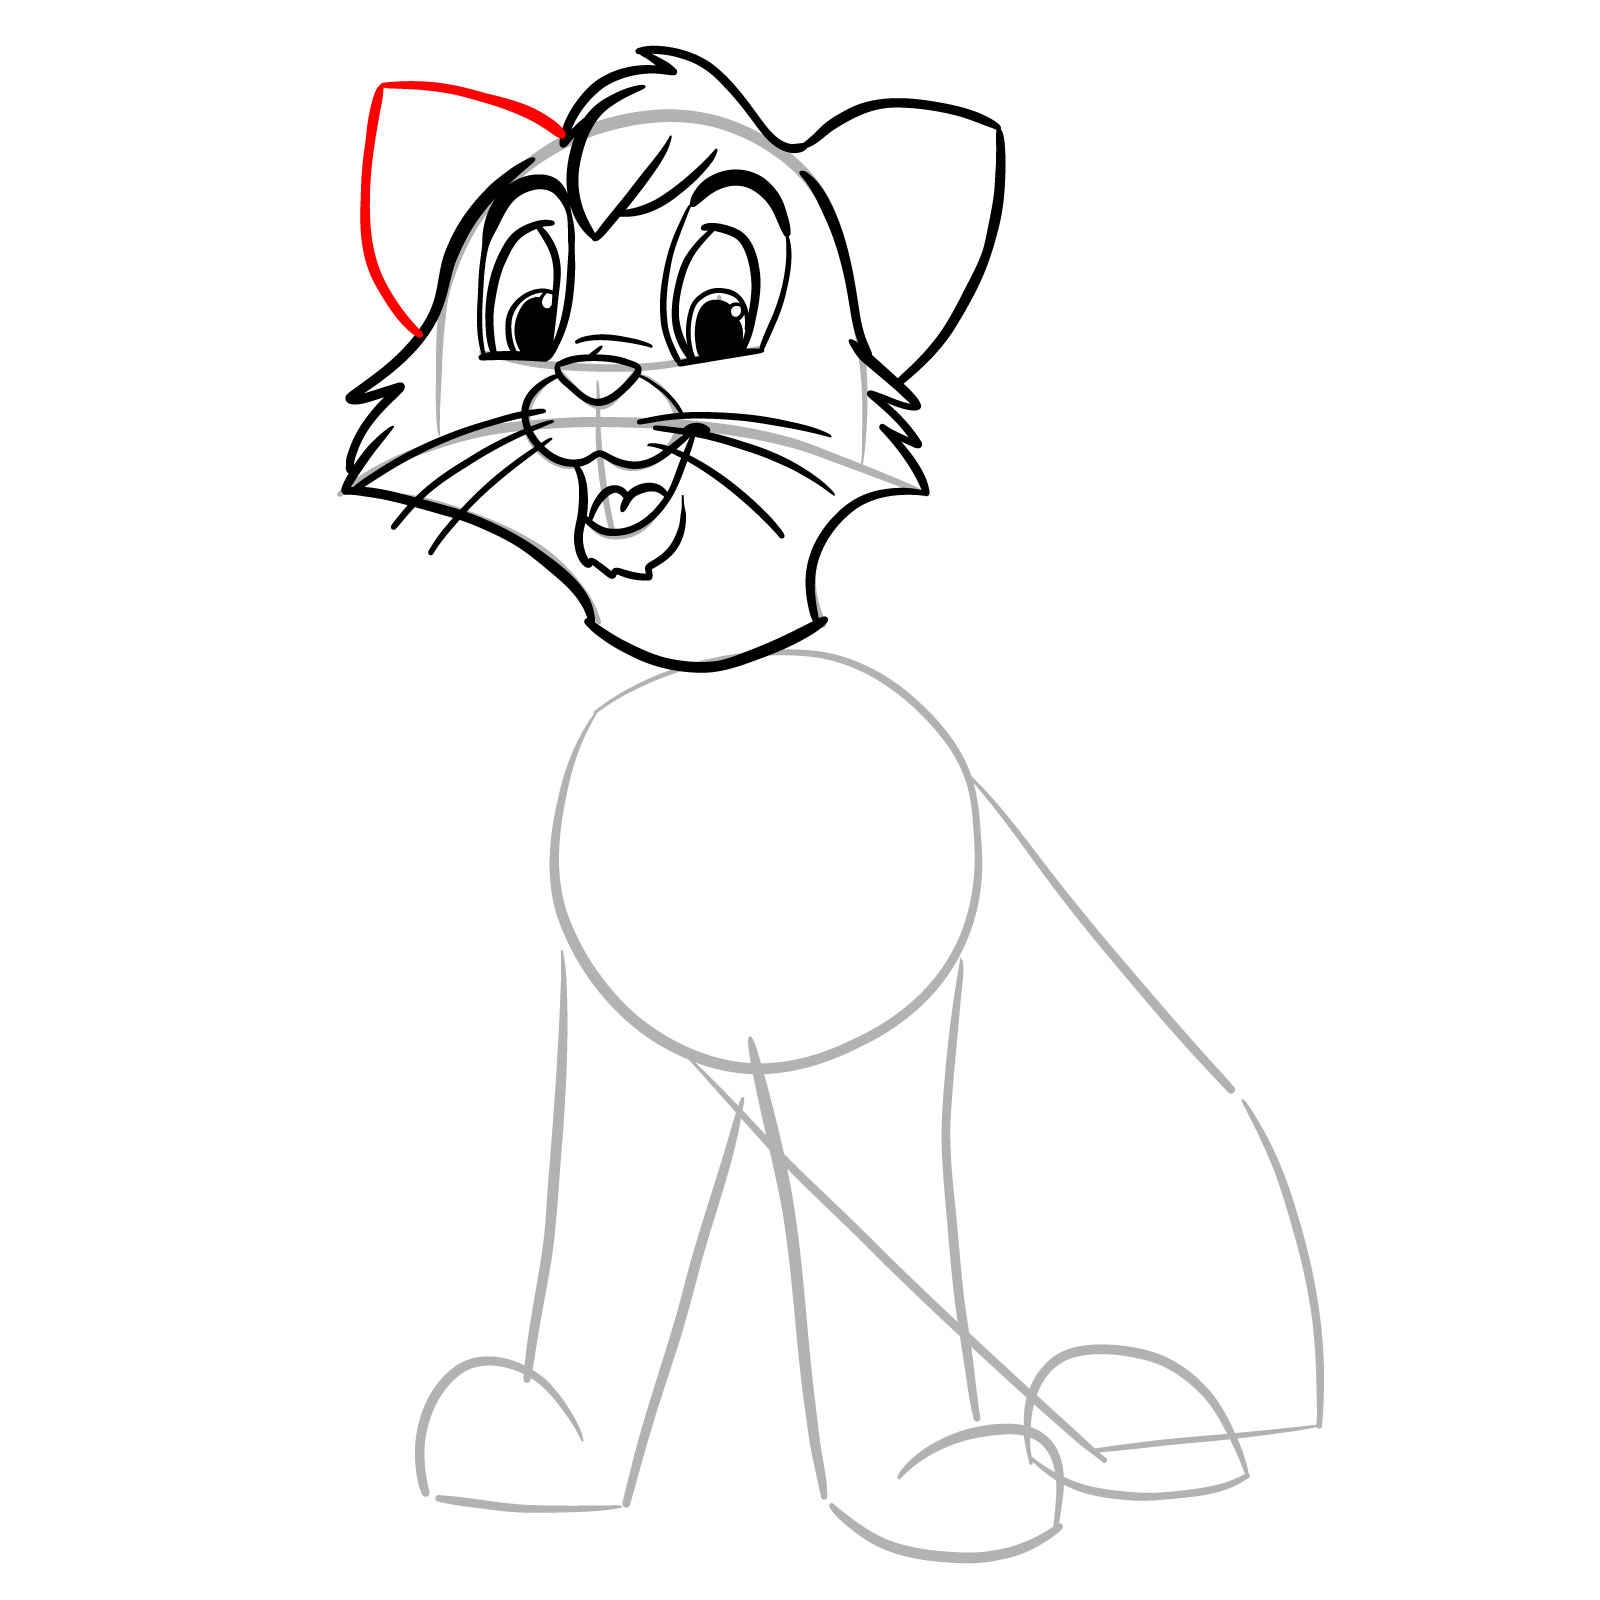
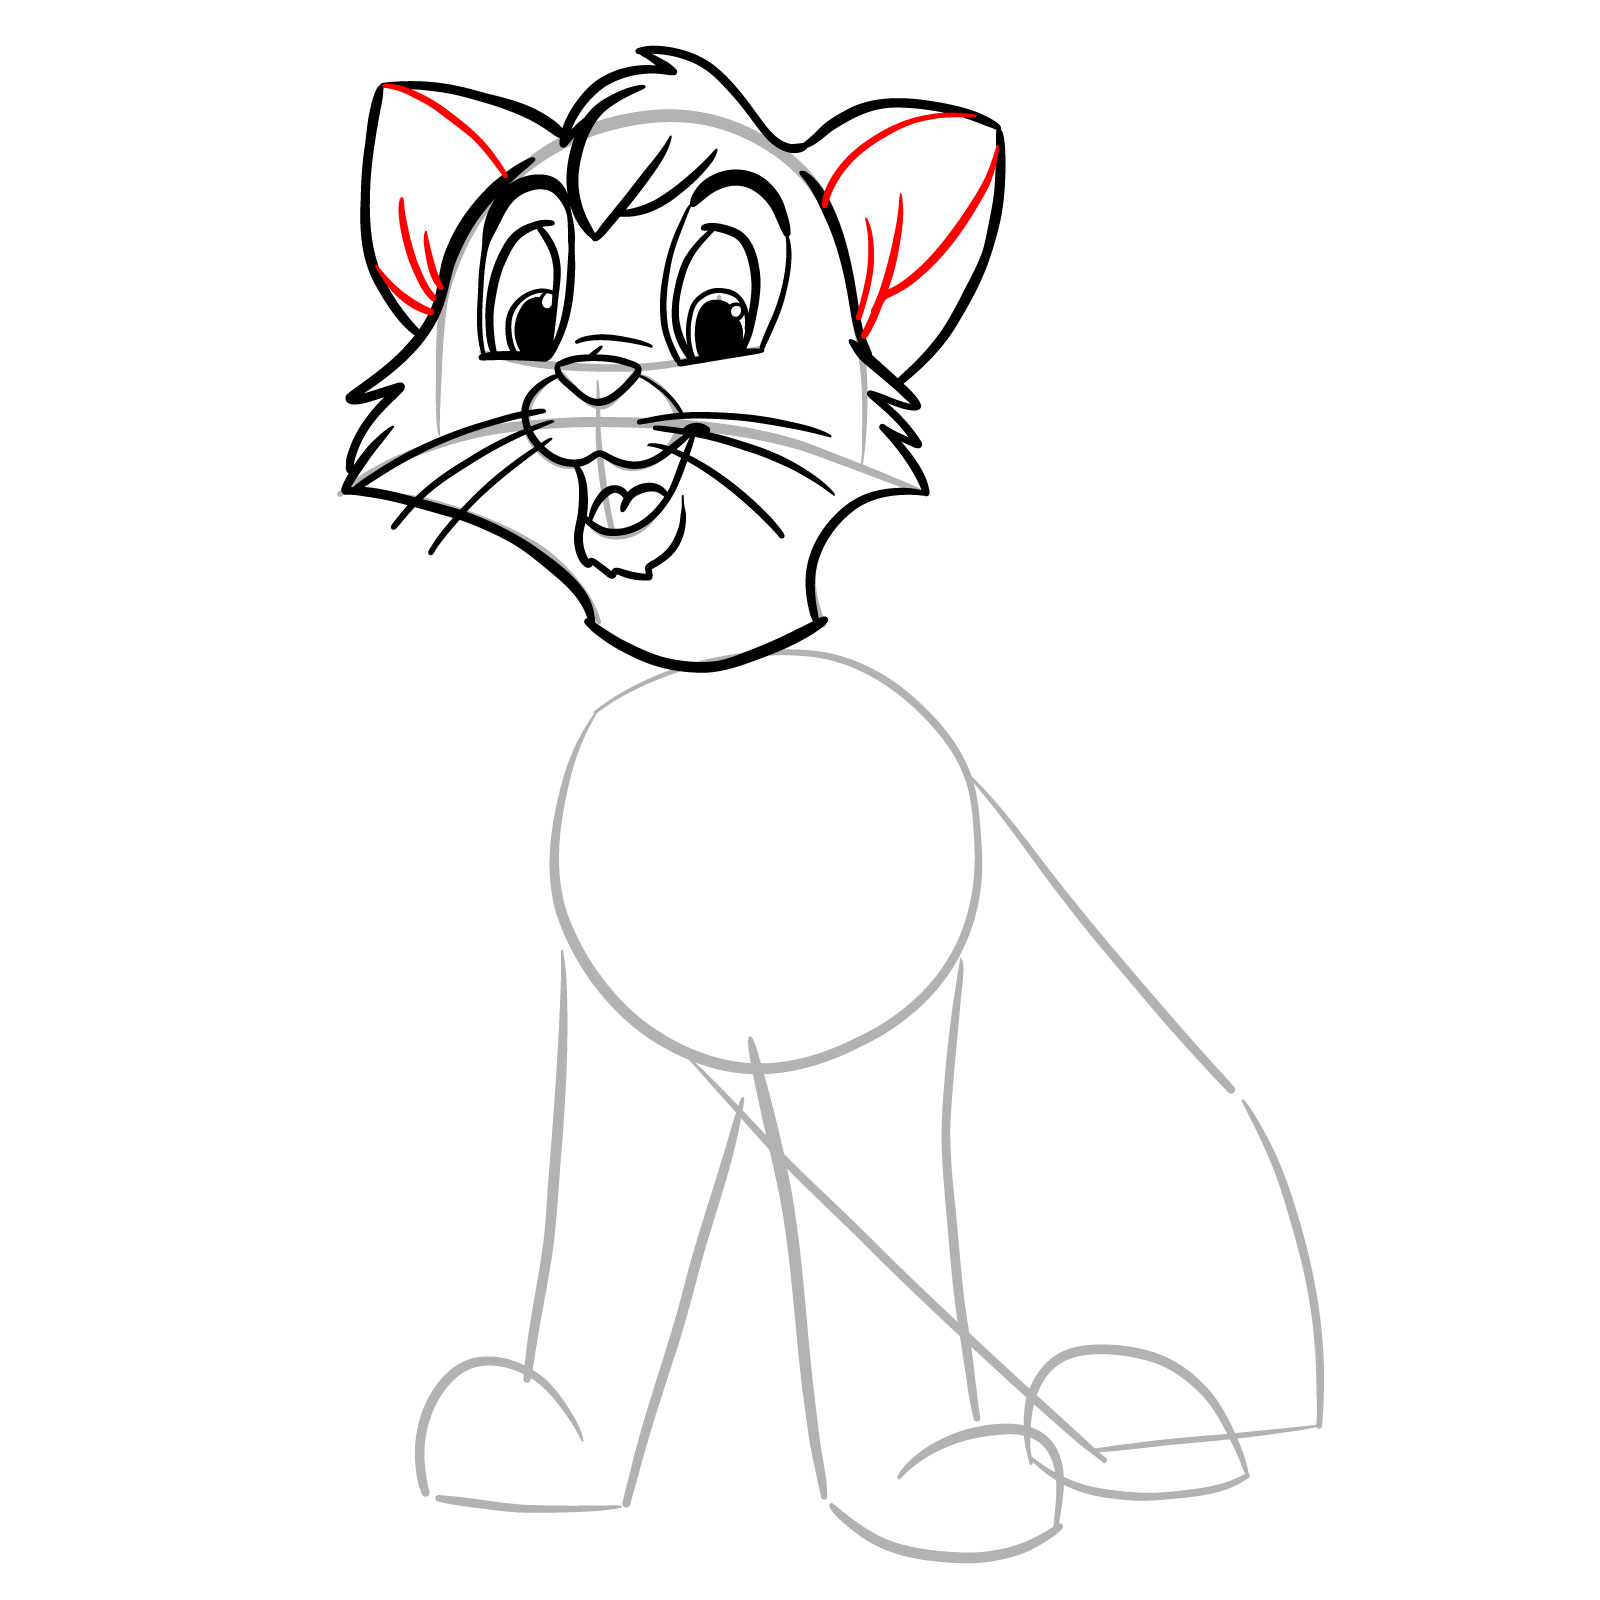
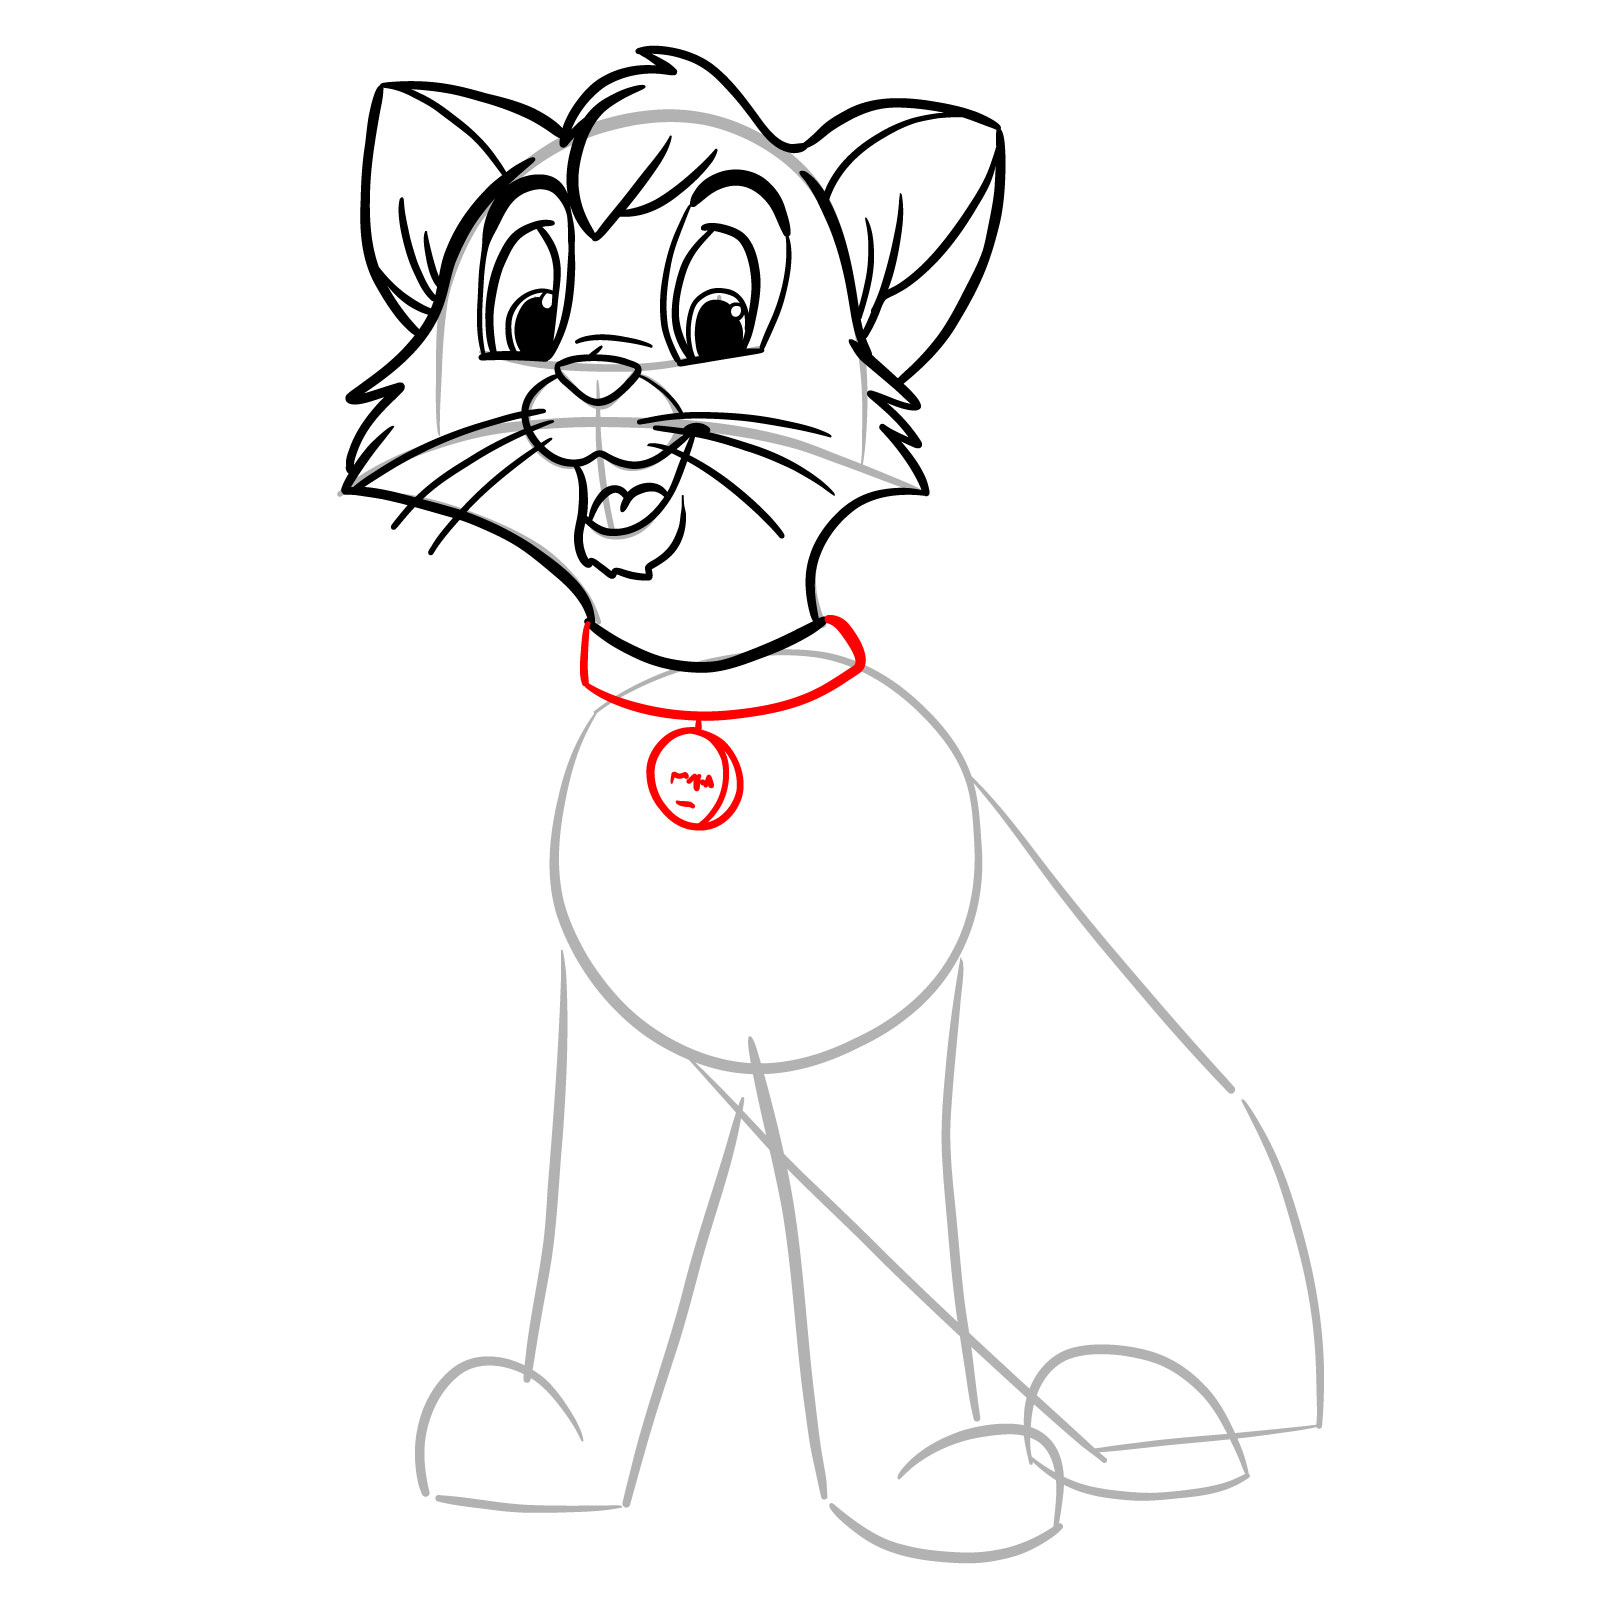
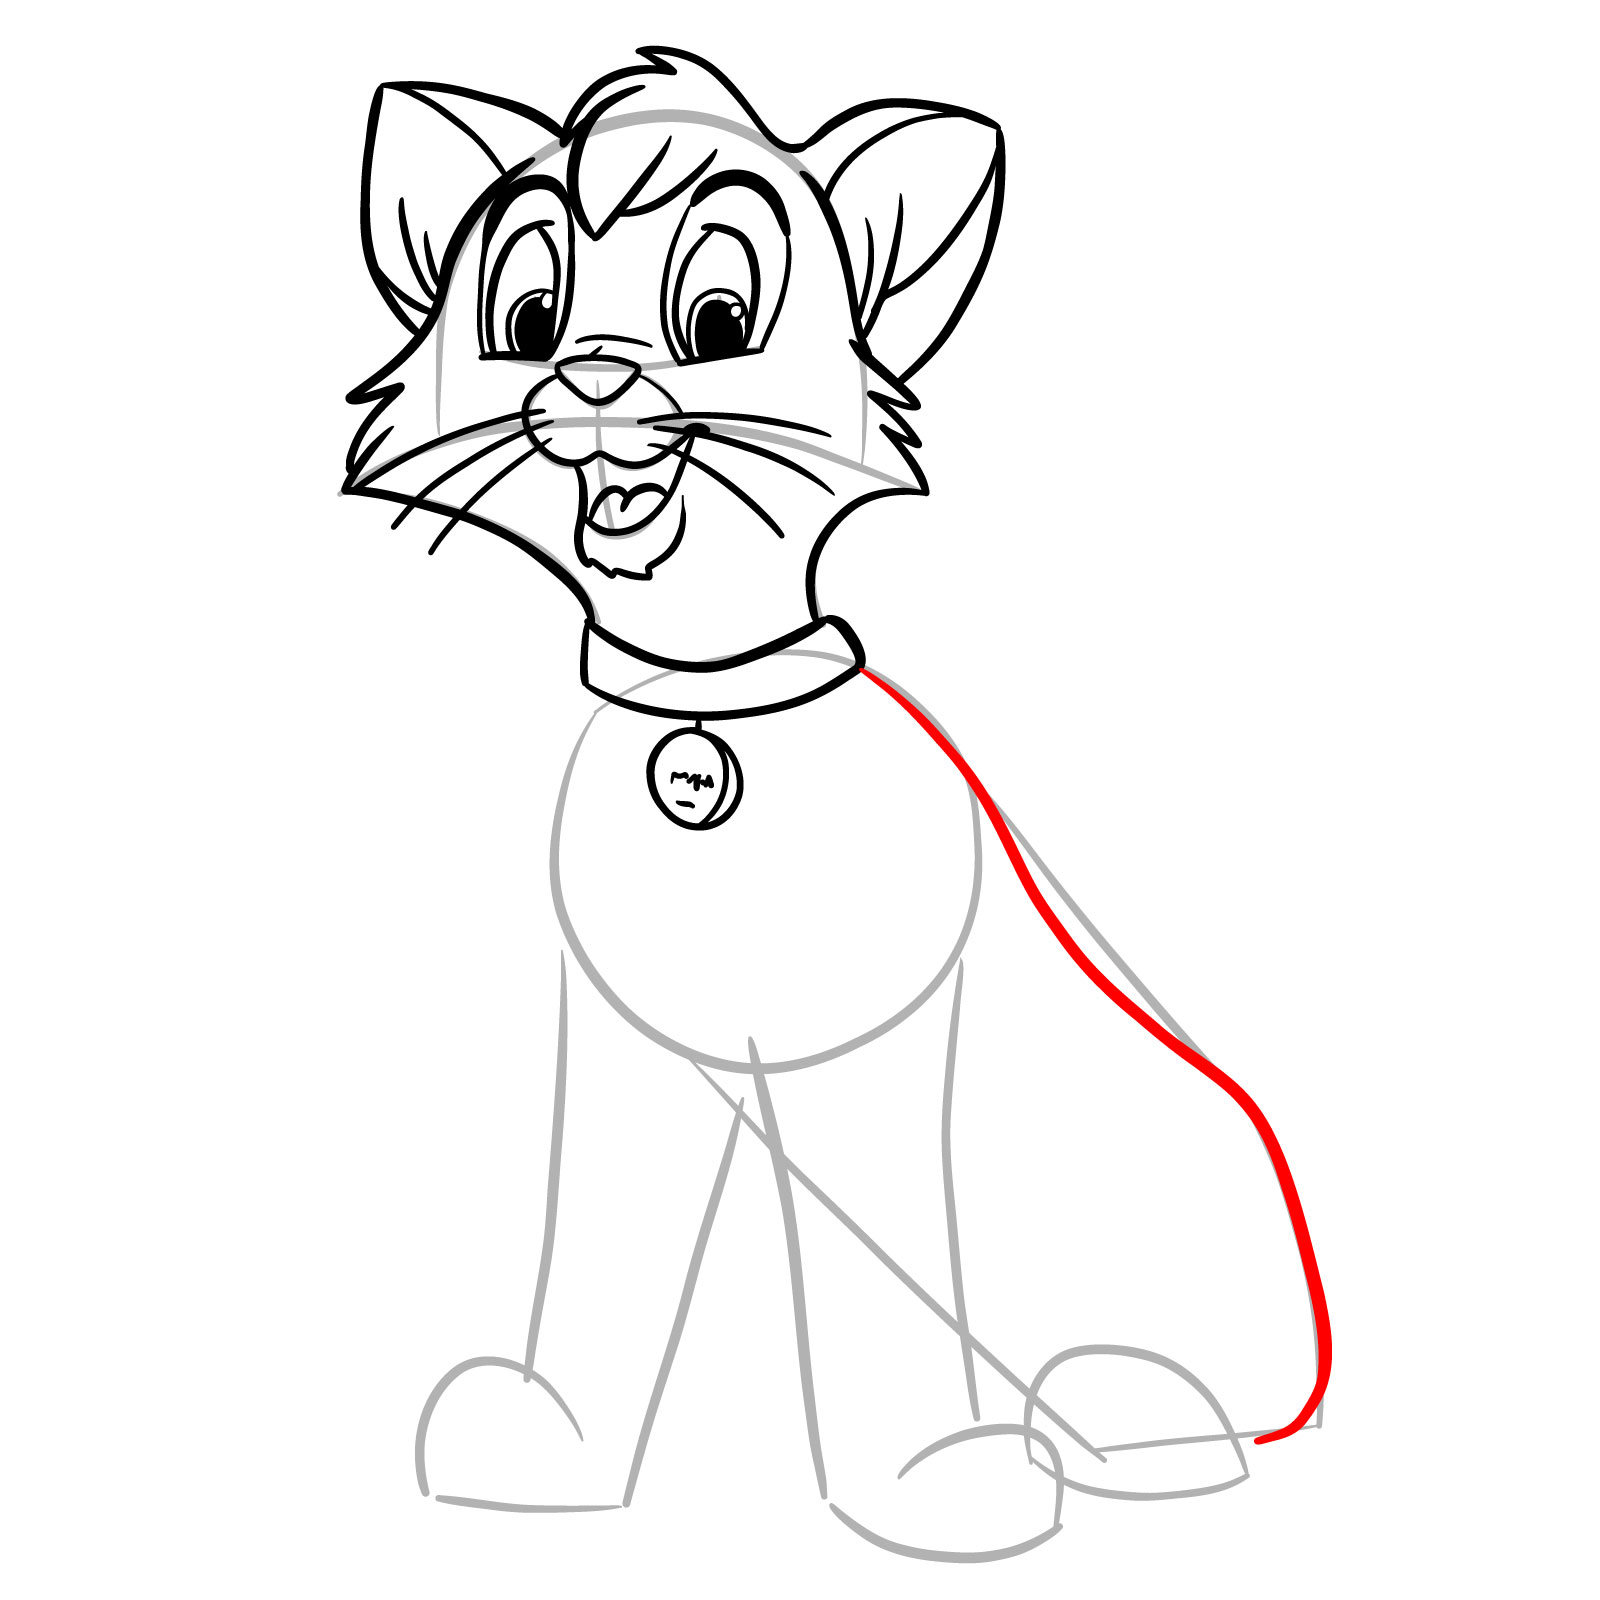
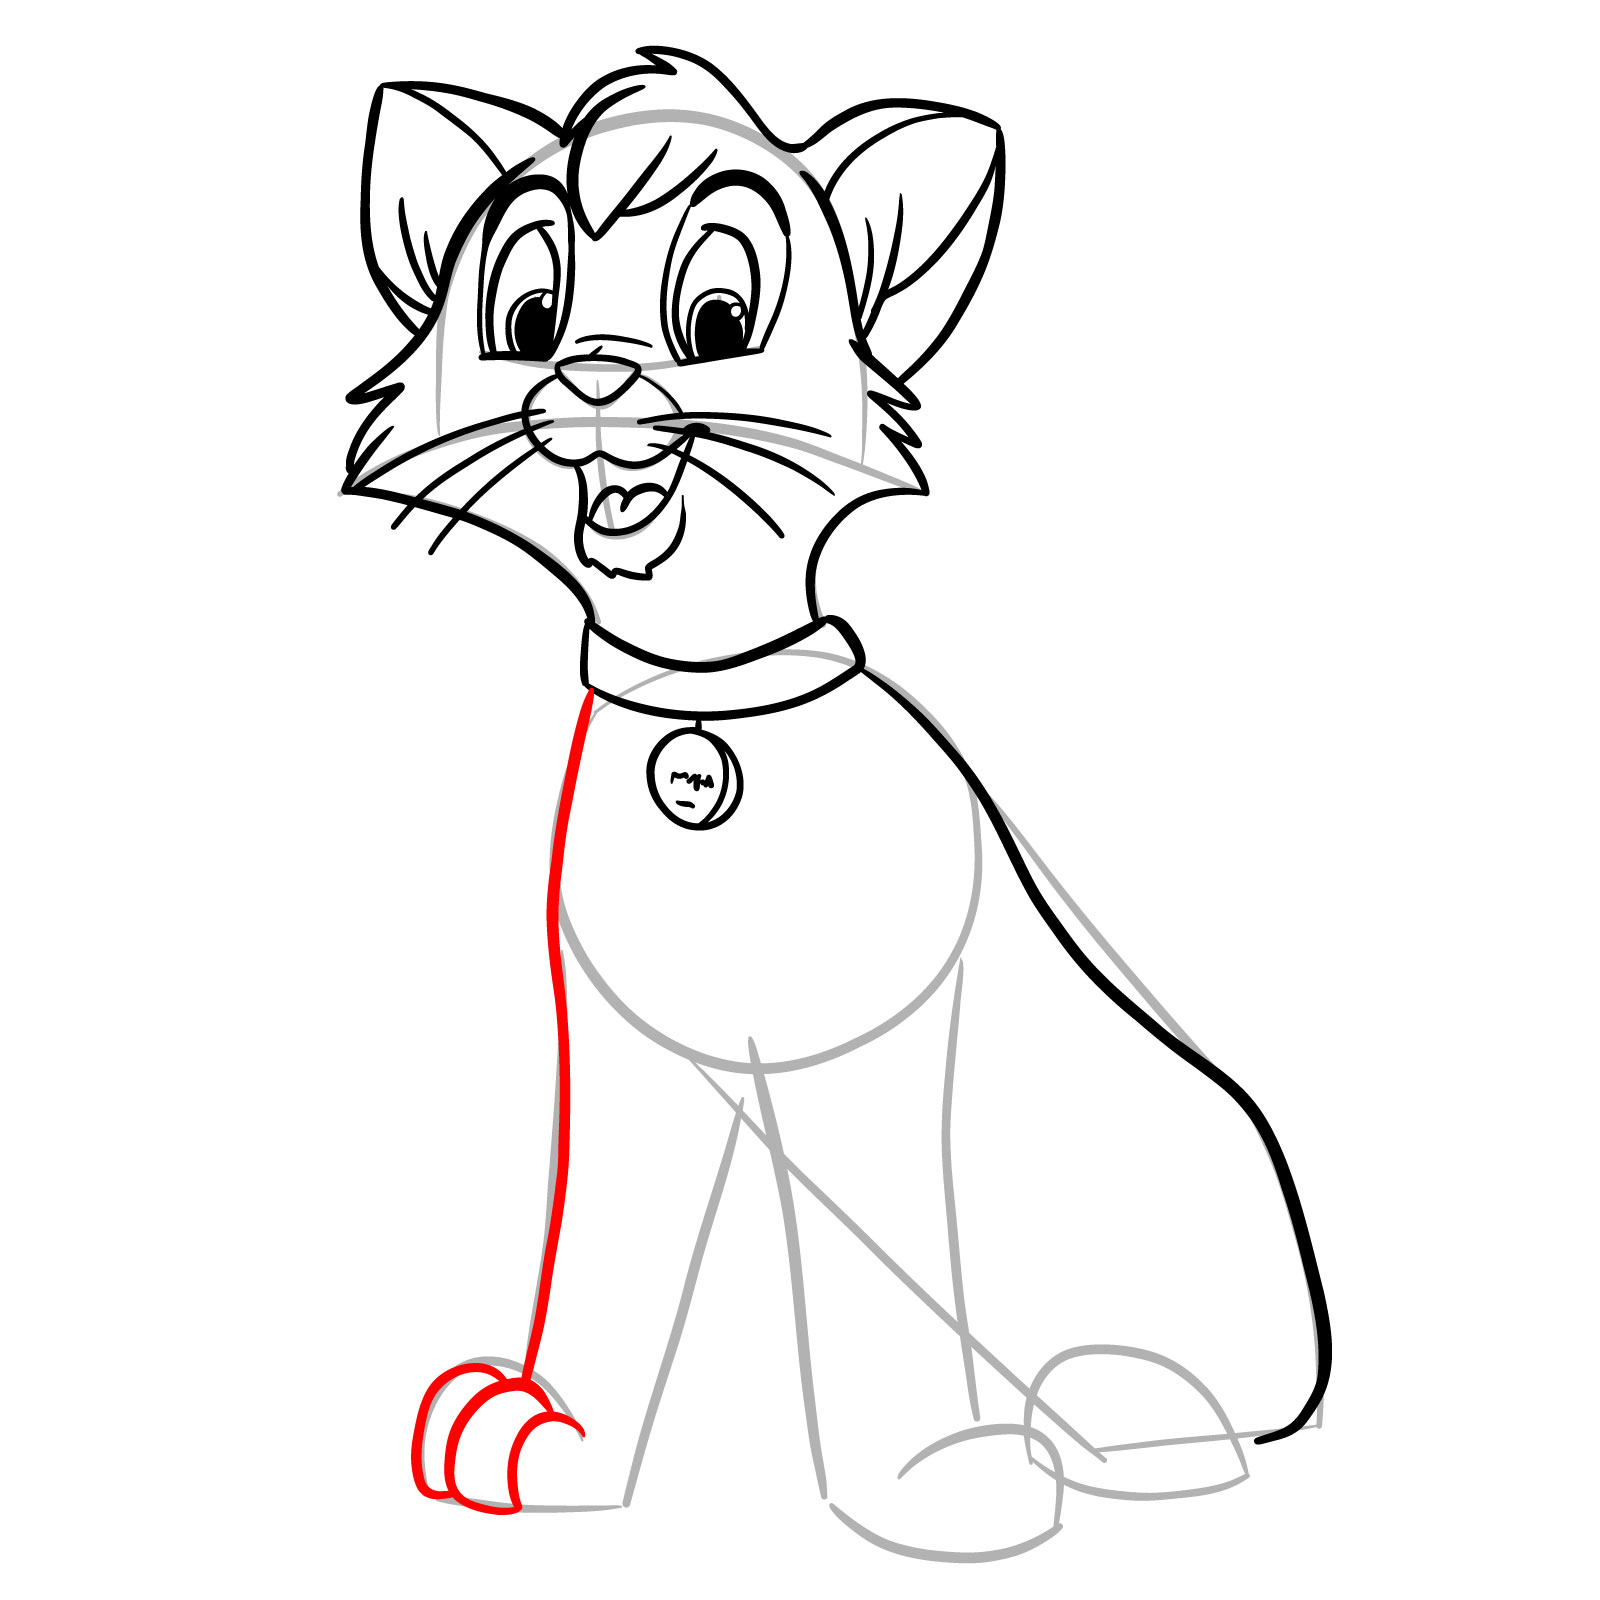
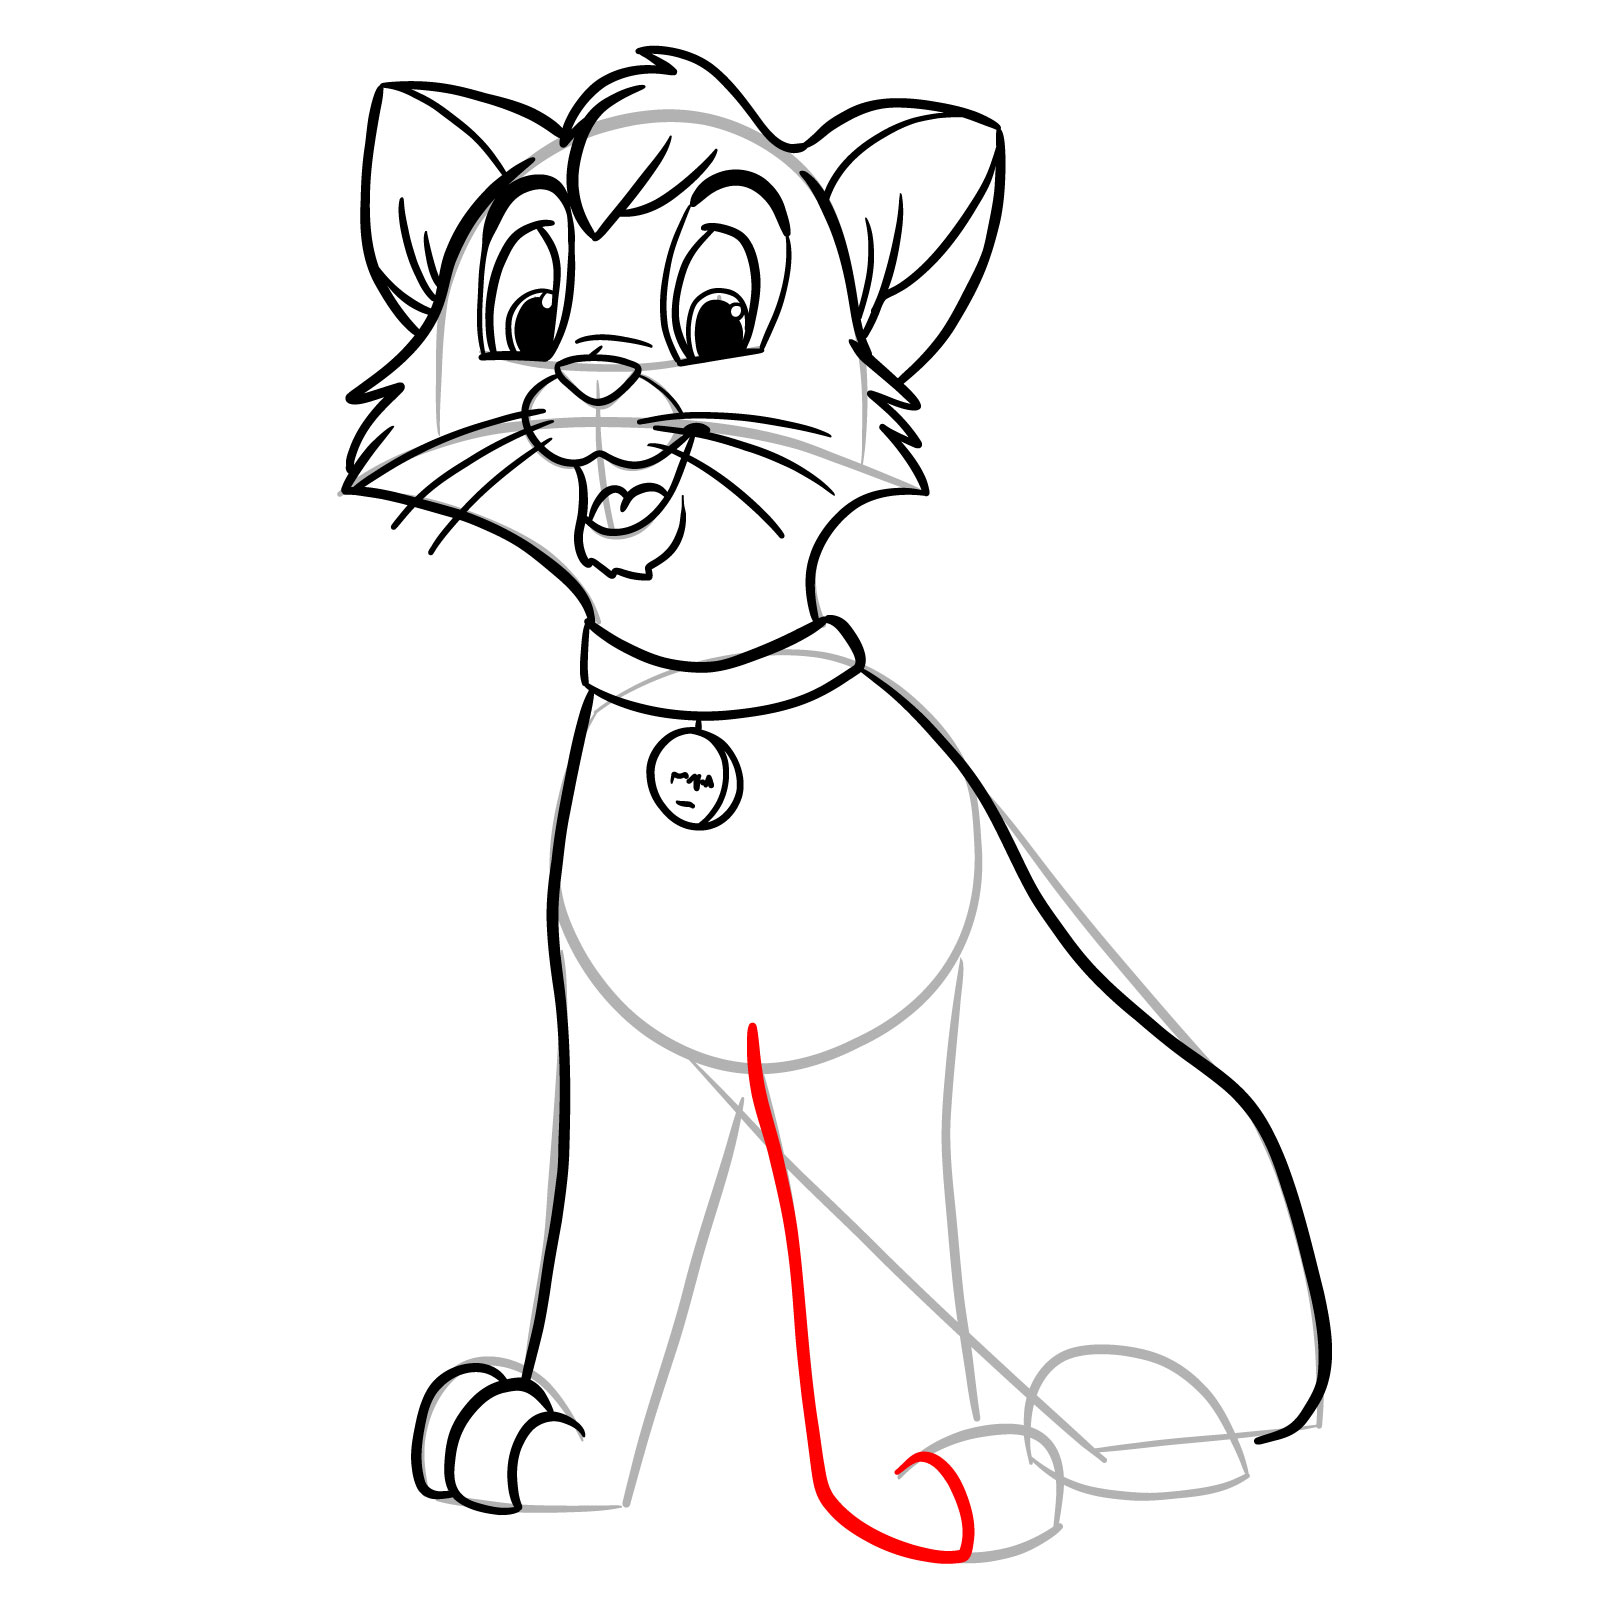
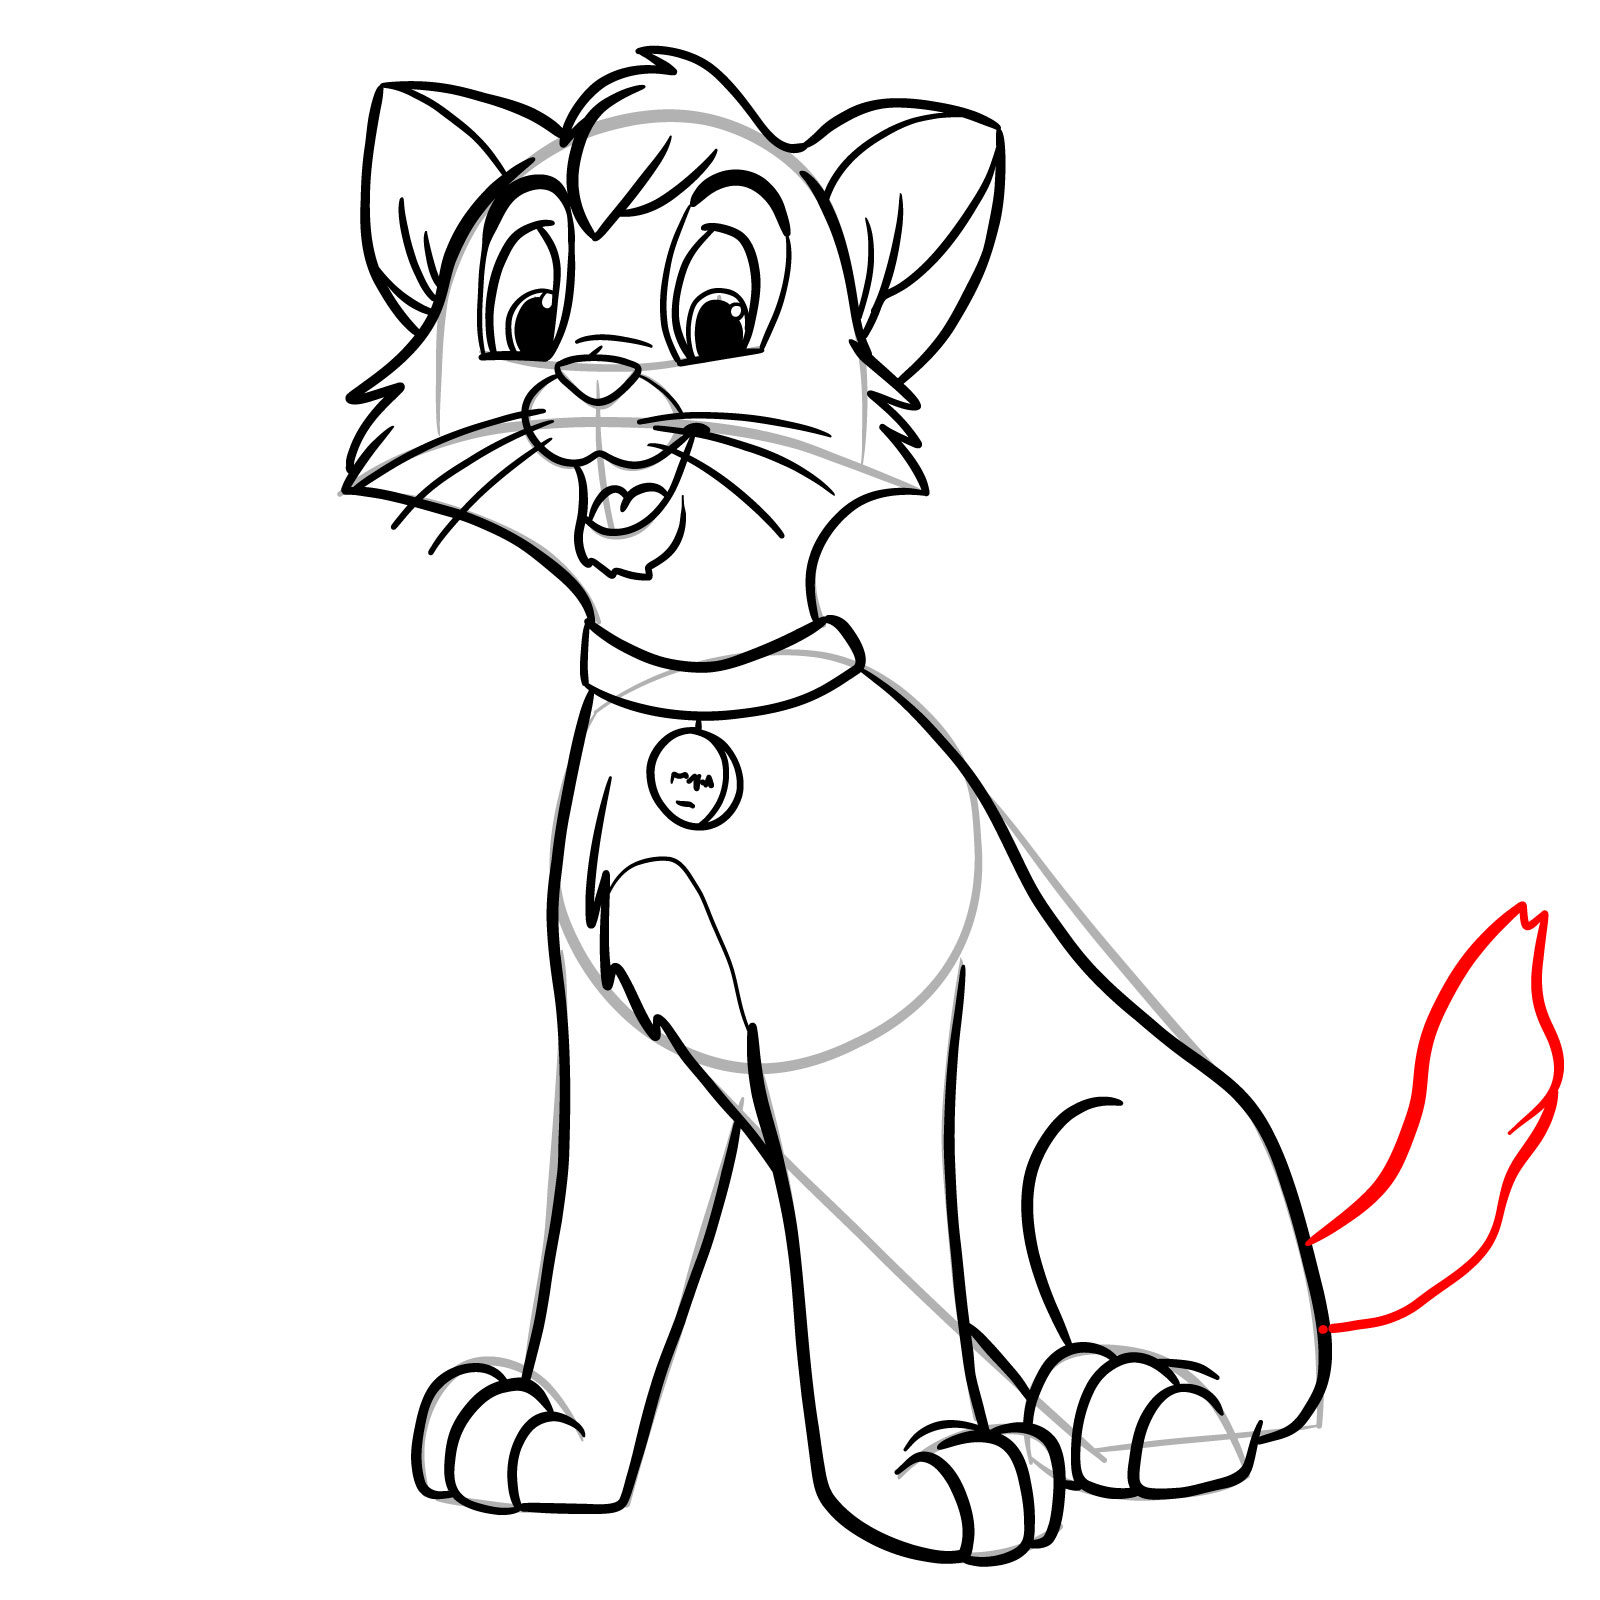
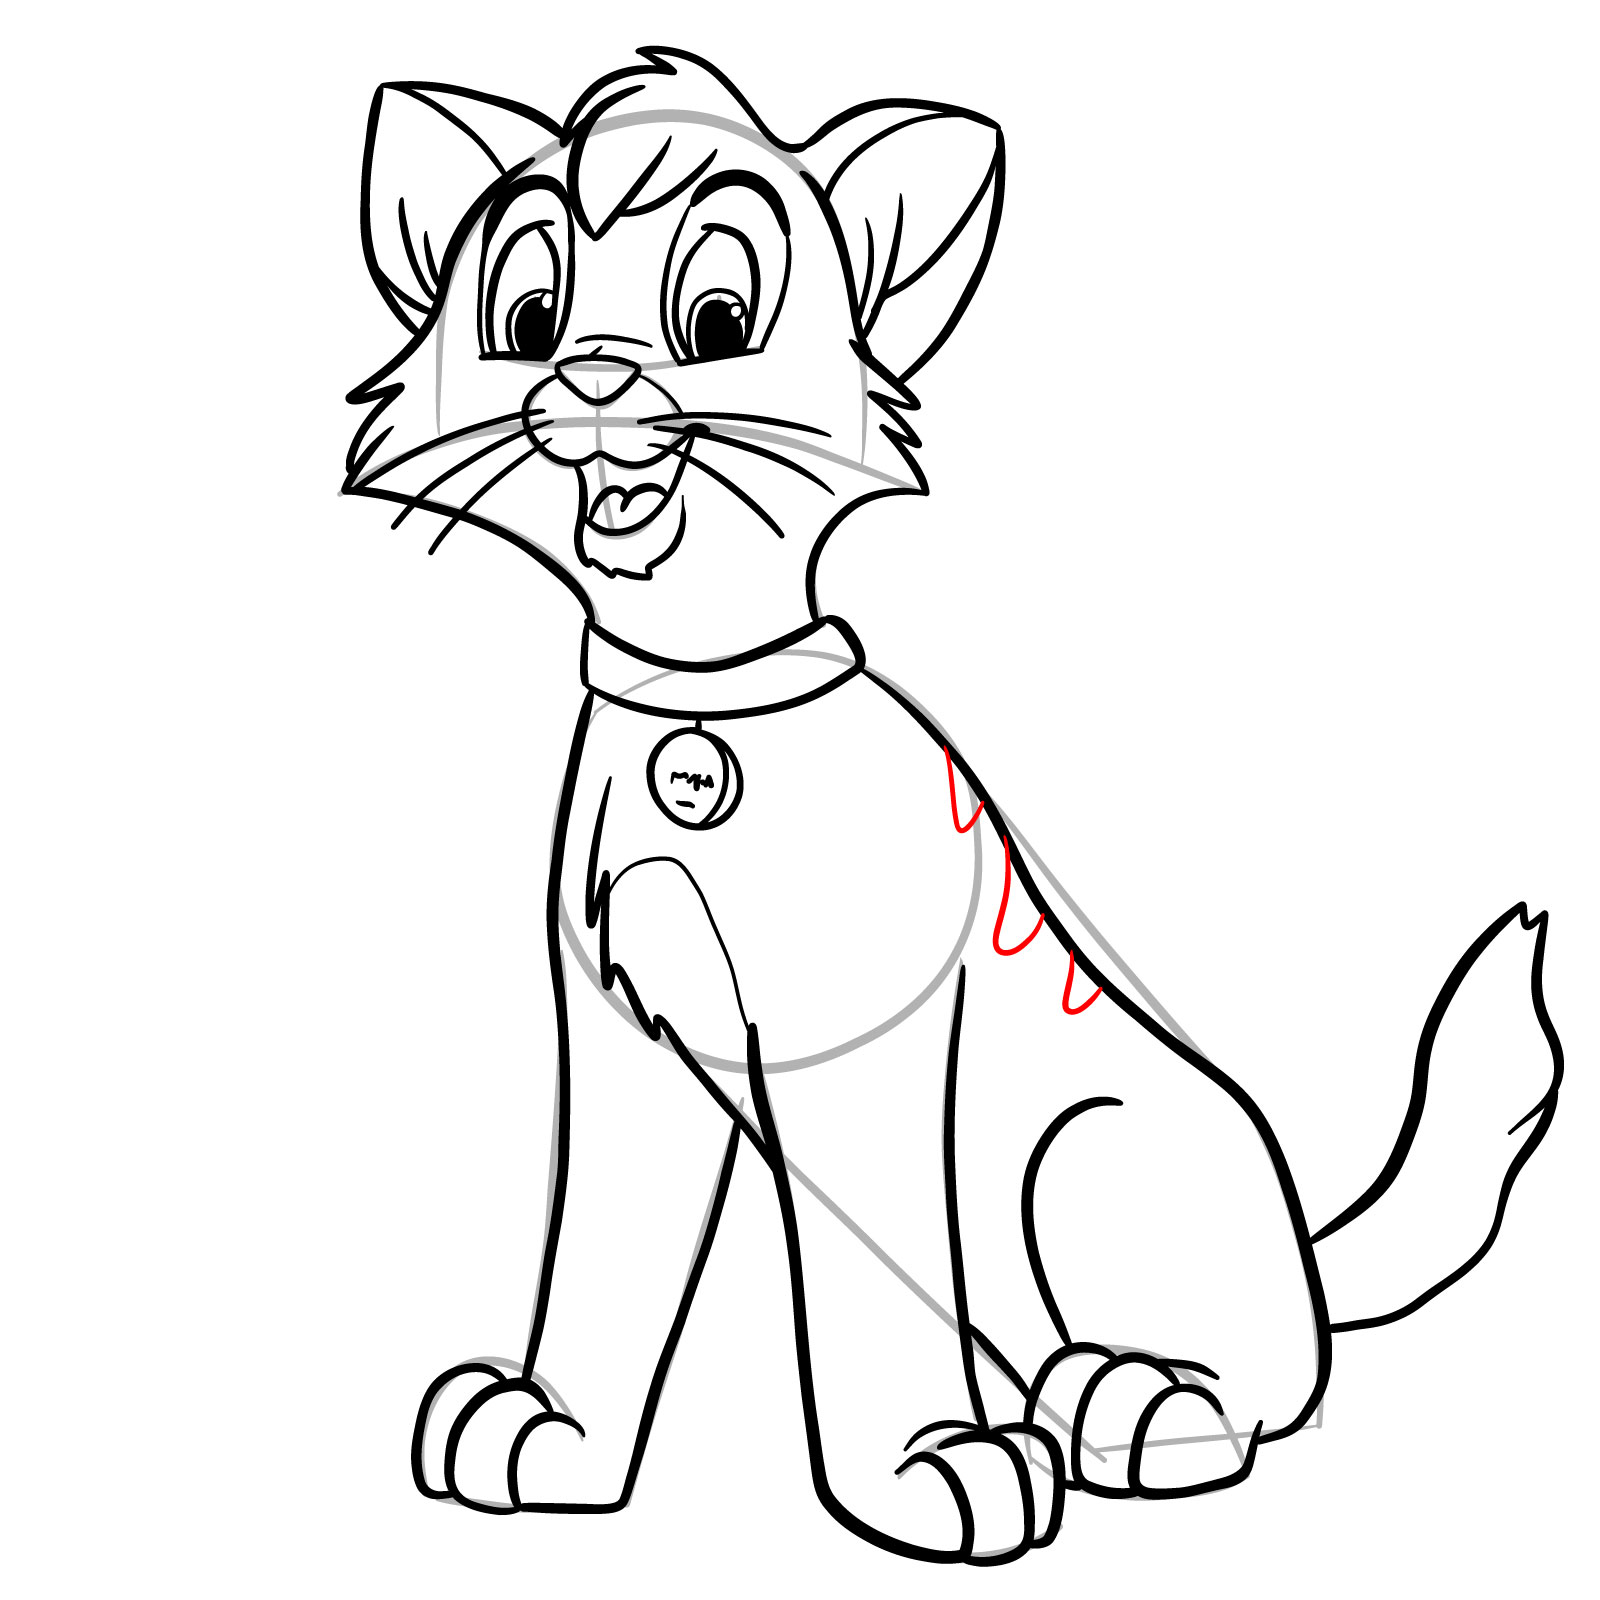
Before diving headfirst into the drawing process, it’s crucial to familiarize yourself with the guidelines. The following color-coding will guide you seamlessly through the 28 steps:
- Red Color: Represents the current step. This is where your focus should lie.
- Black Color: Showcases previously drawn lines, aiding in context and progression.
- Grey Color: Represents the basic sketch, crucial for initial proportions. Remember, the first three steps are paramount in laying a strong foundation for your drawing.
Upon completion, artists can choose to ink their sketch. It’s essential to allow the ink to dry completely before erasing any pencil lines. This ensures clarity and prevents any smudging.


Working through a character like Oliver can feel a little stop-and-start the first time, and that’s completely normal since some of the proportions and shapes tend to click better on a second pass. Now you know how to draw Oliver, so give it another go if anything felt awkward and see how much smoother it runs. If you want a steady stream of new guides like this one, there’s an email signup at the top of the page that sends a weekly batch straight to your inbox.
PLEASE DRAW DODGER FROM OLIVER AND COMPANY