Last Updated on May 14, 2026
Welcome to the magical realm of sketching, where we’ll guide you on a delightful journey of how to draw Mickey Mouse’s face in side view. Our step-by-step tutorial helps you master the craft of drawing one of the world’s most iconic characters. Each stroke you make brings you closer to breathing life into the beloved Disney character.
Mickey’s Character Analysis: Key Features
As you venture into sketching Mickey Mouse’s face, it’s essential to highlight the following character-defining features:
- Mickey’s signature round ears, even in side view, should be quite prominent.
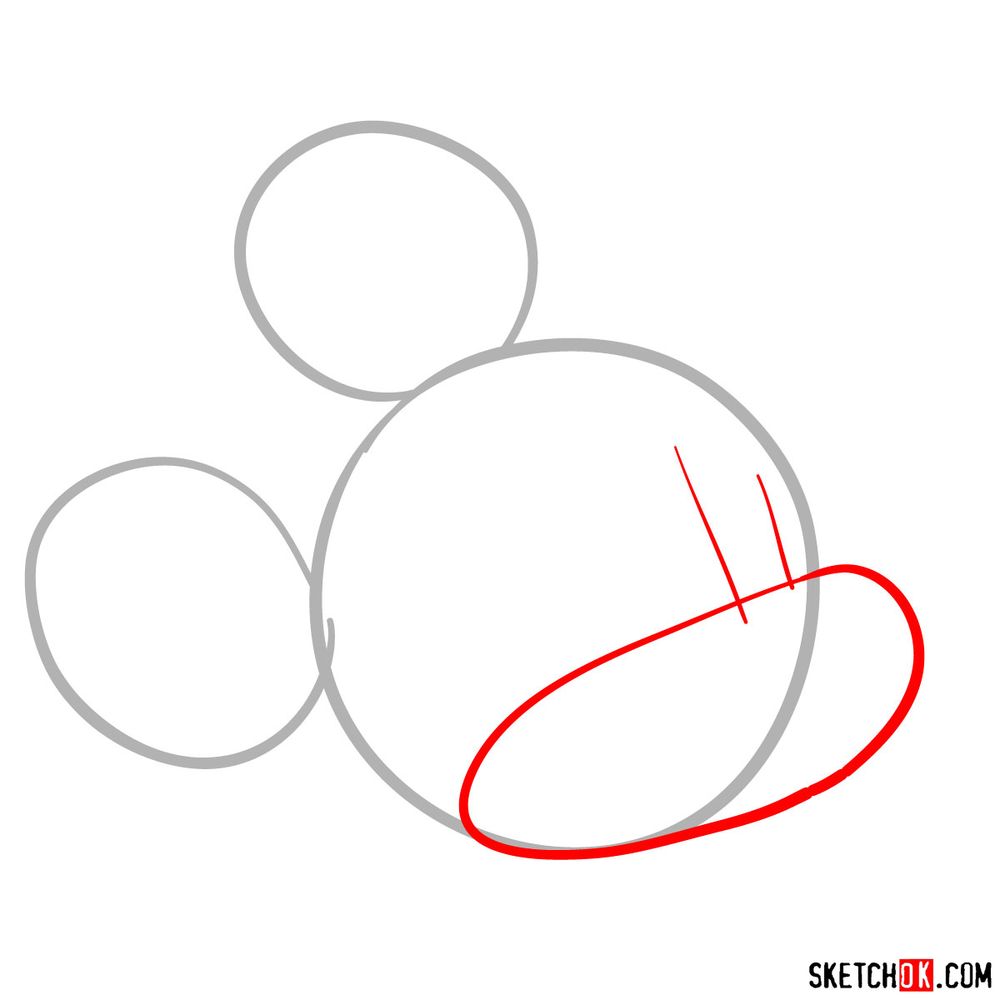
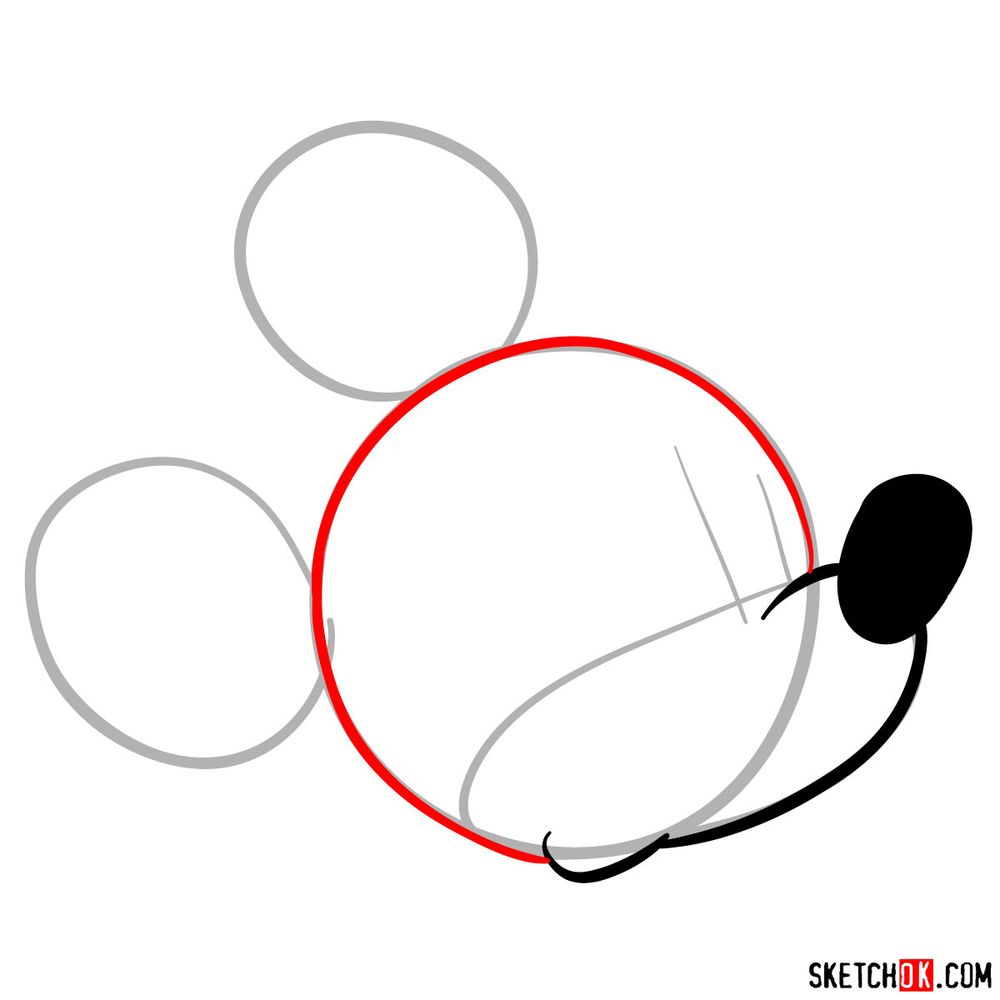
- The shape of his face, which is like a circle, with a pronounced snout.
- His wide-open eyes.
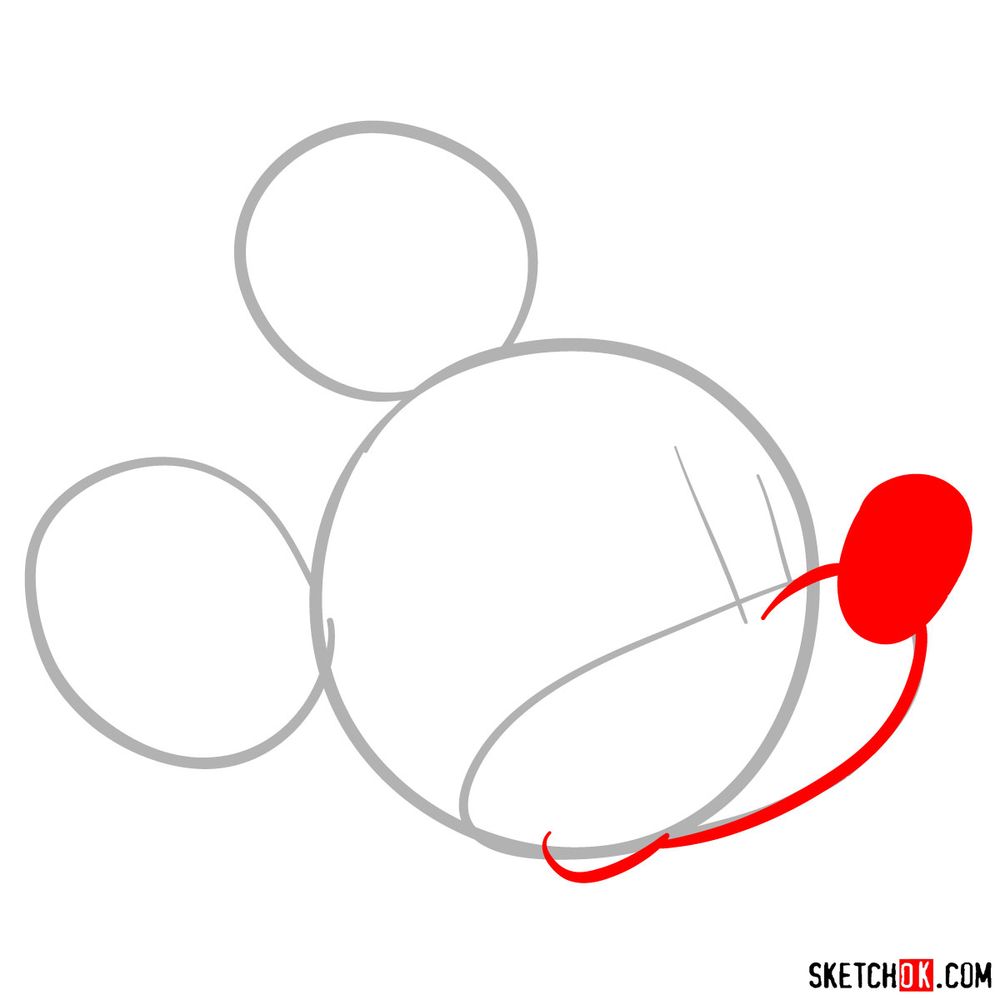
- The cute, button-like nose at the tip of the snout.
And when you’ve mastered drawing Mickey, why not expand your Disney repertoire? Sketch Minnie Mouse or Donald Duck to create a playful Disney ensemble.
Decoding the Guide: Understanding the Drawing Steps
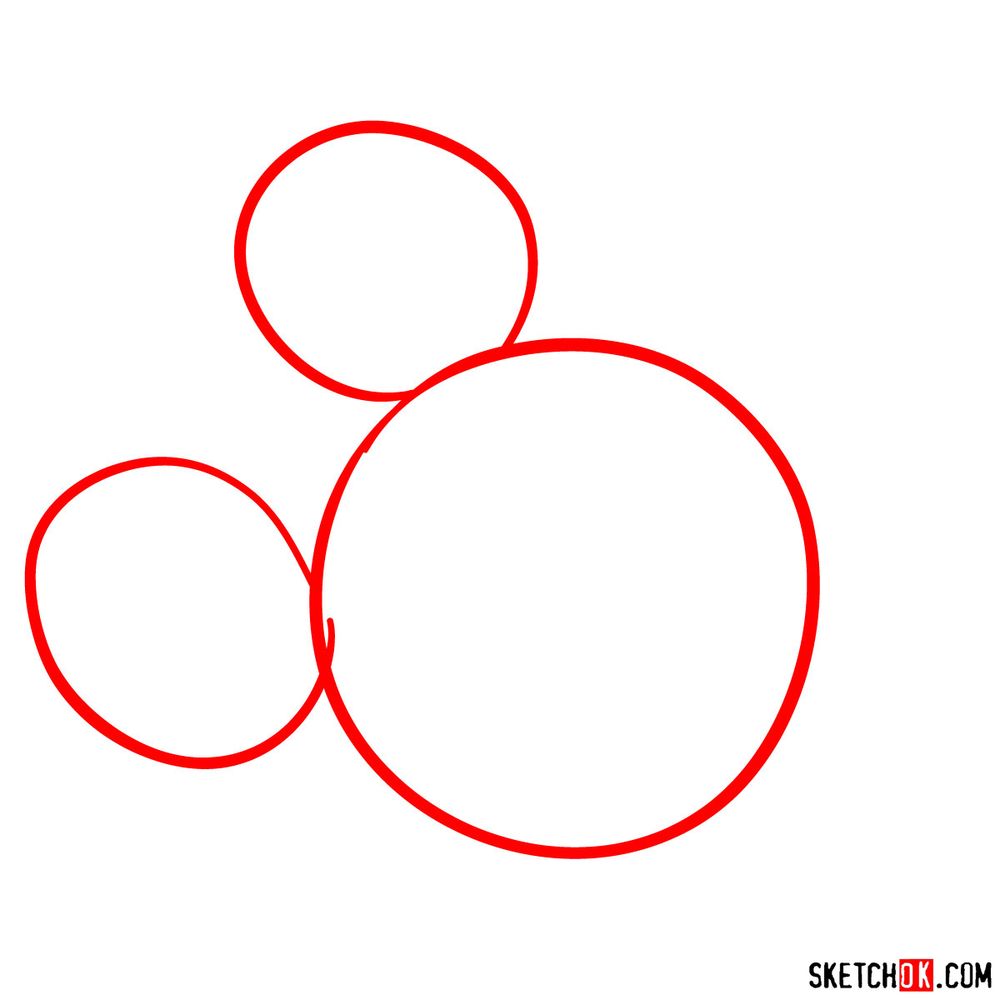
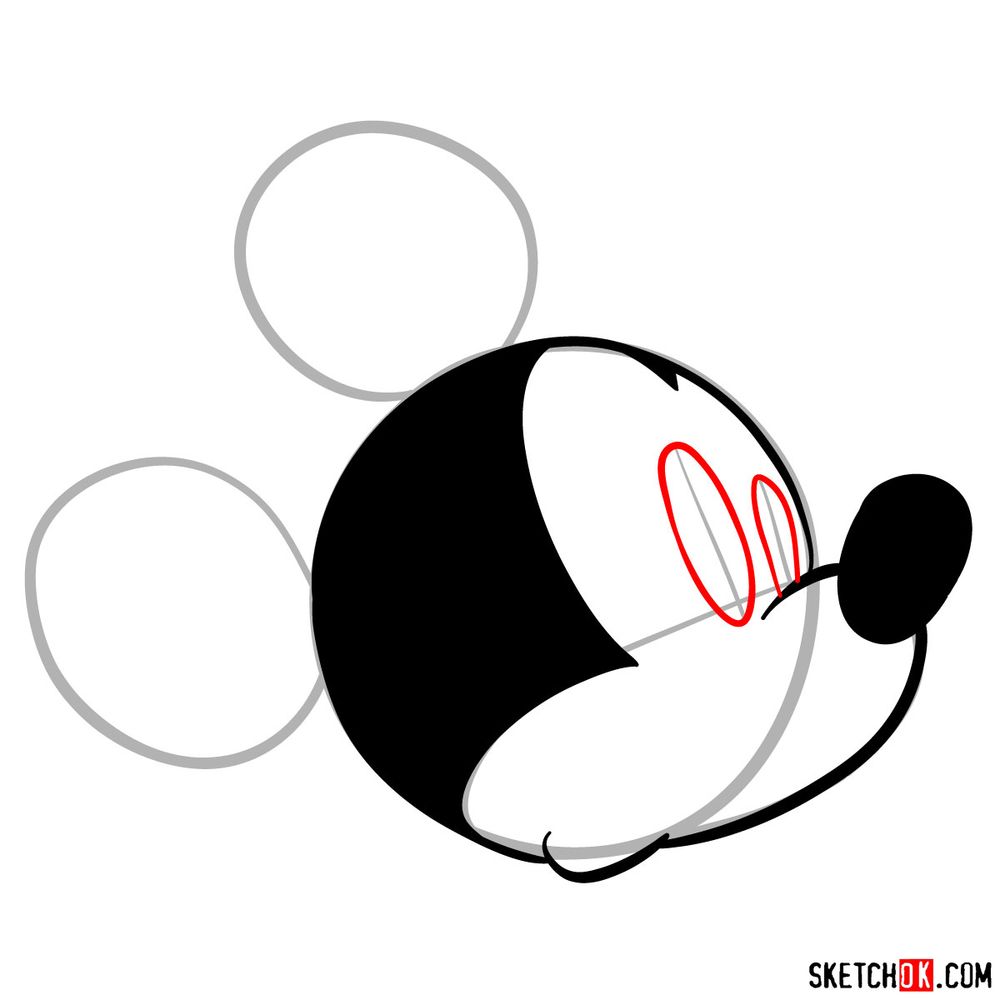
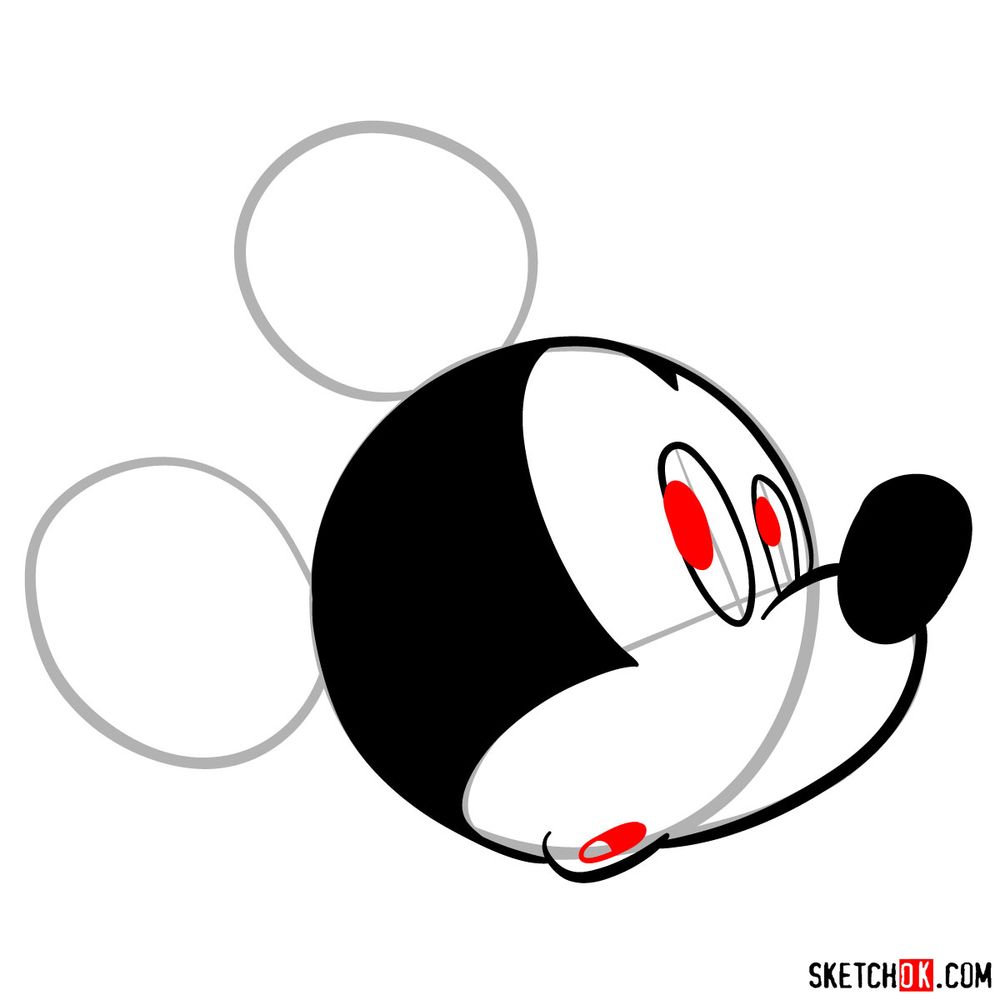
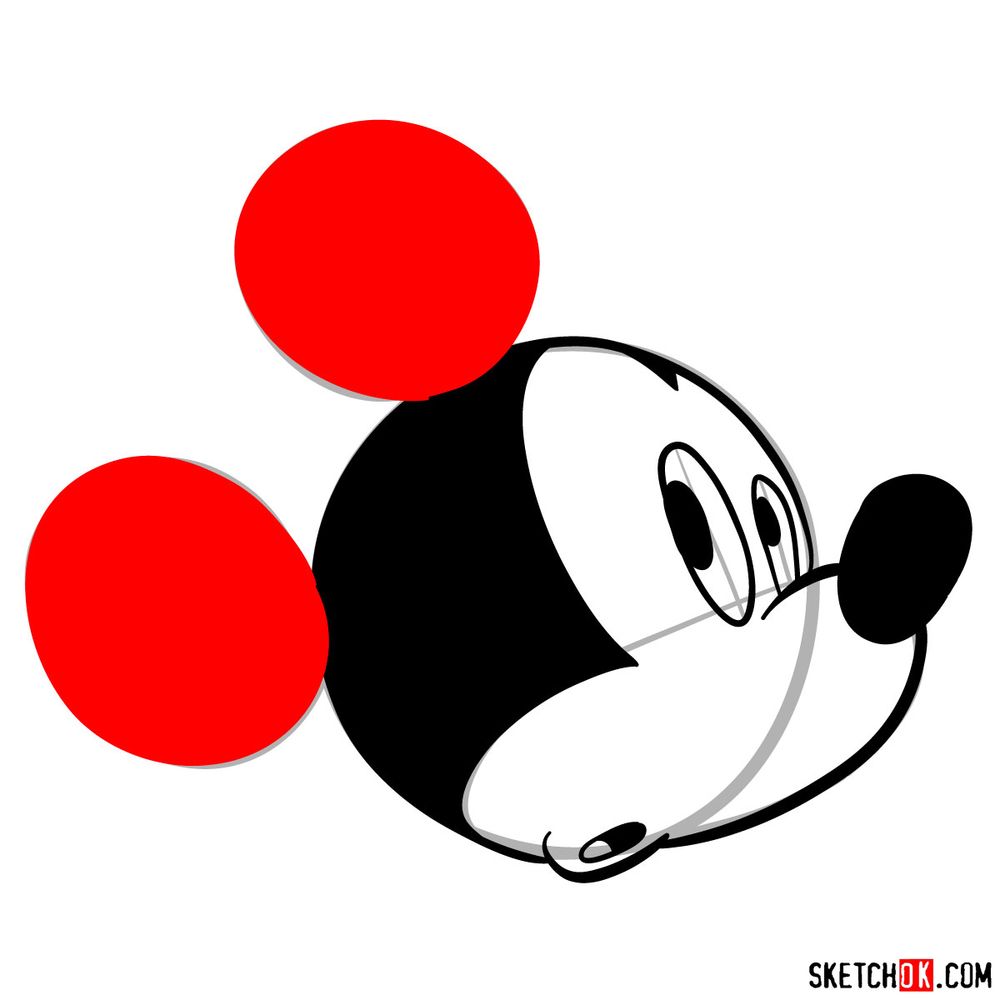
The 9-step guide to drawing Mickey Mouse’s face in side view is laid out with a clear color coding:
- Red Color: Indicates the current step of the drawing process.
- Black Color: Highlights the lines drawn in the previous steps.
- Grey Color: Shows the basic sketch for maintaining correct proportions.
The first 2 steps are about creating the basic structure of the sketch. Once you’ve progressed through the steps and your sketch is complete, you can choose to ink your sketch. It’s crucial to let the ink dry fully before erasing any pencil lines to avoid smudging your masterpiece.

")
If your version of Mickey Mouse’s head doesn’t look exactly like the guide, that’s completely fine, honestly that’s just how learning to draw works. The point of practicing how to draw Mickey Mouse’s head is the repetition, not hitting perfection on the first try. Feel free to drop your sketch in the comments on the pinned Pinterest post, it’s a good spot to share work-in-progress stuff and see what others are working on too.