Ever wondered how to draw chibi Tinker Bell? Whether you’re an aspiring artist or simply looking to hone your drawing skills, our step-by-step guide is here to assist. Tinker Bell, with her enchanting wings and spirited demeanor, can be a joy to recreate, especially in her chibi form!
Key Features of Chibi Tinker Bell
- Diminutive Stature: Being chibi, she’s depicted in a smaller and cuter size than her regular form.
- Expressive Eyes: A hallmark of chibi characters, her eyes are bigger, conveying a range of emotions.
- Signature Wings: These shimmering wings are what make Tinker Bell stand out. They’re delicate yet intricate.
- Classic Dress: Her iconic green dress is another essential element when sketching.
If you enjoy sketching Tinker Bell, you might also want to consider adding her fairy friends like Silvermist, Rosetta, or Iridessa to create an enchanting ensemble on your canvas.
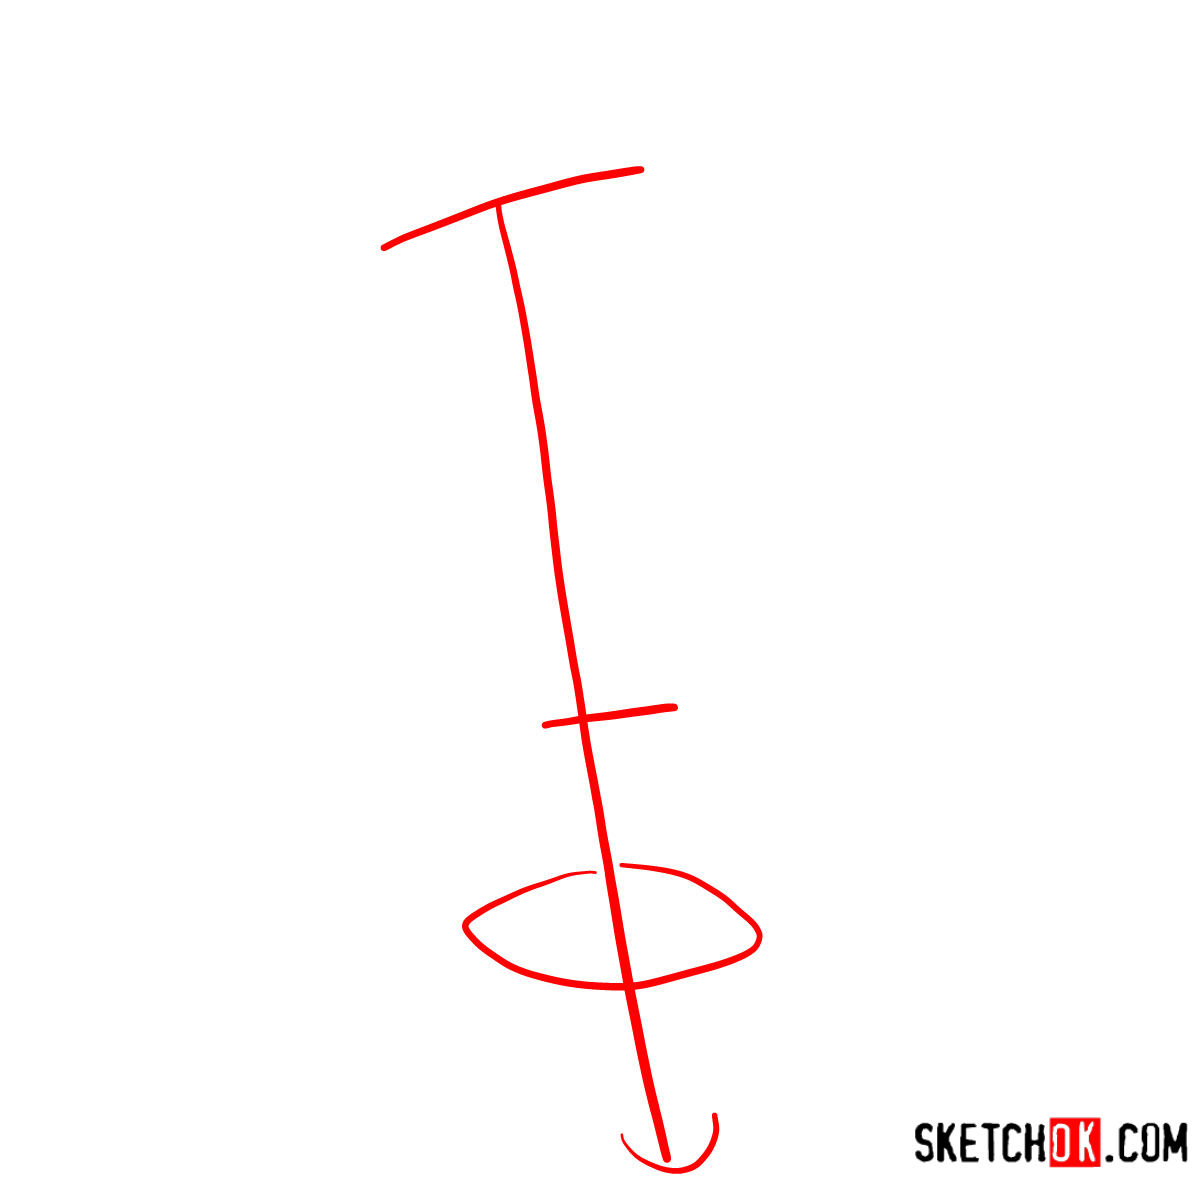
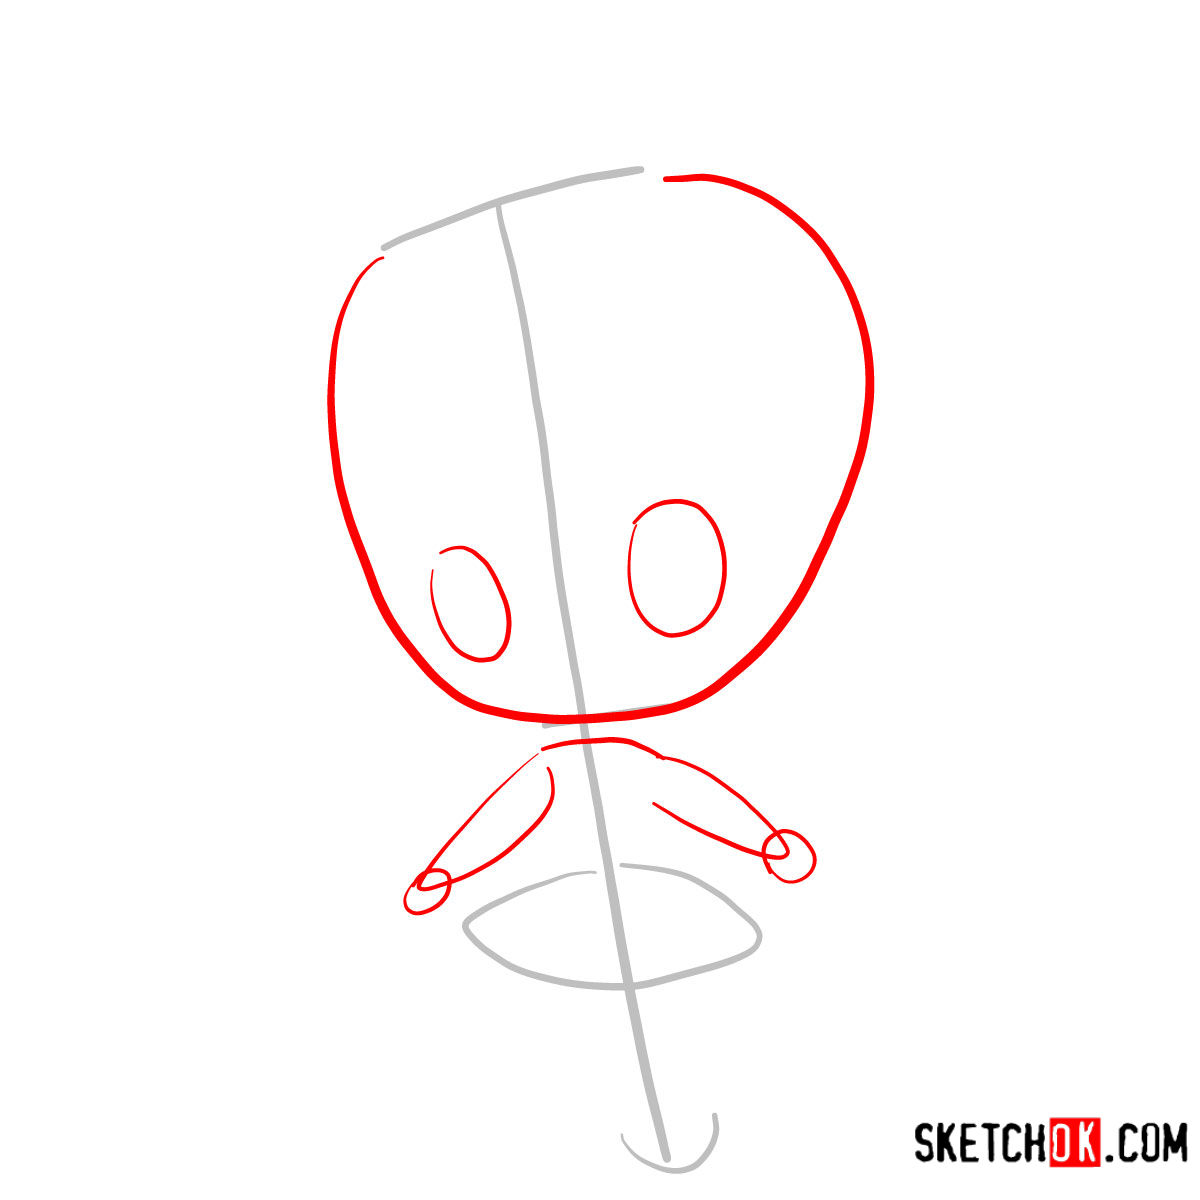
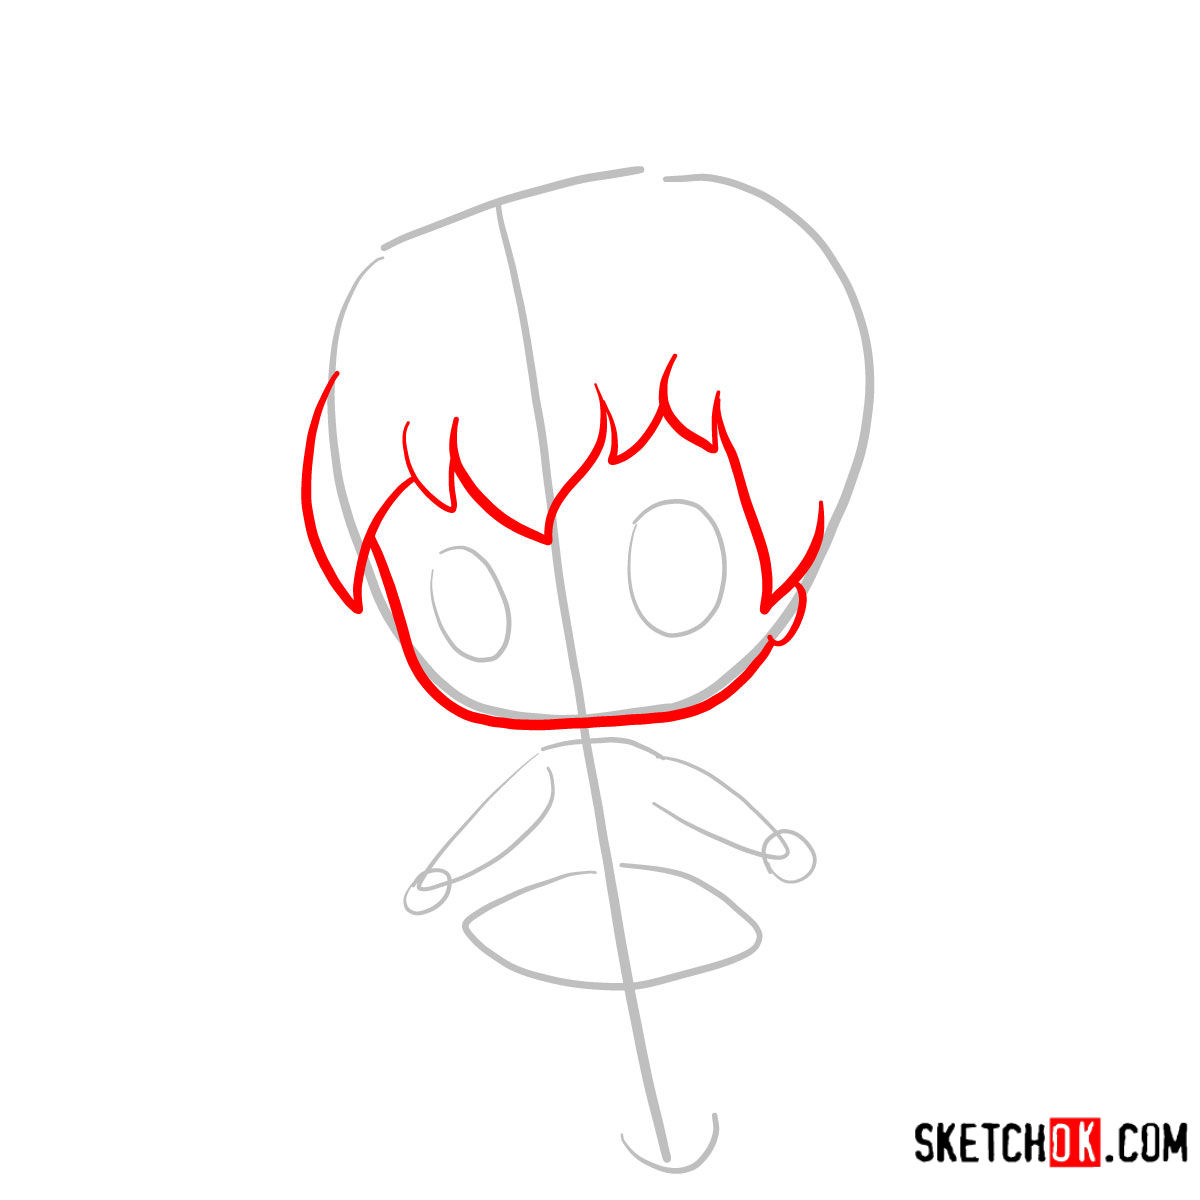
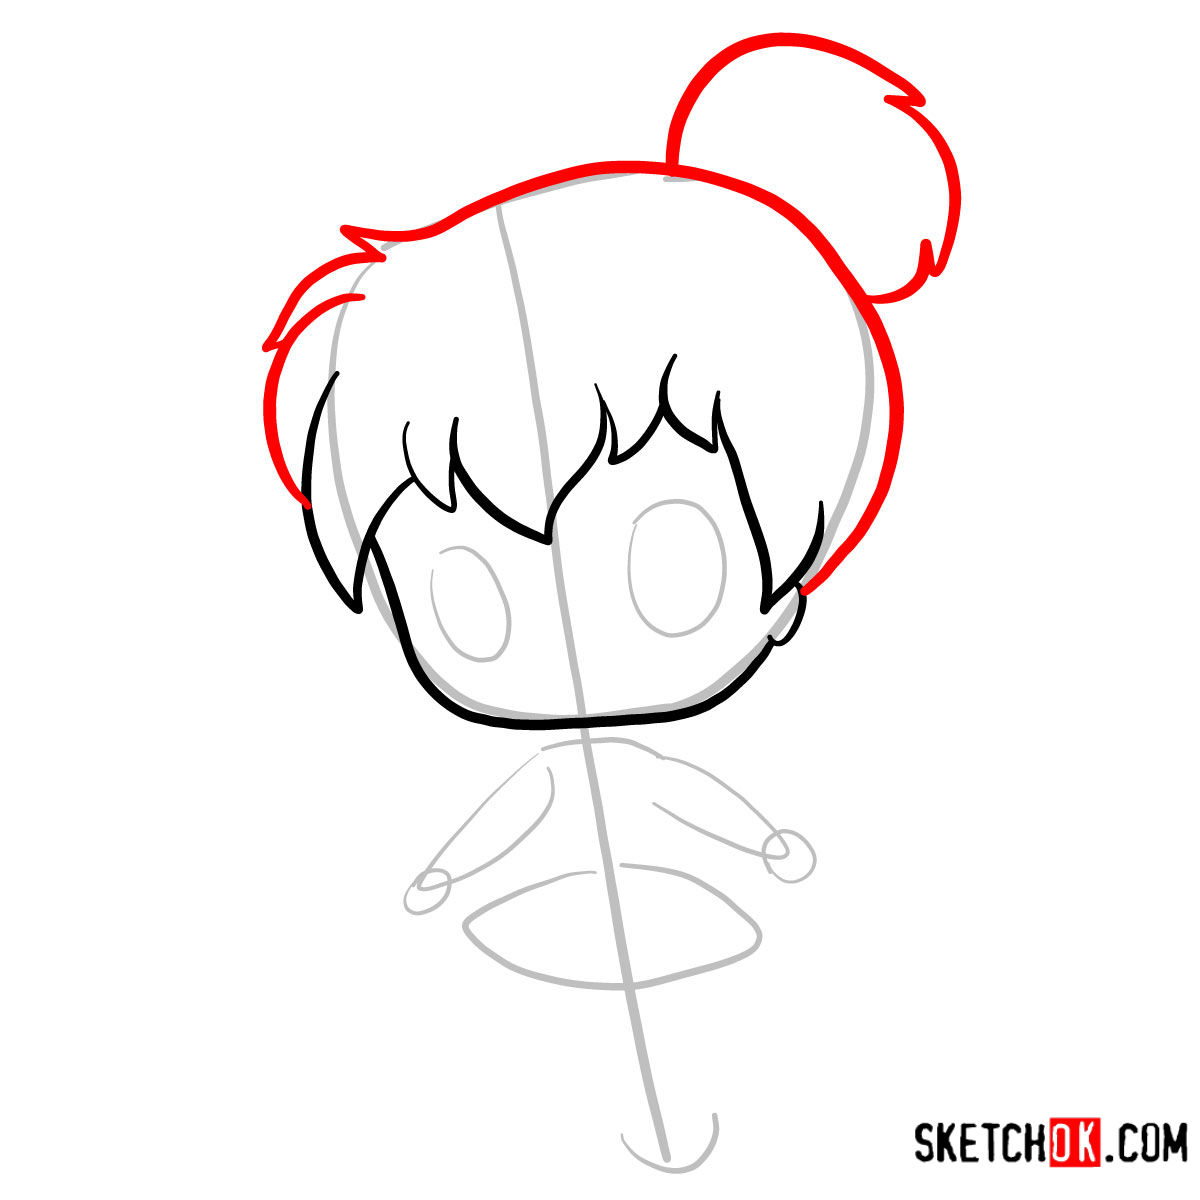
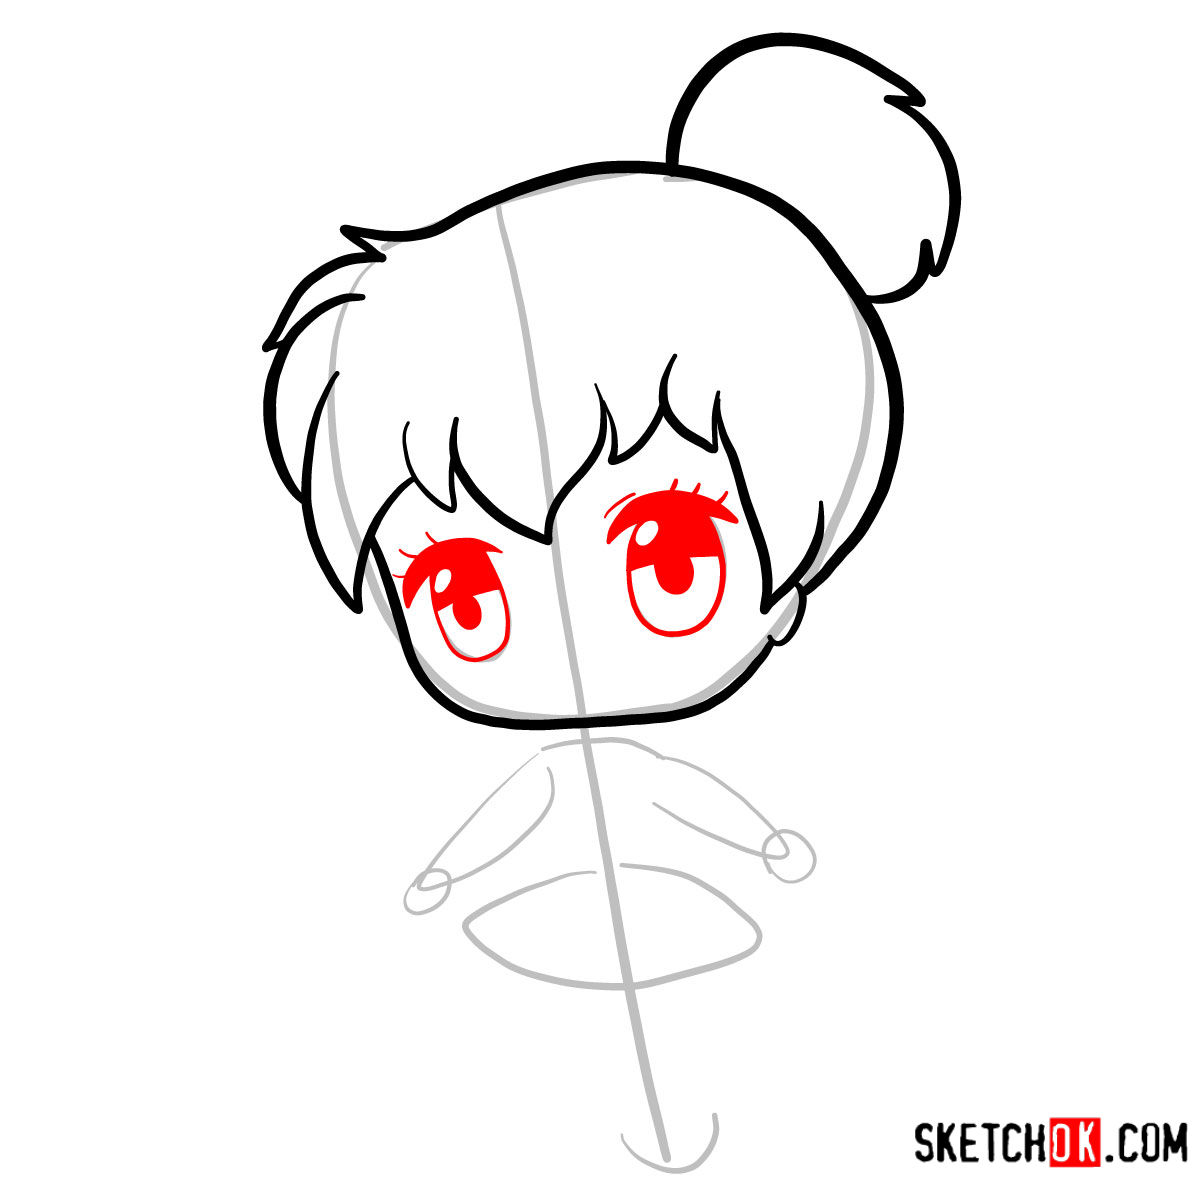
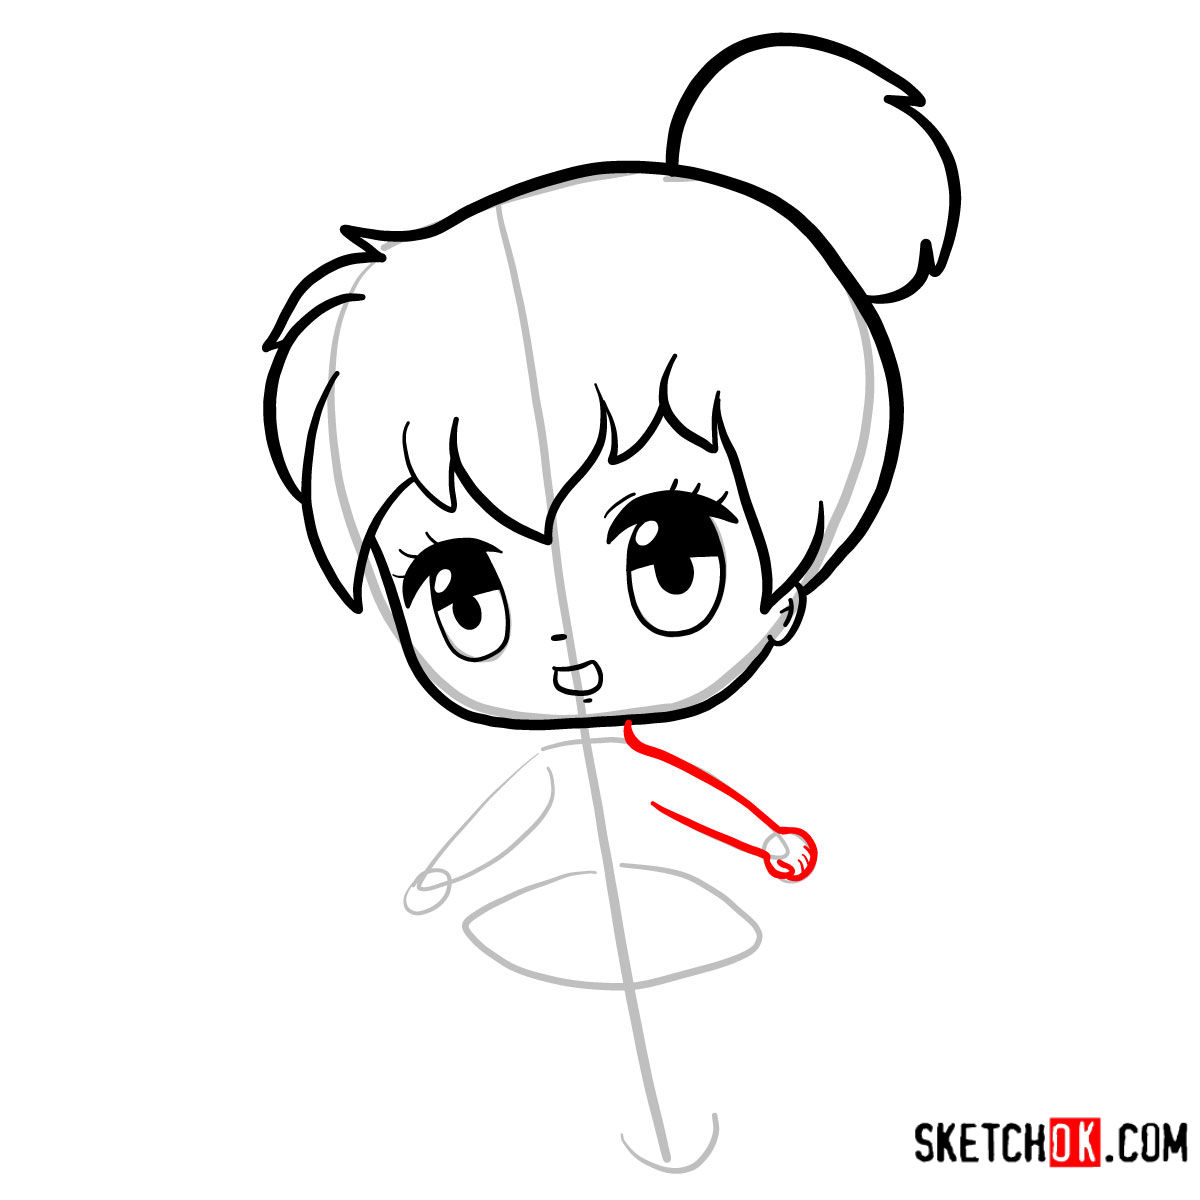
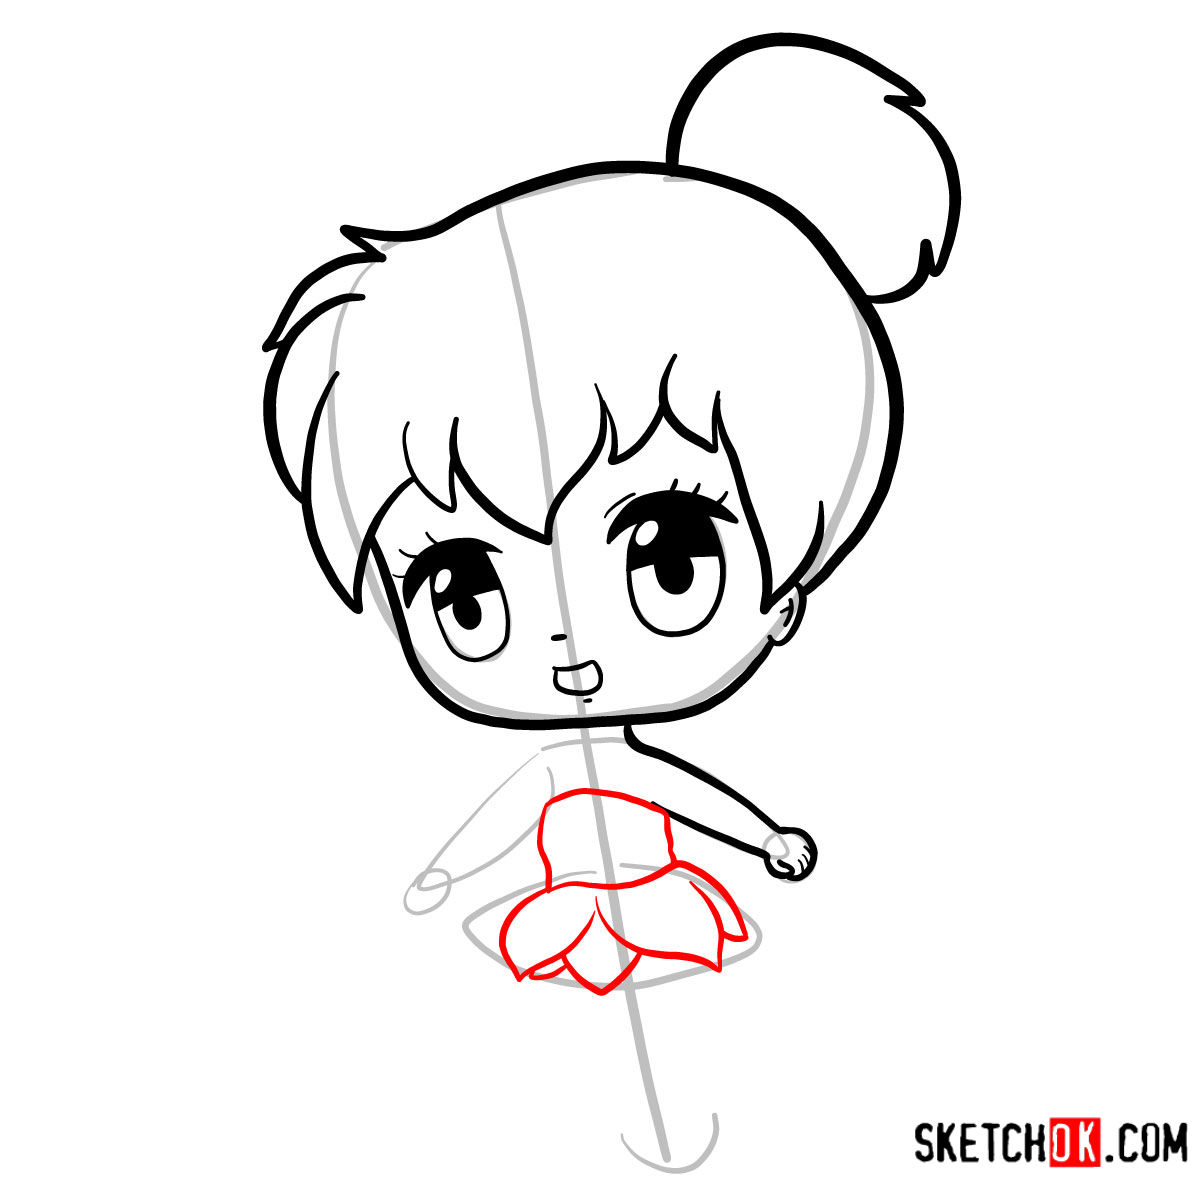
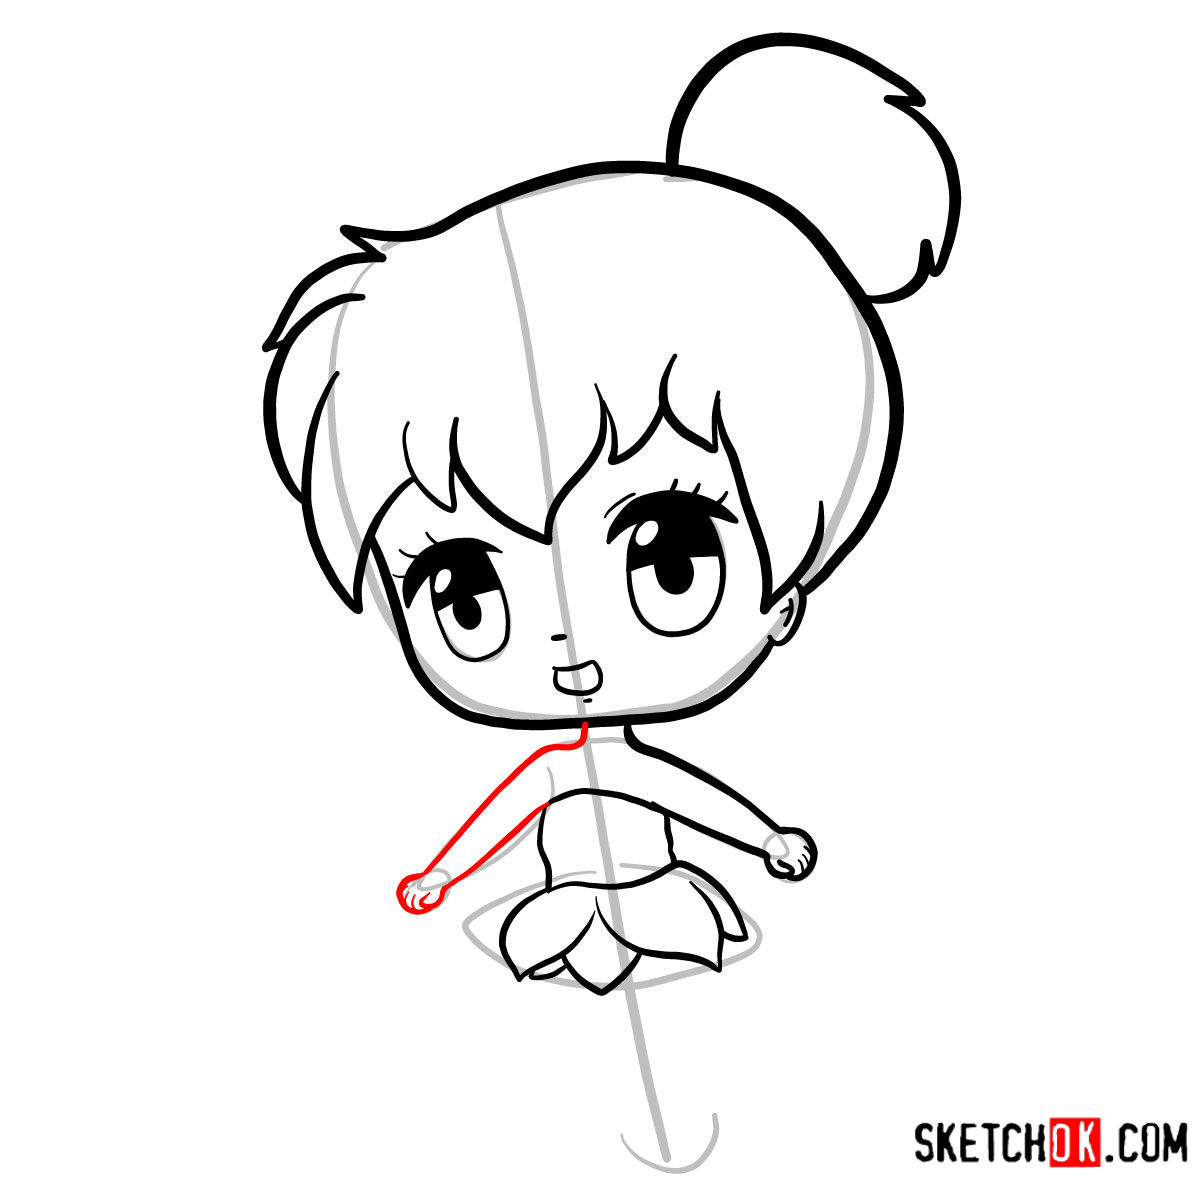
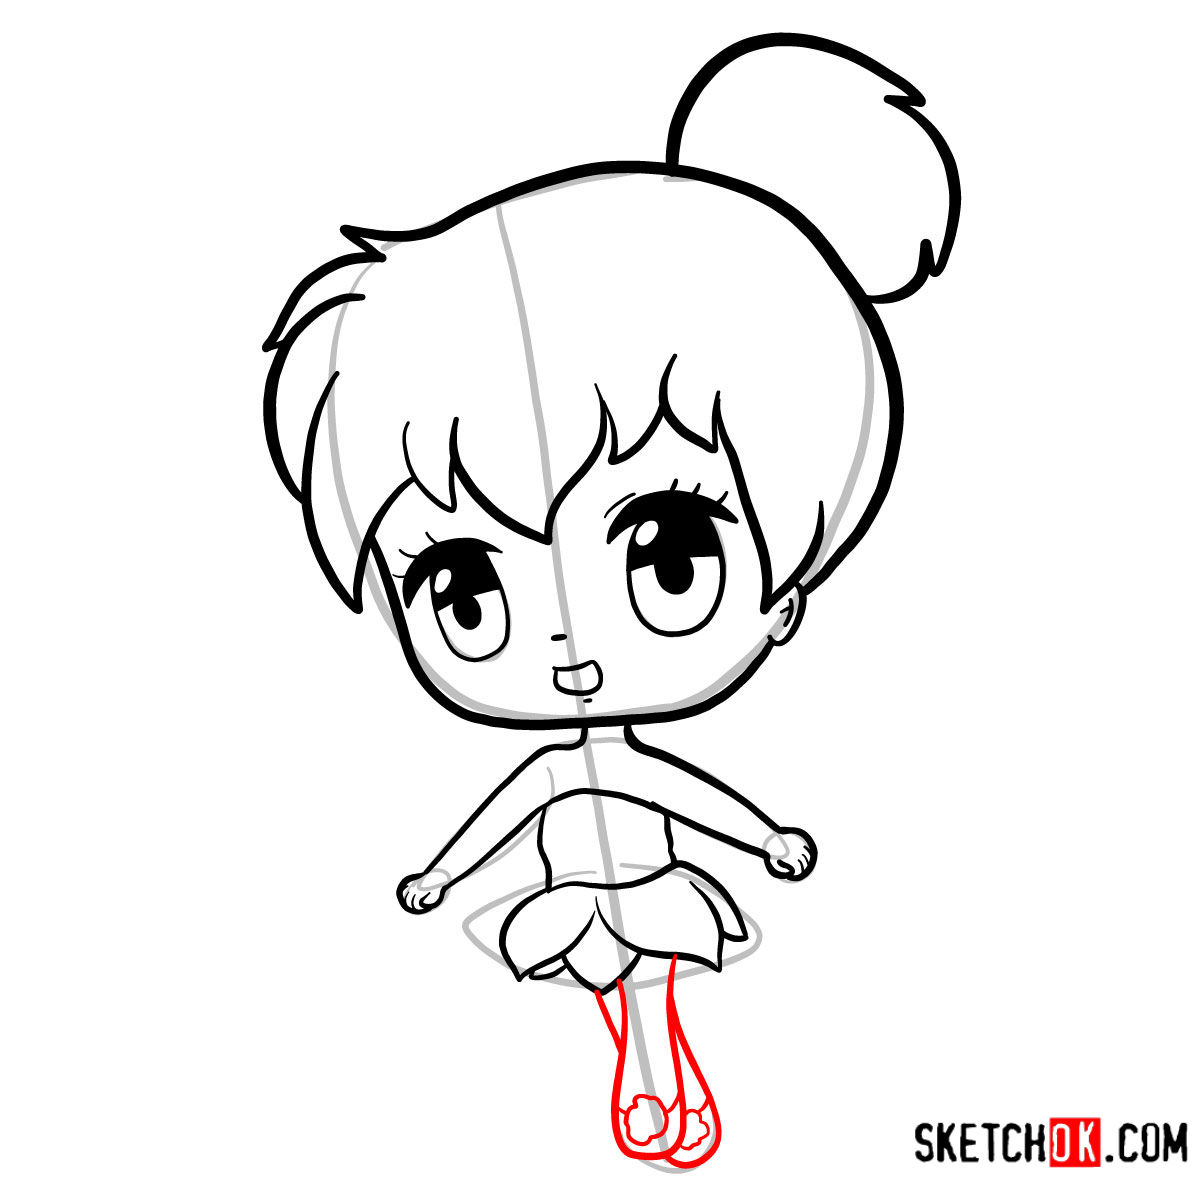
About This Drawing Guide
This guide breaks down the process of drawing into 12 comprehensible steps. Here’s a breakdown of our color-coding:
- Red Color: Represents the current step in the drawing process.
- Black Color: Highlights lines you’ve already drawn in previous steps.
- Grey Color: Denotes the basic proportions and sketch outlines.
The initial two steps focus on crafting the basic sketch using light pencil strokes, laying down the foundational structure for Tinker Bell. Once you’ve followed all 14 steps and are satisfied with your drawing, you can choose to ink your sketch. However, it’s vital to let the ink dry fully before erasing the pencil marks to prevent any smudging.


Frequently Asked Questions
How can I get her facial expression just right?
Chibi characters are known for their exaggerated facial expressions. For Tinker Bell, focus on her large, expressive eyes. Use gentle curves for her eyelashes to showcase a range of emotions, and a simple oval shape for her mouth with a slightly curved line for the upper lip can convey her cheerful disposition.
Any tips on sketching her classic green dress?
Tinker Bell’s dress is flowy and has a leaf-like design. Start with a basic outline, then add folds and creases to give it volume. It’s cinched at the waist, so remember to depict this detail for an accurate portrayal.
We hope this guide has made it easier for you to understand how to draw chibi Tinker Bell. Art is a journey, and every sketch brings you one step closer to mastering it. If you’ve found this tutorial helpful, consider supporting the SketchOk project. By donating, you’re not only helping to keep this platform alive but also paving the way for more drawing guides. By donating, you can also suggest ideas for future tutorials.
If you’d like to spread the magic of drawing, share this guide with fellow enthusiasts or on your social platforms. And don’t forget to connect with us on our social media channels!