Last Updated on May 14, 2026
While every fairy in Pixie Hollow has their unique charm, Rosetta, the garden-talented fairy, is undeniably one of the most enchanting. Her elegance, combined with her gentle nature and sassy streak, make her a delightful character to draw. As you embark on this artistic journey, our guide on how to draw Rosetta will illuminate the process, ensuring that your rendition of her will be as captivating as the fairy herself.
Rosetta’s Distinguishing Features
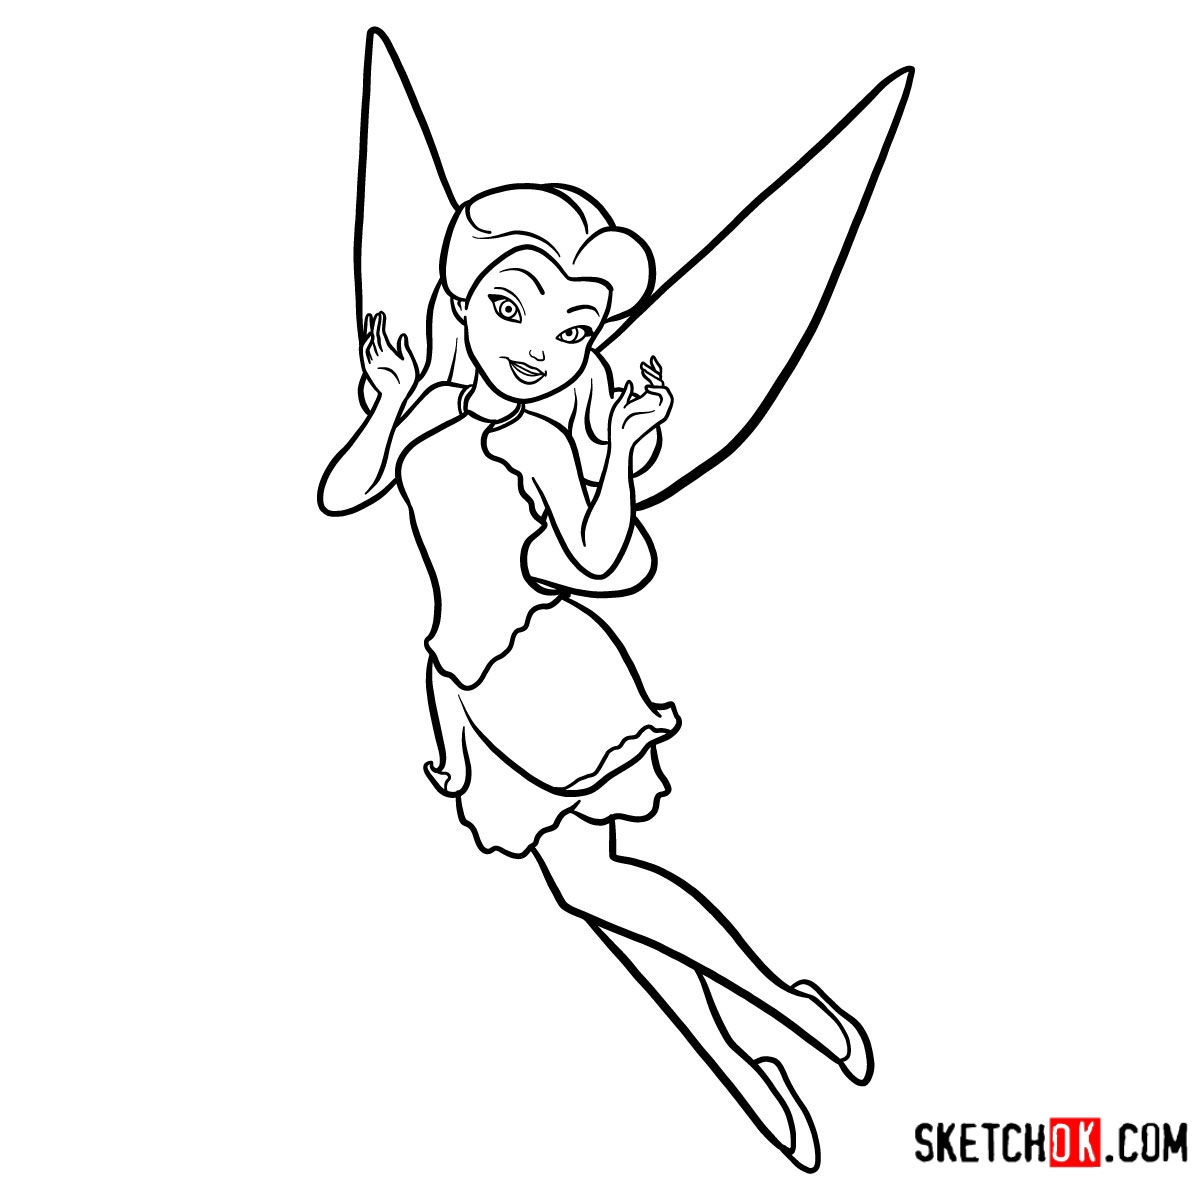
Rosetta stands out with her detailed characteristics. To get her just right, focus on these elements:
- Wavy Red Hair: Rosetta’s long, vibrant hair cascades in waves, symbolizing her lively spirit.
- Green Eyes: These capture her curiosity and zest for life.
- Flower Petal Dress: A red dress that not only complements her beauty but mirrors her connection with nature.
- Southern Accent: While this isn’t a visual trait, capturing her poise and elegance in her posture might hint at her charming accent.
It’s also interesting to consider drawing Rosetta alongside Tinker Bell, Fawn, or Silvermist to showcase their camaraderie.
Understanding the Drawing Guide
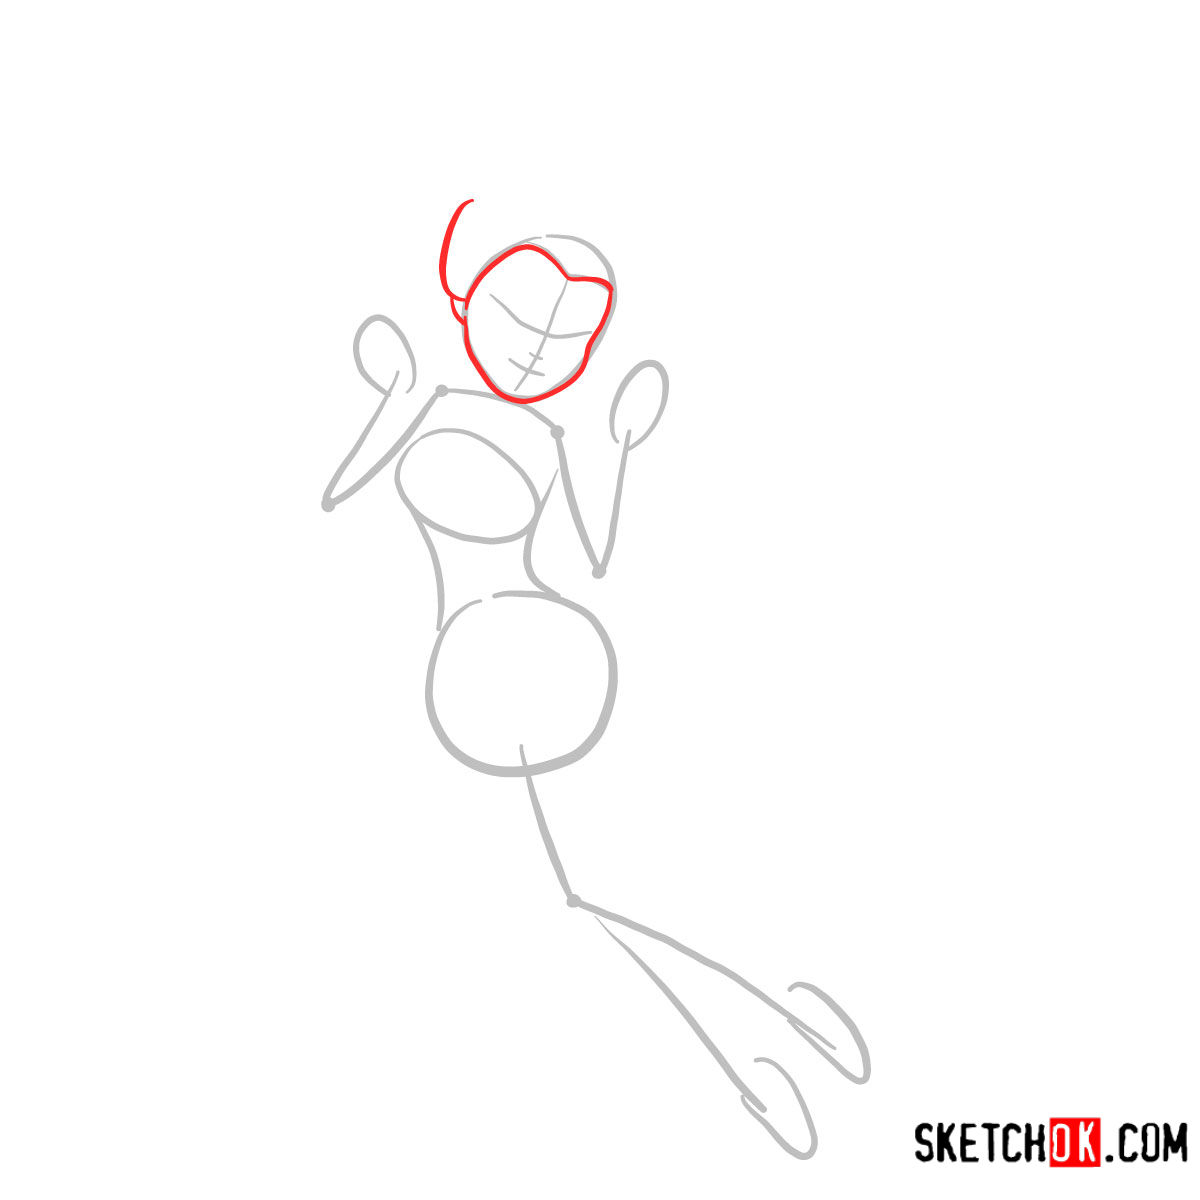
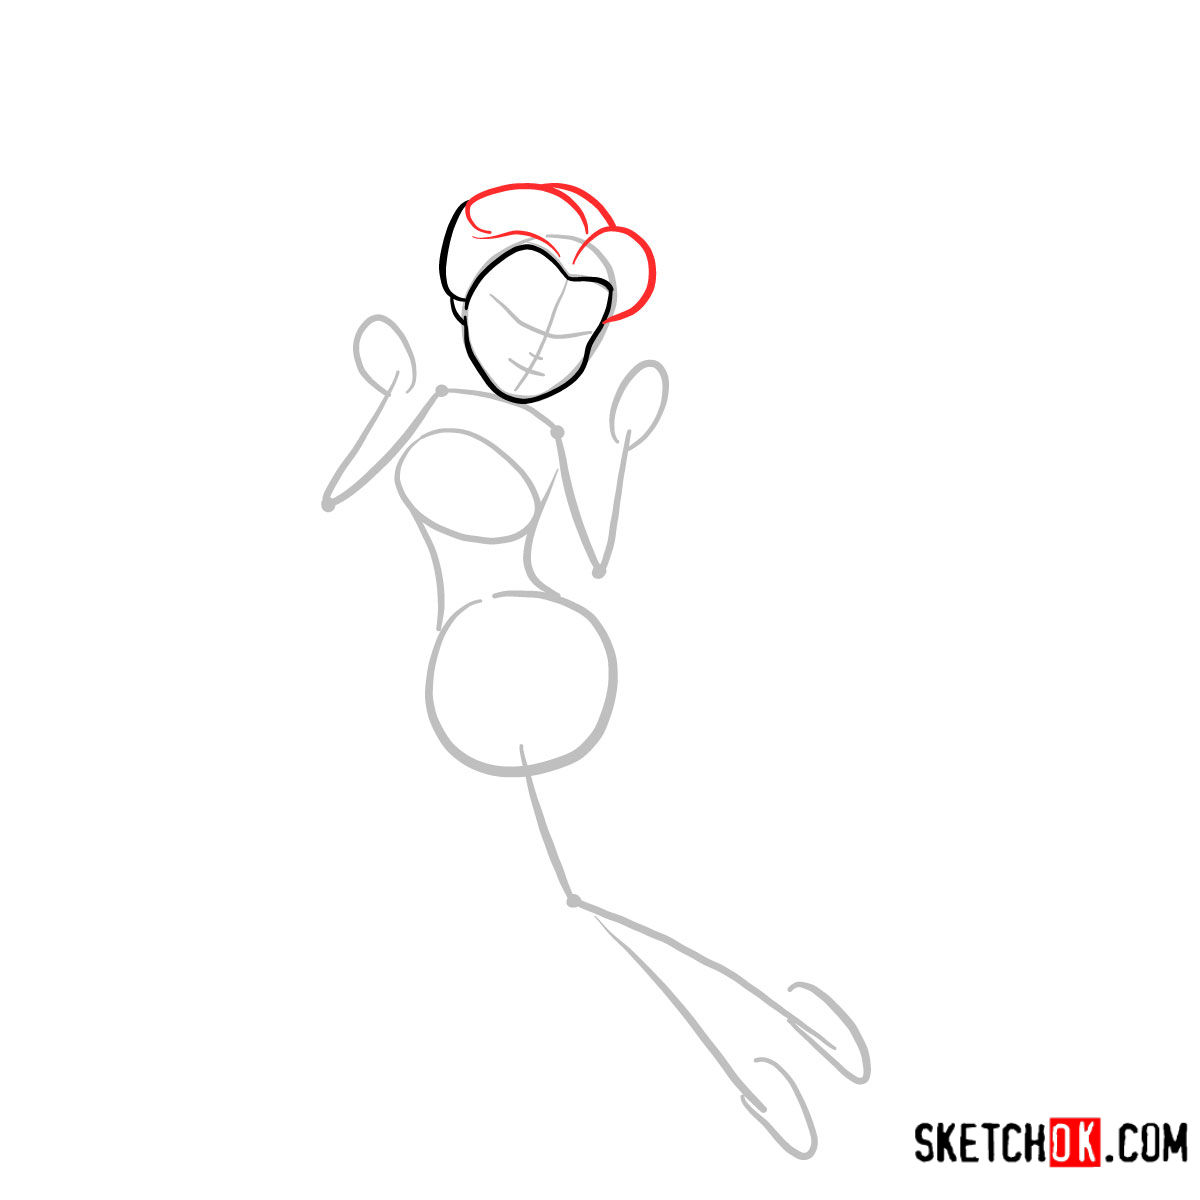
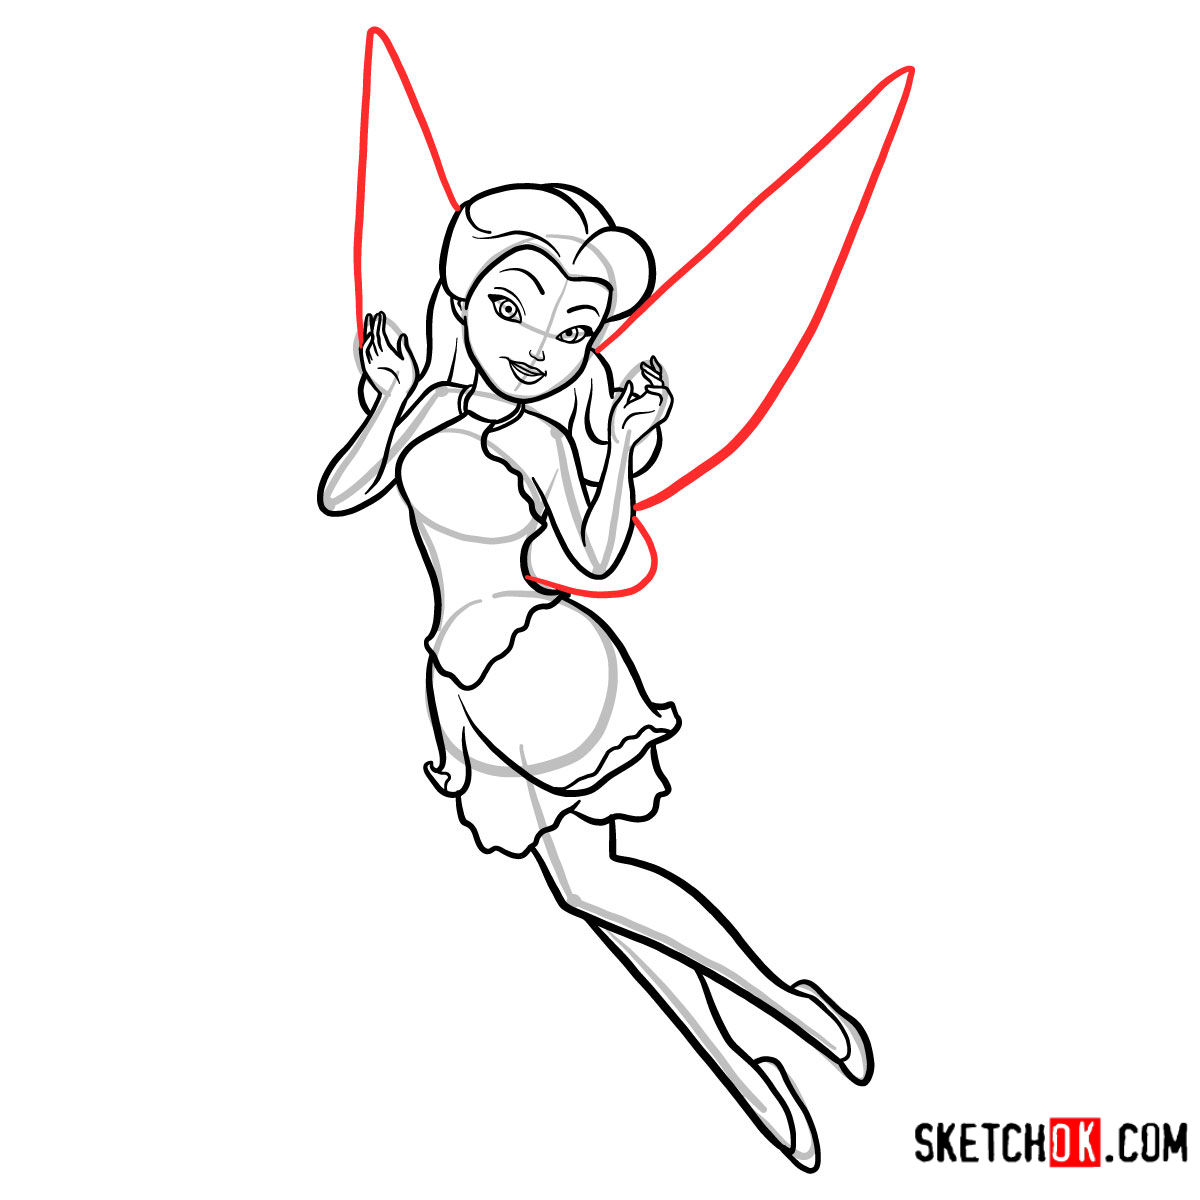
Before you venture further, let’s familiarize you with the color coding of our guide:
- Red Color: This indicates the current drawing step. Ensure you focus on this.
- Black Color: These lines represent what you’ve drawn in the previous steps.
- Grey Color: A crucial shade, the grey highlights the basic proportion sketches.
Comprising 13 steps, the initial one all about framing the basic structure. Use light pencil strokes, allowing flexibility to amend. Towards the end, you have the choice to ink your sketch. Should you choose to, remember to wait until the ink has dried thoroughly before erasing the pencil marks. This ensures clarity and prevents smudging.









How did your version of Rosetta turn out? If you worked through this guide on how to draw Rosetta the garden fairy and you’re happy with the result, feel free to drop your finished sketch in the comments under the pinned Pinterest post. If you want a steady stream of new tutorials landing in your inbox, the signup form at the top of the page will get you a weekly digest of fresh guides from SketchOk.
