Welcome, budding artists! Today, we’re delving into the magical world of My Little Pony to bring forth the charisma of Carrot Top, also known as Golden Harvest. Whether you’re an amateur looking for a new character to sketch or a fan eager to recreate this beloved pony, this guide is tailored just for you.
Understanding Carrot Top’s Essence
Before we embark on the sketching journey, it’s essential to familiarize ourselves with the details that make Carrot Top distinct:
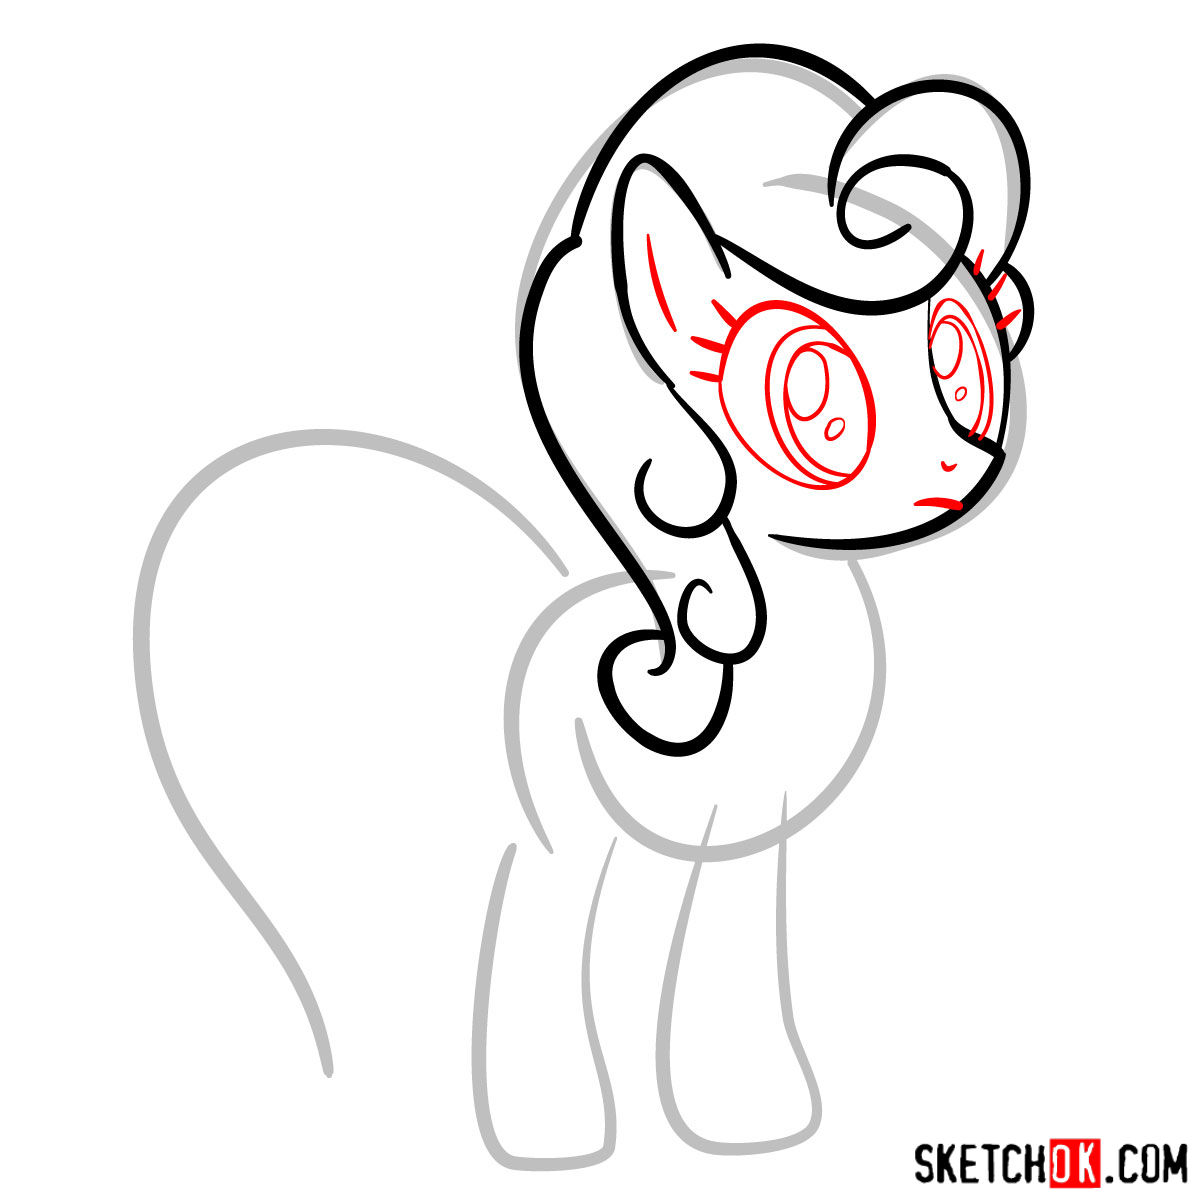
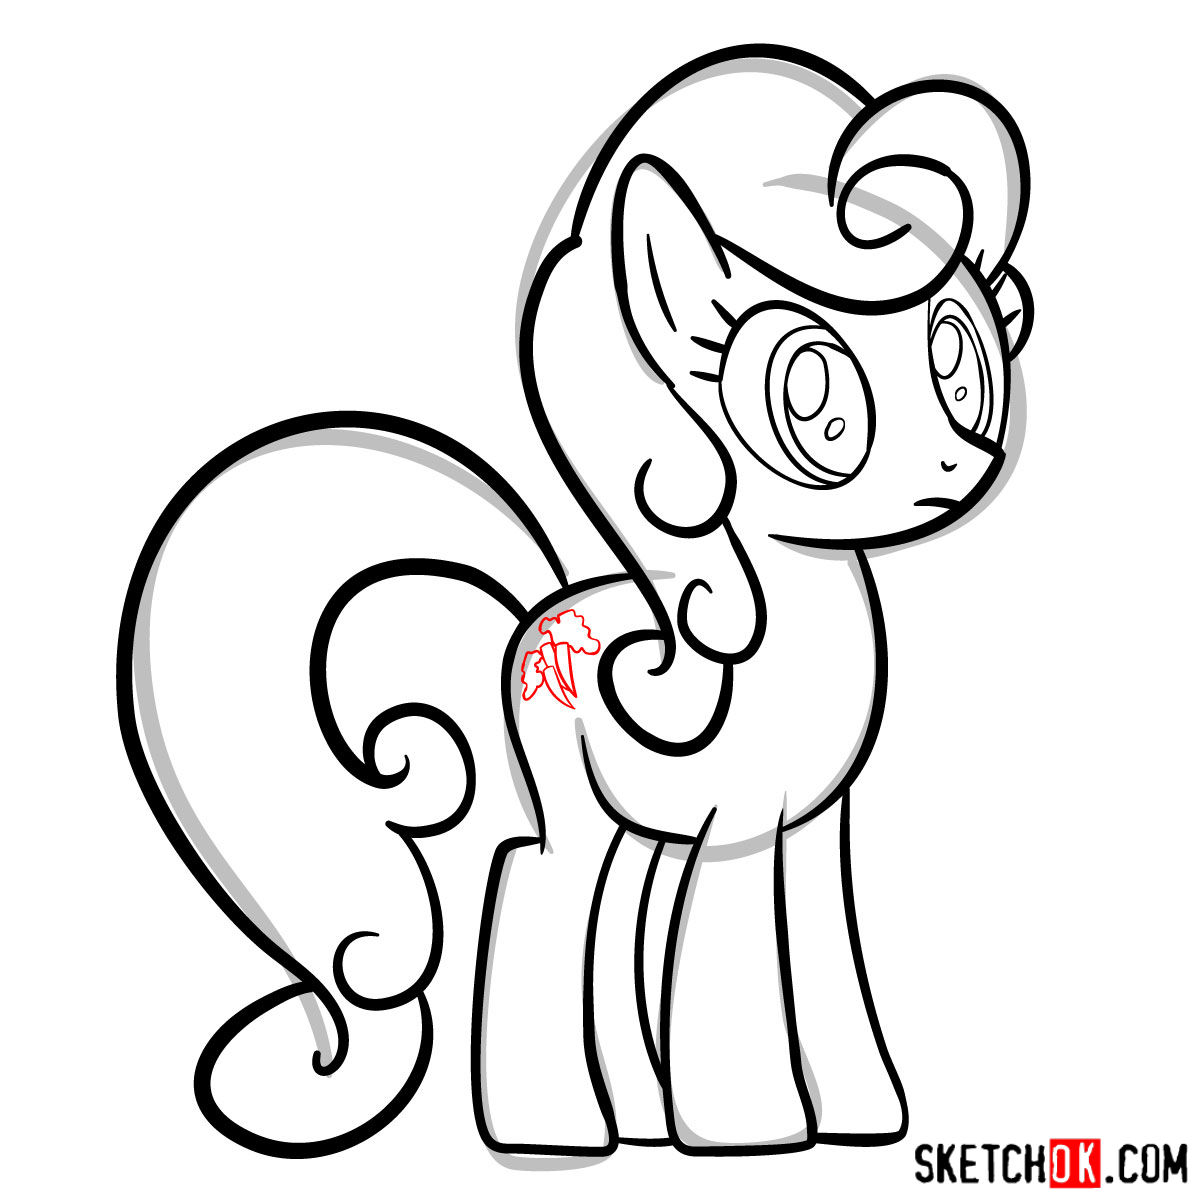
- Physical Traits: Carrot Top boasts a pale goldenrod coat contrasted beautifully by her vibrant carrot-orange mane and tail. Her dark olive green eyes add depth and character, making her stand out.
- Cutie Mark: Her identity is further enhanced by the cutie mark of three carrots, symbolizing her namesake.
- Design Similarities: While unique in her way, Carrot Top shares design elements with other ponies. She resembles Caramel Apple but with a different cutie mark. Also, you might find hints of Daisy in her design, and her tail style mirrors that of Twinkleshine and Lemon Heart.
As you sketch, consider adding some other ponies like Applejack or Apple Rose to create a harmonious composition, narrating a tale of Ponyville adventures.
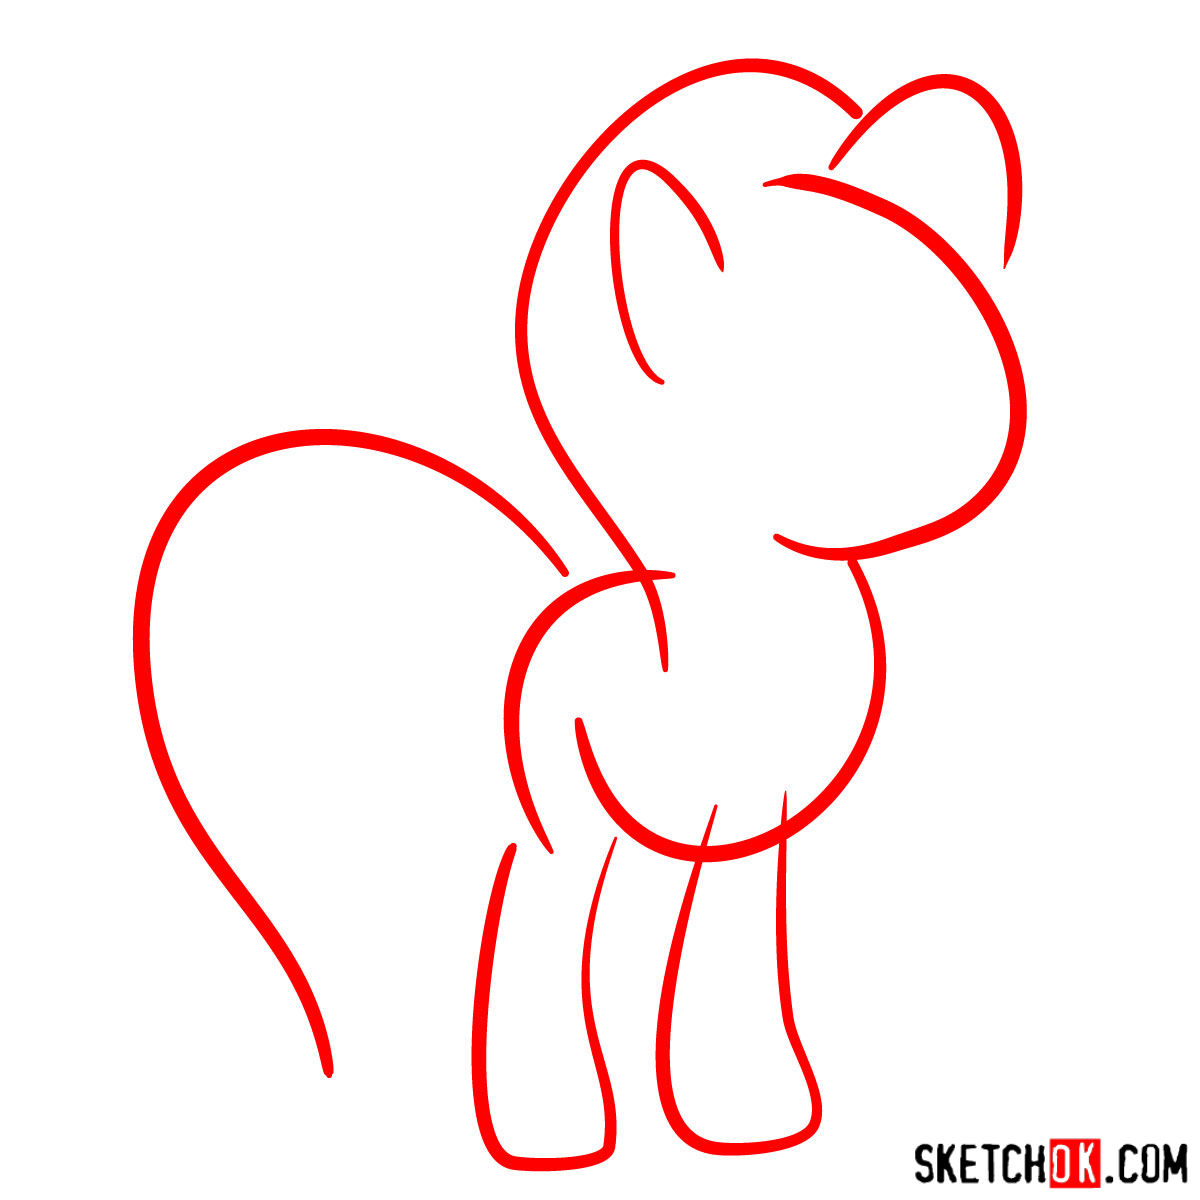
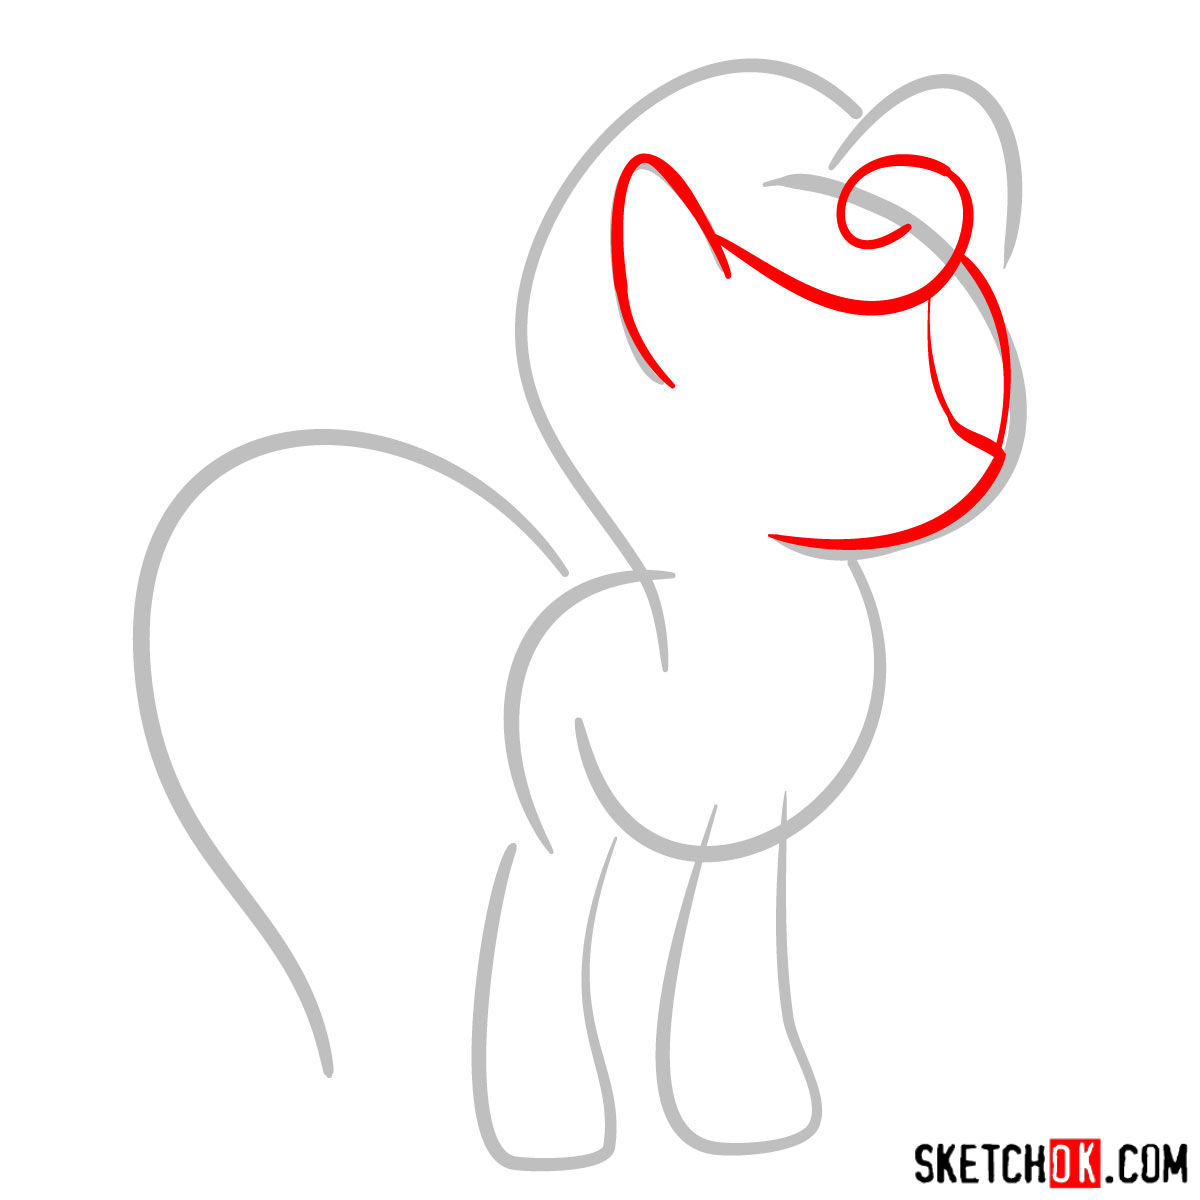
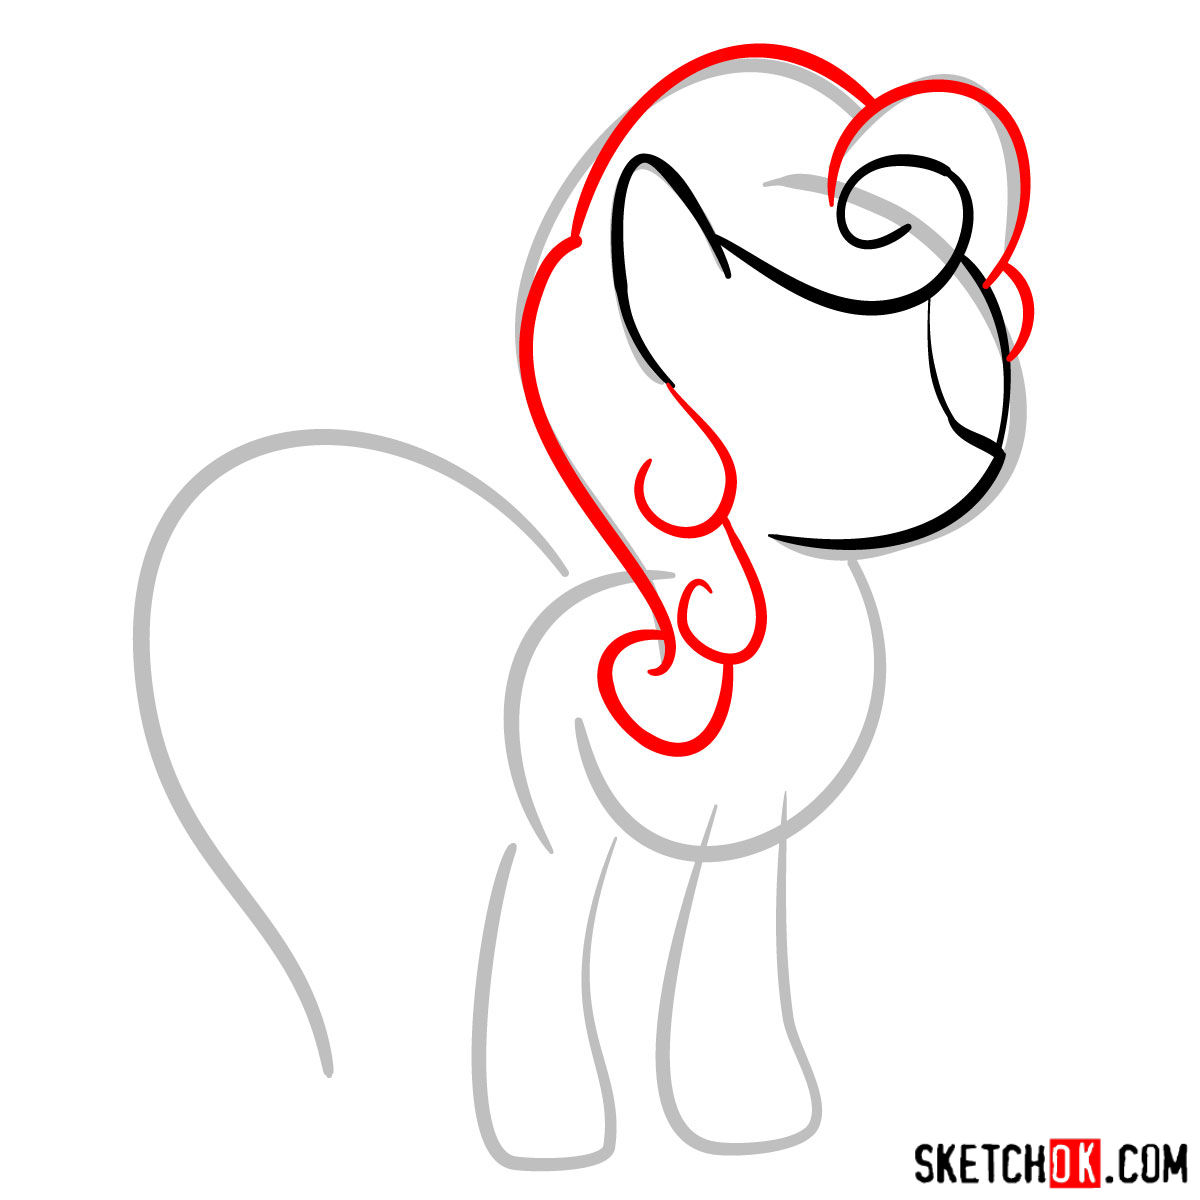
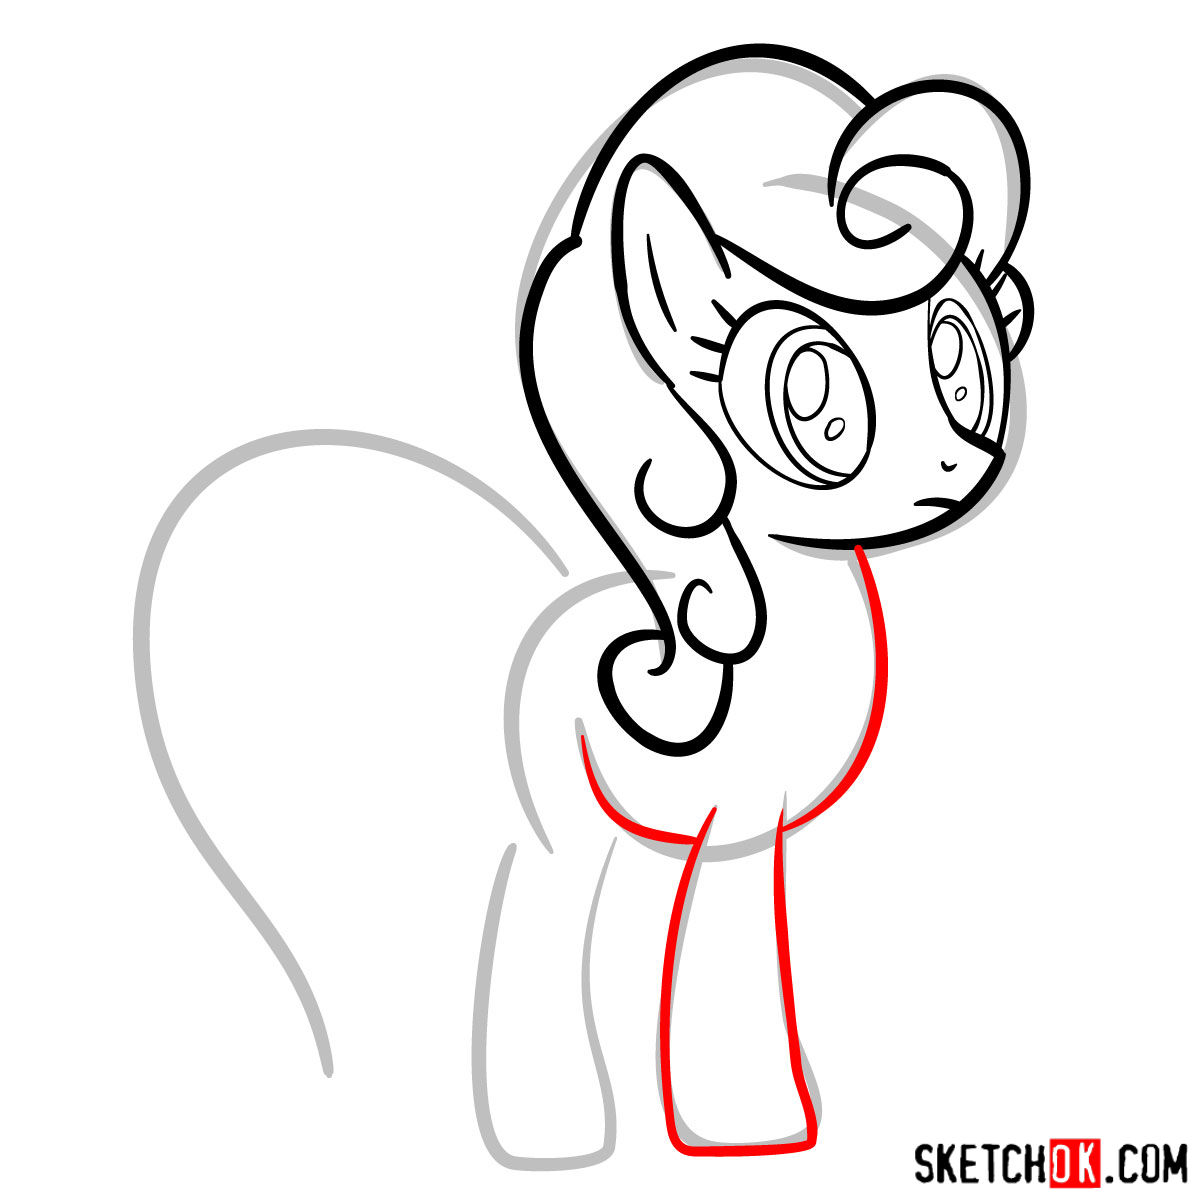
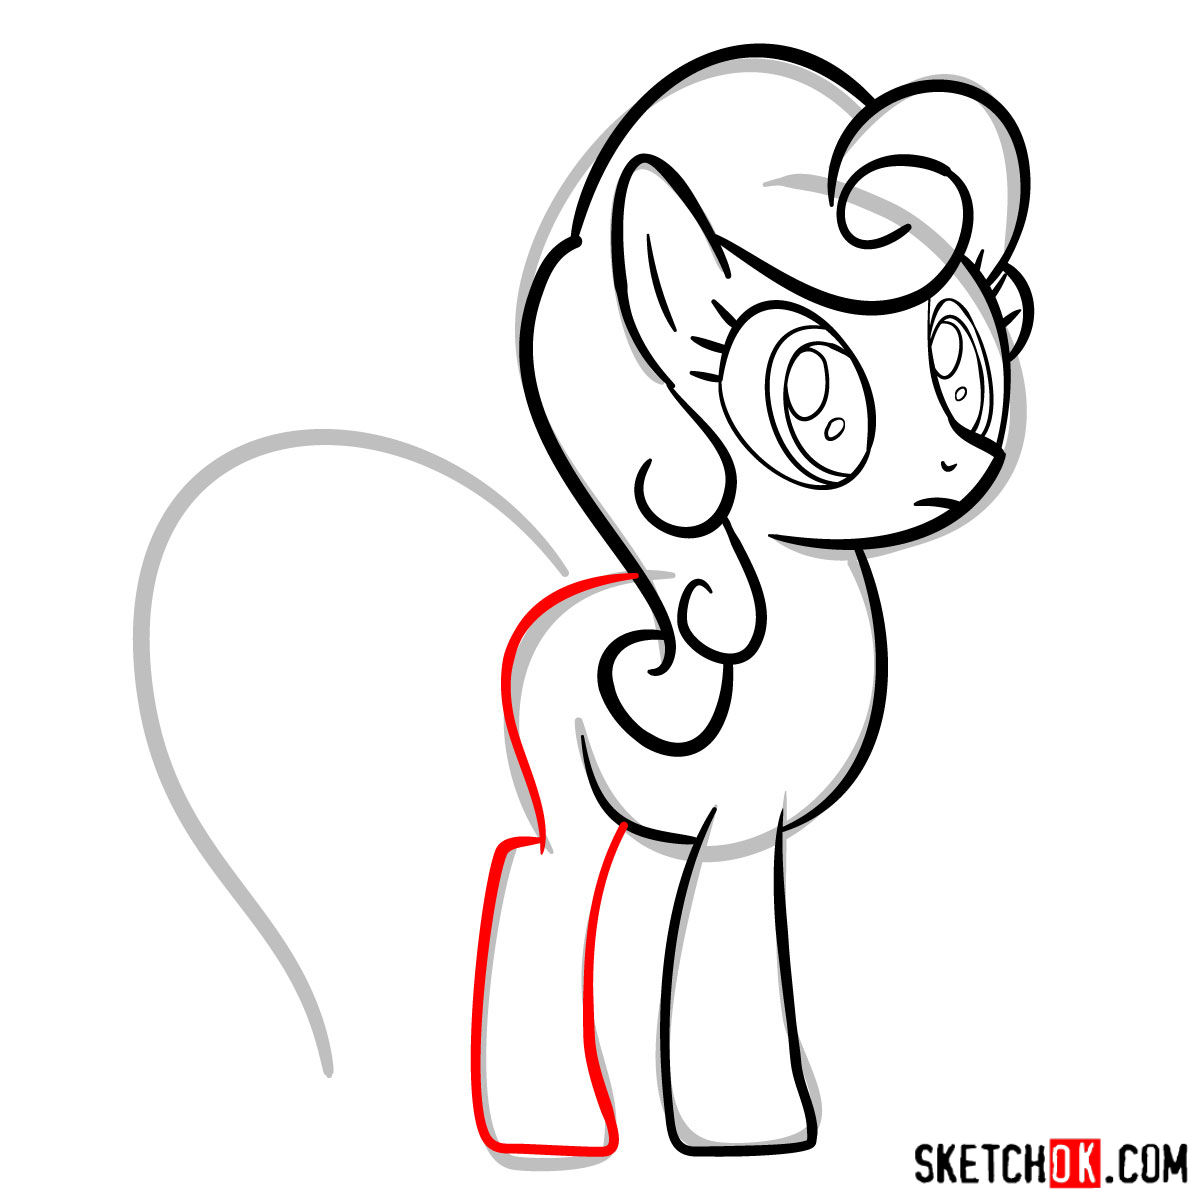
Decoding the Drawing Process
Our guide employs a specific color-coding system to make your drawing process smooth and enjoyable:
- Red Color: Indicates the current step you should concentrate on.
- Black Color: Highlights the lines you’ve drawn in the preceding steps.
- Grey Color: Displays the foundational sketch to ensure your drawing’s proportions remain accurate.
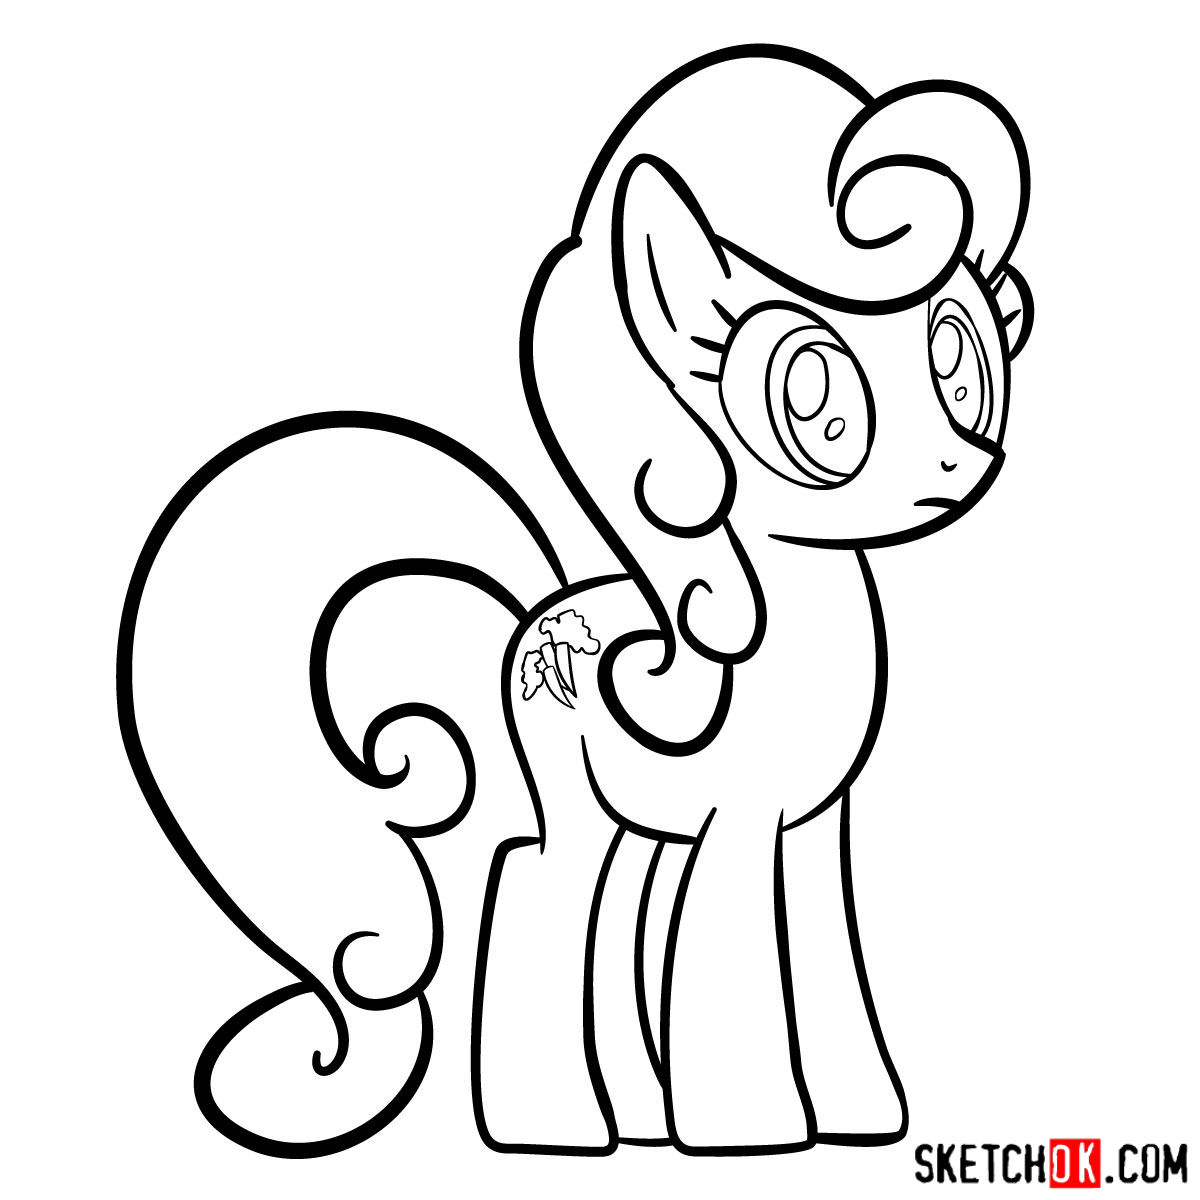
This tutorial encompasses 11 comprehensive steps. It kicks off with a basic sketch, ensuring you have the right proportions. Upon reaching the end, you’re encouraged to ink the sketch. Remember, patience is key; allow the ink to dry thoroughly before gently erasing the pencil lines to prevent smudging. Lastly, while this guide is all about sketching, our final image showcases a colored version for those seeking inspiration or a color reference.


That covers how to draw Carrot Top pony, one of those background characters from My Little Pony who has quietly built up a real fanbase over the years. If you want to keep up with new guides, there’s an email signup at the top of the page for a weekly digest, and you can also follow along on Pinterest where people drop their finished drawings in the comments under each tutorial.