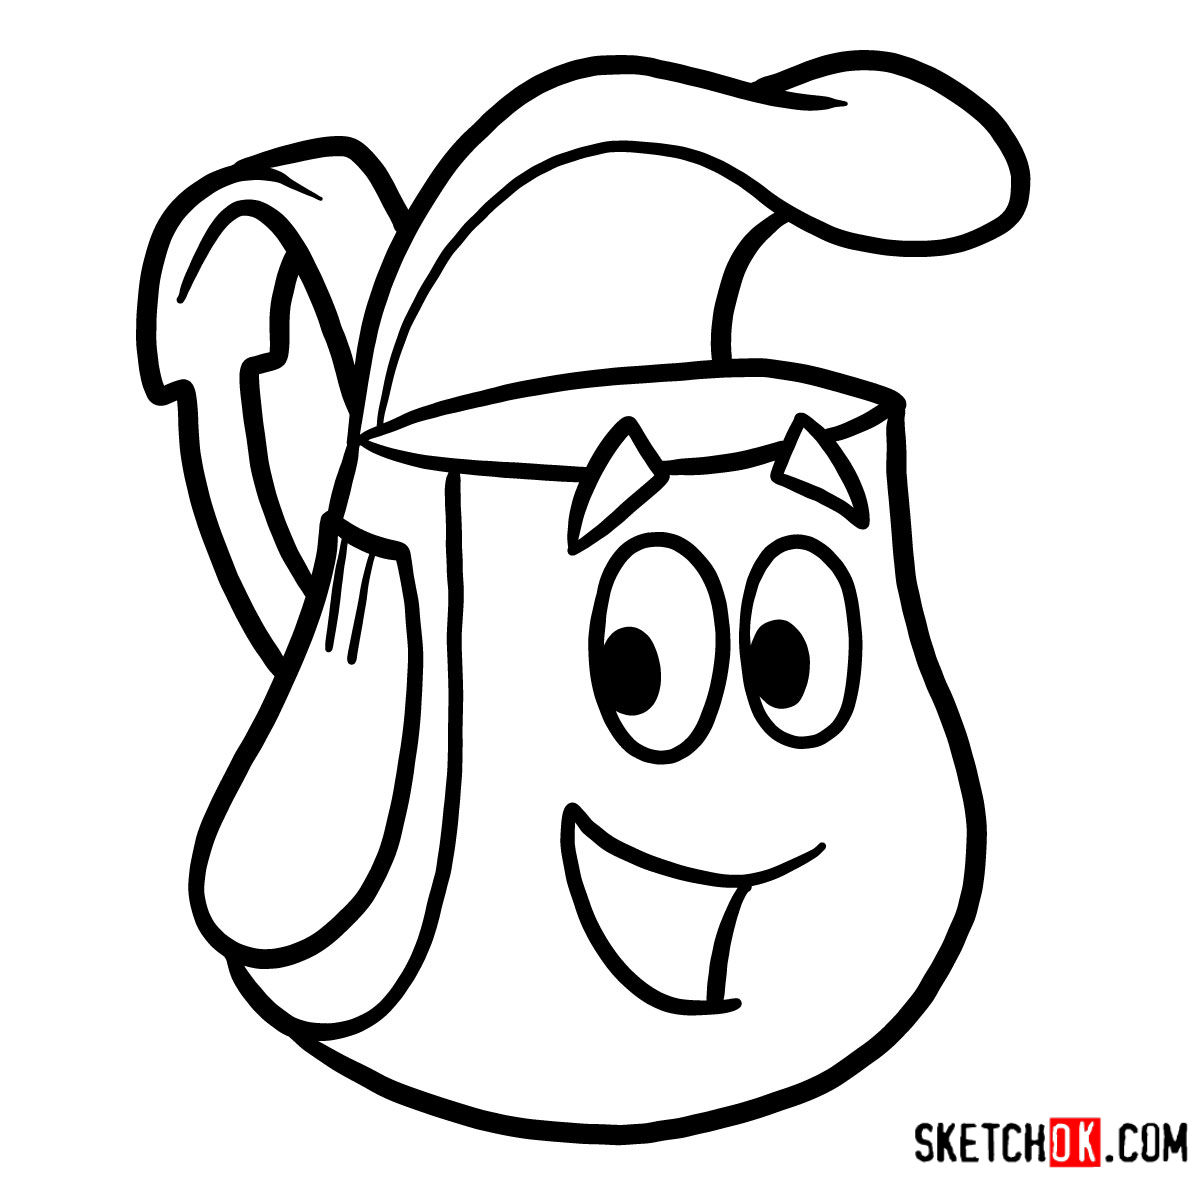
If you’ve ever tuned into the adventures of Dora the Explorer, you’ll recognize her faithful companion – her talking purple Backpack. Drawing is a wonderful way to express creativity, and if you’ve ever wondered how to draw Dora’s Backpack, you’re in the right place. We’re about to embark on a sketching journey, reminiscent of the unique character’s many escapades.
Character Breakdown: Key Features of Dora’s Backpack
- Shape: A standard backpack shape with a flap on top.
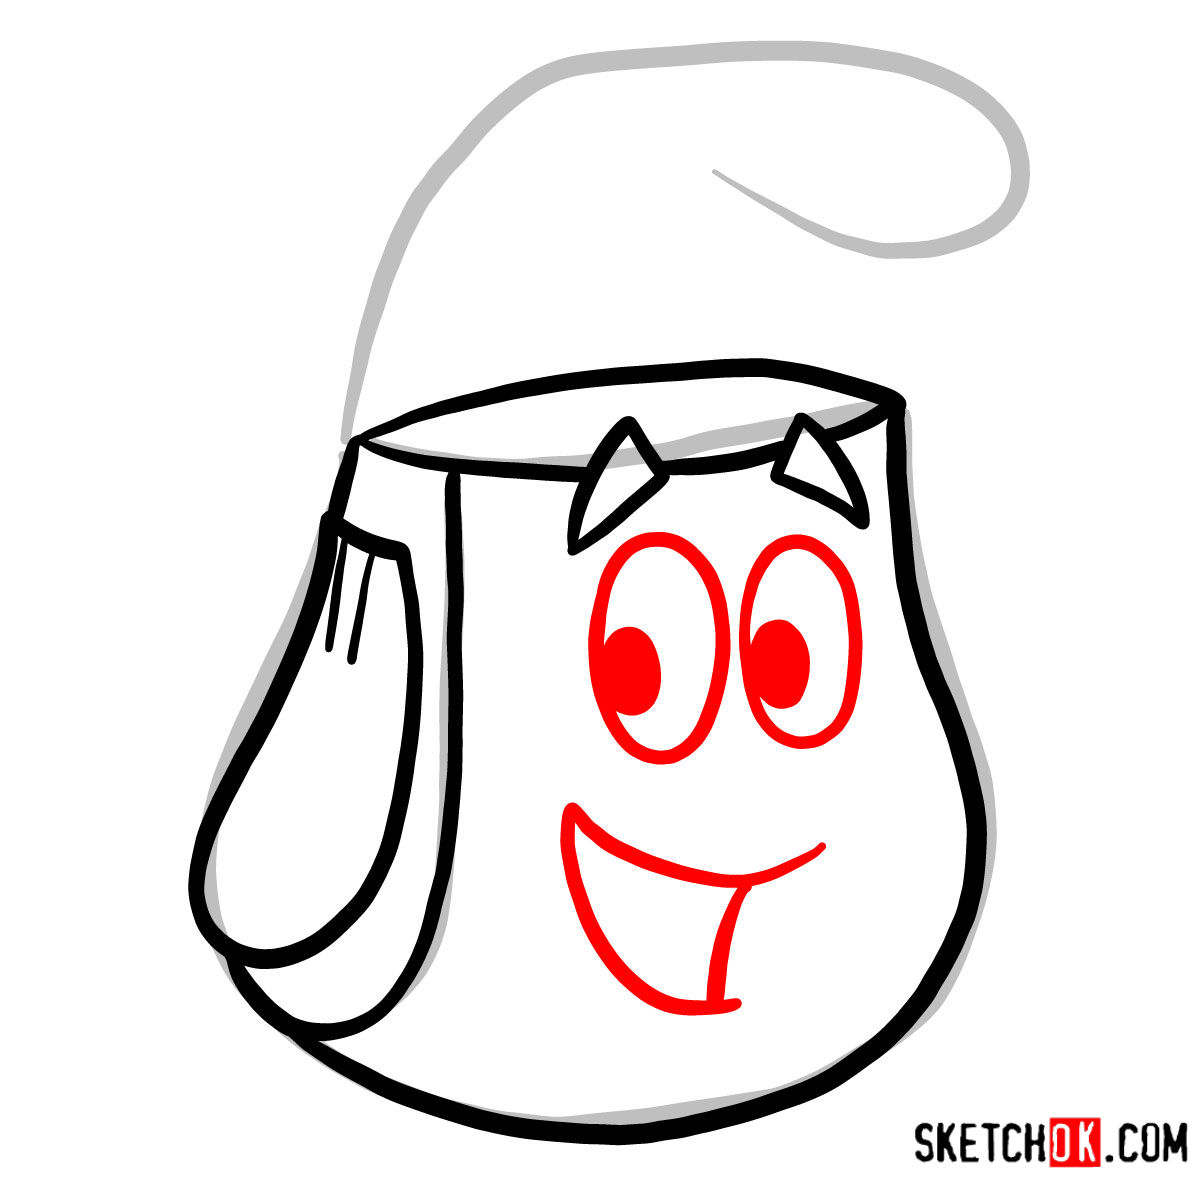
- Eyes: Two expressive eyes that add personality to the Backpack.
- Mouth: A curvy line depicting a smiling mouth – Backpack is always ready for an adventure!
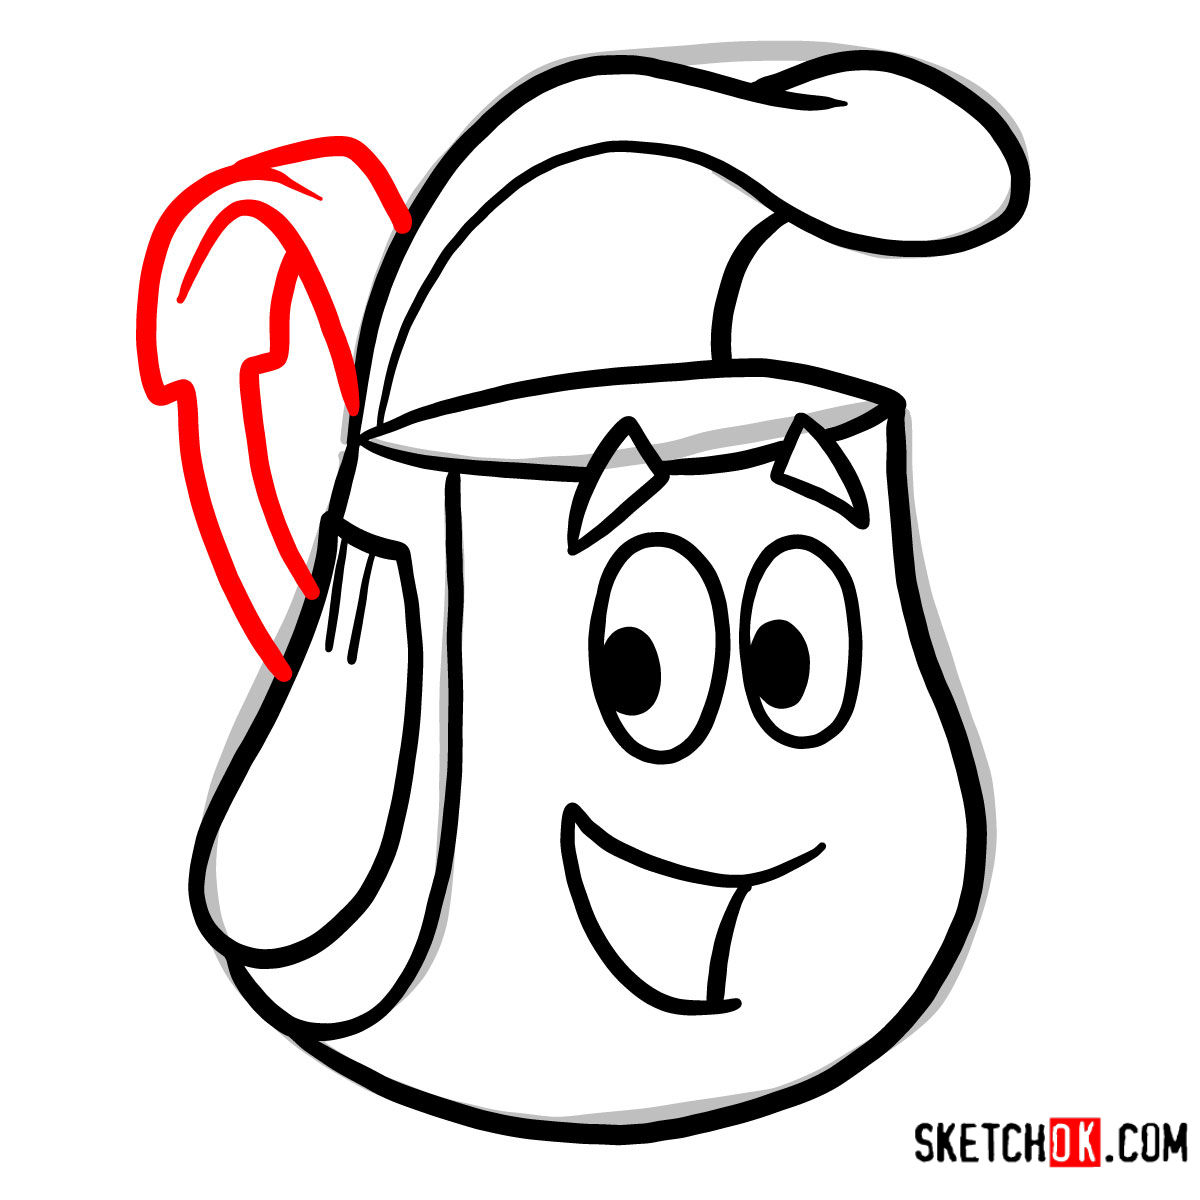
- Map Holder: A side pocket where the Map usually resides.
- Color: Predominantly purple, though this guide is focused on sketching, so colors aren’t our main focus.
Once you’ve mastered drawing the Backpack, you could add other characters like Boots the Monkey or the Map to create a complete scene.
Navigating the Guide: Color Codes and Techniques
- Red Color: Represents the current step in the drawing process.
- Black Color: Illustrates the previously drawn lines to help guide you.
- Grey Color: Demonstrates the basic sketch and proportions.
Our guide is spread across 8 structured steps. It begins with establishing a basic sketch and light pencil strokes, setting up the proportions. As we approach the end, you have the option of inking your sketch. Remember, always wait for the ink to dry fully before gently erasing the pencil sketch, ensuring your artwork remains neat and smudge-free.
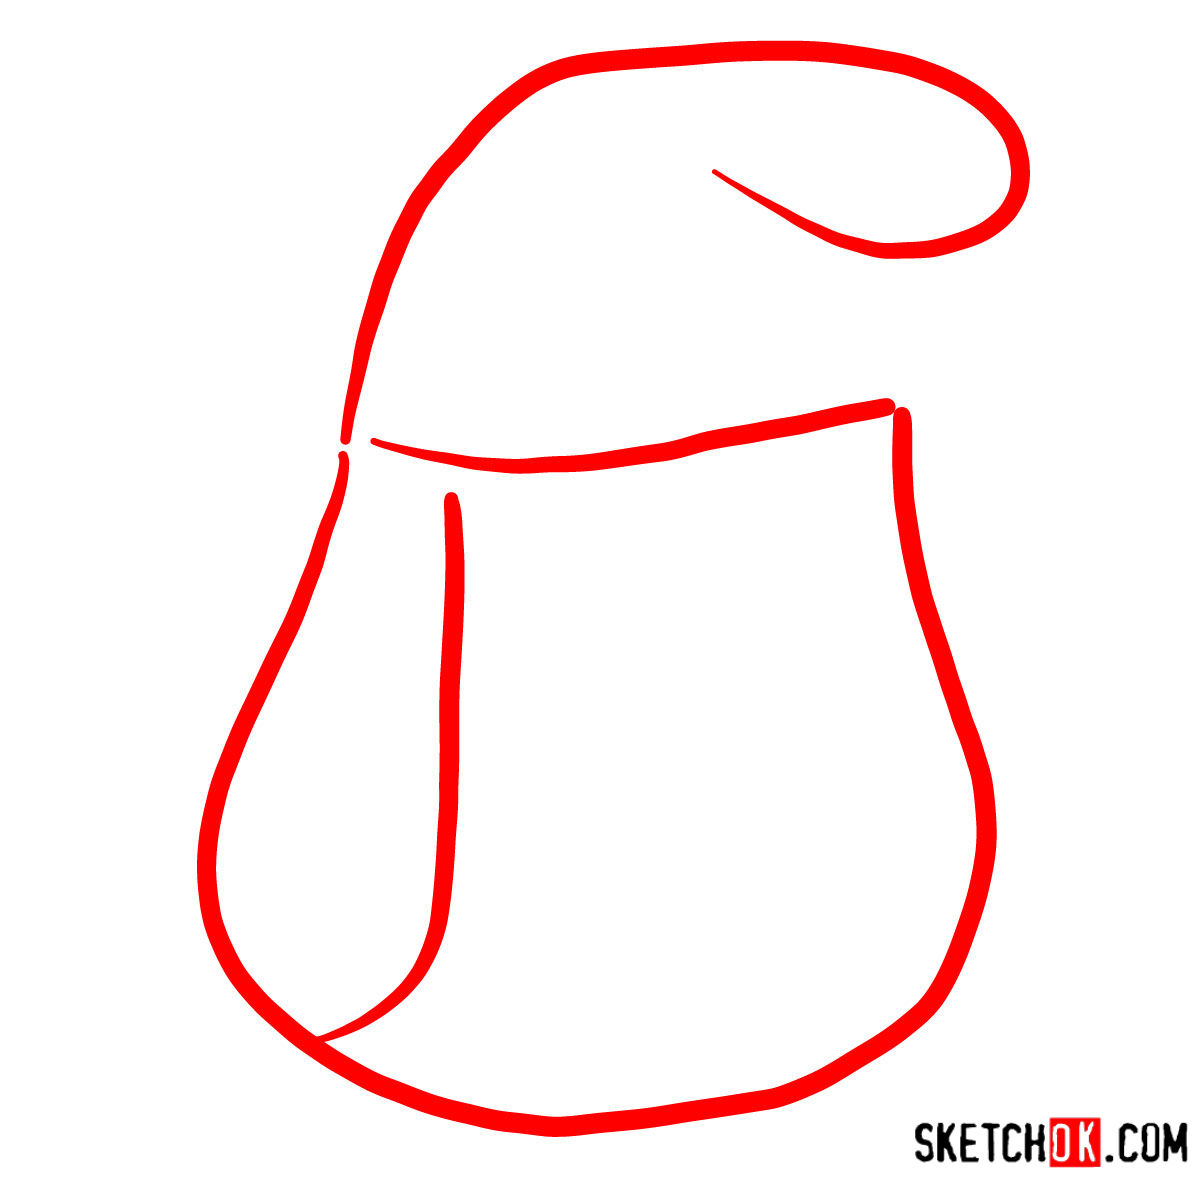
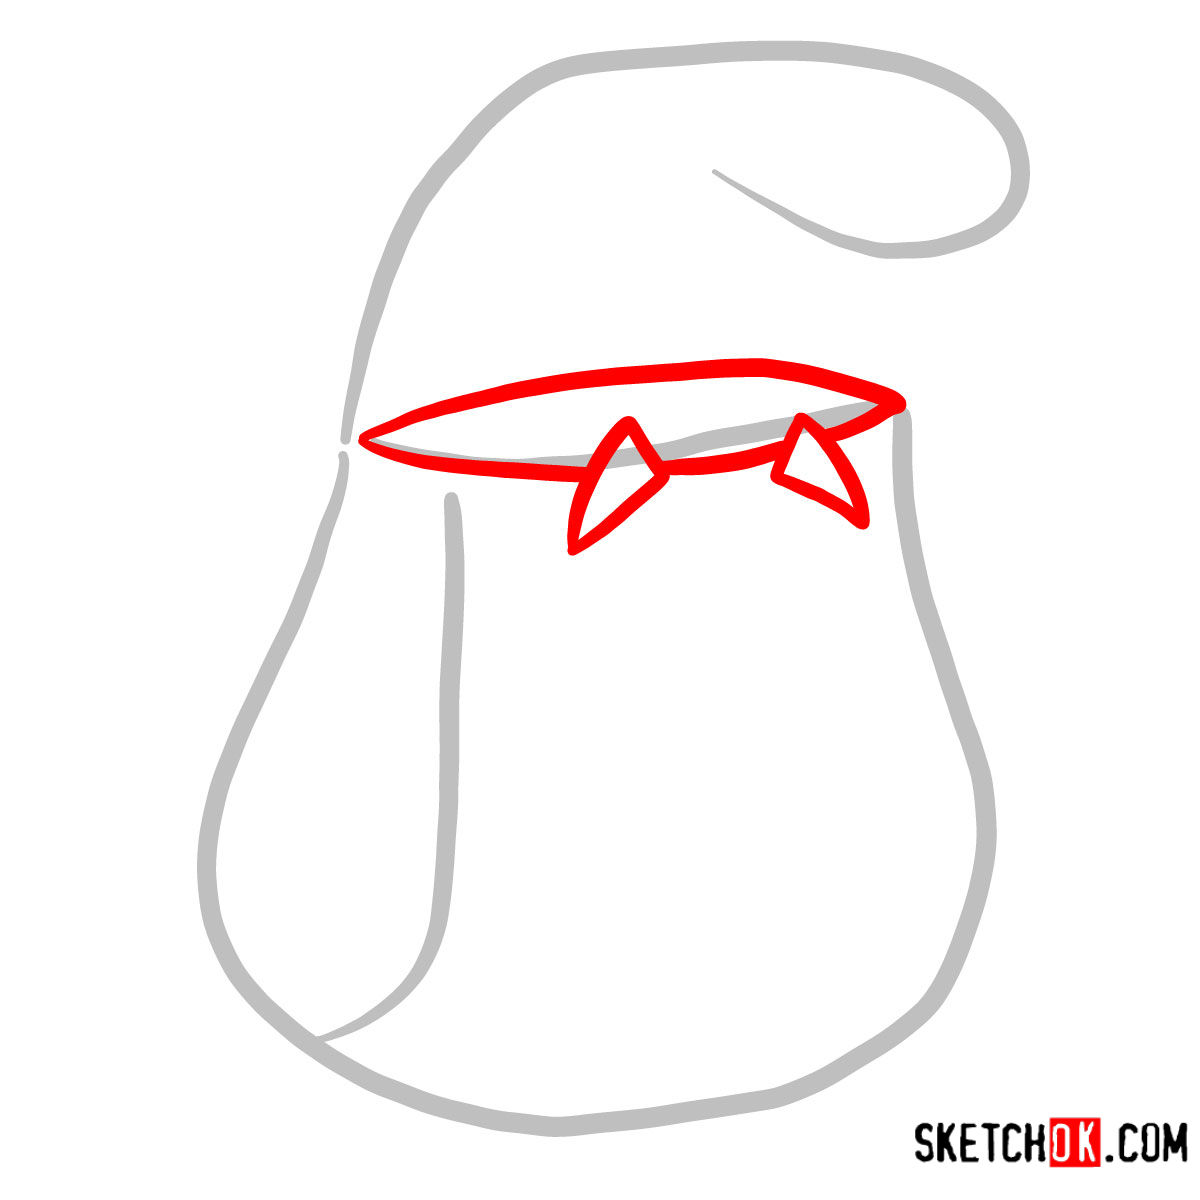
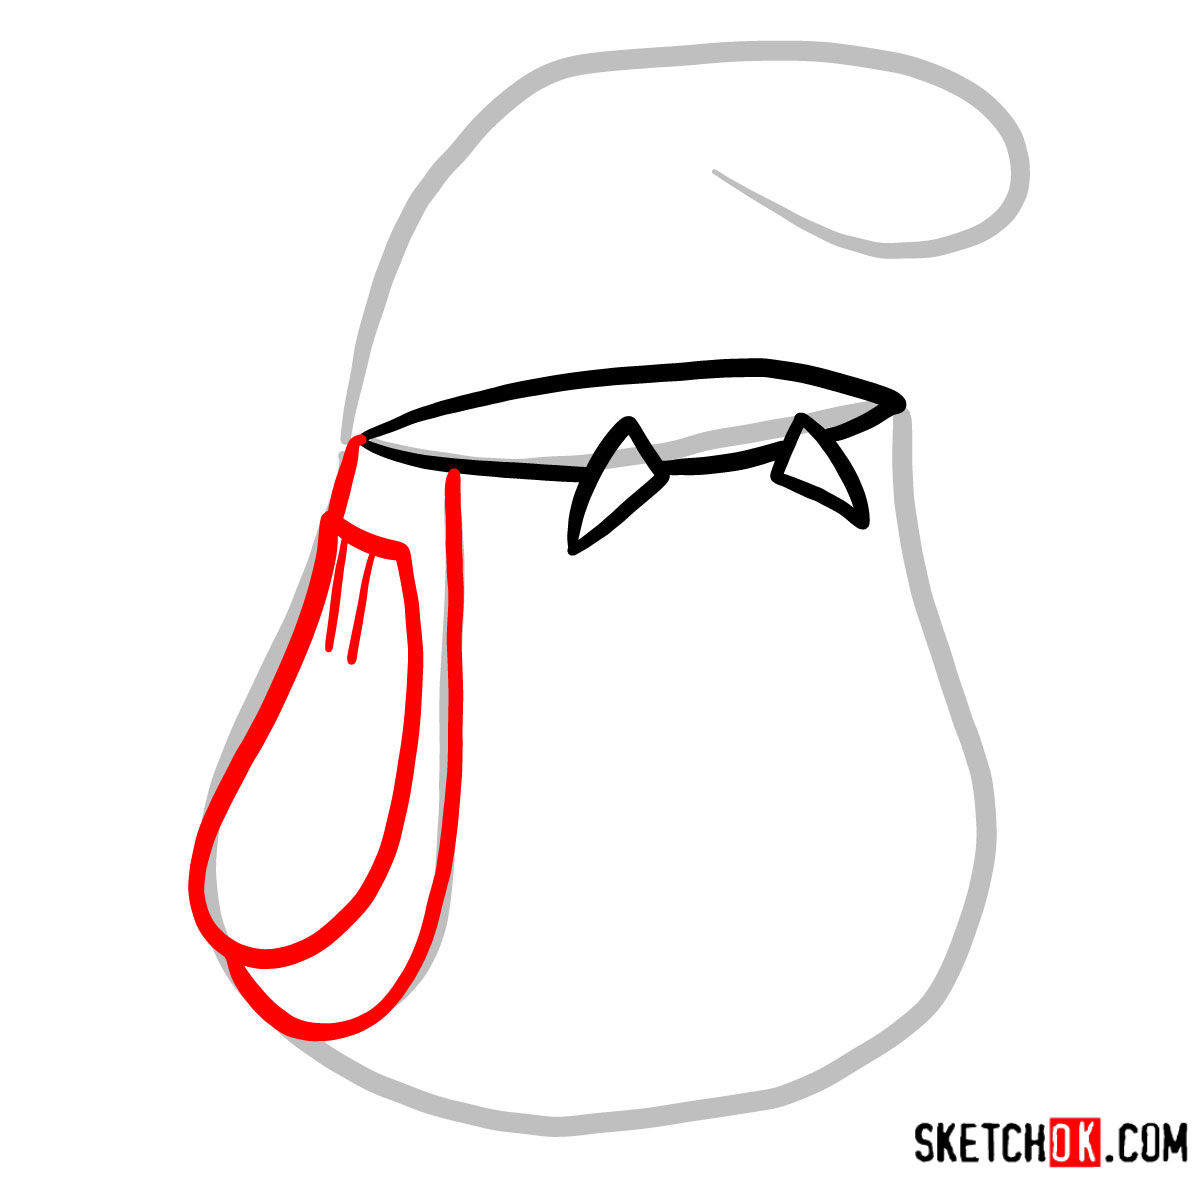
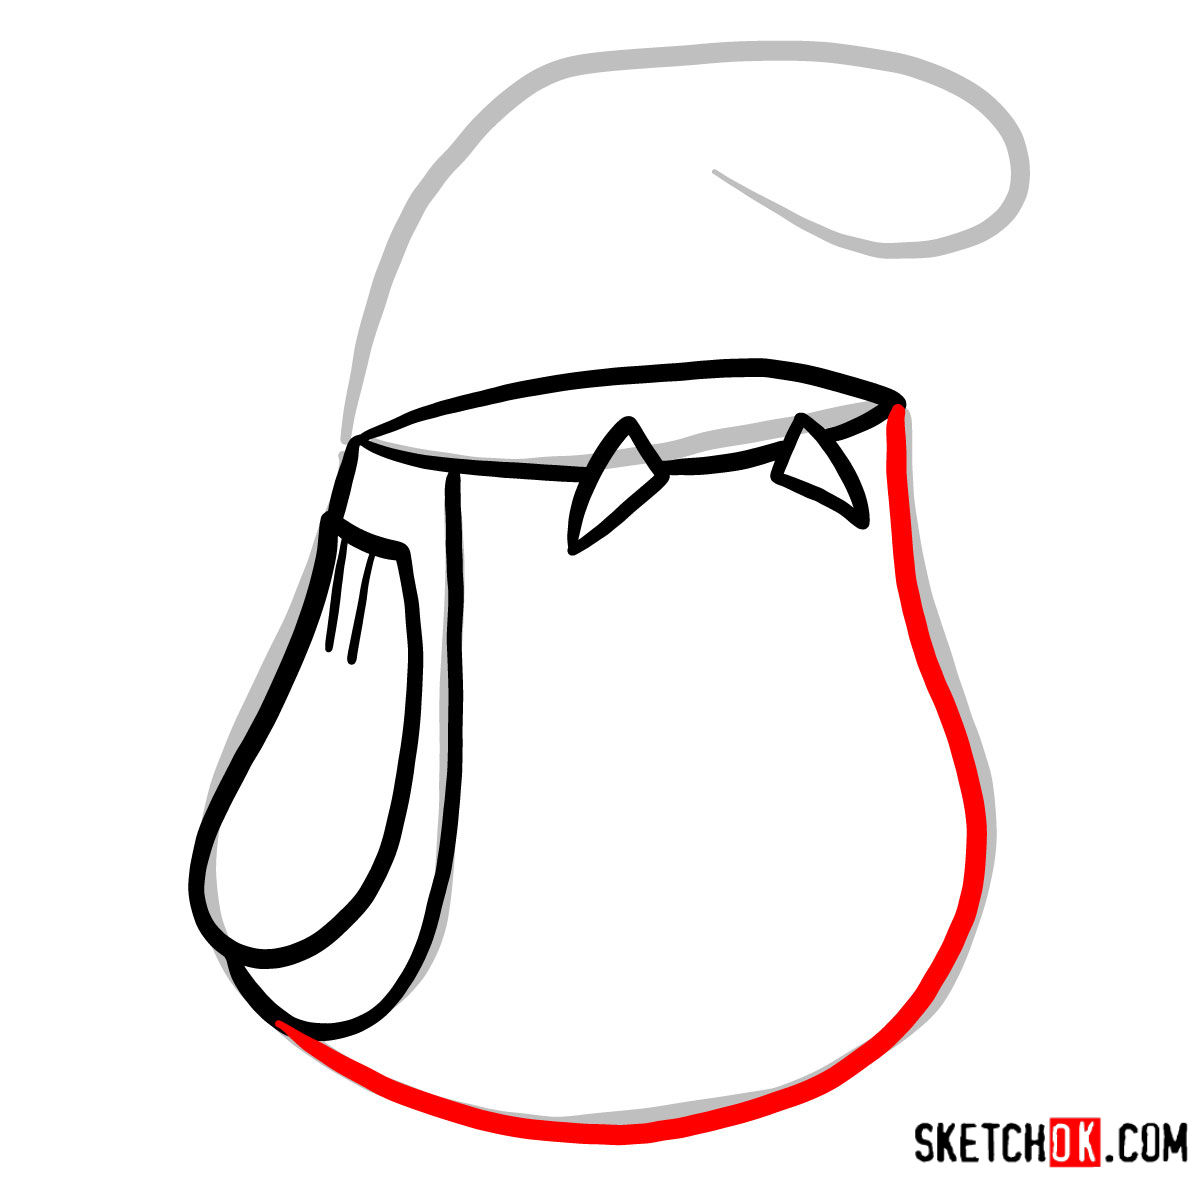

Now that you know how to draw Dora’s Backpack, it would be great to see how yours turned out. The pinned Pinterest post for this tutorial has a comments section where people drop their finished drawings, and other artists working through the same guide actually see them, which makes it a pretty nice little spot to share. You can also follow along with SketchOk on Facebook for new guide announcements, or sign up for the weekly email digest using the form at the top of this page.