Last Updated on May 14, 2026
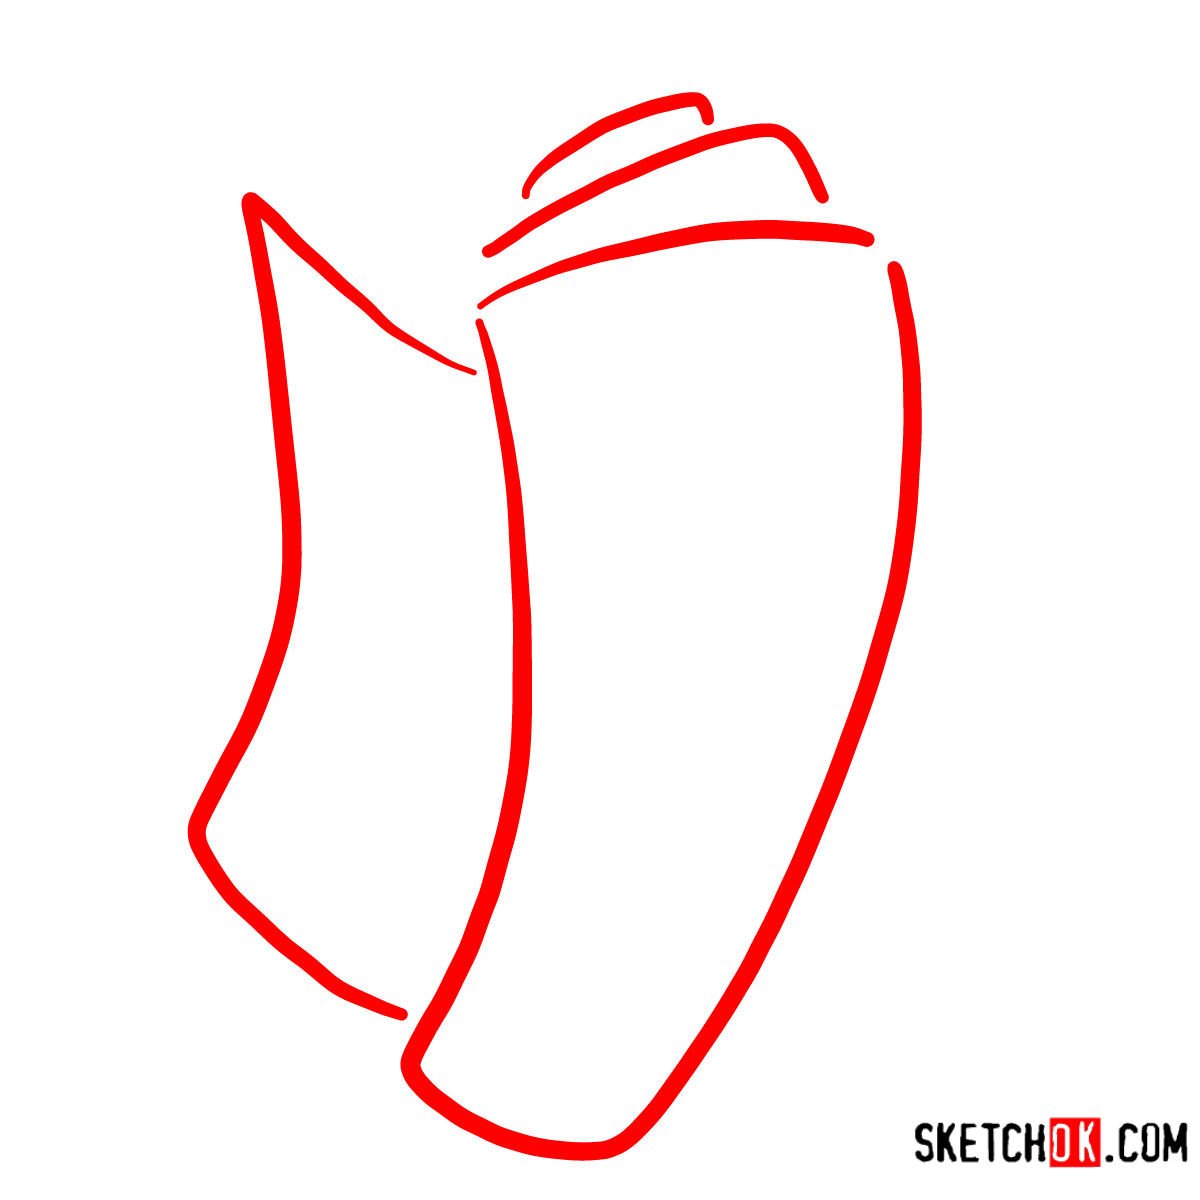
The world of “Dora the Explorer” is filled with intriguing characters, and one that stands out is Map, Dora’s indispensable guide. This article provides insights on how to draw Map, the friendly, smart, and ever-reliable rolled-up map that resides in Backpack’s side pocket. For those yearning to recreate this iconic figure, this guide offers the detailed approach you need.
Let’s Get Familiar With Map’s Appearance
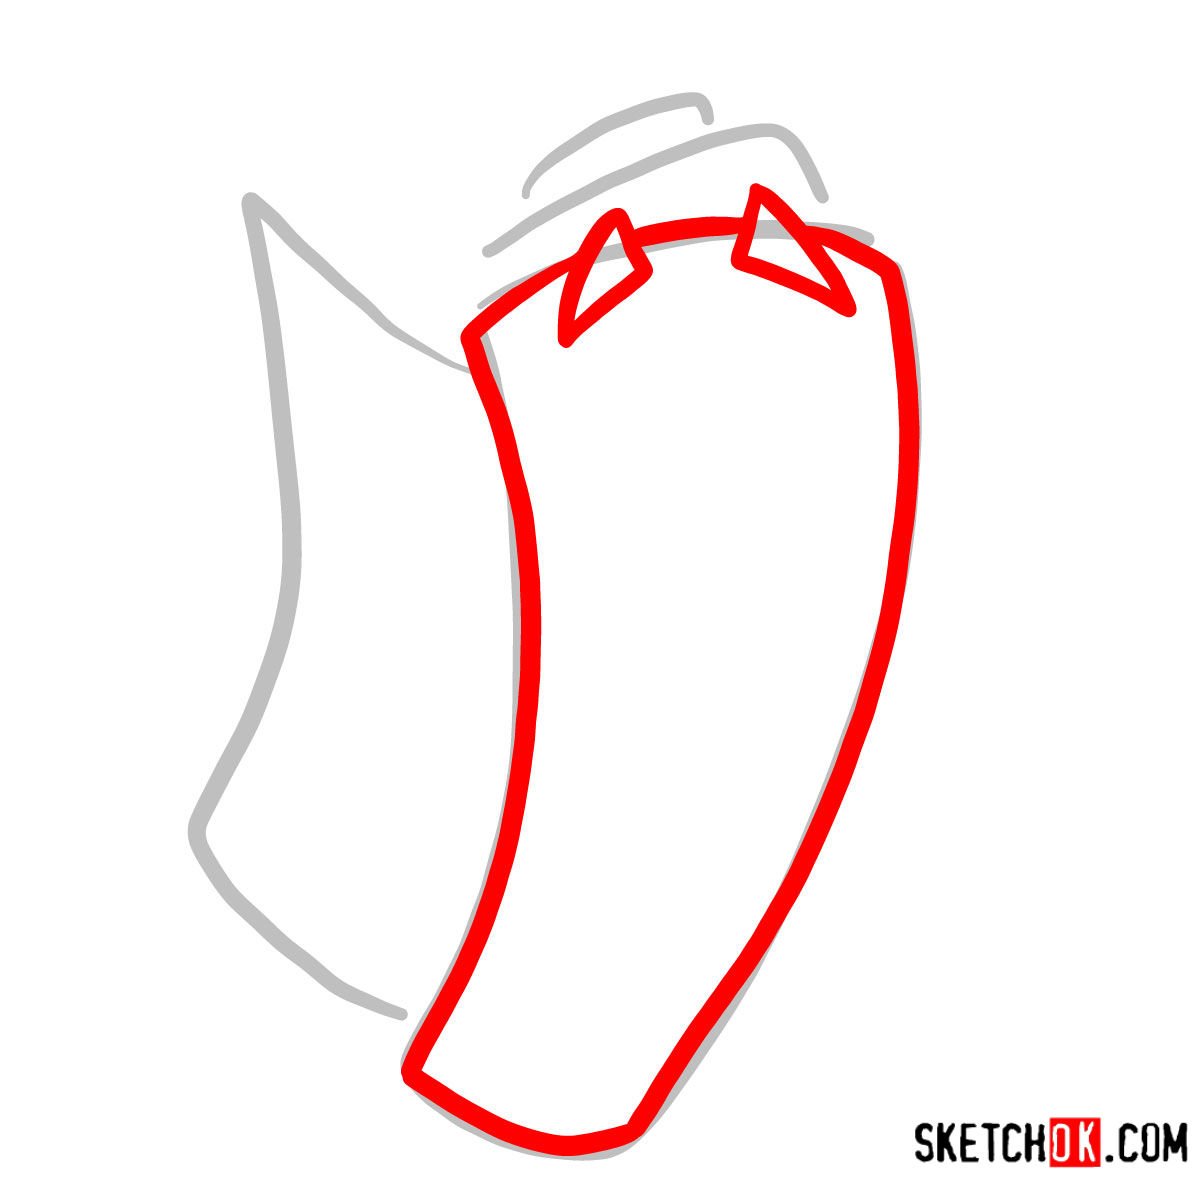
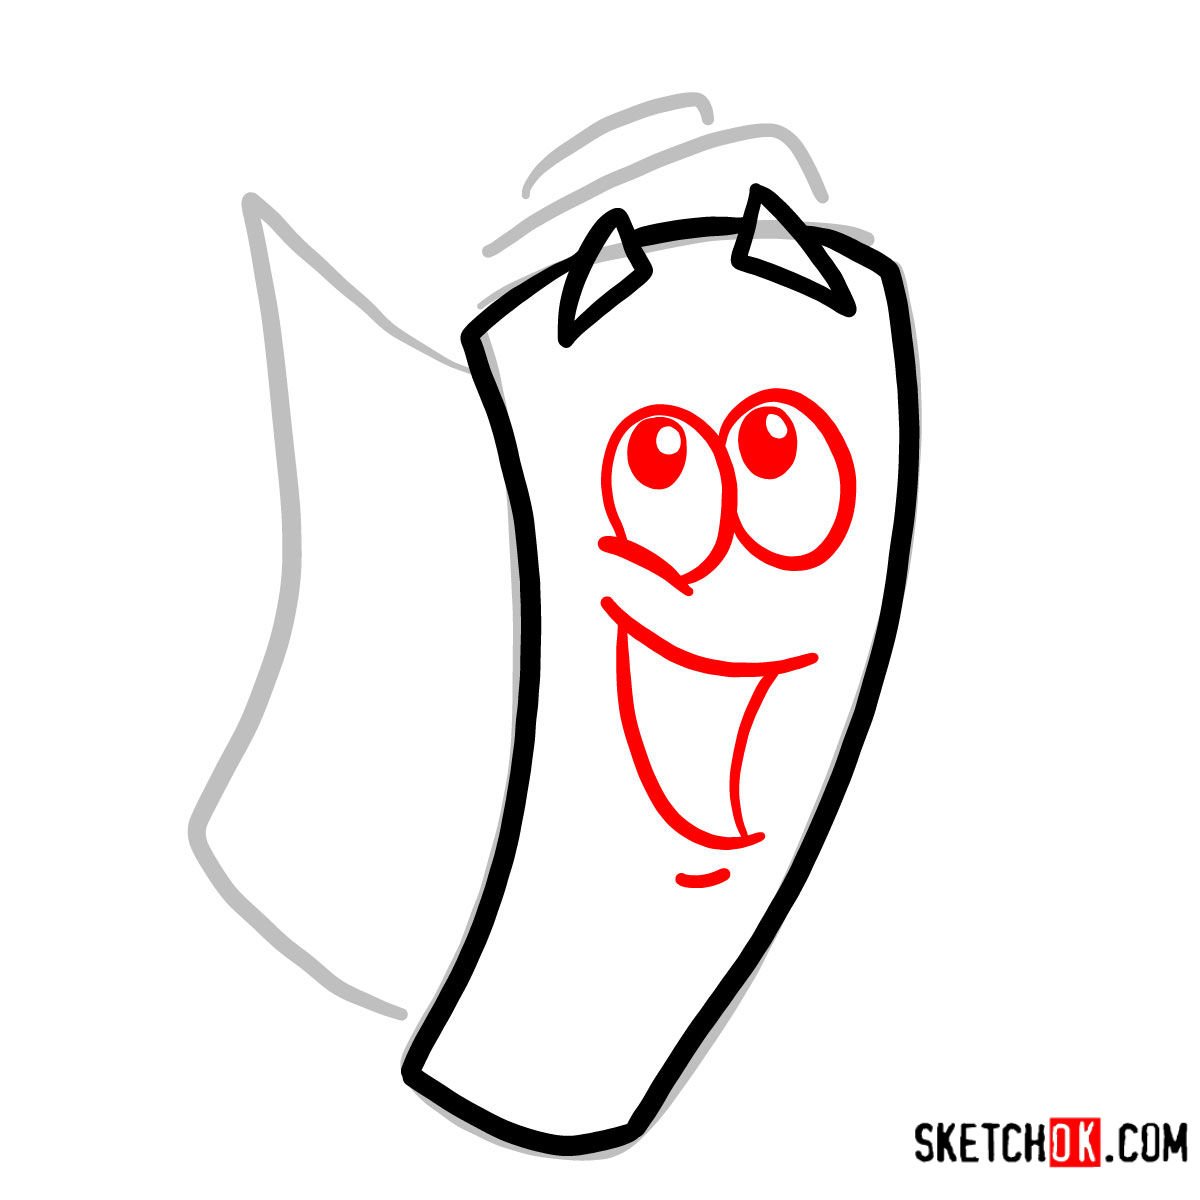
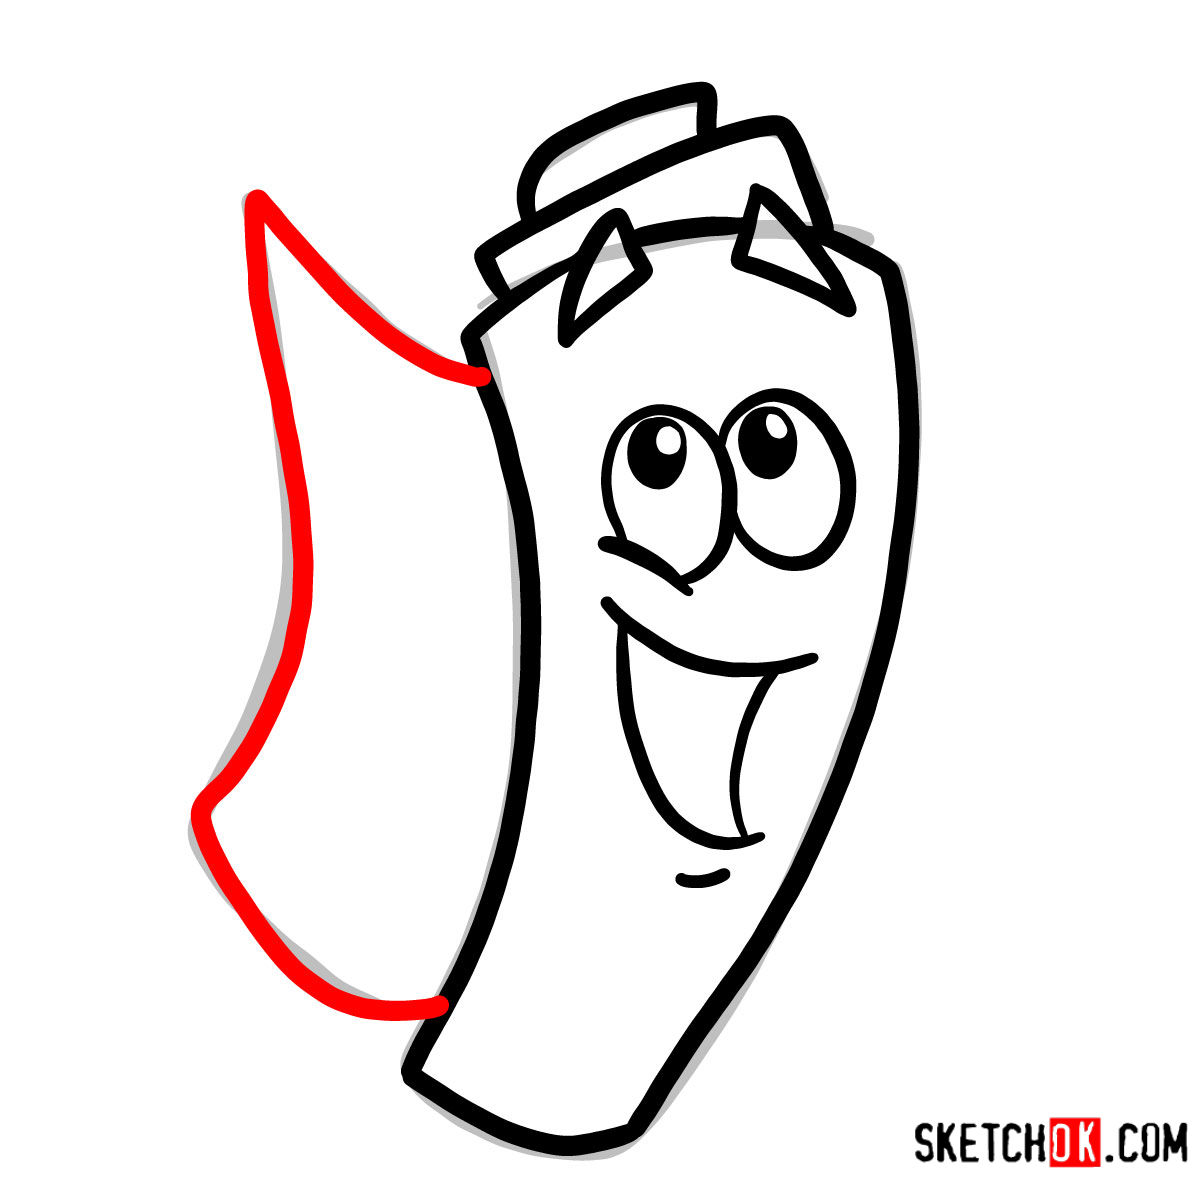
Map, though seemingly simple in design, embodies specific details that make him instantly recognizable. When sketching Map, it’s essential to keep in mind the following attributes:
- Map’s primary hue is a soft yellowish-white, which forms the backdrop for his features.
- The inside of Map exhibits a light blue shade, providing a contrast to his outer appearance.
- His facial features, including blue eyebrows, a lively red mouth, and two white eyes with sharp black pupils, give Map his distinct expression.
- In later seasons, particularly 7 and 8, Map undergoes a transformation, becoming a computer-generated character. This change might introduce subtle variations in his appearance.
- Consider adding Backpack or Dora herself to your sketch to encapsulate more of Dora’s adventurous world.
Decoding the Guide
This guide provides a structured pathway to sketching Map effectively. To make your drawing journey smooth, let’s understand the color indications used throughout:
- Red Color: Represents the current drawing step that you should focus on.
- Black Color: Denotes the lines drawn during the previous steps.
- Grey Color: Illustrates the foundational sketch, which should be crafted using light pencil strokes to establish the basic proportions.
Across the span of 6 clear steps, the process begins with framing the basic proportions. By the end, artists have the choice to ink their sketch. When opting for inking, always let the ink dry thoroughly before erasing the pencil lines. This patience ensures a clean and vibrant outcome.


Now that you know how to draw Dora’s Map, it would be great to see what you came up with. Finished drawings shared in the comments under the pinned Pinterest post get noticed by other artists working through the exact same guide, so it’s a nice little community spot to drop yours. You can also follow along on Facebook for new guide updates, or sign up for the weekly digest using the form at the top of the page.