Home » Anime » Steins;Gate » Mastering the Mind: How to Draw Kurisu Makise from Steins;Gate

Mastering the Mind: How to Draw Kurisu Makise from Steins;Gate

Welcome to our comprehensive drawing guide on capturing the essence of Kurisu Makise from Steins;Gate. As one of the main characters in this captivating series, Kurisu’s brilliance and unique fashion sense make her a fascinating character to bring to life on paper. Whether you’re a seasoned artist or just starting your artistic journey, this step-by-step tutorial will help you master the art of drawing Kurisu Makise.

Appearance

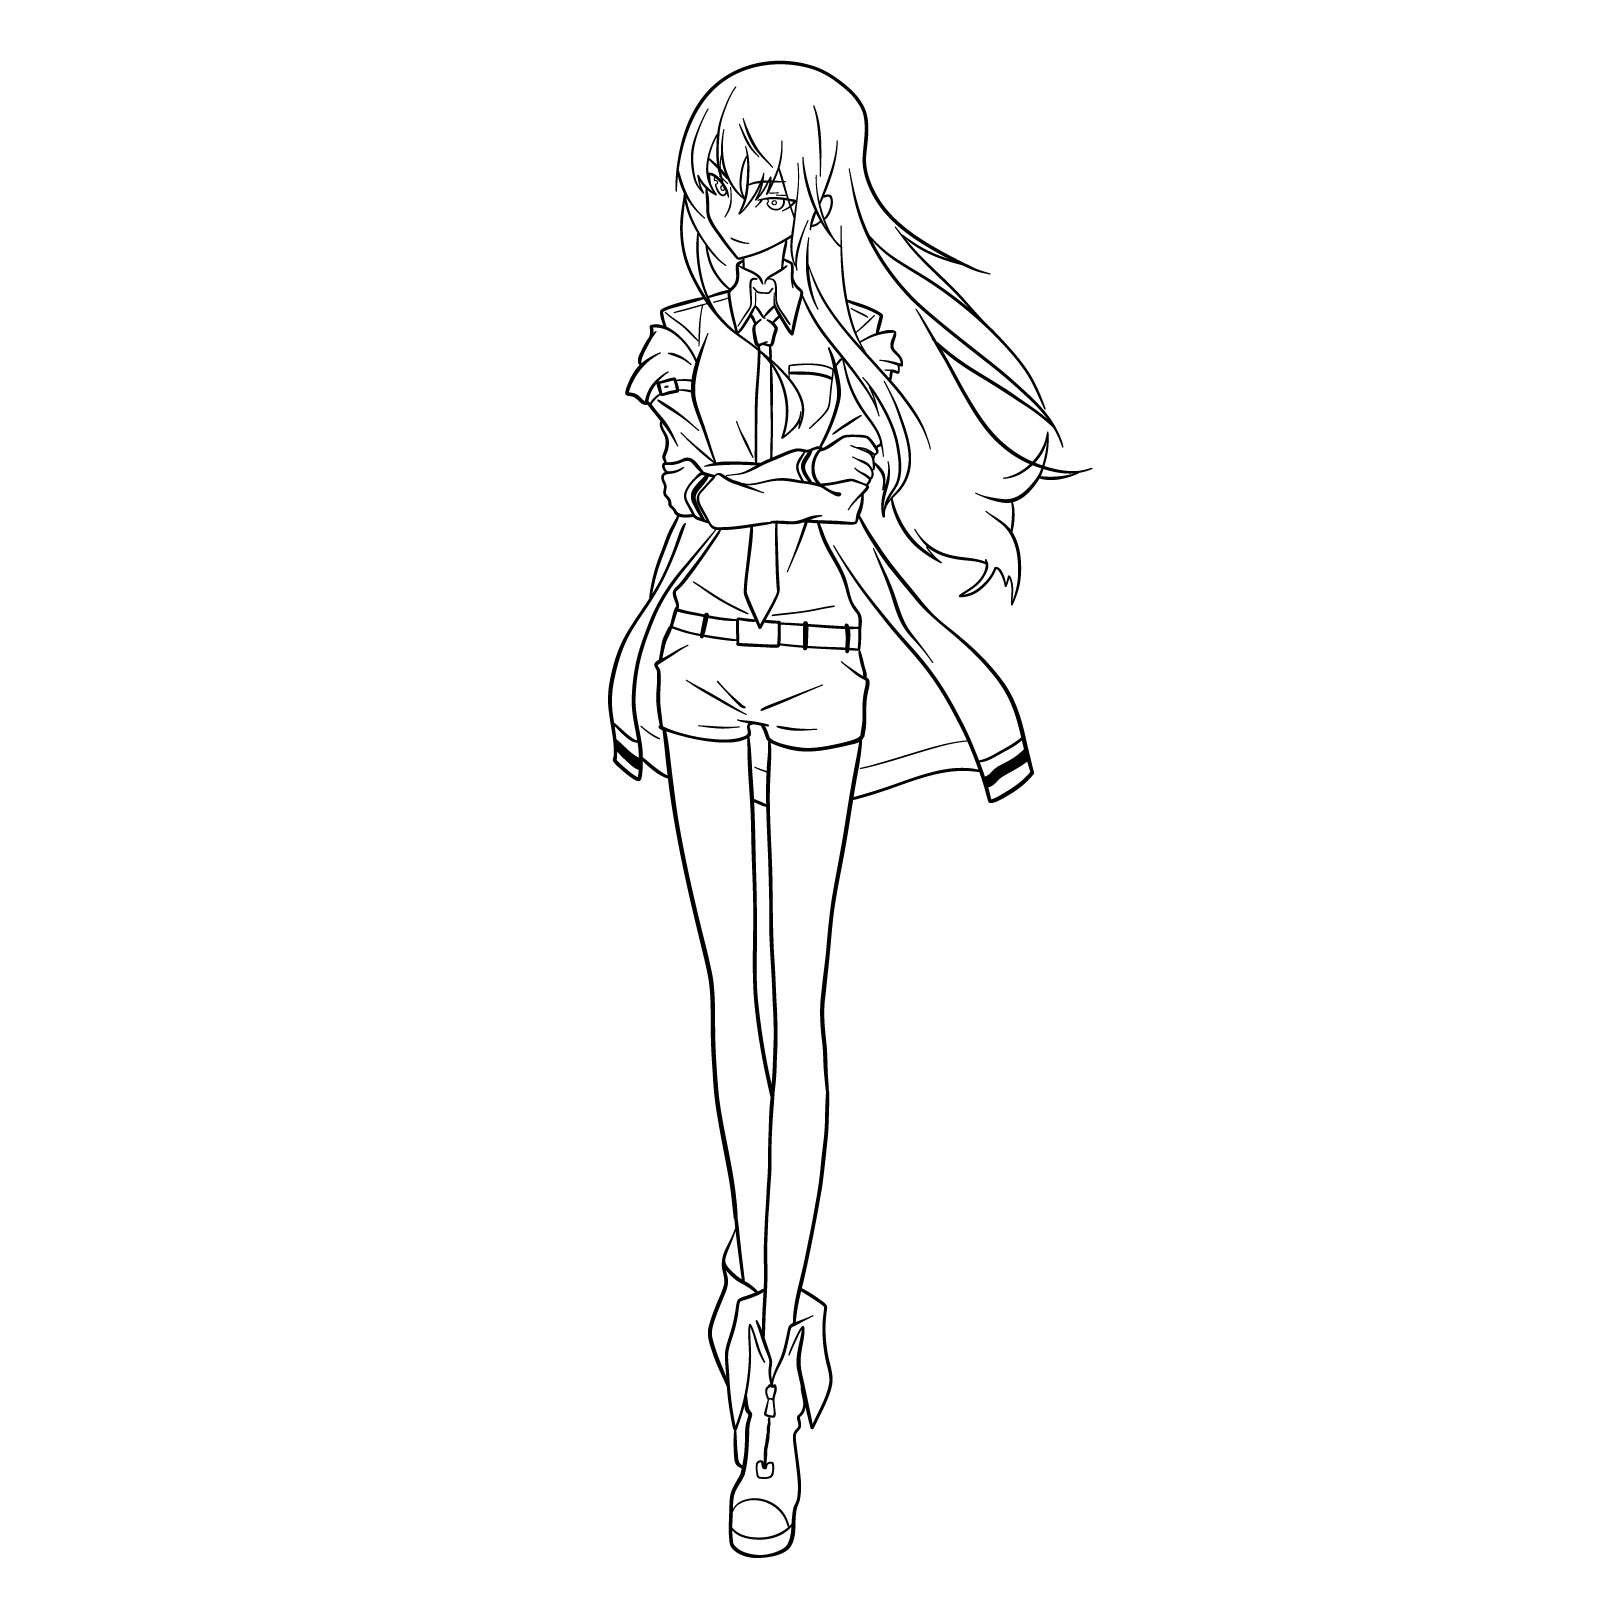
Kurisu Makise boasts a distinct and captivating appearance that reflects her intellect and individuality.

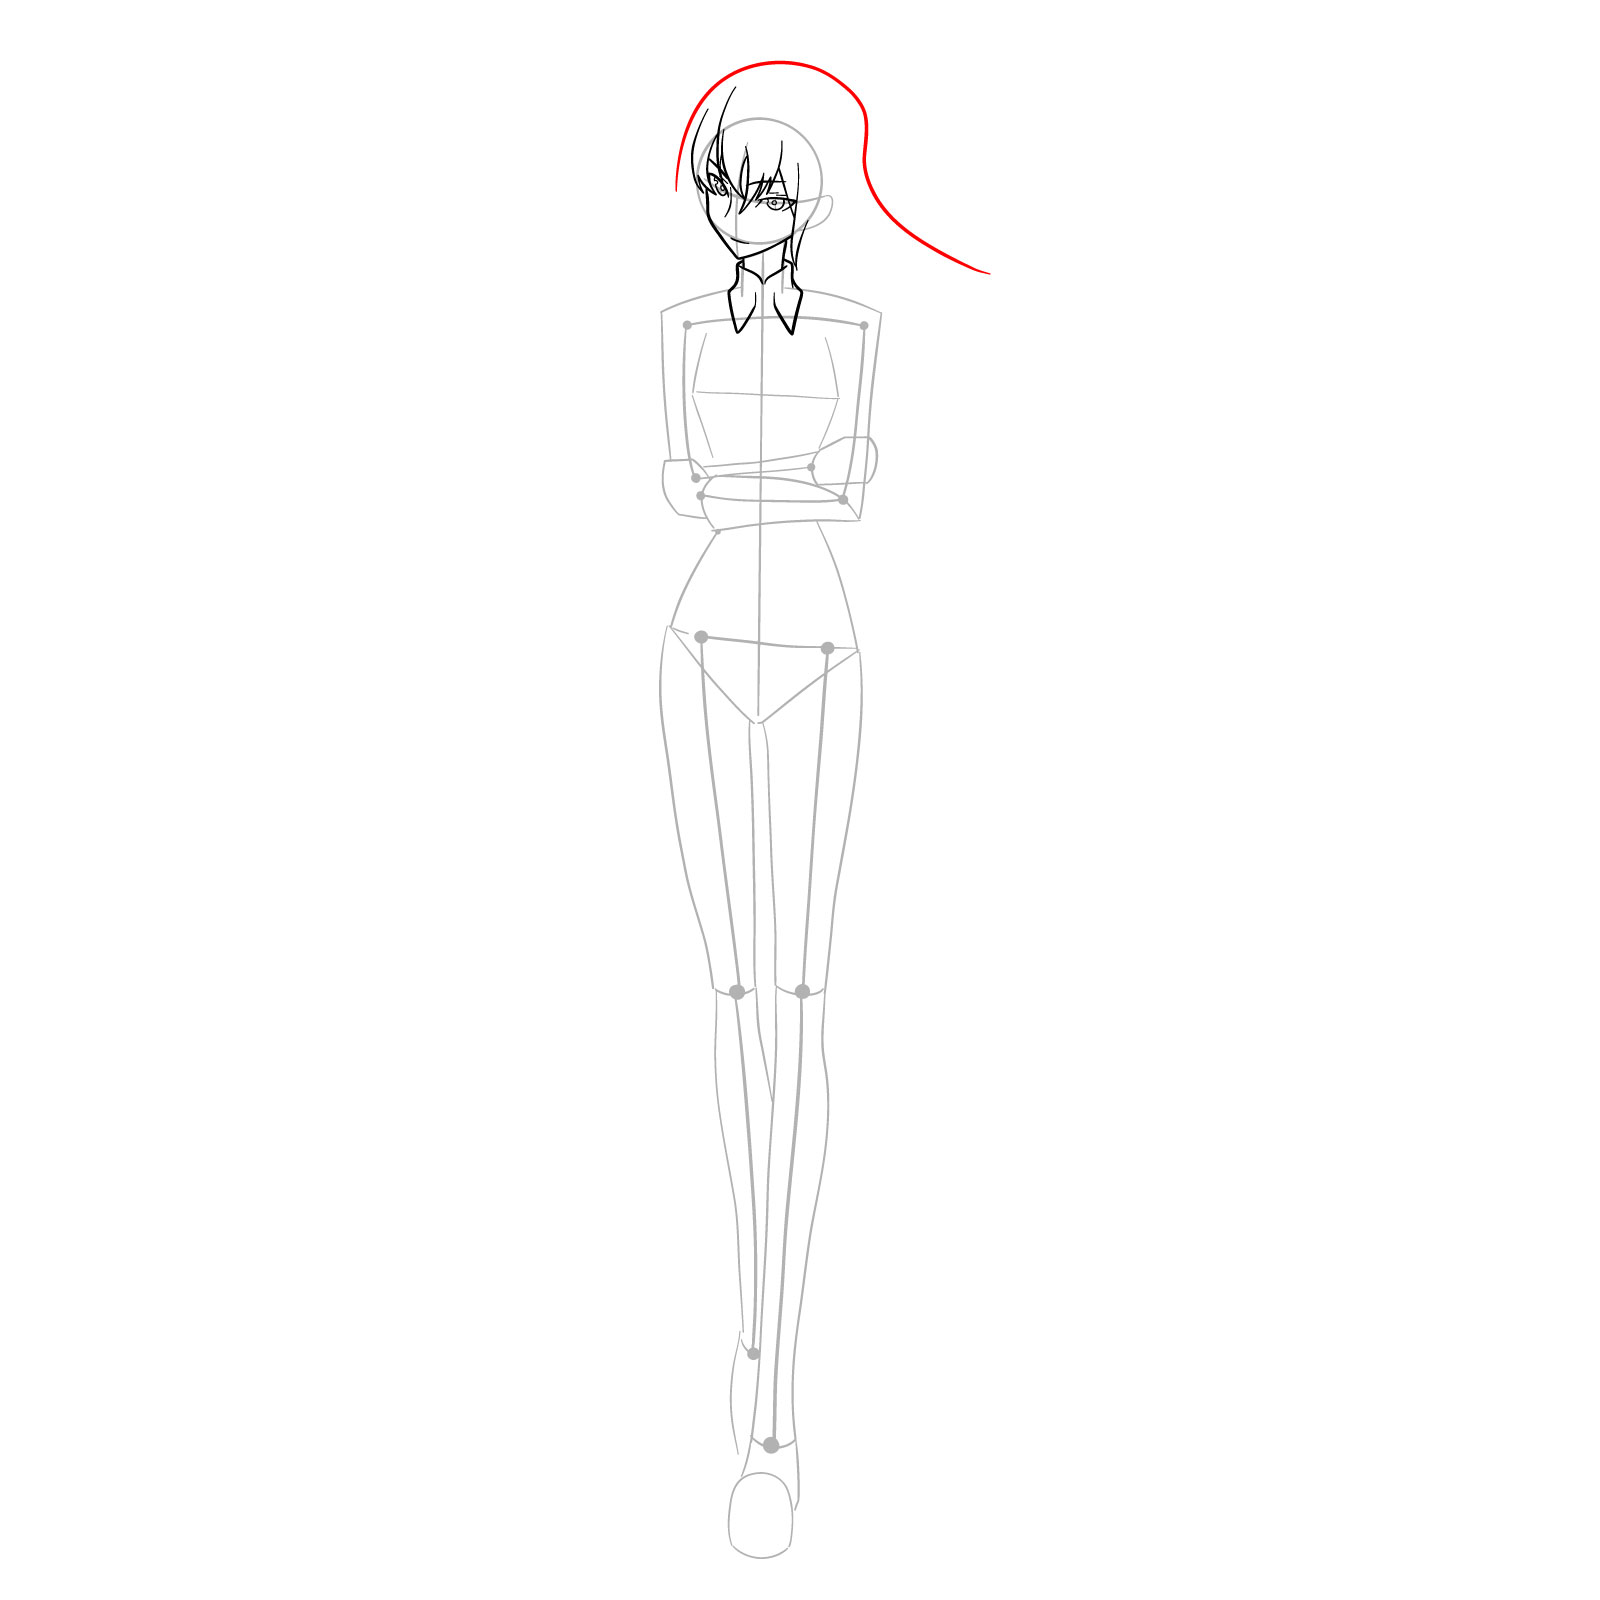
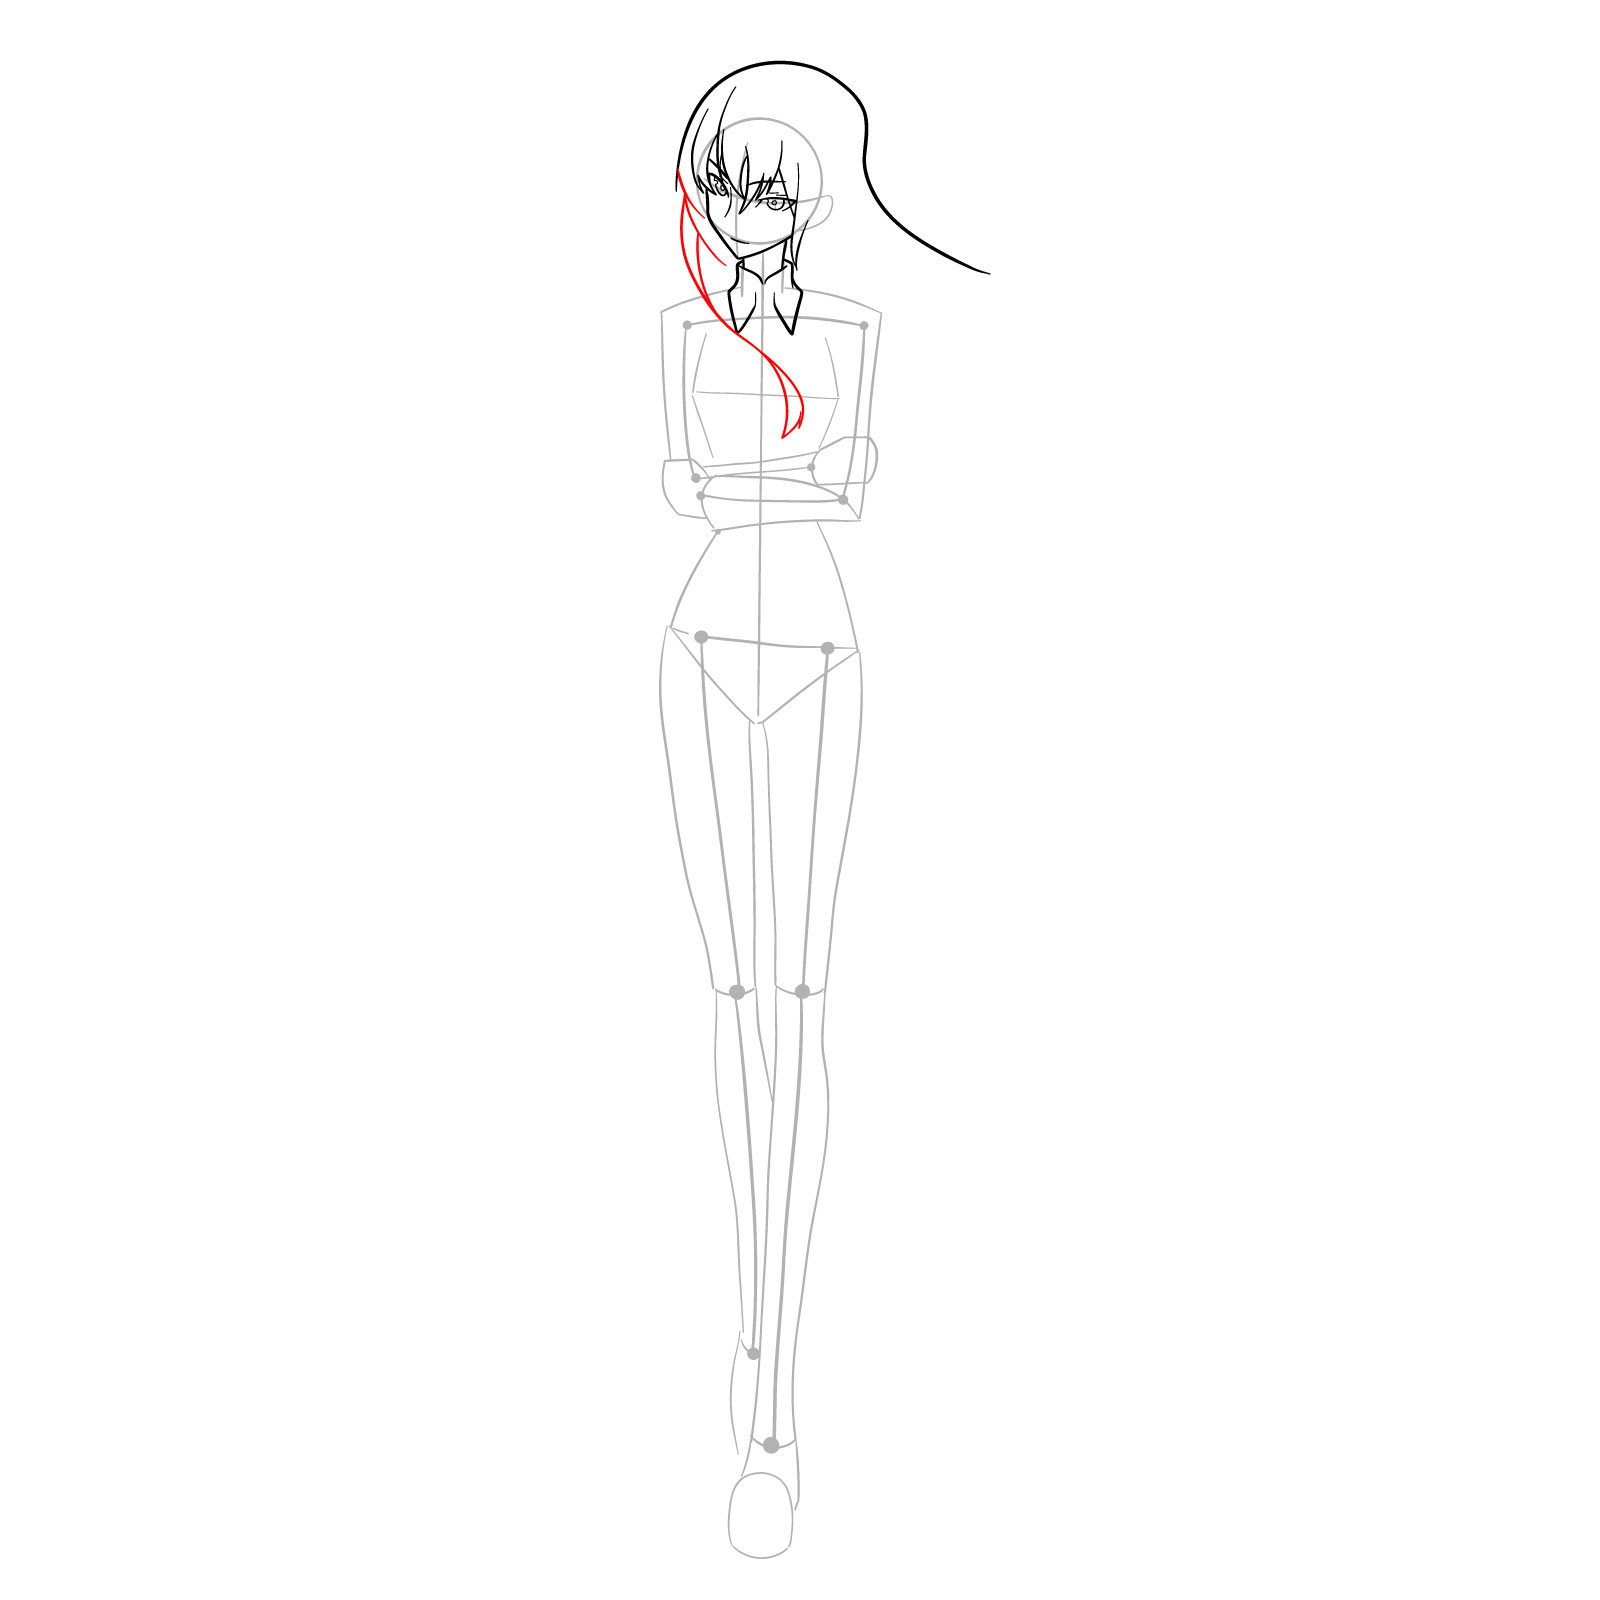
  • Hairstyle: Kurisu has waist-length chestnut hair, ranging from mahogany to auburn shades. Her loose hairstyle adds to her allure.
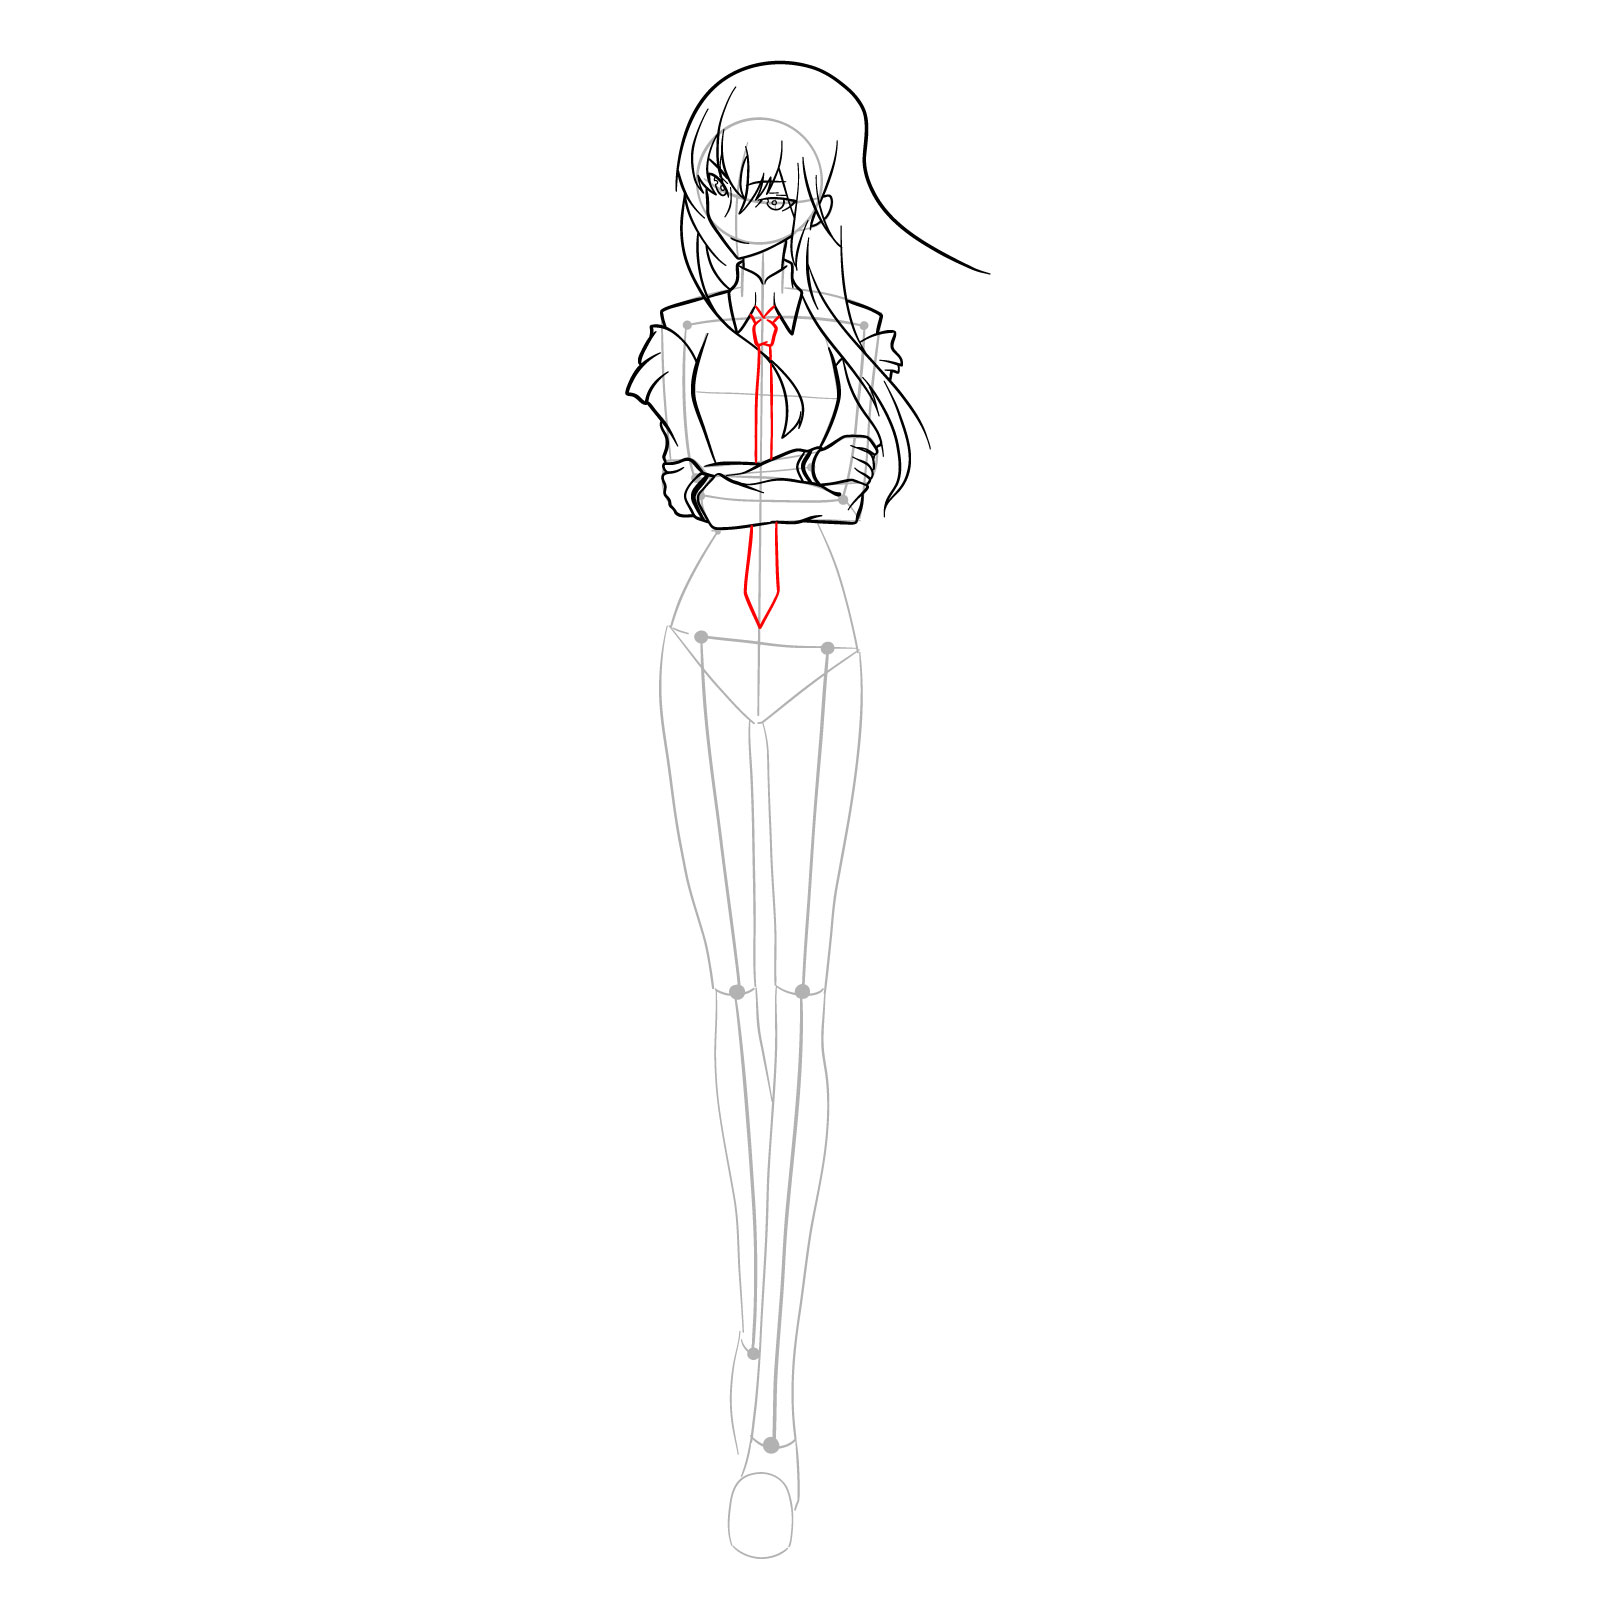
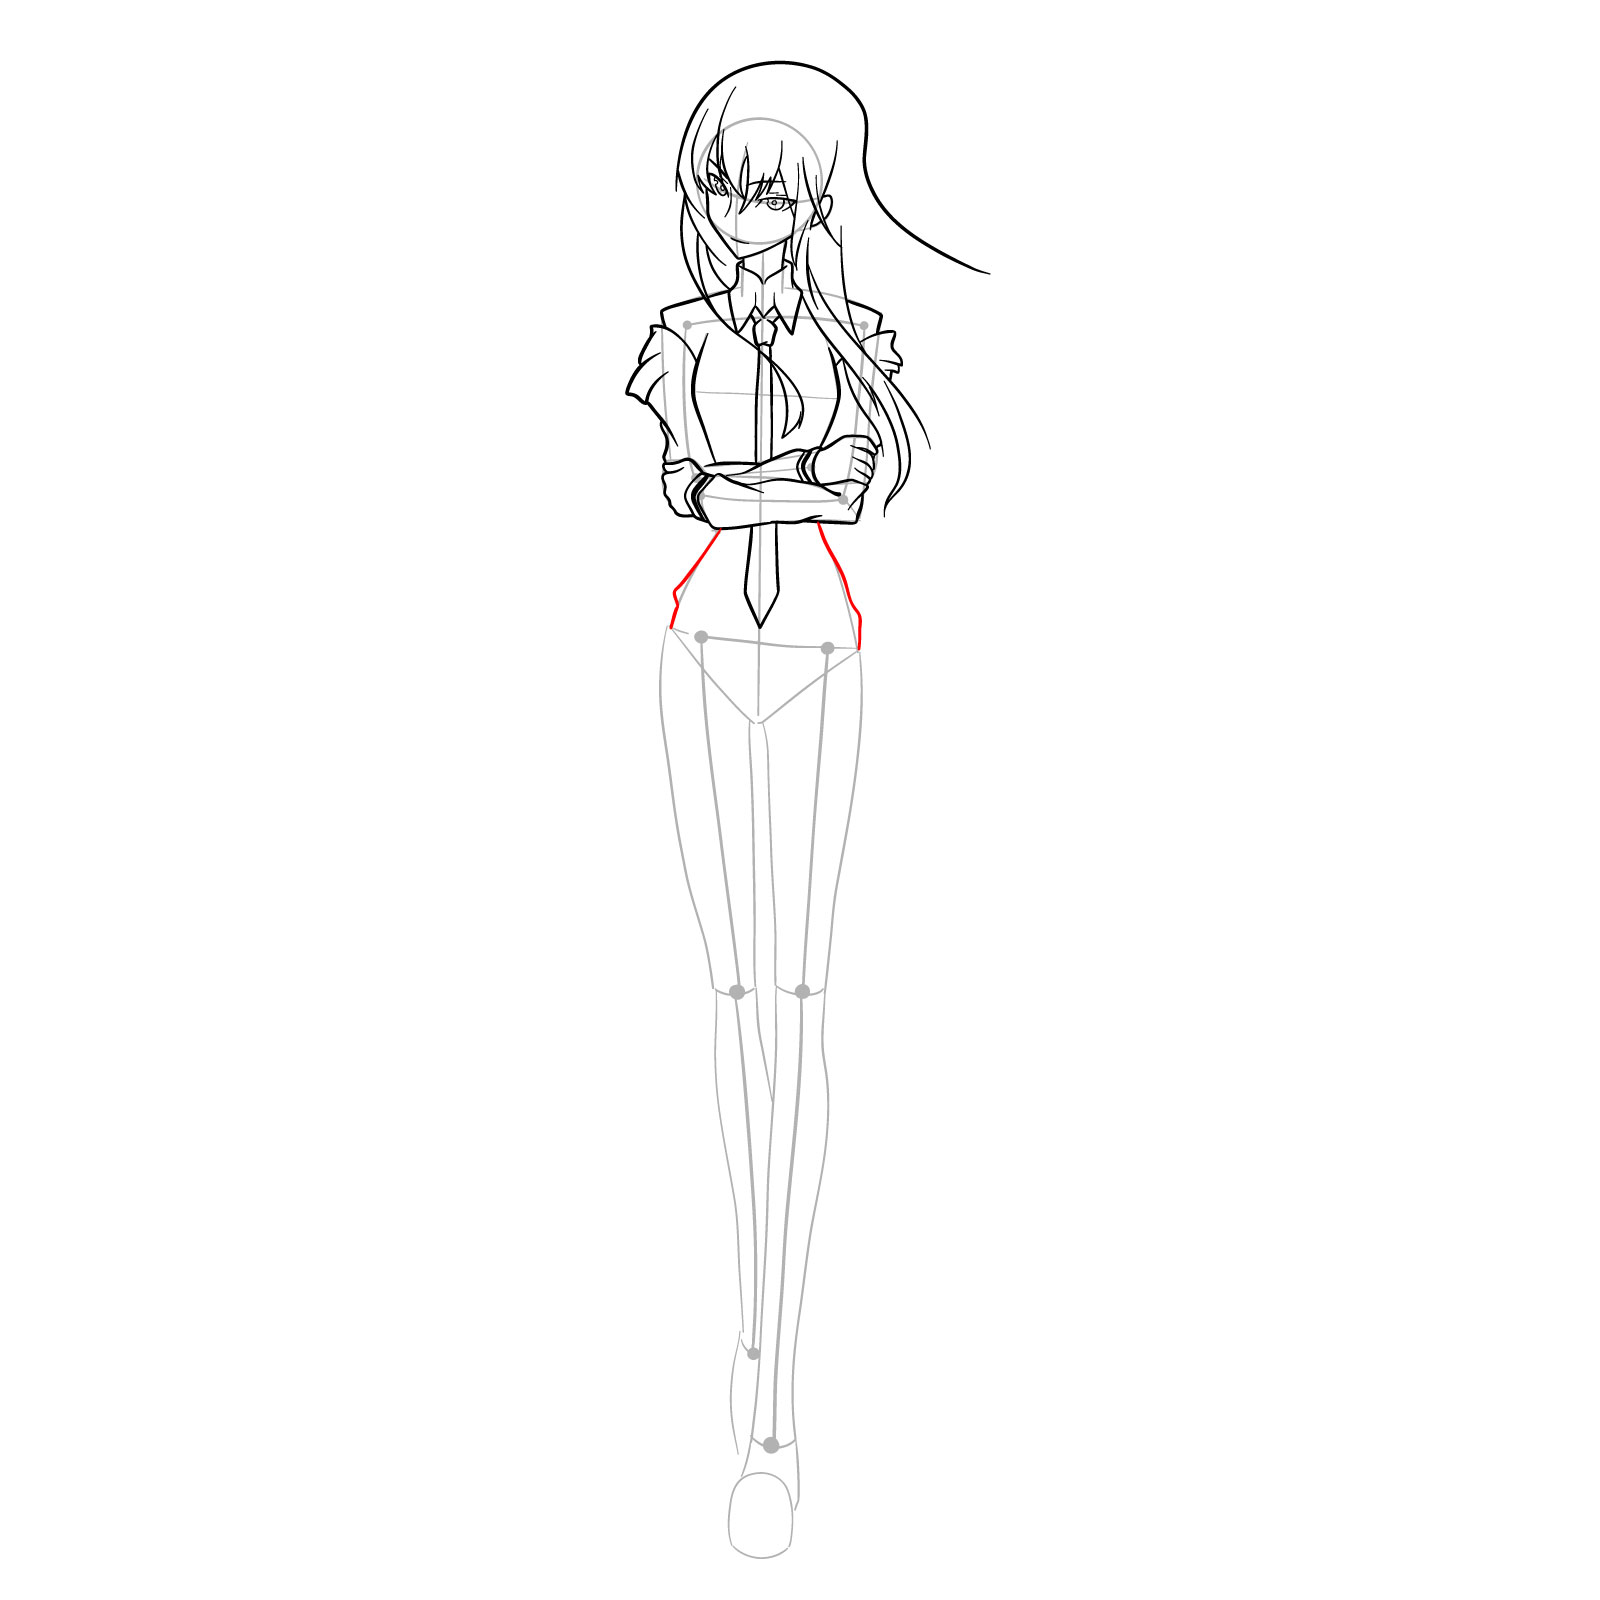
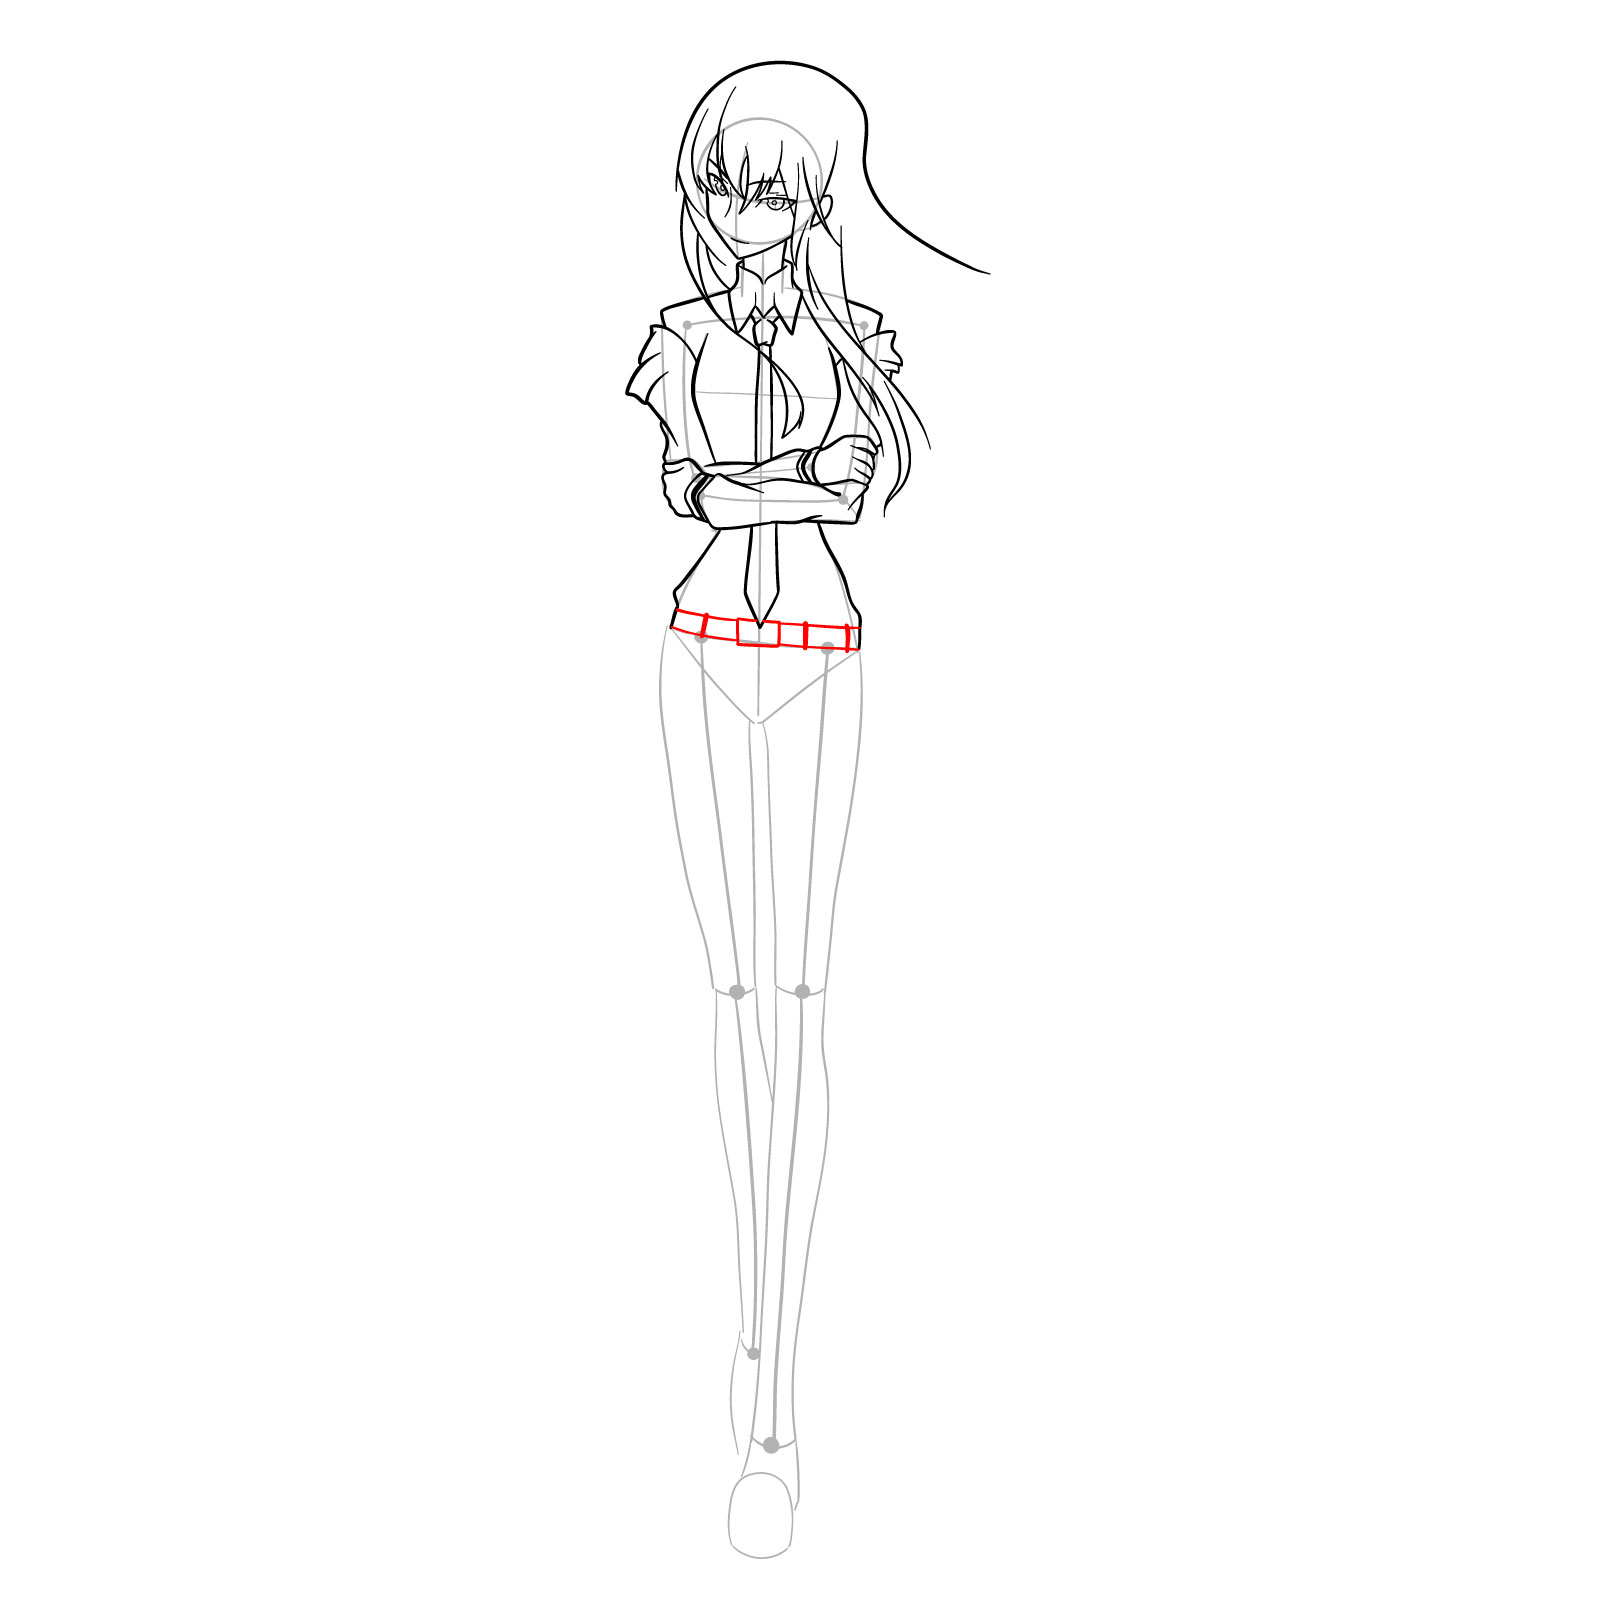
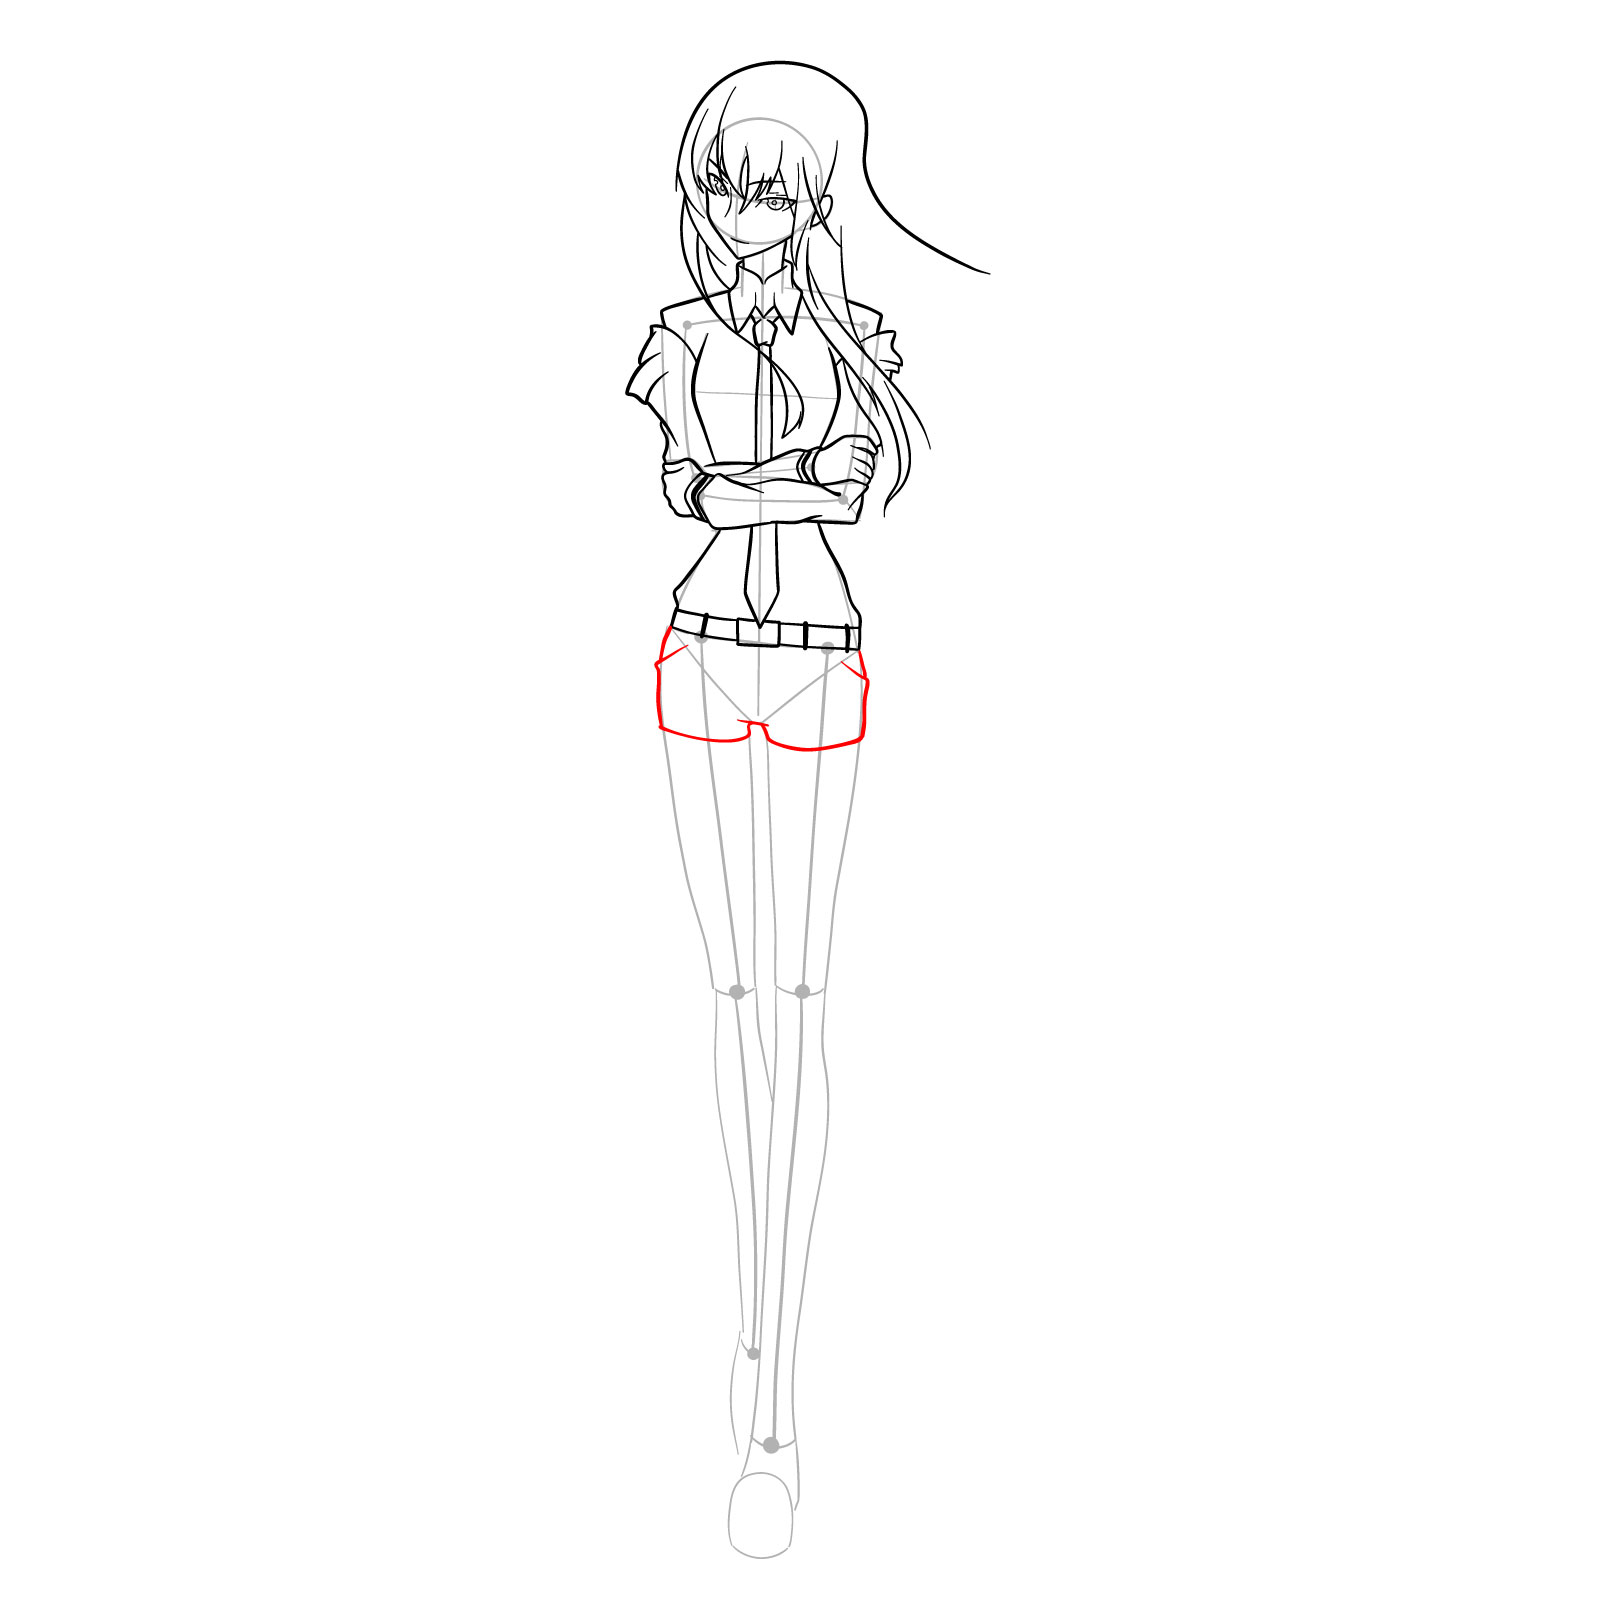
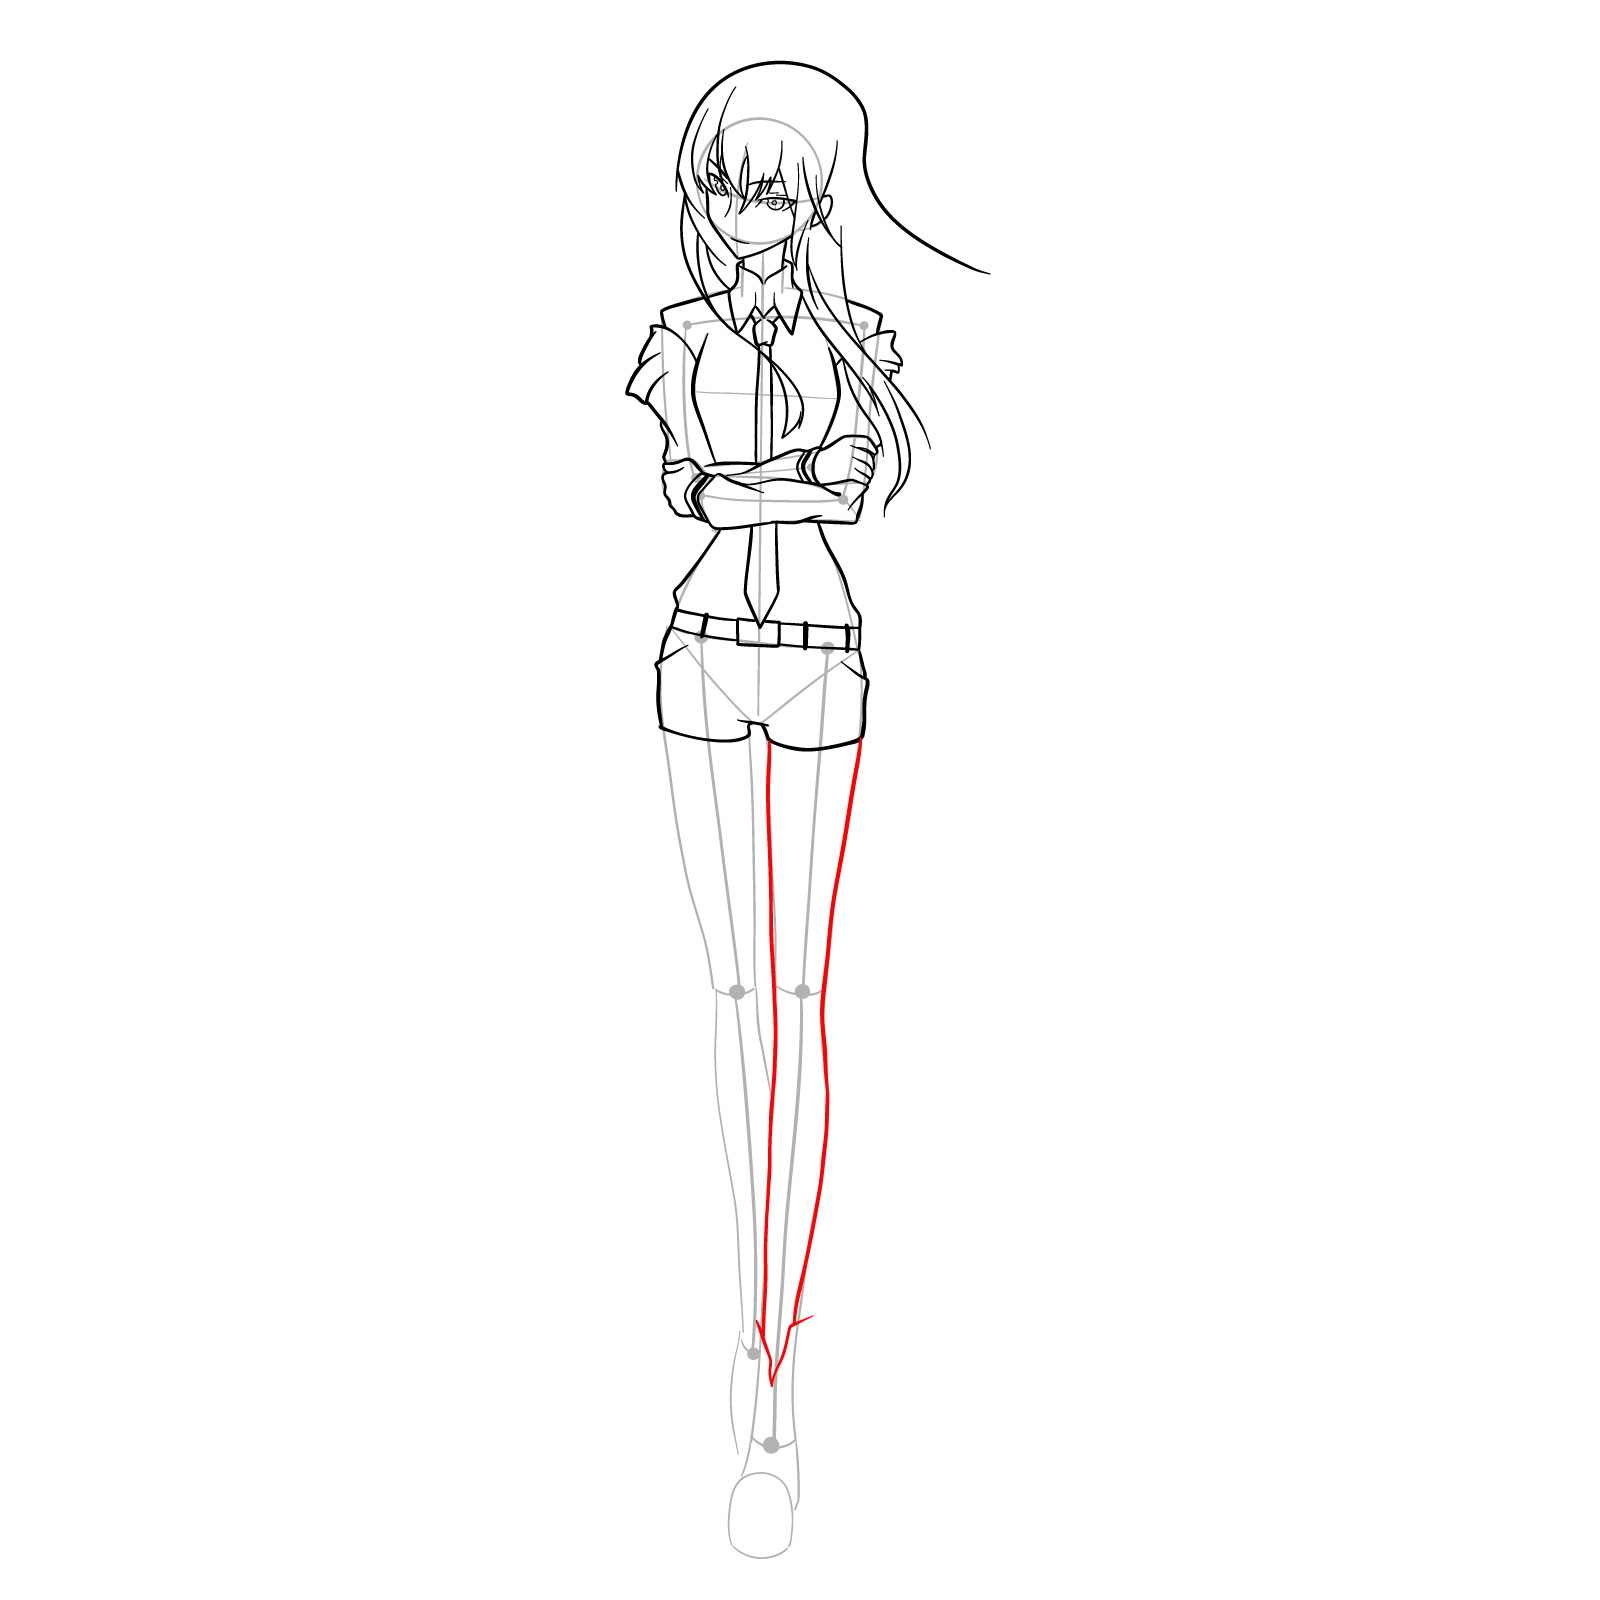
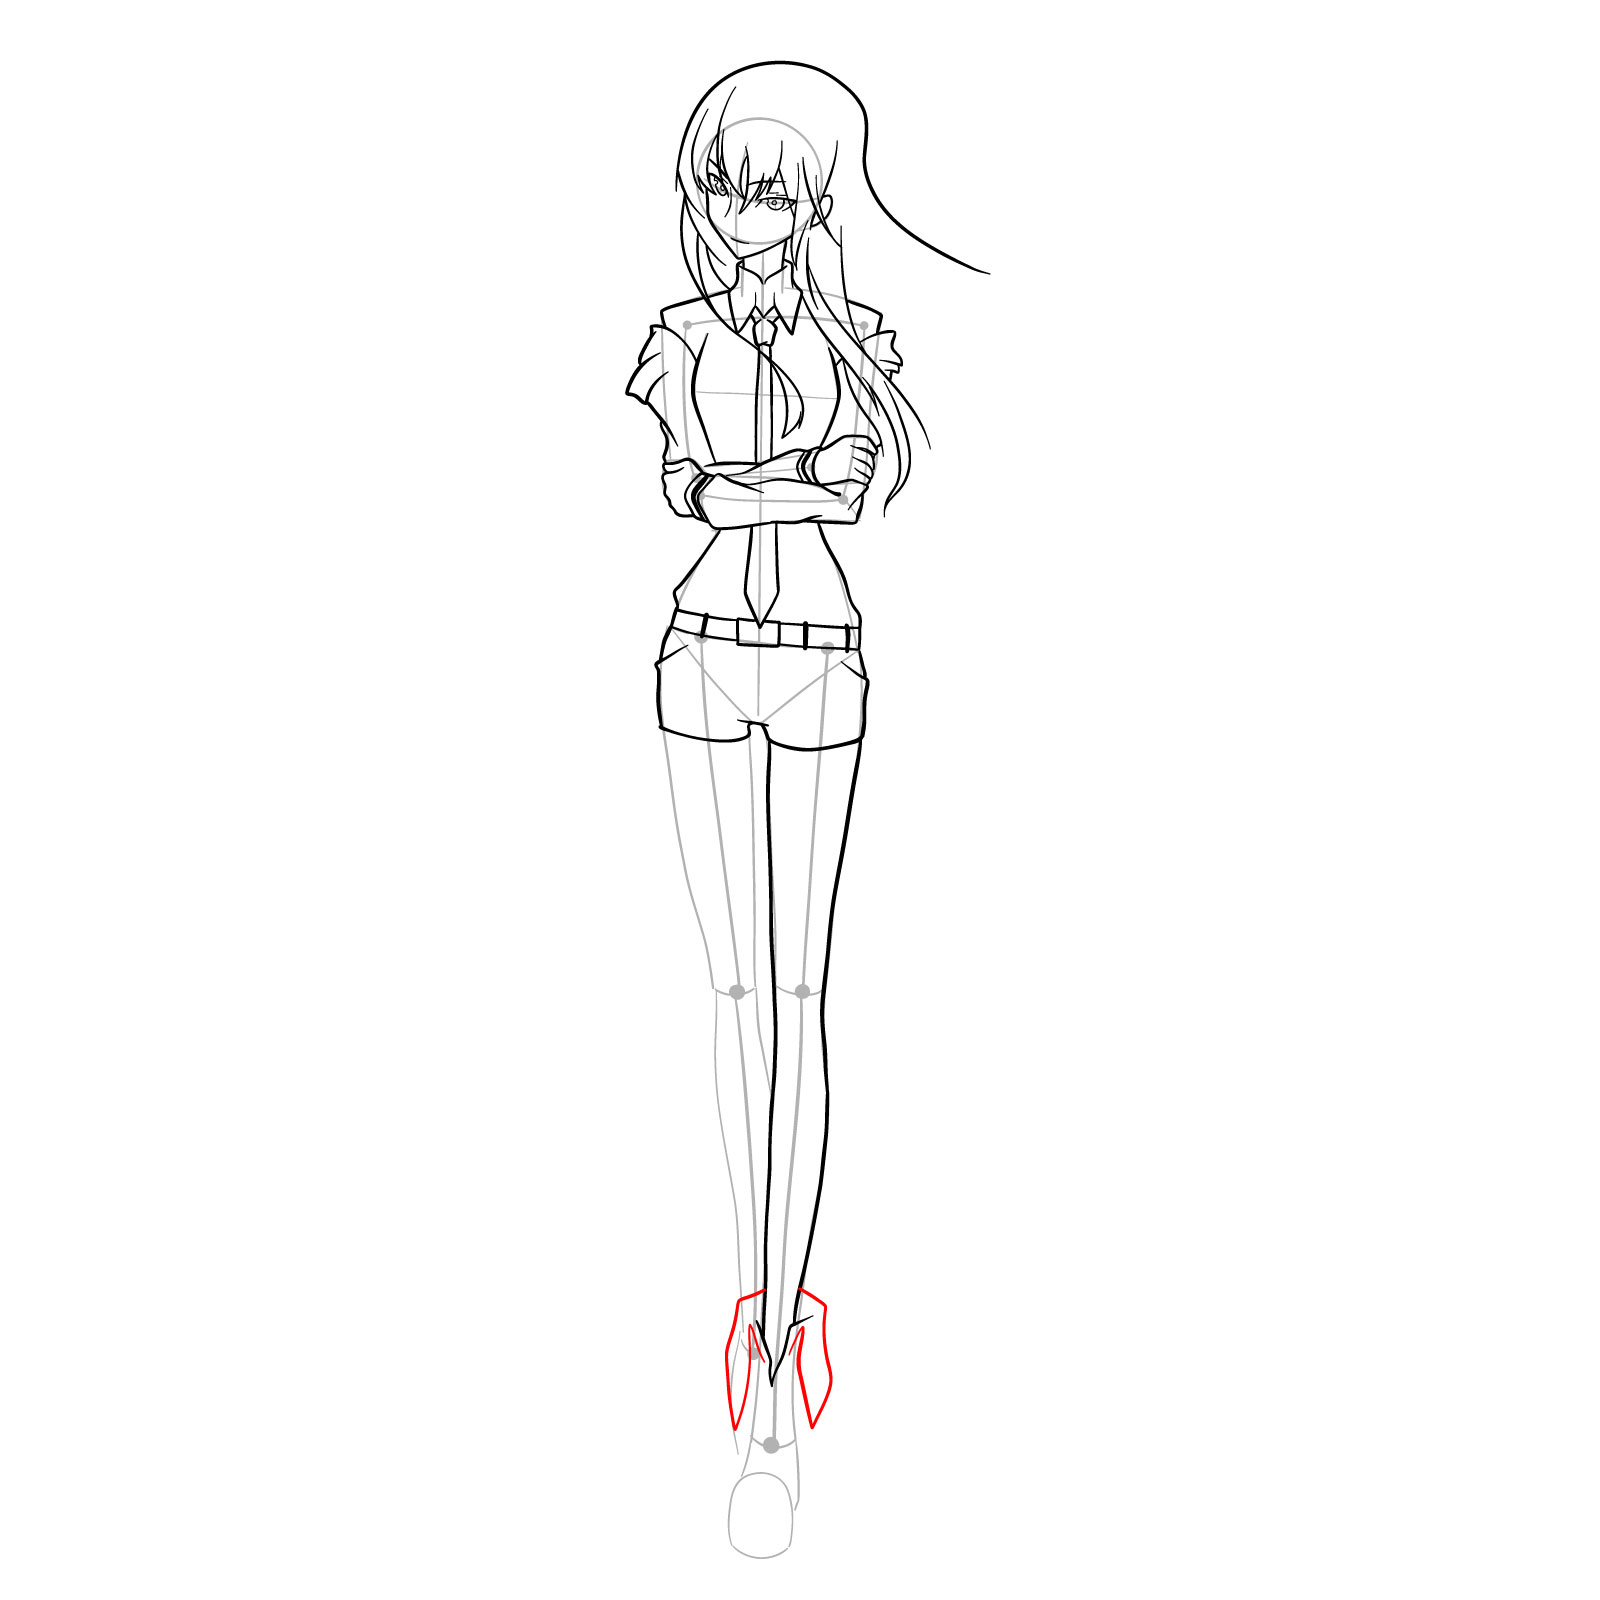
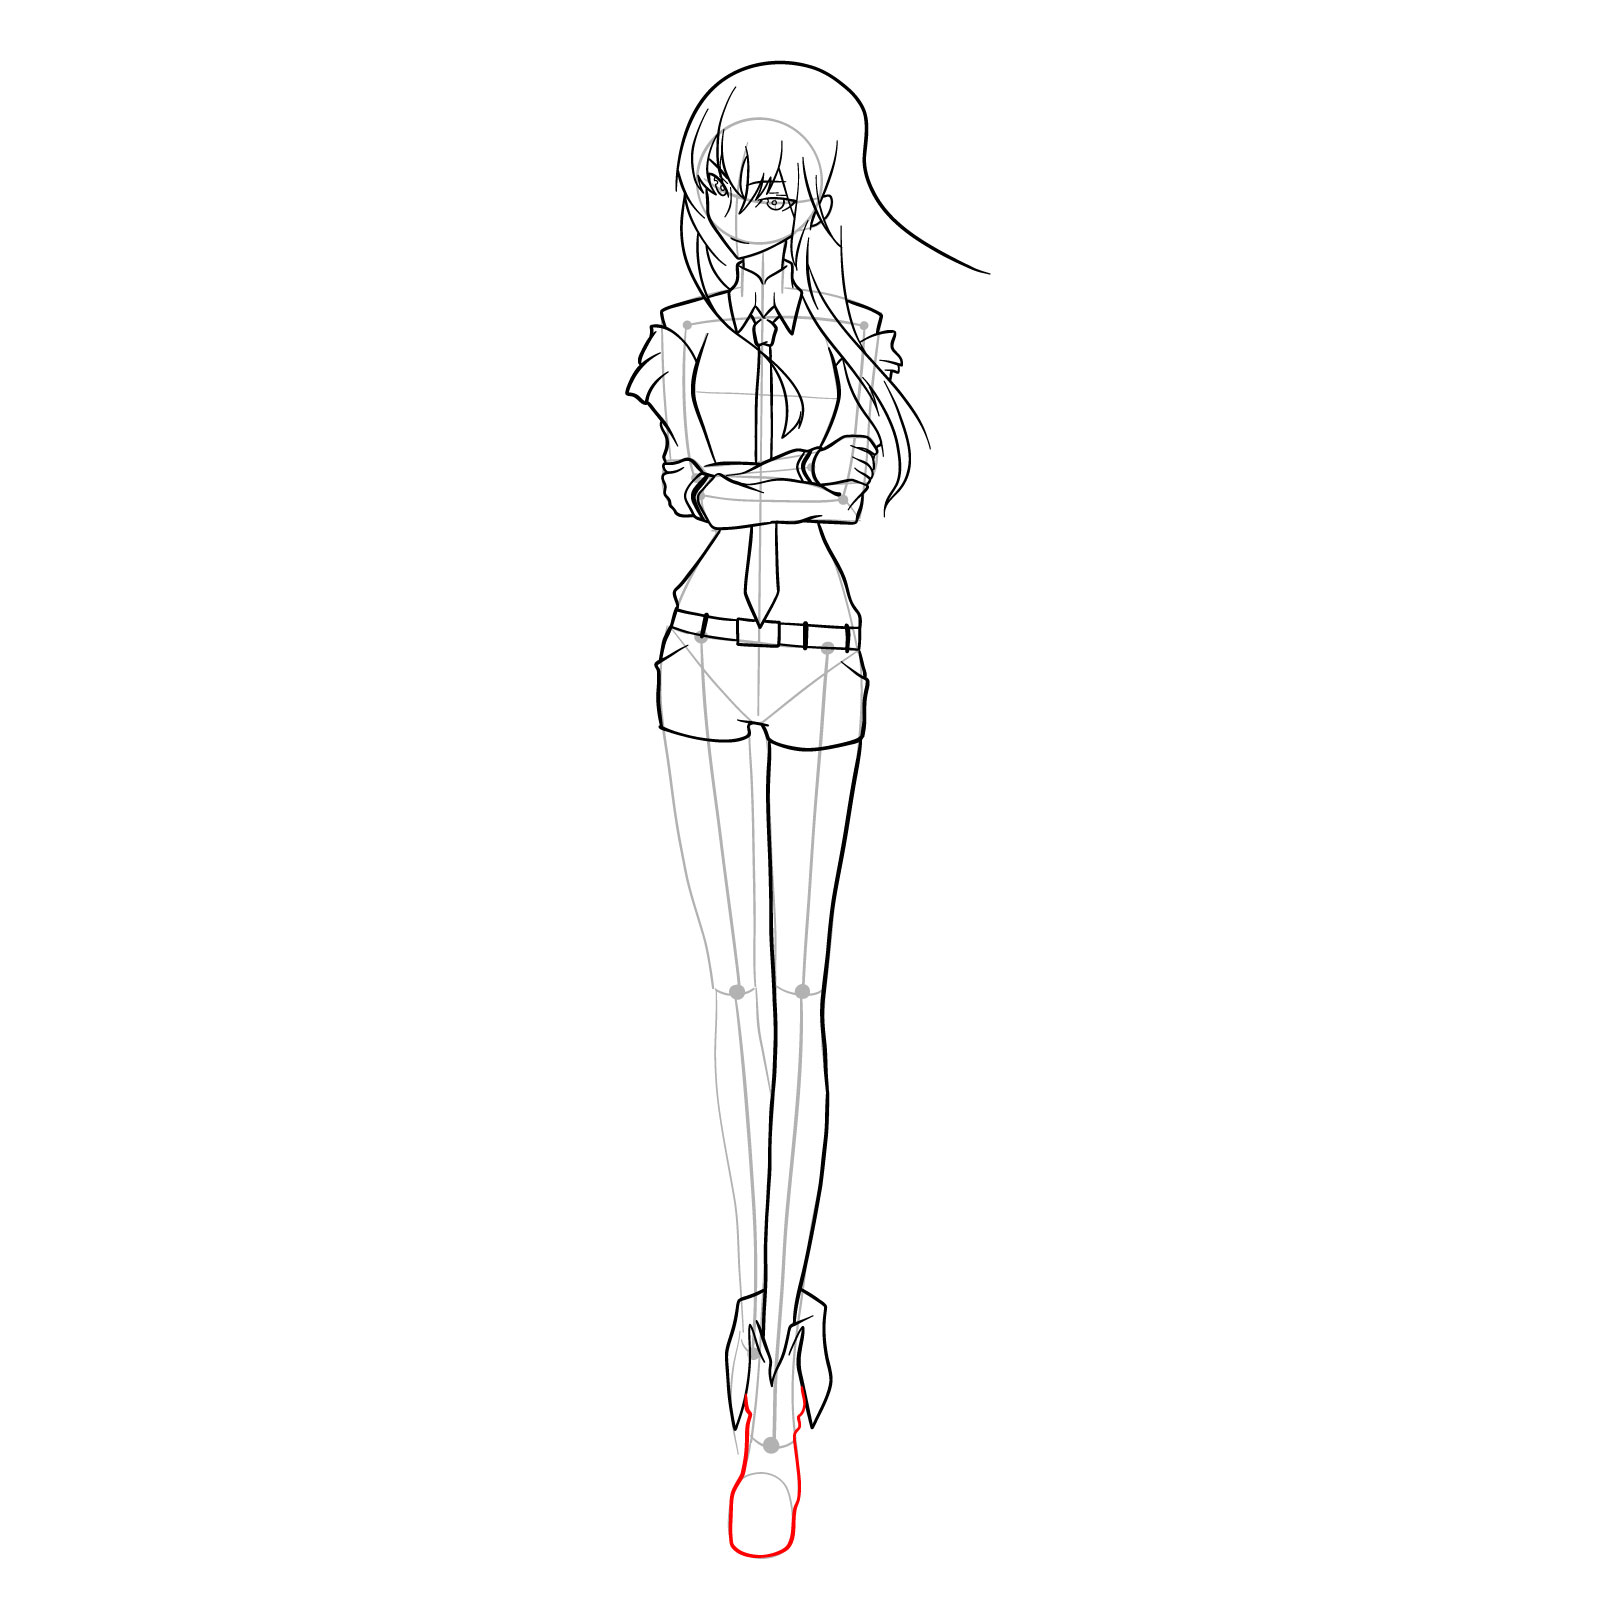
  • Fashion Sense: She sports a unique outfit consisting of a white long-sleeved blue-rimmed dress shirt with a red necktie. Black shorts layered over black tights, a loose khaki jacket, and partially unzipped black boots complete her ensemble.
  • Lab Coat: Once part of the Future Gadget Laboratory, Kurisu often wears Itaru Hashida’s white lab coat, showing her interest in the world of science.

Challenges for Artists

Drawing Kurisu Makise presents a few challenges that artists may encounter:

  • Hairstyle Details: Capturing the intricate nuances of Kurisu’s chestnut hair, from its color variation to its length and flow, requires attention to detail.
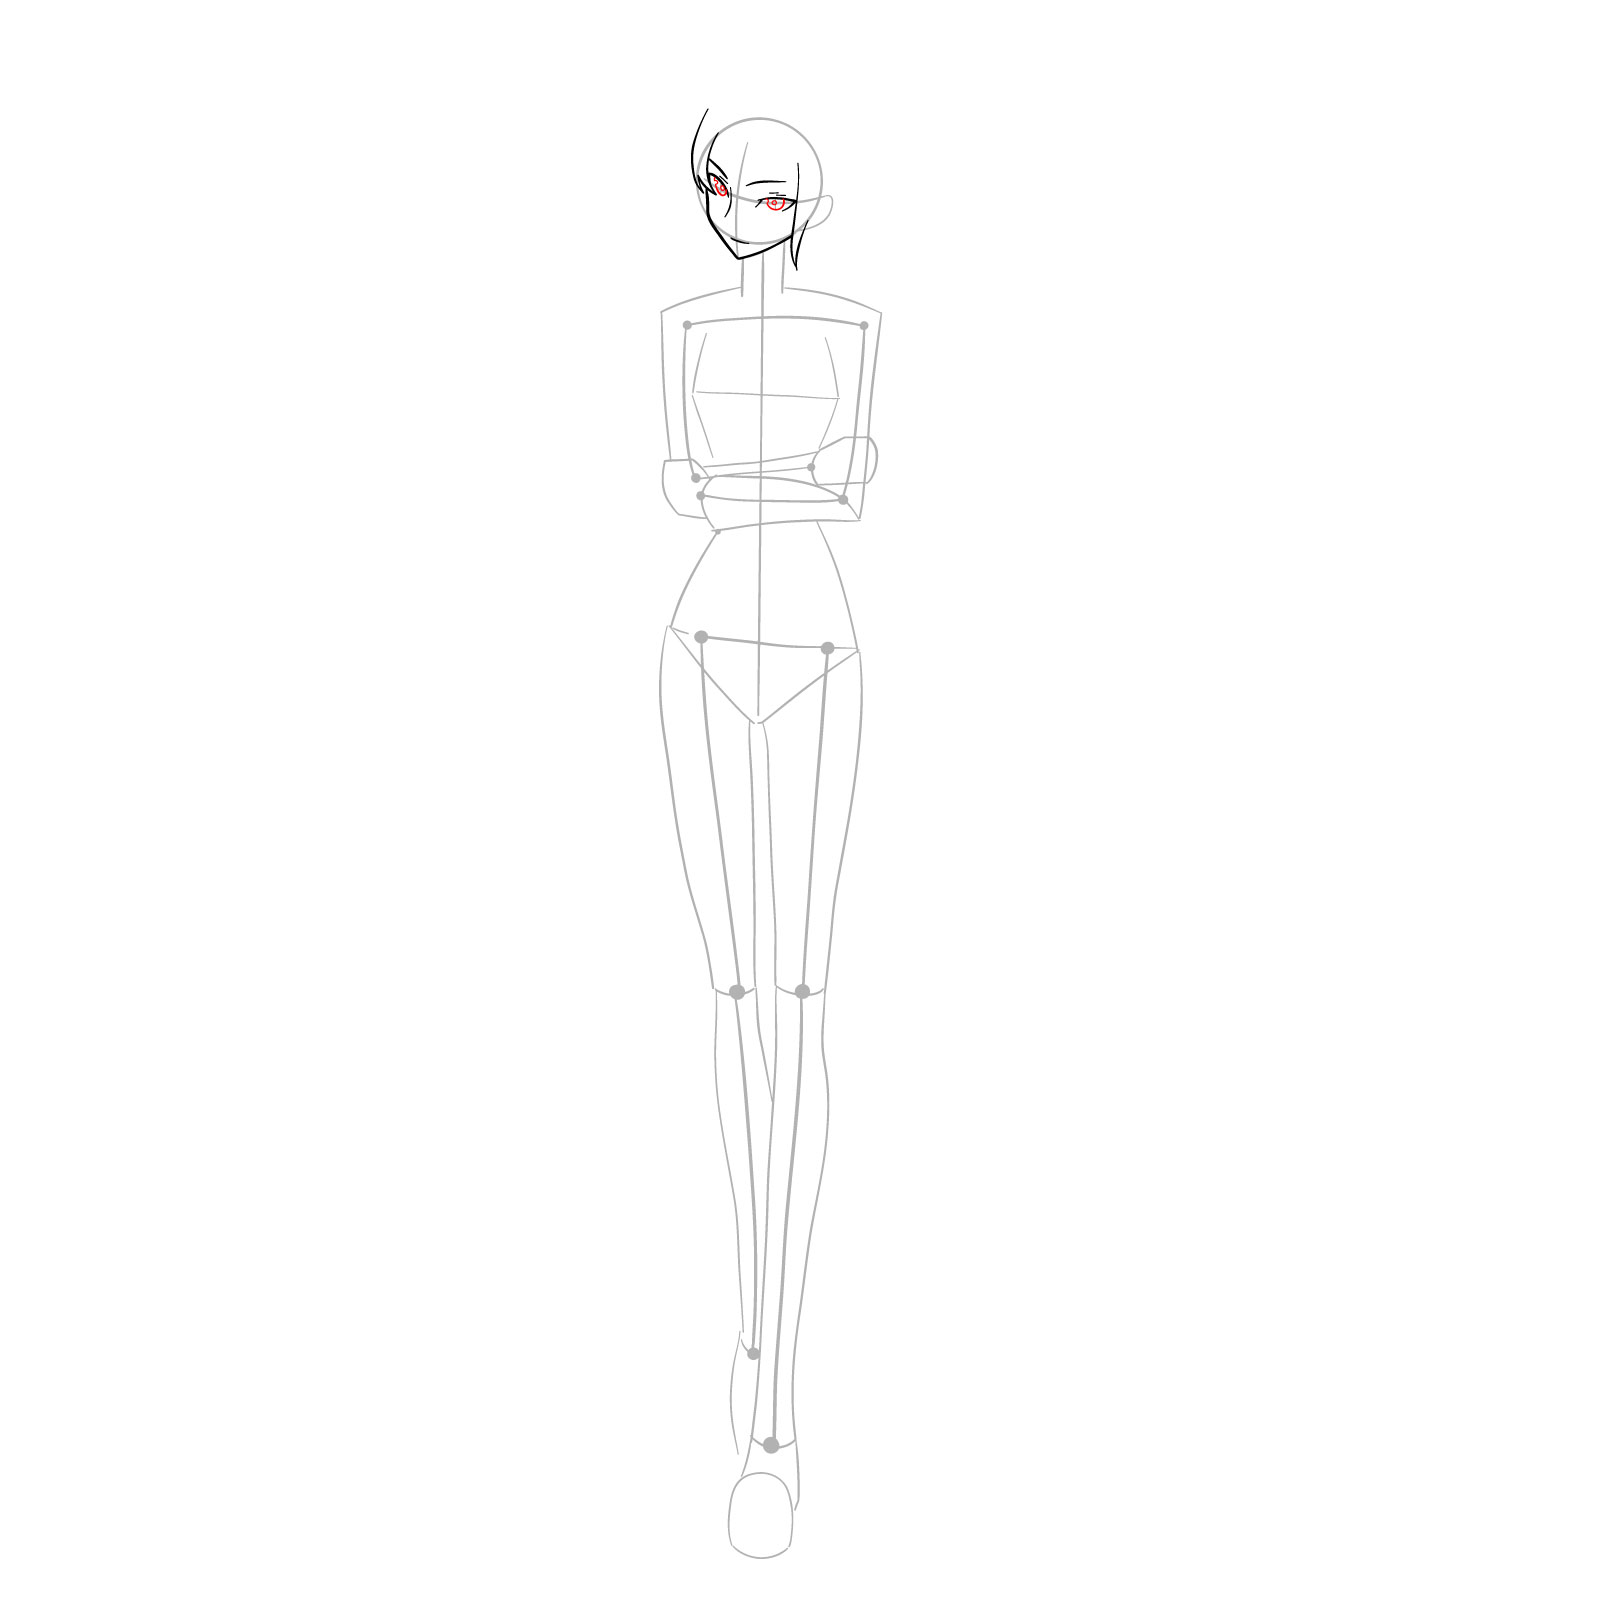
  • Facial Expressions: Kurisu’s dull violet eyes hold depth and emotion, and accurately portraying her expressions can be a rewarding yet challenging task.
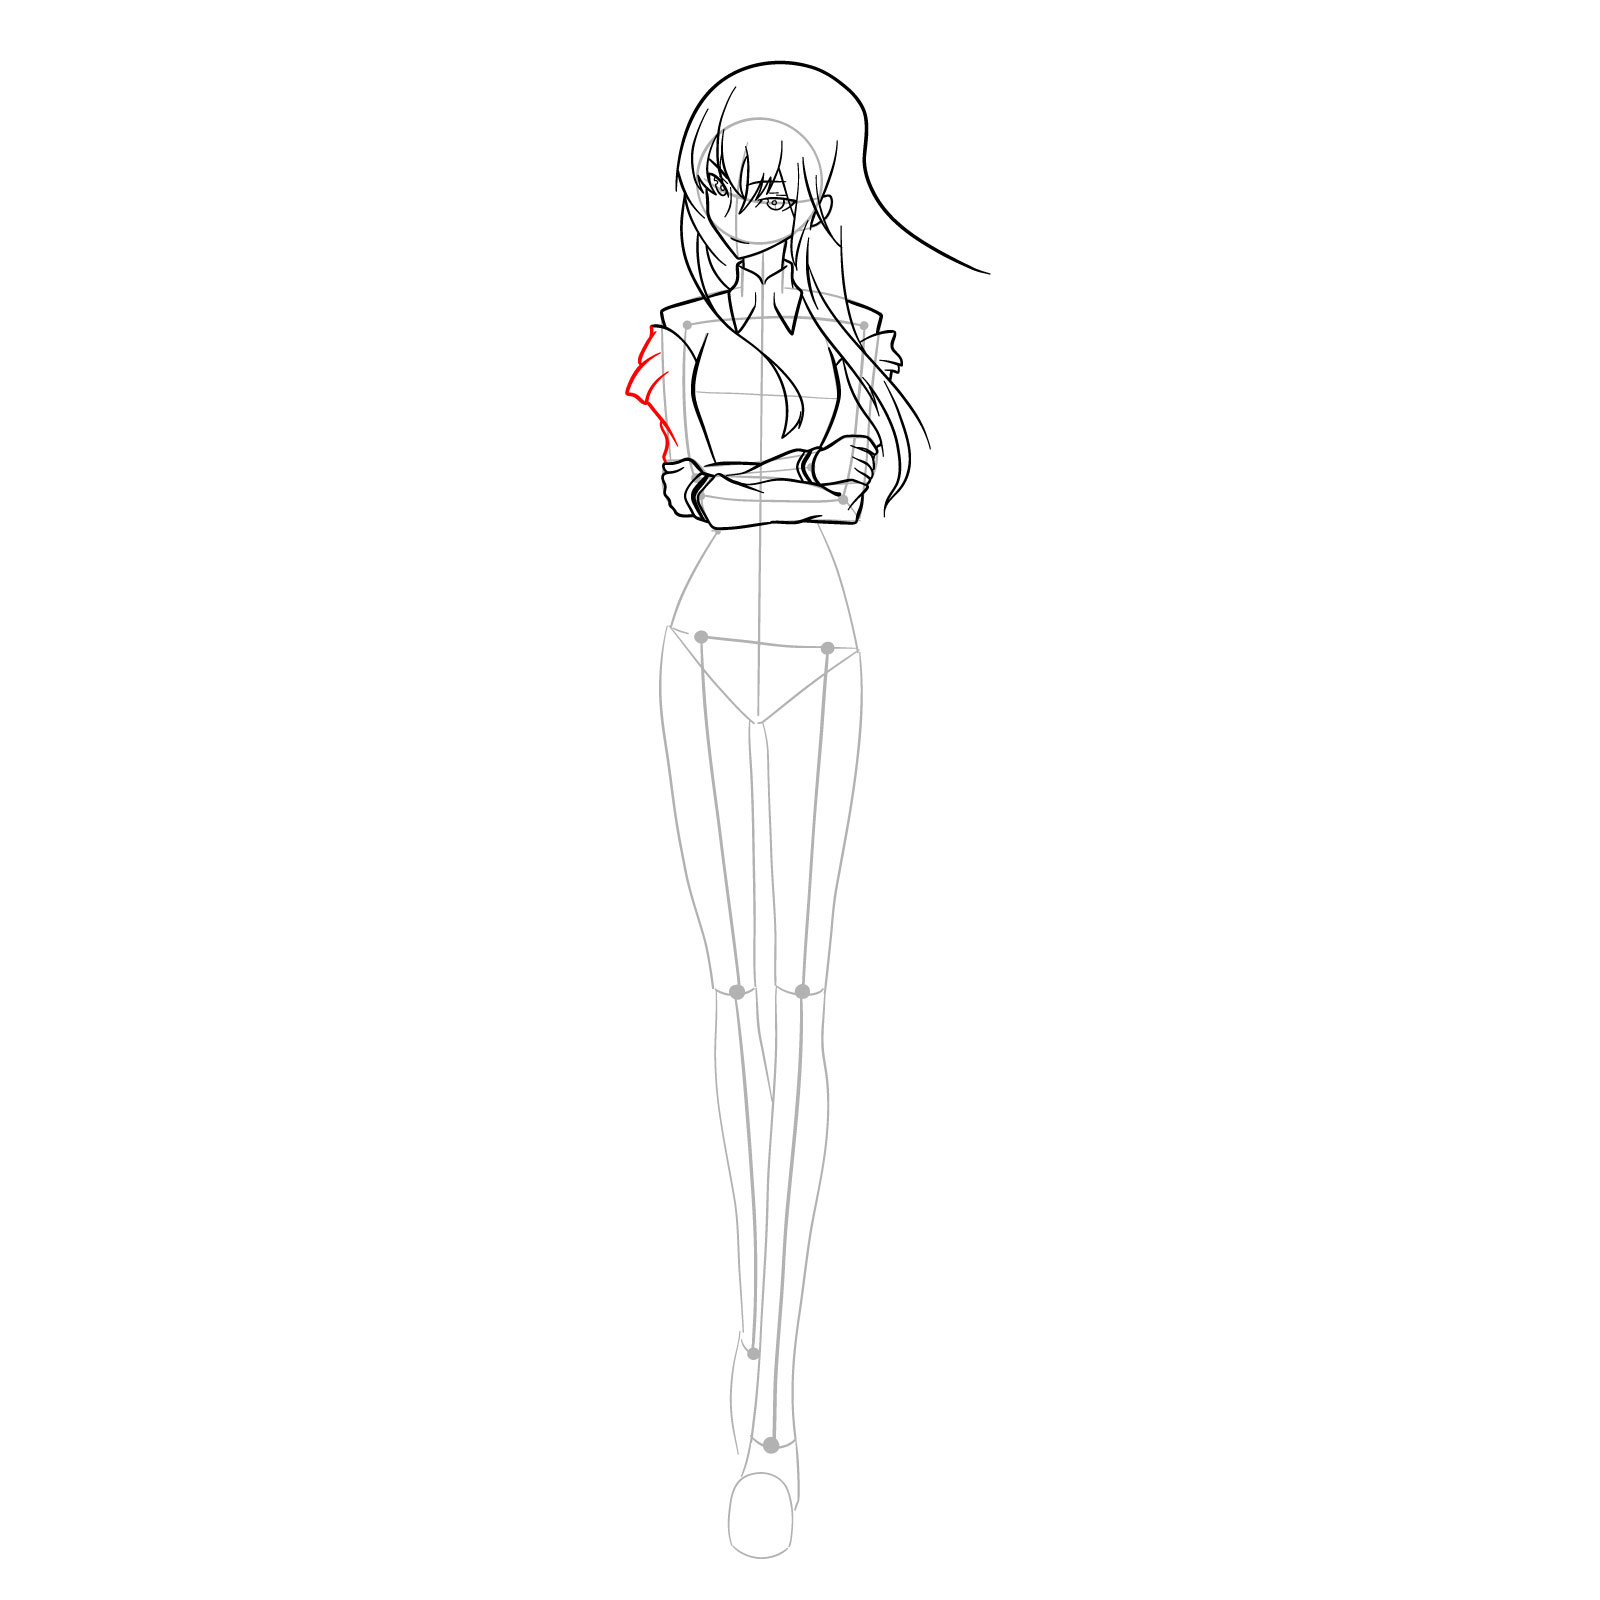
  • Fashion Details: Paying attention to the intricate details of Kurisu’s outfit, such as the shirt’s folds, tie placement, and the straps on her jacket, adds realism and authenticity to the drawing.
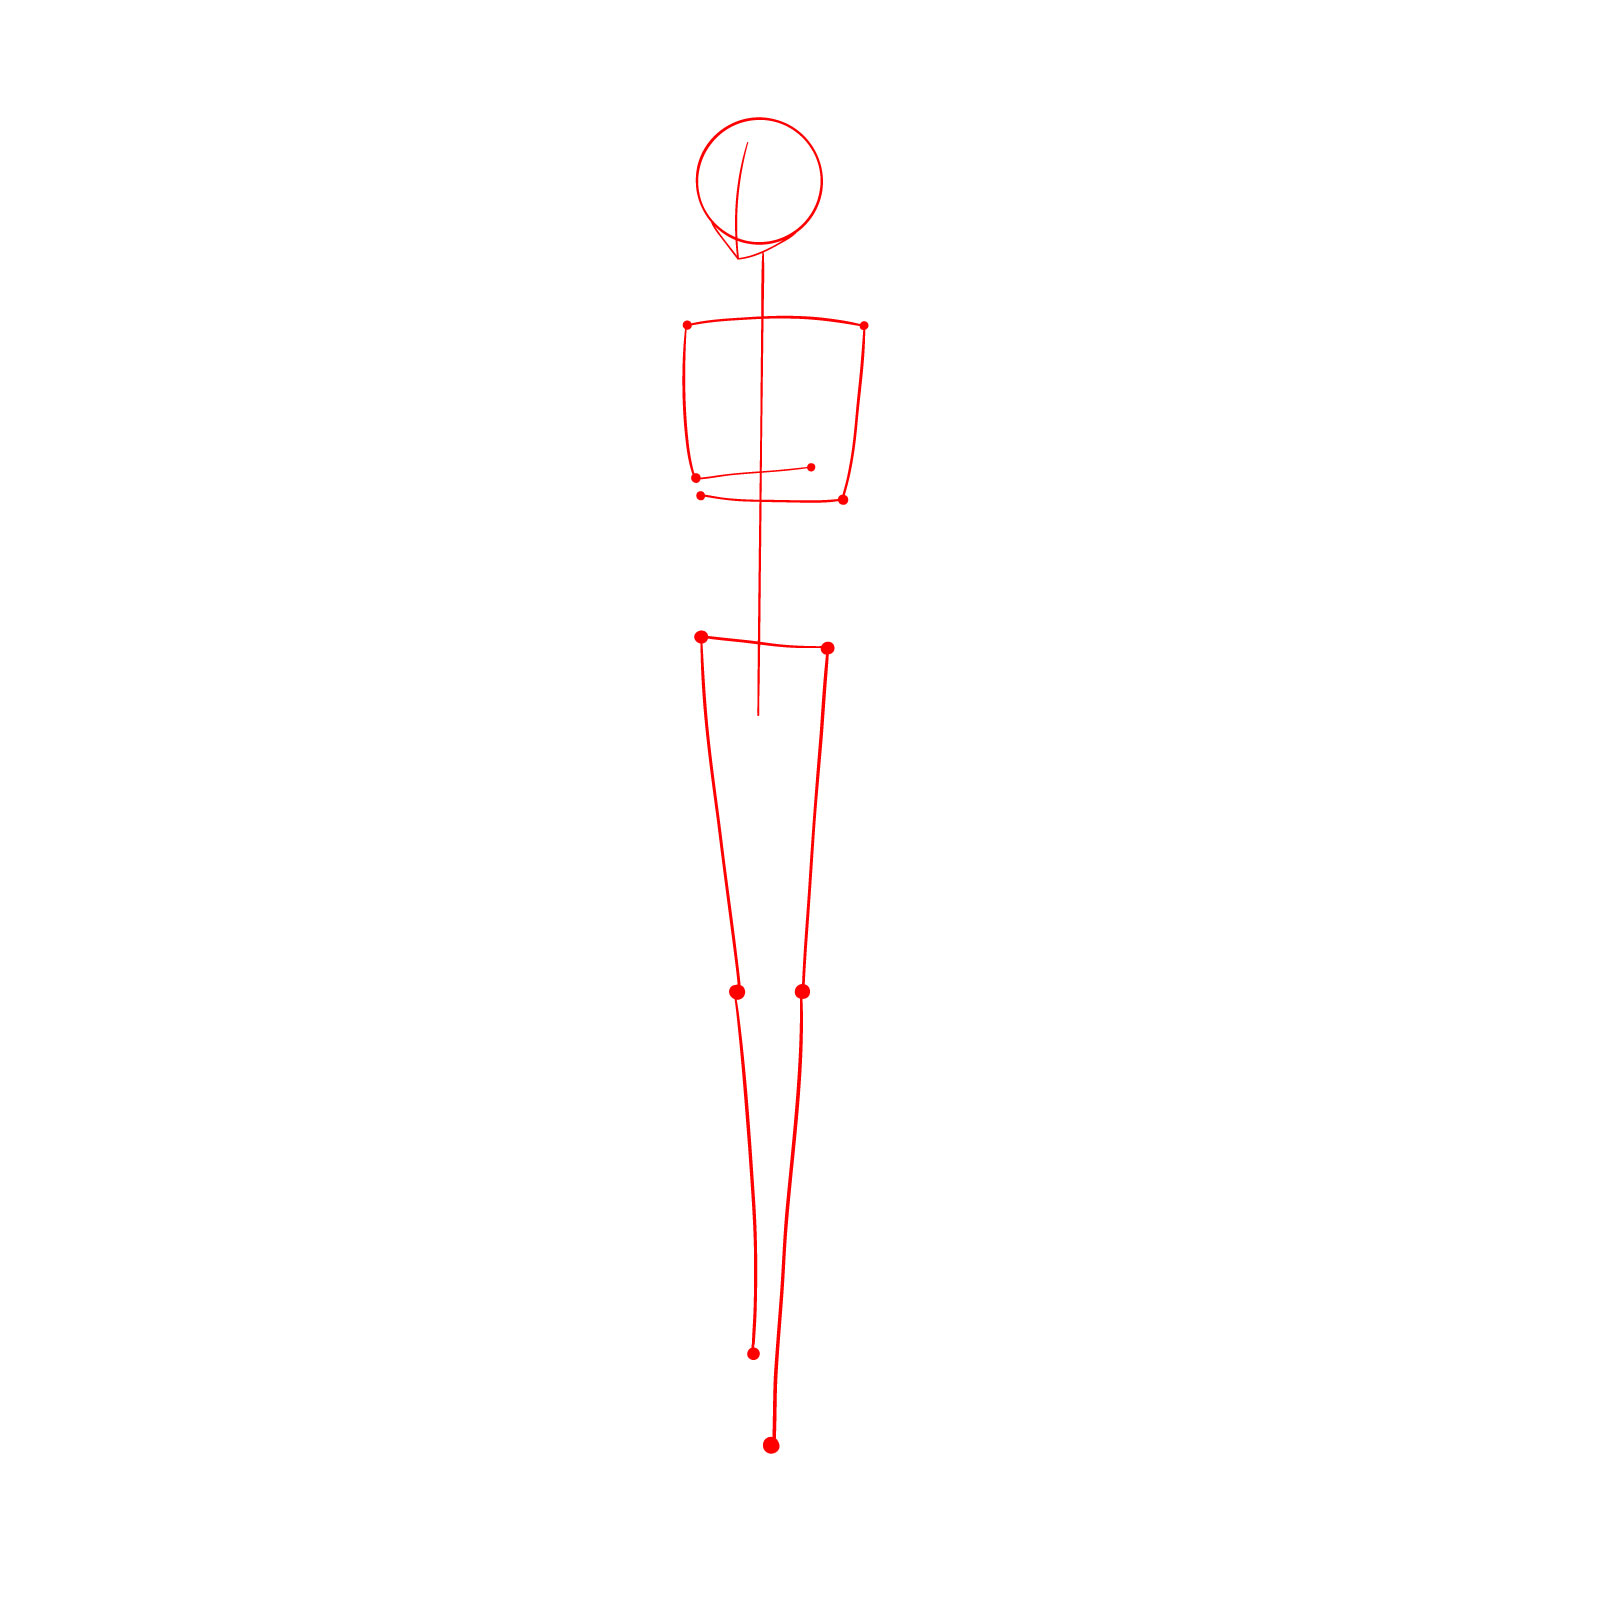
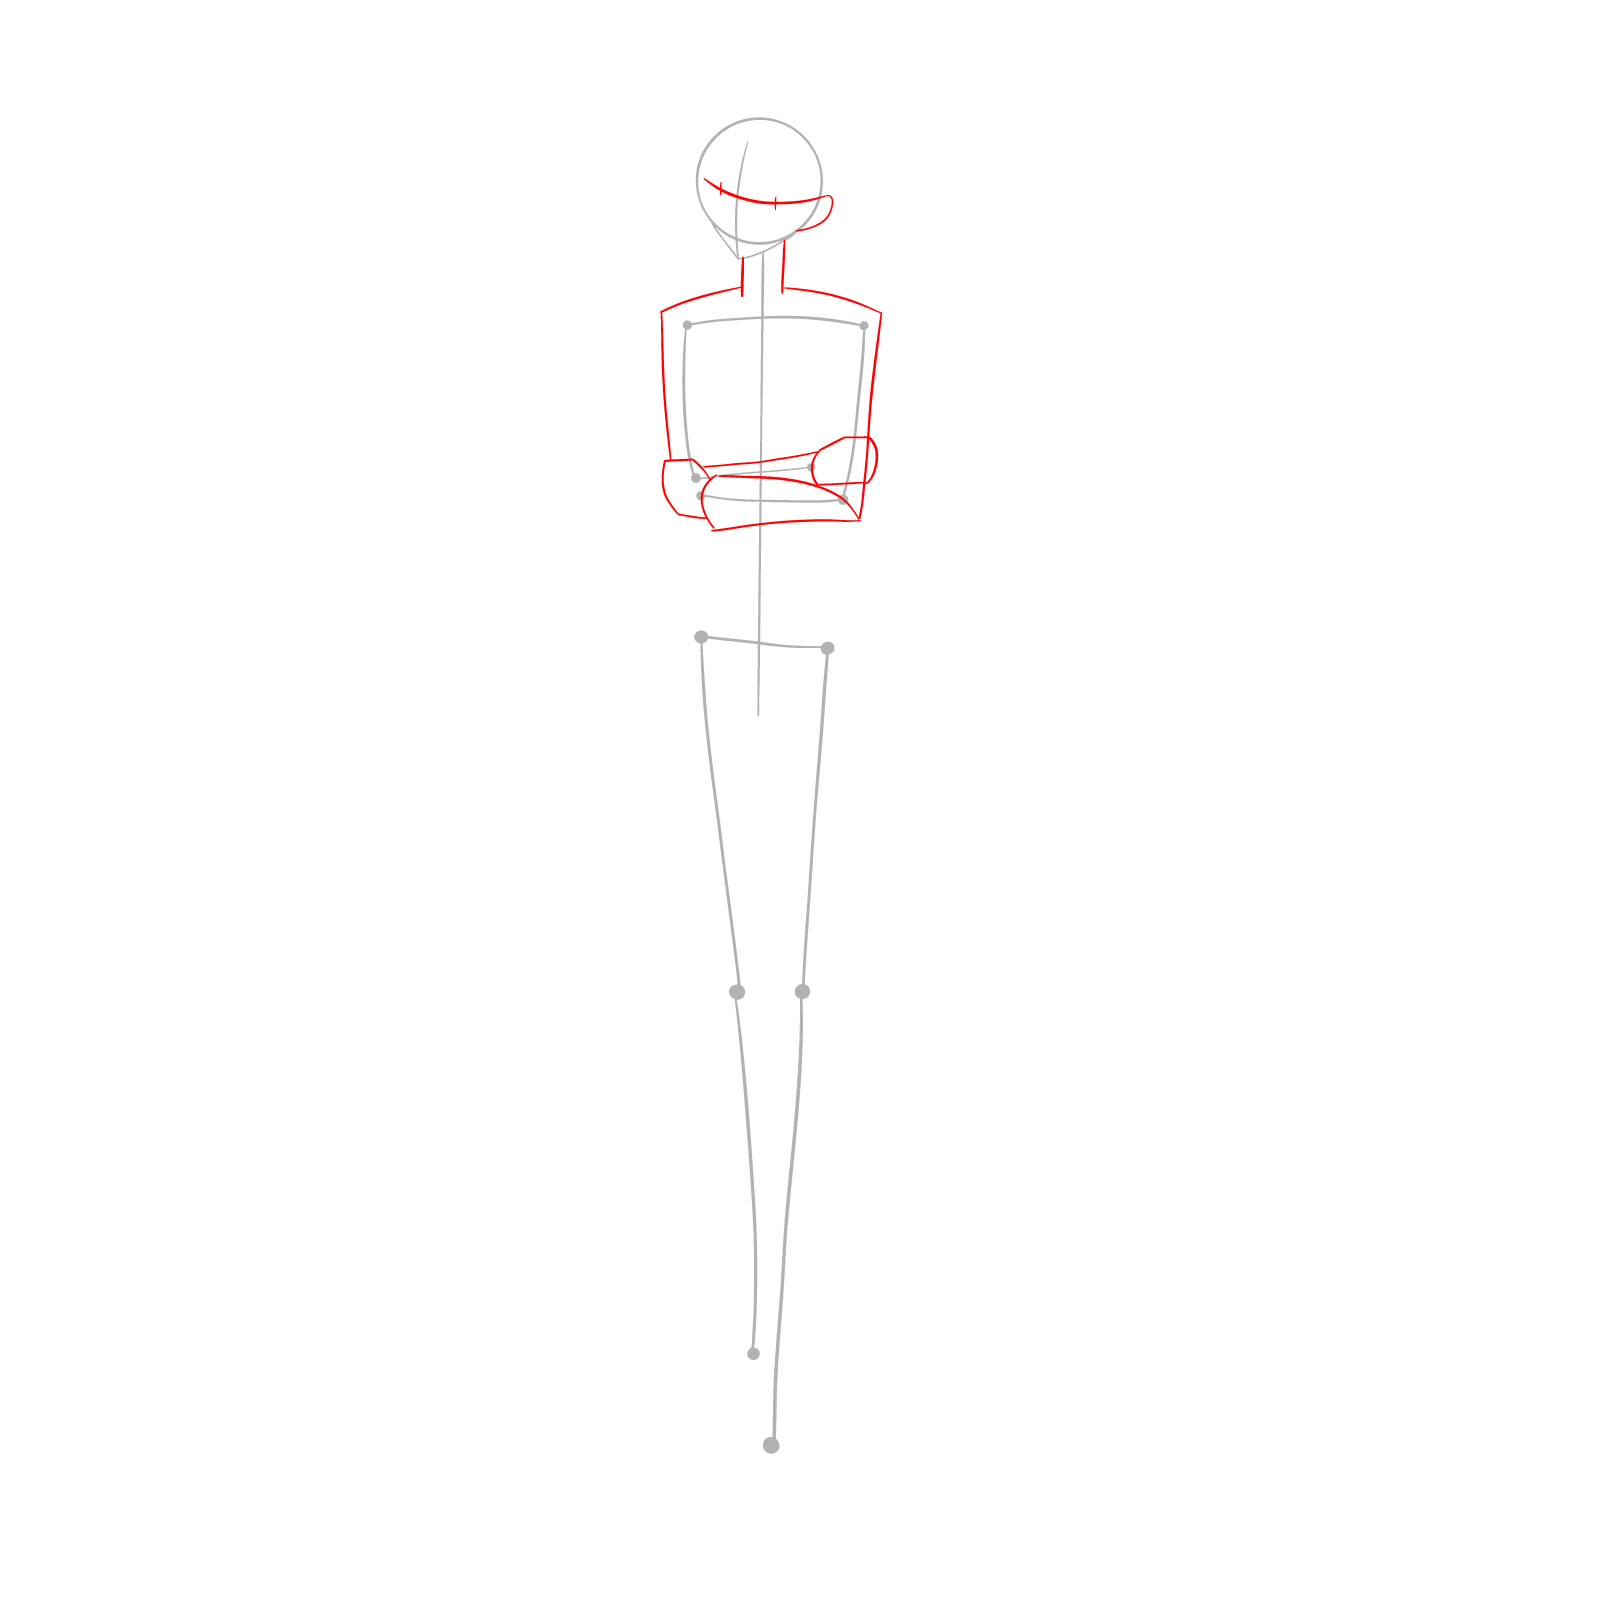
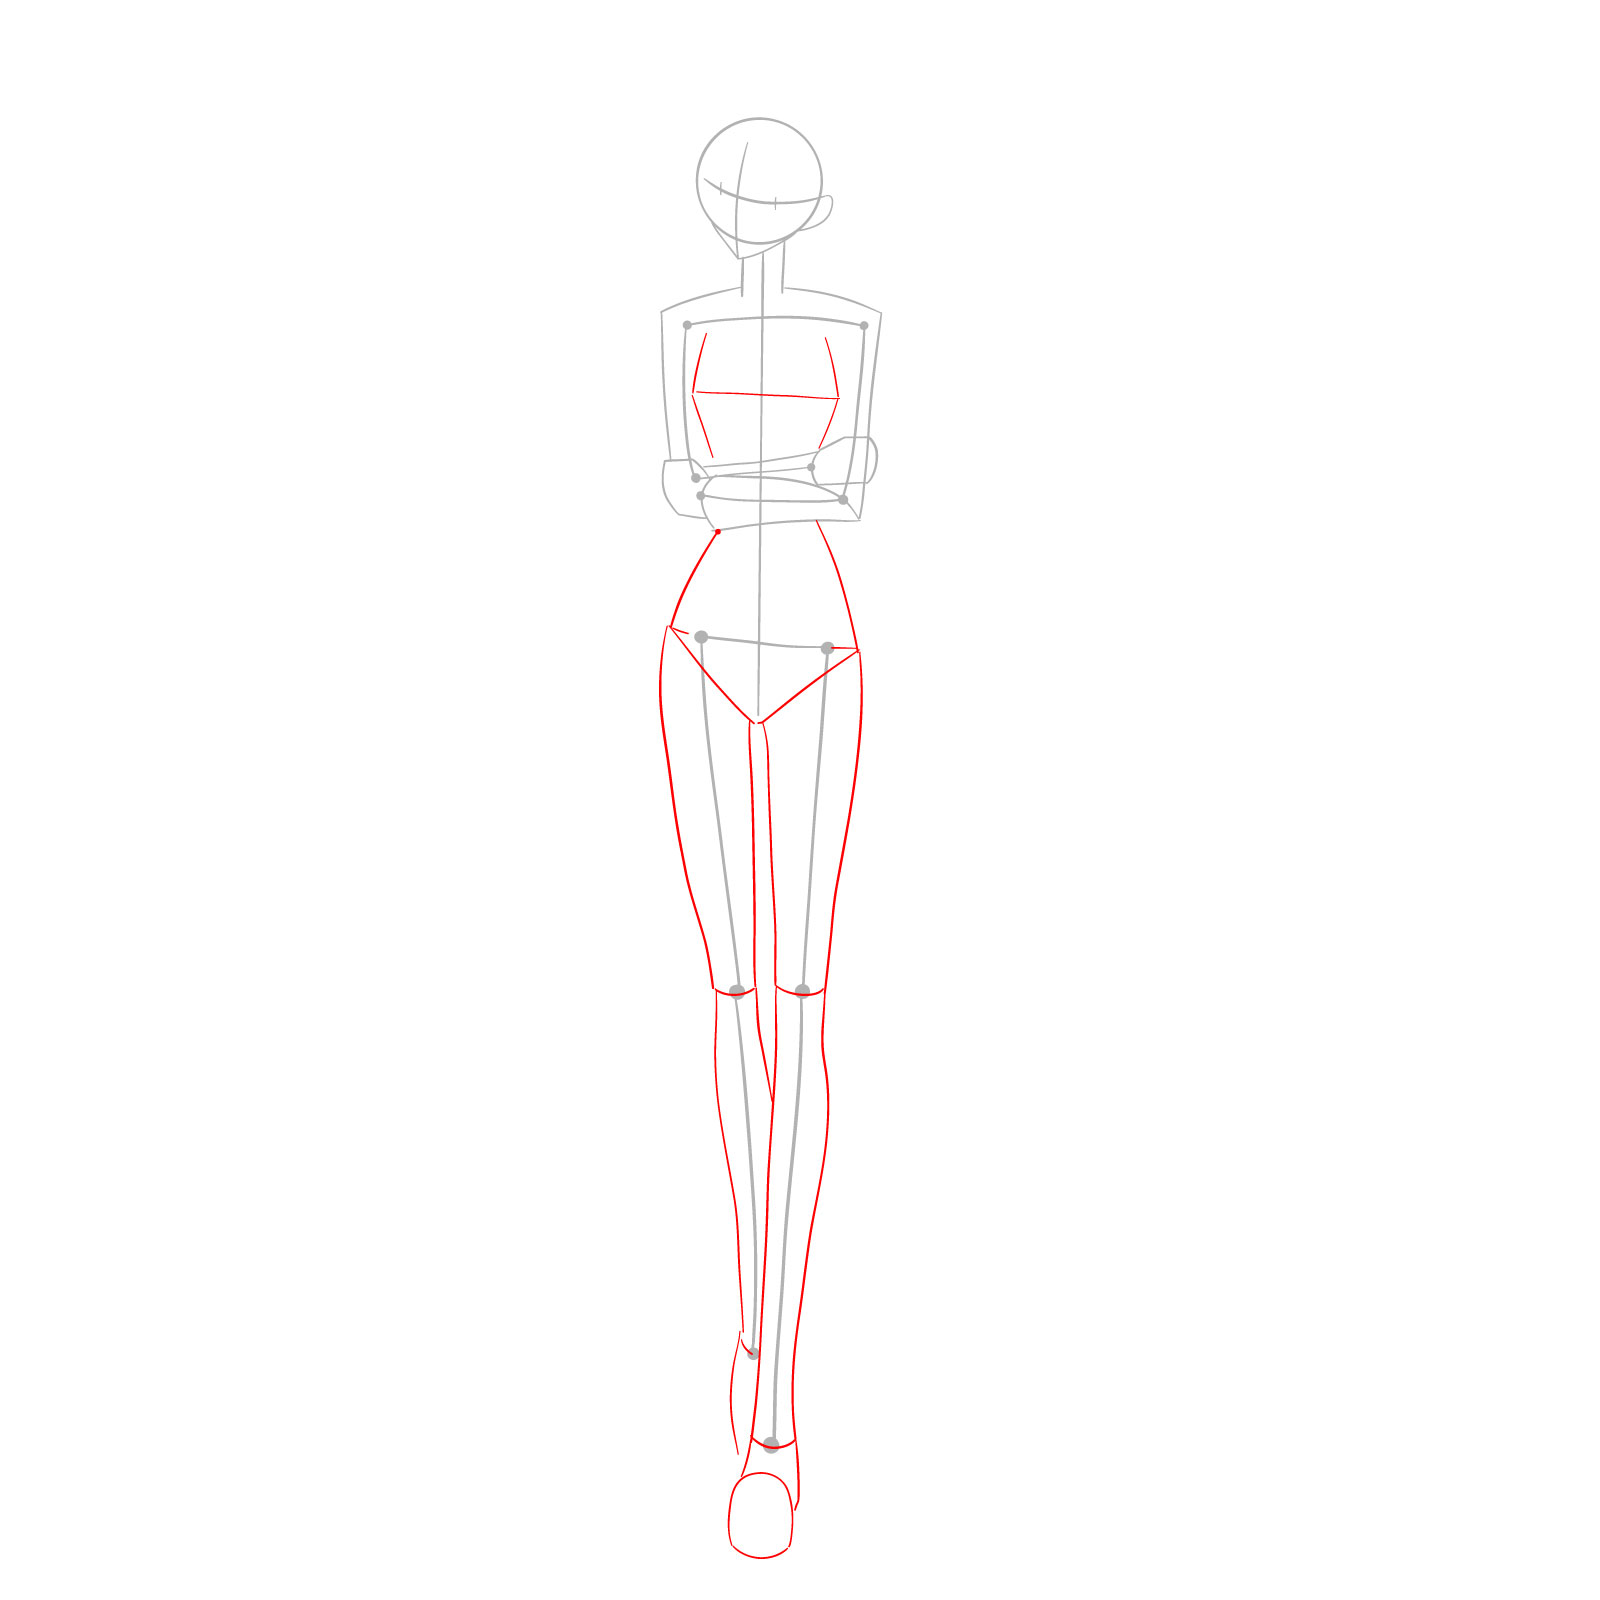
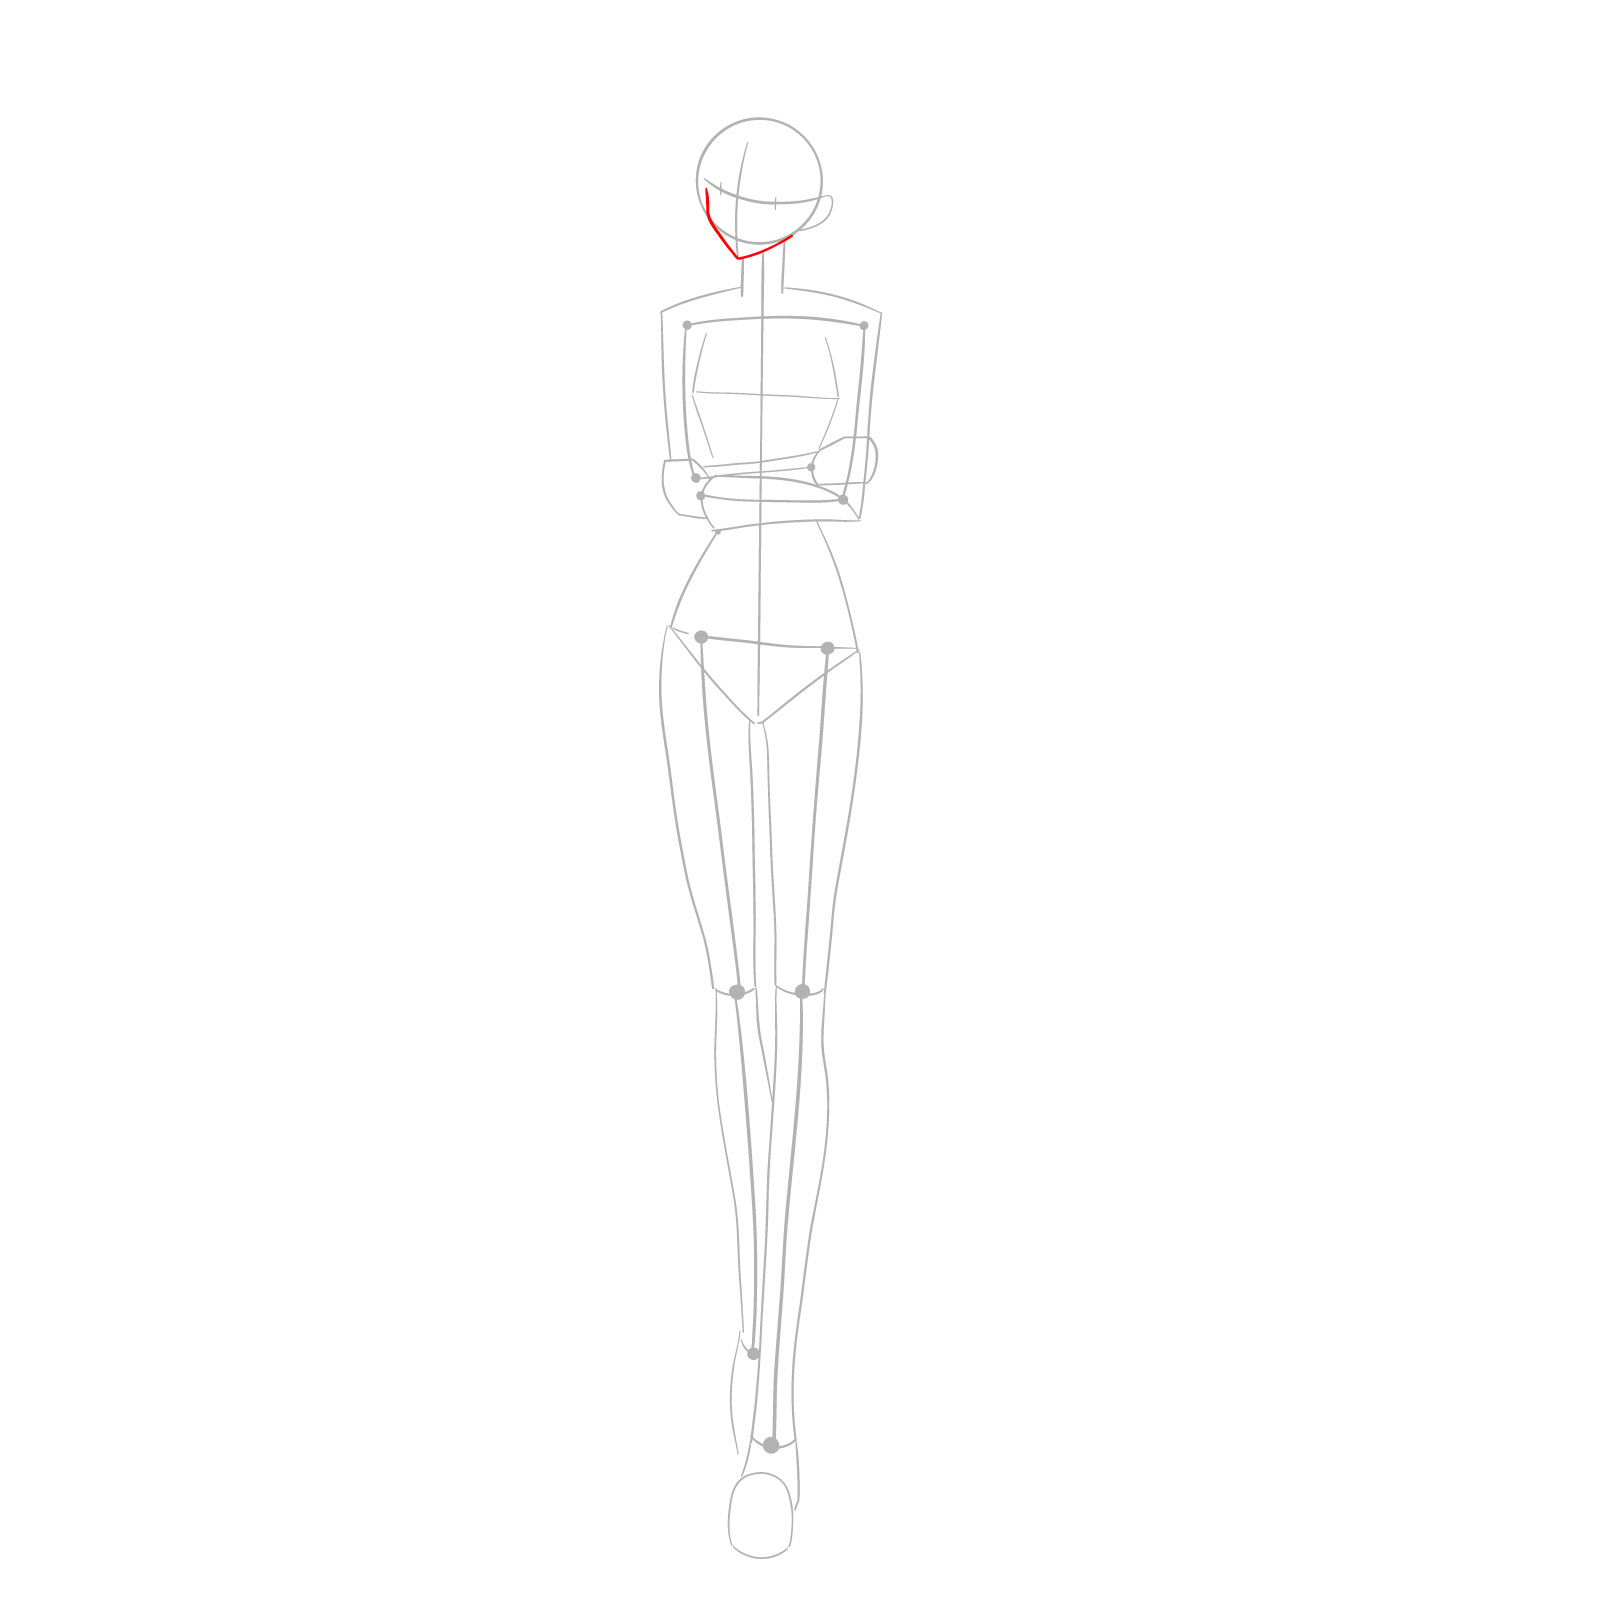
Drawing Guide

Our drawing guide for Kurisu Makise will take you through each step of the artistic process, allowing you to capture her essence with precision and creativity.

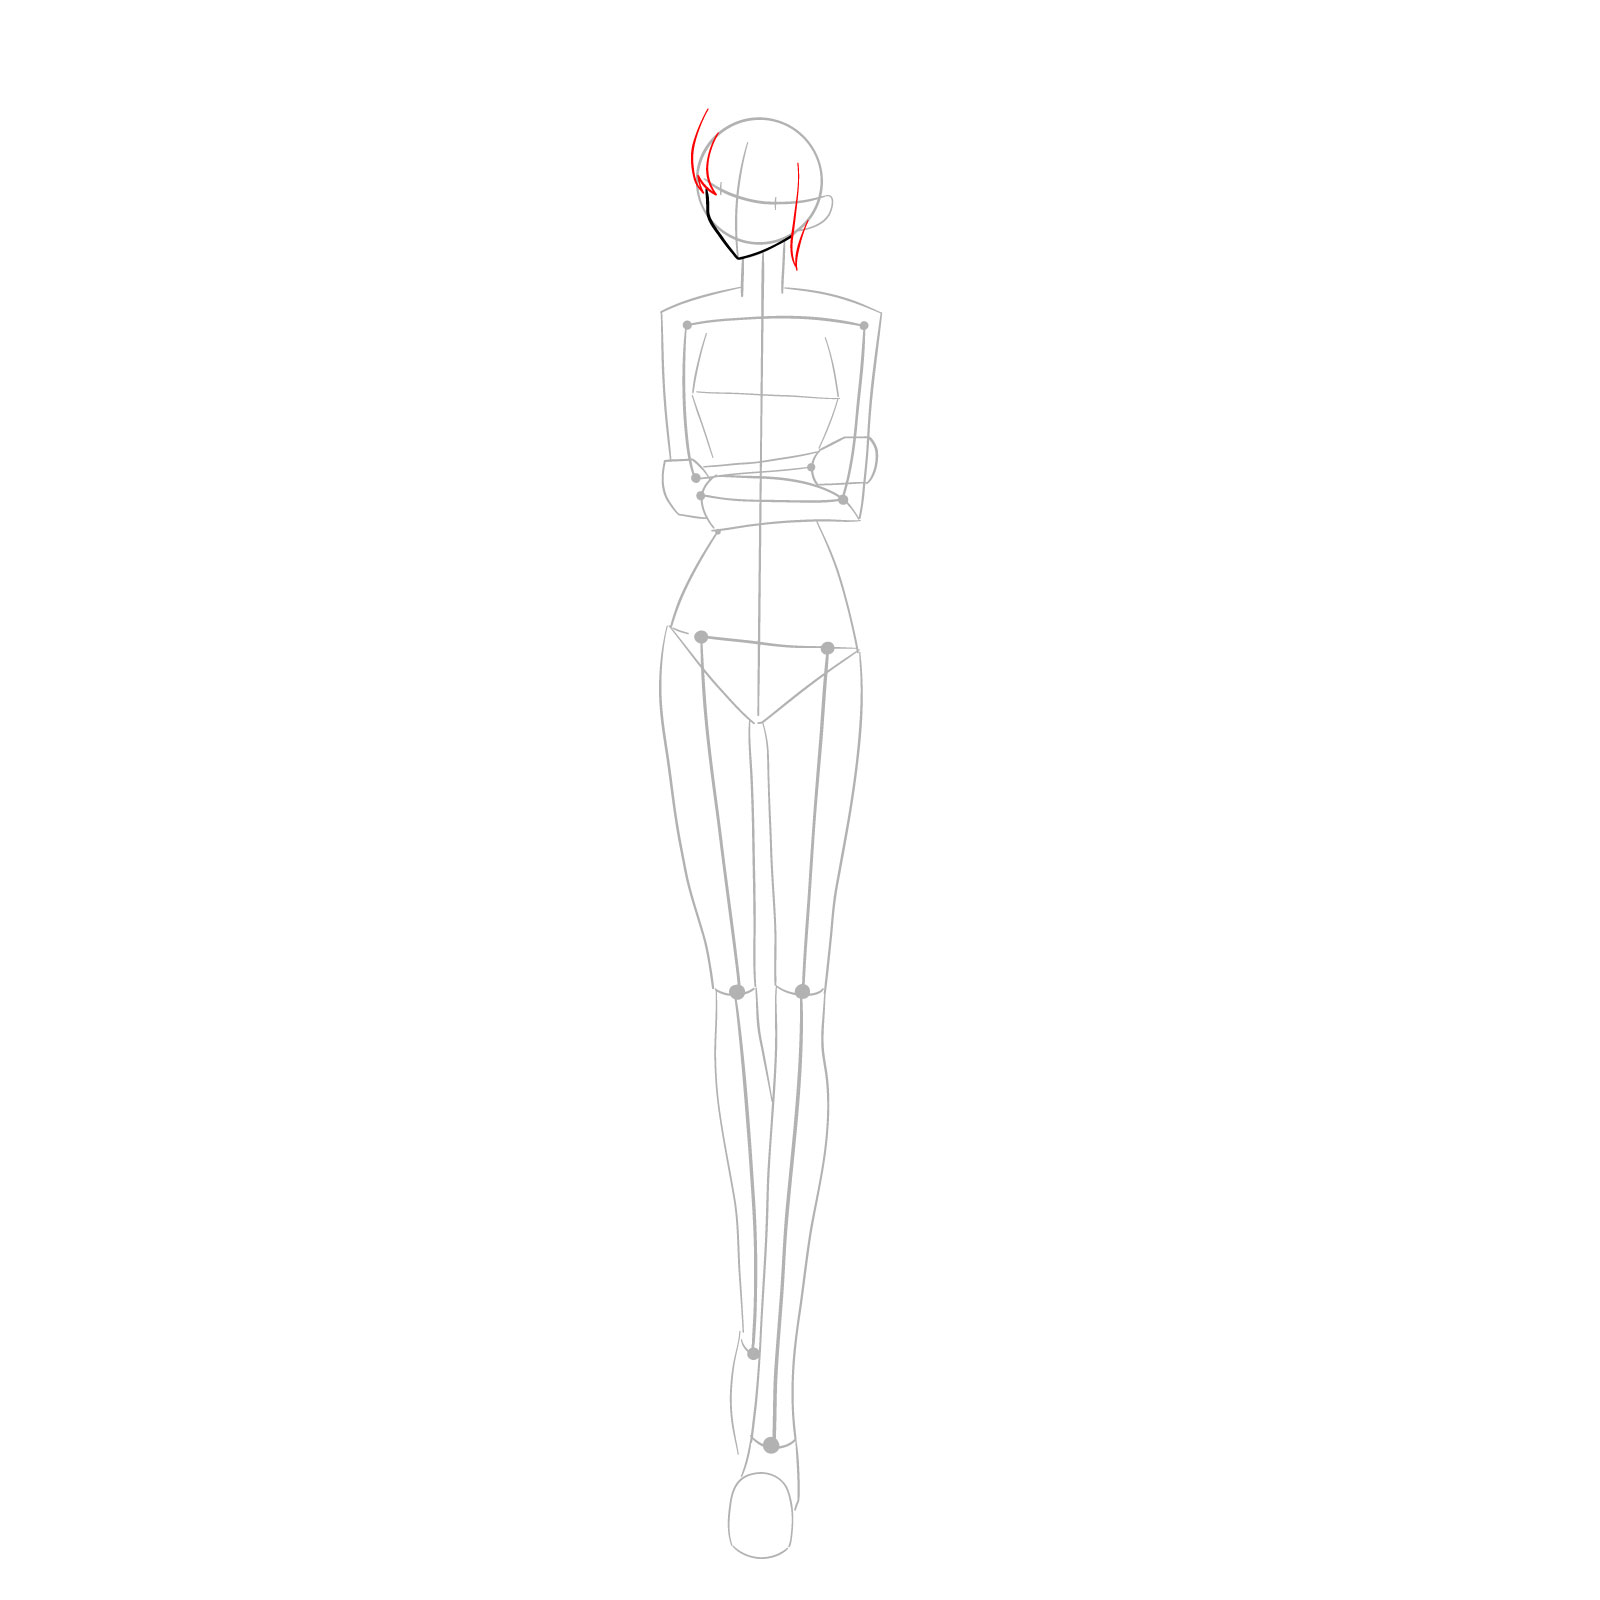
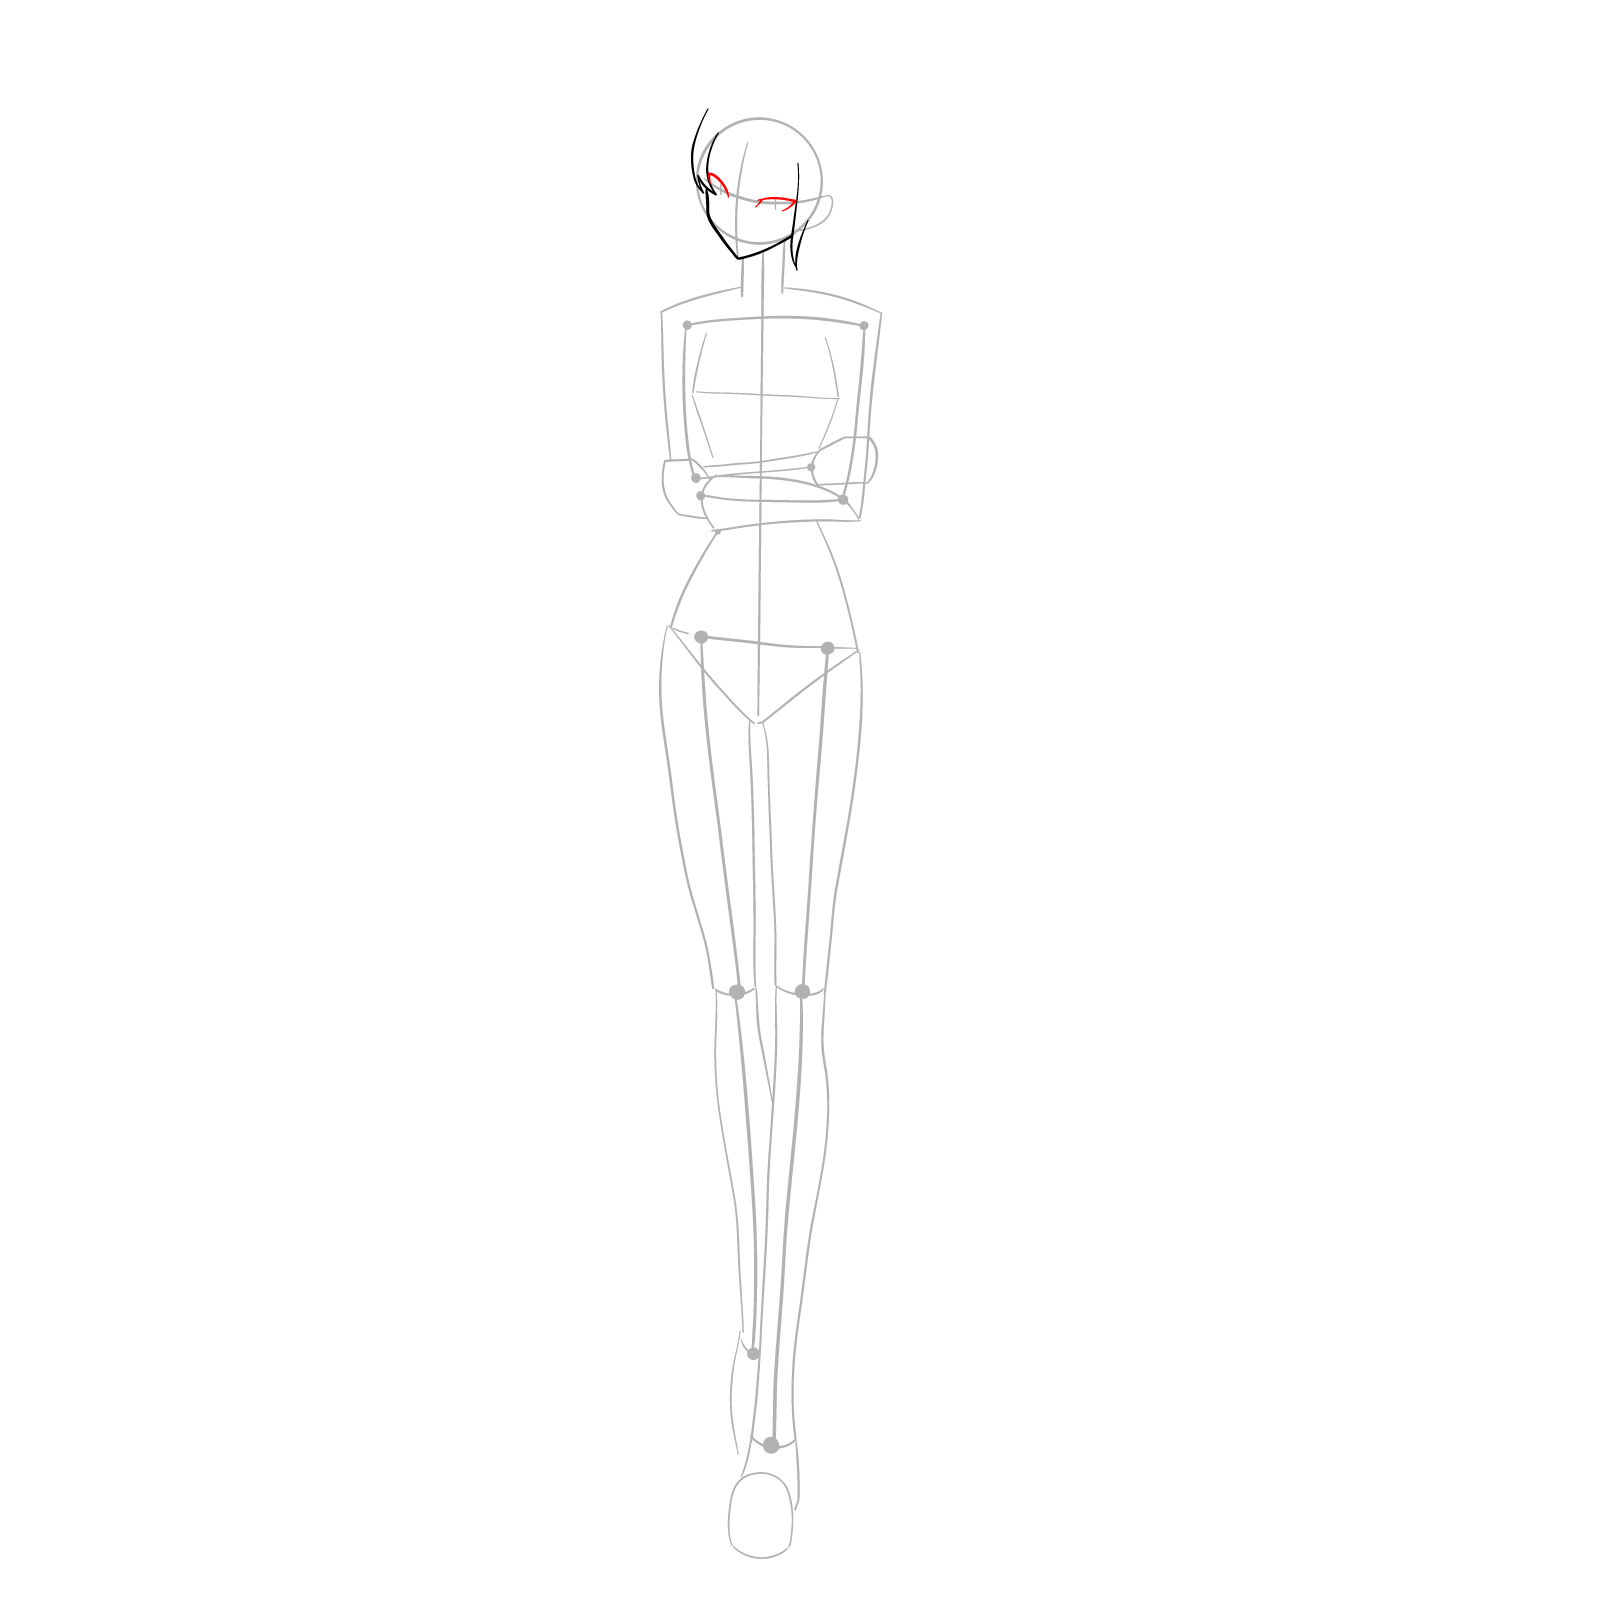
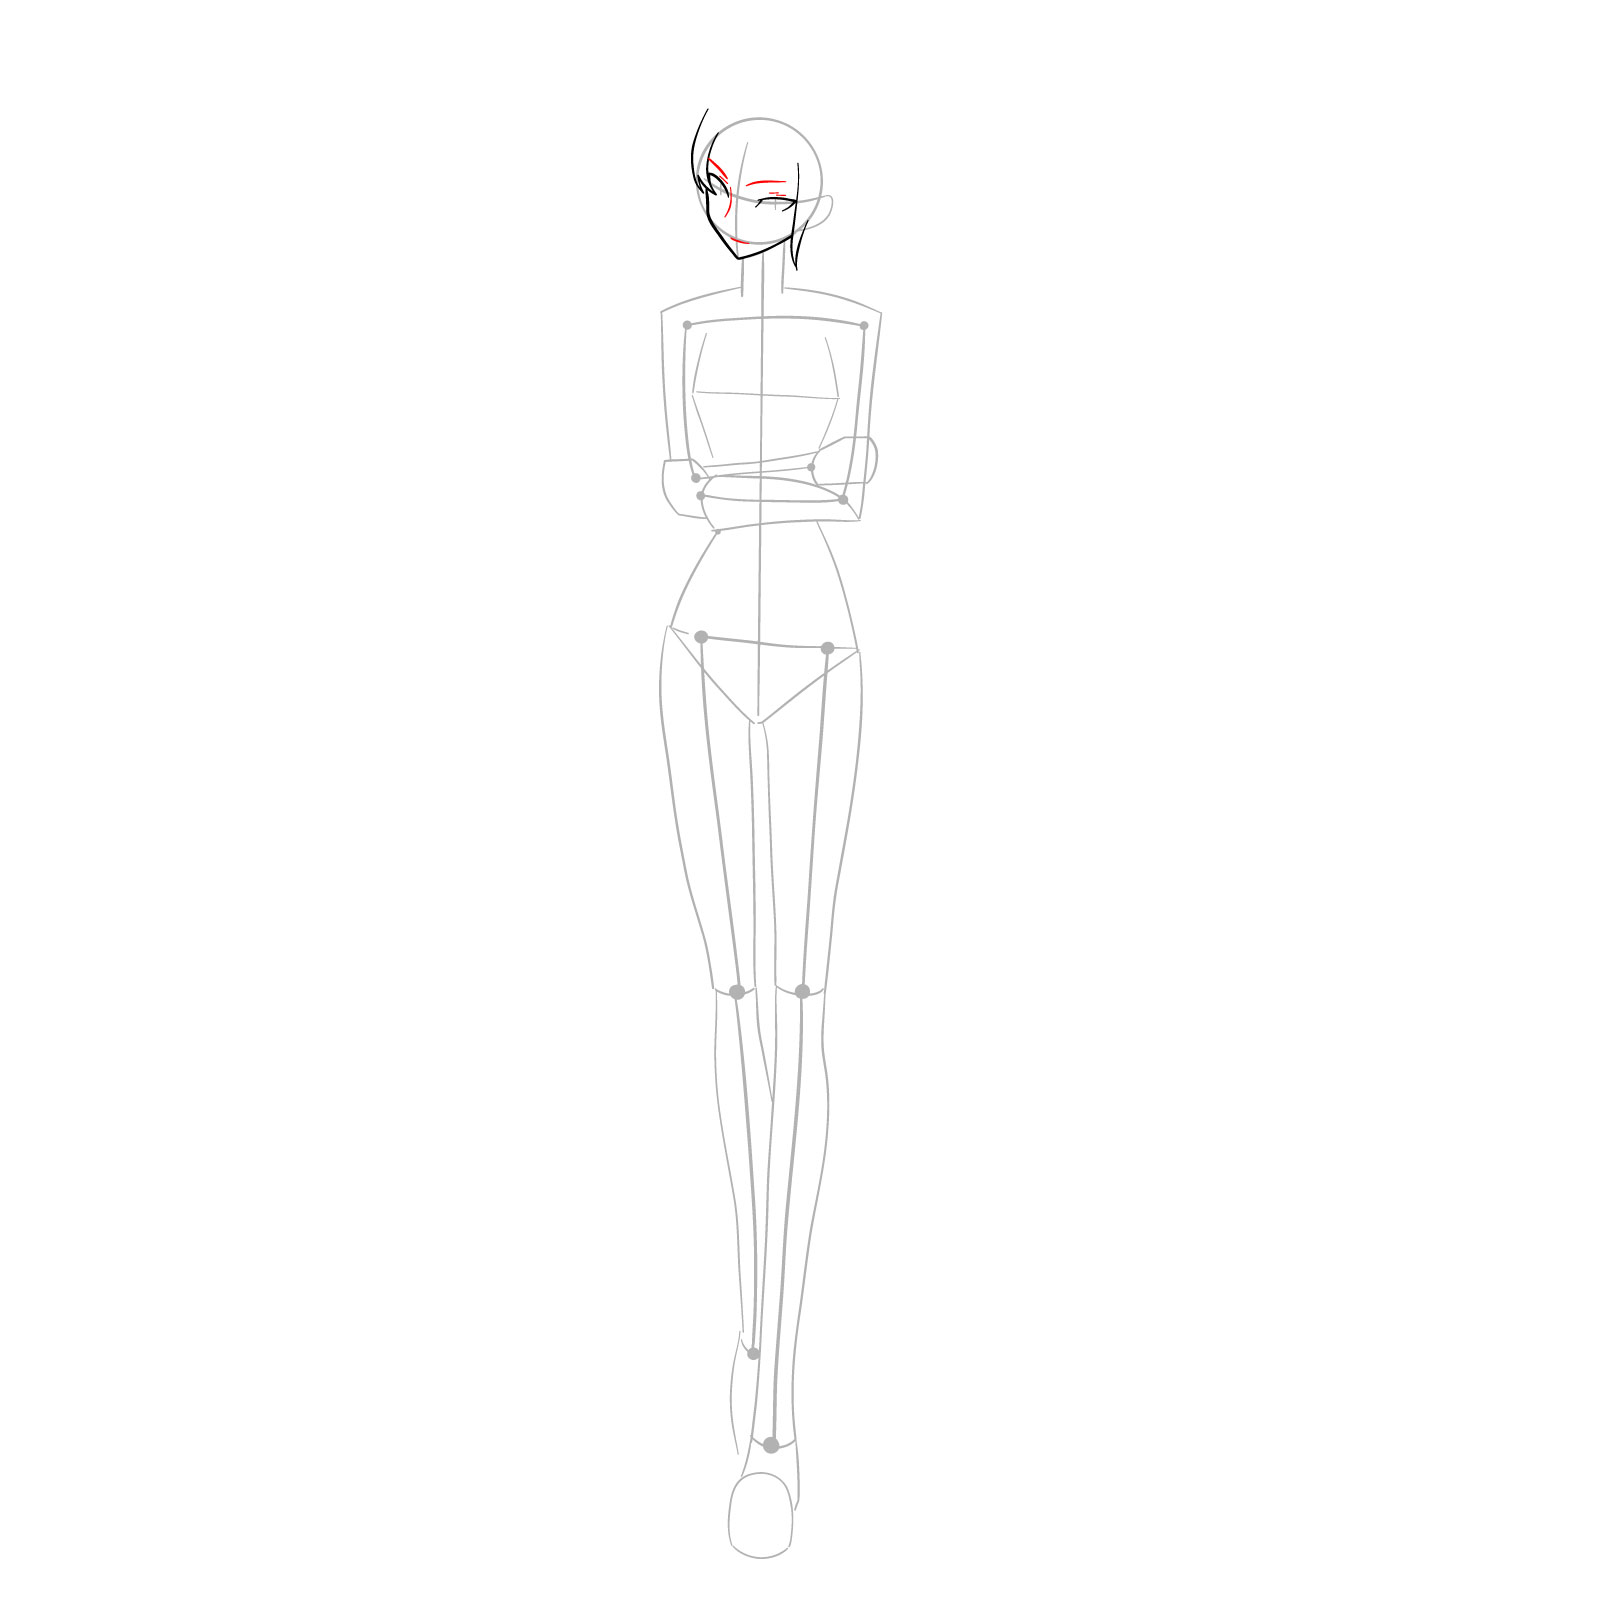
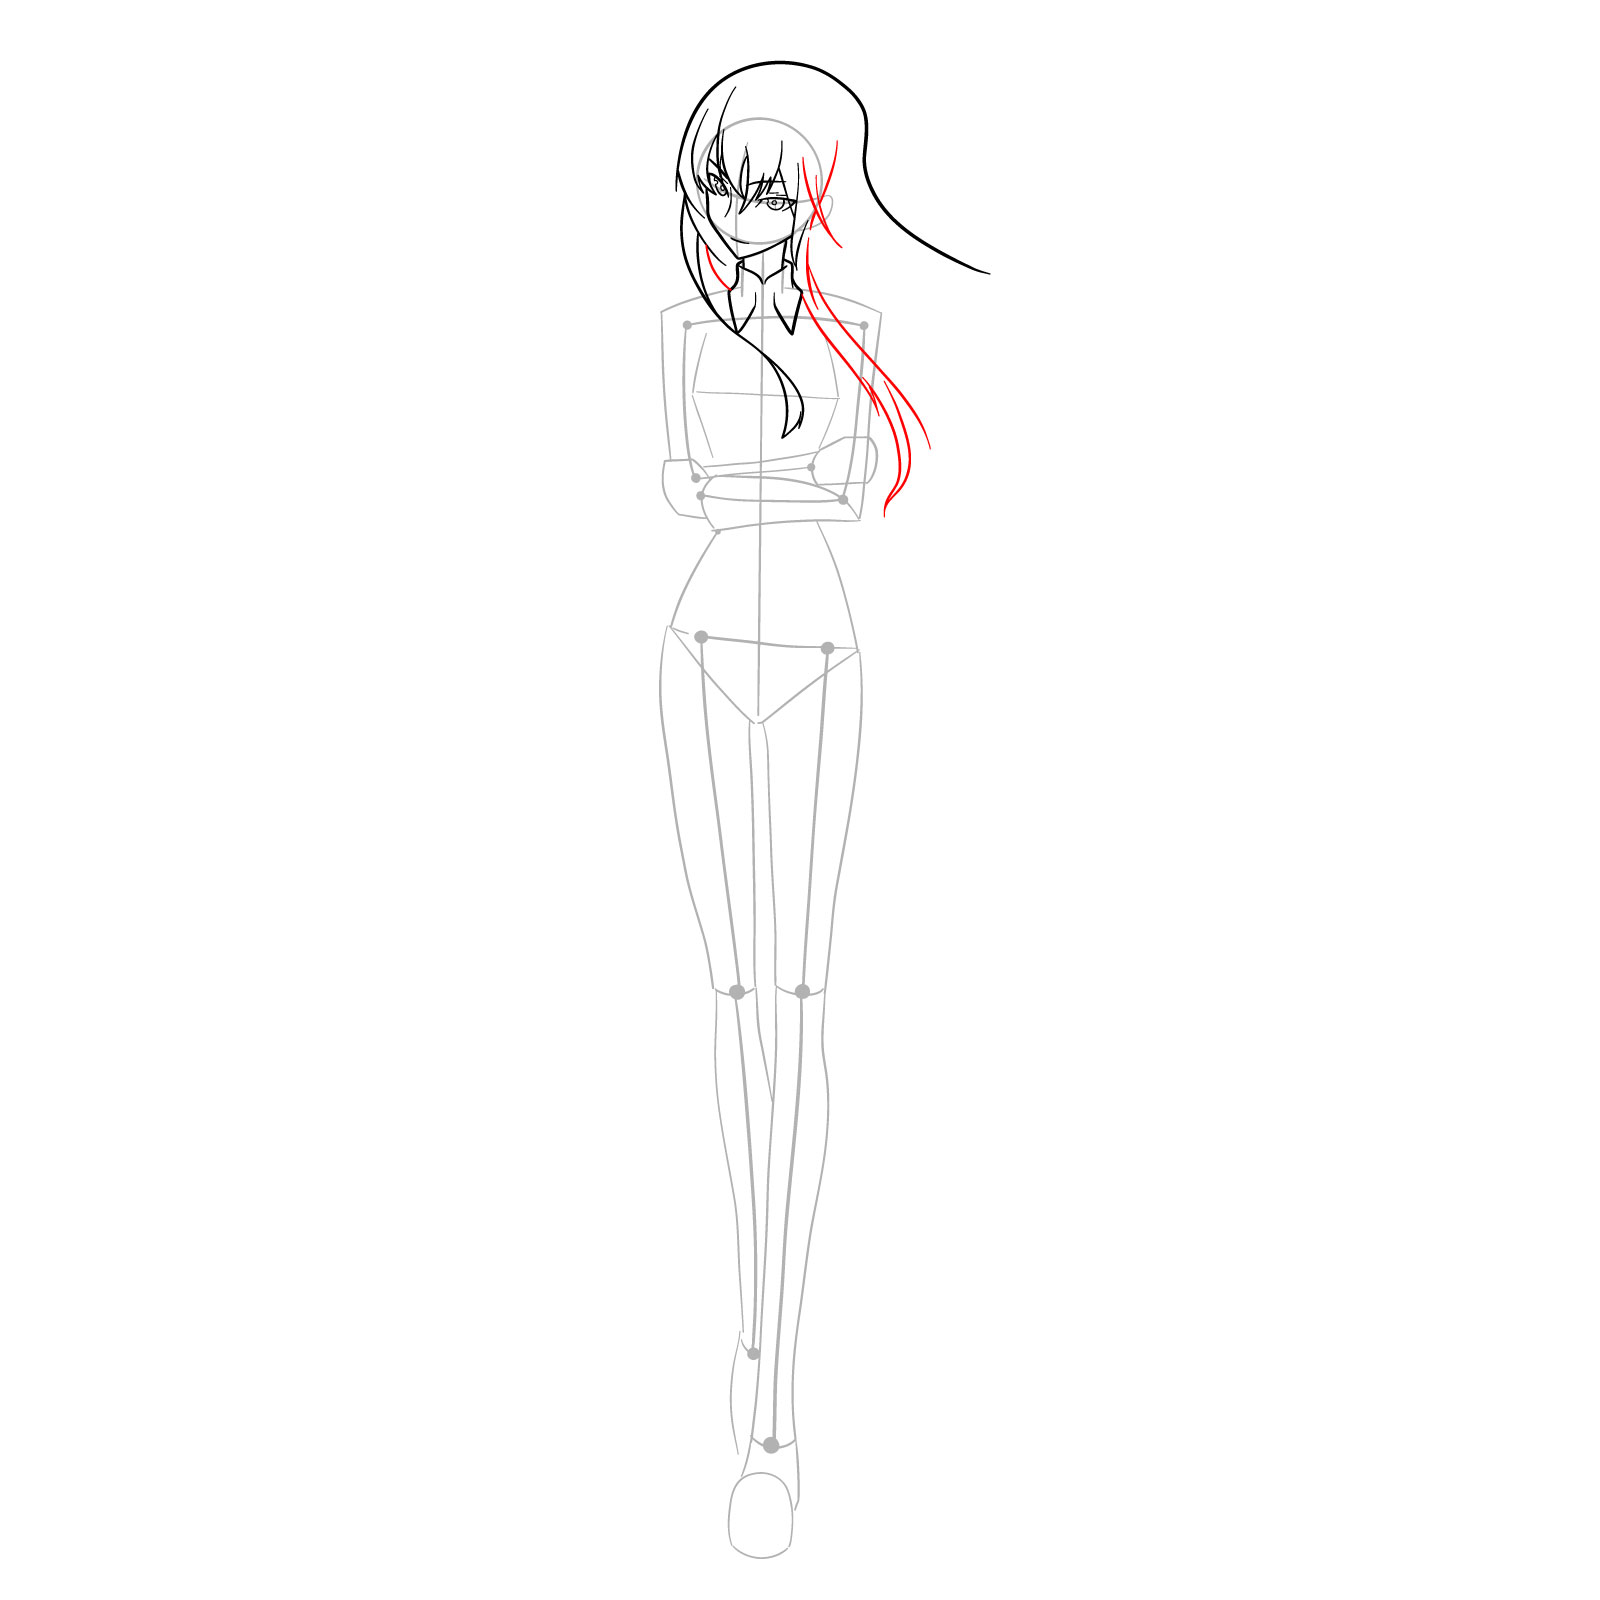
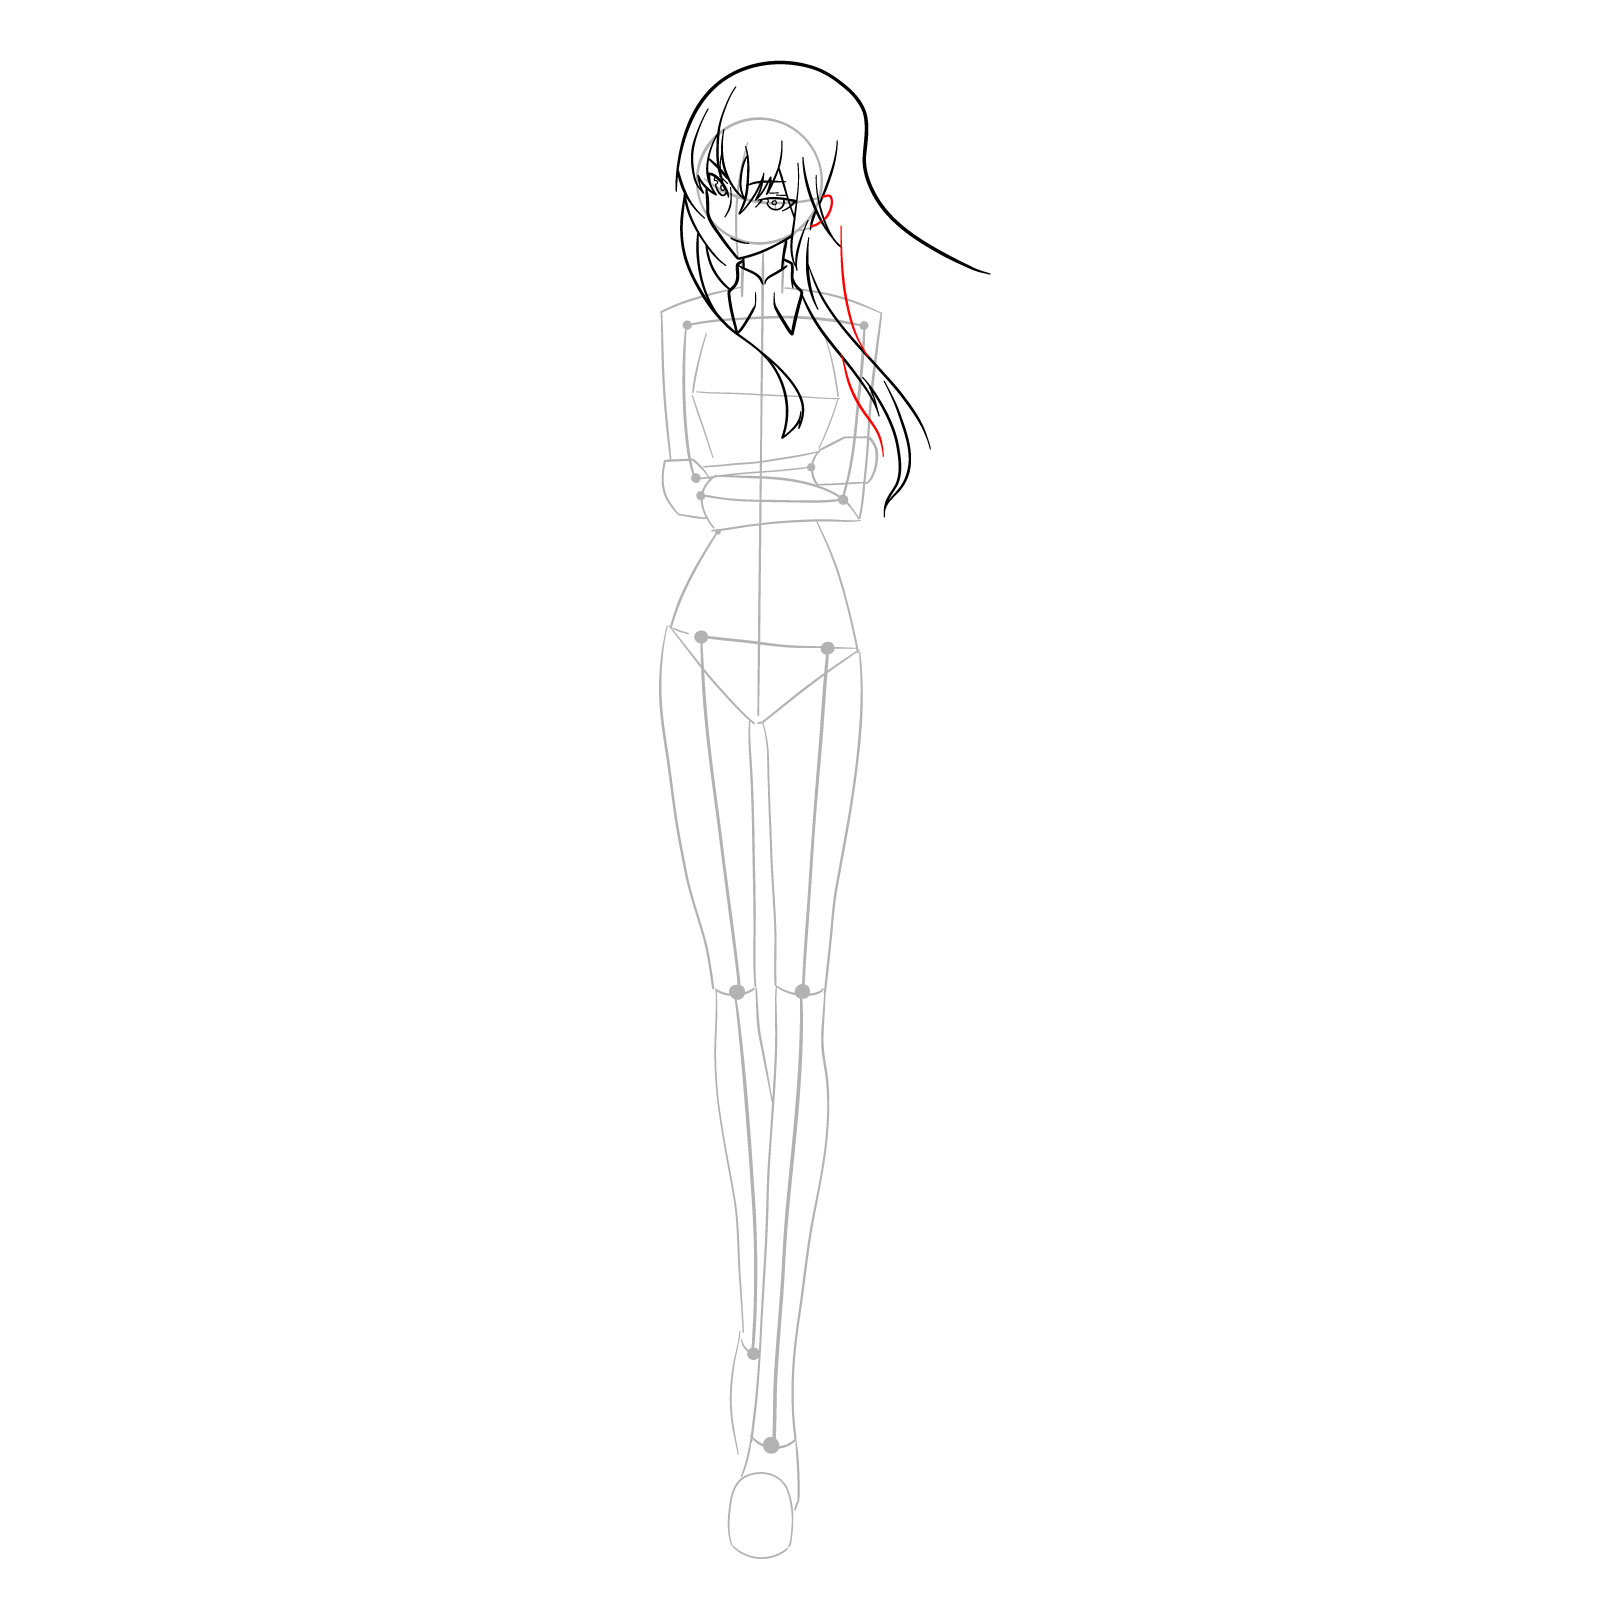
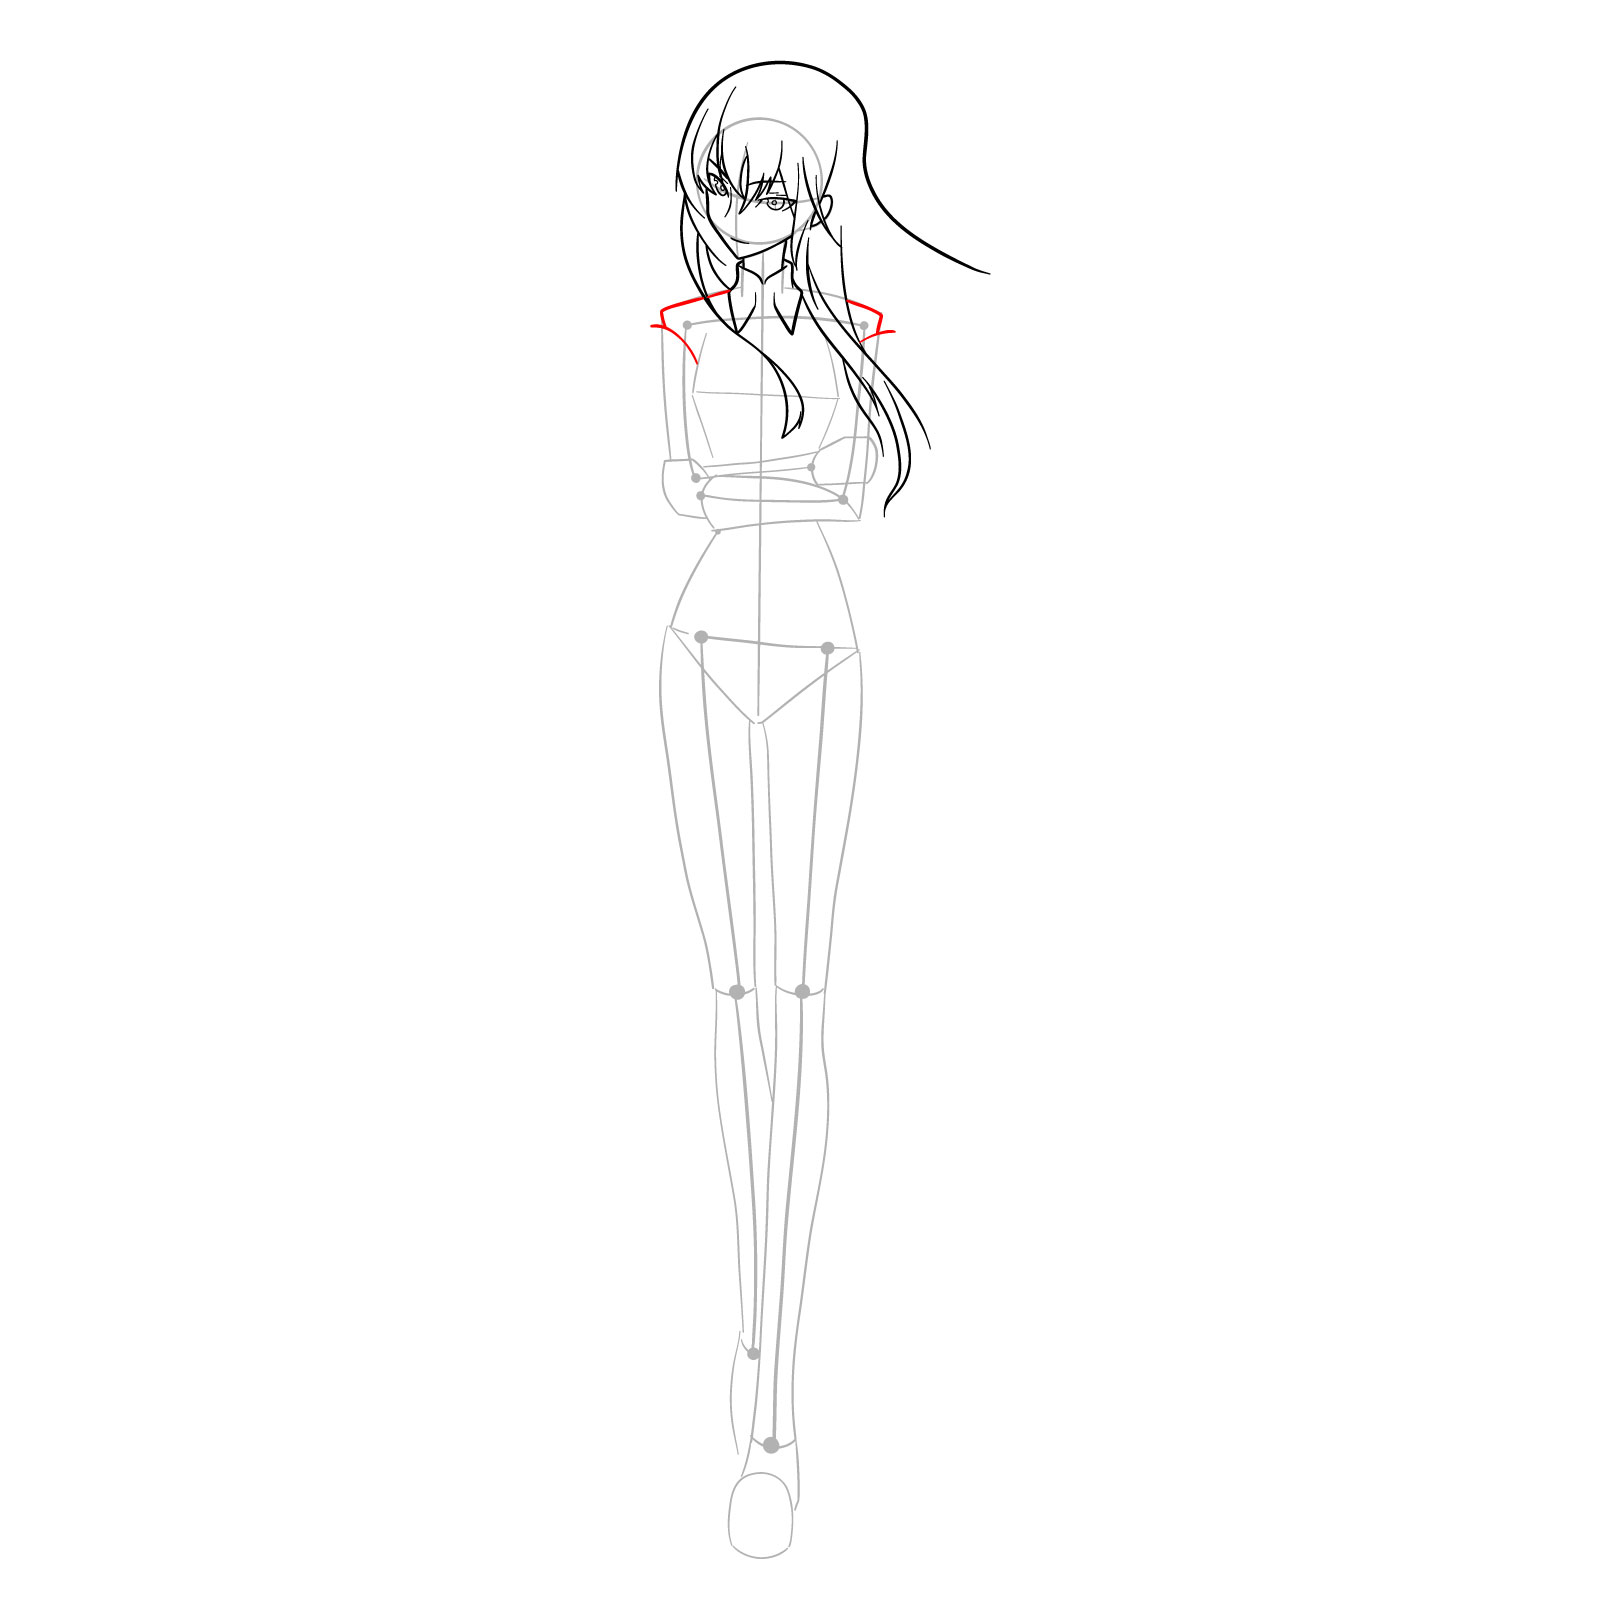
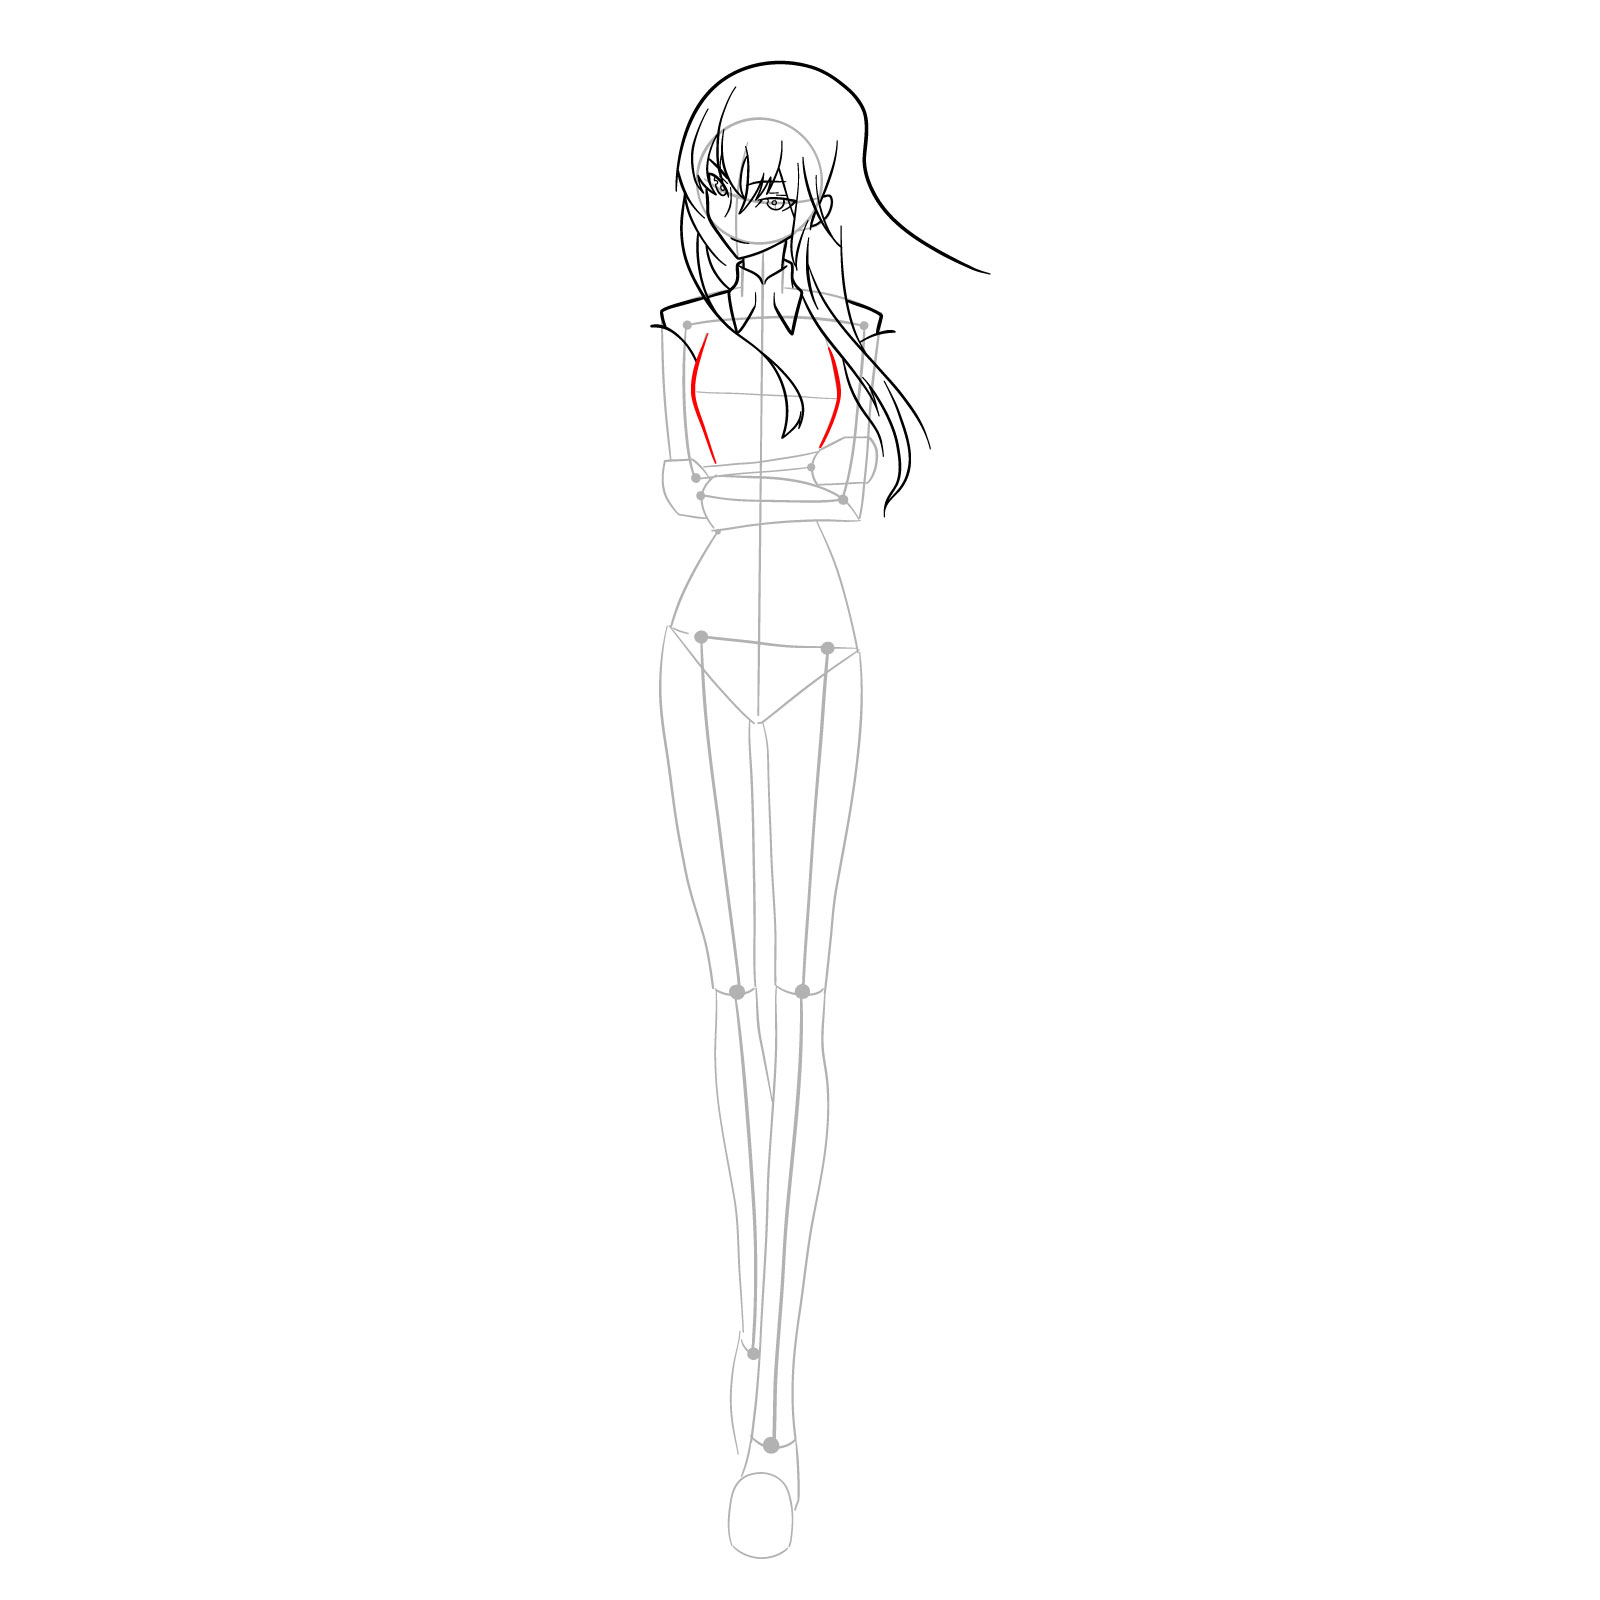
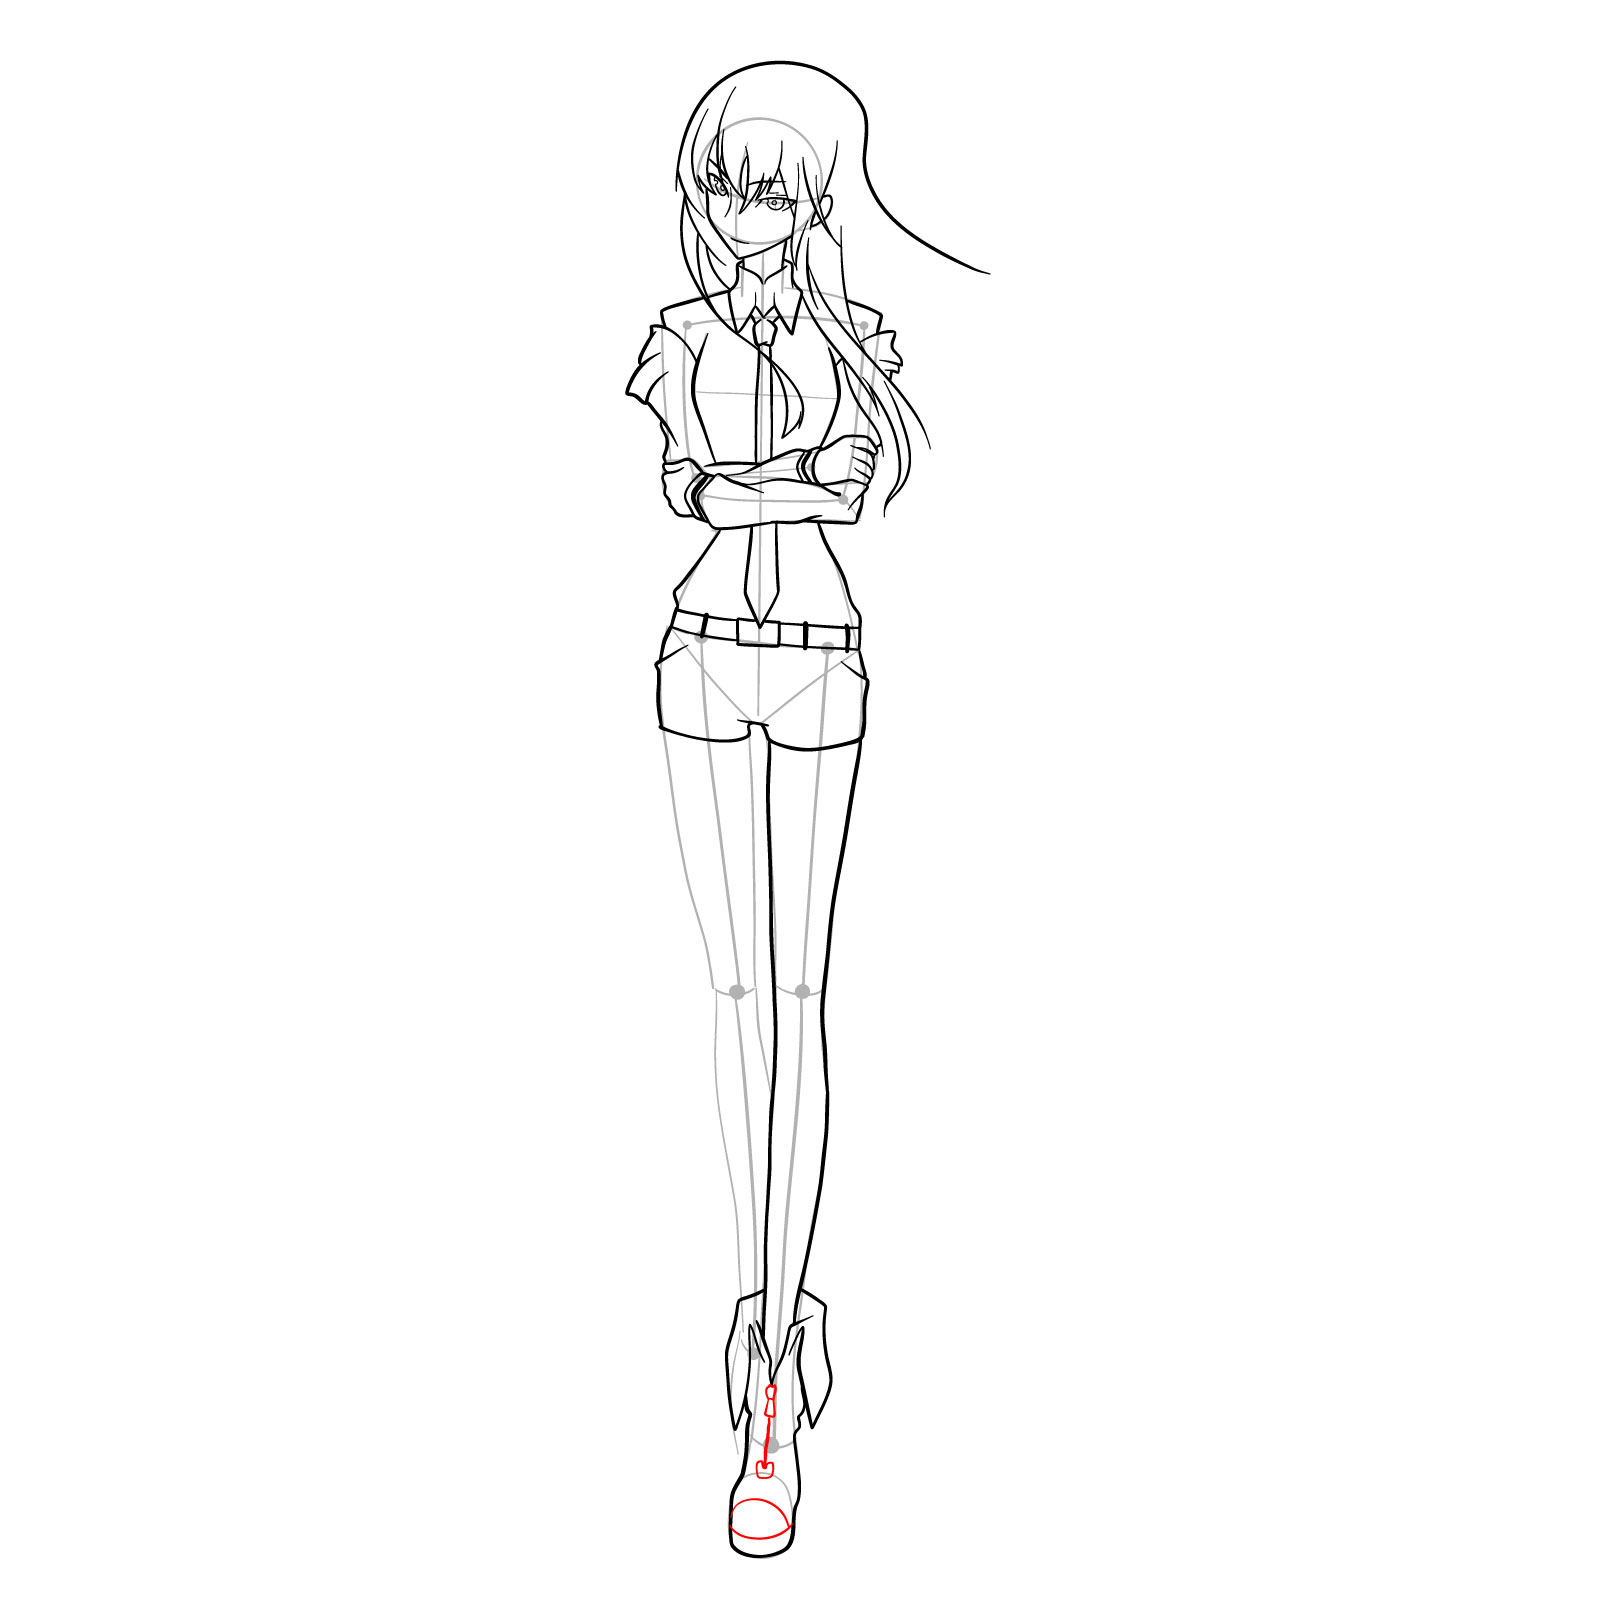
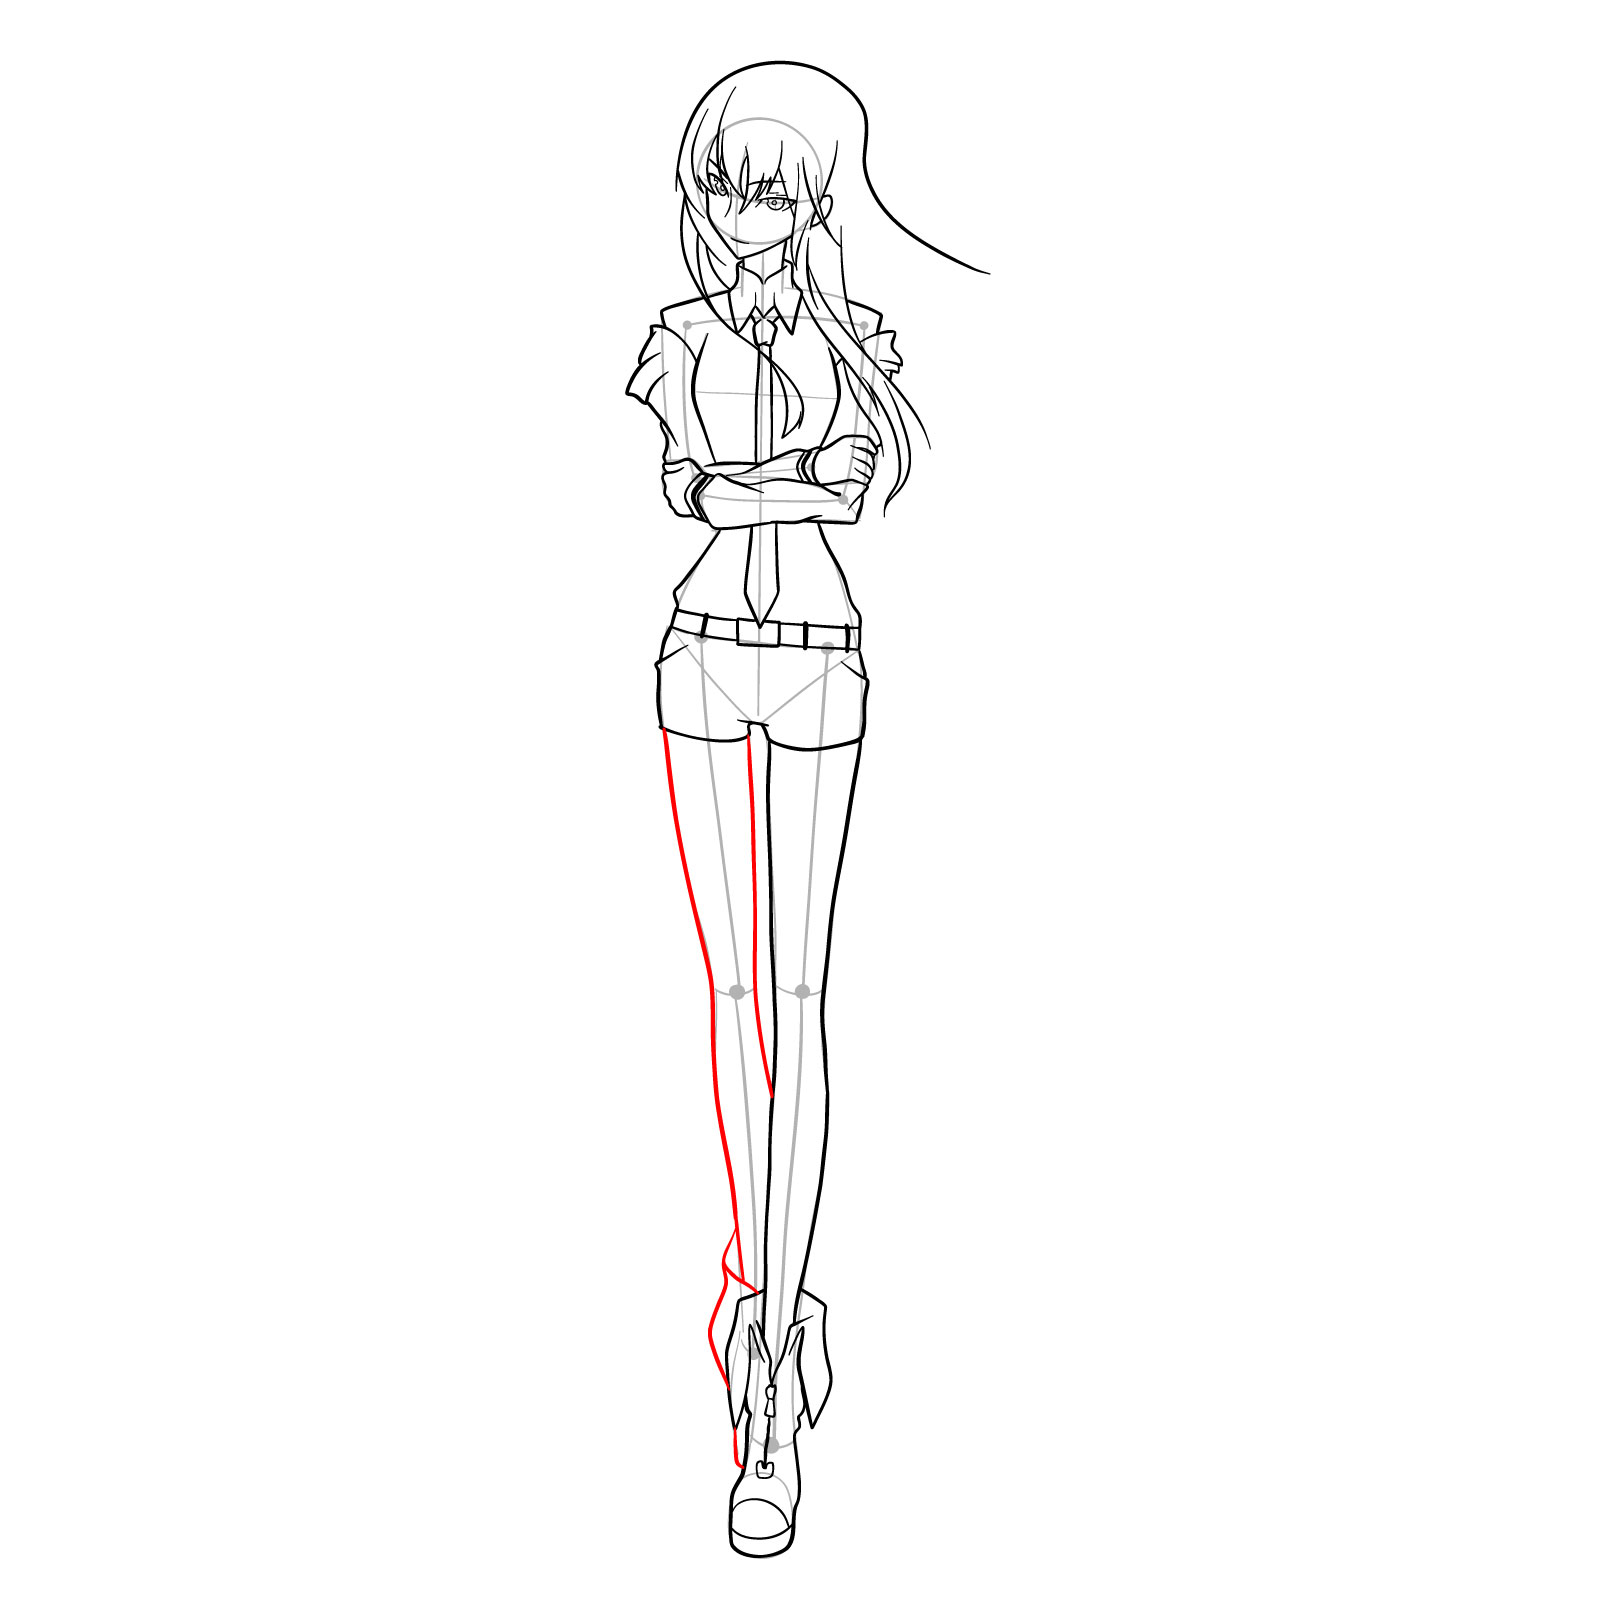
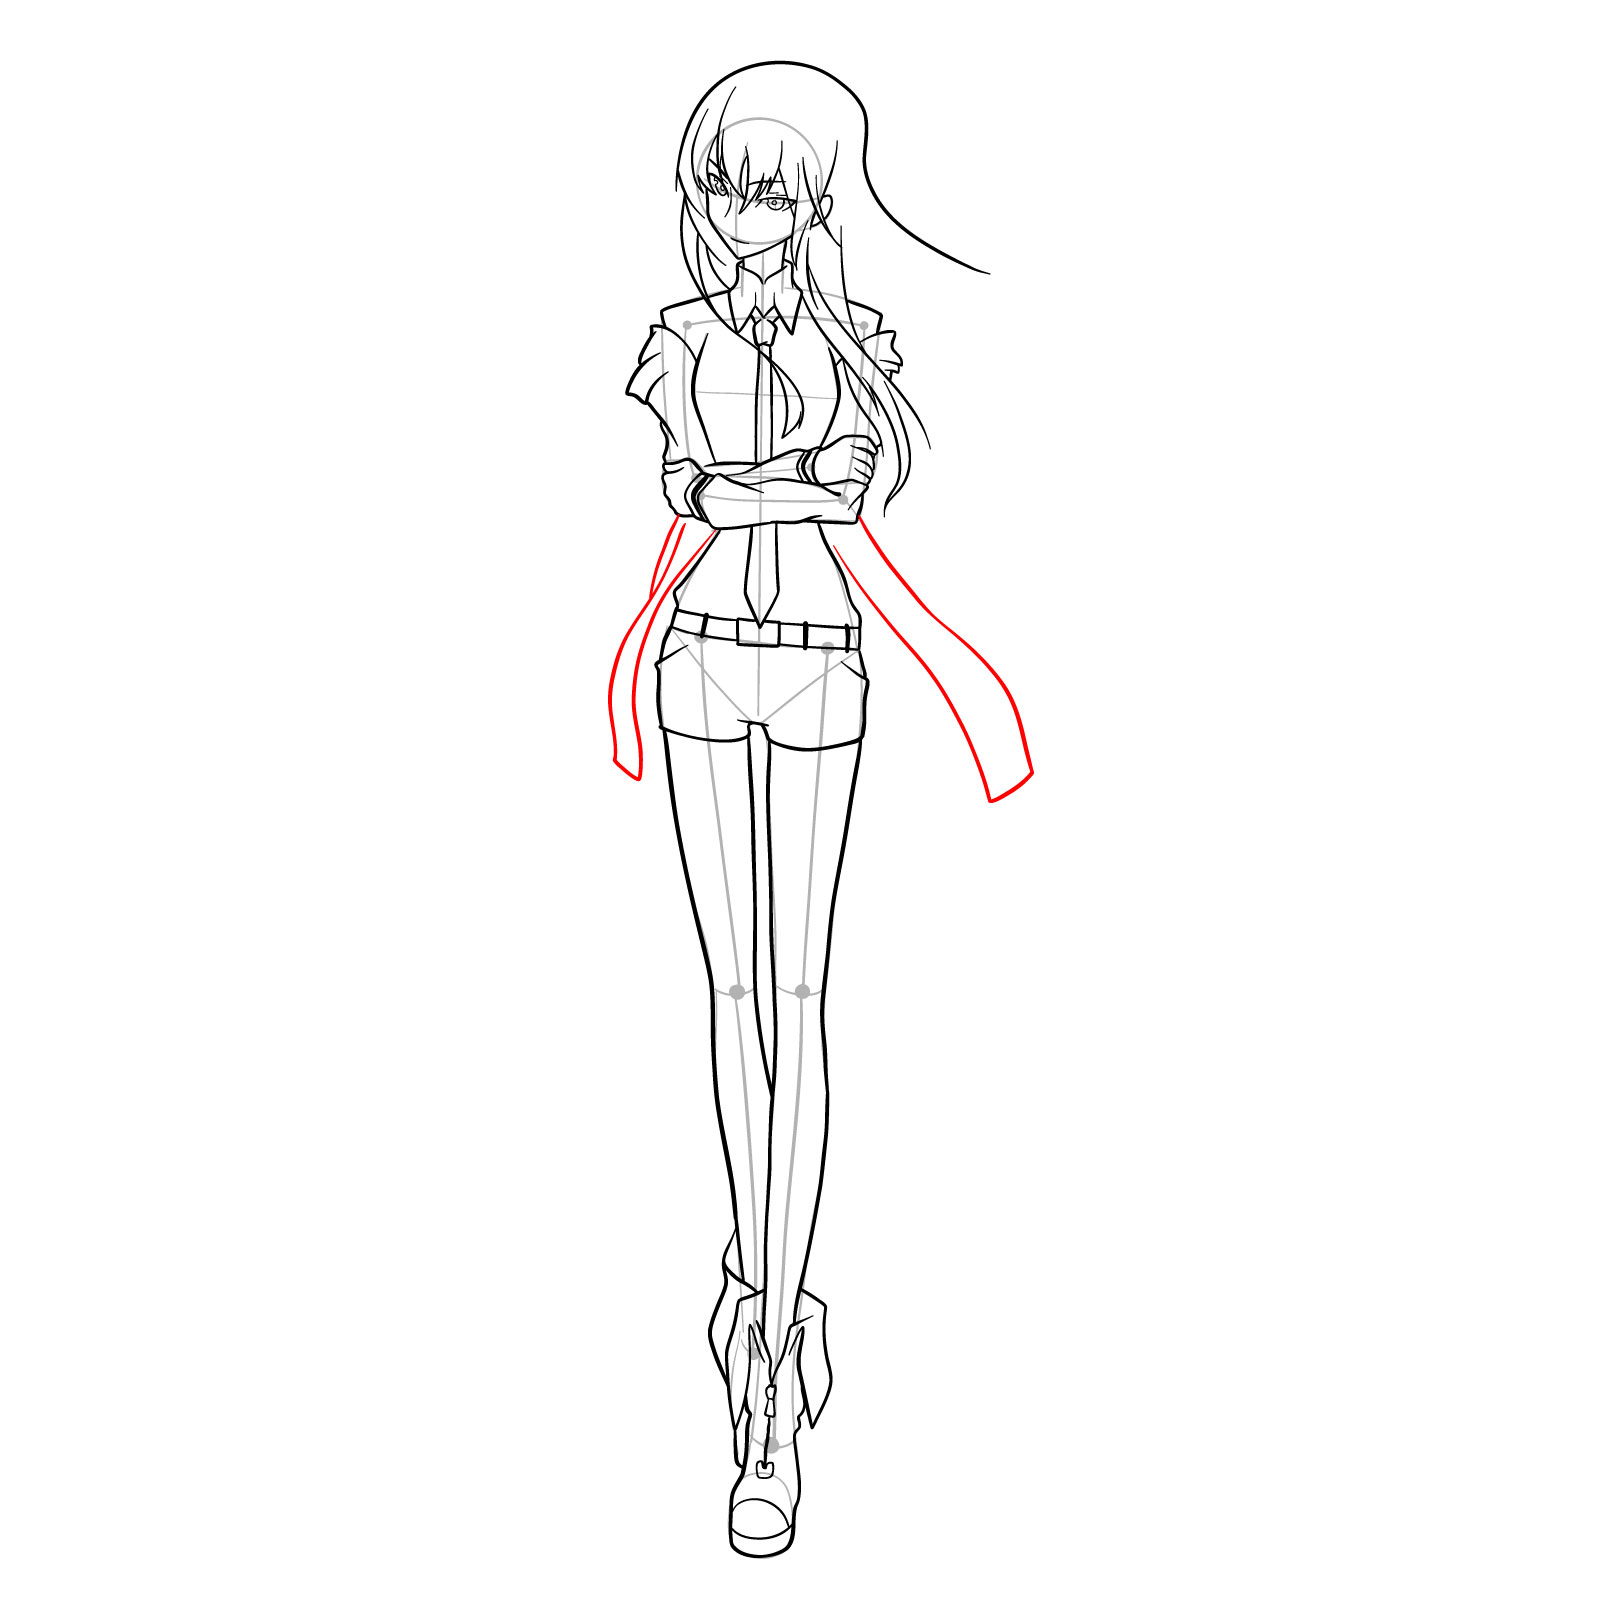
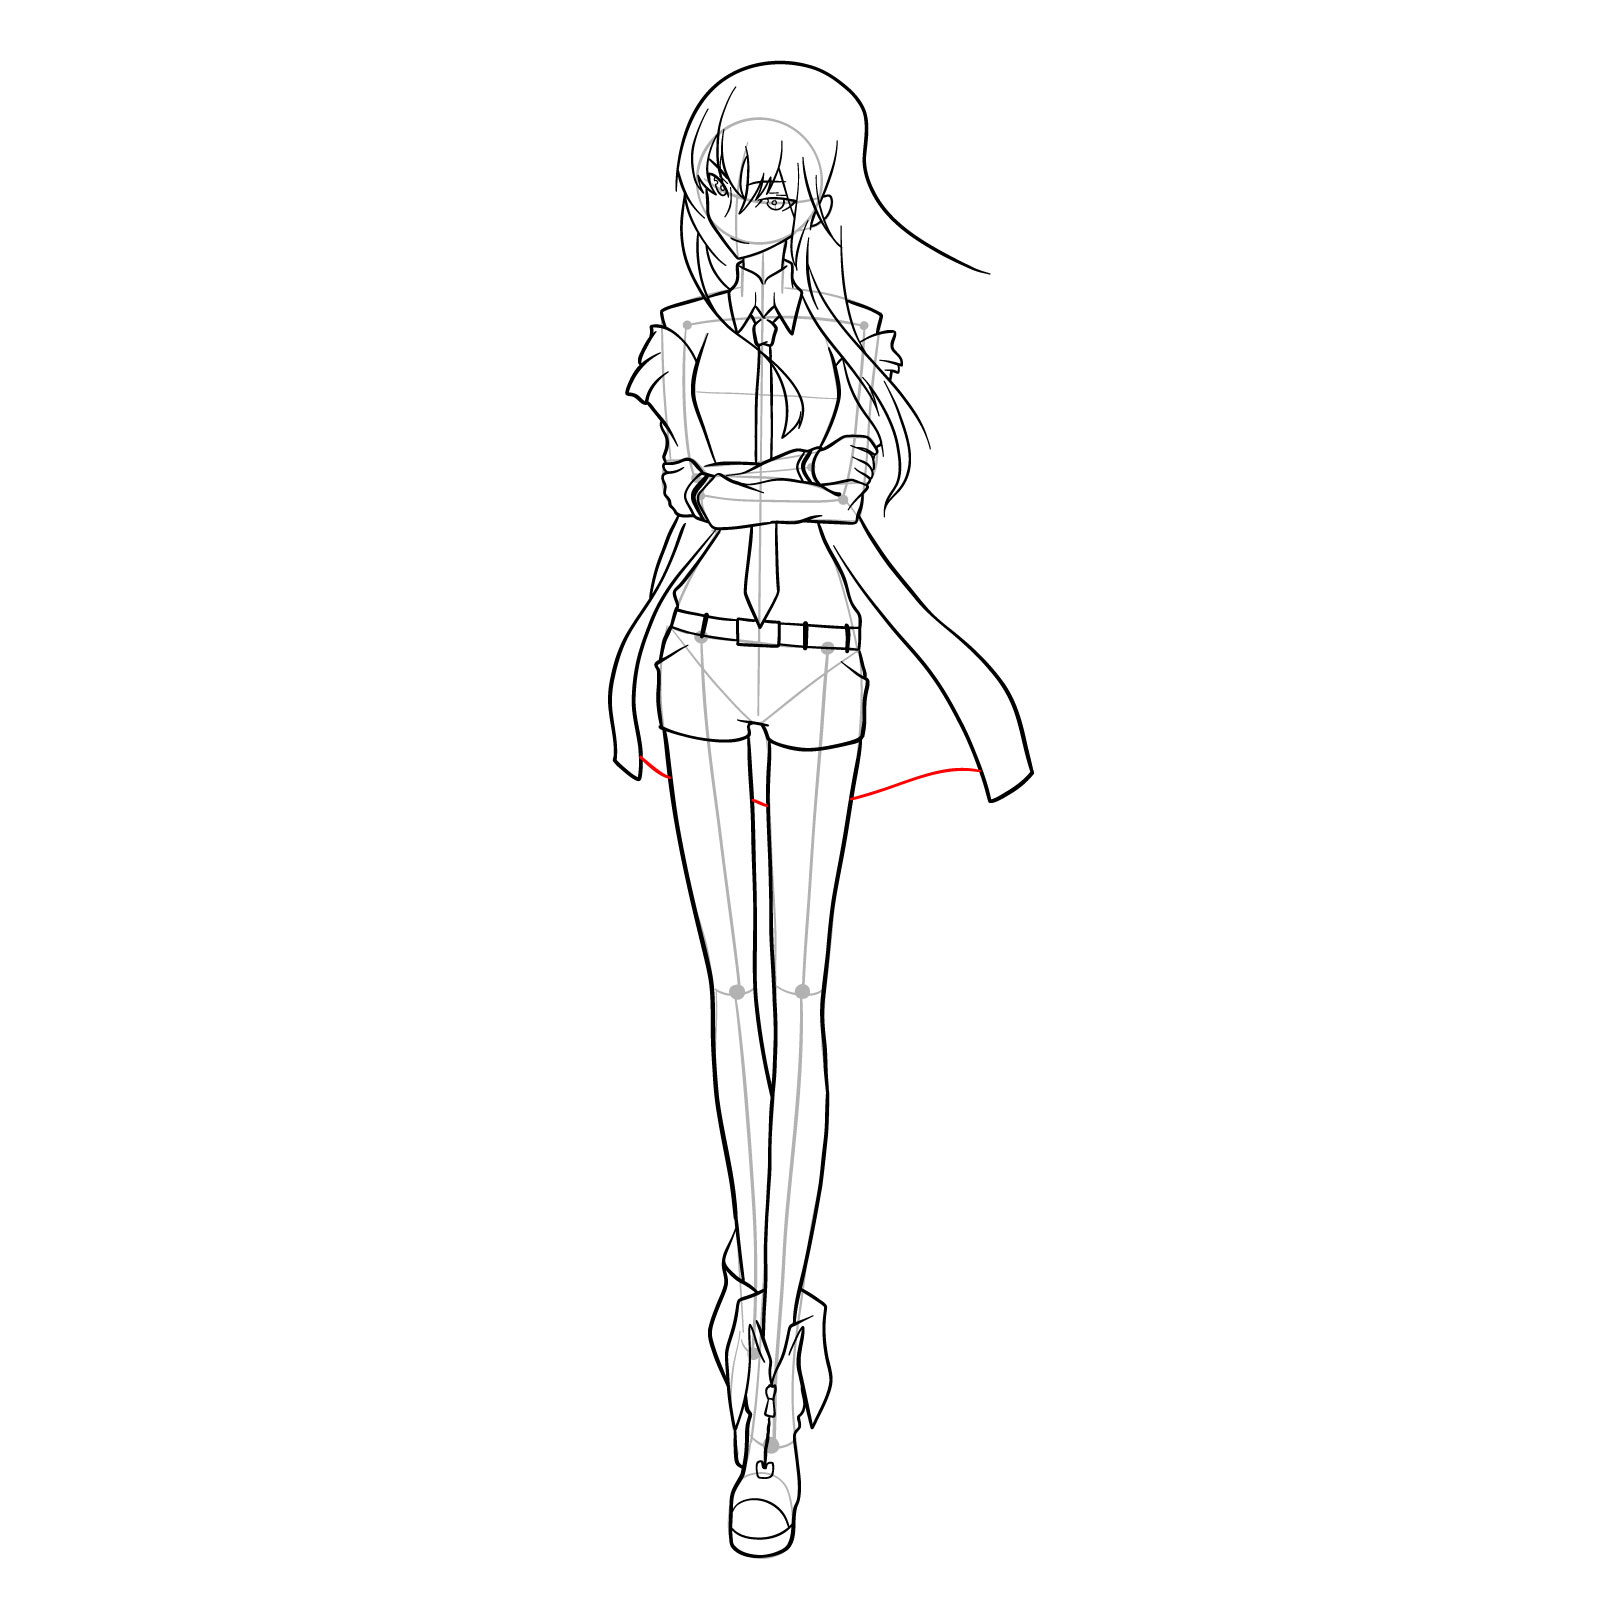
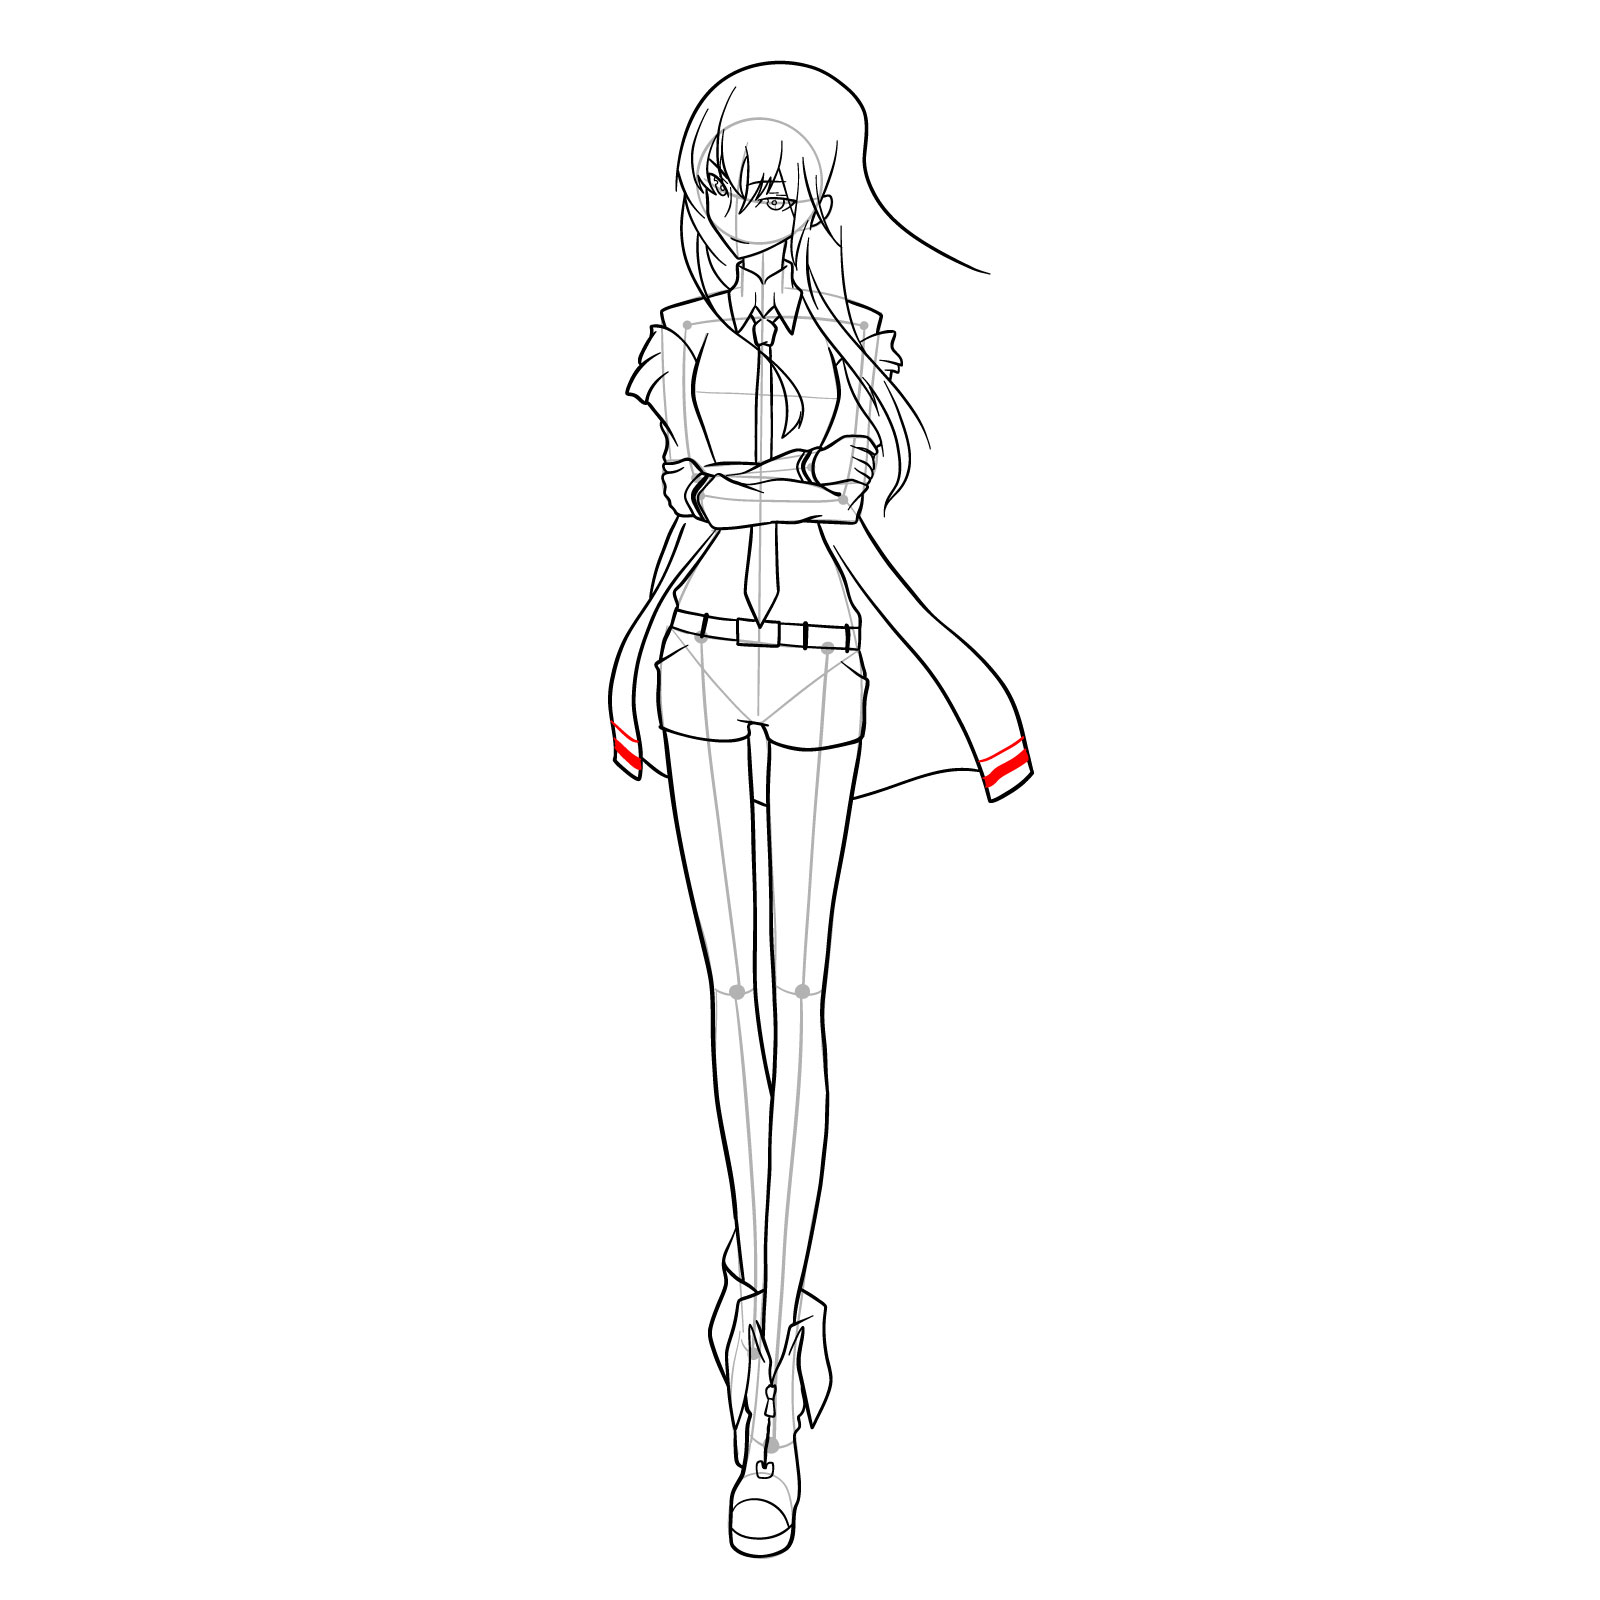
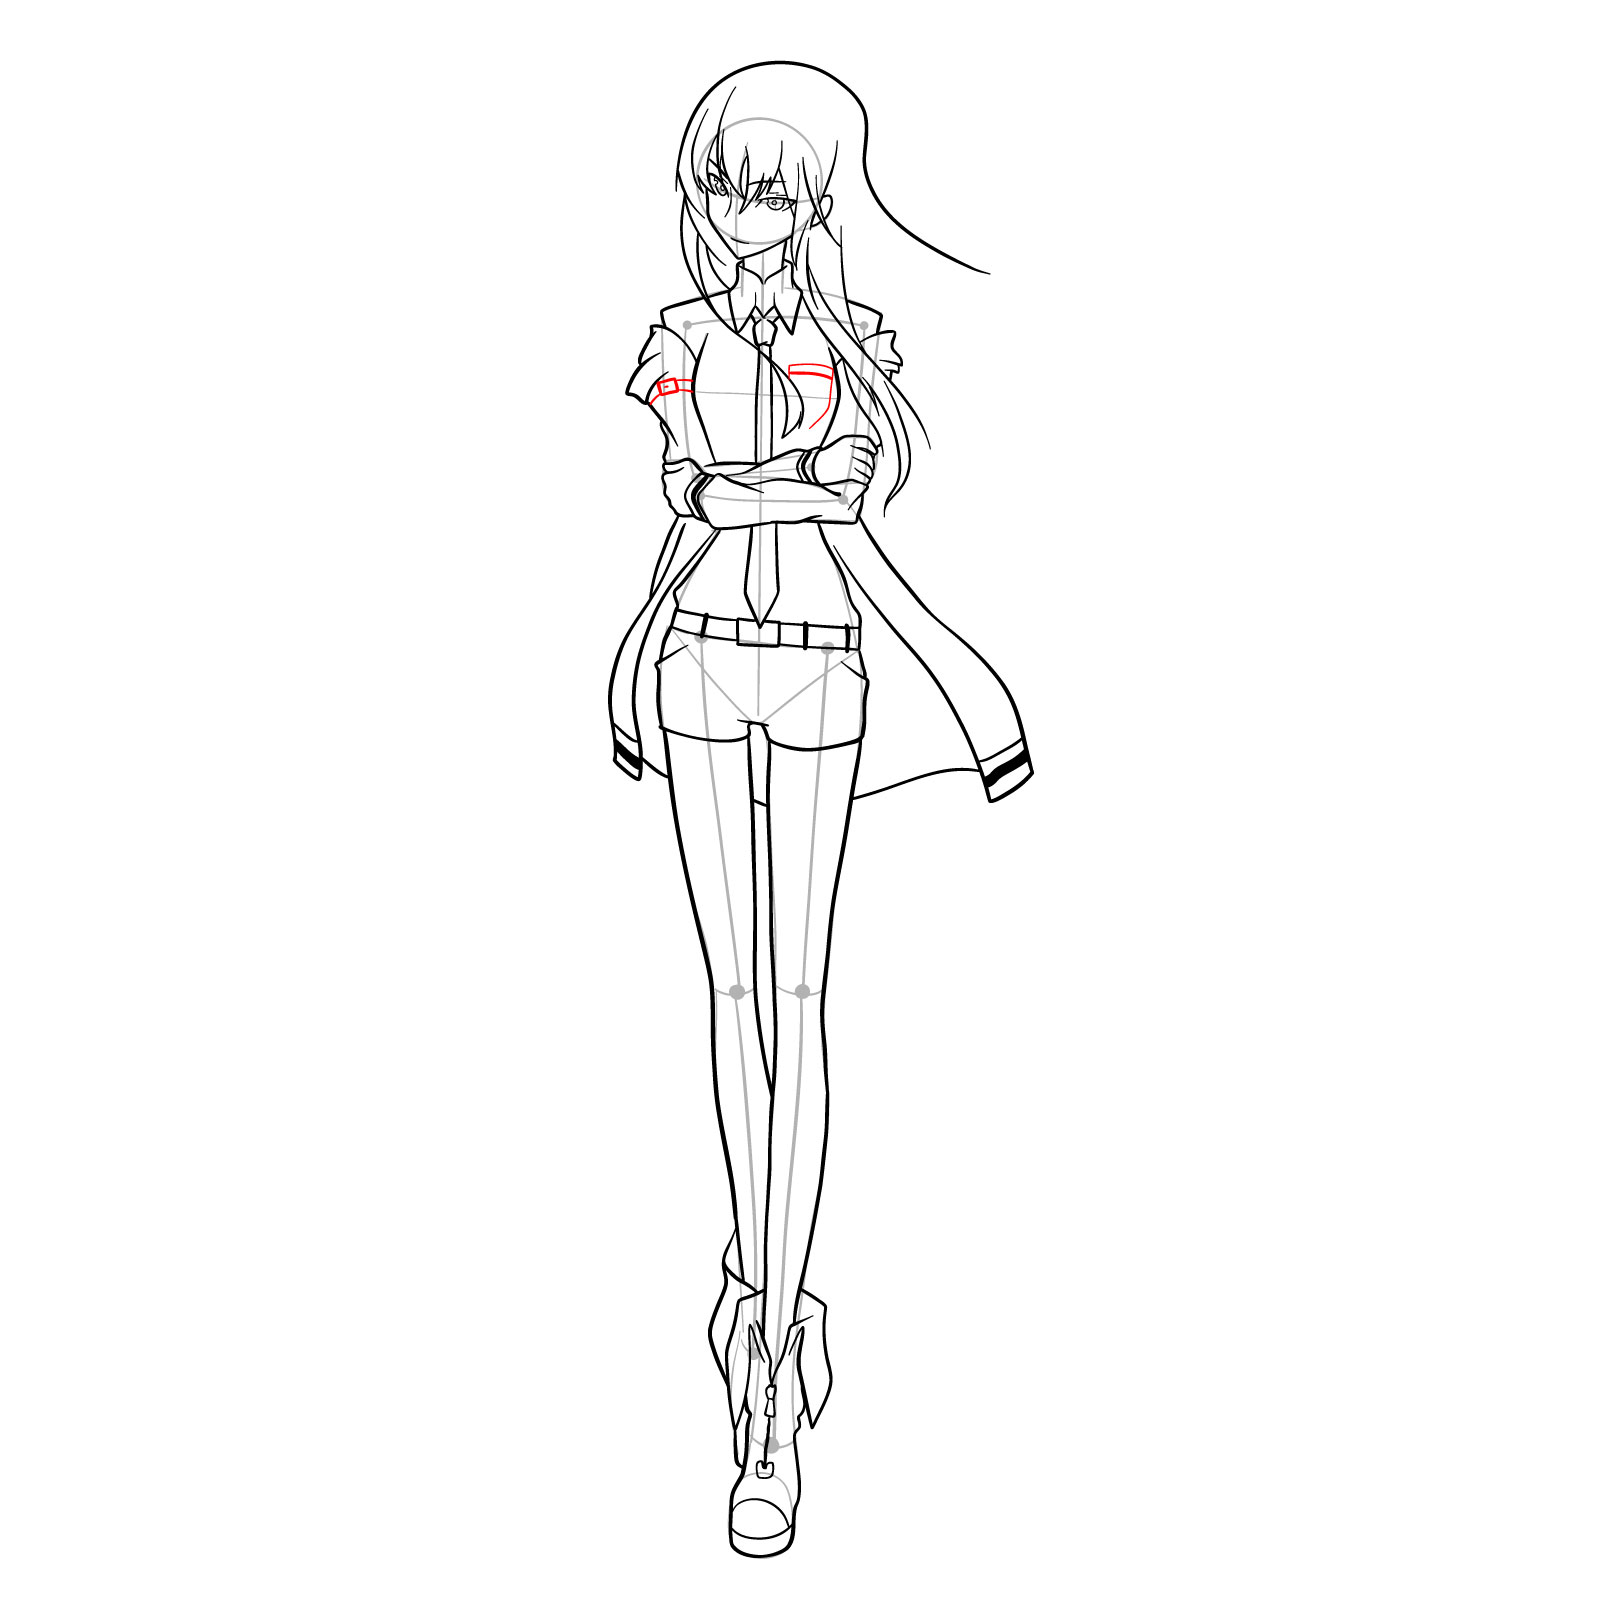
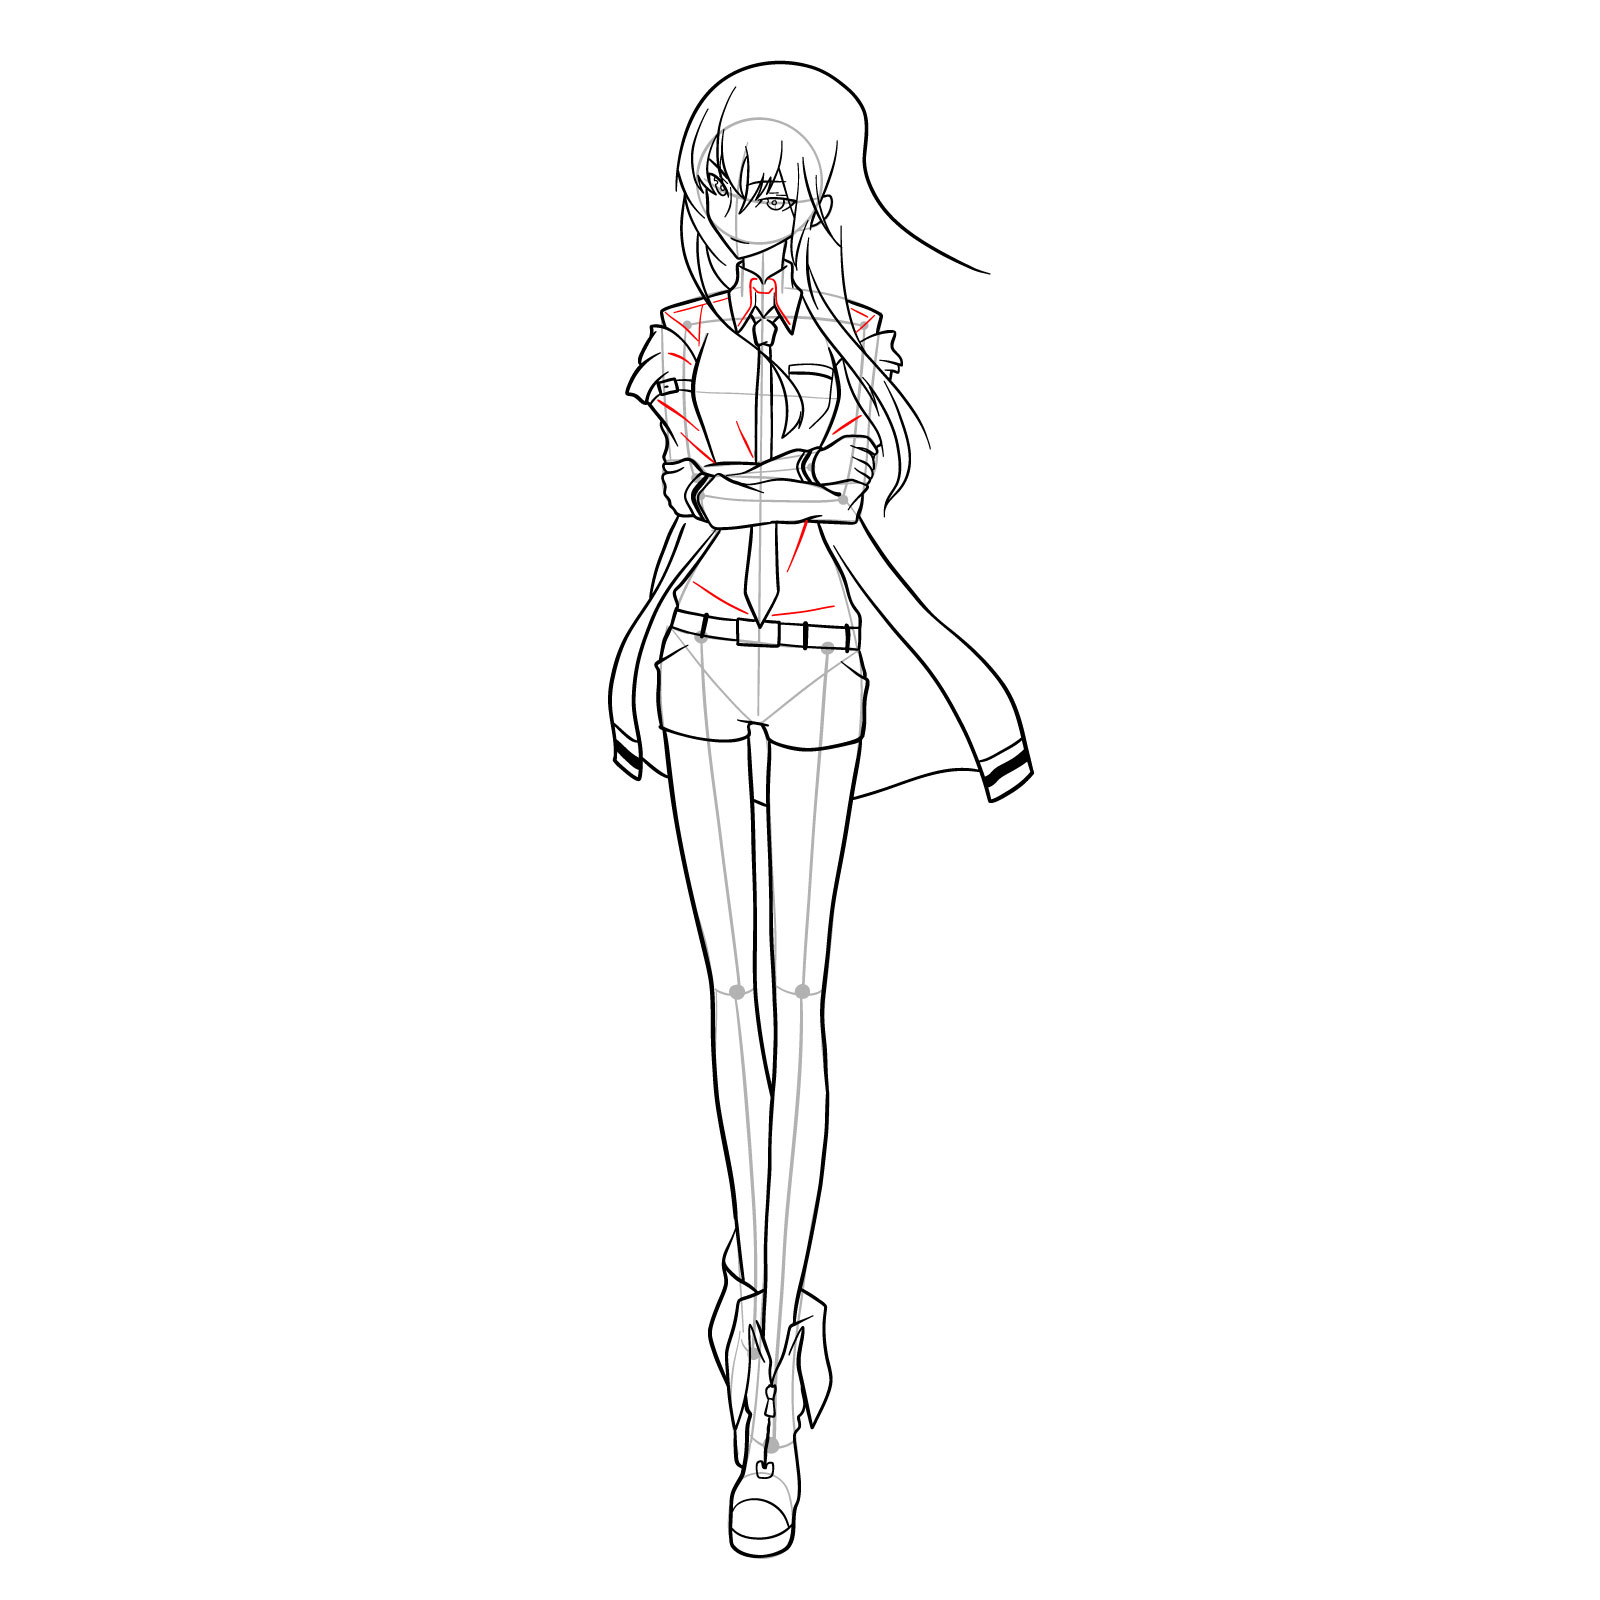
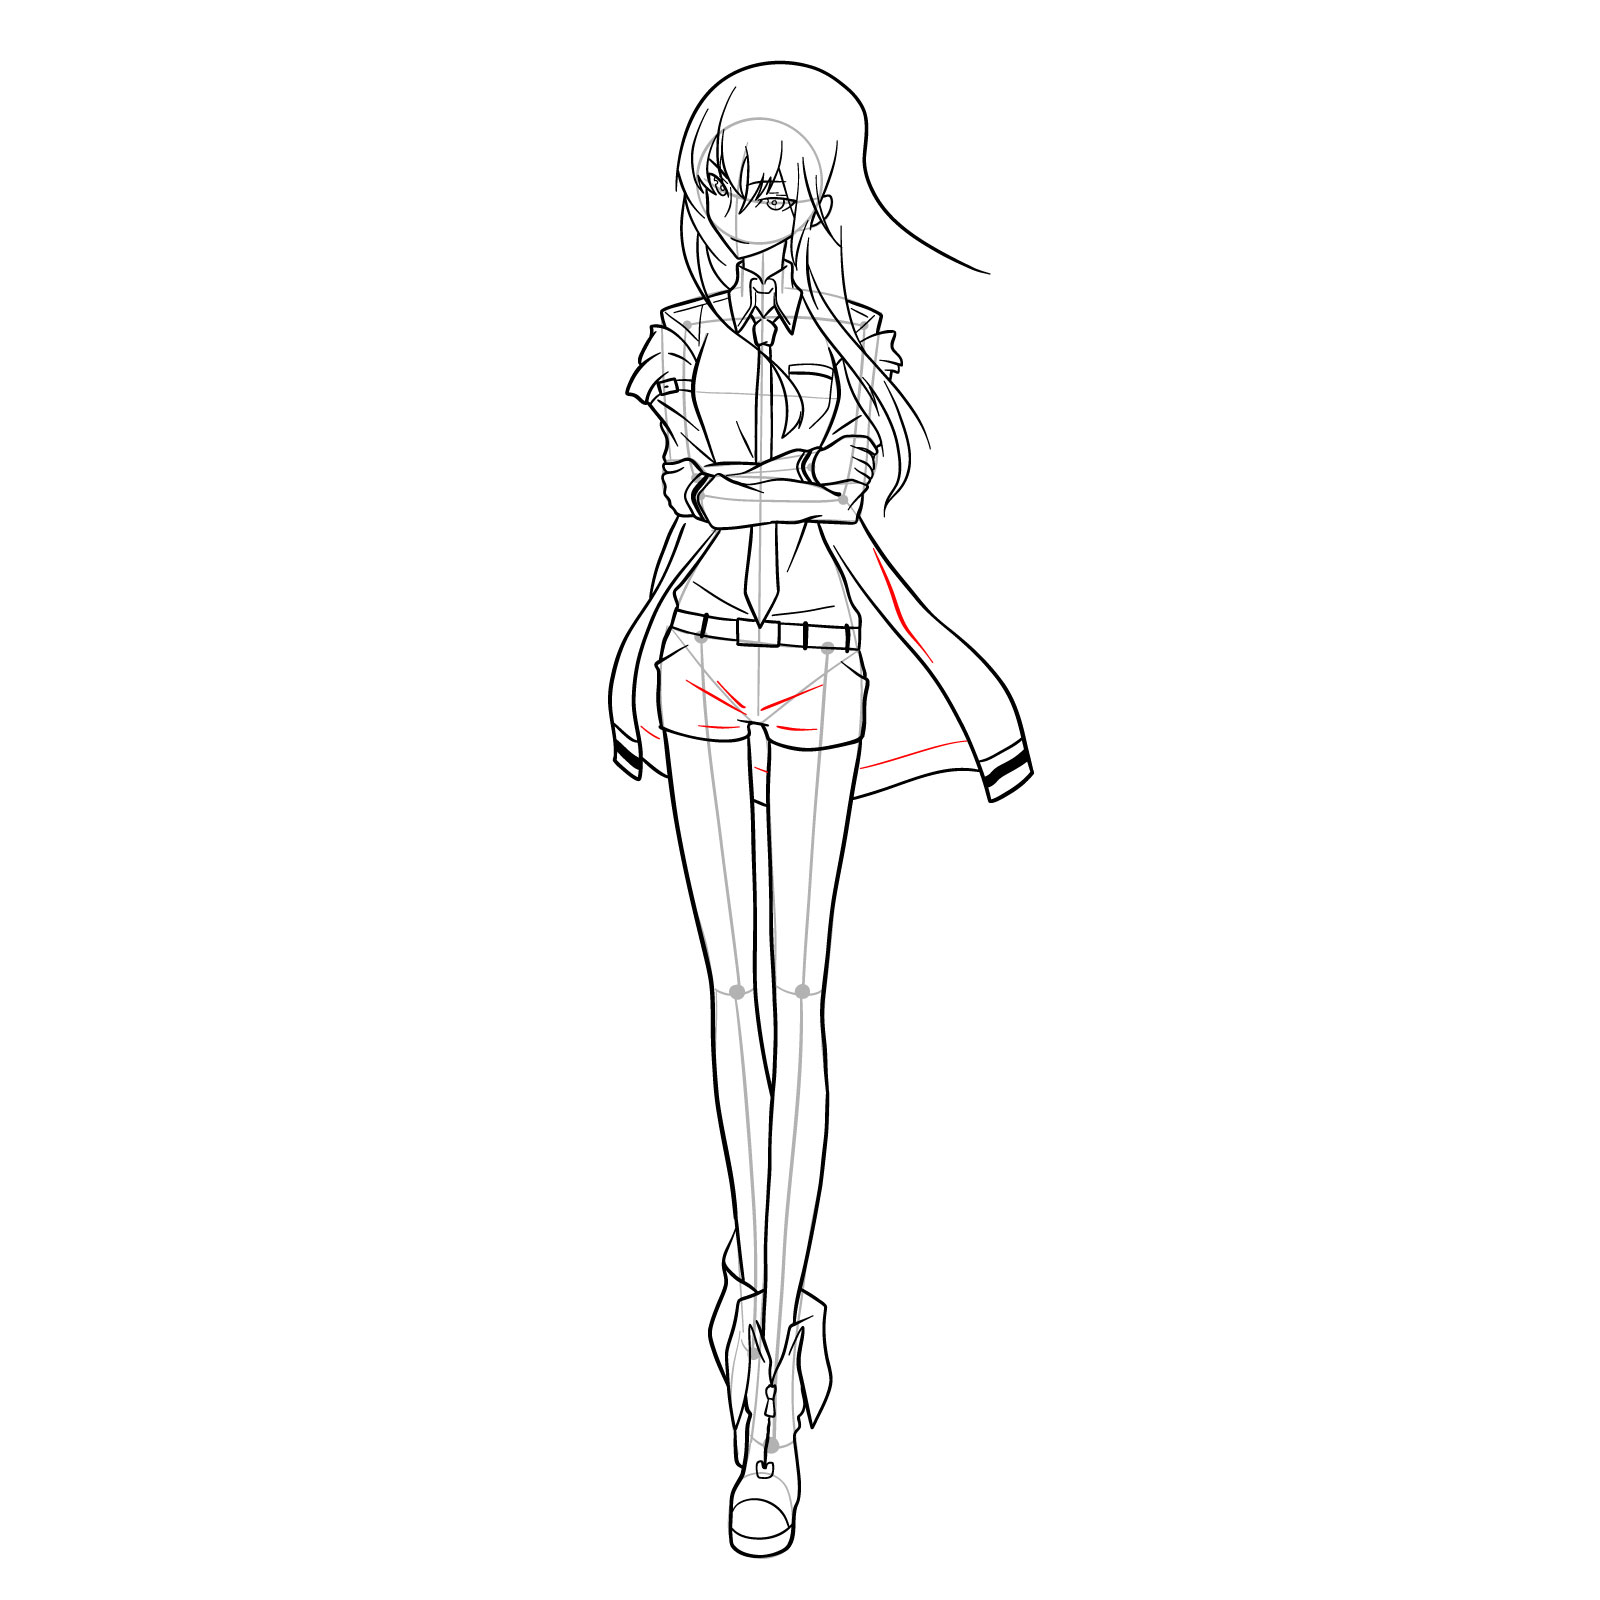
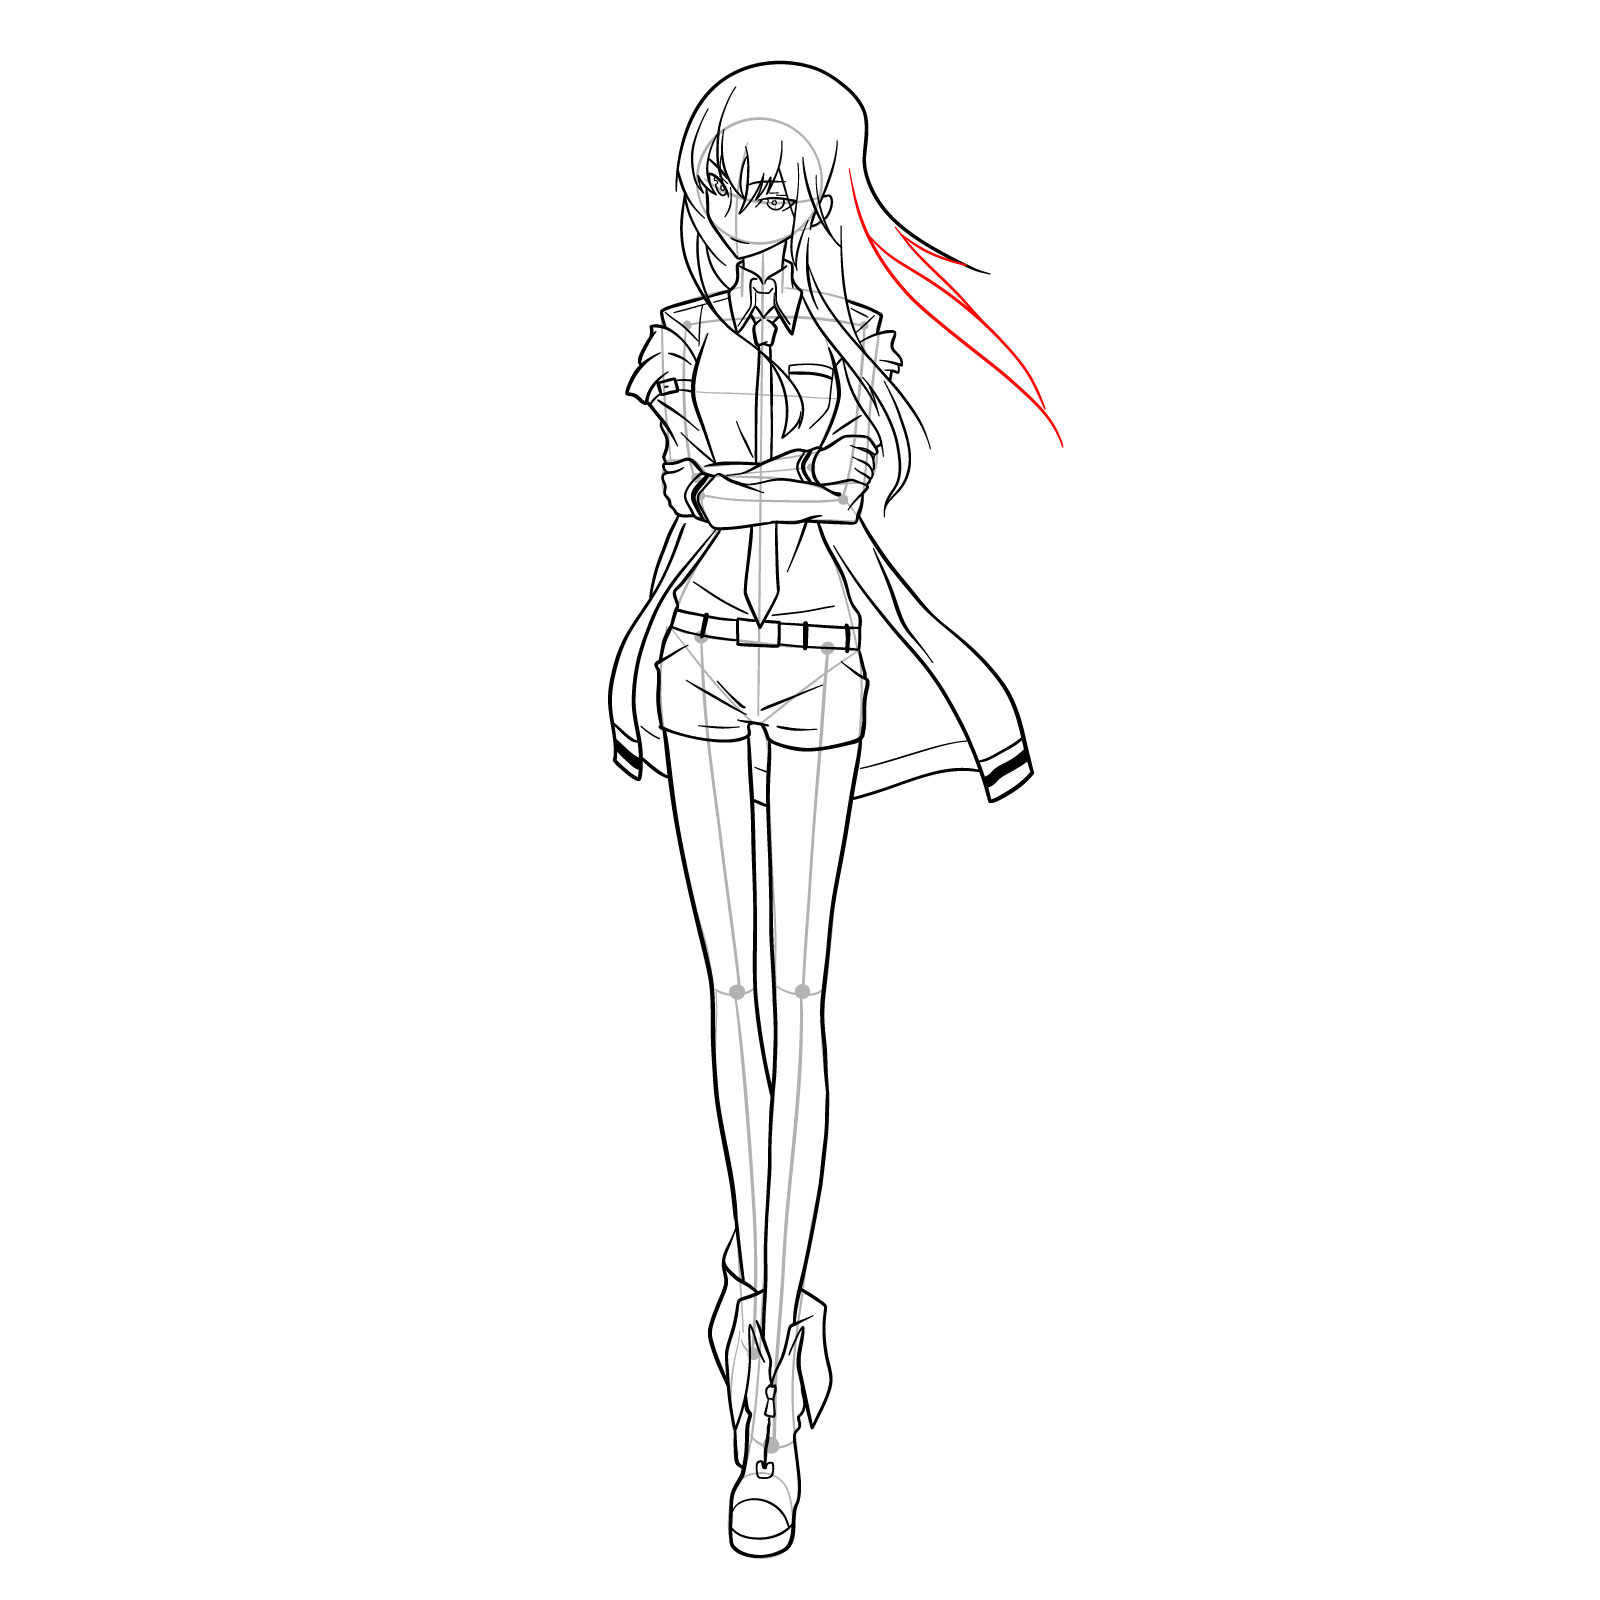
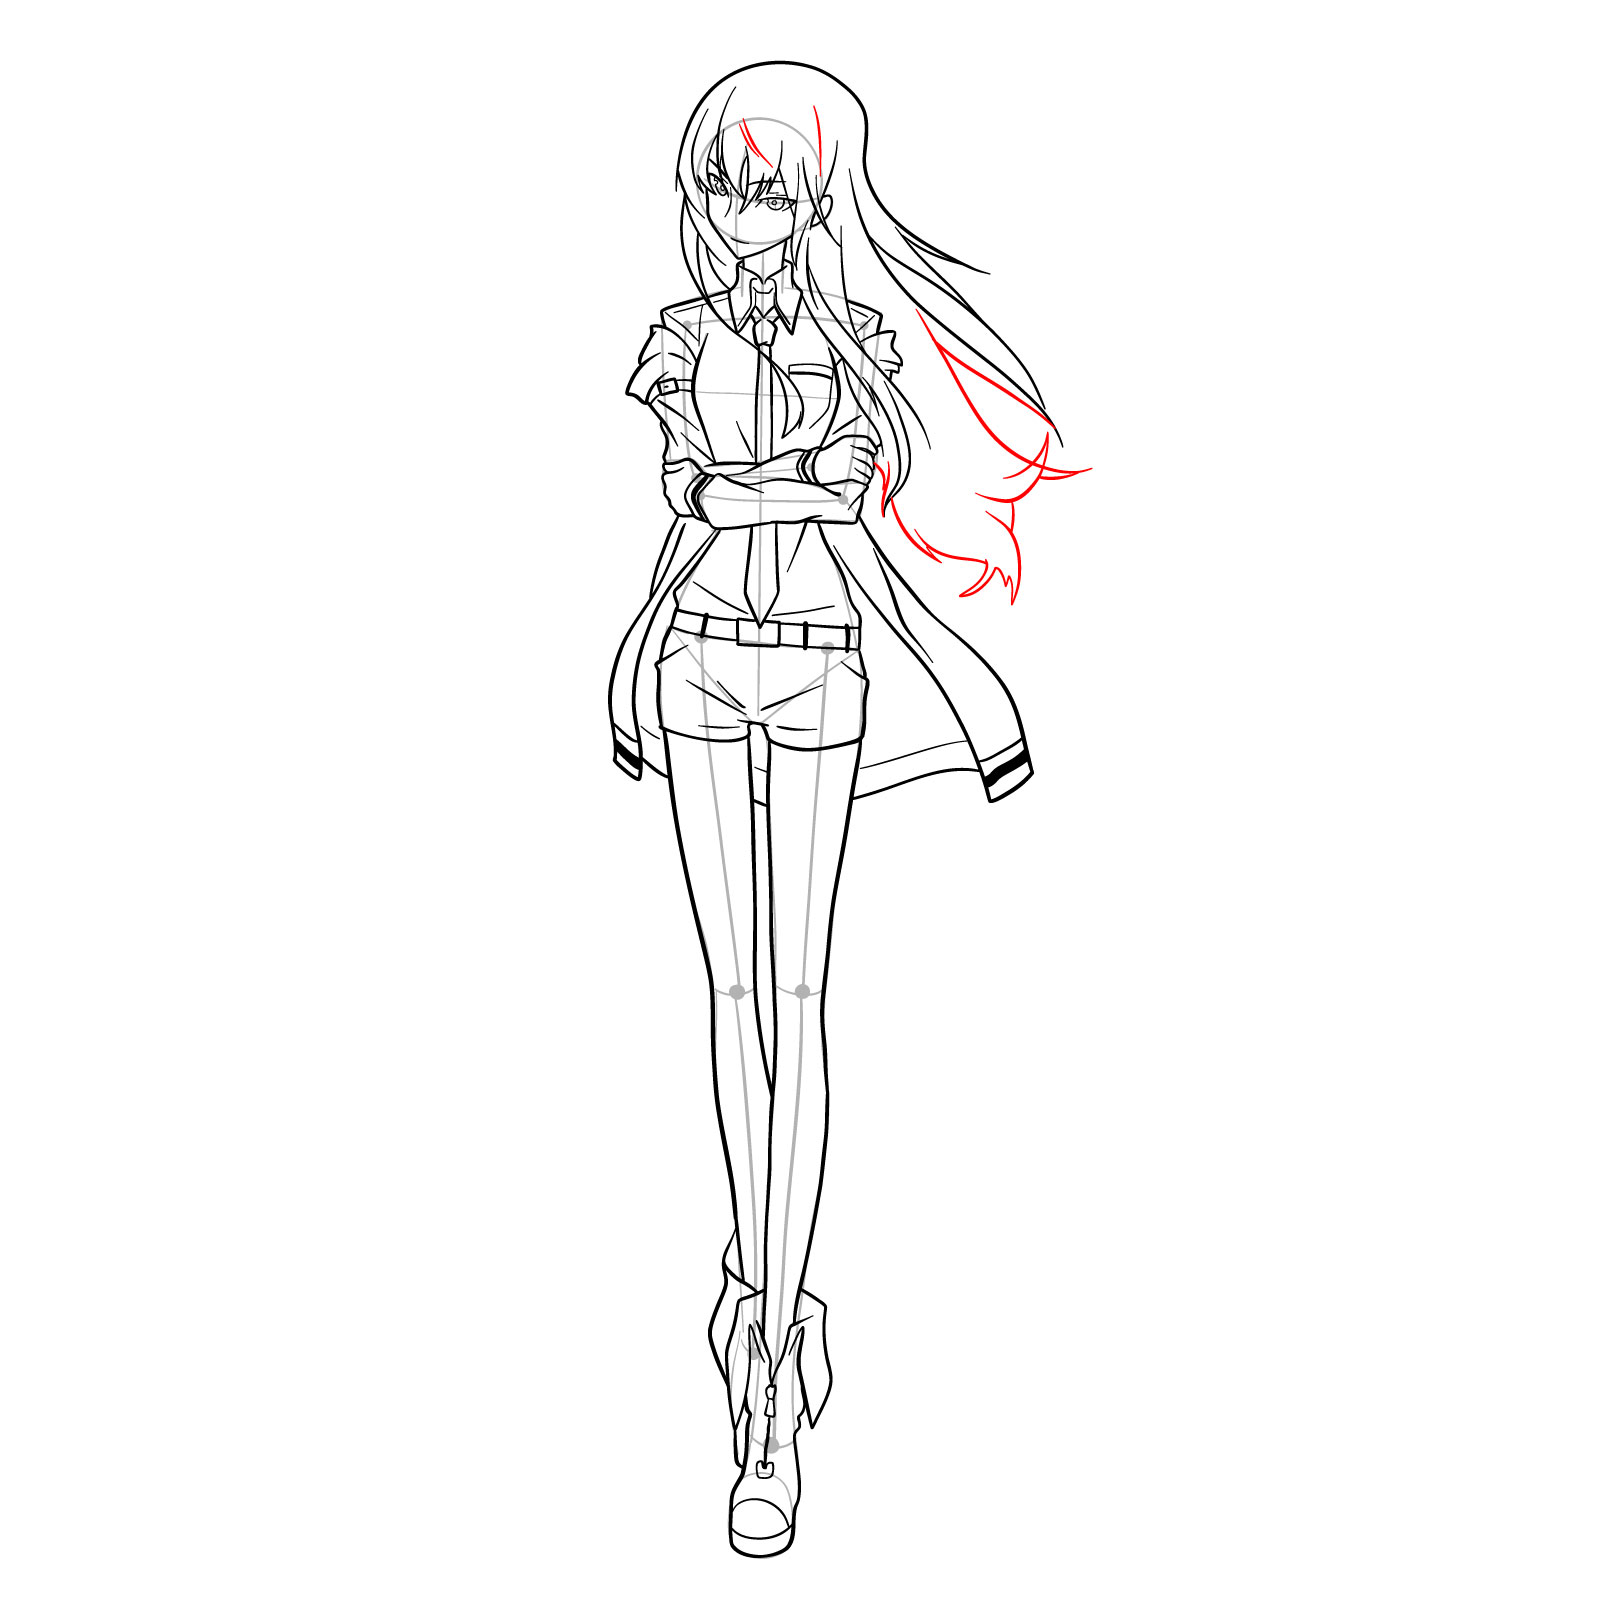
This guide consists of a total of 42 steps, carefully designed to break down the drawing process into manageable and easy-to-follow stages.

Color Scheme

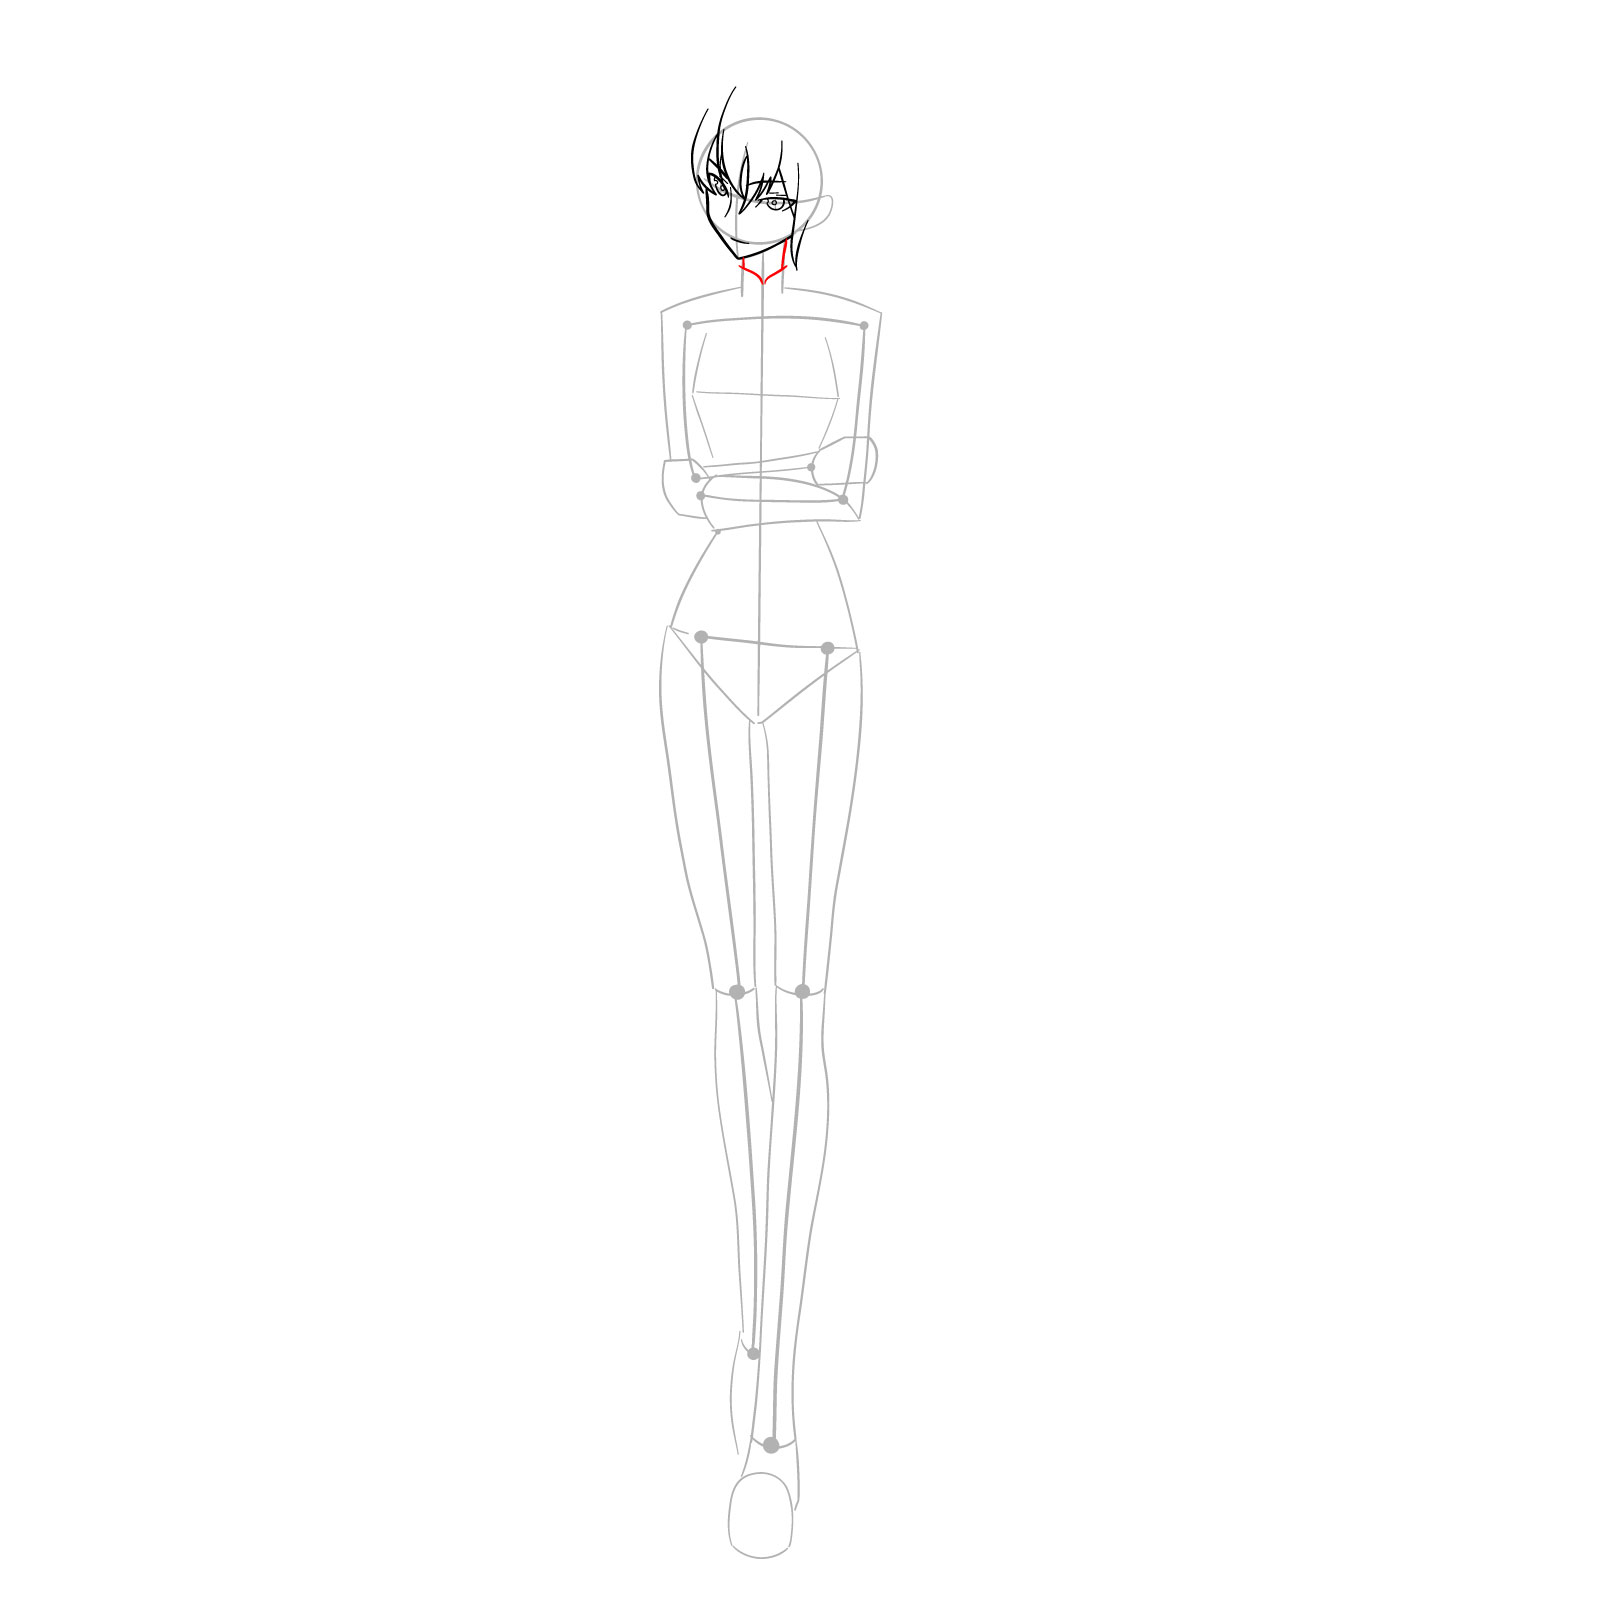
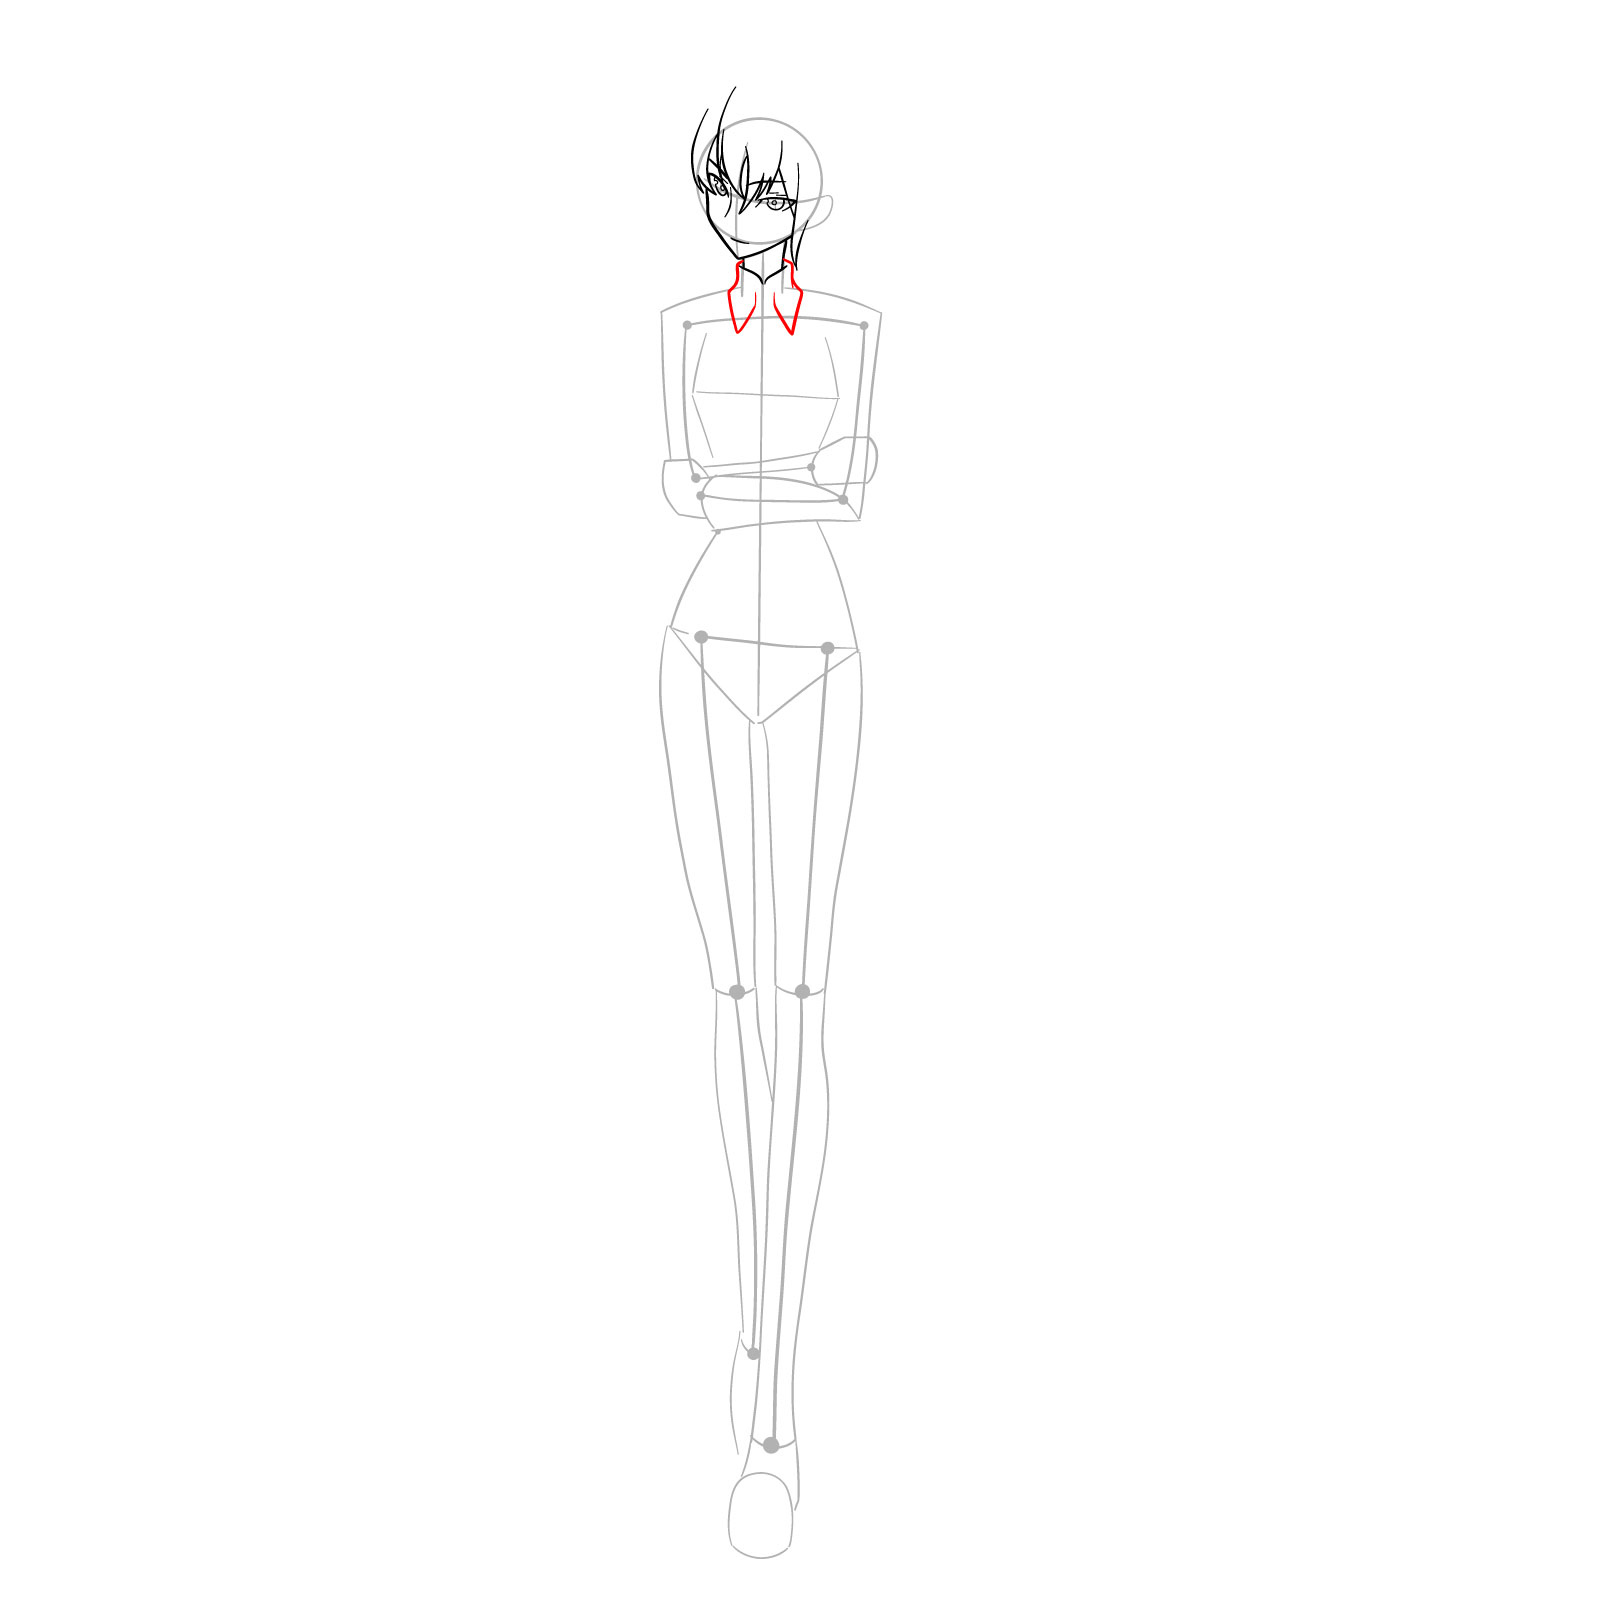
The guide utilizes a color scheme to help you navigate through the steps:

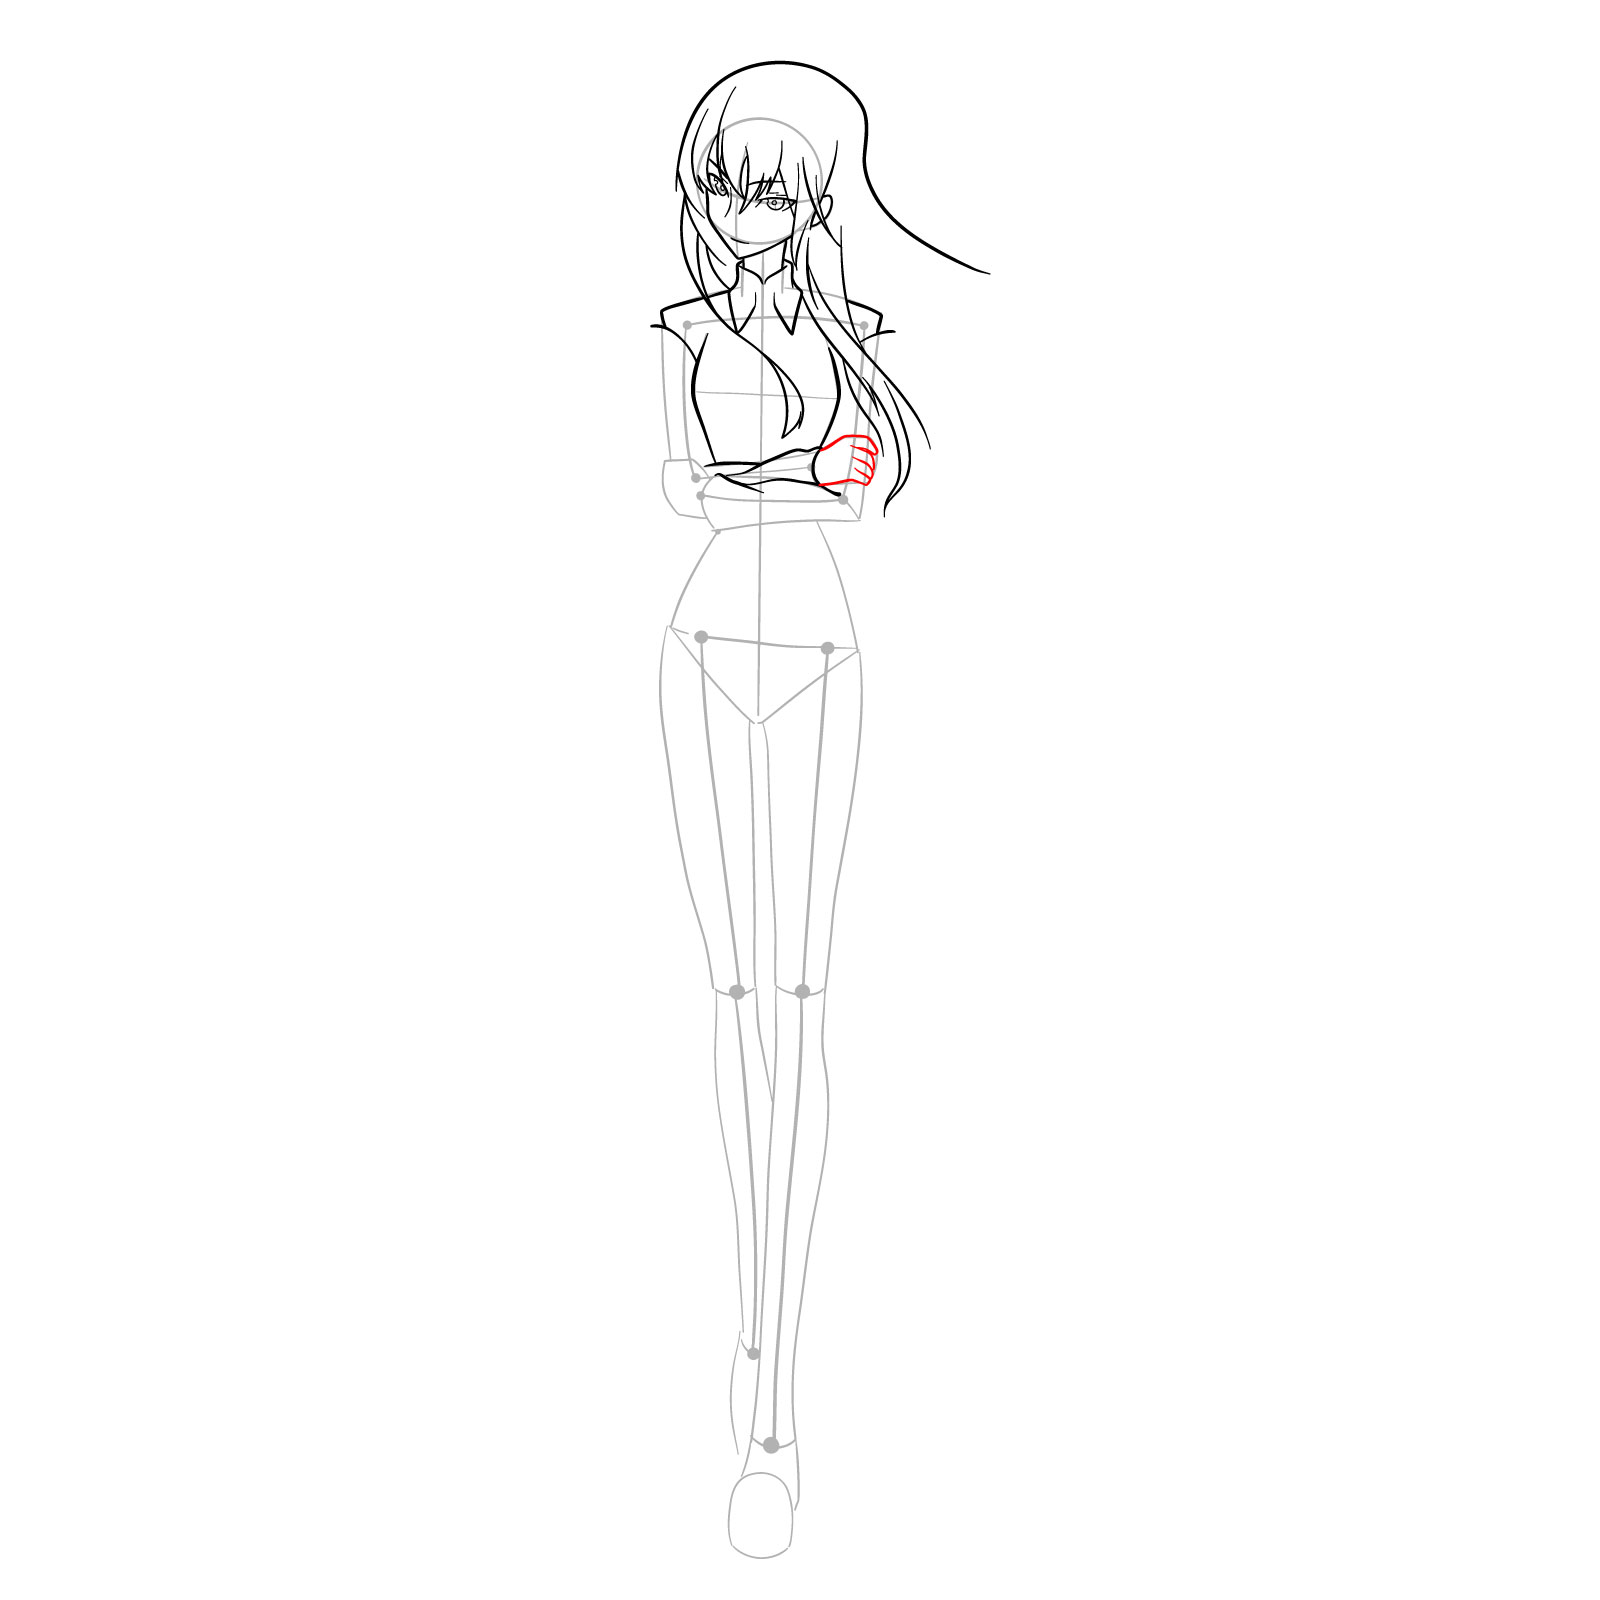
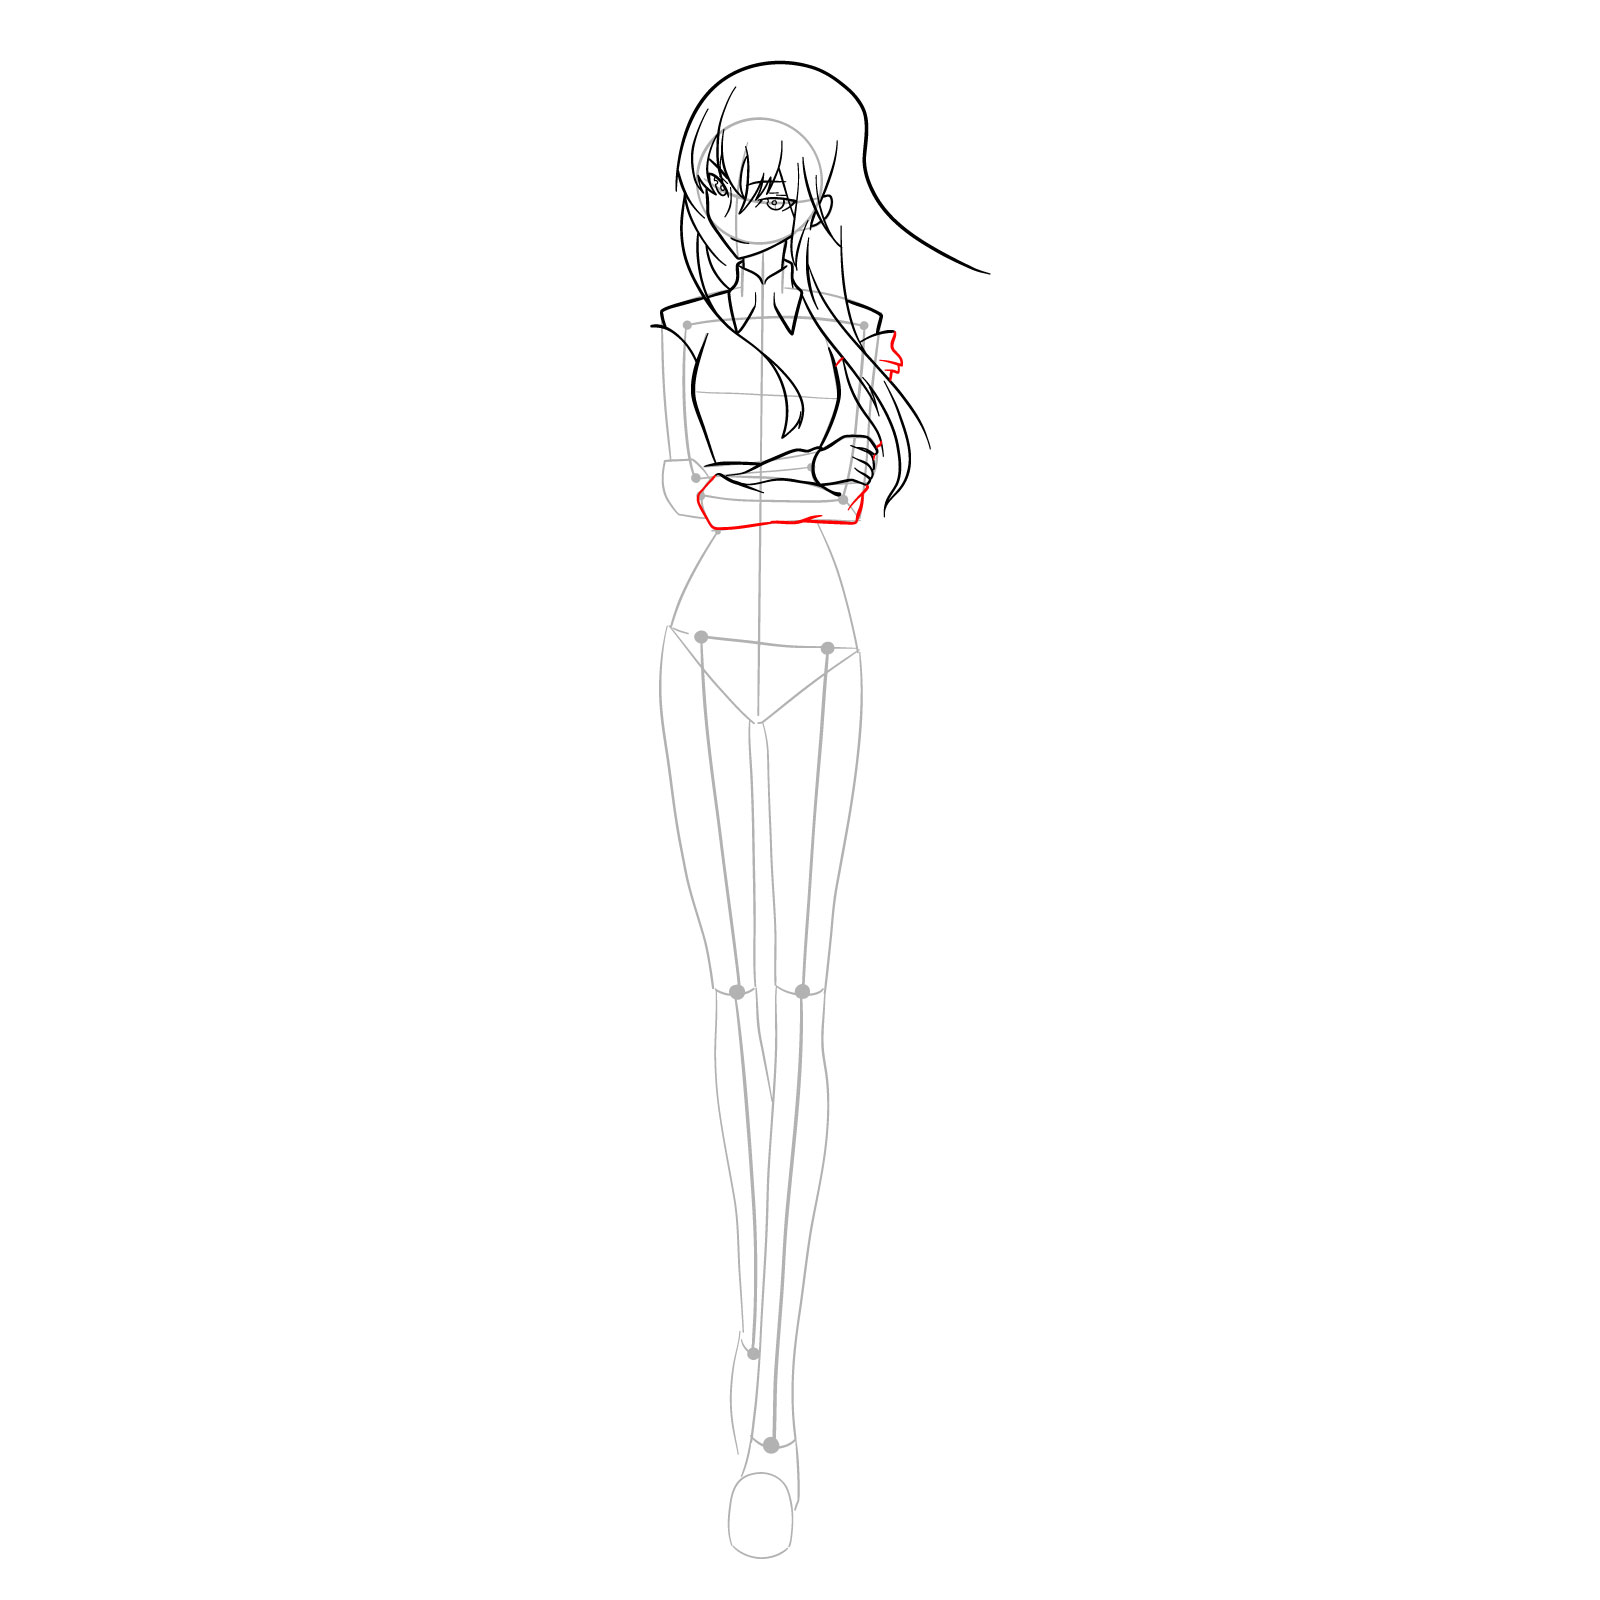
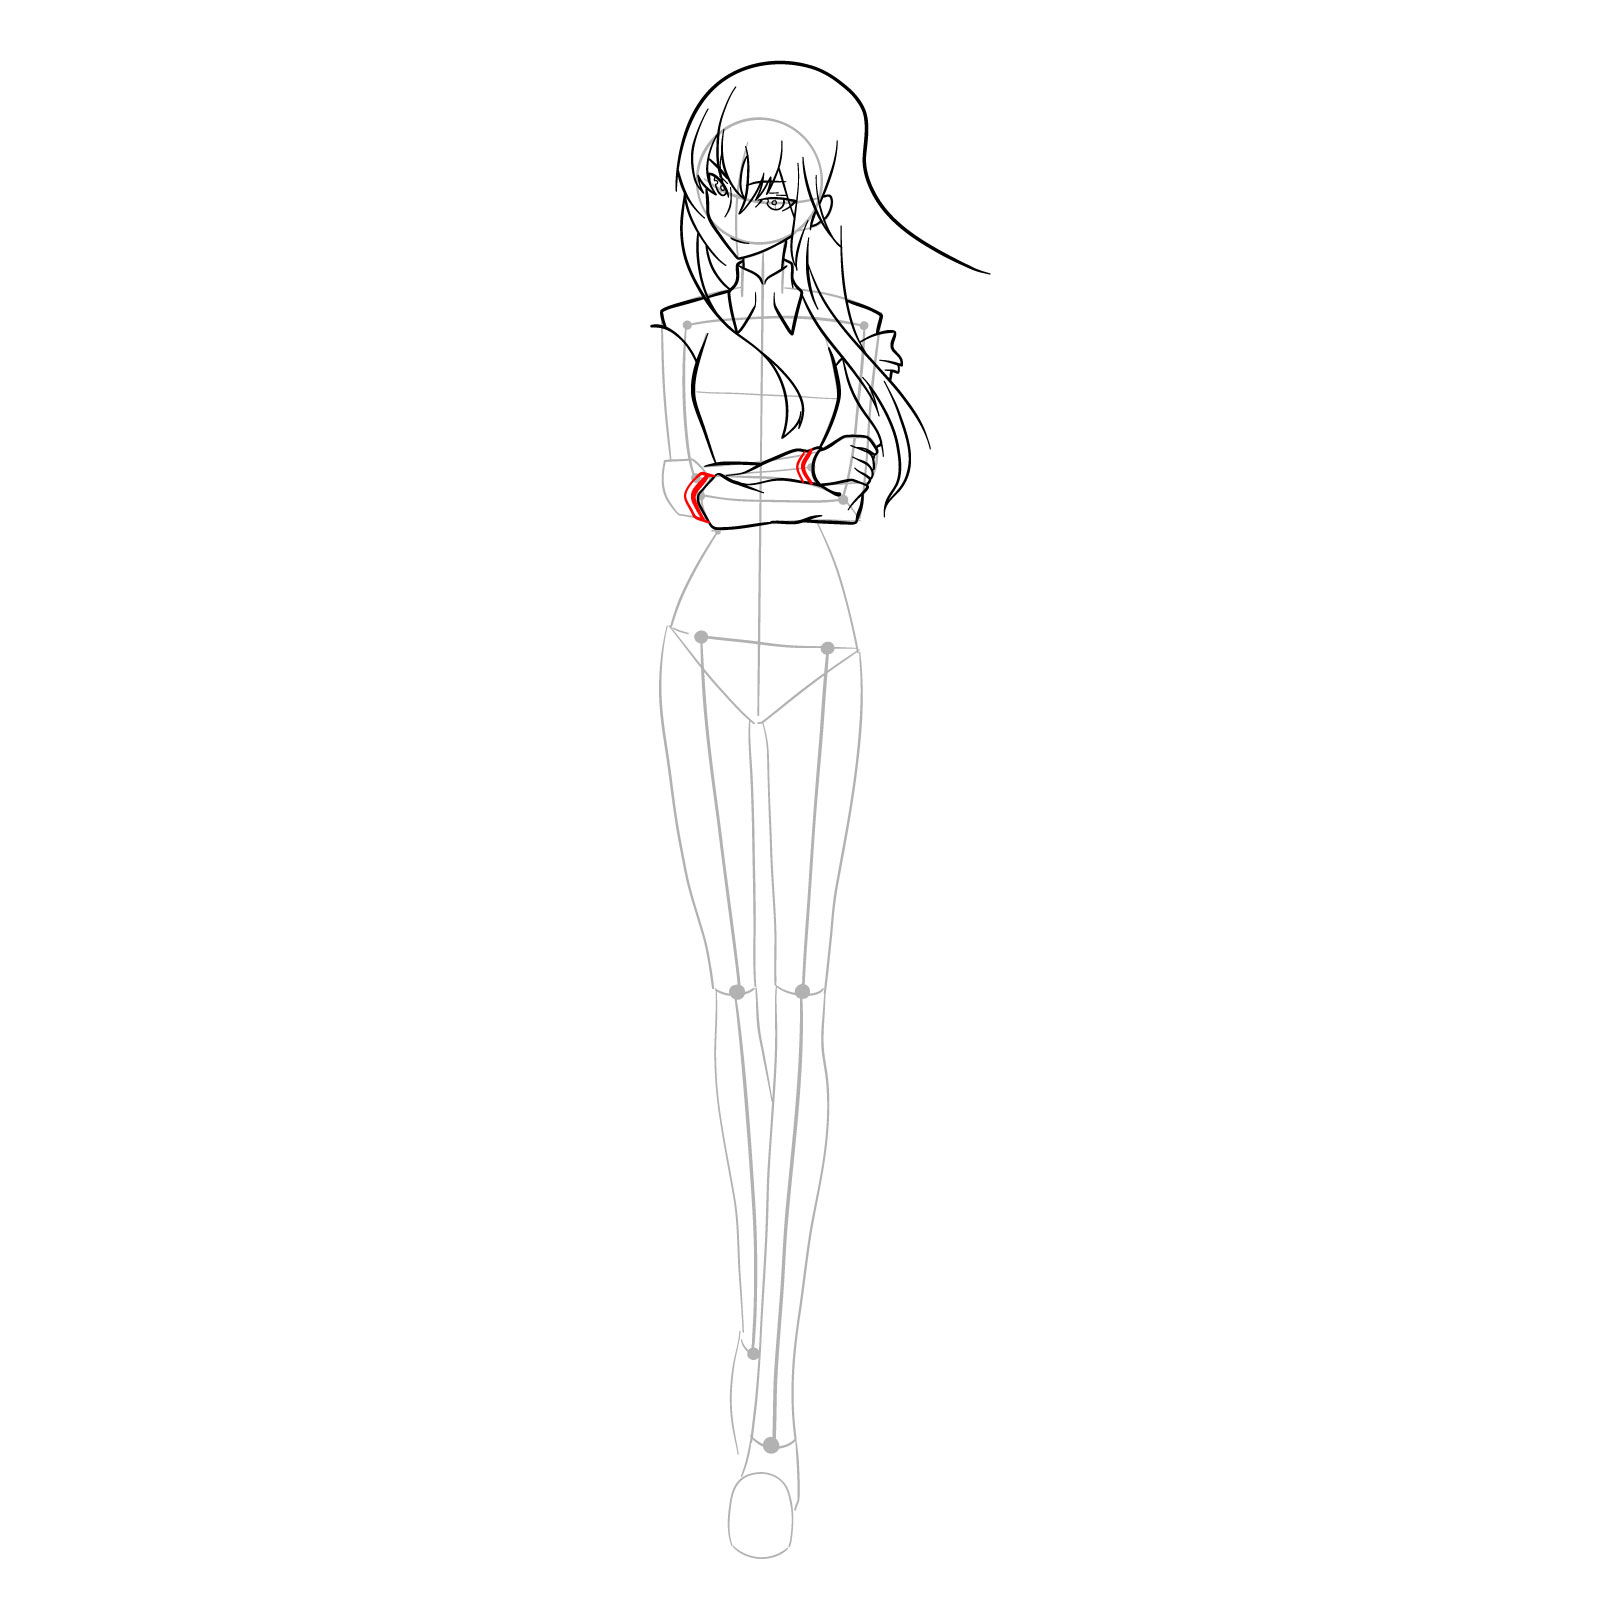
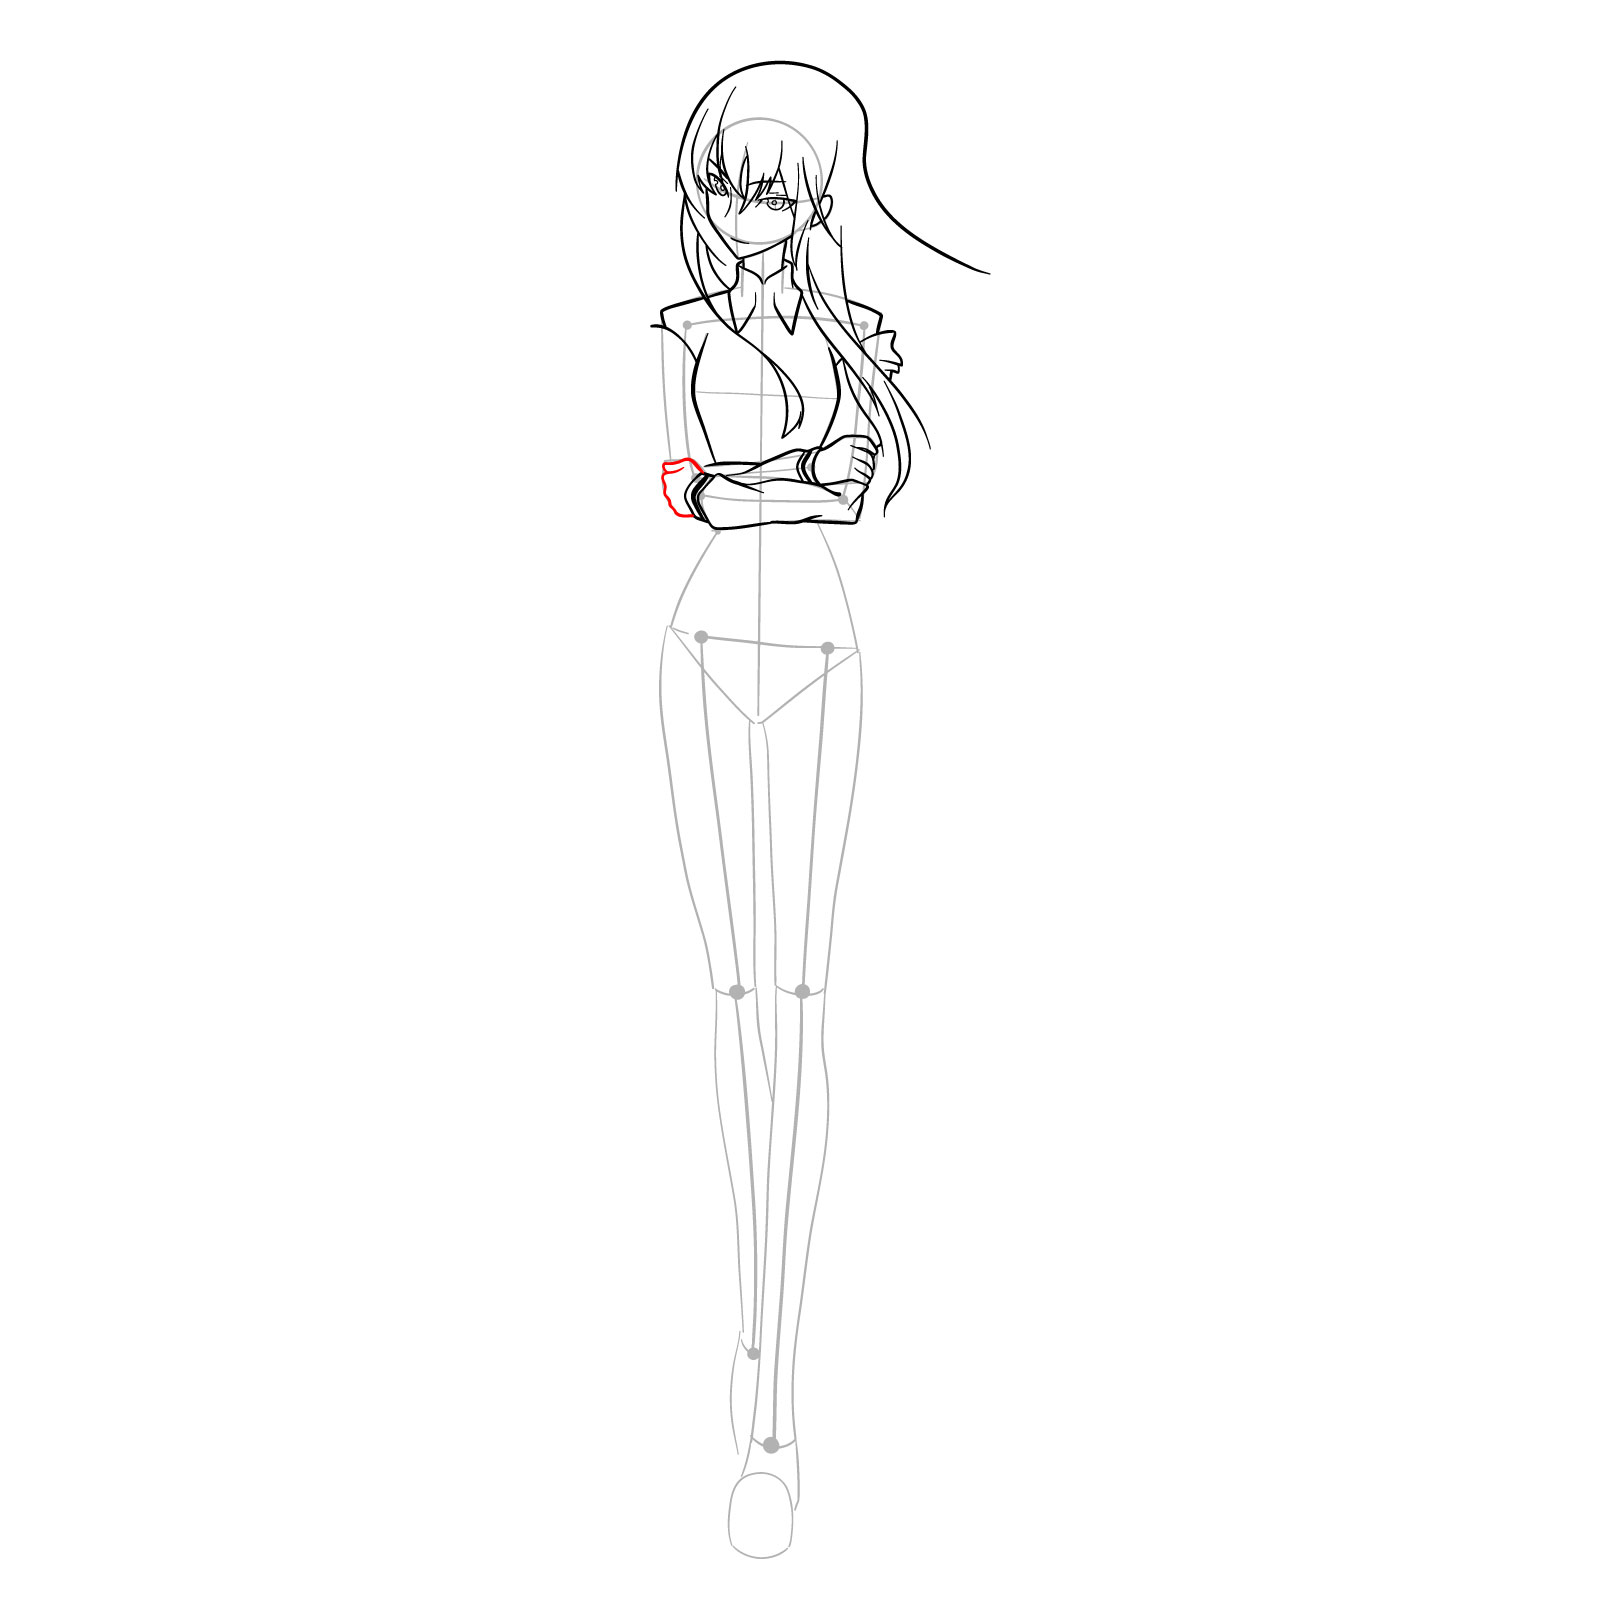
  • Red: The current step you are working on.
  • Black: Previously drawn lines or elements.
  • Grey: Represents the basic sketch from the first three steps, providing a foundation for the drawing.

By following the guide’s color-coded instructions, you’ll be able to track your progress and create a stunning depiction of Kurisu Makise.

Step 01

How to draw Kurisu Makise from Steins;Gate - step 01

Step 02

How to draw Kurisu Makise from Steins;Gate - step 02

Step 03

How to draw Kurisu Makise from Steins;Gate - step 03

Step 04

How to draw Kurisu Makise from Steins;Gate - step 04

Step 05

How to draw Kurisu Makise from Steins;Gate - step 05

Step 06

How to draw Kurisu Makise from Steins;Gate - step 06

Step 07

How to draw Kurisu Makise from Steins;Gate - step 07

Step 08

How to draw Kurisu Makise from Steins;Gate - step 08

Step 09

How to draw Kurisu Makise from Steins;Gate - step 09

Step 10

How to draw Kurisu Makise from Steins;Gate - step 10

Step 11

How to draw Kurisu Makise from Steins;Gate - step 11

Step 12

How to draw Kurisu Makise from Steins;Gate - step 12

Step 13

How to draw Kurisu Makise from Steins;Gate - step 13

Step 14

How to draw Kurisu Makise from Steins;Gate - step 14

Step 15

How to draw Kurisu Makise from Steins;Gate - step 15

Step 16

How to draw Kurisu Makise from Steins;Gate - step 16

Step 17

How to draw Kurisu Makise from Steins;Gate - step 17

Step 18

How to draw Kurisu Makise from Steins;Gate - step 18

Step 19

How to draw Kurisu Makise from Steins;Gate - step 19

Step 20

How to draw Kurisu Makise from Steins;Gate - step 20

Step 21

How to draw Kurisu Makise from Steins;Gate - step 21

Step 22

How to draw Kurisu Makise from Steins;Gate - step 22

Step 23

How to draw Kurisu Makise from Steins;Gate - step 23

Step 24

How to draw Kurisu Makise from Steins;Gate - step 24

Step 25

How to draw Kurisu Makise from Steins;Gate - step 25

Step 26

How to draw Kurisu Makise from Steins;Gate - step 26

Step 27

How to draw Kurisu Makise from Steins;Gate - step 27

Step 28

How to draw Kurisu Makise from Steins;Gate - step 28

Step 29

How to draw Kurisu Makise from Steins;Gate - step 29

Step 30

How to draw Kurisu Makise from Steins;Gate - step 30

Step 31

How to draw Kurisu Makise from Steins;Gate - step 31

Step 32

How to draw Kurisu Makise from Steins;Gate - step 32

Step 33

How to draw Kurisu Makise from Steins;Gate - step 33

Step 34

How to draw Kurisu Makise from Steins;Gate - step 34

Step 35

How to draw Kurisu Makise from Steins;Gate - step 35

Step 36

How to draw Kurisu Makise from Steins;Gate - step 36

Step 37

How to draw Kurisu Makise from Steins;Gate - step 37

Step 38

How to draw Kurisu Makise from Steins;Gate - step 38

Step 39

How to draw Kurisu Makise from Steins;Gate - step 39

Step 40

How to draw Kurisu Makise from Steins;Gate - step 40

Step 41

How to draw Kurisu Makise from Steins;Gate - step 41

Step 42

How to draw Kurisu Makise from Steins;Gate - final step

Explore More Characters to Draw

Once you’ve mastered drawing Kurisu Makise, there are countless other fascinating characters waiting to be brought to life on your canvas. Here are some suggestions for characters you can draw next:

  • Okabe Rintarou: The eccentric protagonist of Steins;Gate, known for his iconic lab coat and unique personality.
  • Mayuri Shiina: Kurisu’s dear friend and a vital member of the Future Gadget Lab, often seen wearing a distinctive cosplay costume.
  • Faris NyanNyan: A charismatic and popular waitress at the MayQueen+Nyan maid café.

Each of these characters presents its own set of artistic challenges and opportunities for creativity. Explore their unique features and bring them to life through your artistry.

Support Us and Stay Connected

We hope you found our drawing guide helpful and enjoyable. If you appreciate our content and would like to support us, there are a few ways you can do so:

  • Donating: Help us continue creating more drawing guides by donating through our Buy Me a Coffee page.
  • Sharing: Spread the word by sharing the link to this guide with your friends, fellow artists, or anyone who might benefit from it.
  • Follow us on Social Media: Stay up to date with our latest tutorials and artworks by following us on Facebook, Instagram, and Pinterest.

Thank you for your support, and keep unleashing your creativity!

Disclaimer: All original artworks and photos used as references for the creation of these drawing tutorials are the property of their respective owners. If your work has been featured without proper credit, please kindly leave a comment below, and the issue will be promptly addressed. We greatly appreciate your exceptional art. Thank you.

Did you like the tutorial?

You can support the author of this website and also suggest your own ideas for new drawings by making a small donation here:

Leave a Comment