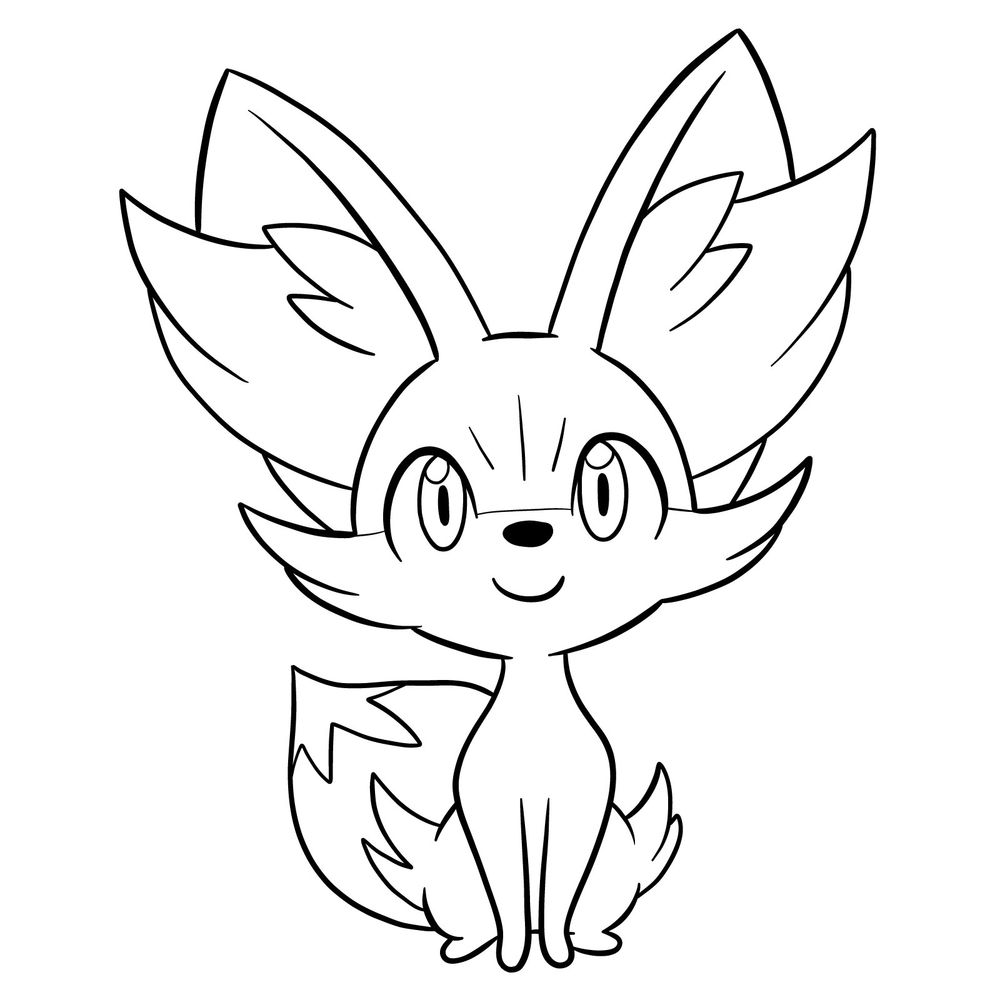
Welcome to your guide on how to draw Fennekin, the enchanting Fire-type Pokémon. By following this easy-to-navigate tutorial, you’ll witness your blank canvas transforming into a captivating representation of this delightful creature.
Understanding Fennekin: More Than Just a Pokémon
Before we dive into the drawing process, let’s familiarize ourselves with Fennekin’s appearance. Knowing the core attributes of the character will significantly aid in sketching its distinctive design:
- Fennekin exhibits a vibrant interplay of yellow, orange, and white fur that covers its small, fox-like physique.
- Its eyes are a striking round shape with a bold orange hue and slit pupils, lending a captivating allure to its appearance.
- A unique characteristic of Fennekin is the flaming tufts of orange fur emerging from its ears, signifying its Fire-type nature.
- The bushy tail, ending with an orange tip, is reminiscent of another popular Pokémon, Zorua.
While drawing Fennekin, consider adding other related Pokémon to your artwork. Complementing Fennekin with characters like Charmander, a fellow fire-type Pokémon, or even Bulbasaur, to depict a playful contrast, can elevate your drawing. Consider also introducing Squirtle and Pikachu with arms wide open for an adorable scene.
Decoding the Guide: Simplifying the Process
Understanding the color coding in this guide will help streamline your drawing experience:
- Red Color: Represents the current drawing step you should be working on.
- Black Color: Showcases the lines you have previously drawn.
- Grey Color: Indicates the basic proportions sketch, your reference for overall structure.
This 18-step guide begins with constructing the basic sketch, which forms the first three steps. Once the outline is established, the detailed features are introduced. When you approach the last step, you can ink the sketch. Be sure to let the ink dry before gently erasing the pencil sketch to avoid smudging.


Frequently Asked Questions
1. How can I ensure correct proportions while drawing Fennekin?
Start with light, rough pencil strokes to sketch the basic shape of Fennekin. You can adjust these initial lines as needed to get the proportions correct. Use the grey color in the guide as a reference for the basic sketch.
2. Why should I wait for the ink to dry before erasing the pencil sketch?
Waiting for the ink to dry prevents smudging, ensuring clean and precise outlines. Erasing the pencil sketch afterwards removes the initial guiding lines, leaving a clean, professional-looking drawing.
Conclusion
Learning how to draw Fennekin is more than just a lesson; it’s an artistic journey. Celebrate your achievement by sharing this experience with others. Consider sharing your artwork or this guide on social media platforms. Every share helps us continue our mission to make free drawing guides accessible for all.
Your generous donations aid in keeping the SketchOk project live, allowing us to continue providing you with engaging drawing tutorials. By contributing, you support the creation of new, free content, and the expansion of our creative community. Connect with us on Facebook, Instagram and Pinterest to stay updated with our latest guides and tutorials.
Keep exploring, keep learning, and most importantly, keep drawing! Thank you for being a part of our creative journey.

Amazing, now I can practice more with my favorite pokemon