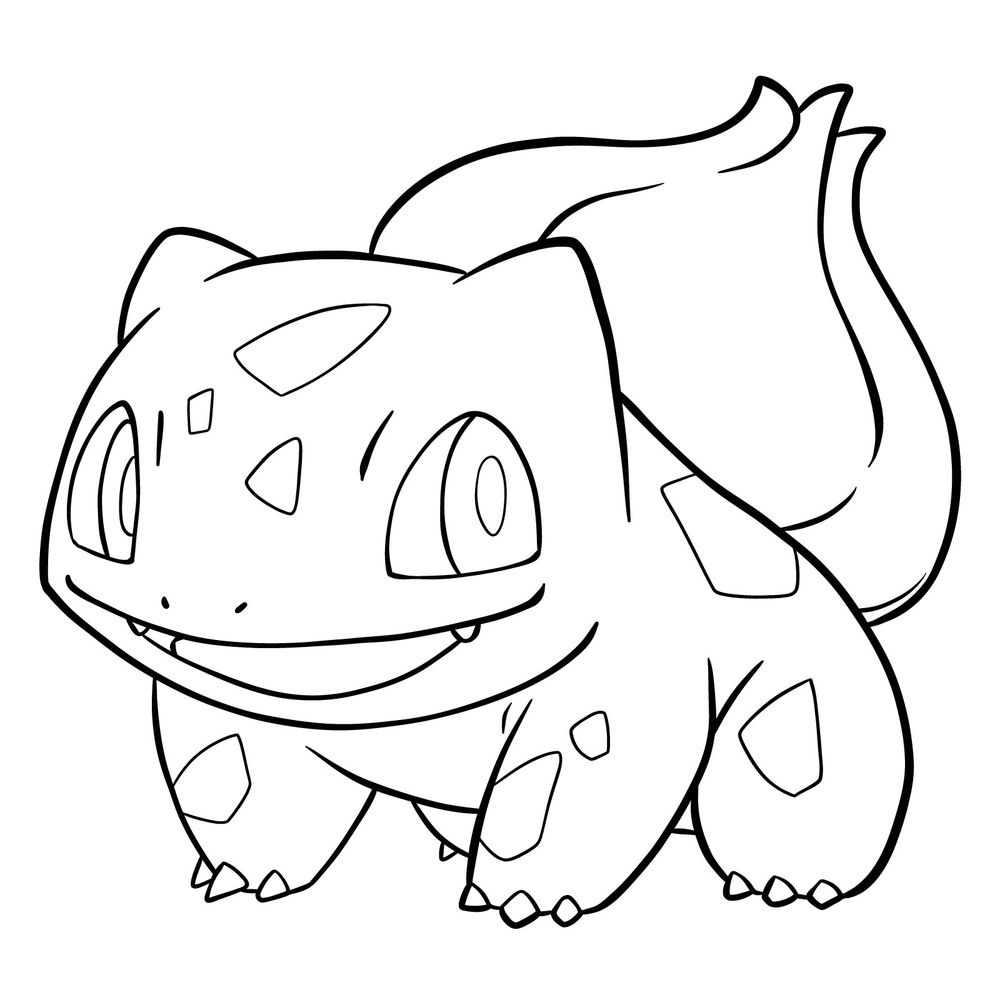
If you’ve ever wanted to bring to life your favorite Pokémon characters on paper, you’re in the right place. Today, we’ll embark on a creative journey to learn how to draw Bulbasaur – the cute, Grass/Poison-type Pokémon that has been capturing hearts since Generation I.
Understanding Bulbasaur: The Seed Pokémon
- Bulbasaur’s Appearance: Bearing a resemblance to a small, tail-less amphibian, Bulbasaur has light turquoise skin adorned with darker green spots. The eyes are large and red, giving it a perpetually alert look, and the small, sharp teeth add a hint of ferocity.
- The Bulb: Bulbasaur’s most distinguishing feature is the large bulb on its back, which was planted there at birth. This bulb absorbs sunlight, helping it grow over time. Vines that can be used as weapons can be easily extracted from the bulb.
- Behavior: As a lover of sunlight, Bulbasaur is often found napping in bright areas. In the wild, they are rare and shy, preferring the company of their own kind. But they’re also known for being docile, tame, and fiercely loyal to trainers they trust.
The Drawing Guide
Our step-by-step guide consists of 22 detailed steps. The first three steps are dedicated to creating a basic sketch of Bulbasaur’s structure using light pencil strokes. This helps ensure proper proportions and sets the groundwork for your final drawing.
Each step is color-coded for your convenience:
- Red Color: Indicates the current step you should be focusing on.
- Black Color: Showcases the lines you have drawn in the previous steps.
- Grey Color: Displays the basic sketch created in the initial three steps.
You may also consider bringing more Pokémon characters into the scene to create a dynamic sketch. Drawing other Grass or Poison-type Pokémon like Venusaur, or even the delightful Grass/Fairy type, Jigglypuff, could make your artwork more intriguing.


FAQs on Drawing Pokémon
Q: What materials do I need for drawing Pokémon?
A: You would need a pencil, an eraser, a sharpener, and a set of colored pencils if you wish to color your drawing.
Q: How can I improve my Pokémon drawing skills?
A: Practice is key. Try drawing different Pokémon to understand and adapt to different shapes and sizes. Also, focusing on one part of the Pokémon at a time can make the process easier.
Support SketchOk
As we wrap up, I hope you found this guide on how to draw Bulbasaur helpful. At SketchOk, our mission is to inspire and empower budding artists like yourself to create, learn, and grow.
Your support is vital to keep this mission alive. Consider making a donation to SketchOk via this link. Your contribution helps us continue to produce these creative tutorials for free.
Additionally, you can stay updated with our latest tutorials by following us on Facebook, Instagram, and Pinterest.
Remember, your artistic journey is unique to you. So, embrace it, enjoy it, and most importantly, keep practicing. Happy drawing!
