Last Updated on May 14, 2026
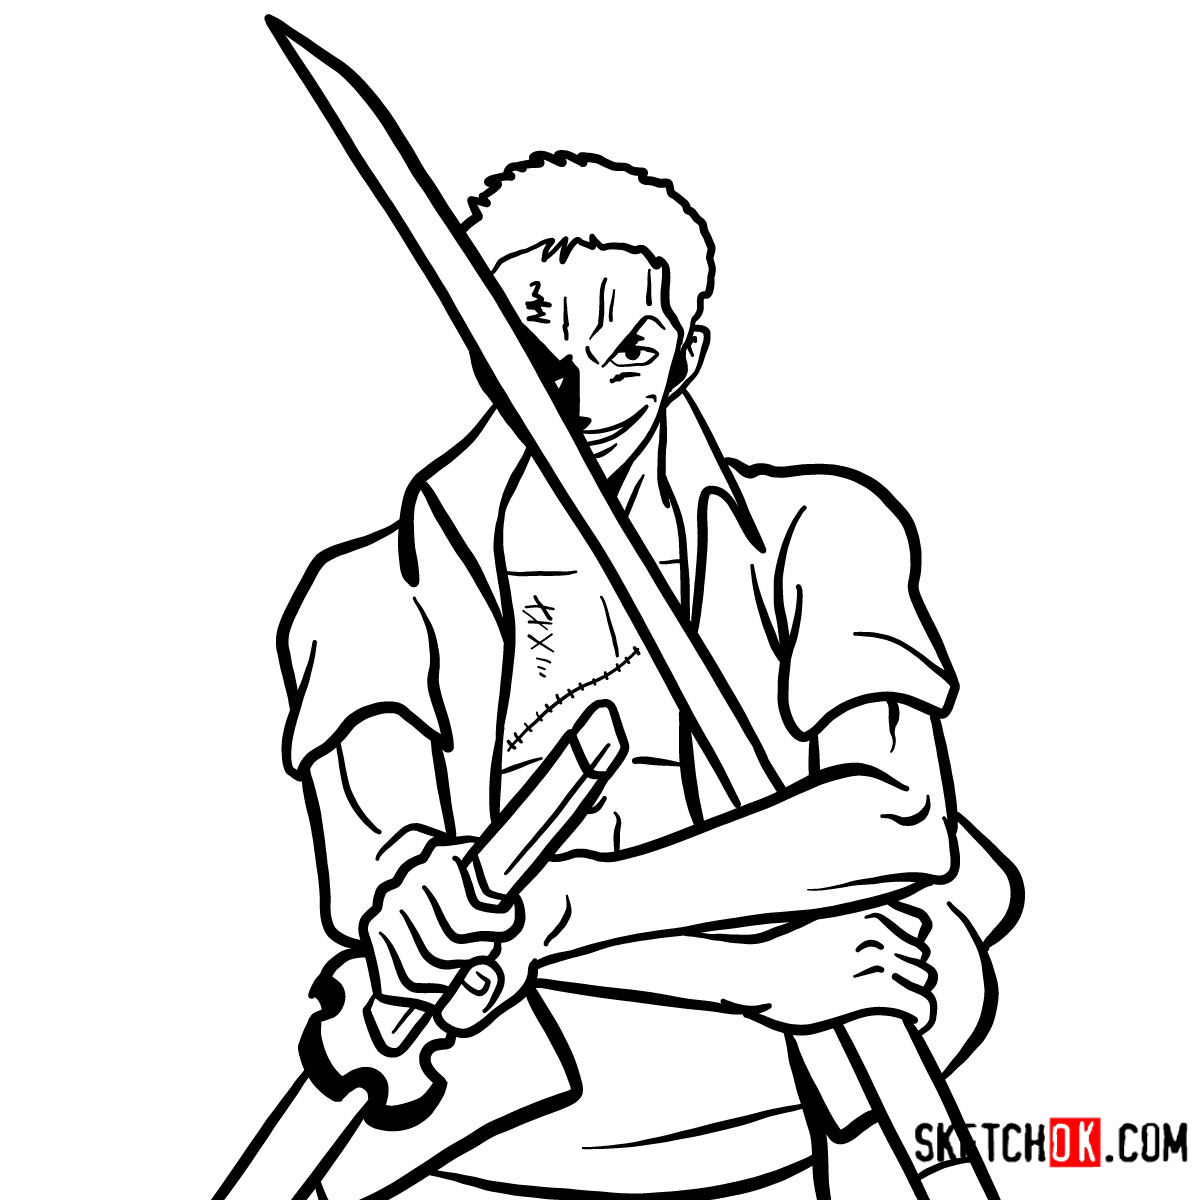
Welcome to our step-by-step tutorial on how to draw the formidable Roronoa Zoro with his iconic swords. Recognized for his strength and unmatched swordsmanship in the world of One Piece, Zoro stands out as a character worth sketching.
Character Focus Points and Appearance
When drawing Roronoa Zoro, pay attention to:
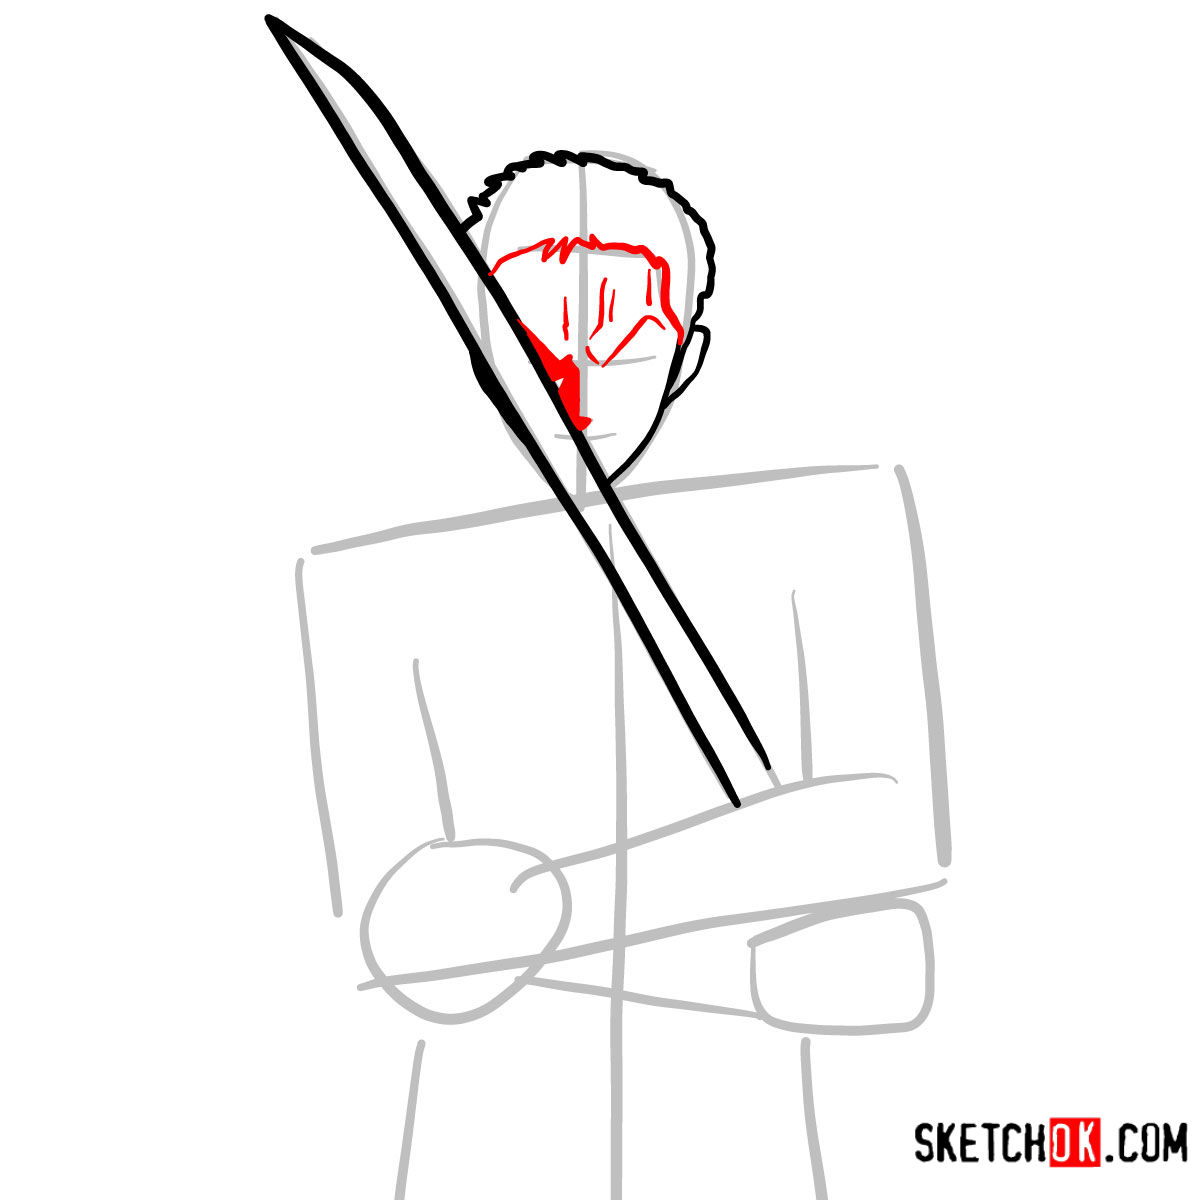
- The intensity and determination in his eyes
- His muscular build, showcased even when sketched to the waist
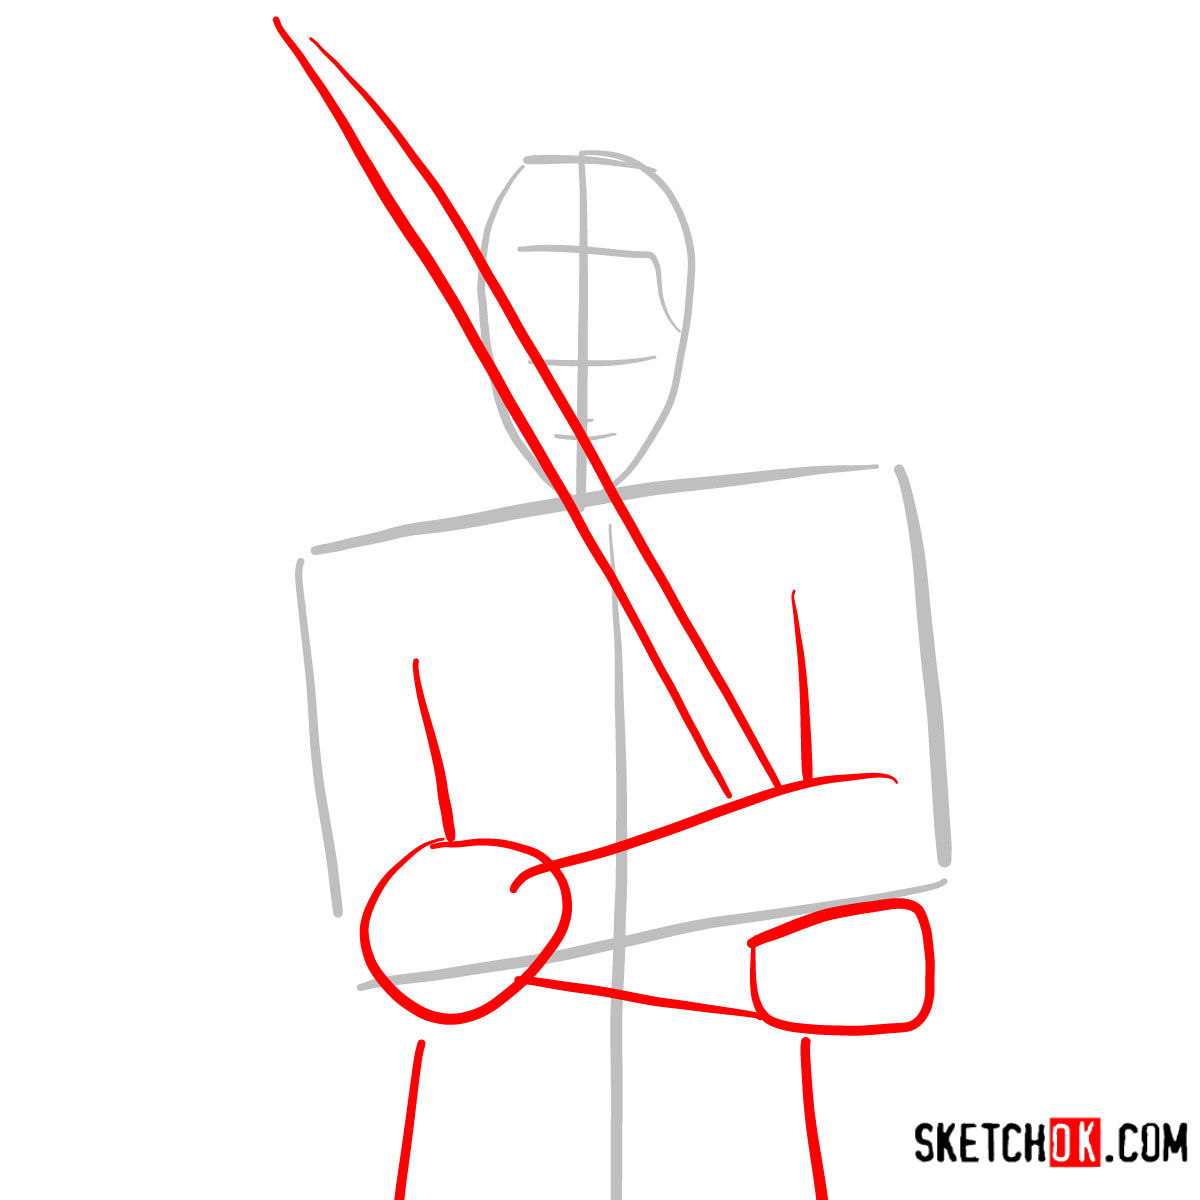
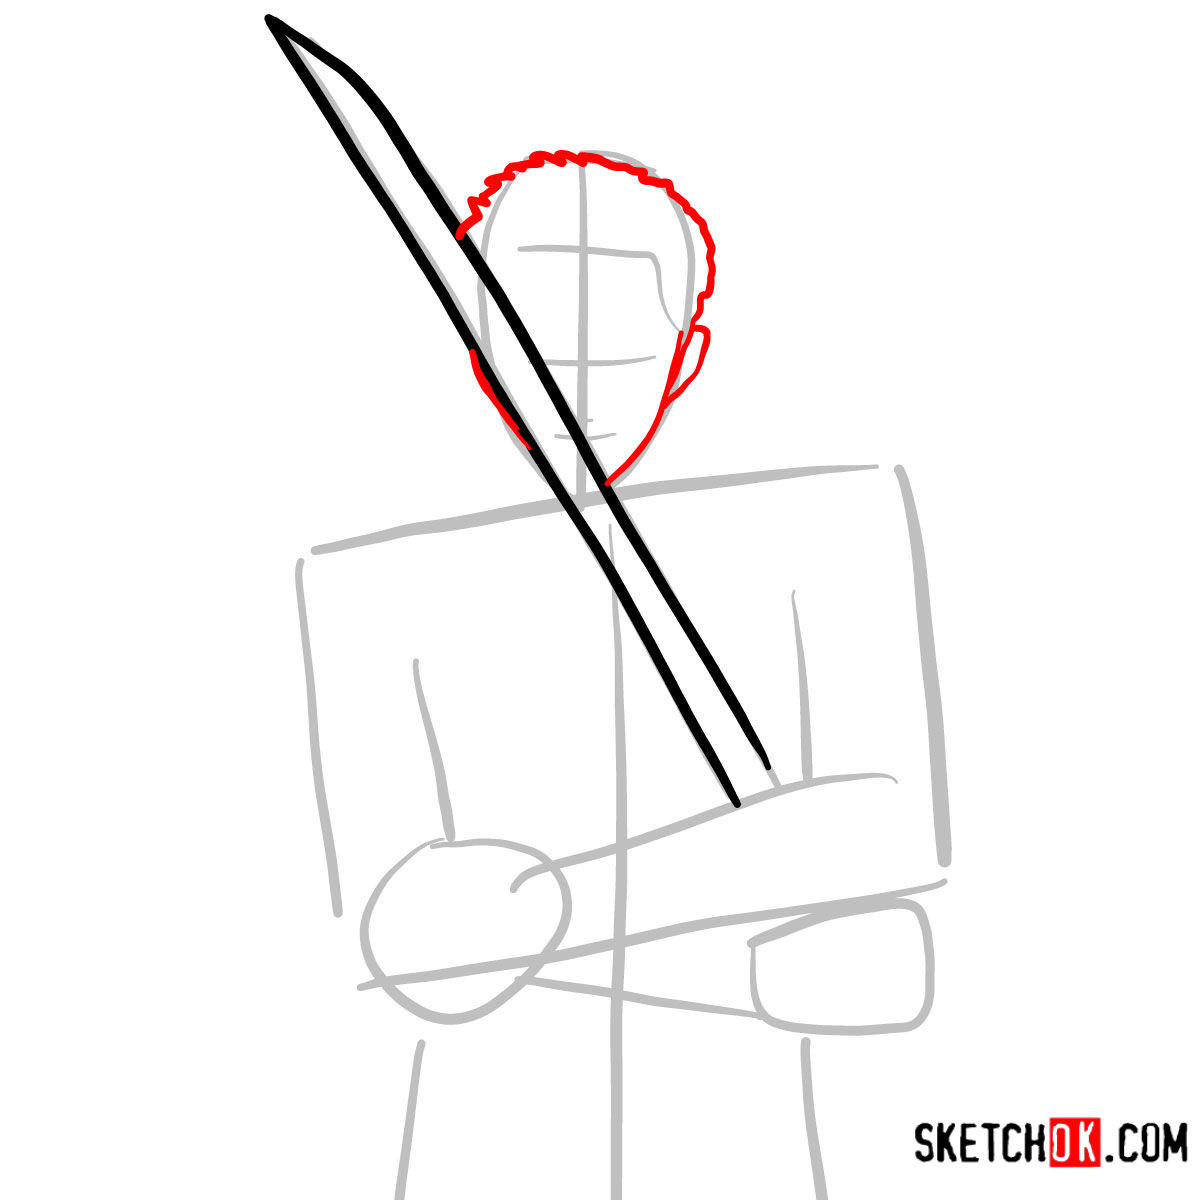
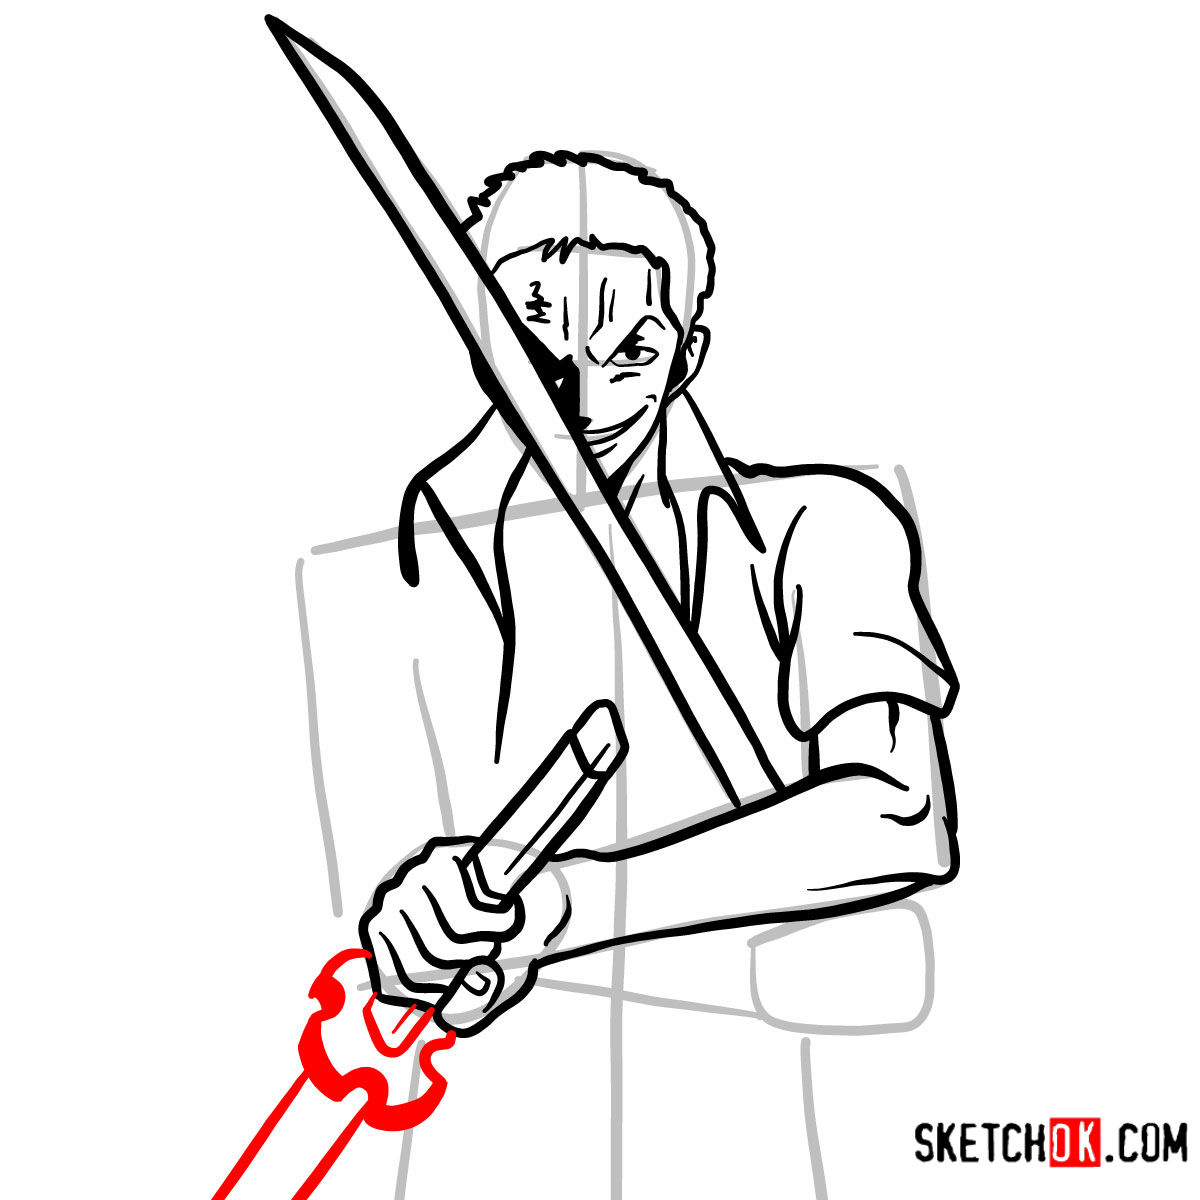
- The distinct positioning of his swords, each unique in design and size
And if you’re feeling even more ambitious, why not add characters like Monkey D. Luffy or Nami by his side? This could create a dynamic scene and showcase the camaraderie of the Straw Hat Pirates.
Decoding the Guide
Understanding the color cues is crucial:
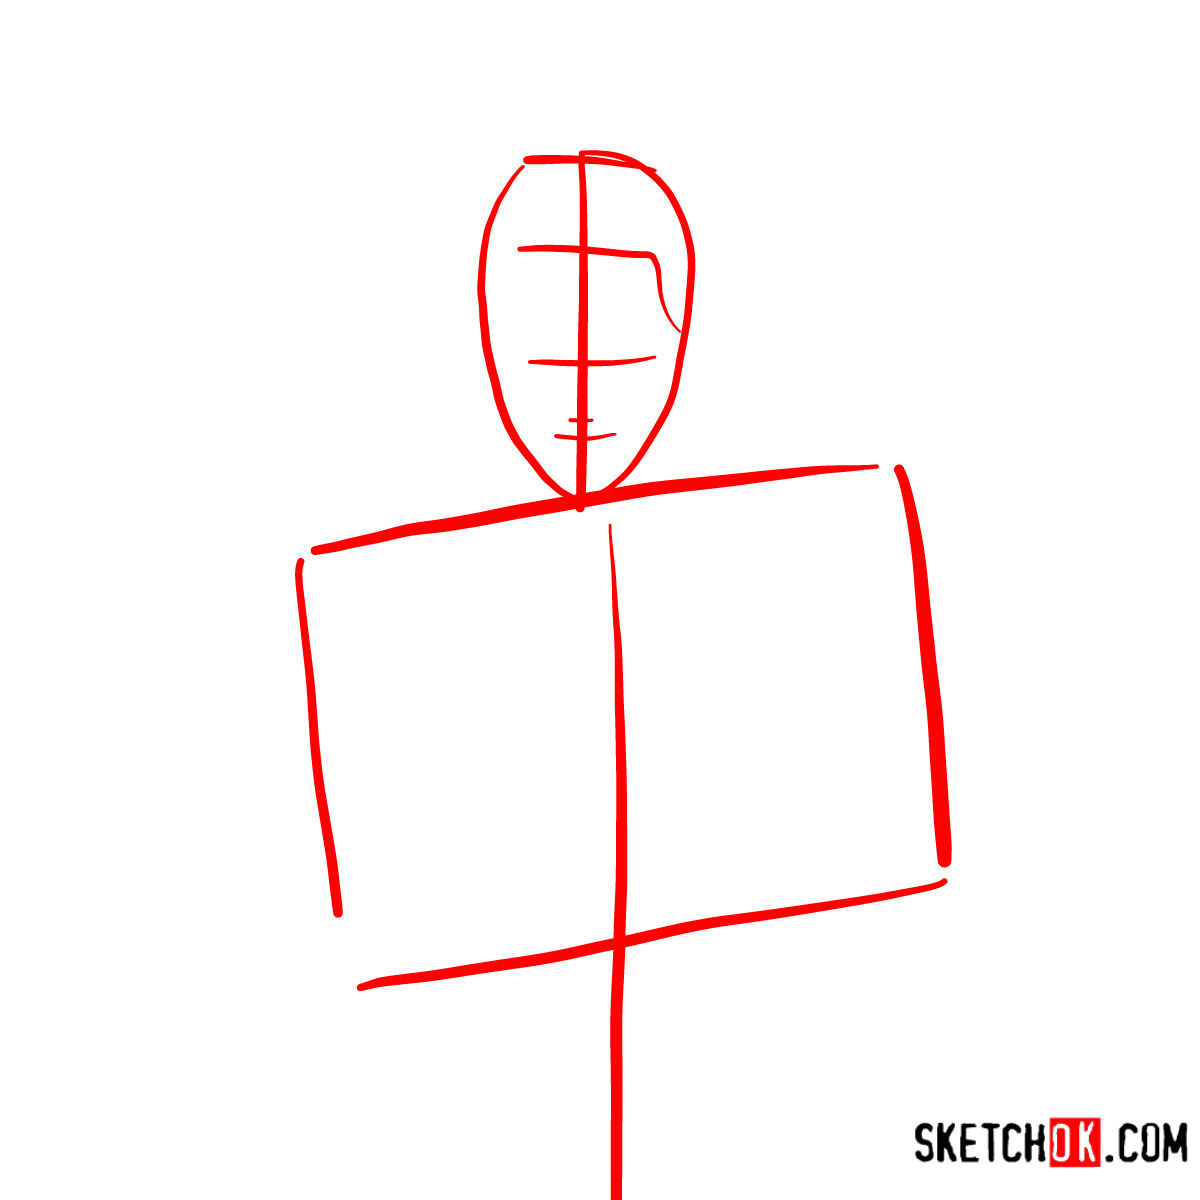
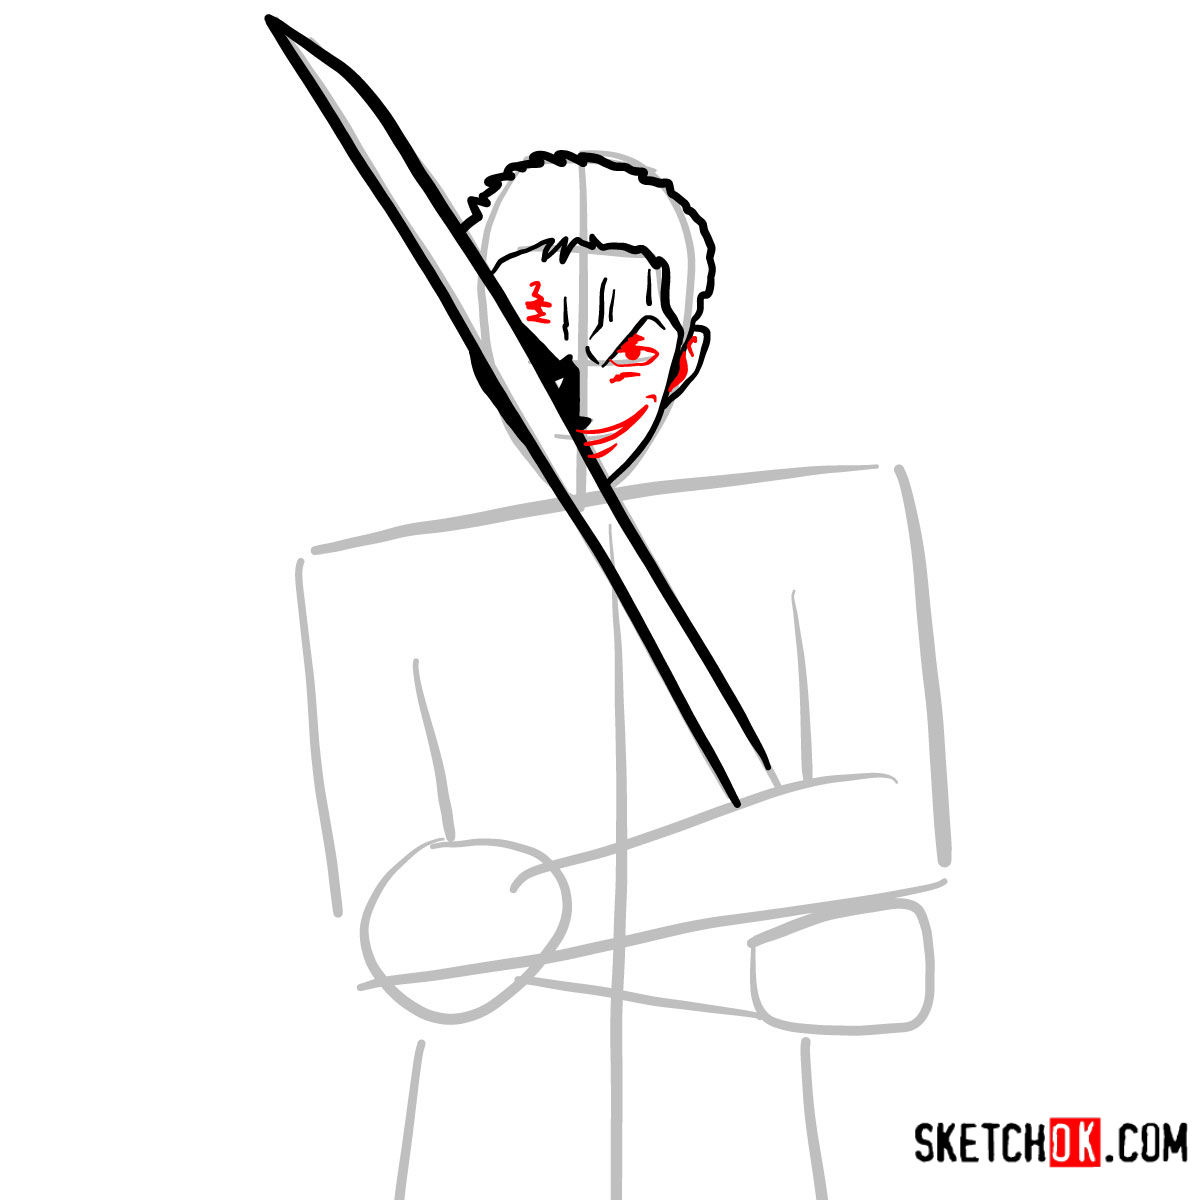
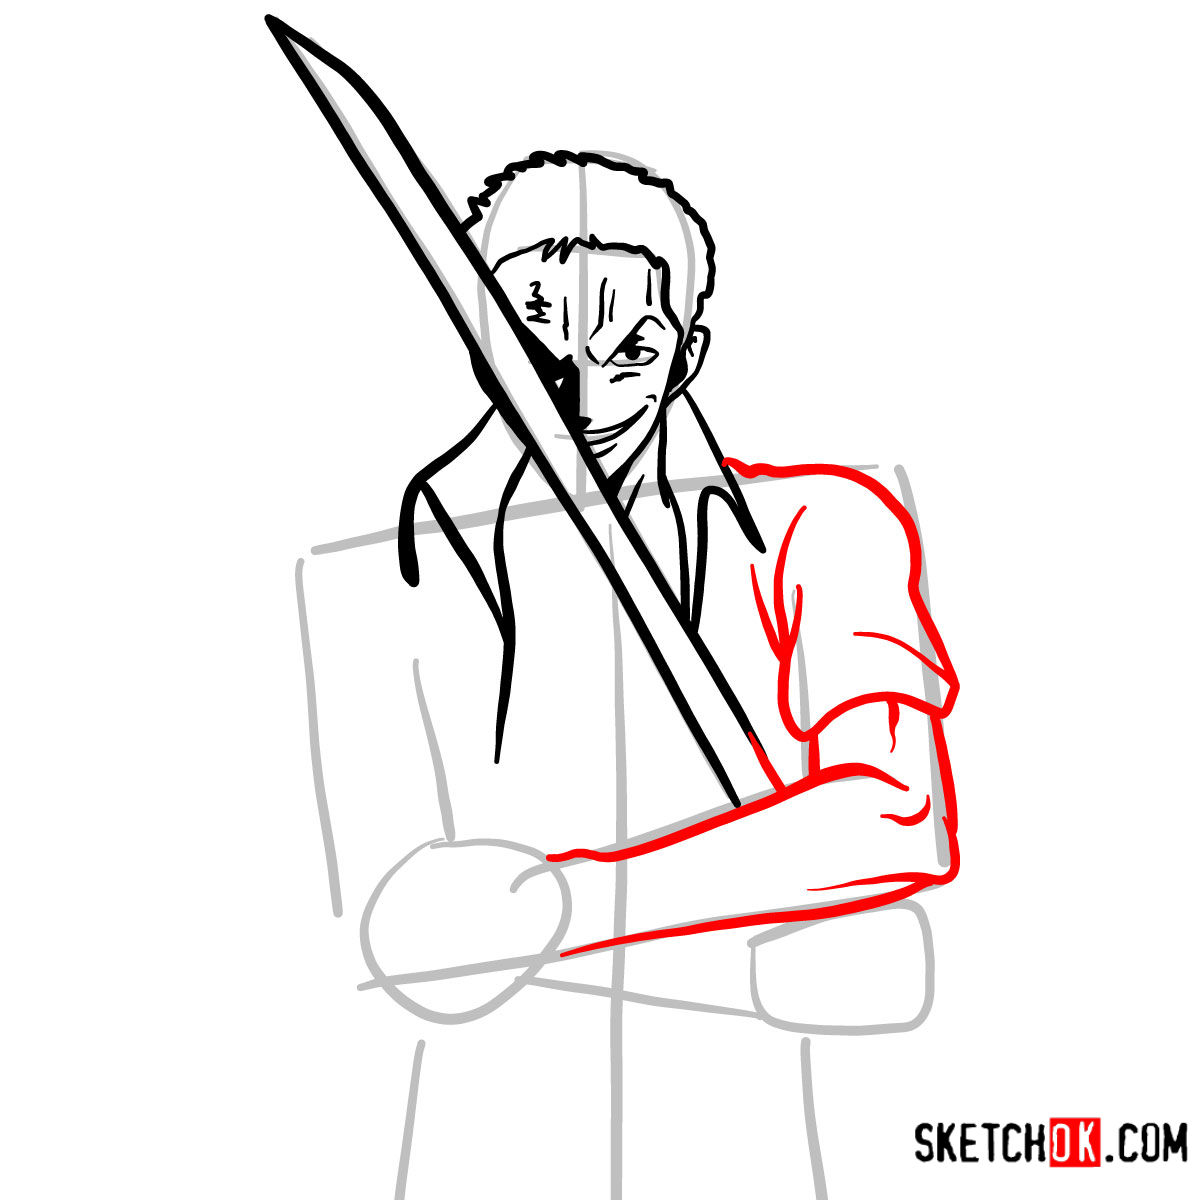
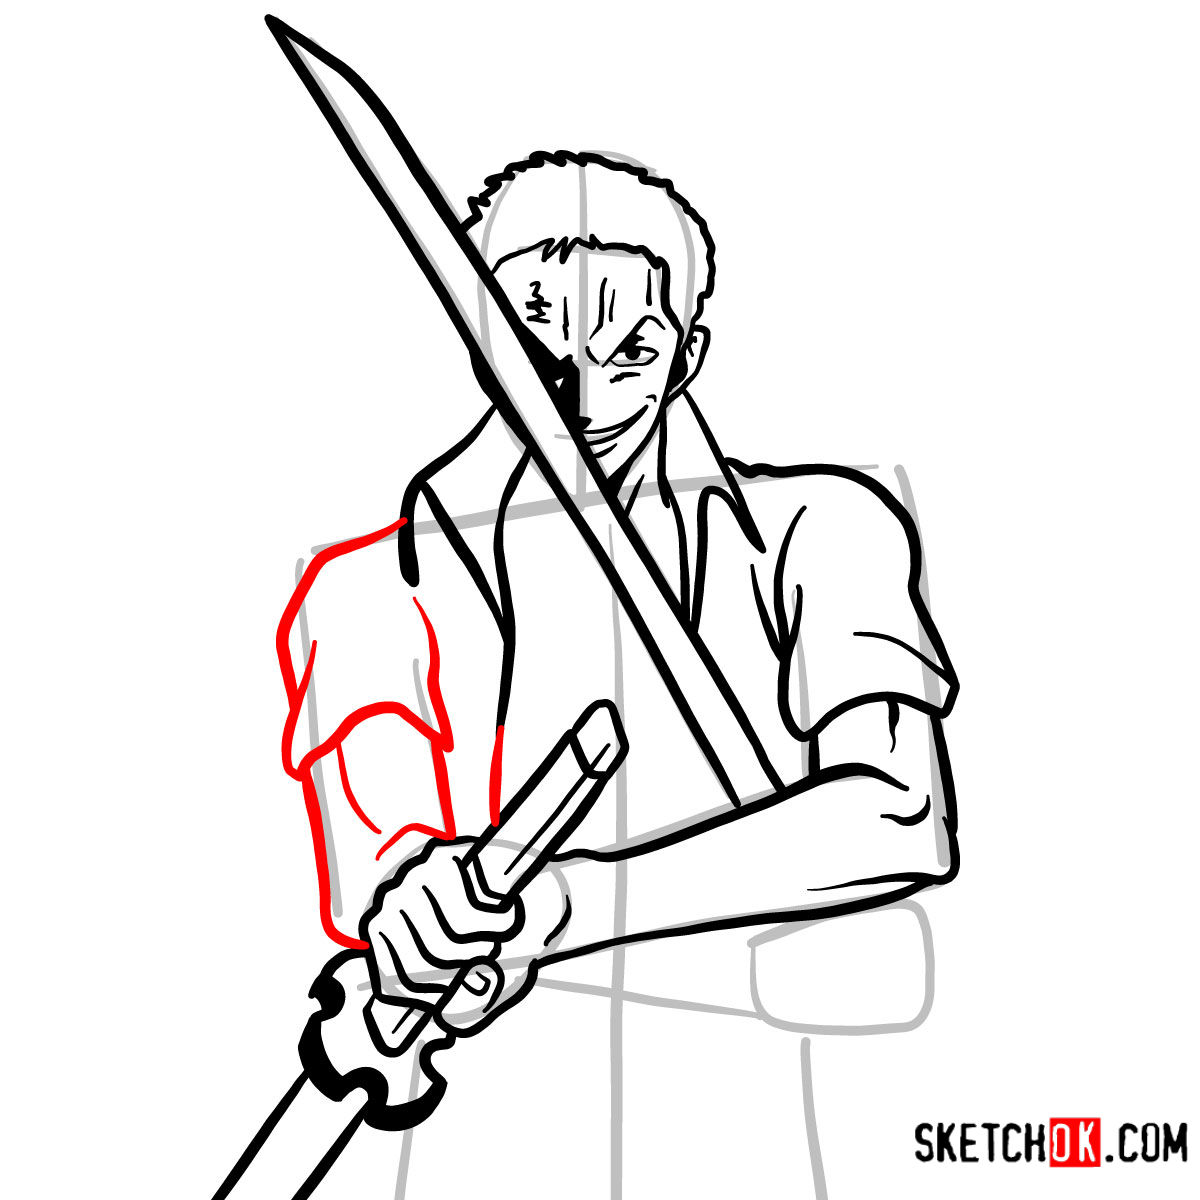
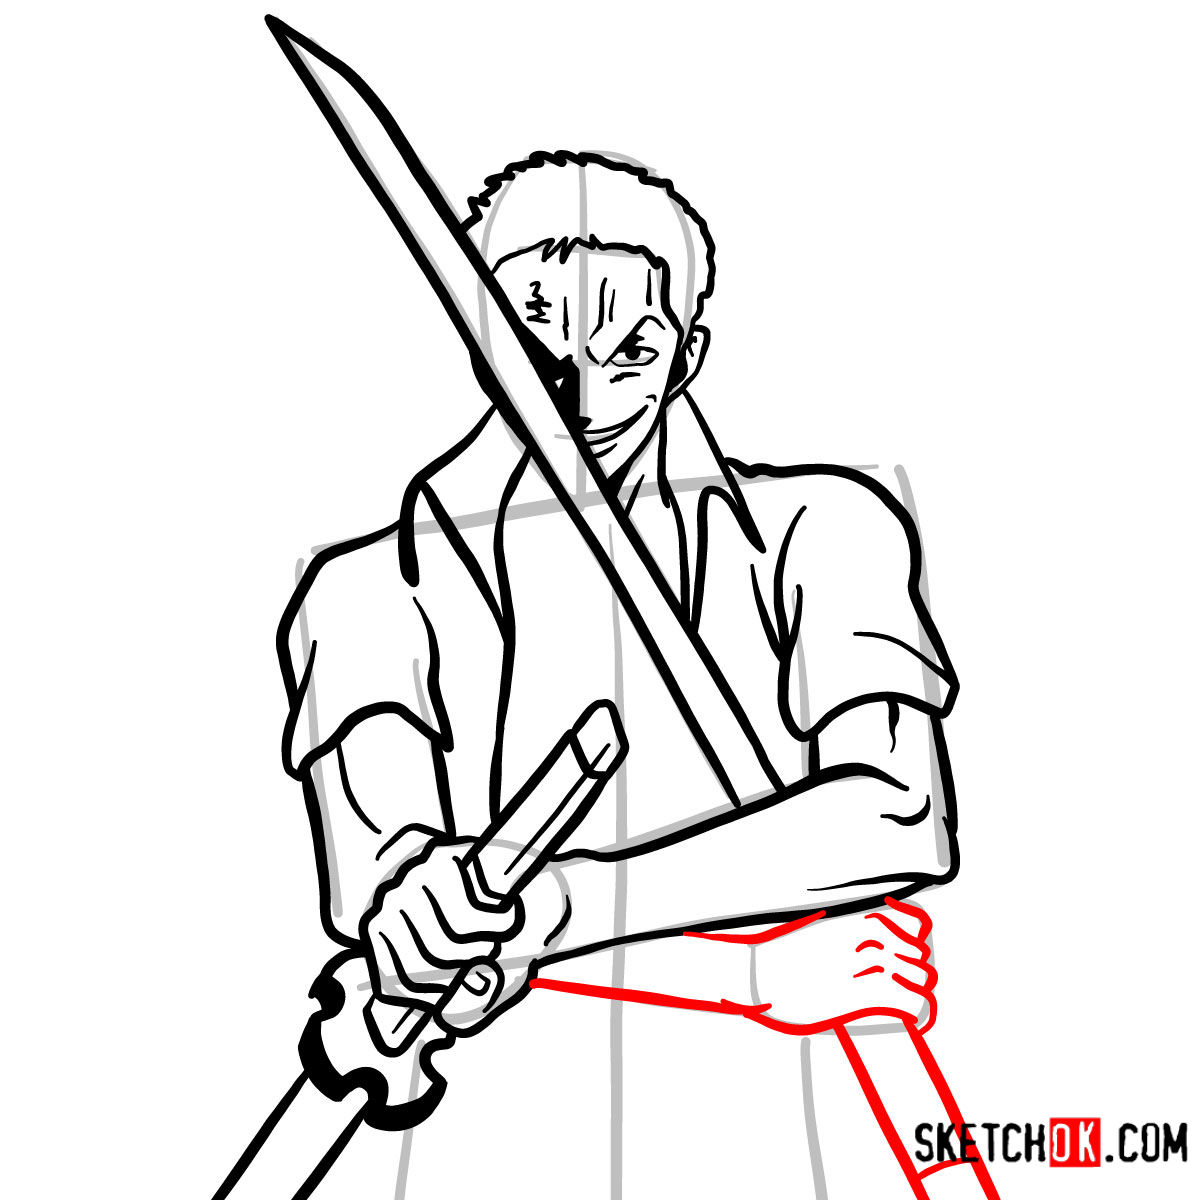
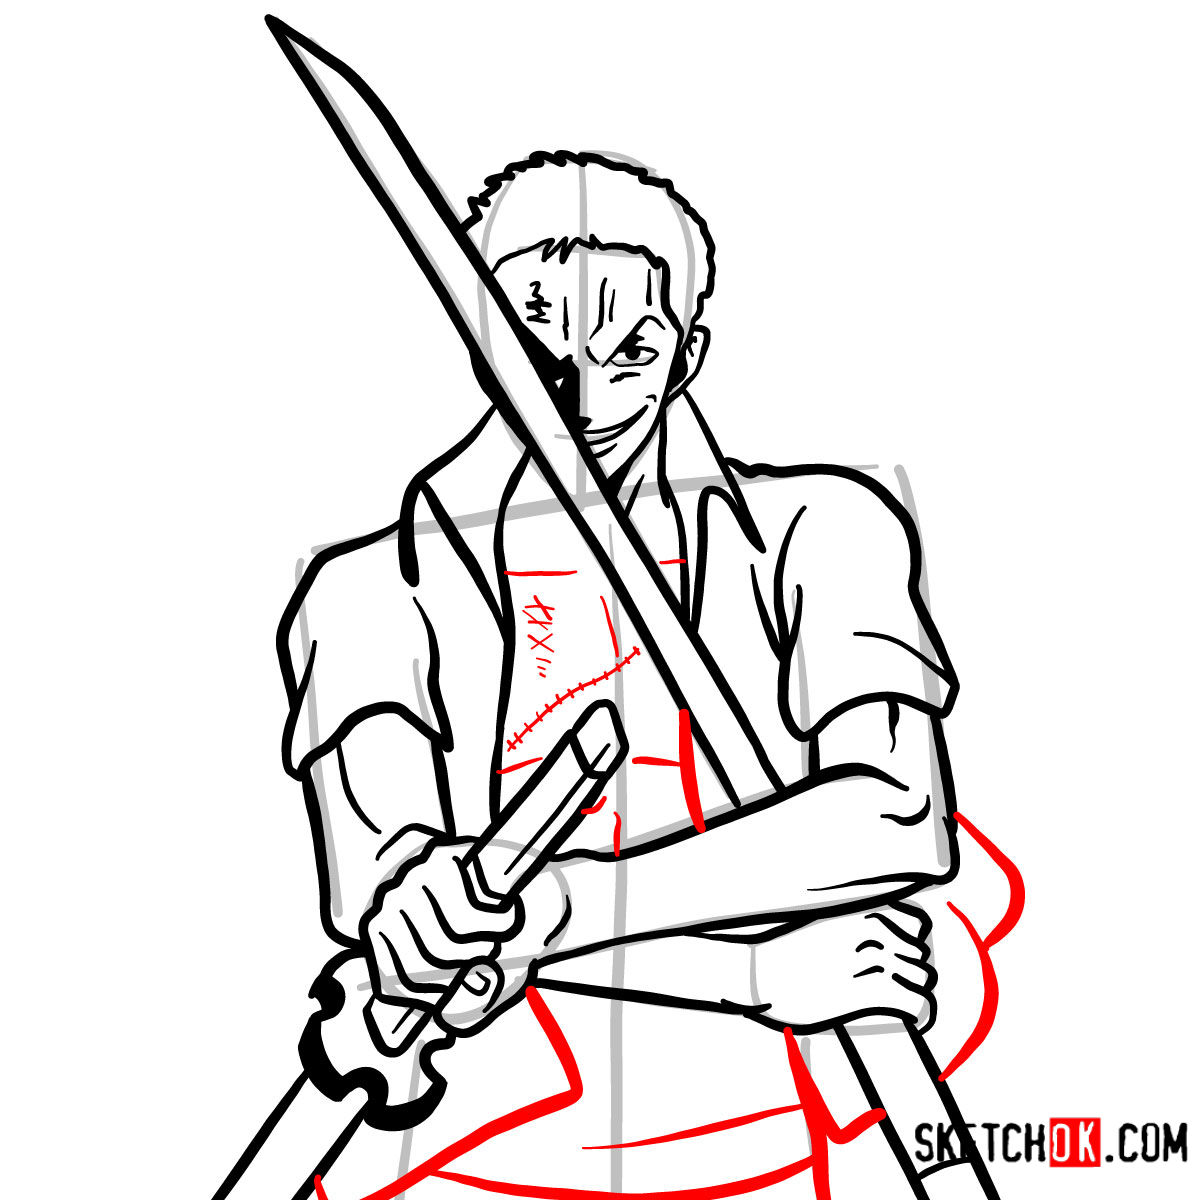
- Red Color: This marks the current drawing step. Focus on this to make your progress seamless.
- Black Color: Represents the lines you’ve drawn in previous steps.
- Grey Color: The basic proportions sketch, aiding in perfecting Zoro’s proportions and stance.
Our guide consists of 14 comprehensive steps. Starting with a basic sketch allows for proportional accuracy. Once you reach the final stages, you have the option to ink your sketch. Remember, after inking, wait for the ink to dry before gently erasing the pencil lines to prevent smudging.



One thing I always find interesting about tutorials like this is how differently everyone ends up drawing the same subject, so it would be cool to see your take on how to draw Roronoa Zoro with swords compared to everyone else’s. Drop your finished piece in the comments on the pinned Pinterest post and check out what other artists came up with. If you want a fresh guide in your inbox each week, the signup form is at the top of the page.
