The Pirate King-to-be: Drawing Monkey D. Luffy
One of the most iconic characters in the manga and anime world is undoubtedly Monkey D. Luffy from One Piece. Known for his shaggy black hair, straw hat, and infectious smile, Luffy’s face captures the essence of youthful determination. In this guide, we’ll walk you through drawing his memorable visage.
Character Highlights and Drawing Focus Points
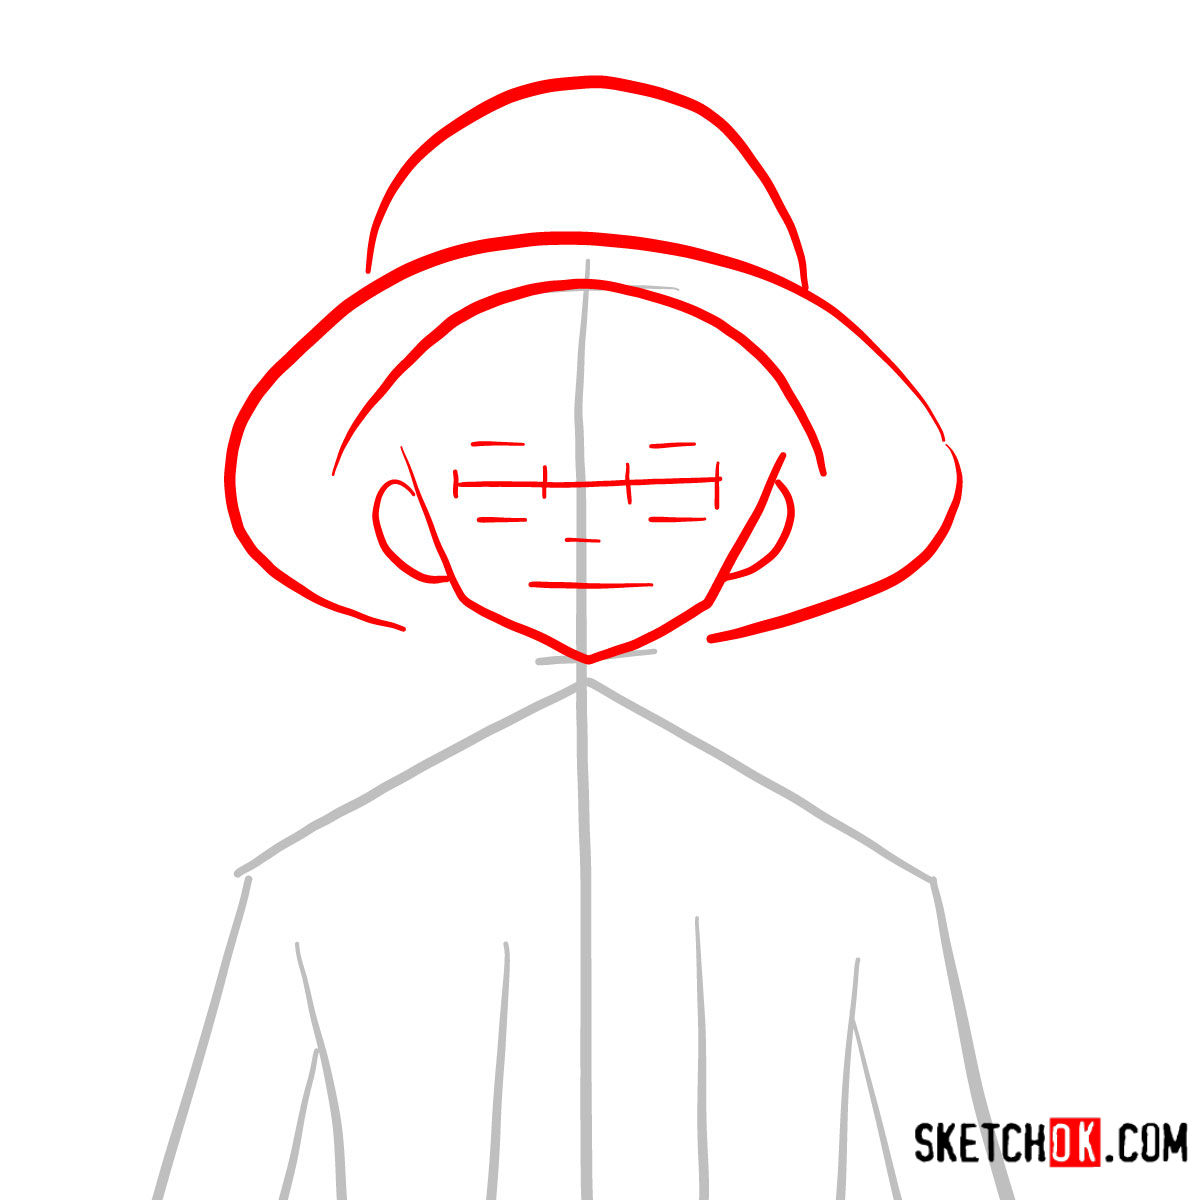
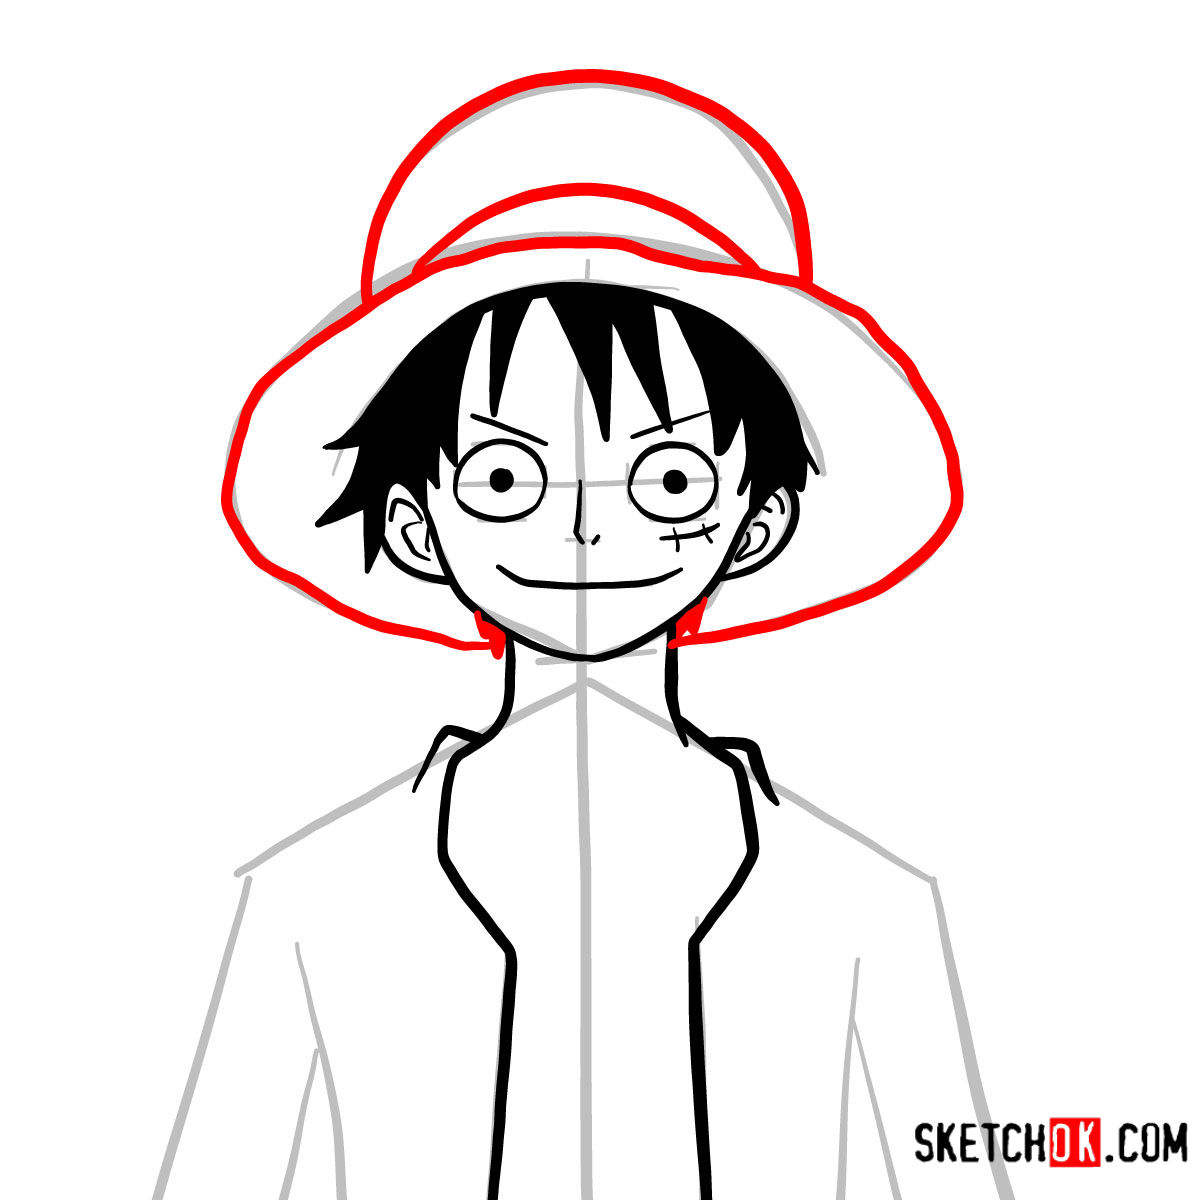
- Trademark Straw Hat: Gifted by the legendary pirate captain, “Red-Haired” Shanks, this hat defines Luffy’s look.
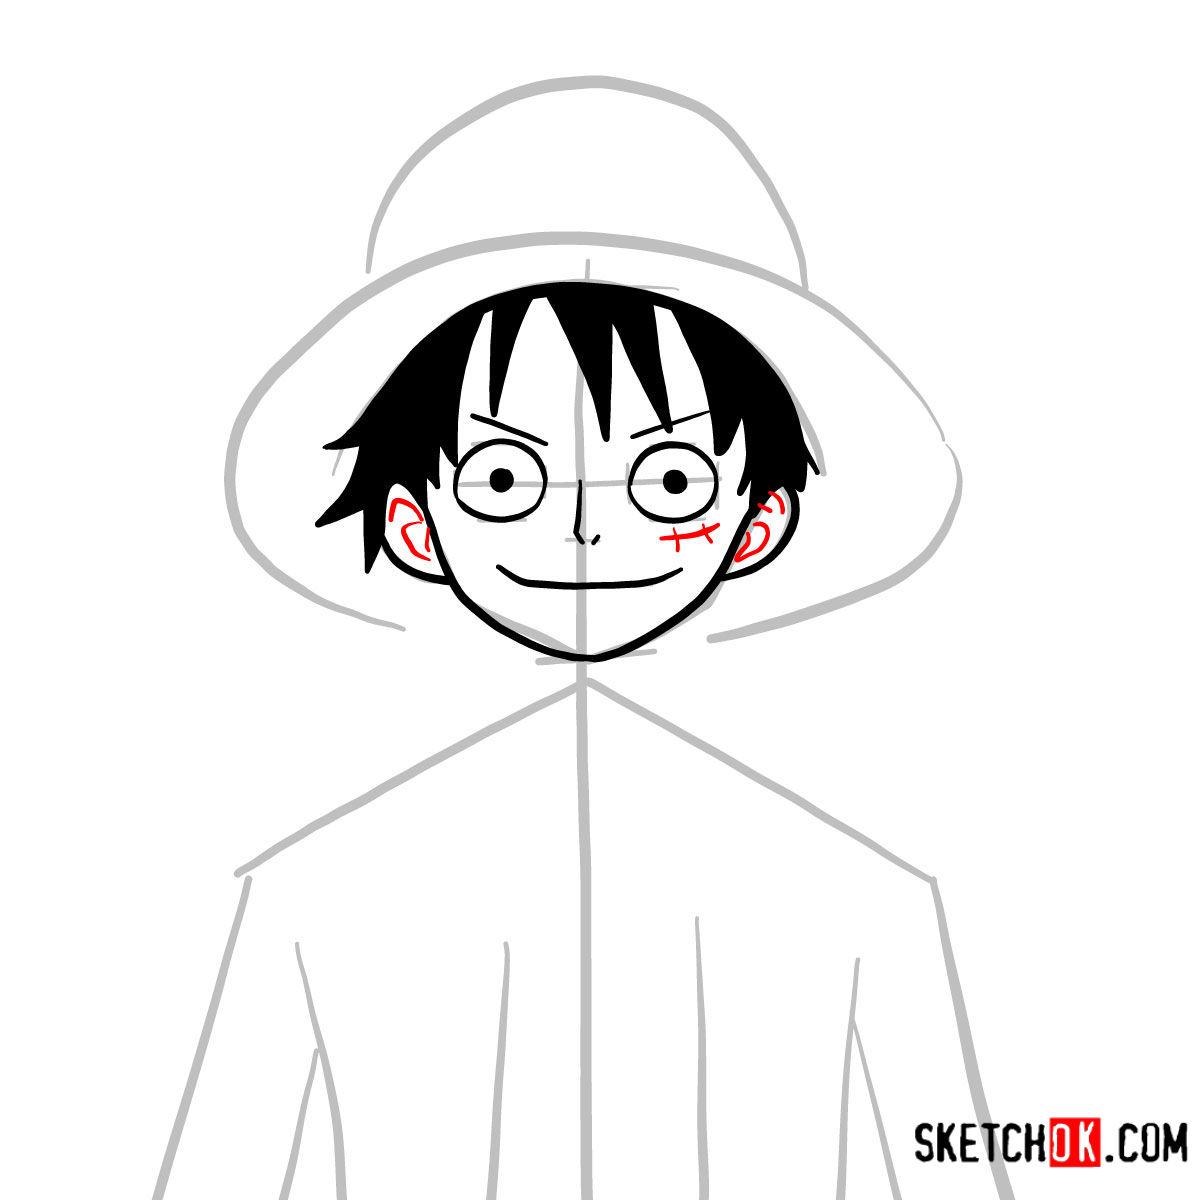
- Expressive Eyes: Round black eyes that often shimmer with mischief and determination.
- Signature Scar: Located underneath his left eye, reminding us of his resolve.
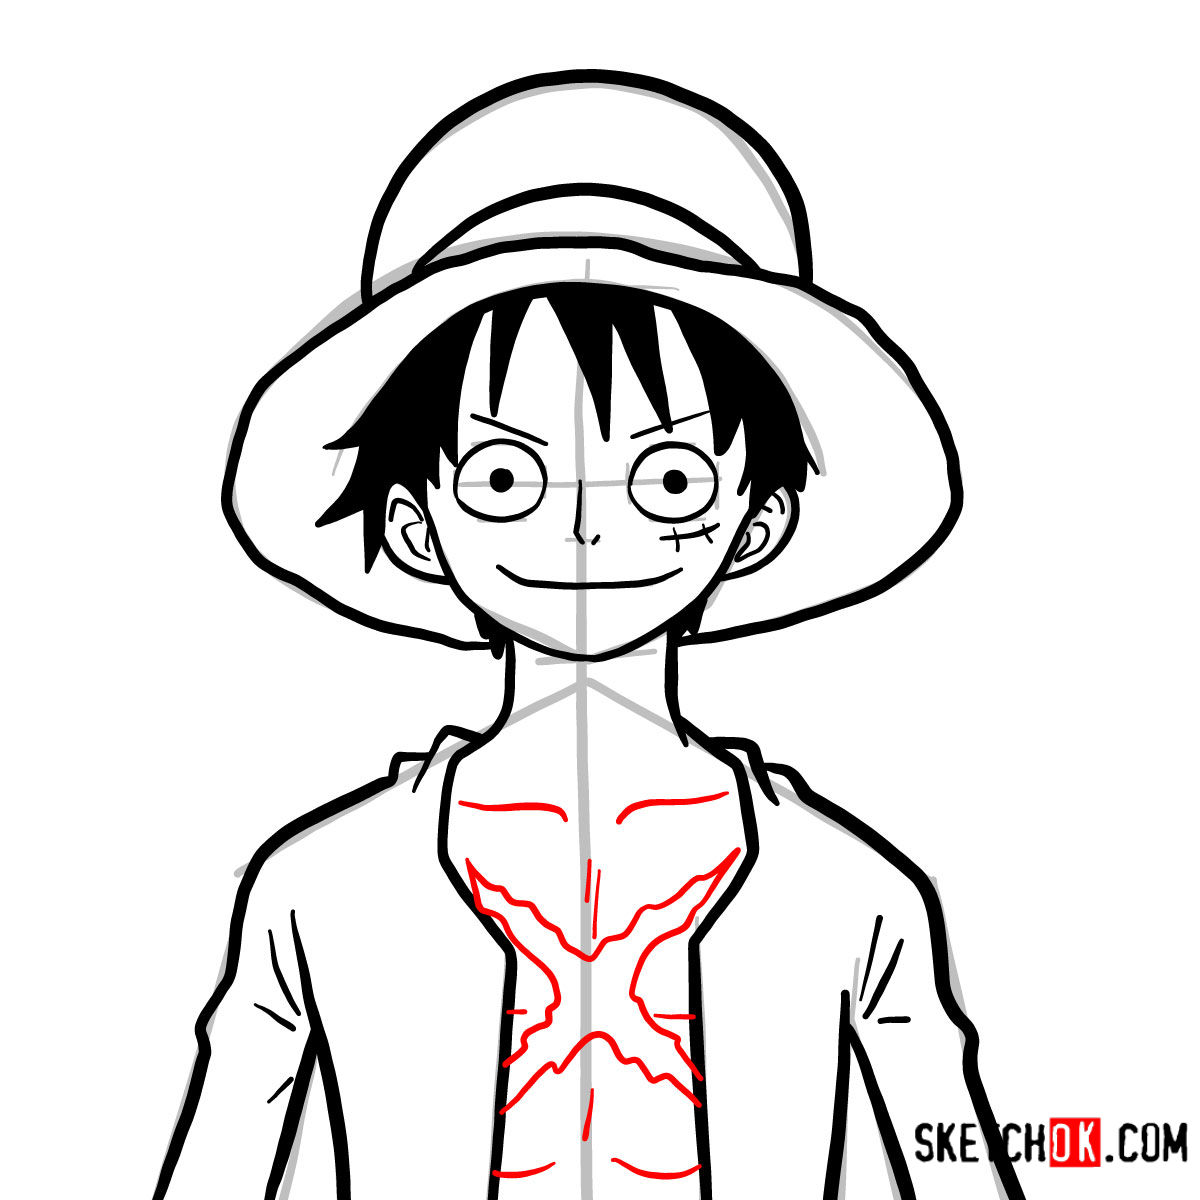
- X-shaped Chest Scar: A testament to his past battles and adventures.
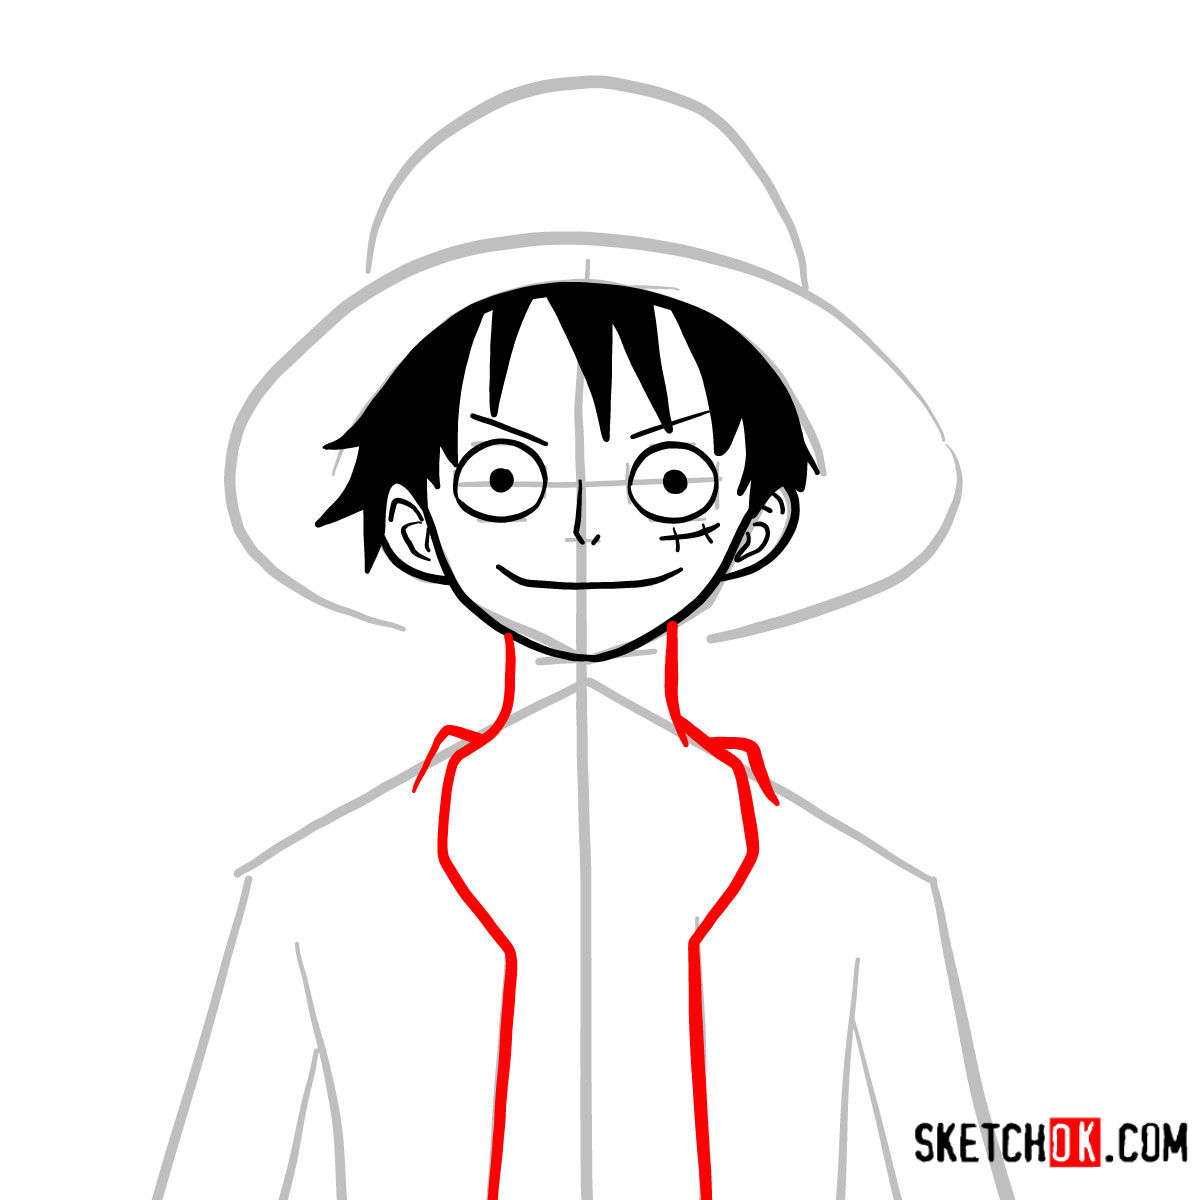
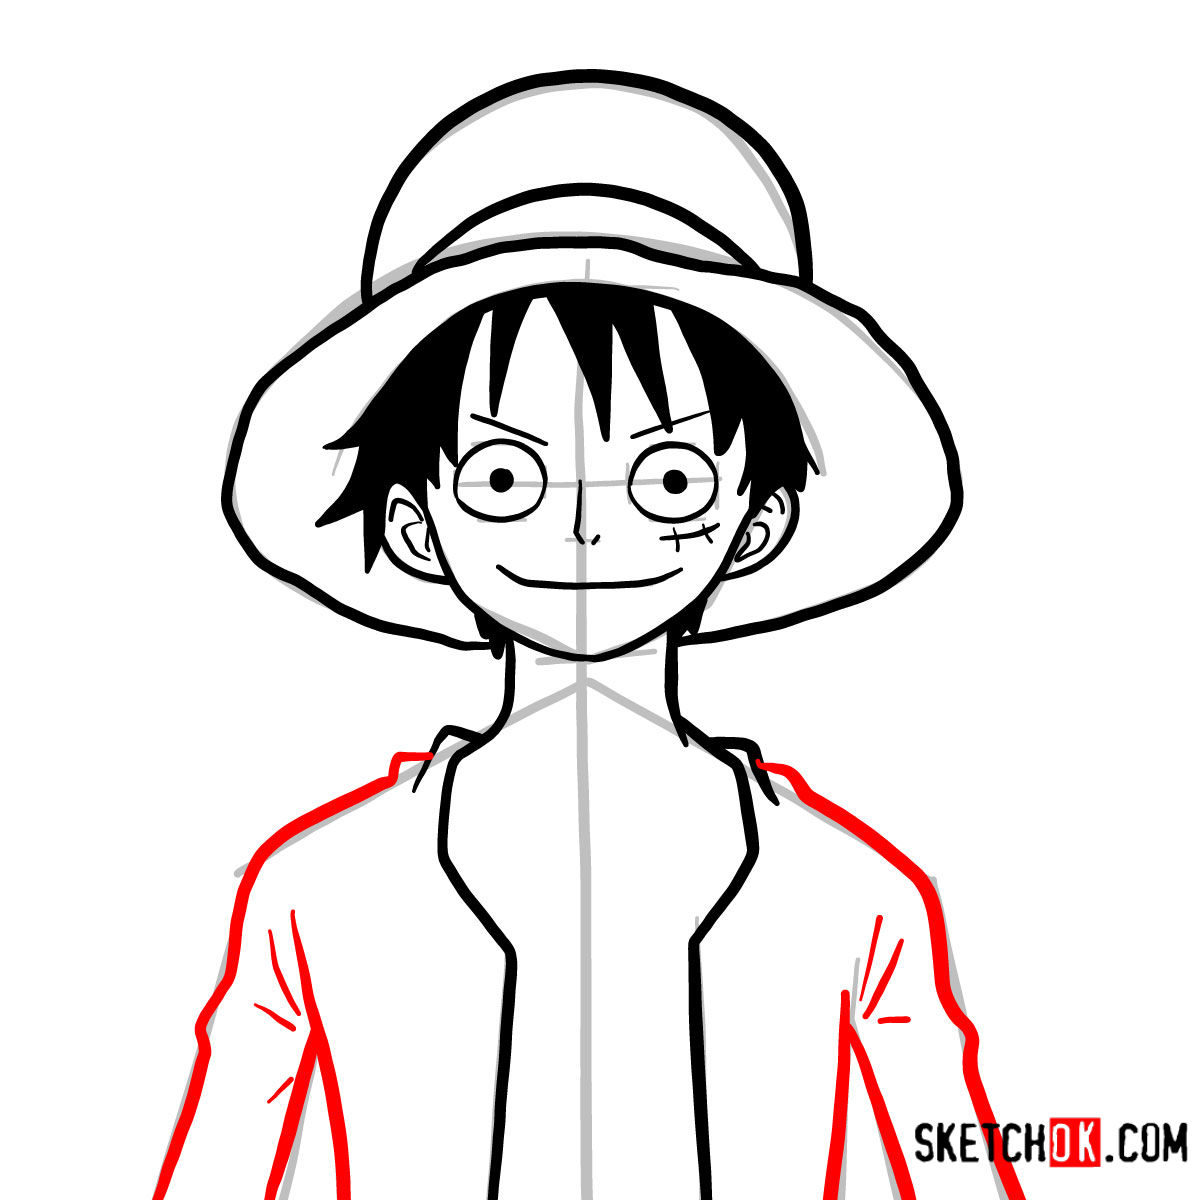
- Attire Variations: From open, long-sleeved cardigans to disguises for various arcs like Punk Hazard and Dressrosa, Luffy’s attire keeps evolving while maintaining its core essence.
If you’ve mastered drawing Luffy, consider adding other characters from the One Piece universe. Companions like Zoro, Nami, or even foes like Kaidou can be perfect additions to your sketch, setting the scene for an epic showdown or a heartwarming moment.
About This Drawing Guide
Our guide simplifies the drawing process into 11 well-defined steps. The initial stage focuses on constructing the basic sketch, laying down proportions with gentle pencil strokes. As you progress, the color coding will guide you:
- Red Color: Represents the current step.
- Grey Color: Showcases the basic sketch.
- Black Color: Highlights the lines drawn in previous steps.
Upon reaching the final stages, you have the option to ink your sketch. Remember to wait for the ink to dry thoroughly before erasing the underlying pencil marks. This ensures clarity and avoids any unwanted smudging.


Frequently Asked Questions
What’s the best technique for drawing Luffy’s hair?
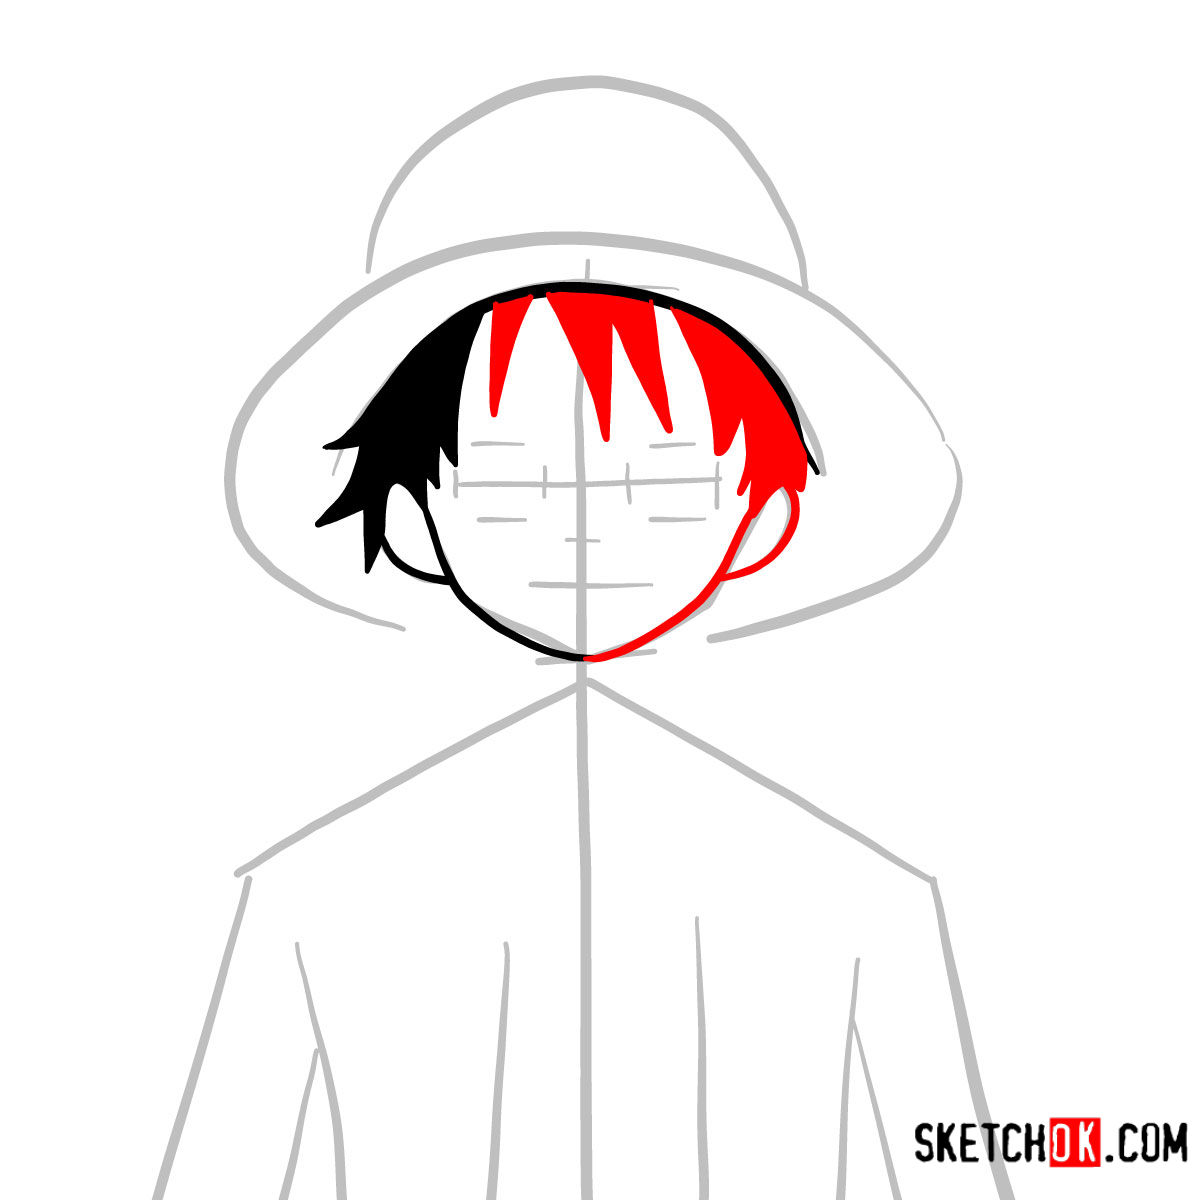
Luffy’s hair is shaggy and free-flowing. Use relaxed, slightly curved strokes and avoid making it too uniform. Start with the hairline and move outwards, considering the direction of the hair flow. Don’t forget those distinct strands that often fall over his forehead.
How should I capture the expression in Luffy’s eyes?
Luffy’s eyes are a window to his personality – brimming with determination, mischief, or joy. To capture this, focus on the shape and the curve of his eyebrows, as well as the highlights in the eyes. A slight upward curve can showcase his playful side, while a more intense look can depict his battle-ready stance.
Any tips for sketching Luffy’s signature scars?
Scars add character and backstory. For Luffy’s face scar, ensure the two stitches are clearly visible. The X-shaped chest scar should be prominent but not overpowering, keeping in mind the muscle contours of his chest.
Embarking on the journey of how to draw Monkey D. Luffy’s face is just the beginning. The world of One Piece is vast, with countless characters waiting to be brought to life on your canvas. If you found this guide helpful and wish to support SketchOk, consider donating. Your contributions not only fuel future tutorials but also allow you to suggest topics that will be prioritized.
Want to be part of our drawing community? Follow us on Facebook and Instagram, and share your works using #SketchOkChallenge. See you in the next tutorial!