
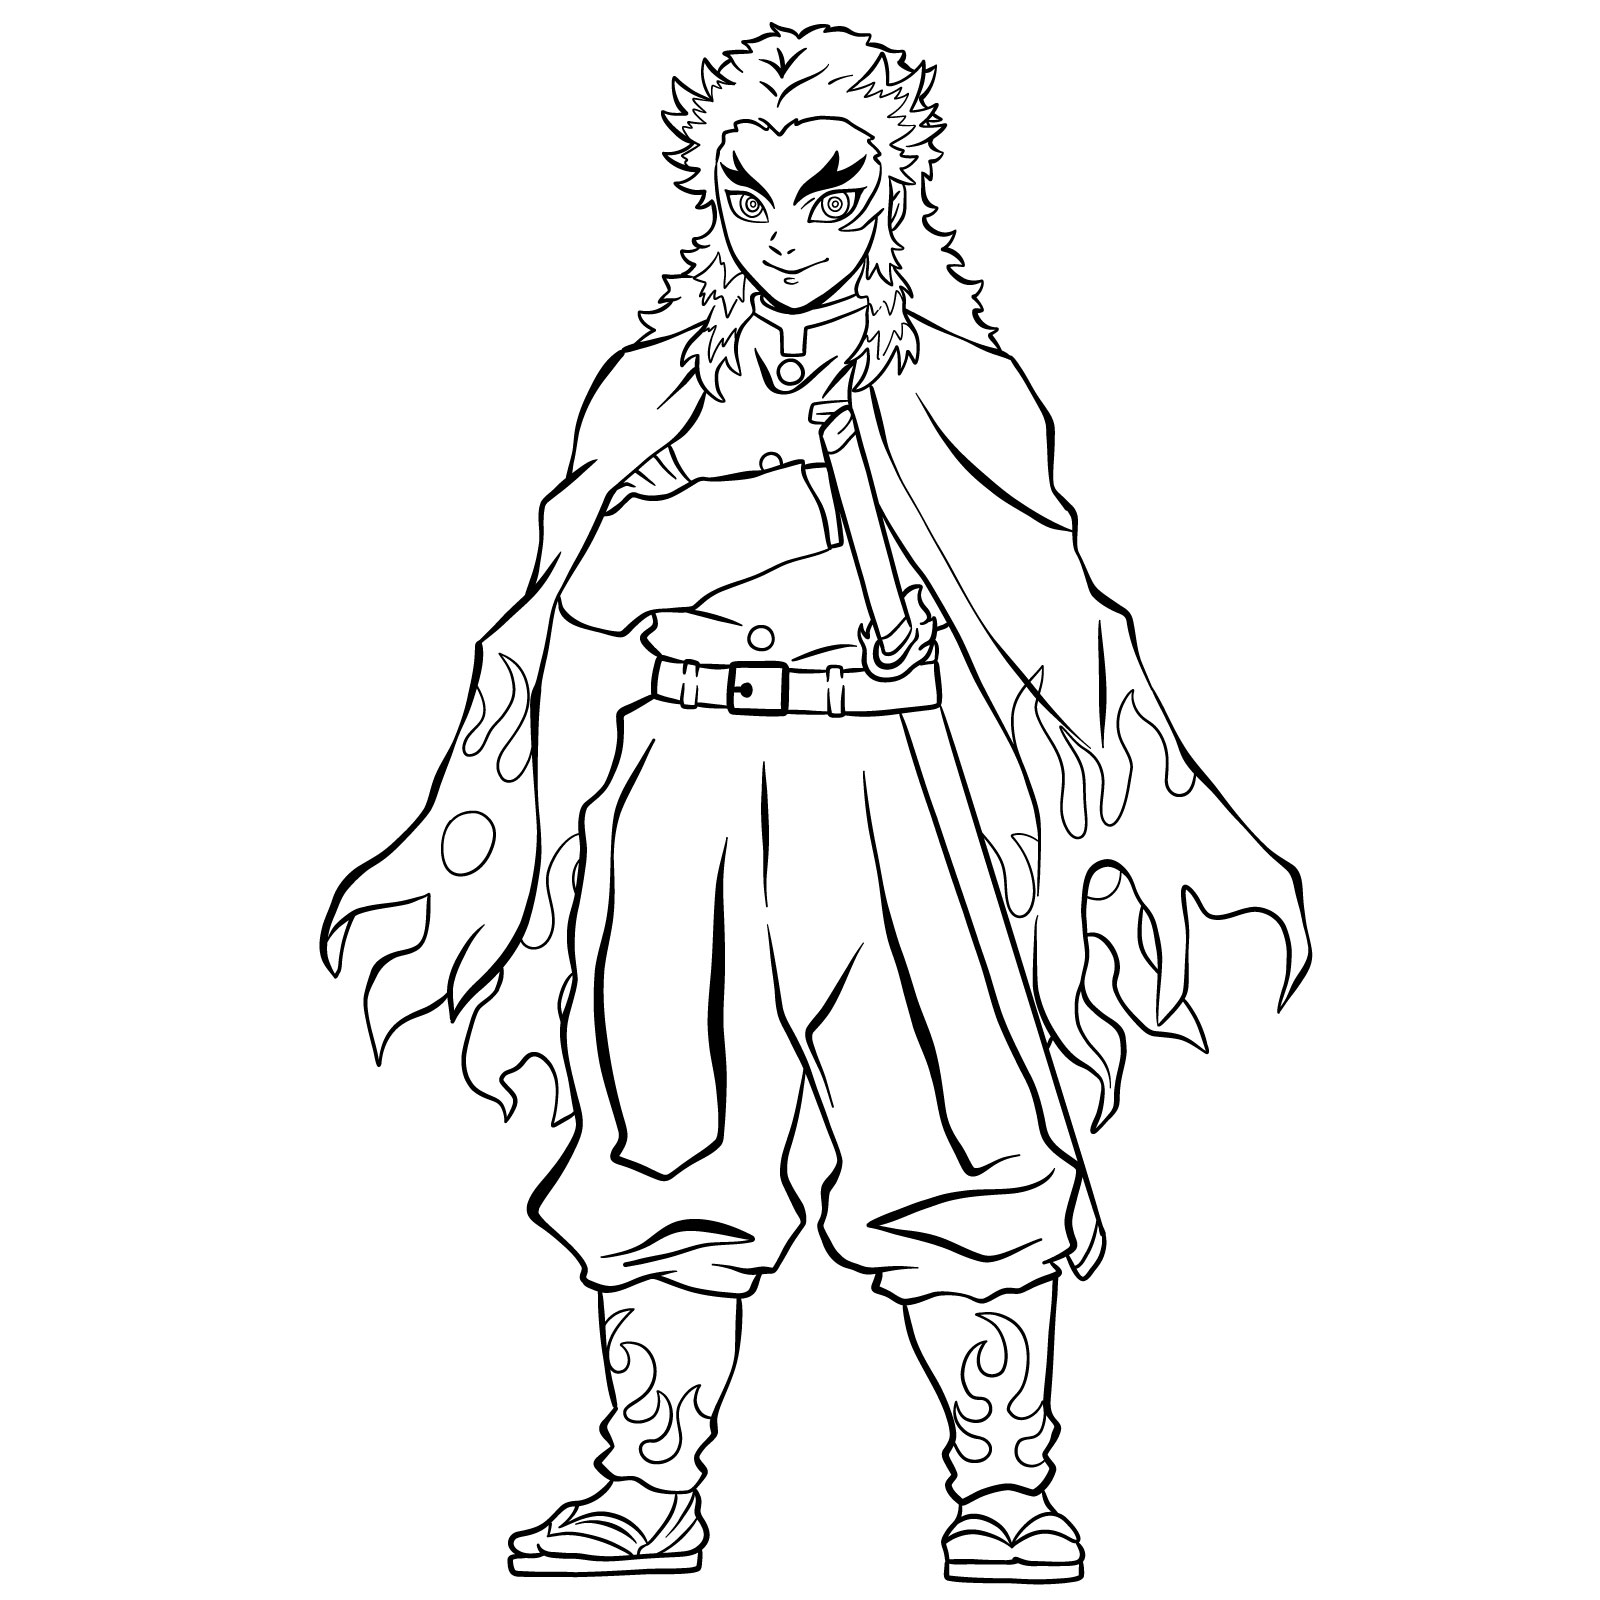
Welcome to the step-by-step tutorial on how to draw Kyojuro Rengoku from Demon Slayer. This guide will take you through the process of creating a detailed artwork of Kyojuro Rengoku, the Flame Hashira of the Demon Slayer Corps. Follow along and learn the techniques to bring this powerful character to life on paper.
Kyojuro and His Appearance
Kyojuro Rengoku is a striking character with distinctive features. Pay attention to the following key elements when drawing Kyojuro Rengoku:
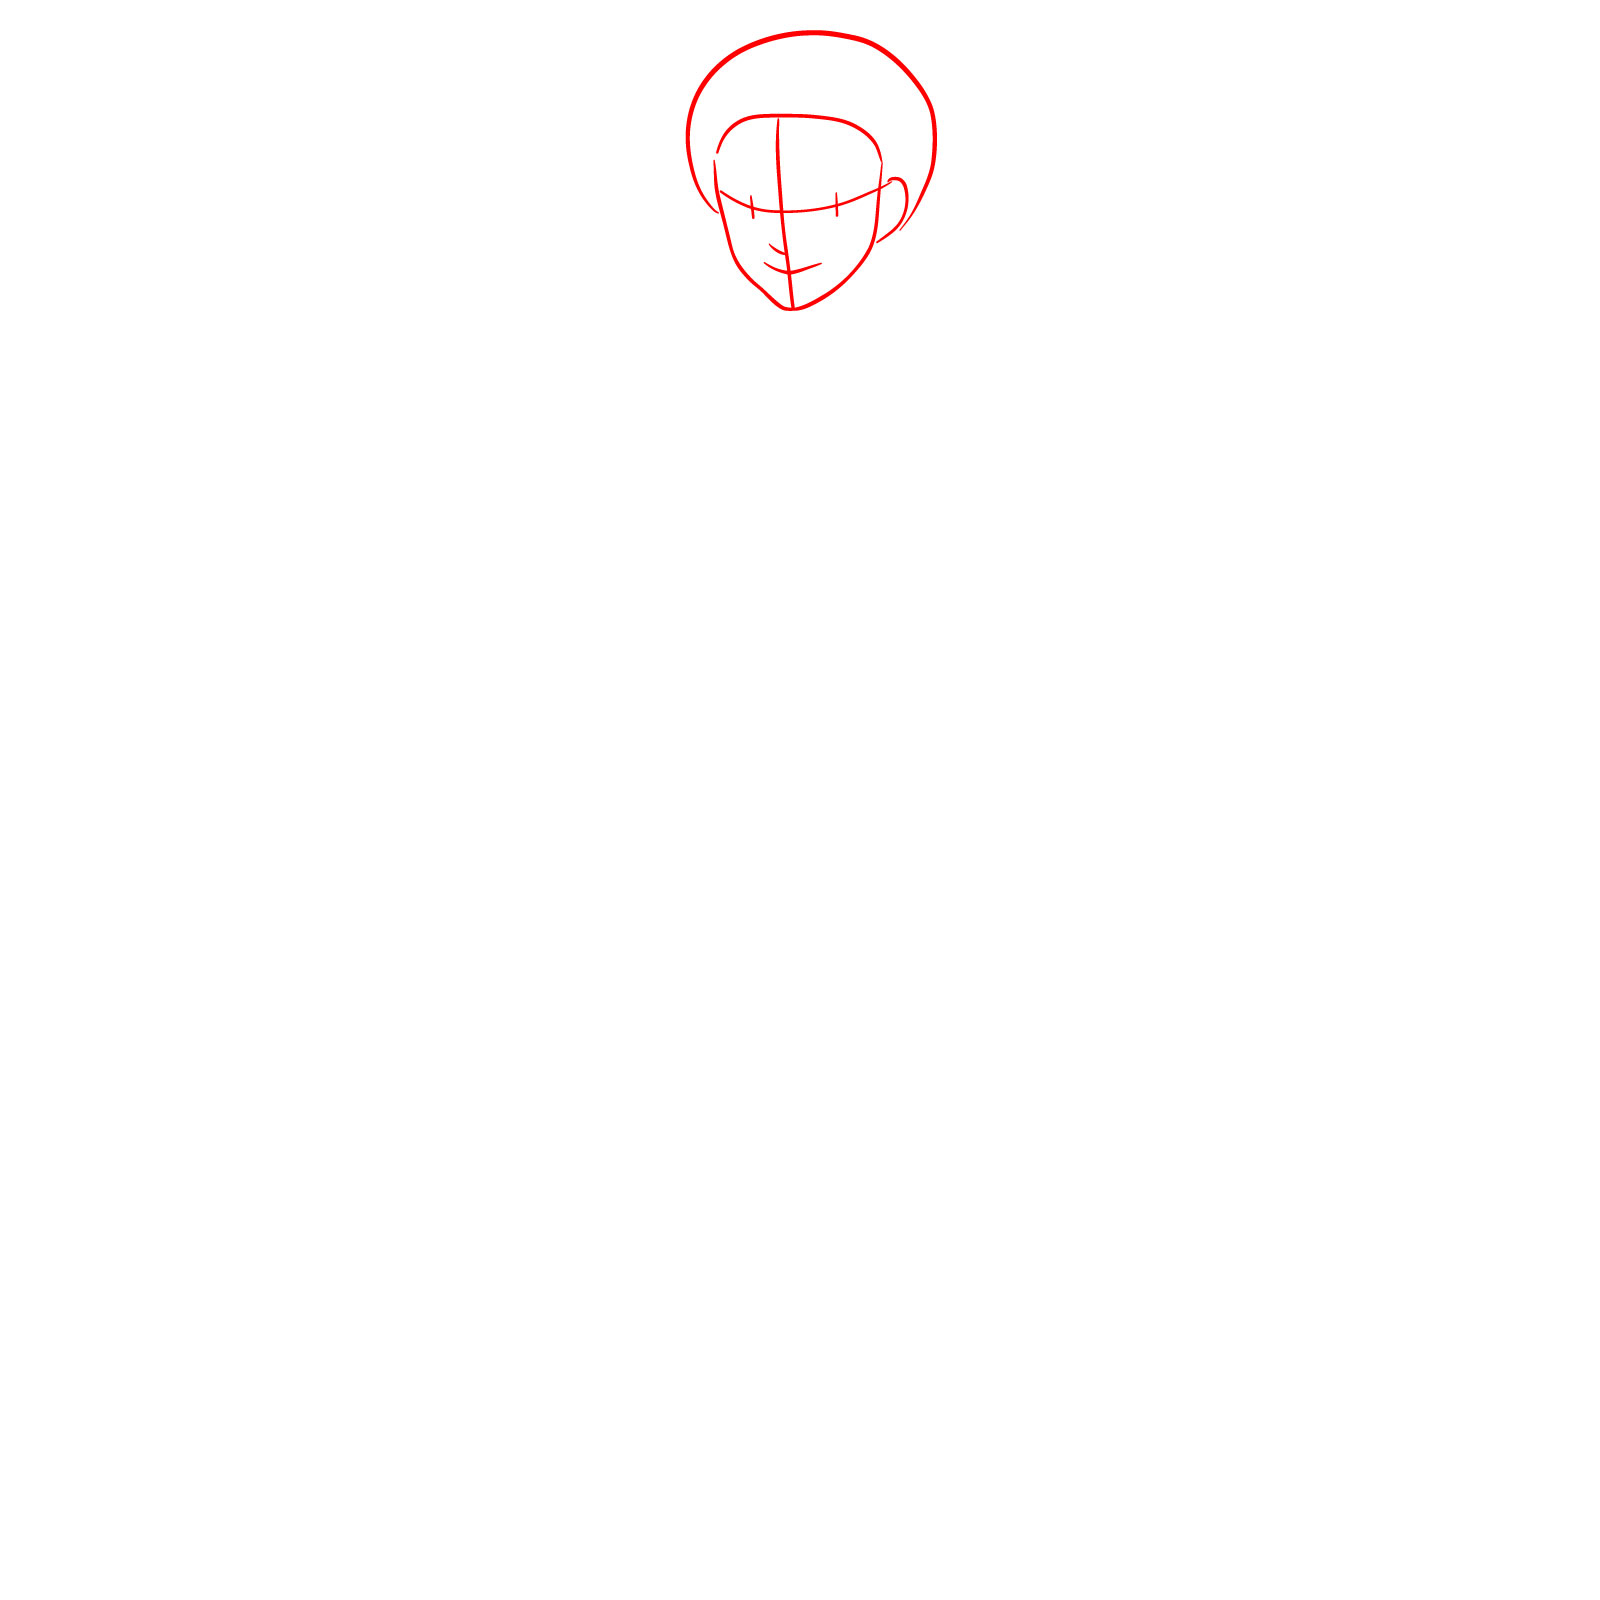
- Hairstyle: Kyojuro has long, bright yellow hair with red streaks, resembling flames. His hairstyle includes two shoulder-length bangs and two chin-length bangs on the side of his head.
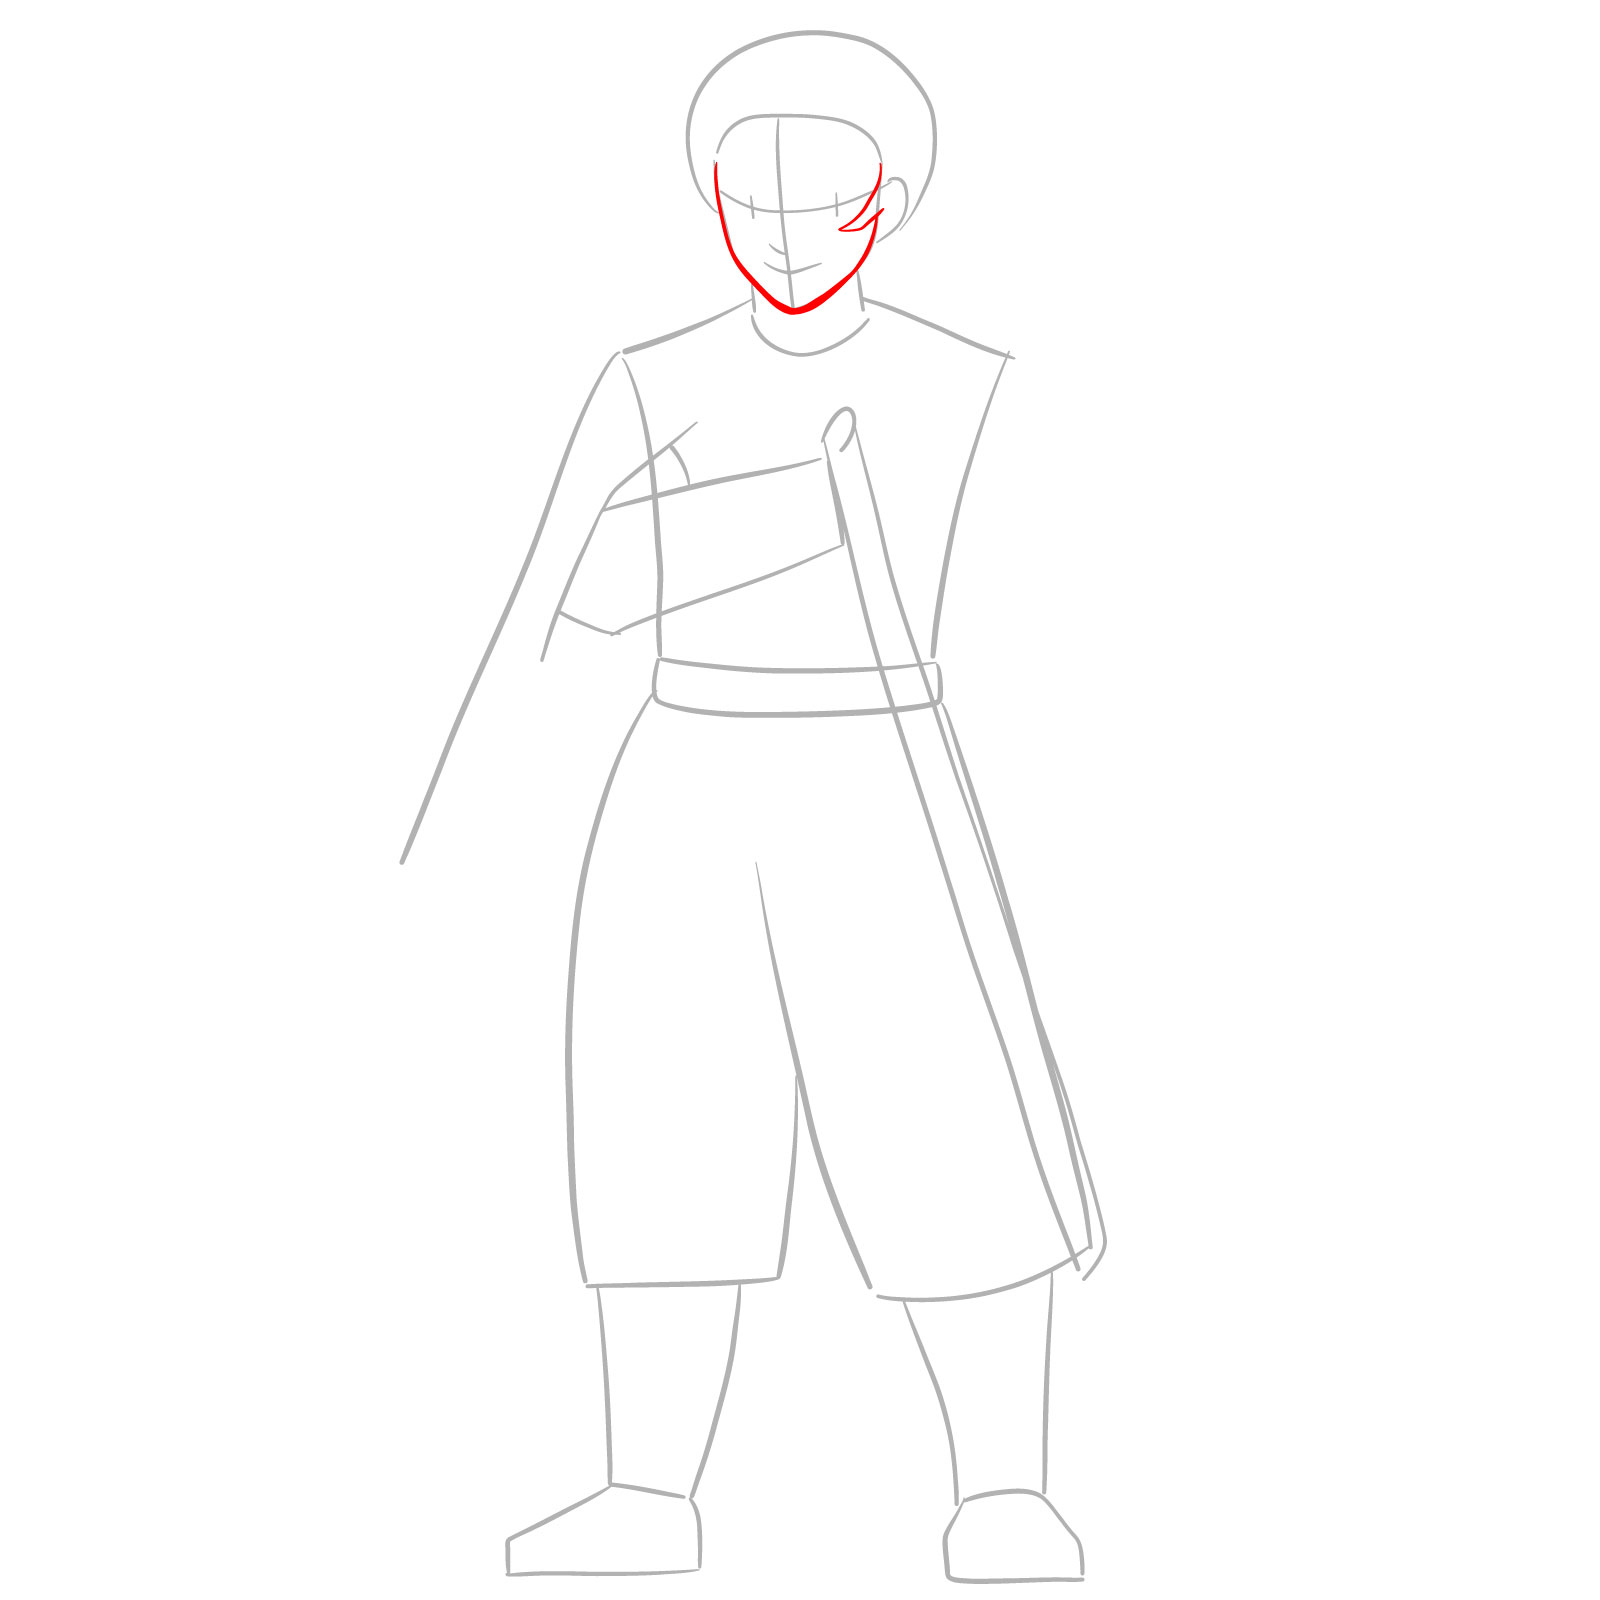
- Expression: Capture Kyojuro’s determined expression, emphasizing his intense eyes and firm facial features.
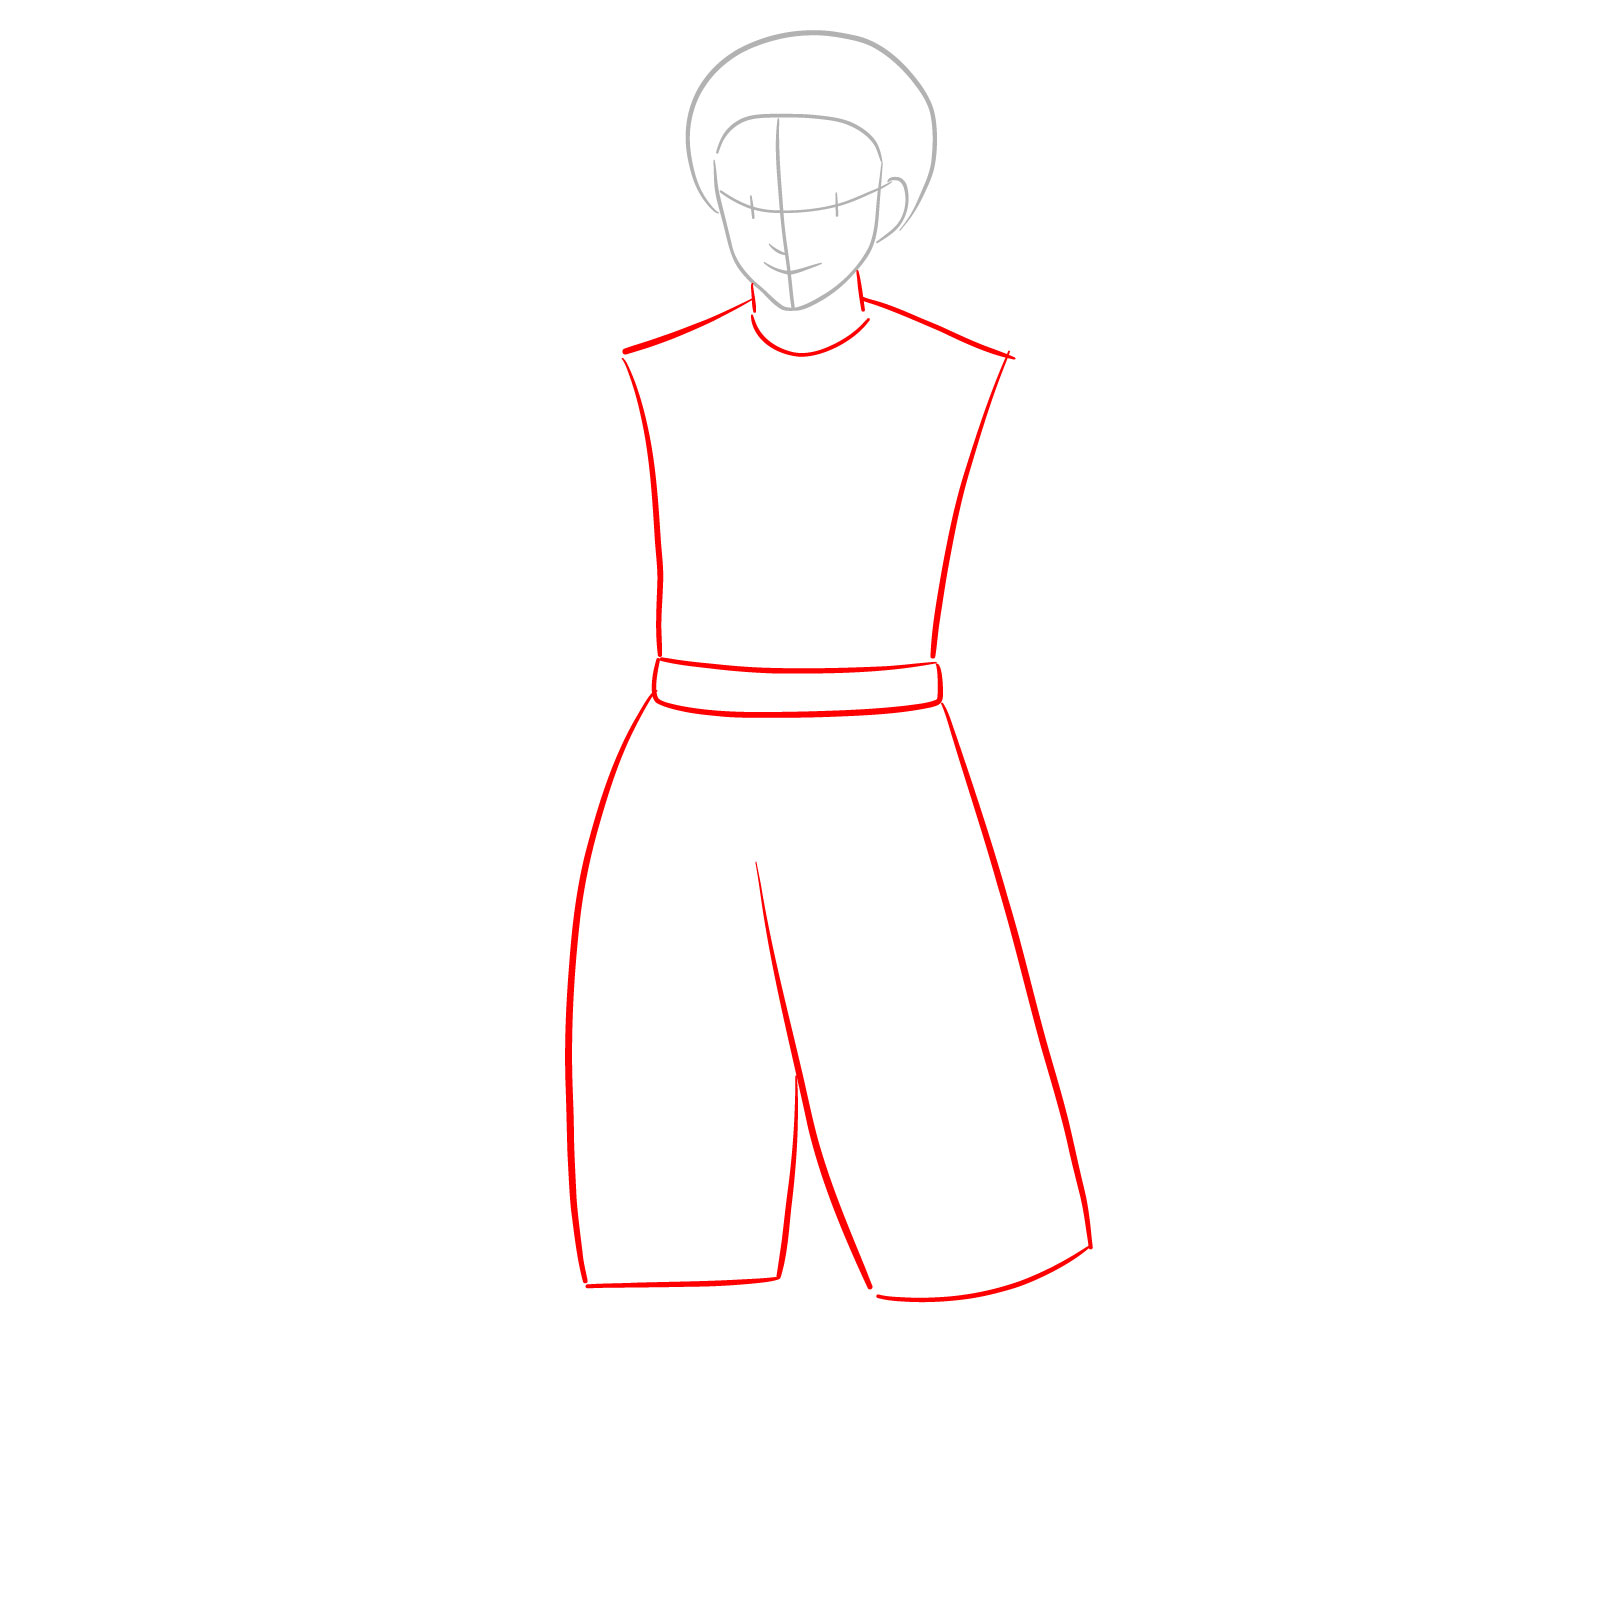
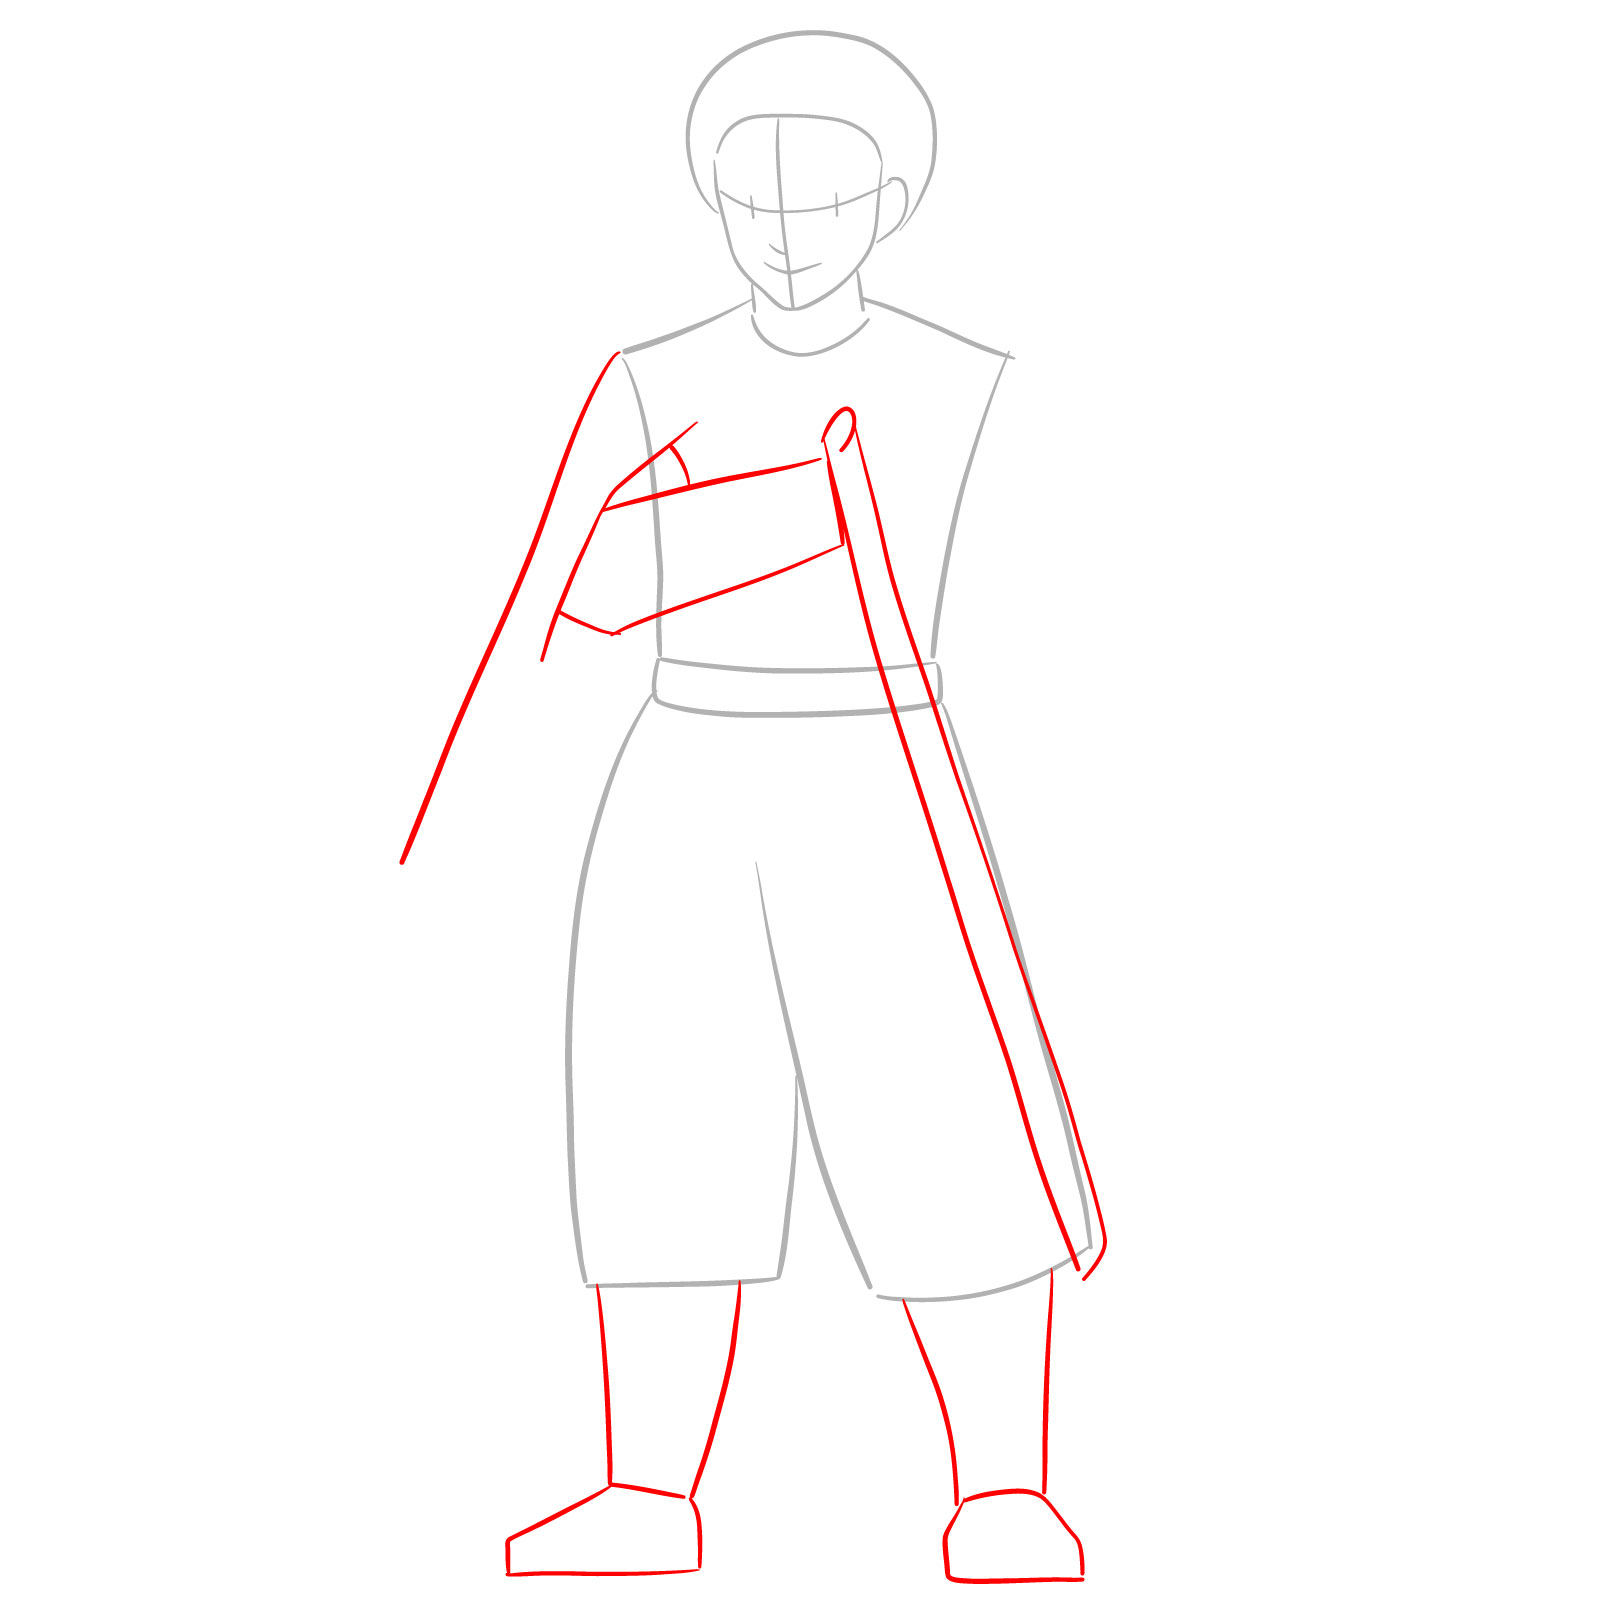
- Attire: Kyojuro wears a gakuran jacket, a belt, and tattsuke-hakama pants as part of the standard Demon Slayer uniform. Additionally, he wears a haori with a white-yellow gradient pattern and red flame-like ridges at the end.
Composition Ideas
For a captivating composition, consider incorporating other characters from Demon Slayer into your artwork:
- Giyu Tomioka: As a fellow Demon Slayer and an important character, Giyu Tomioka can be added to create an engaging interaction with Kyojuro Rengoku.
- Mitsuri Kanroji: The passionate and vibrant Mitsuri Kanroji can provide a contrasting element to Kyojuro’s serious demeanor in your artwork.
- Zenitsu Agatsuma: By including Zenitsu Agatsuma, known for his lightning-fast swordsmanship, you can add dynamic movement to your composition.
By incorporating these characters, you can create a captivating scene that showcases the world of Demon Slayer and the unique relationships between its characters. Let’s begin the step-by-step guide to drawing Kyojuro Rengoku!
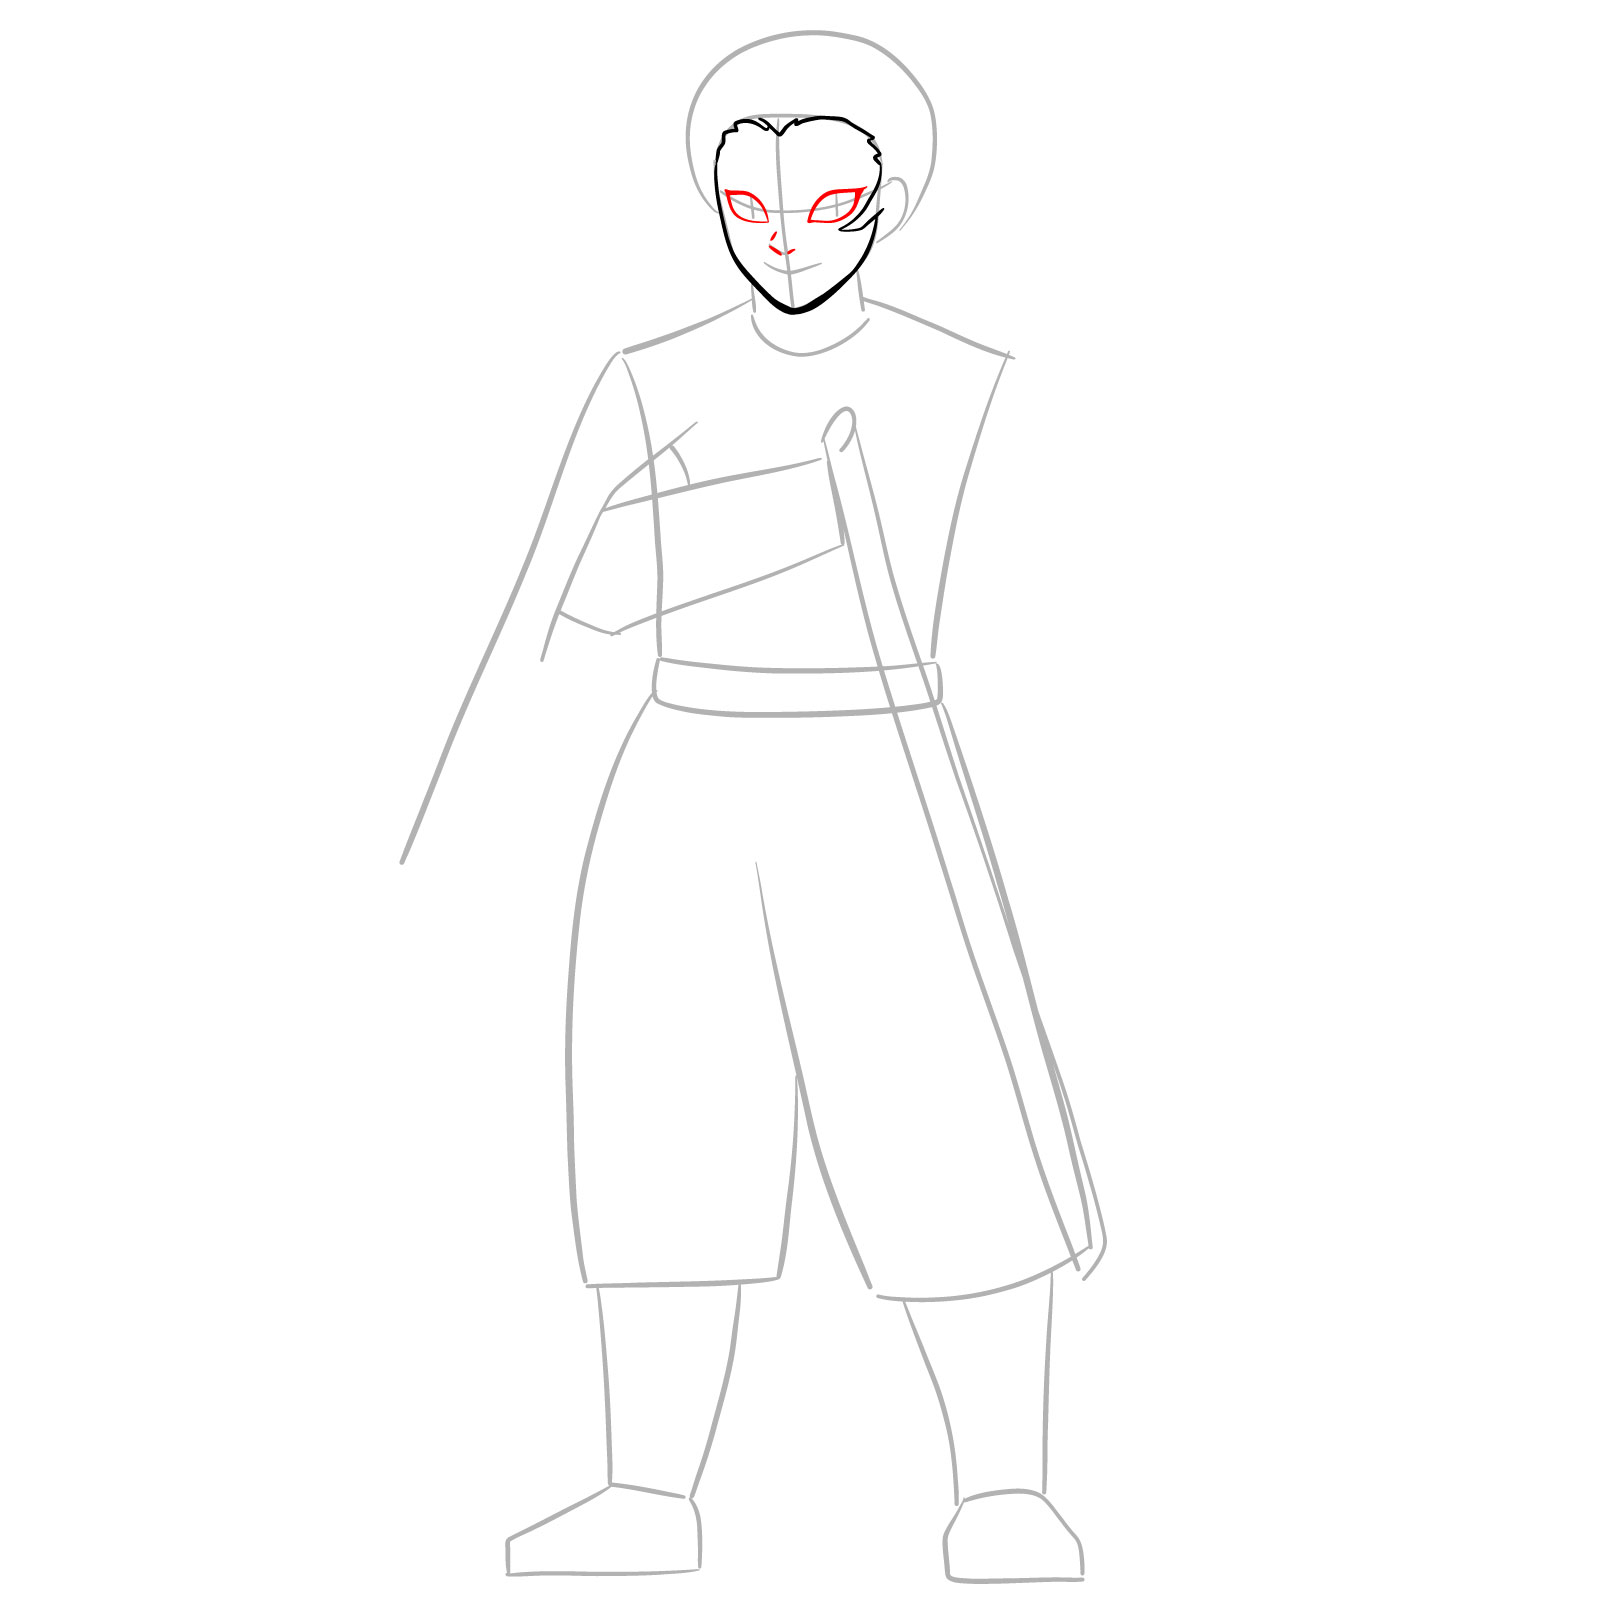
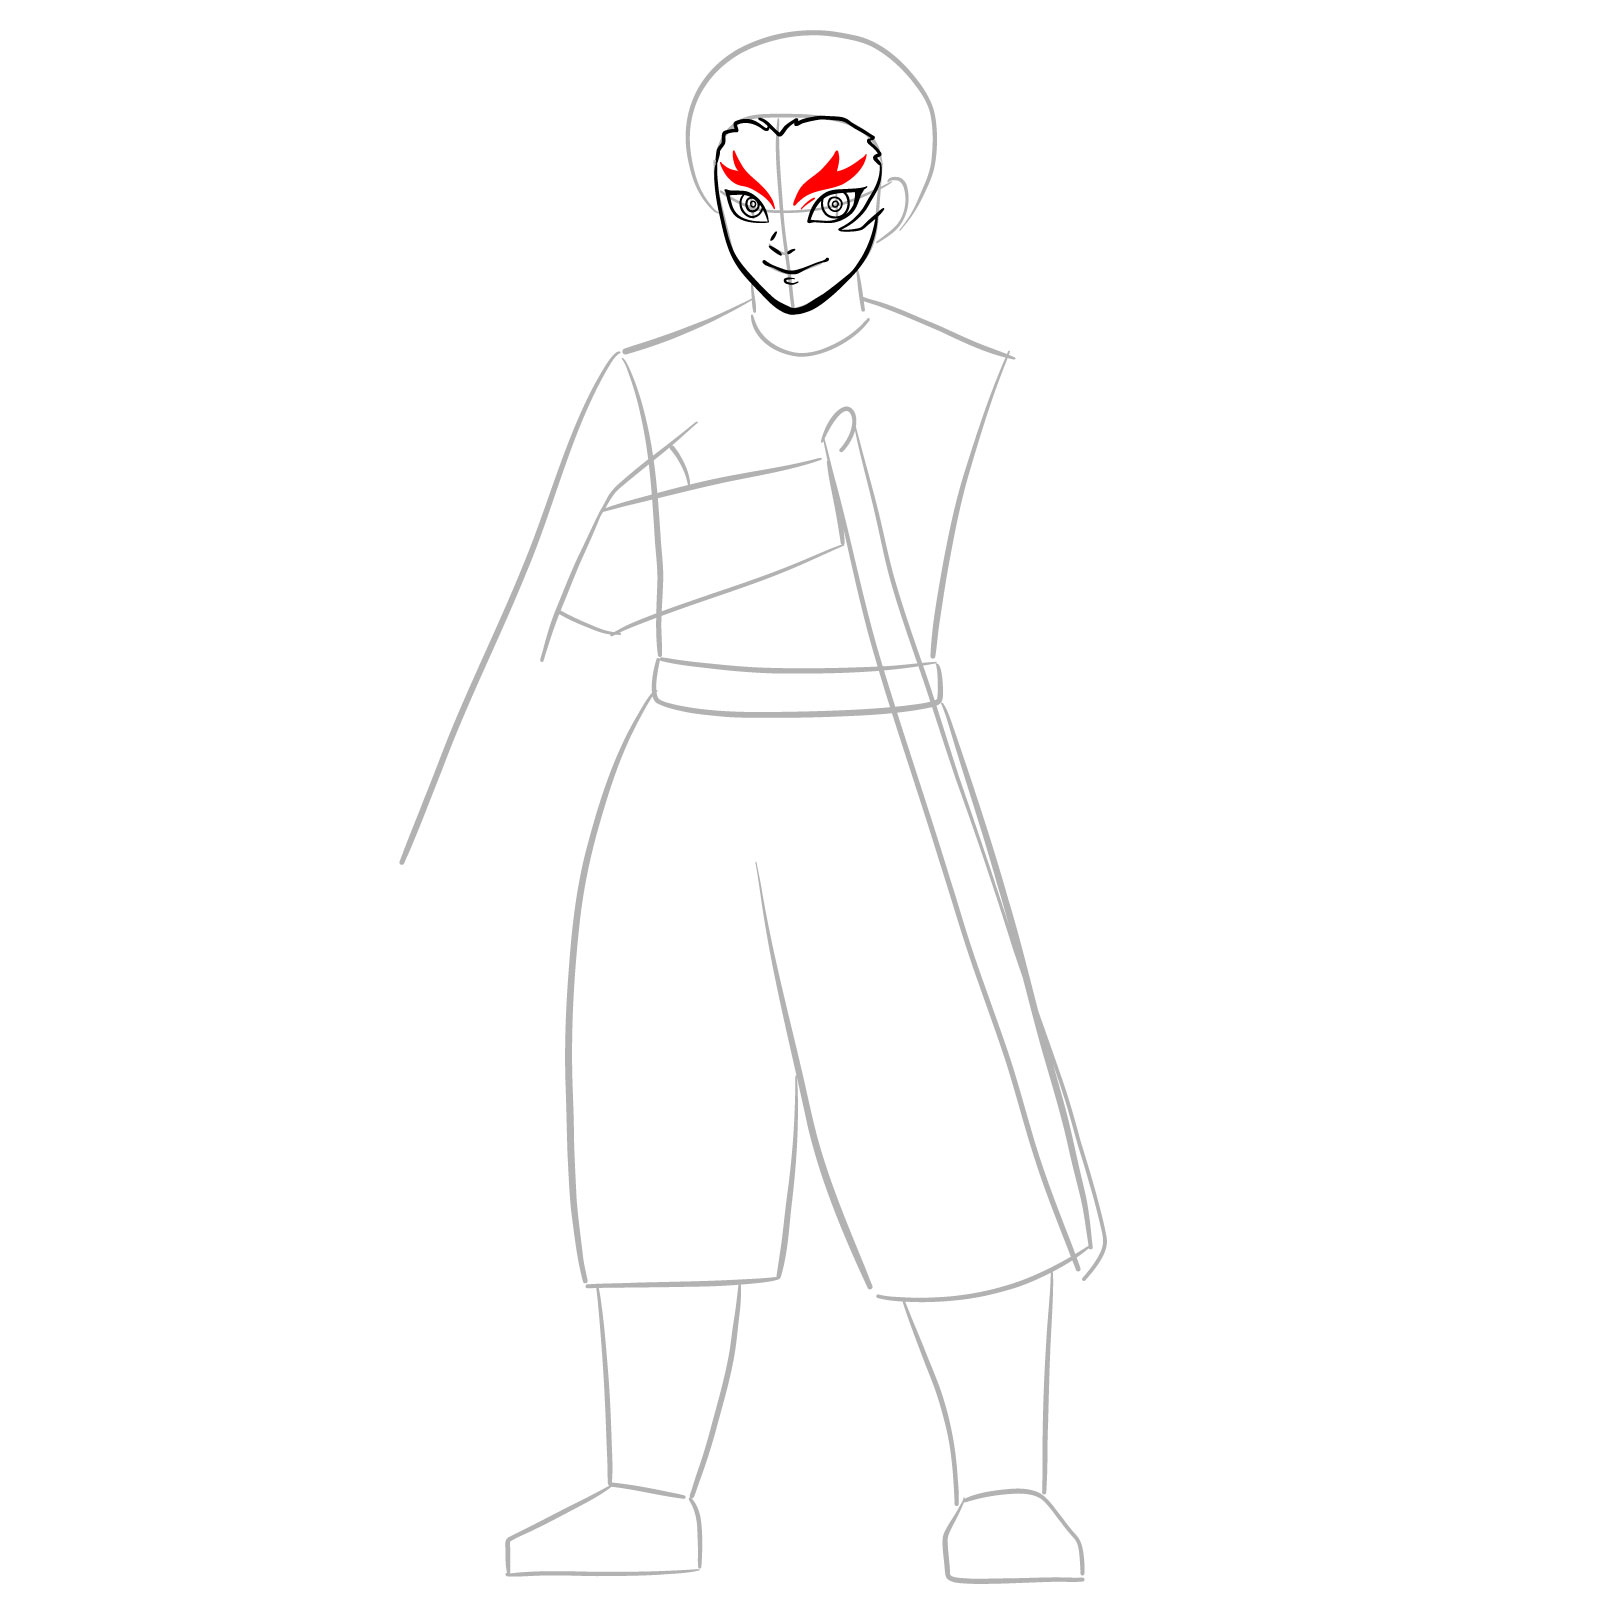
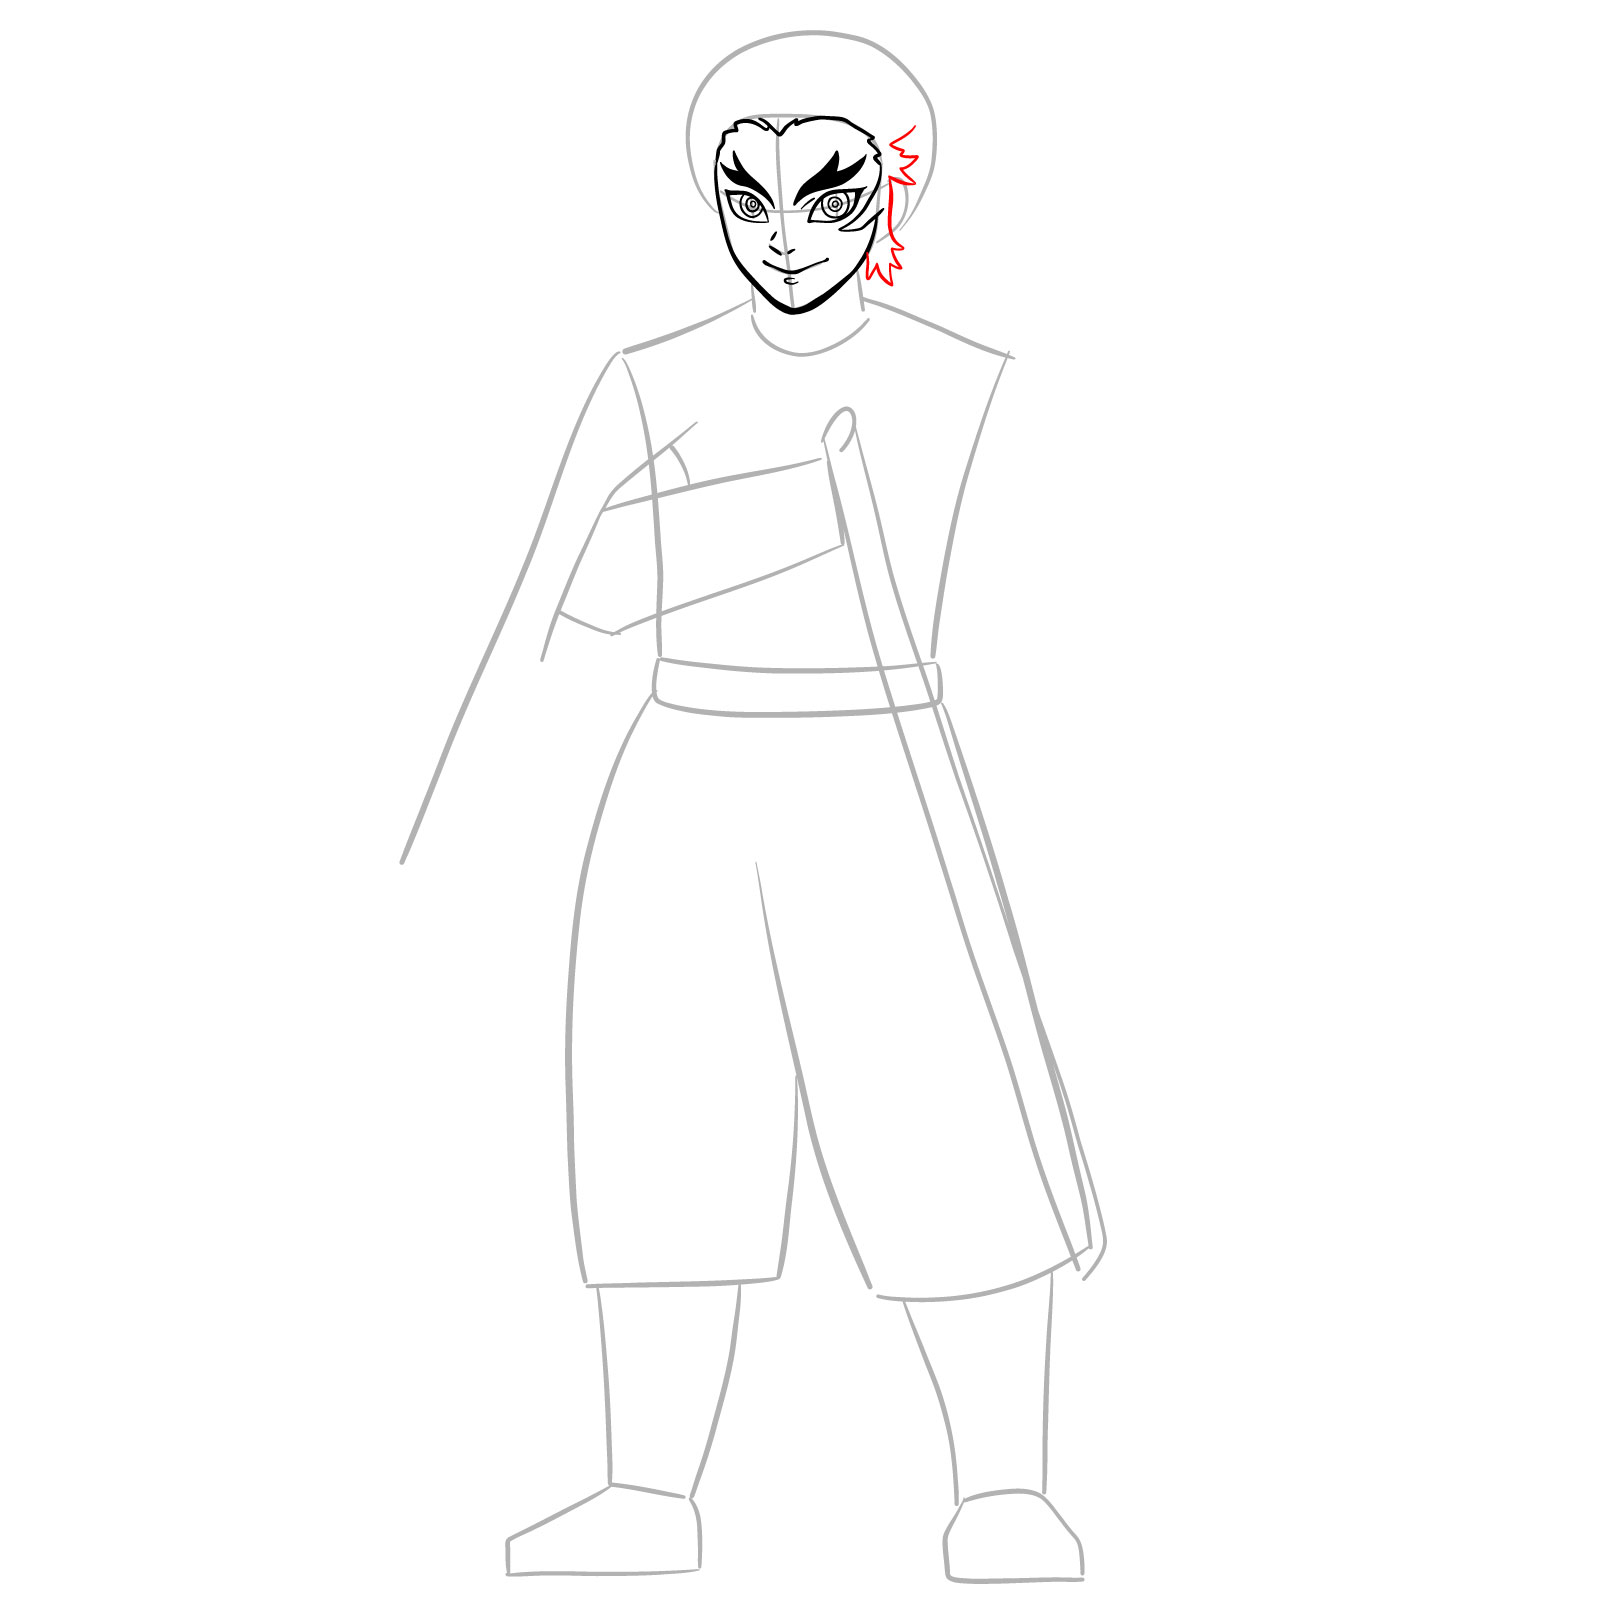
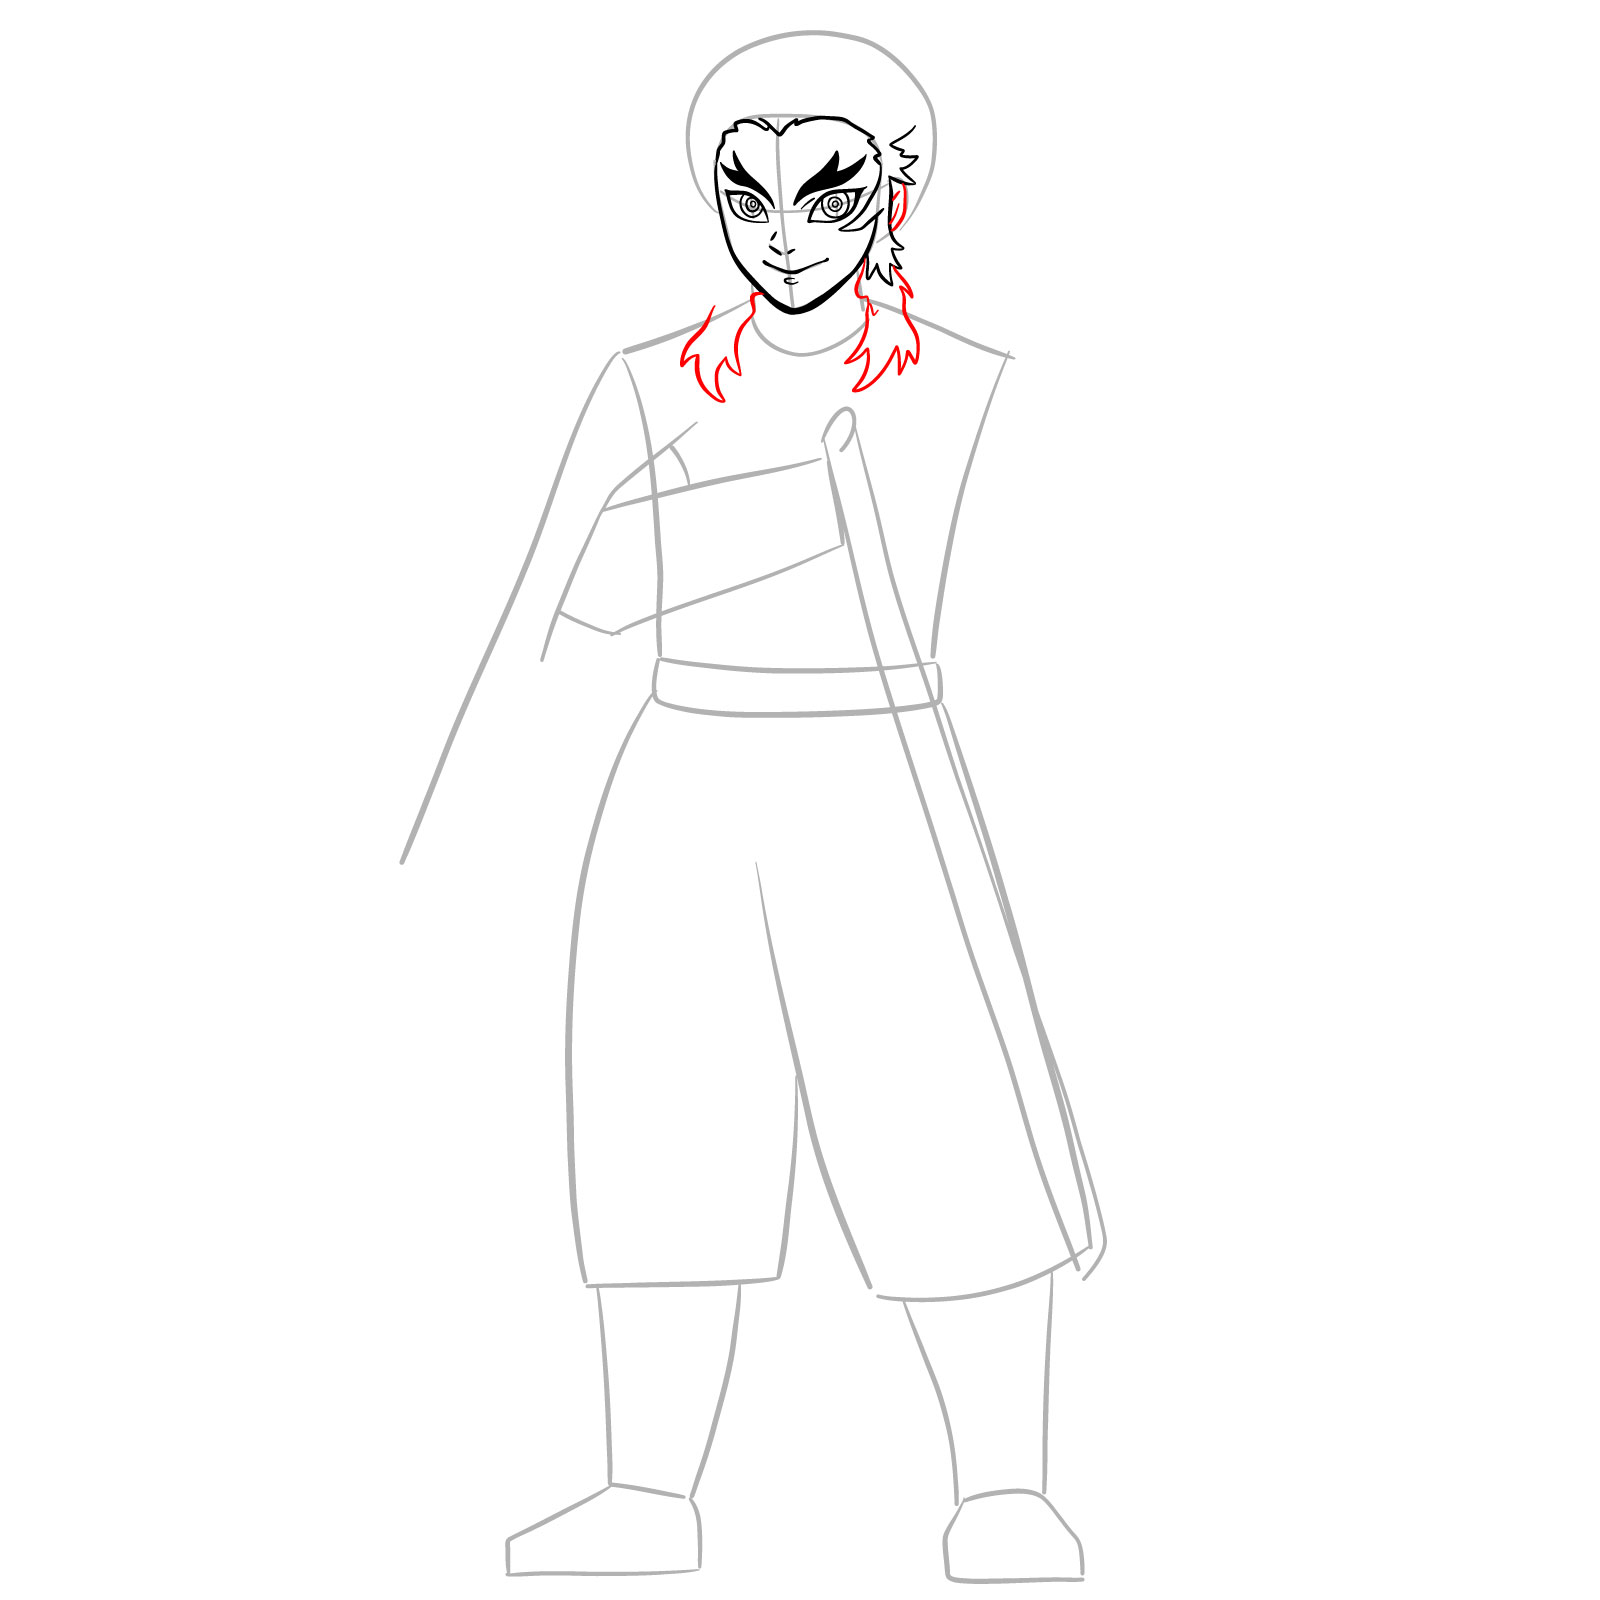
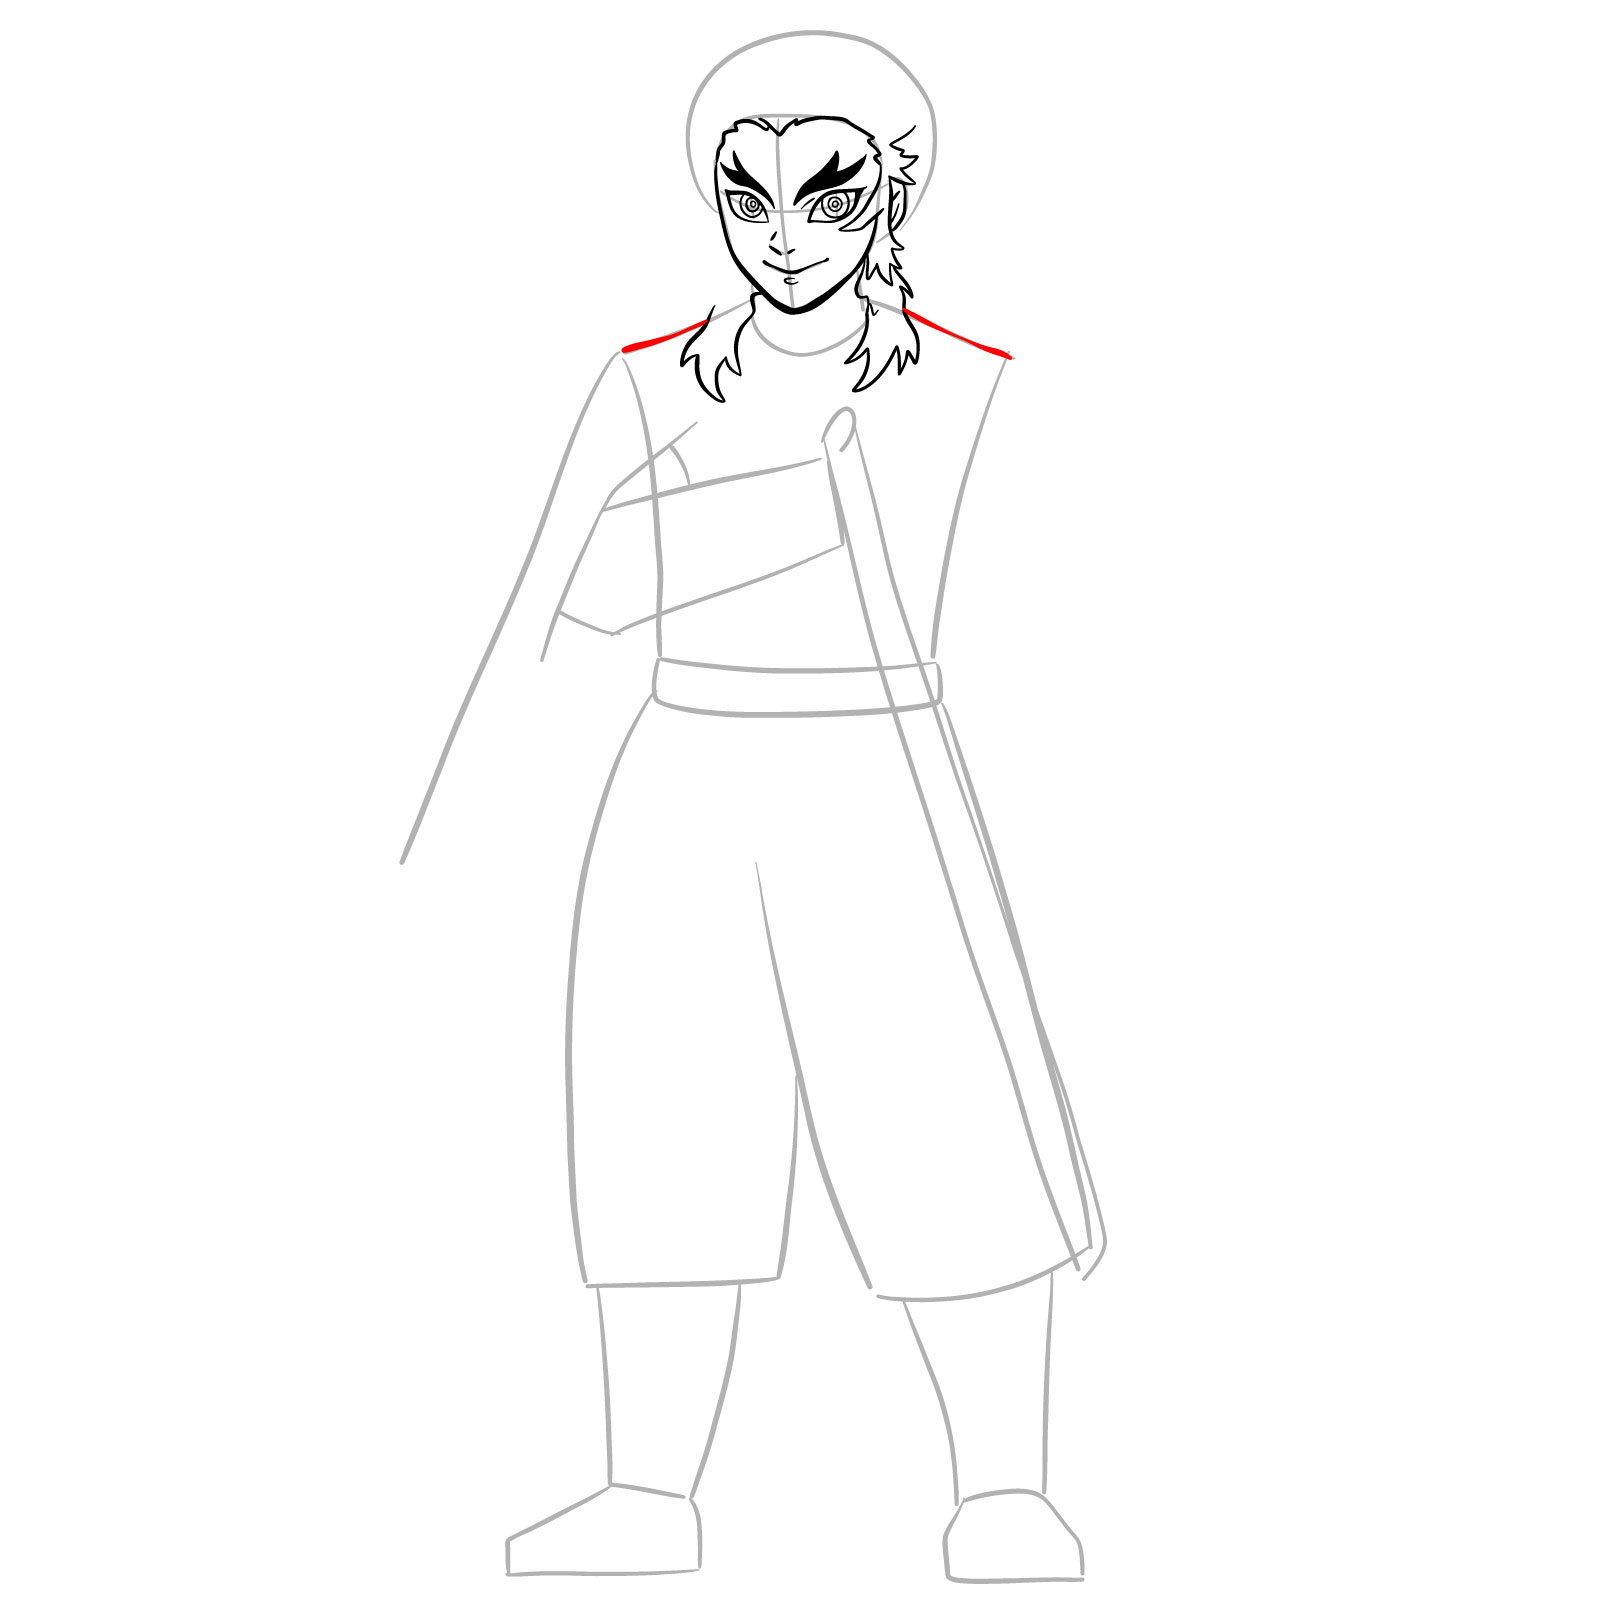
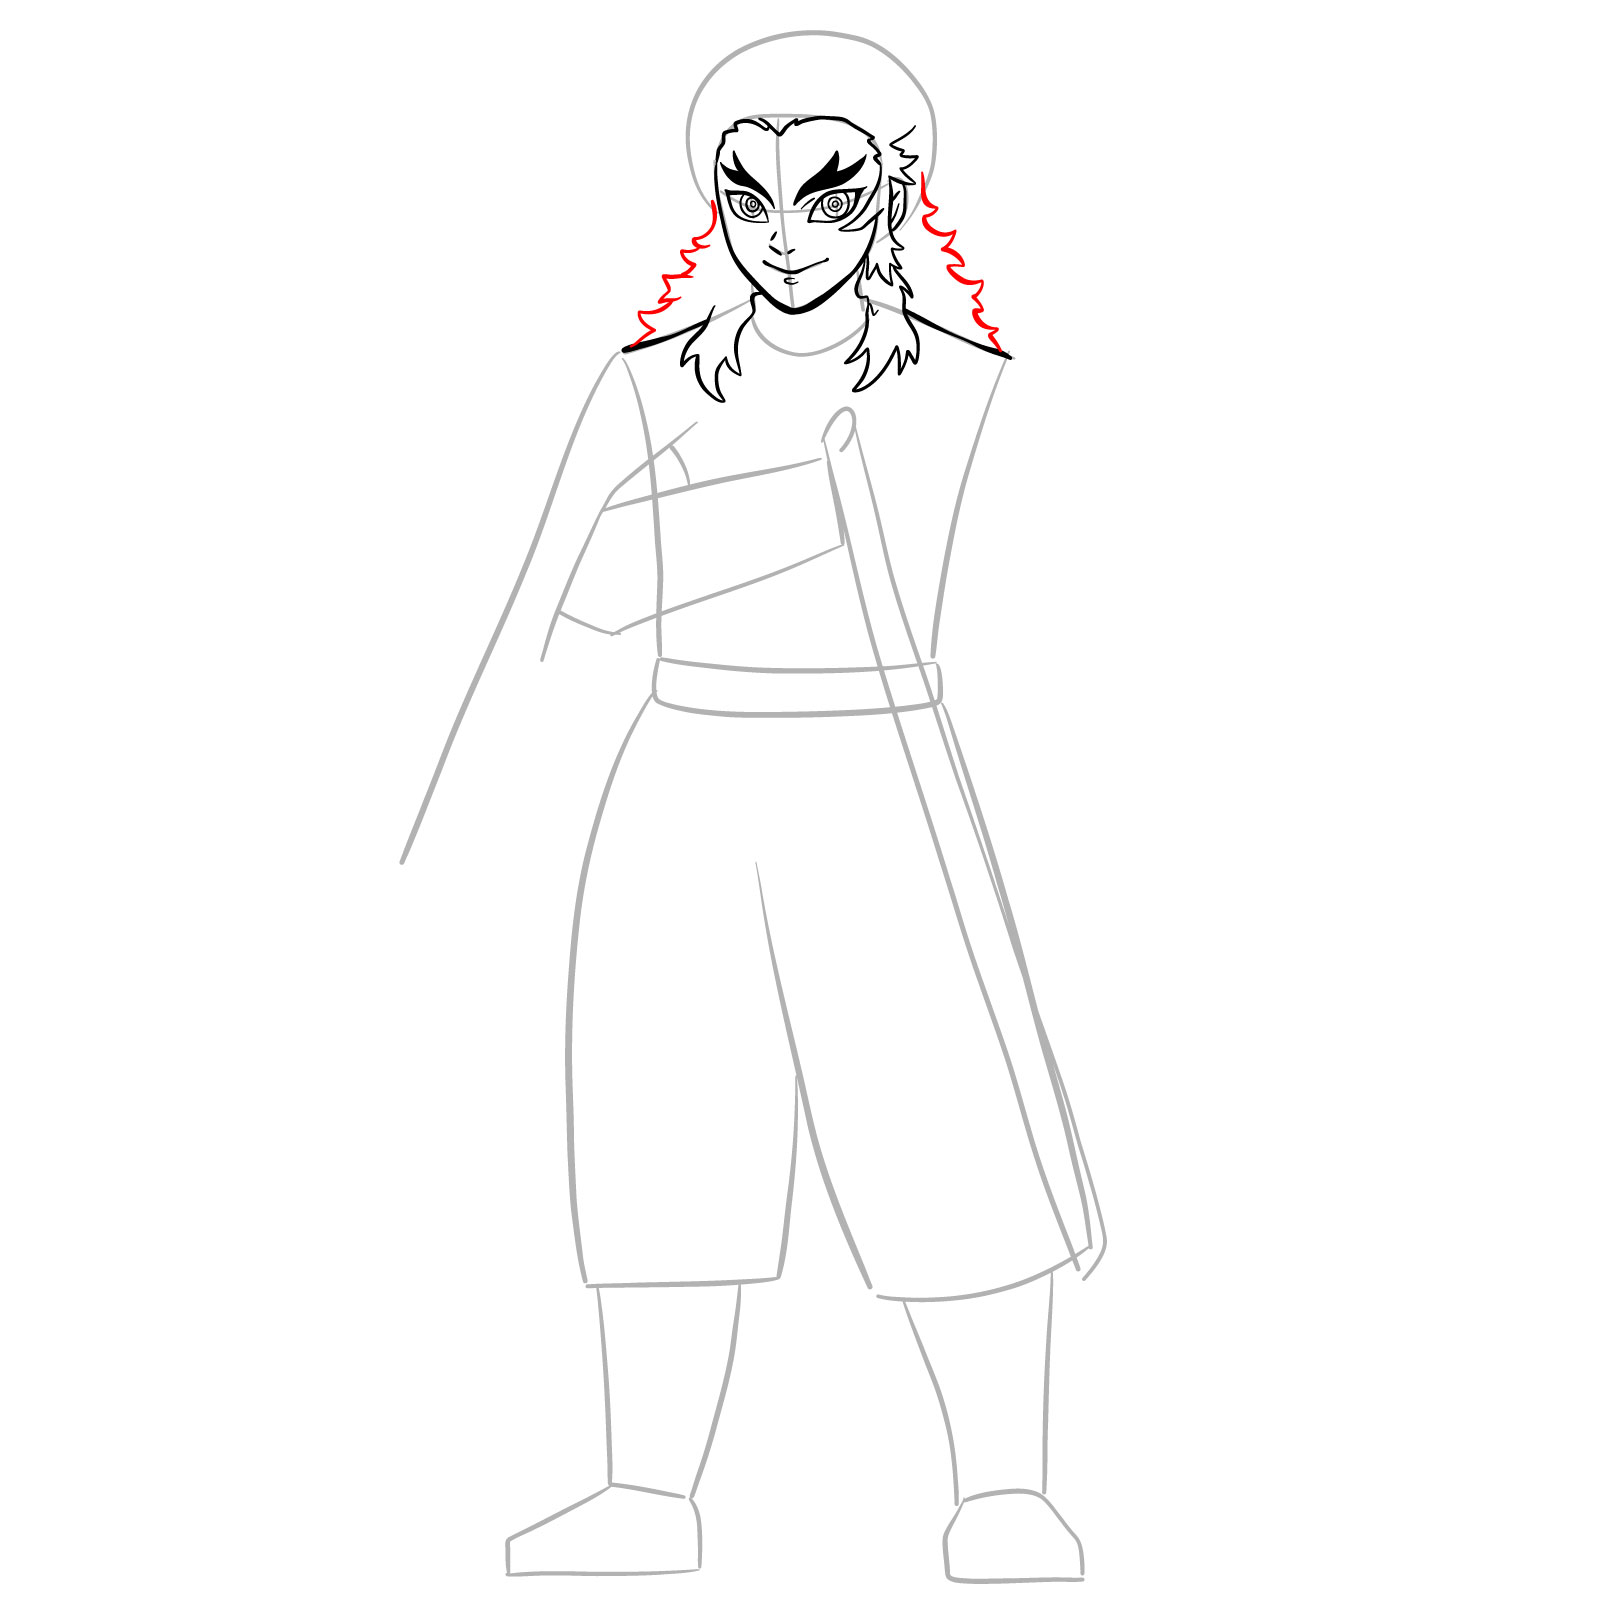
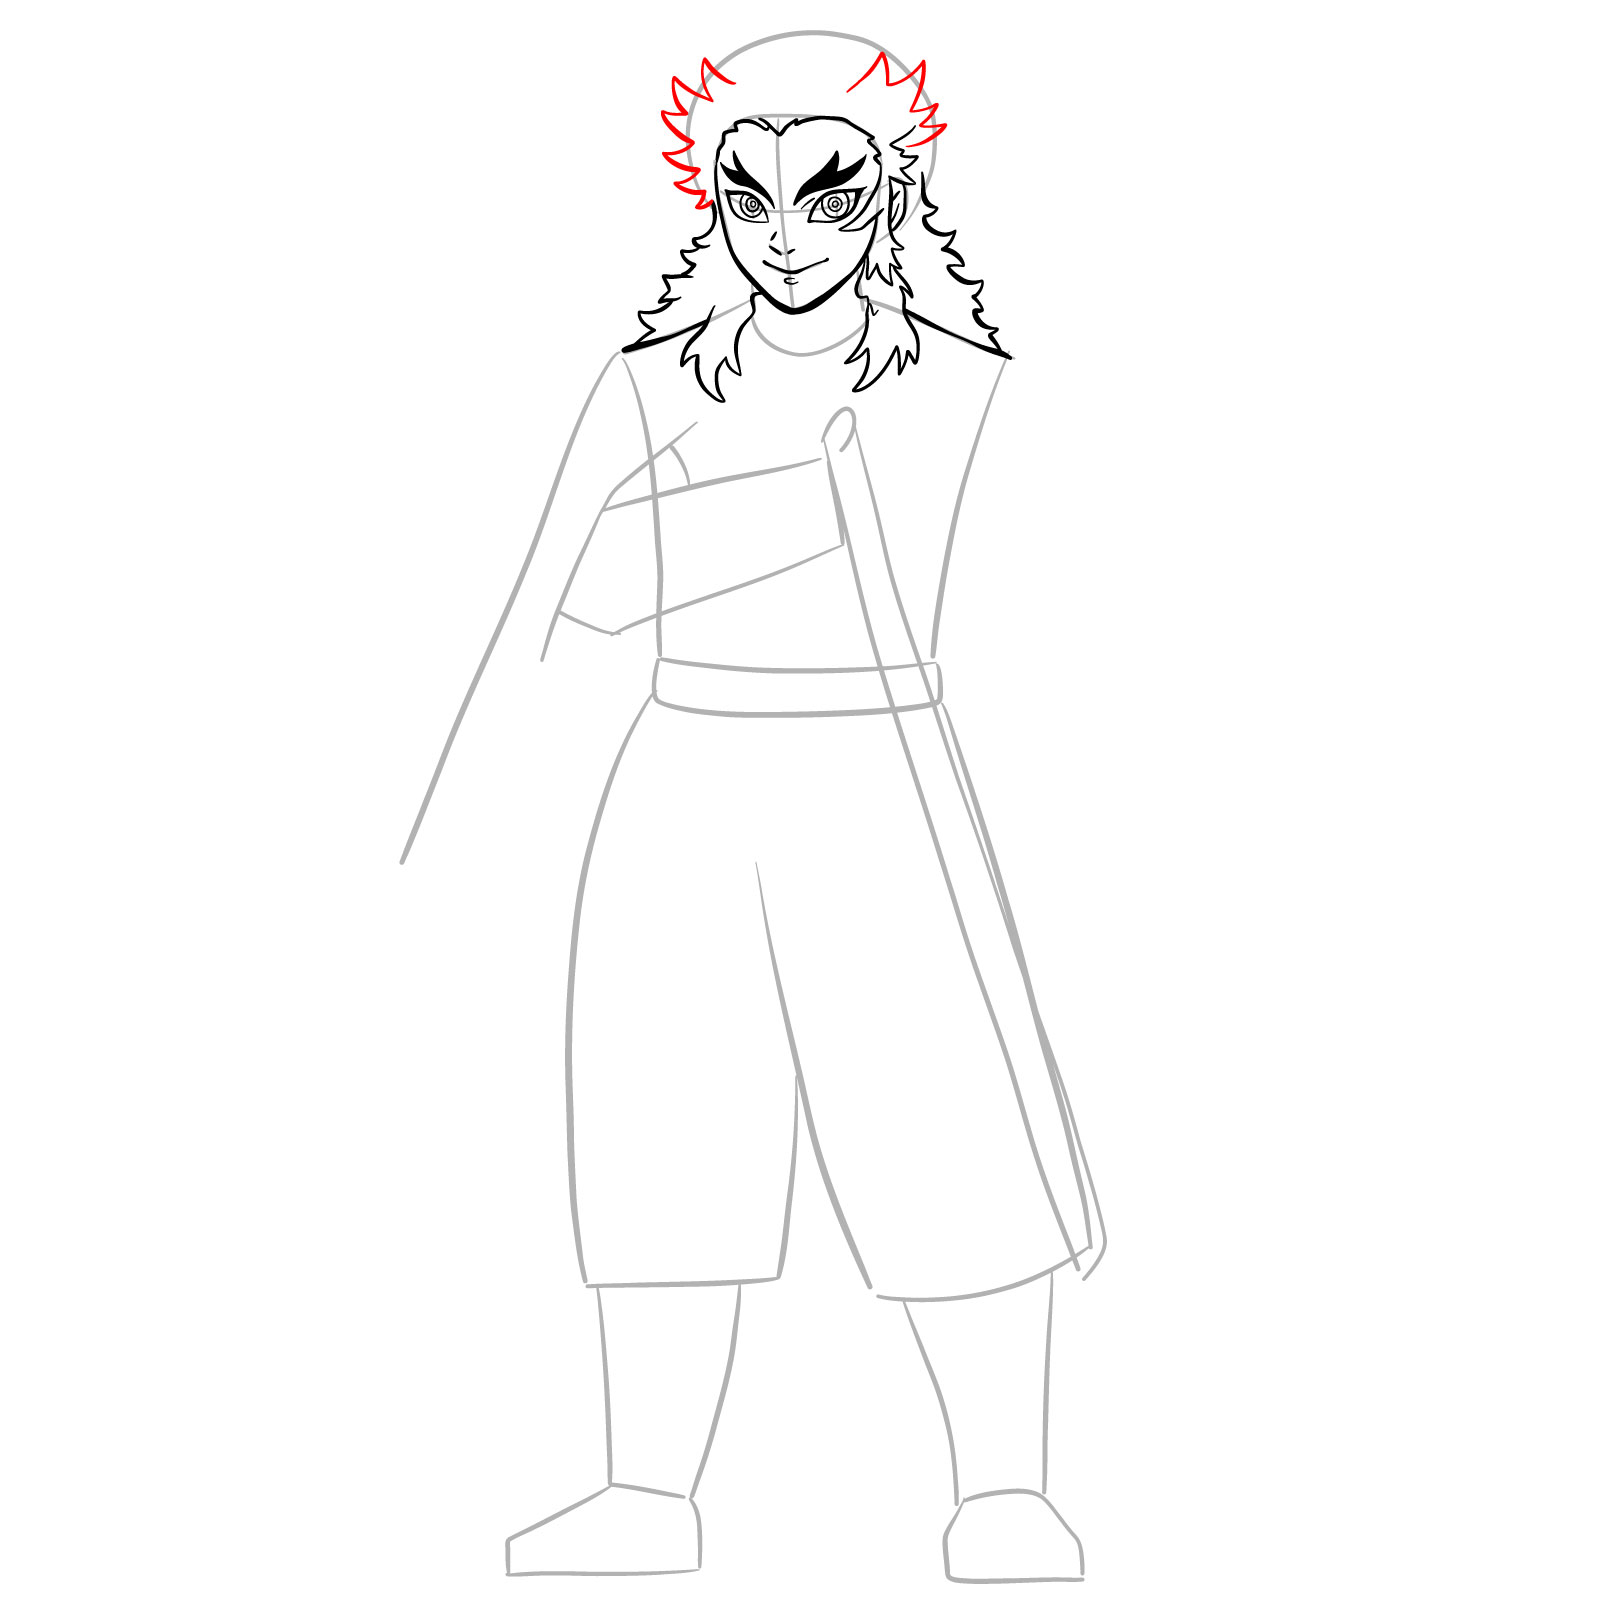
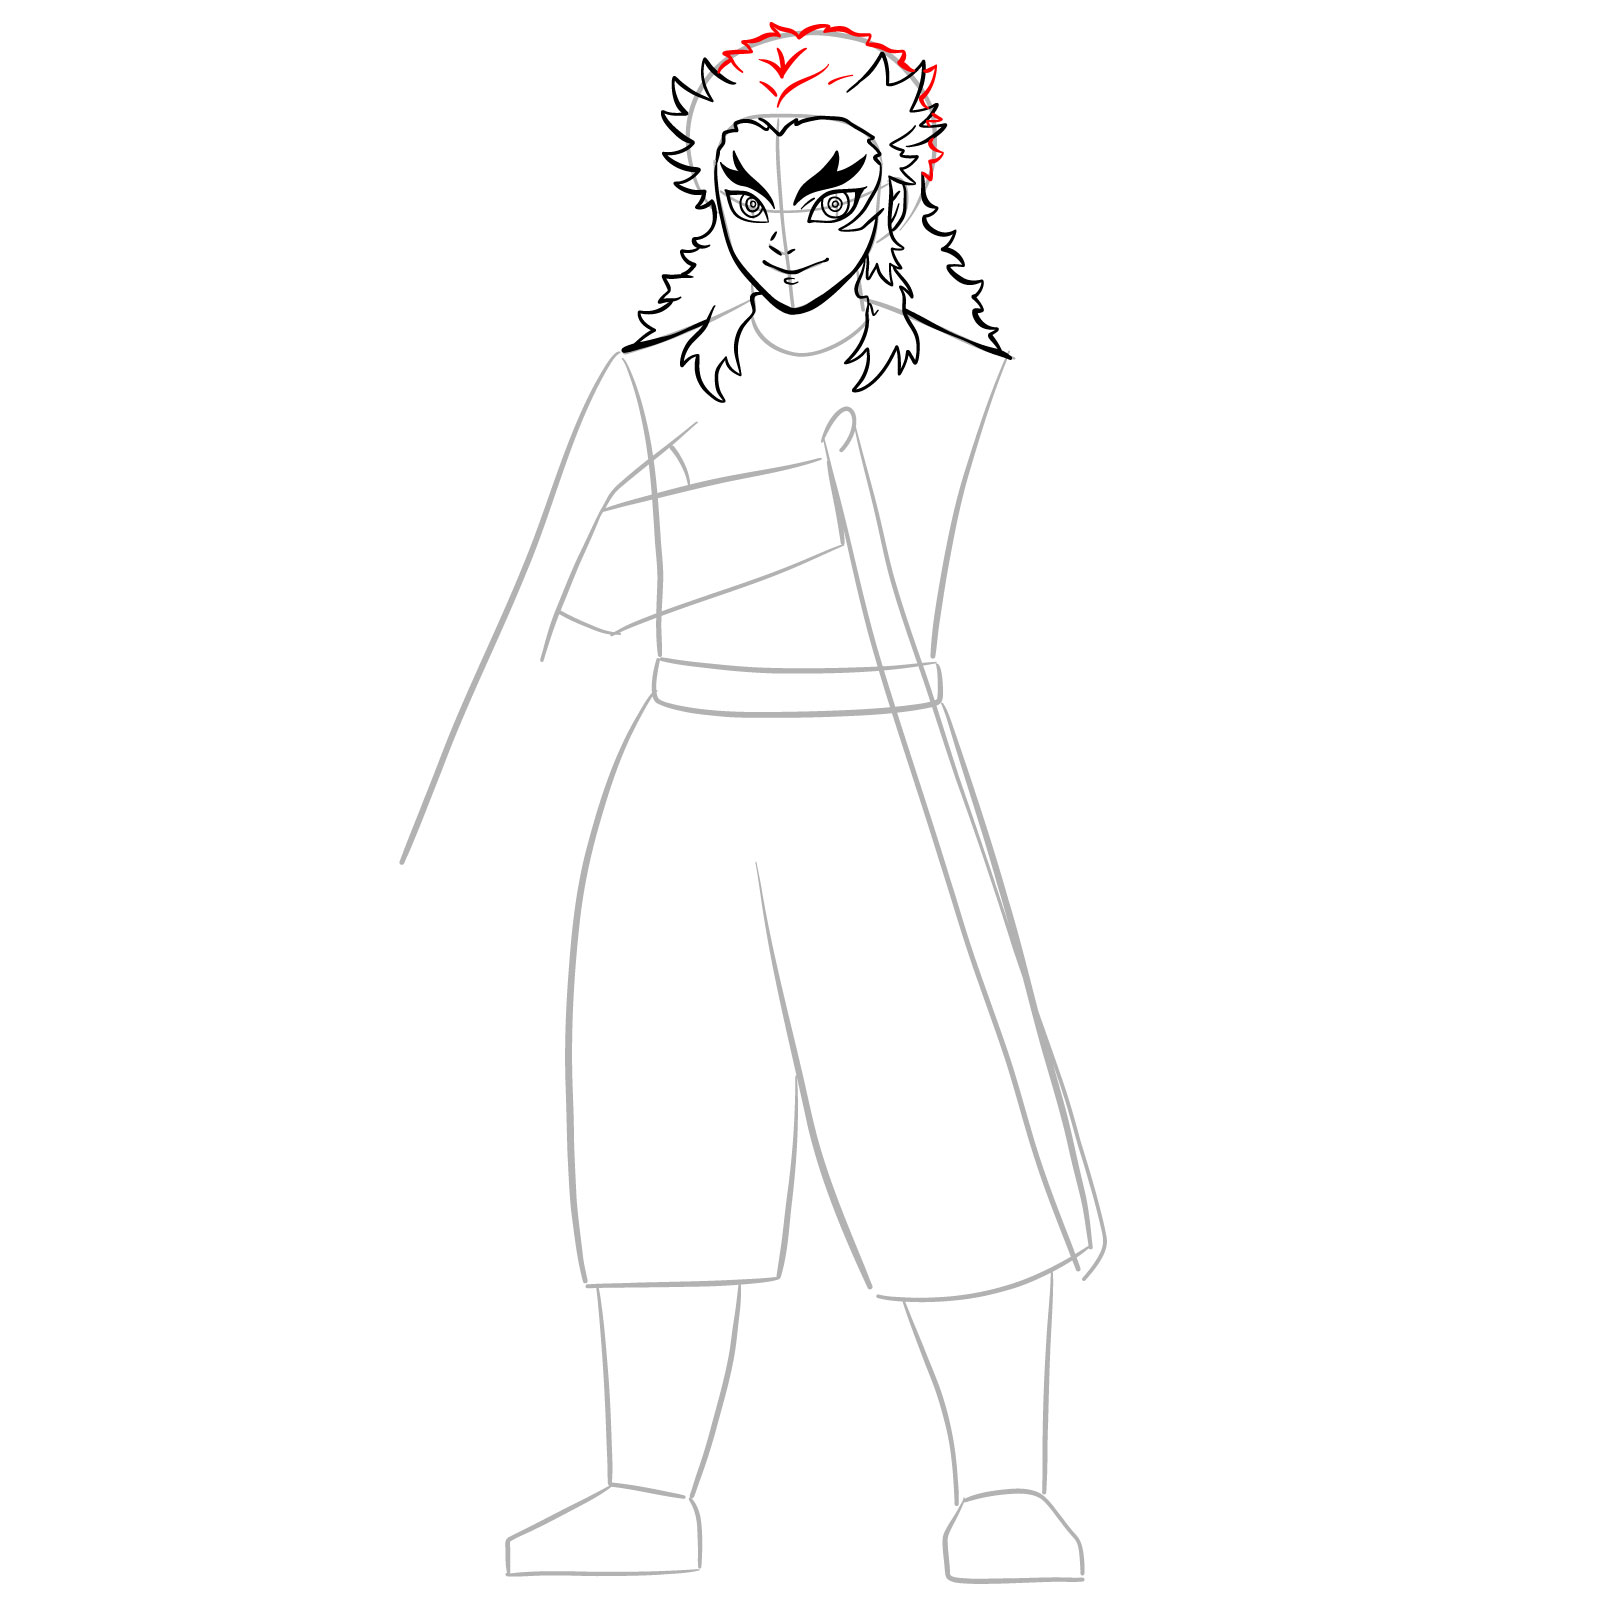
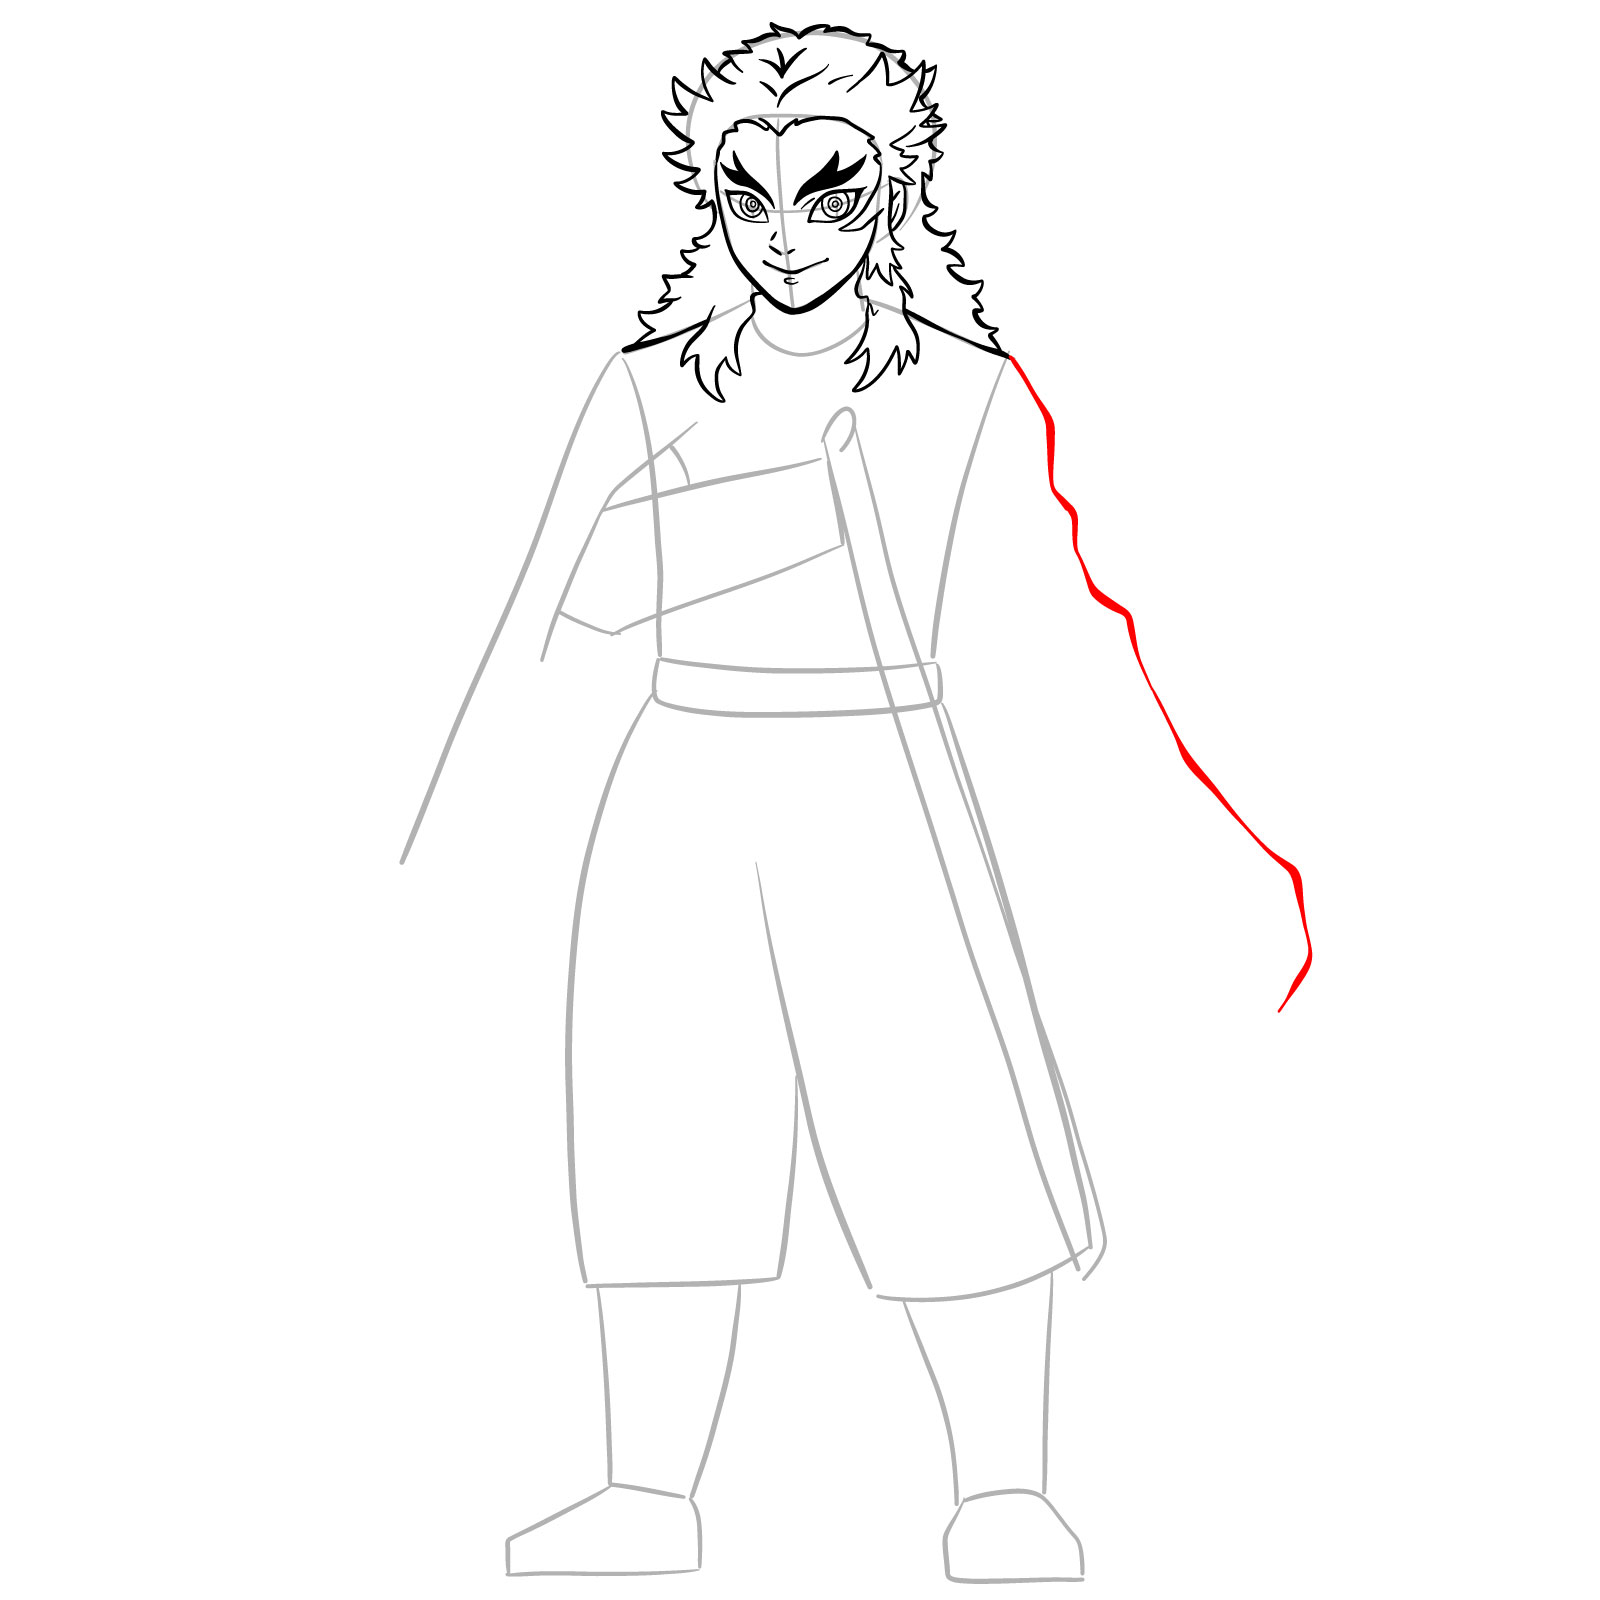
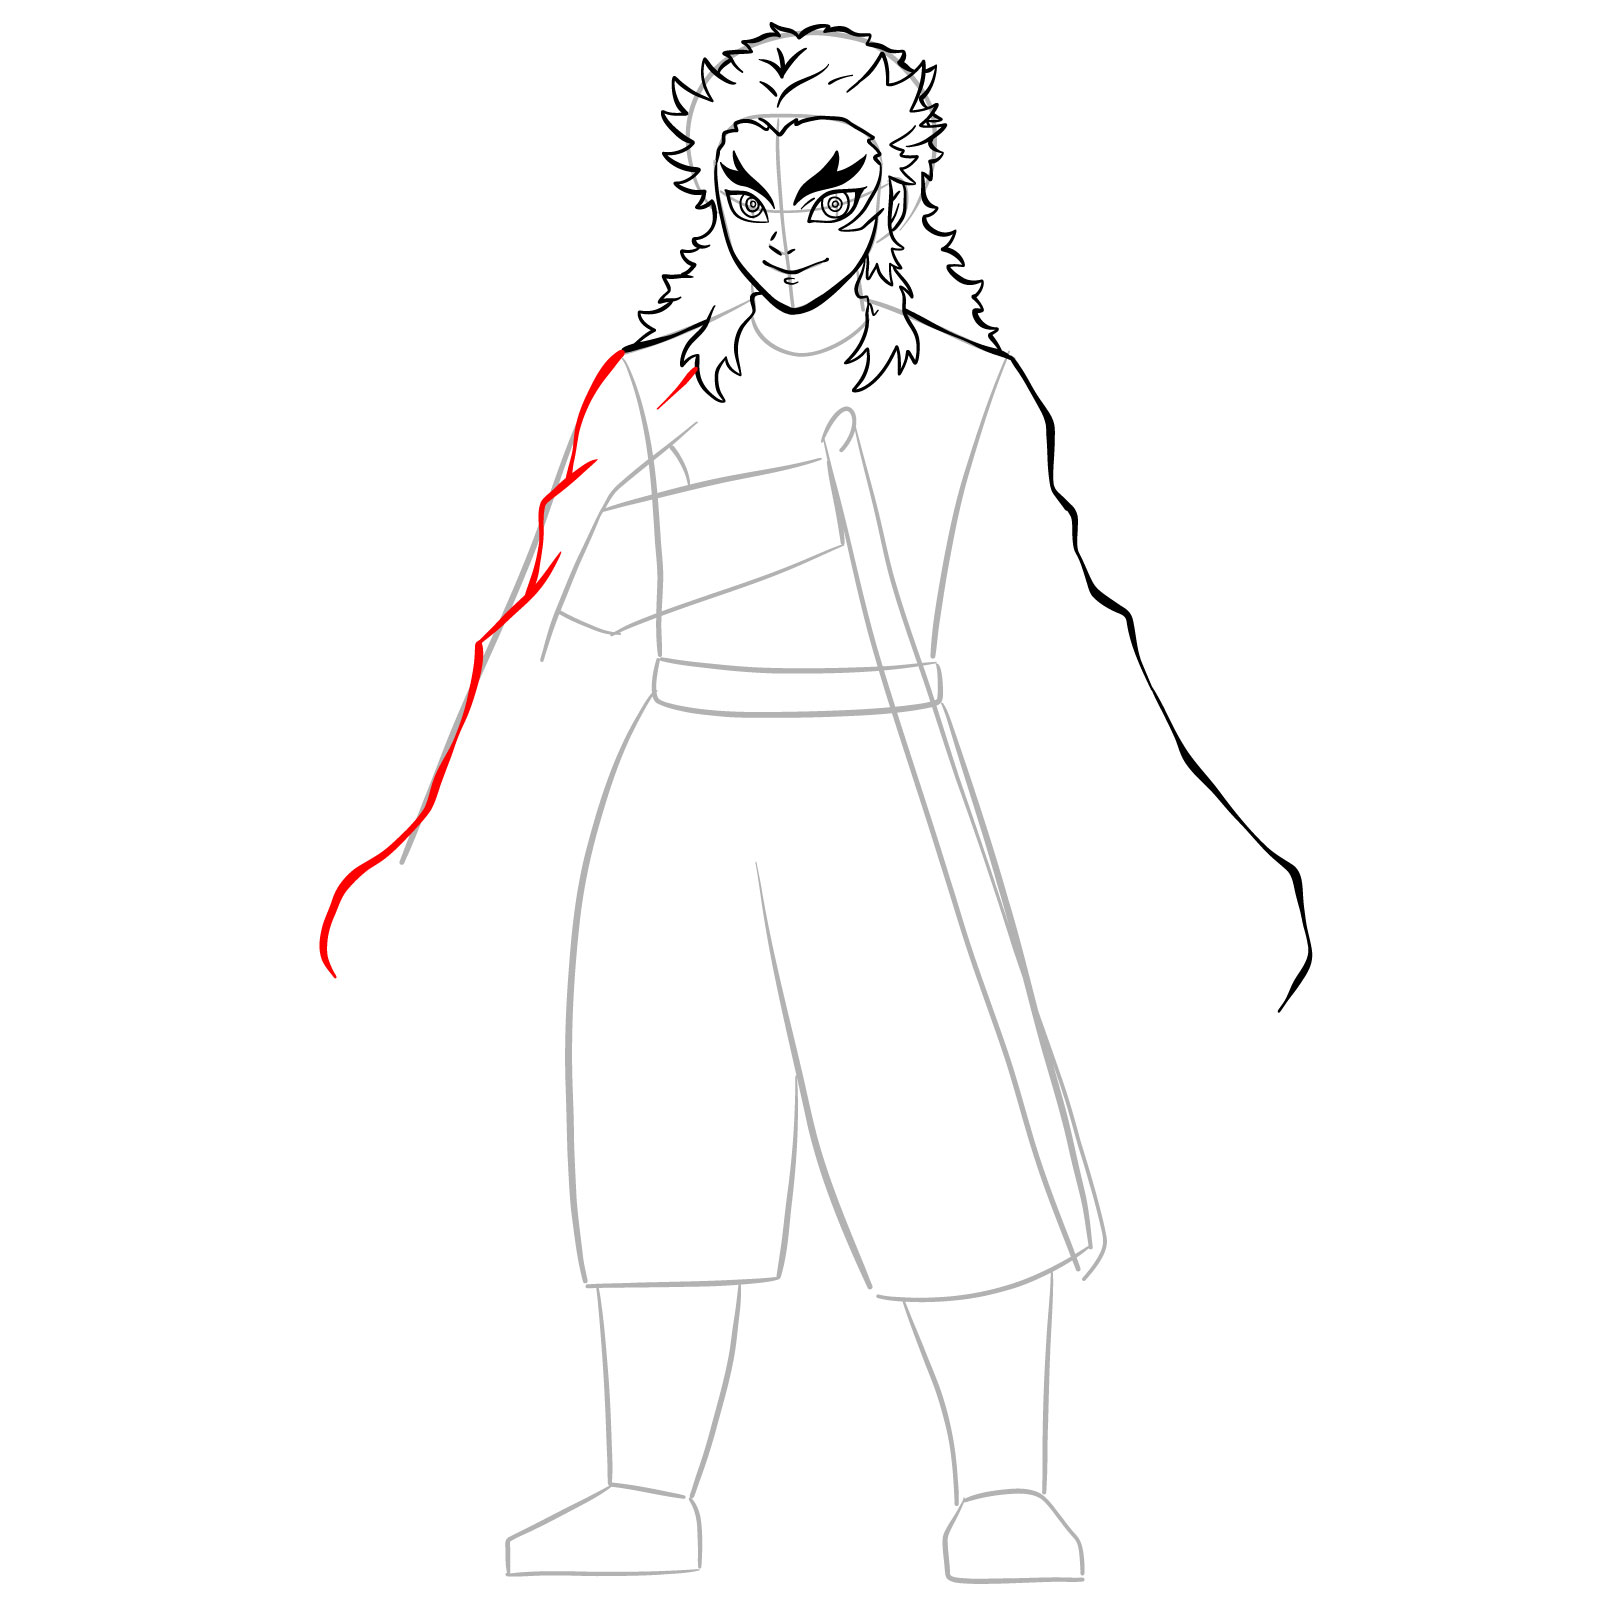
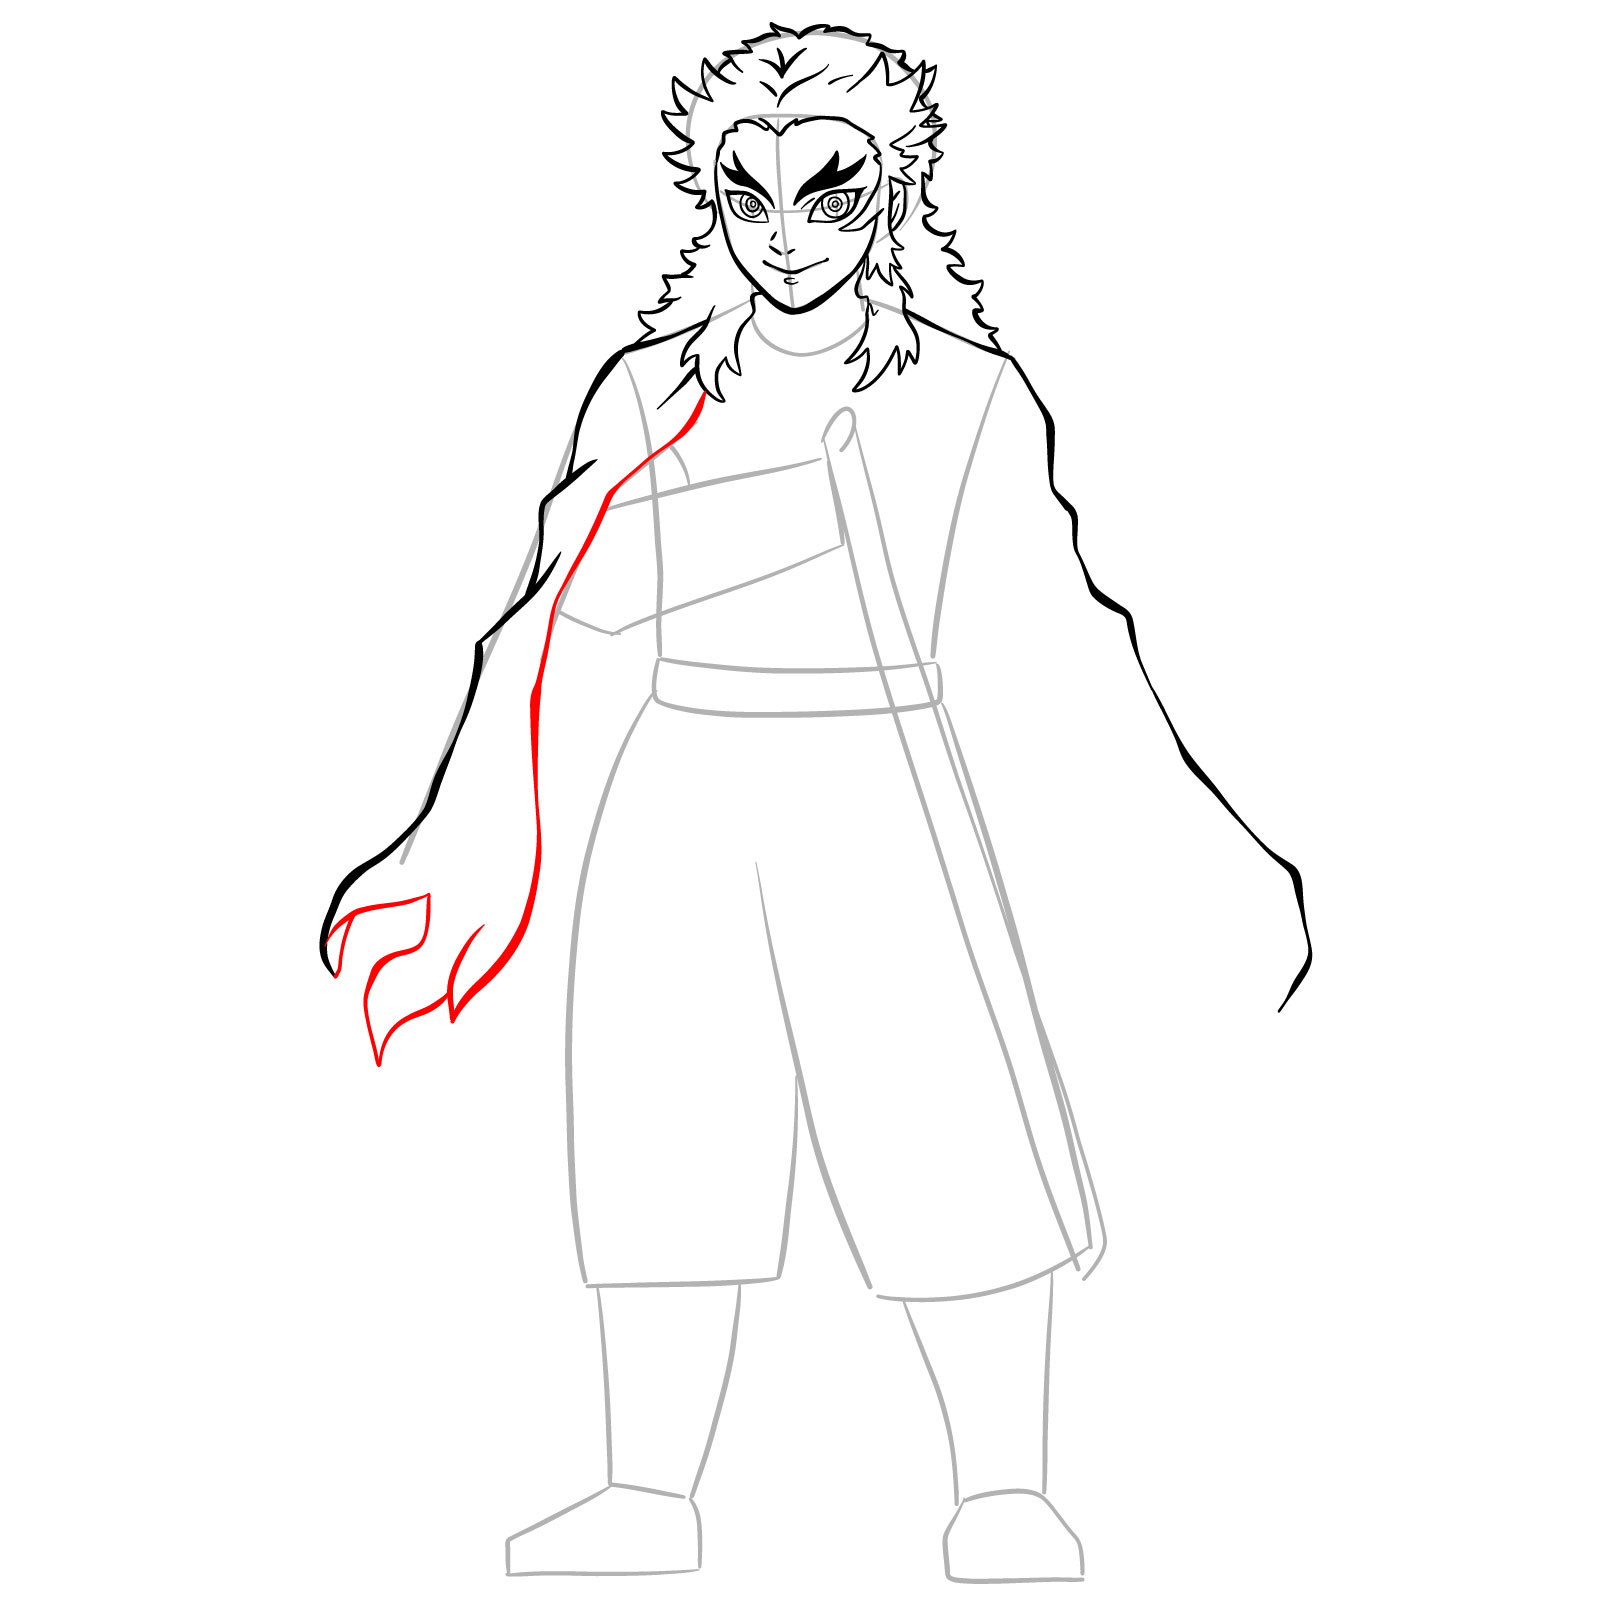
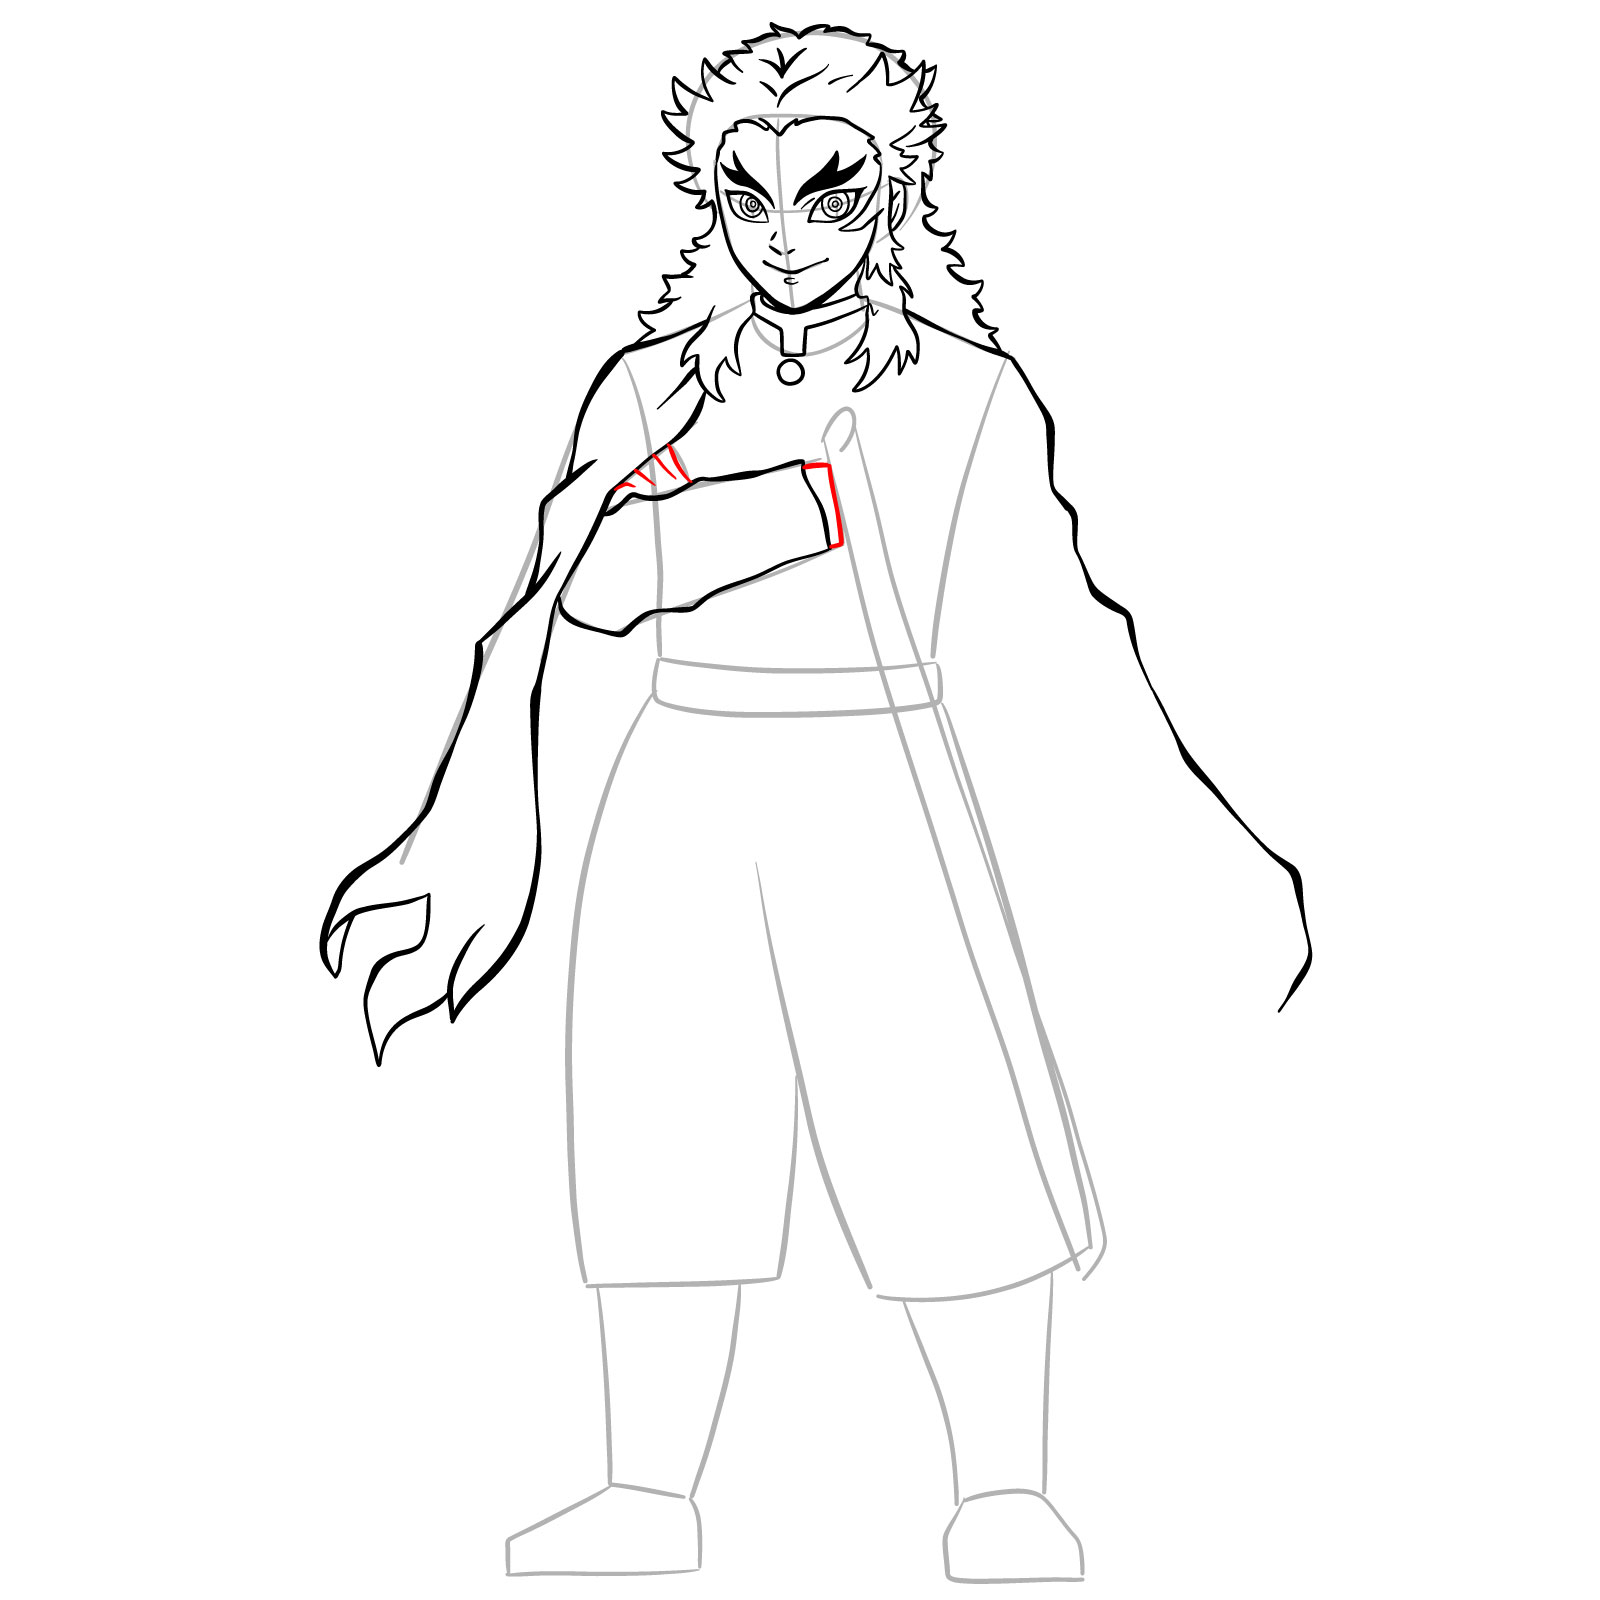
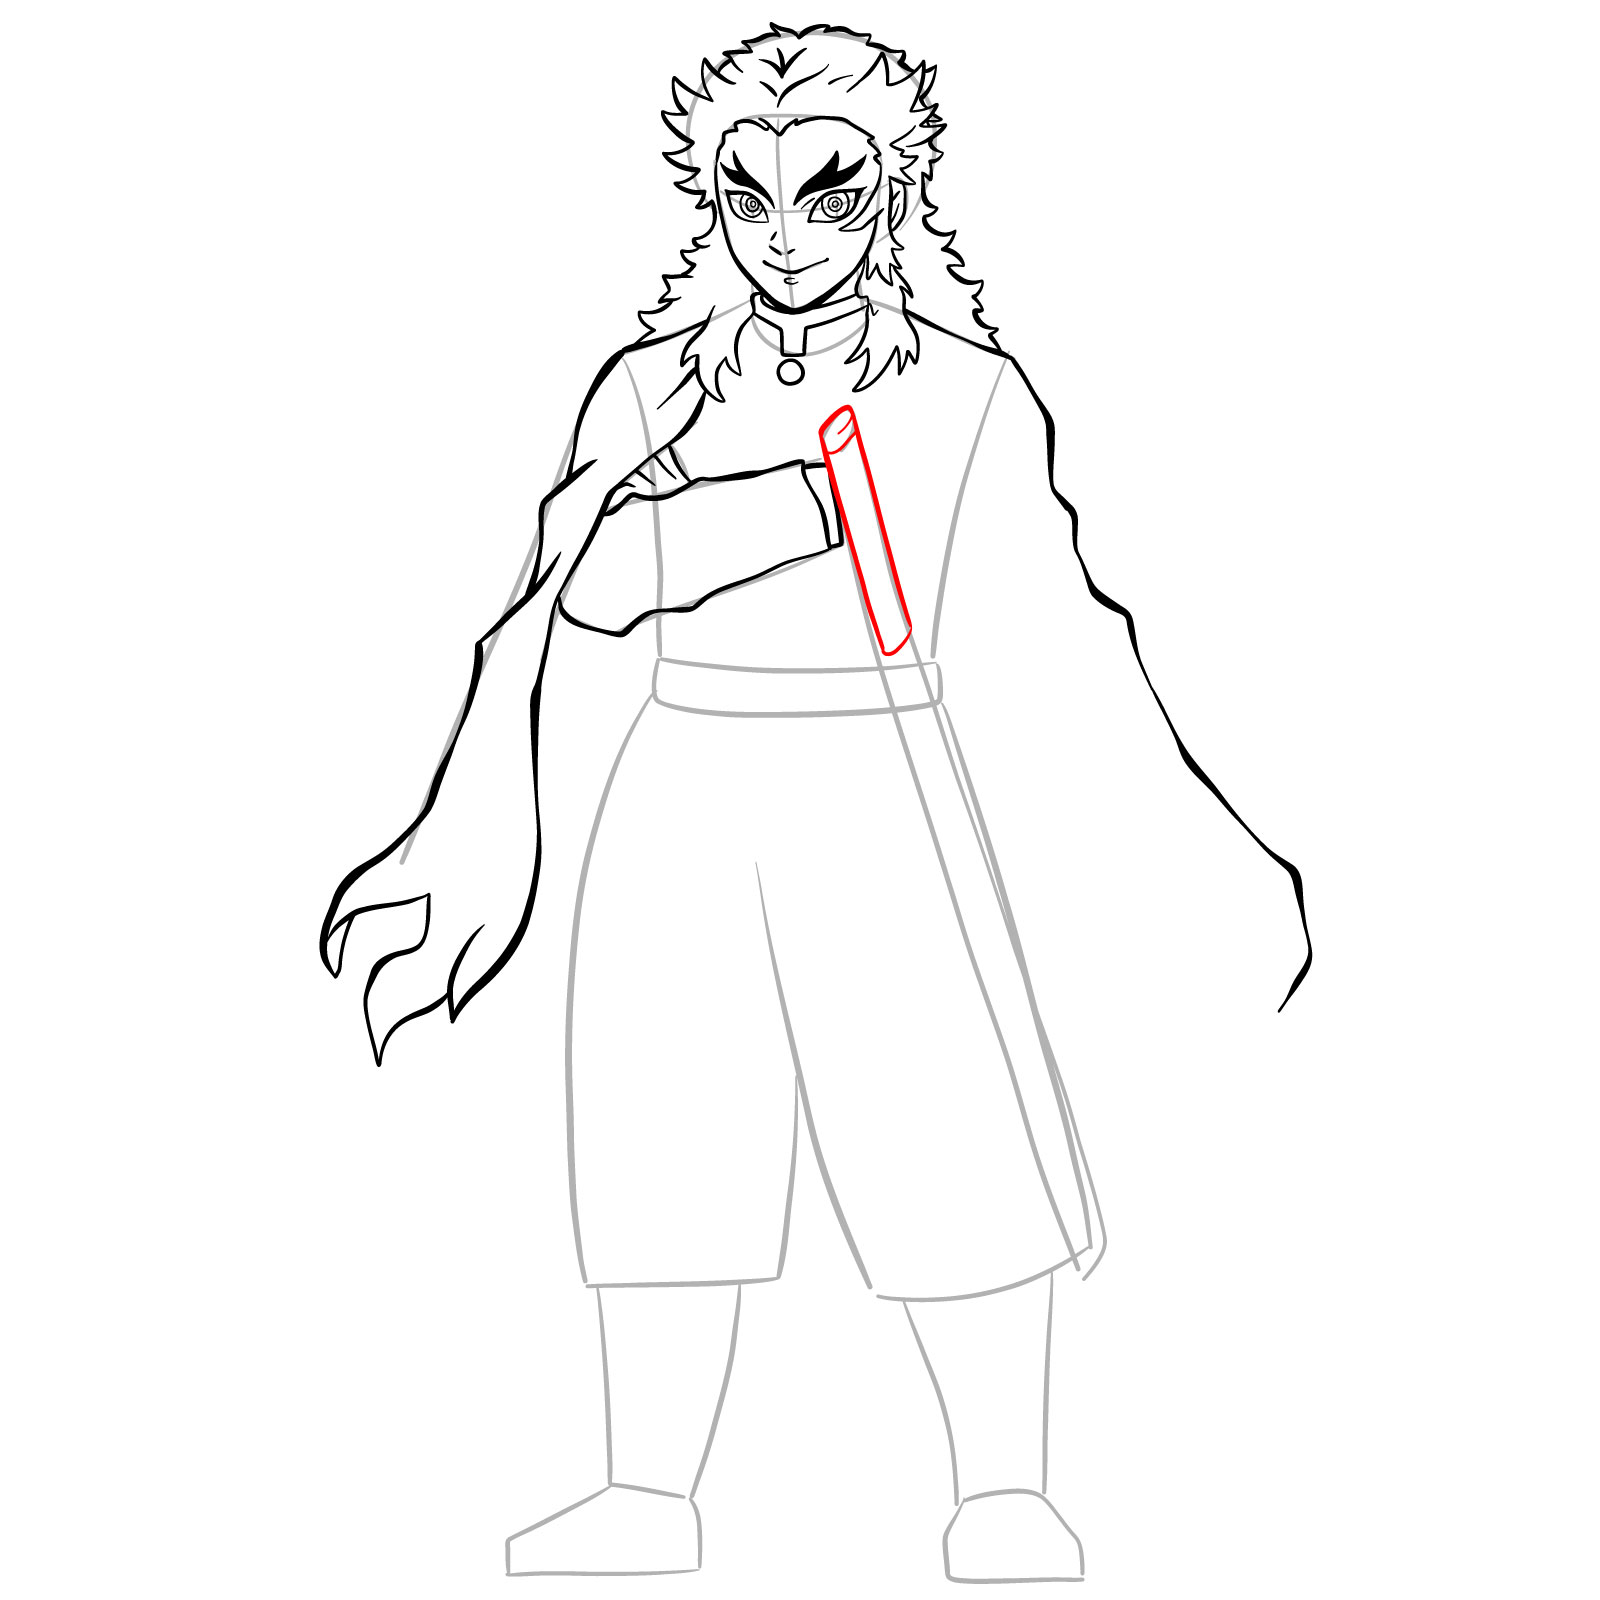
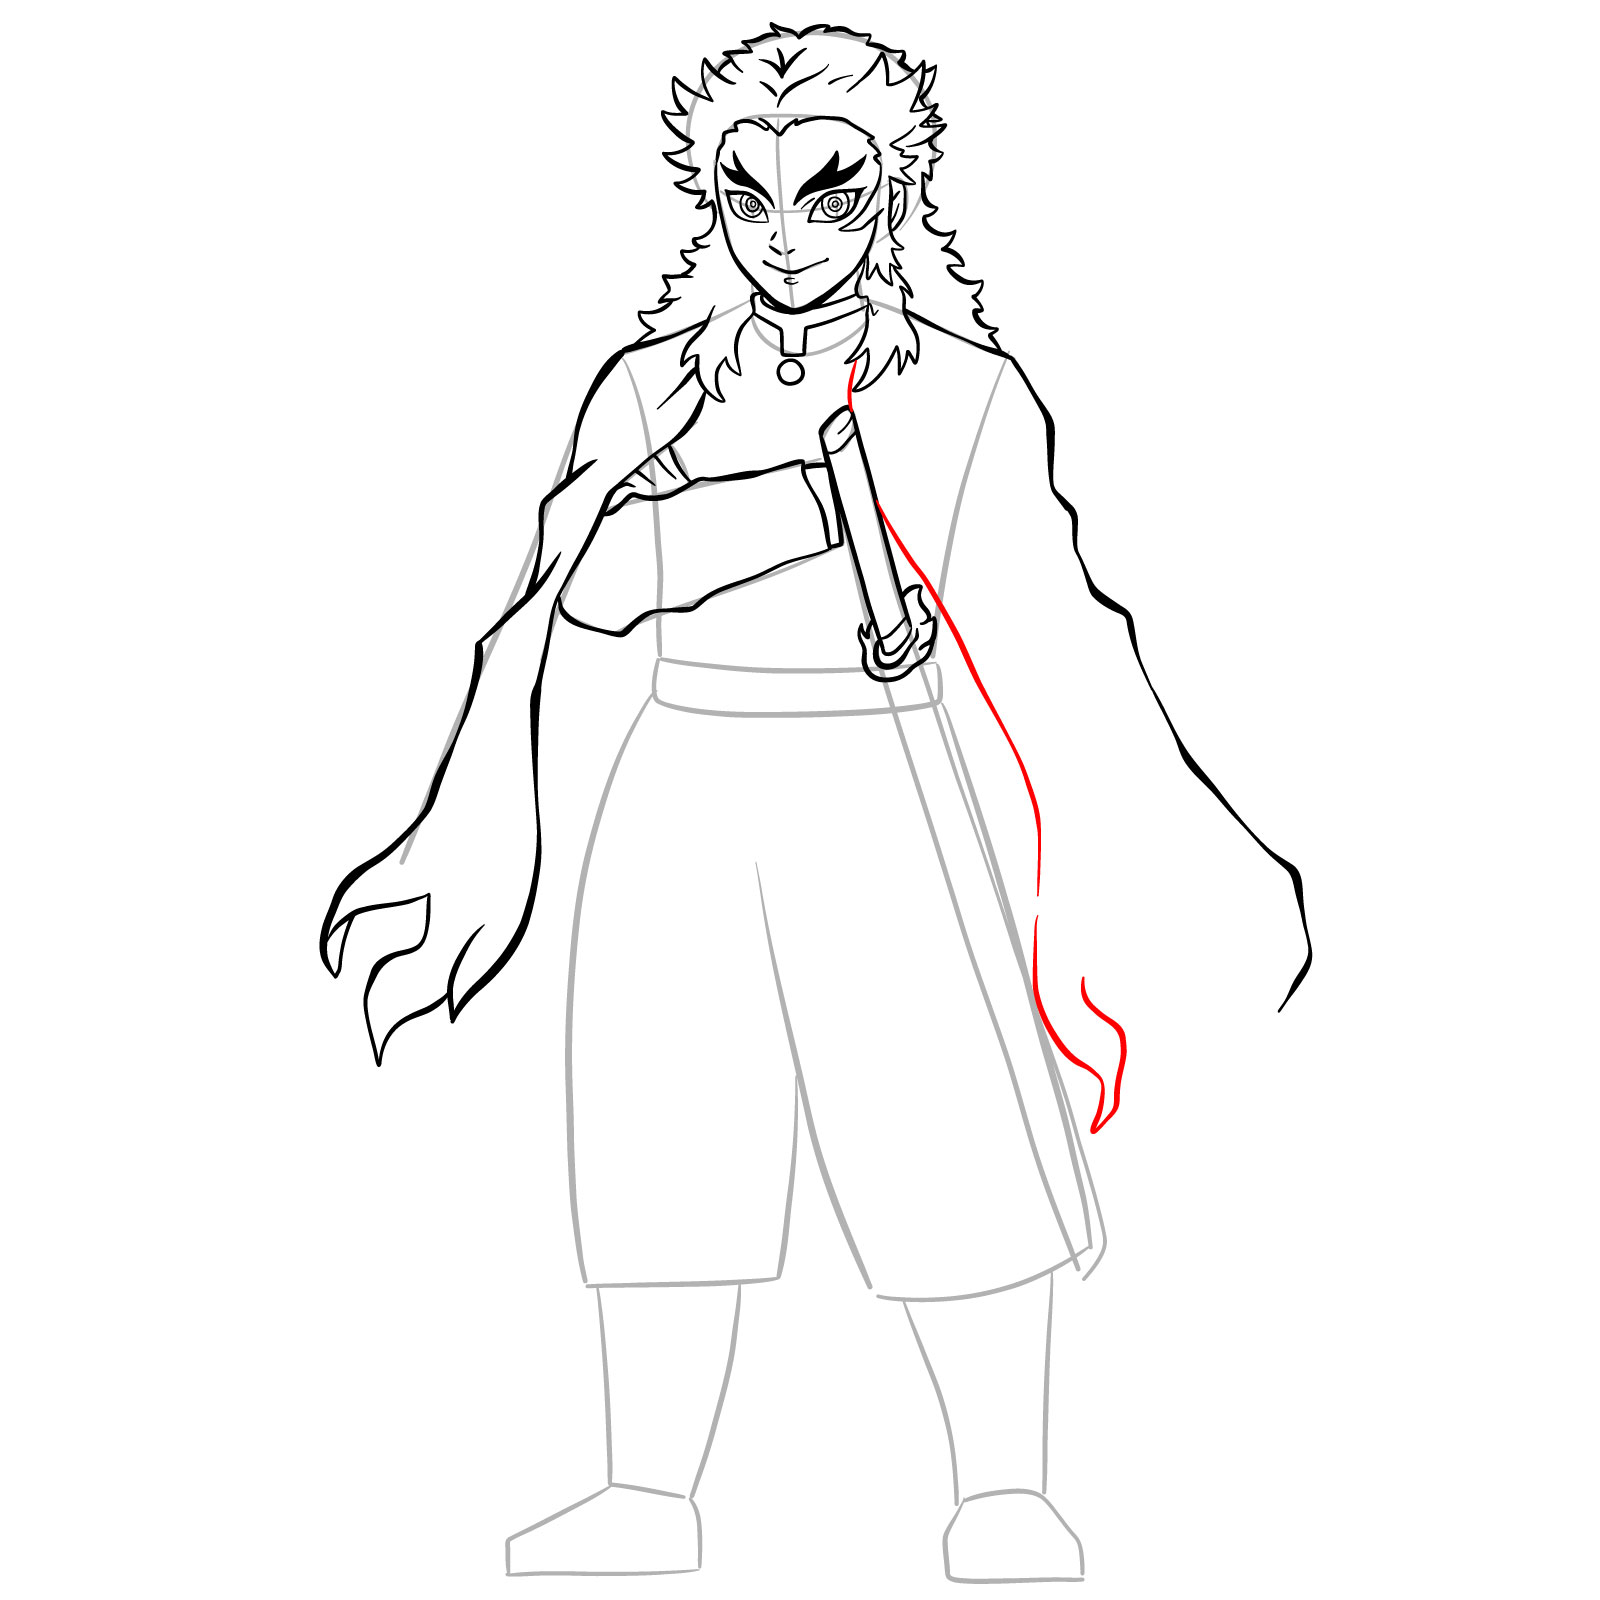
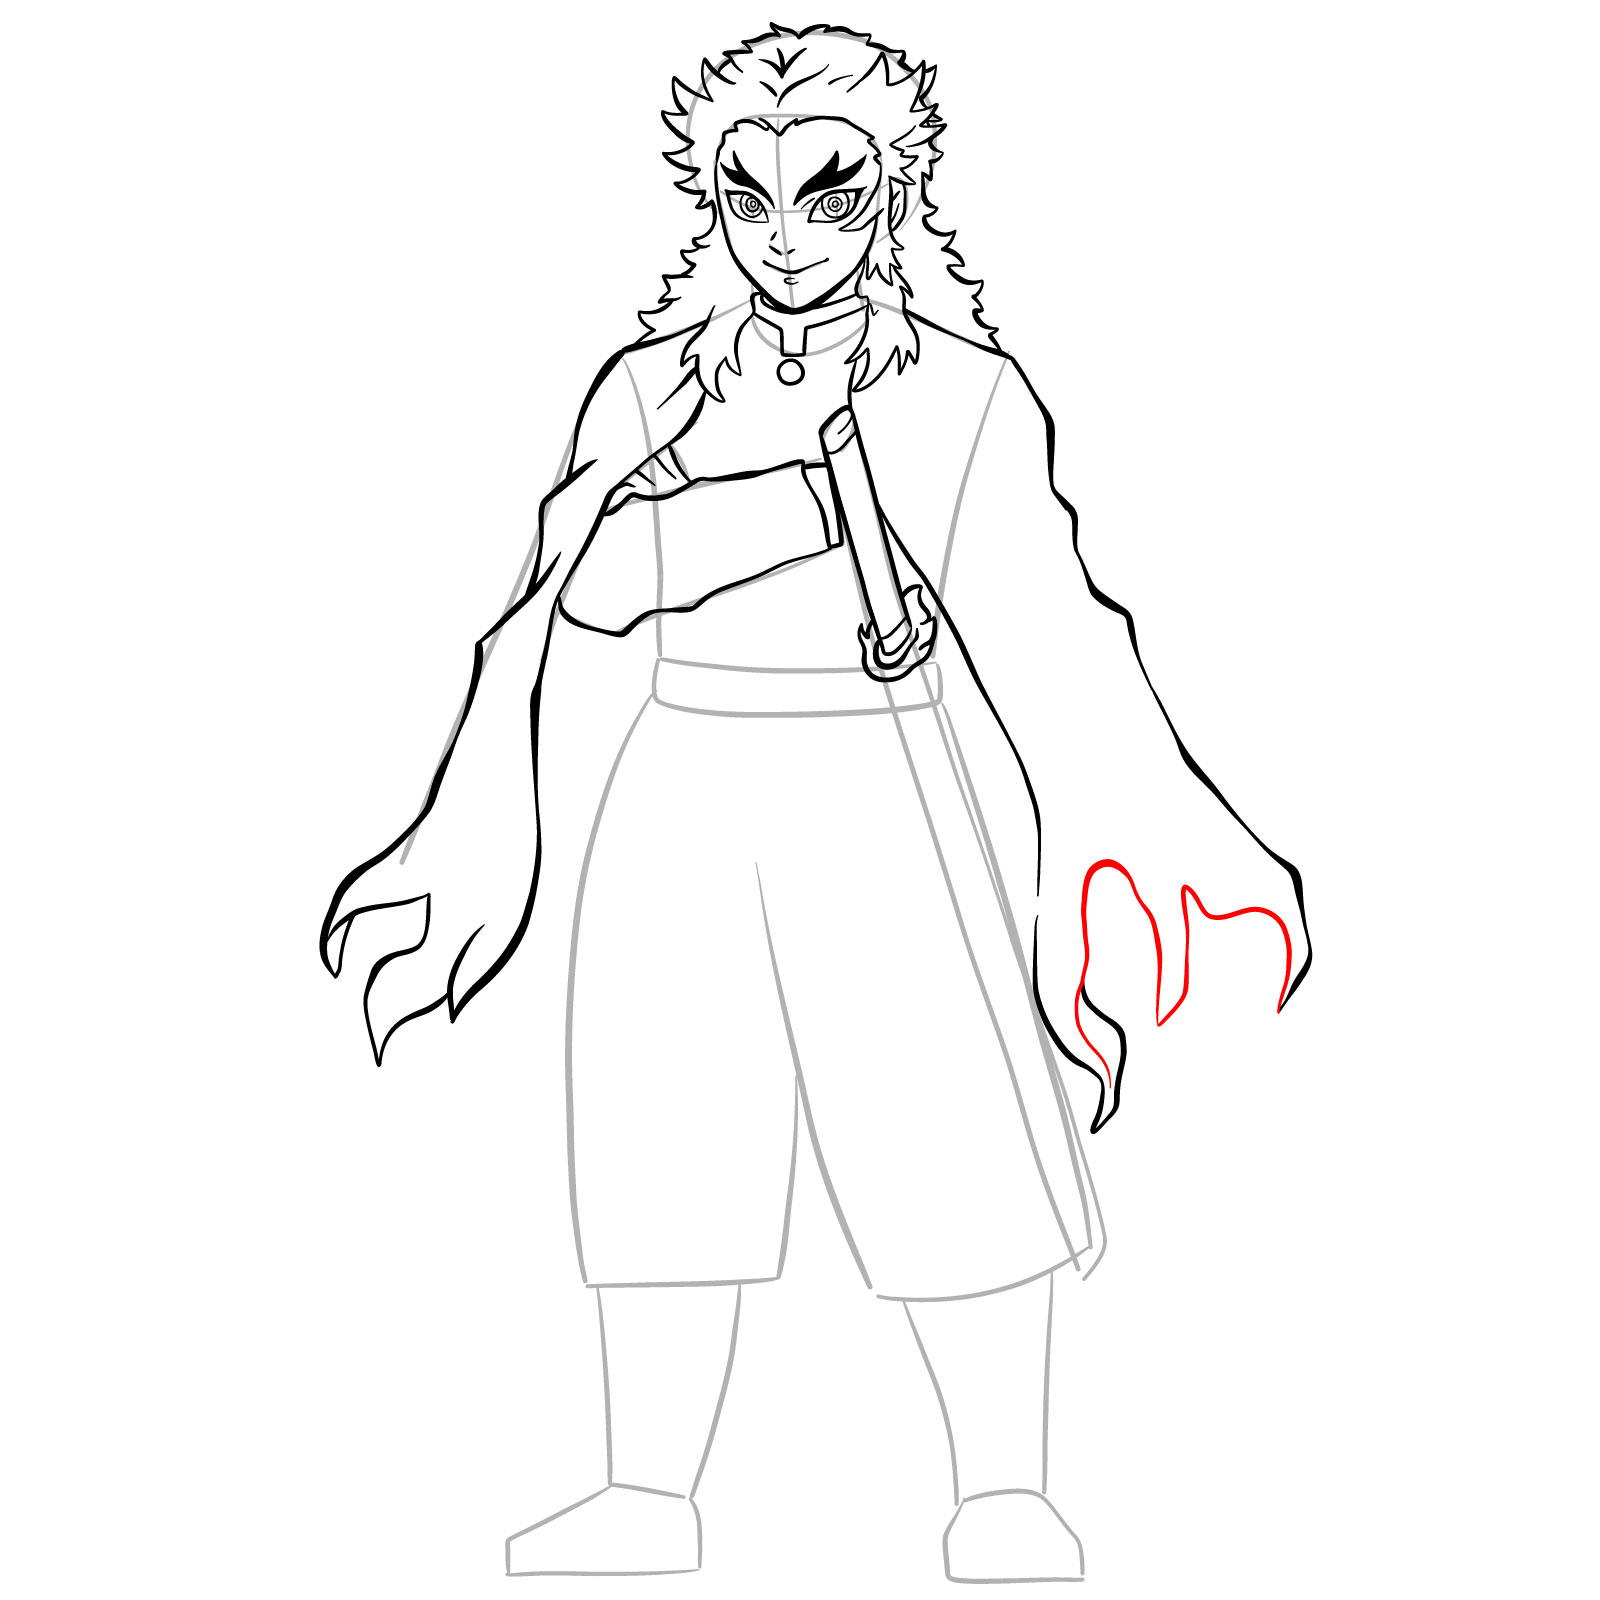
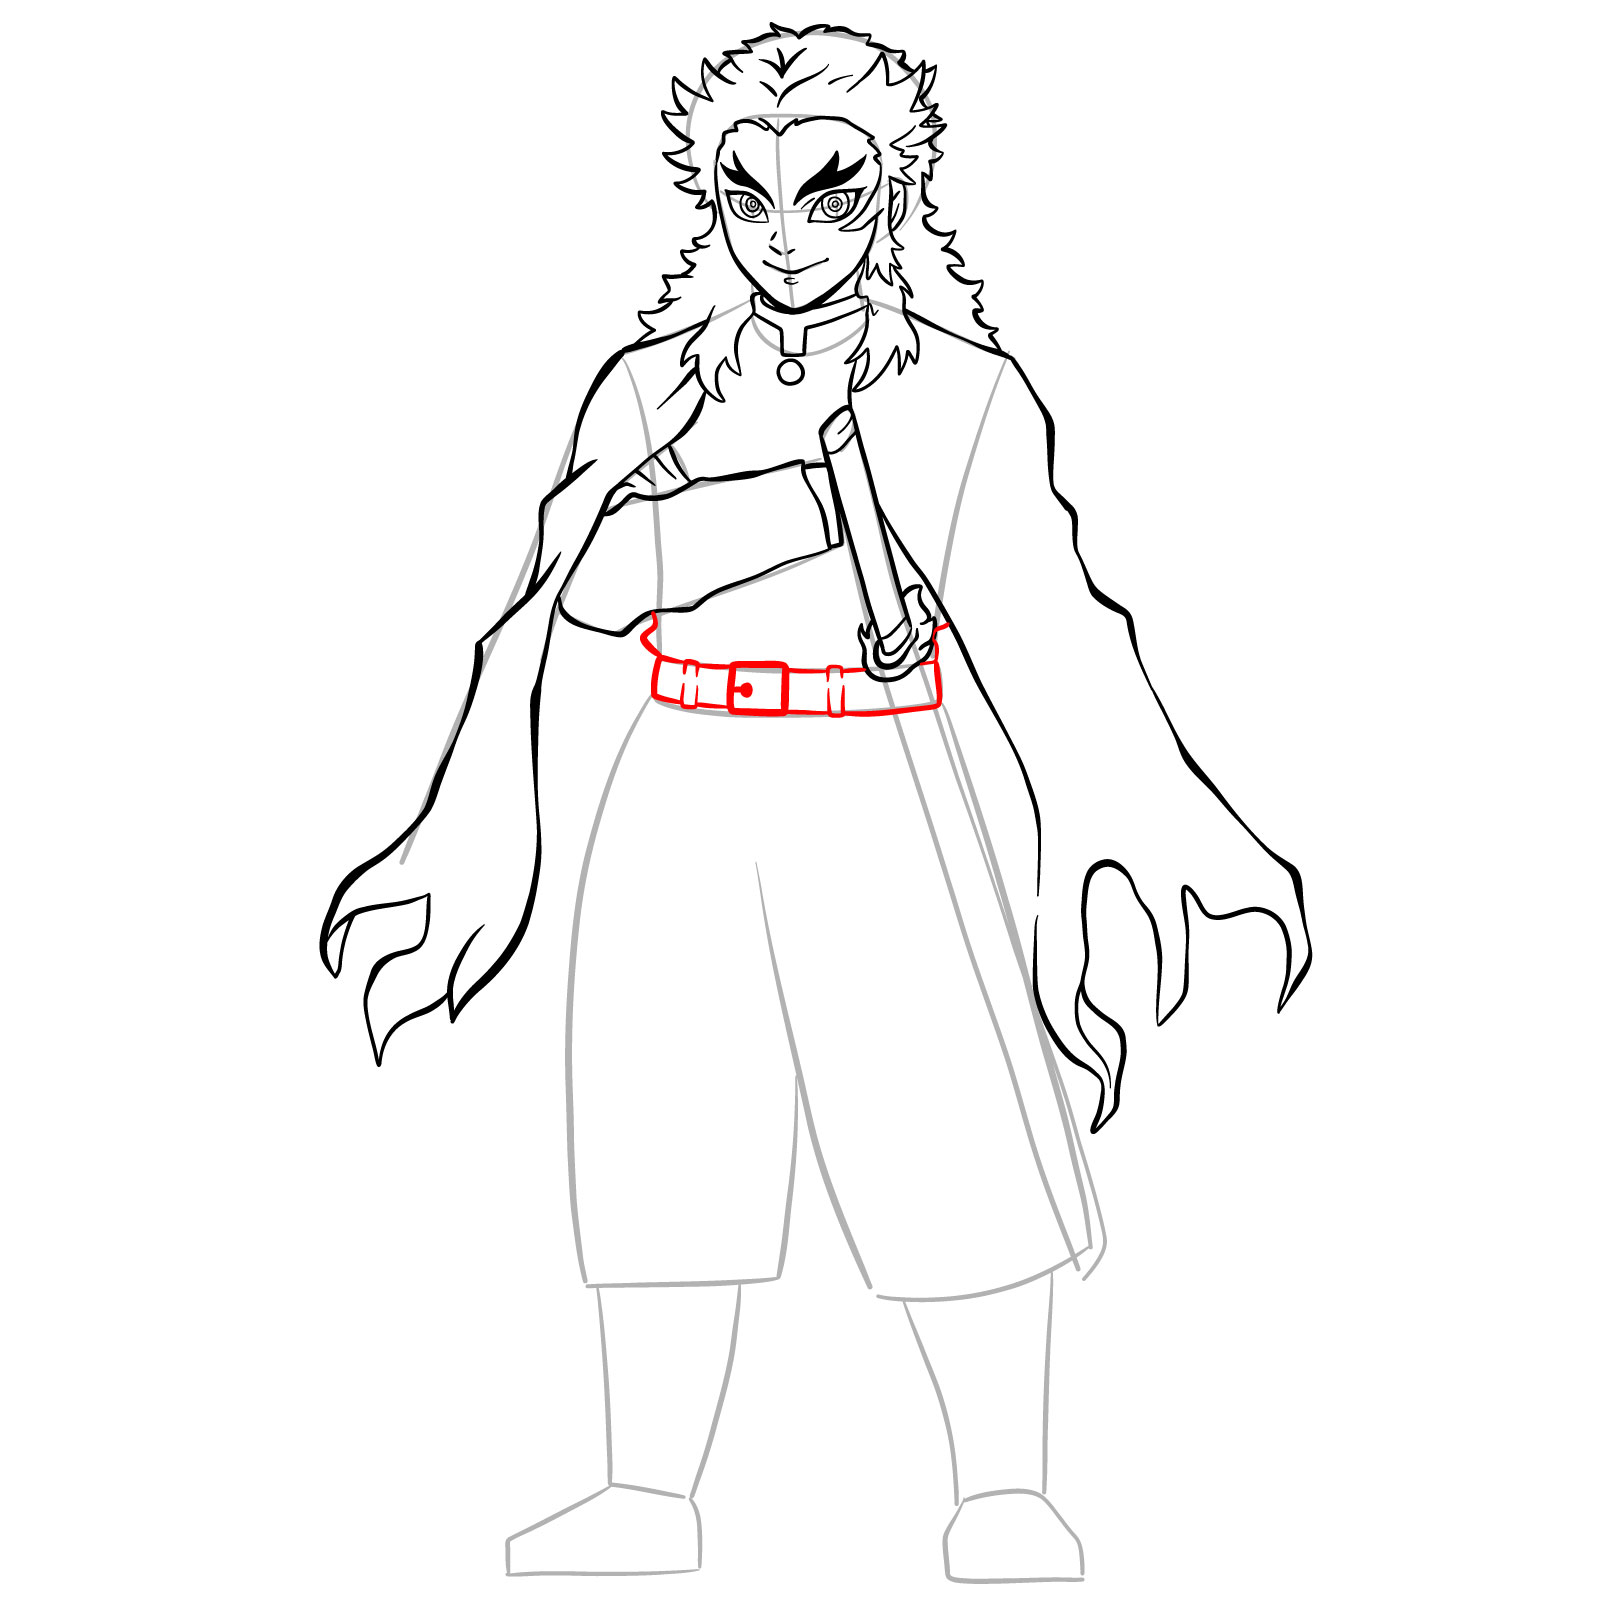
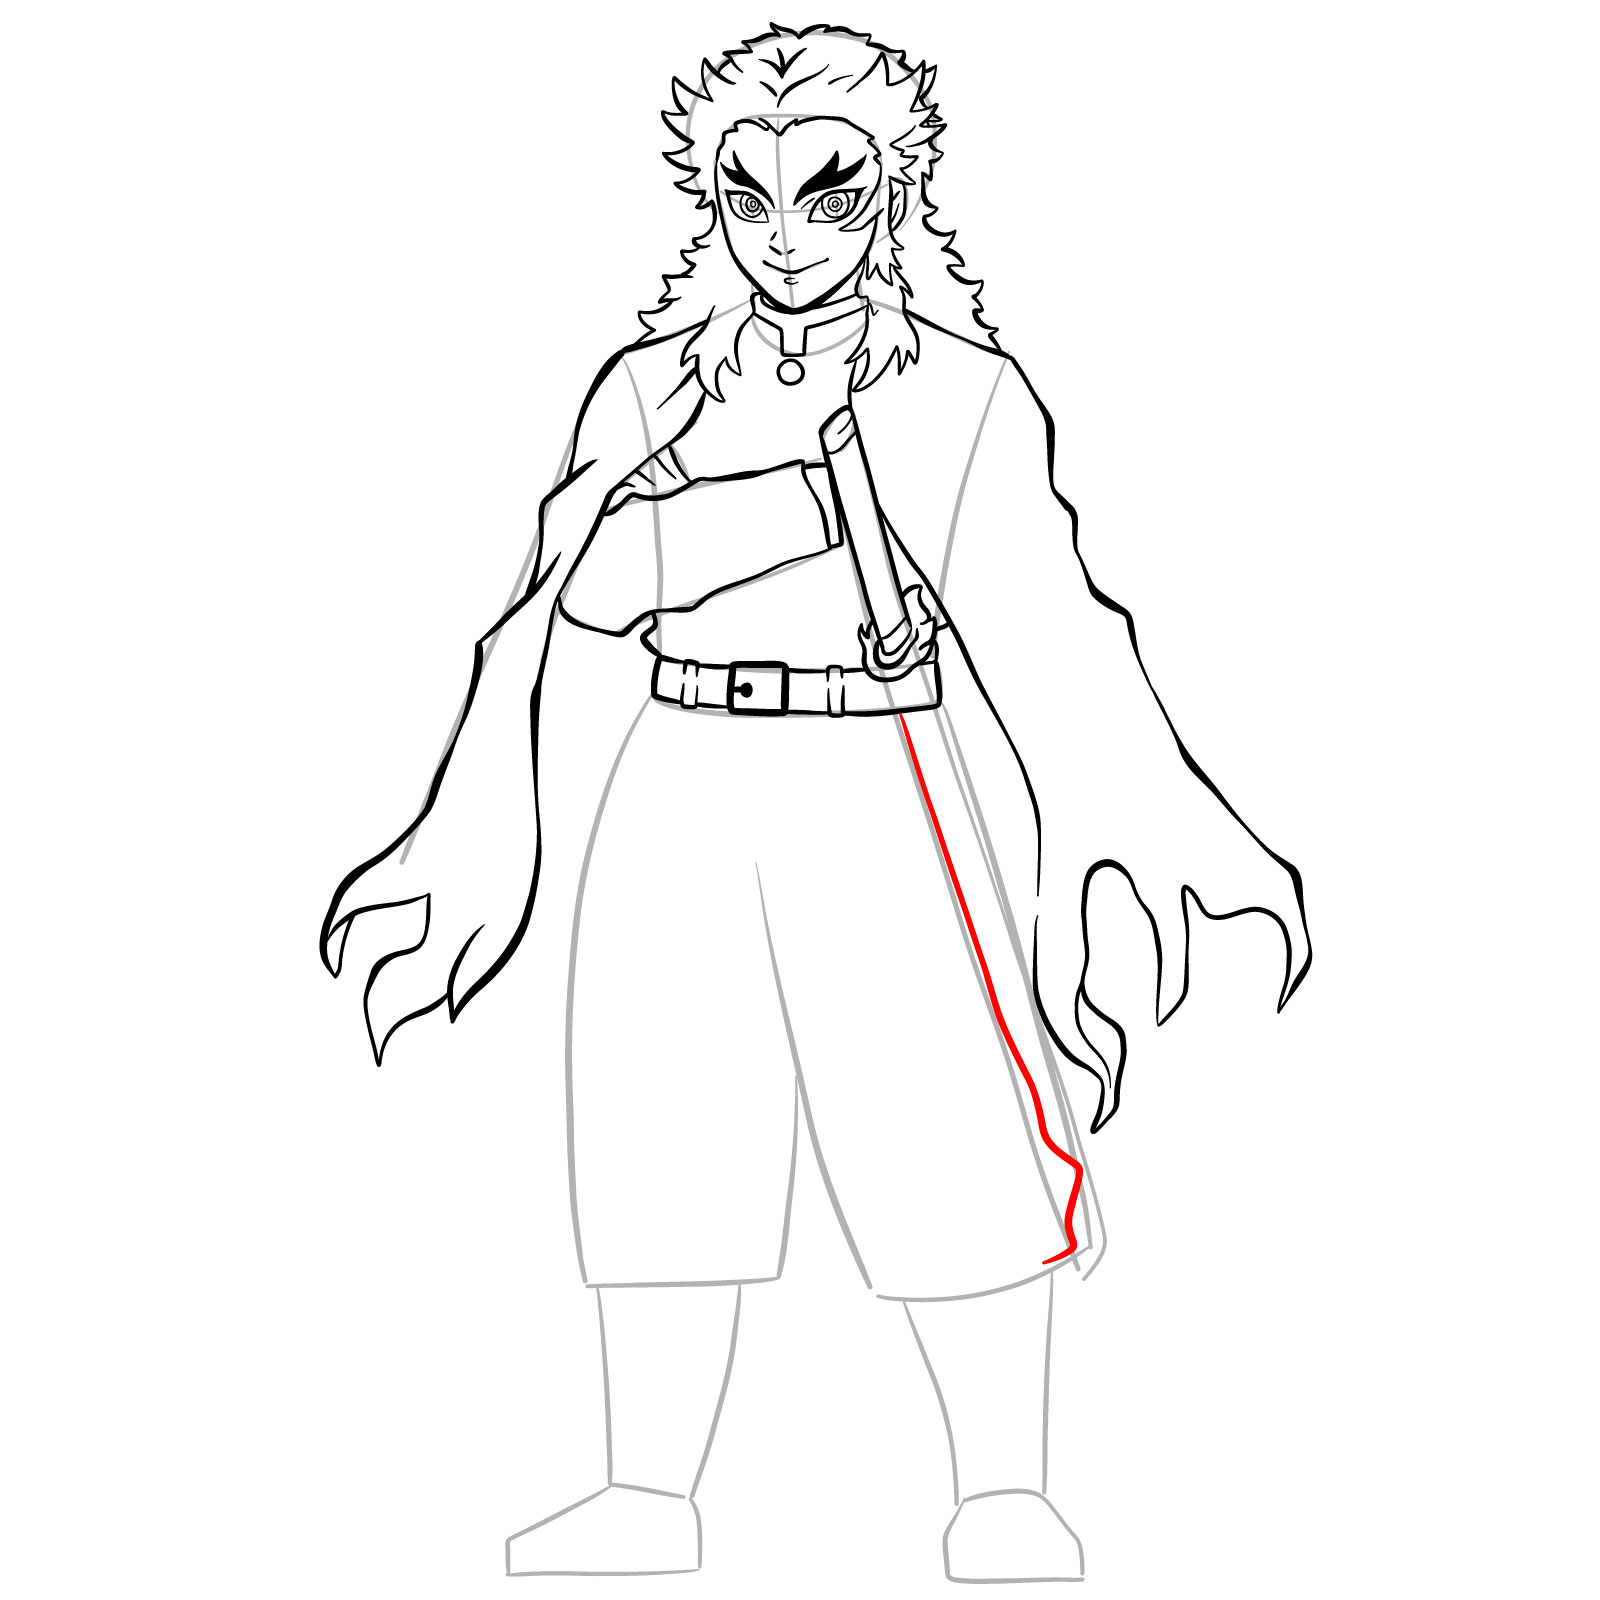
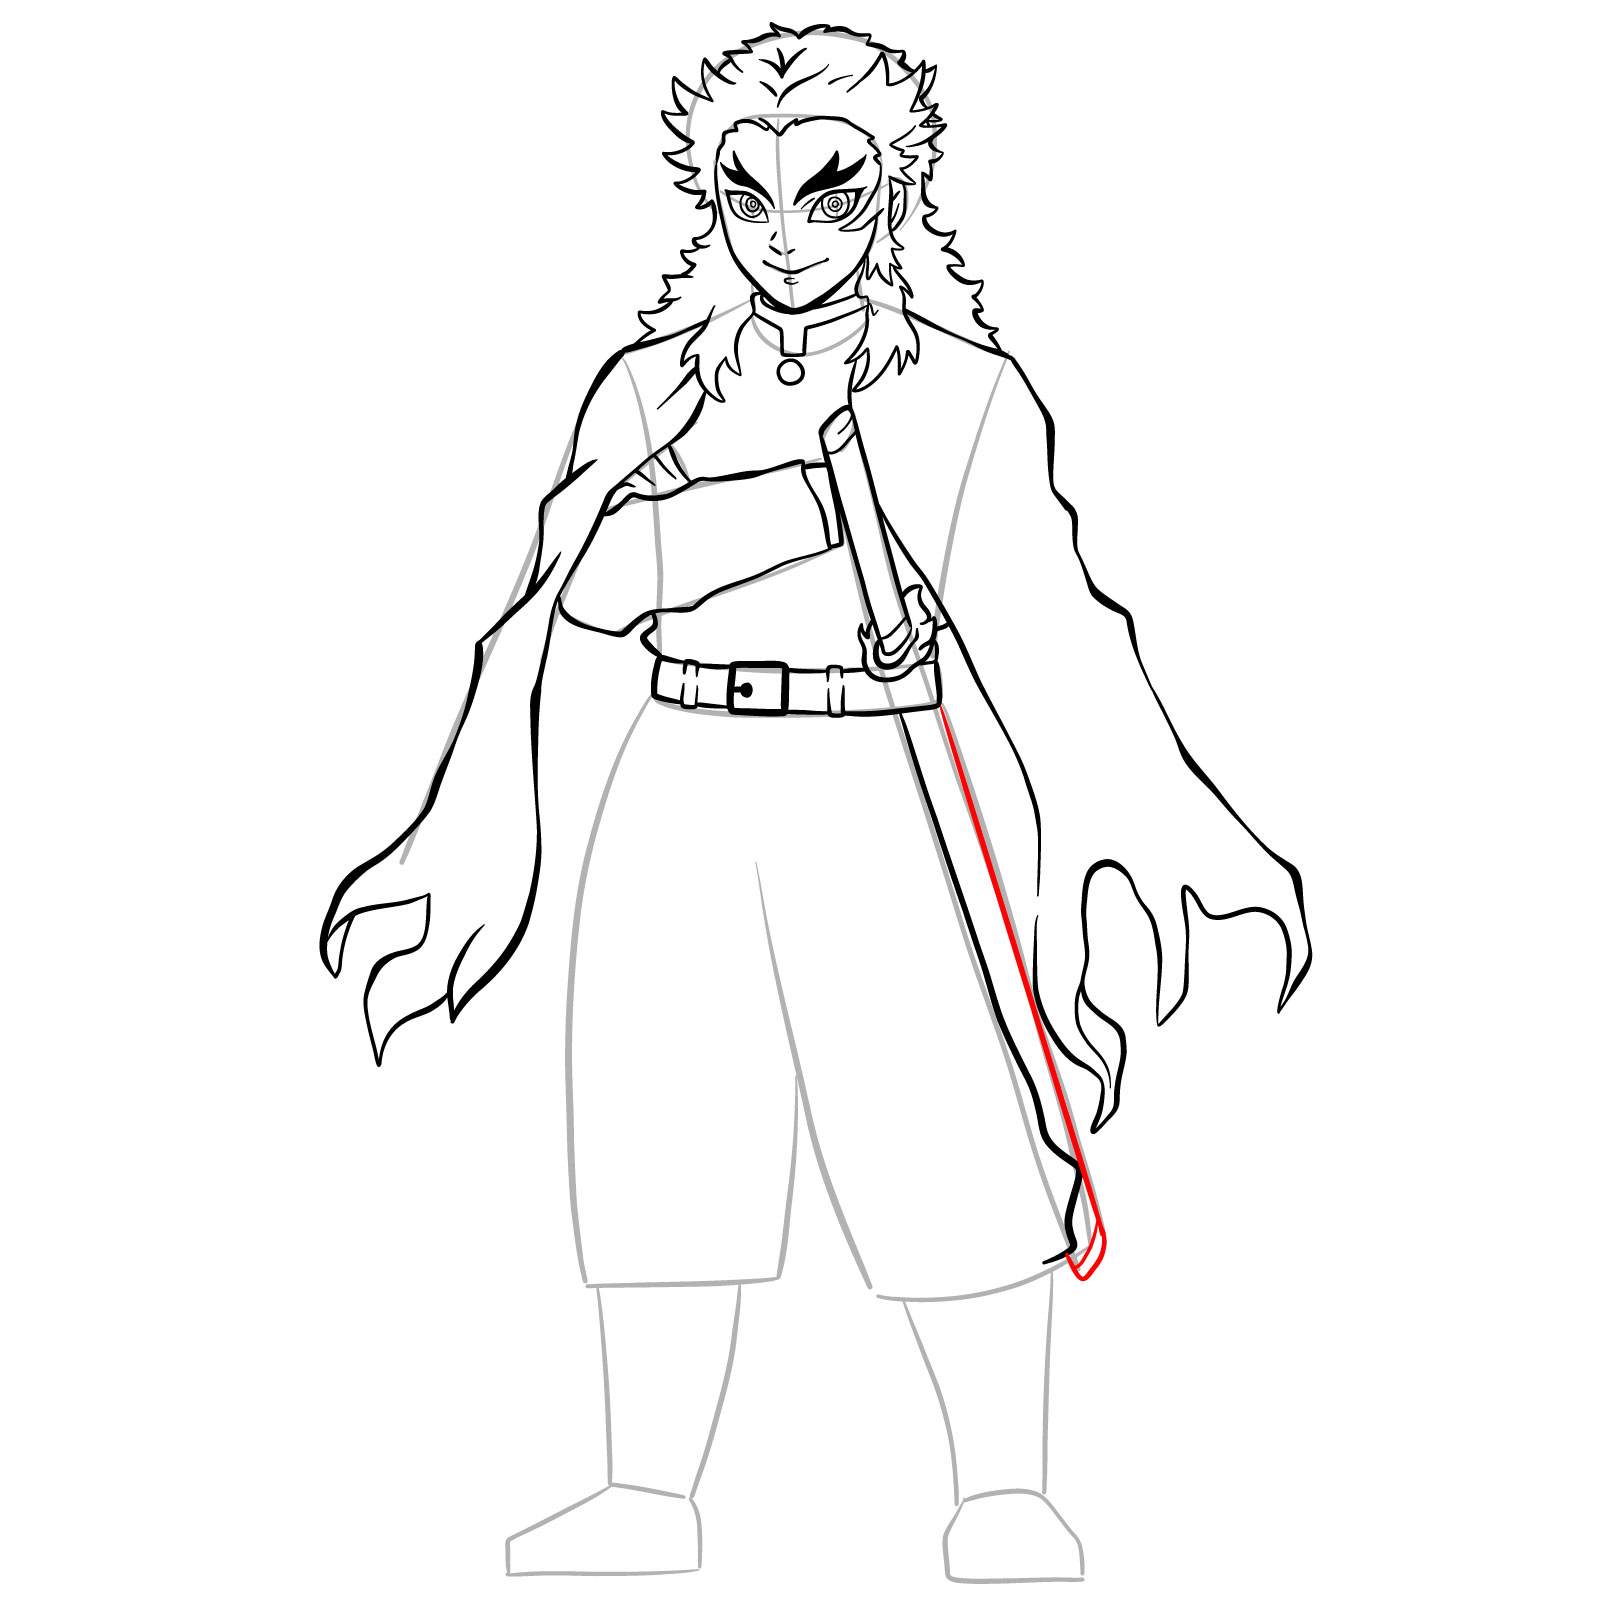
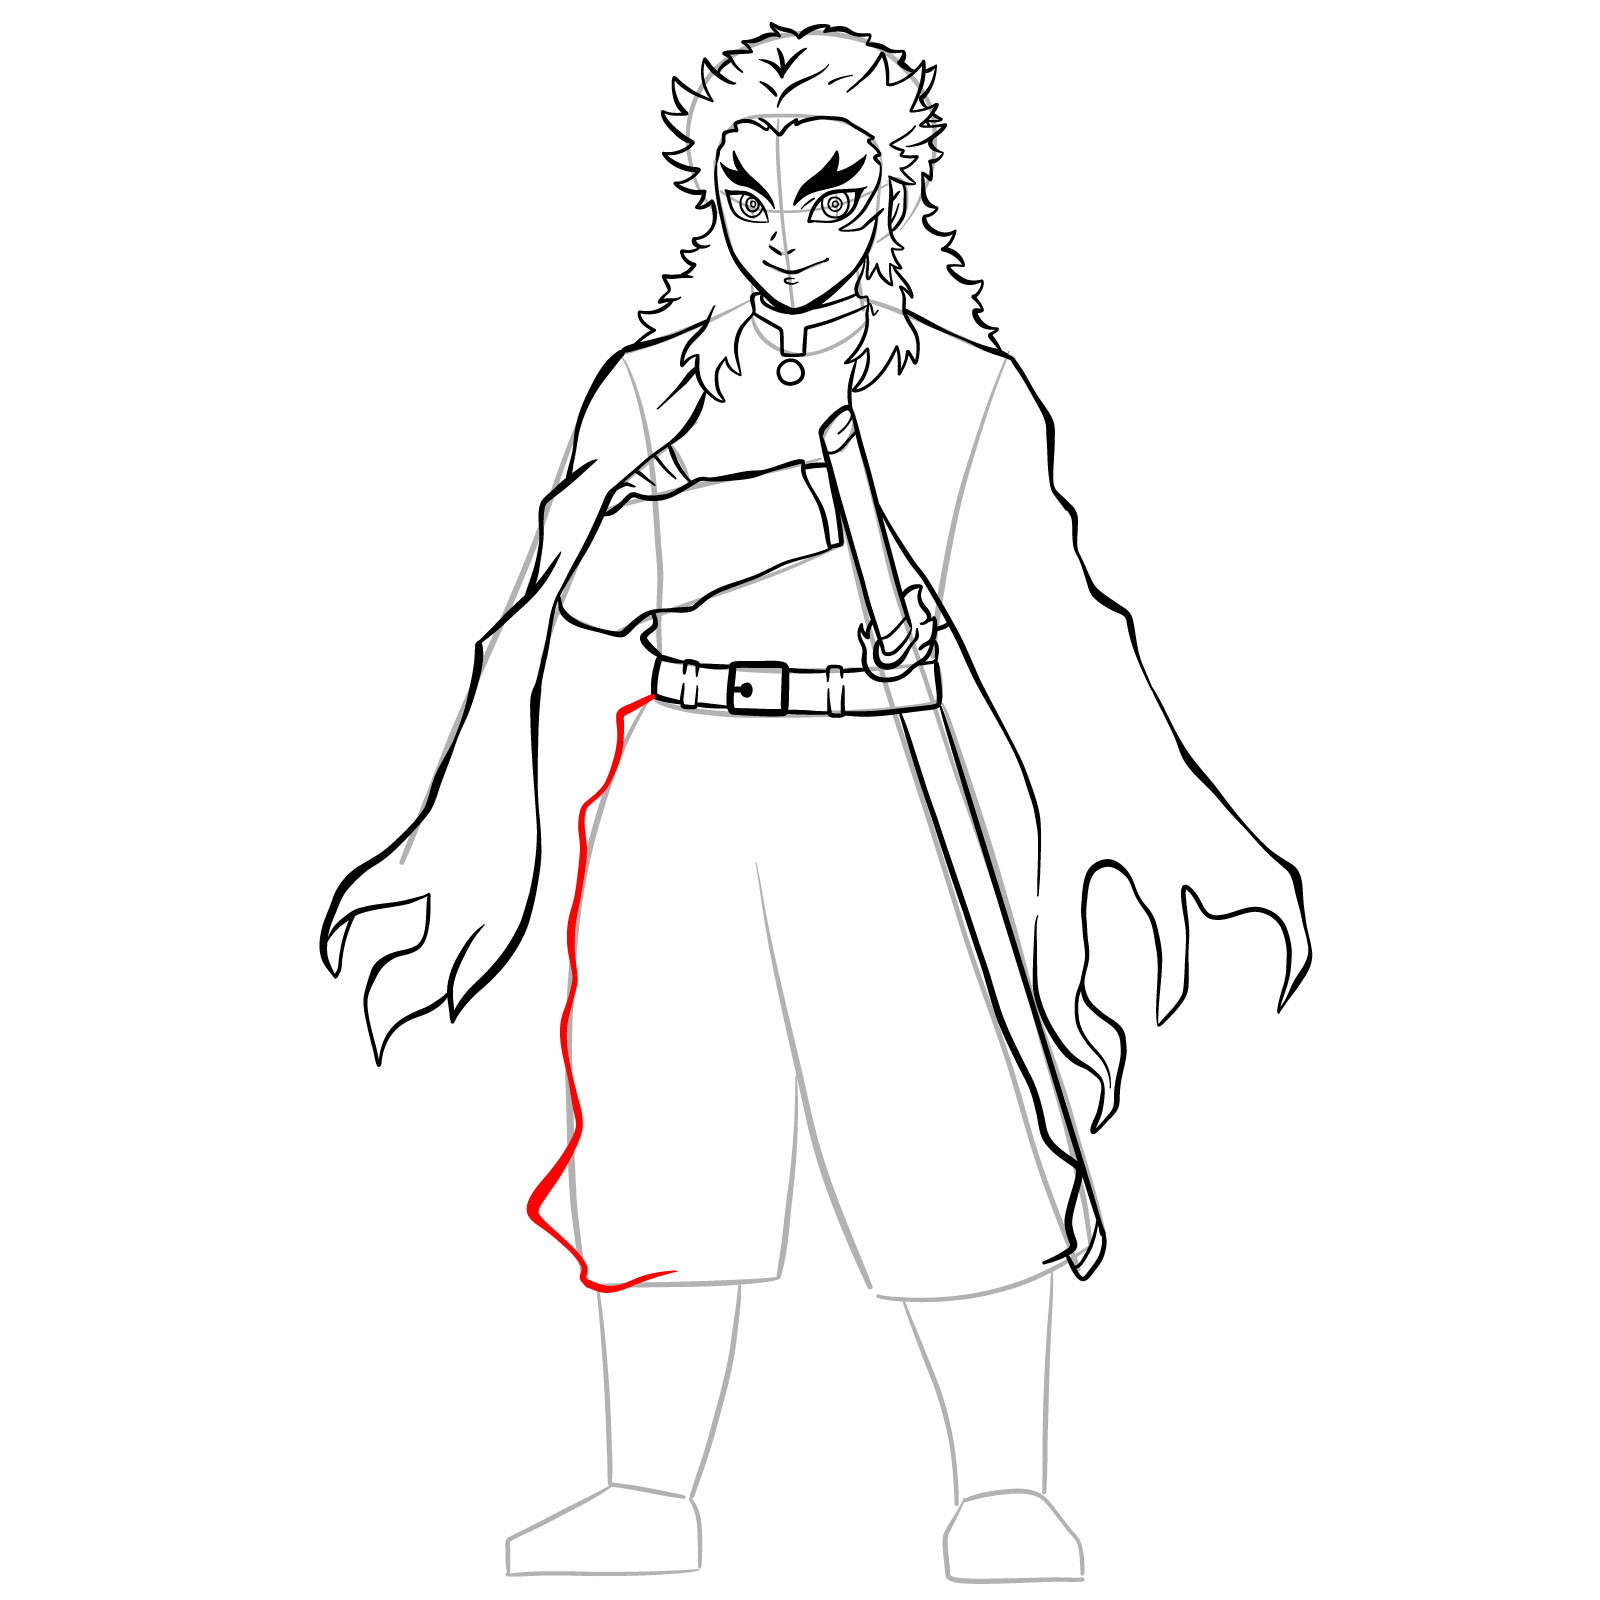
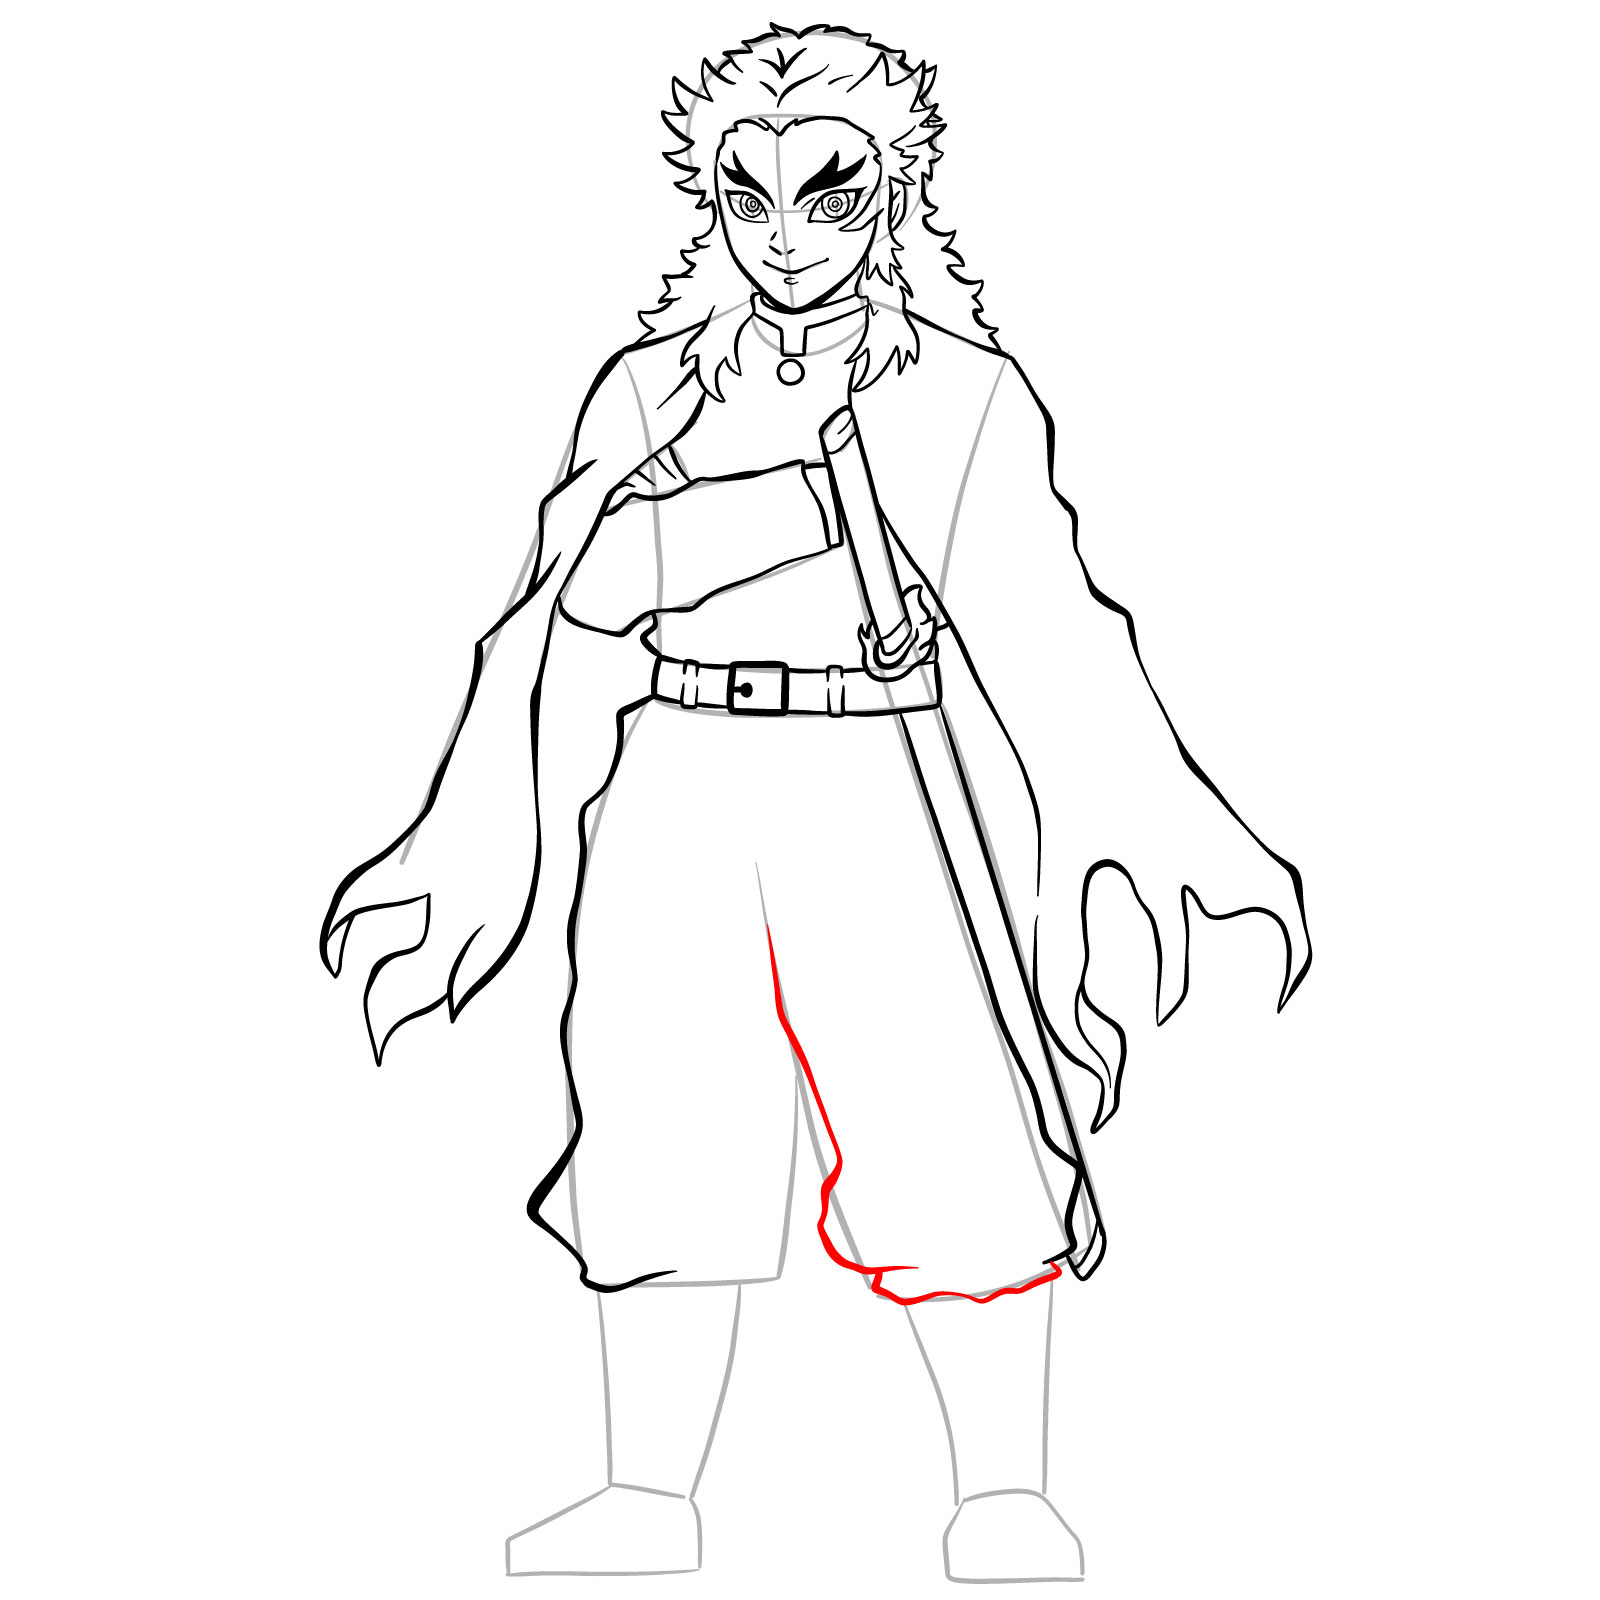
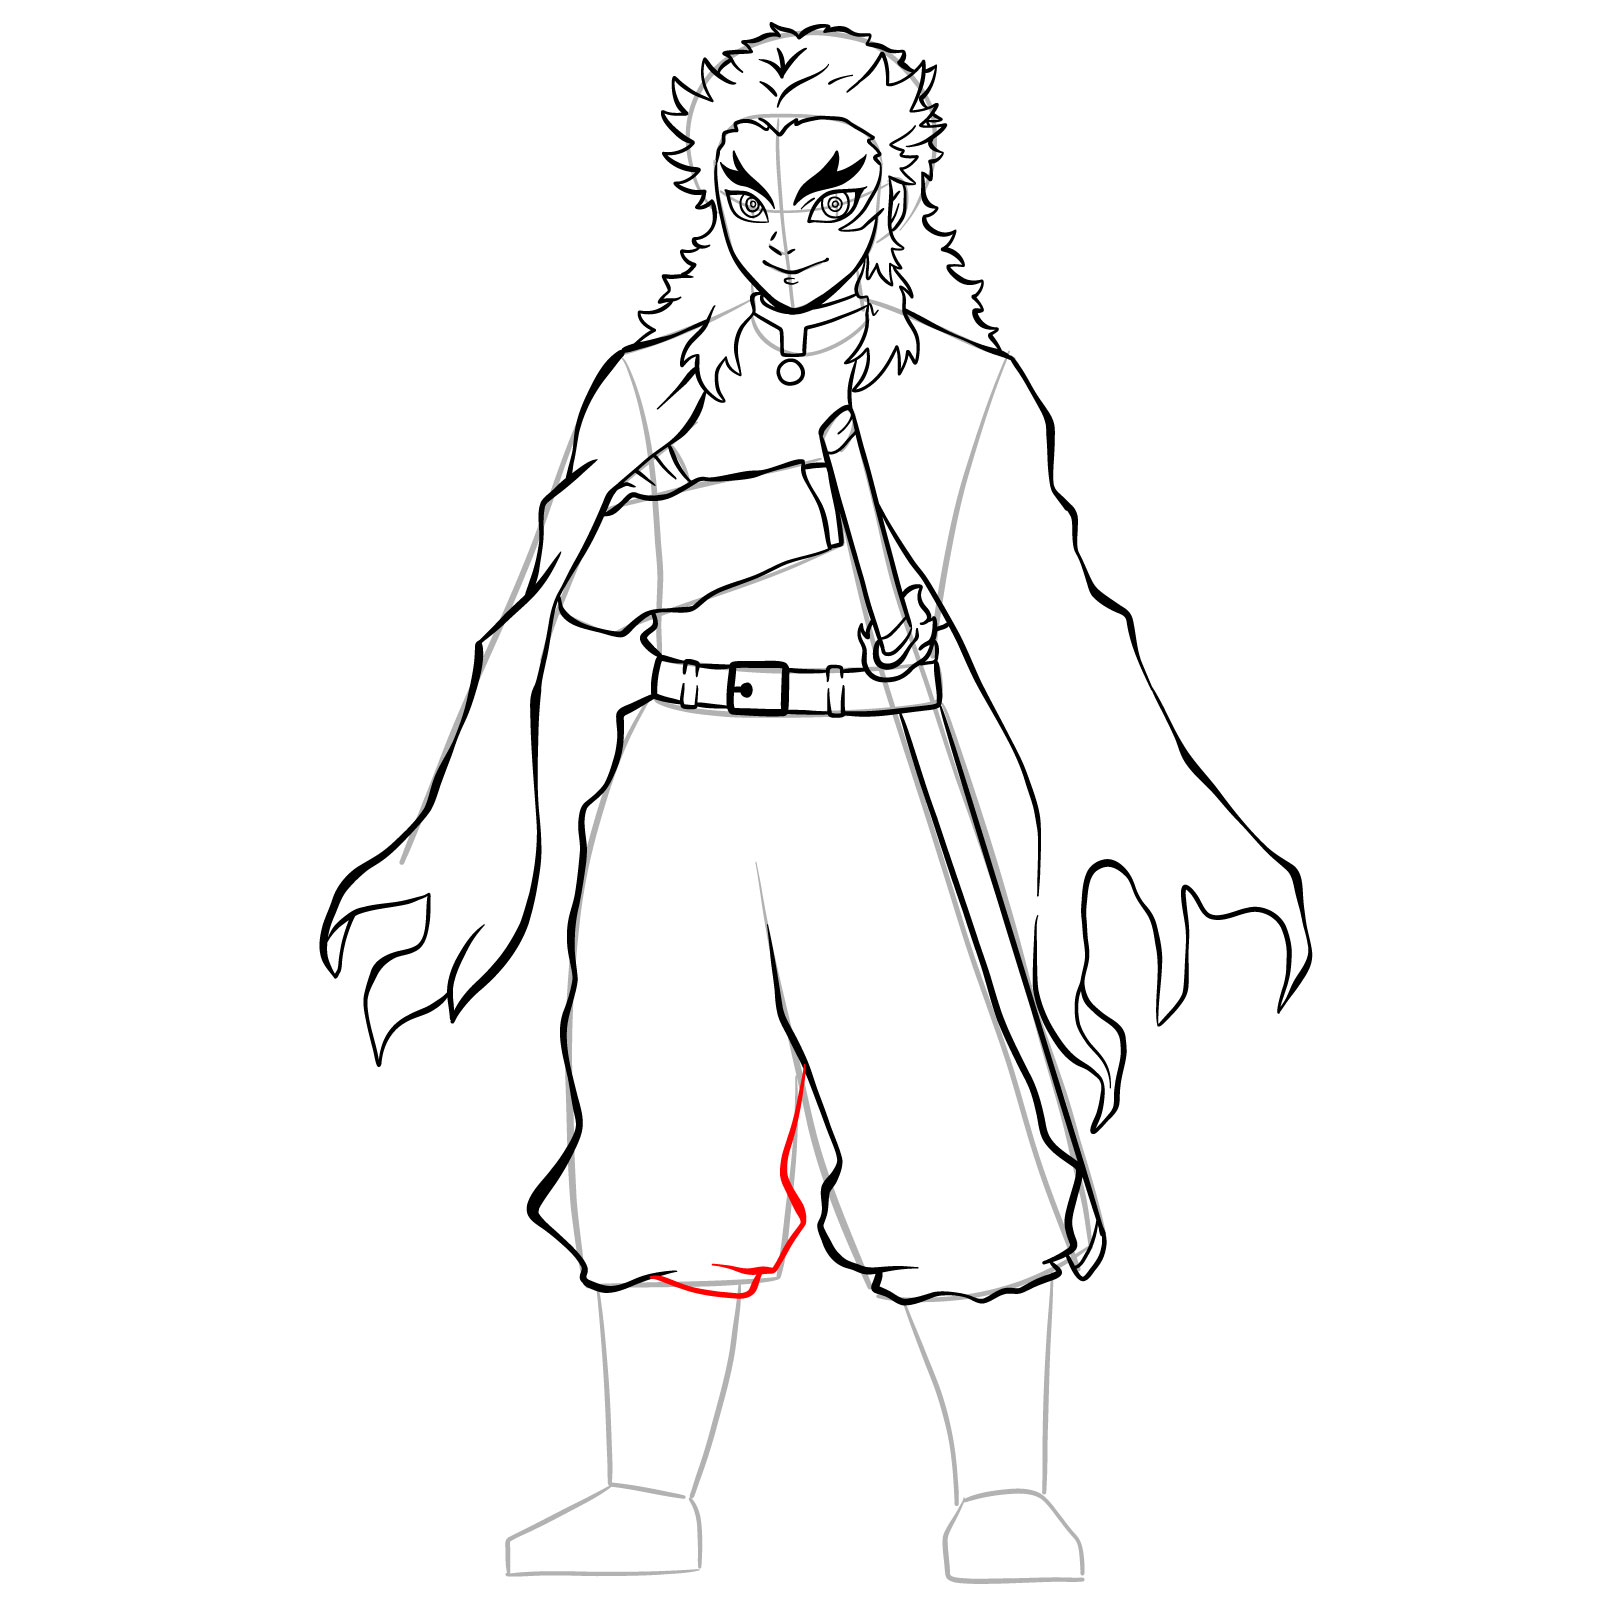
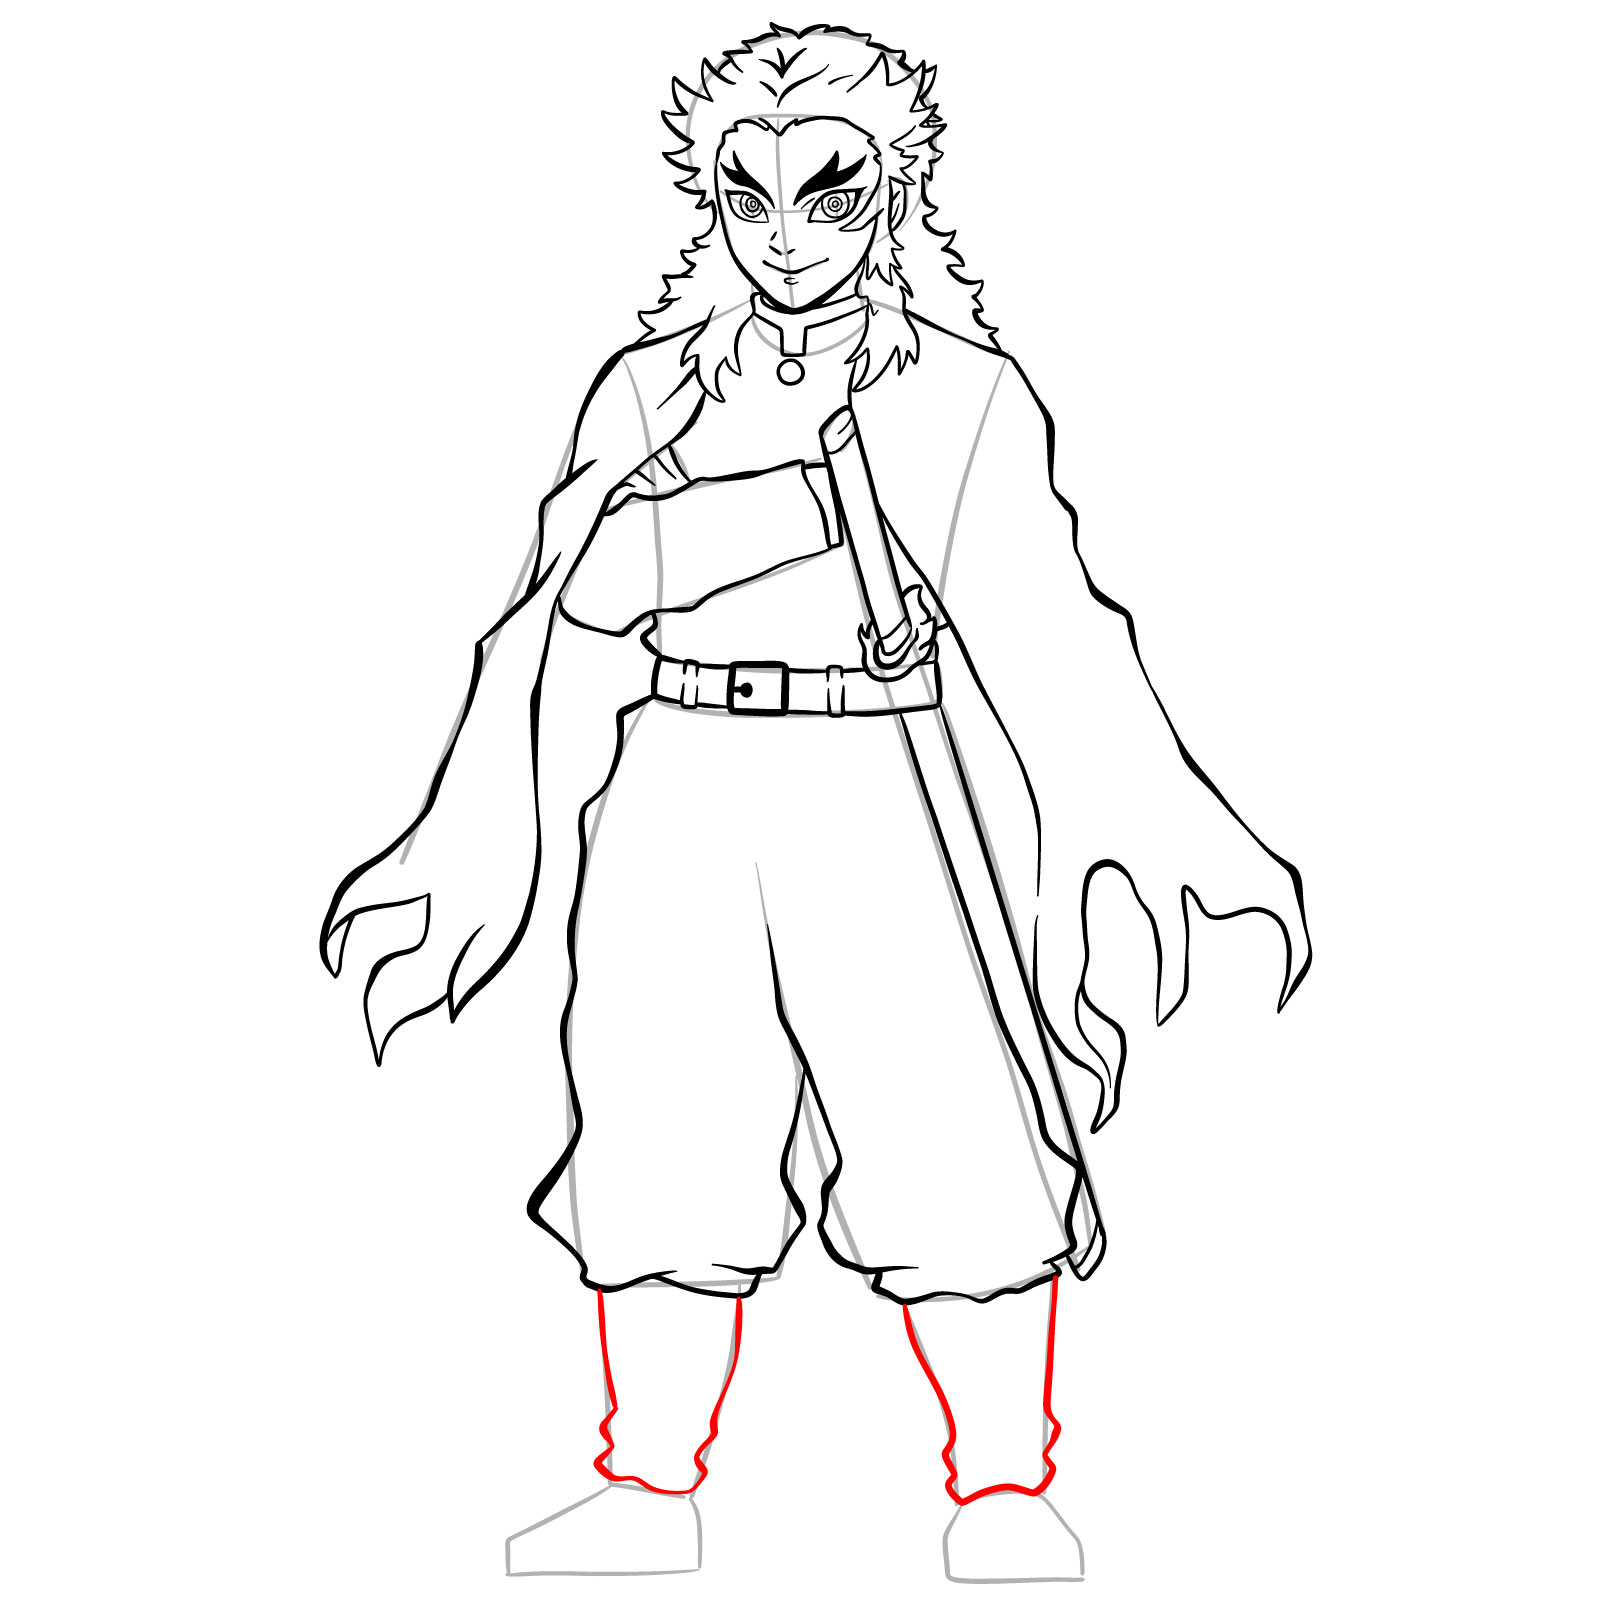
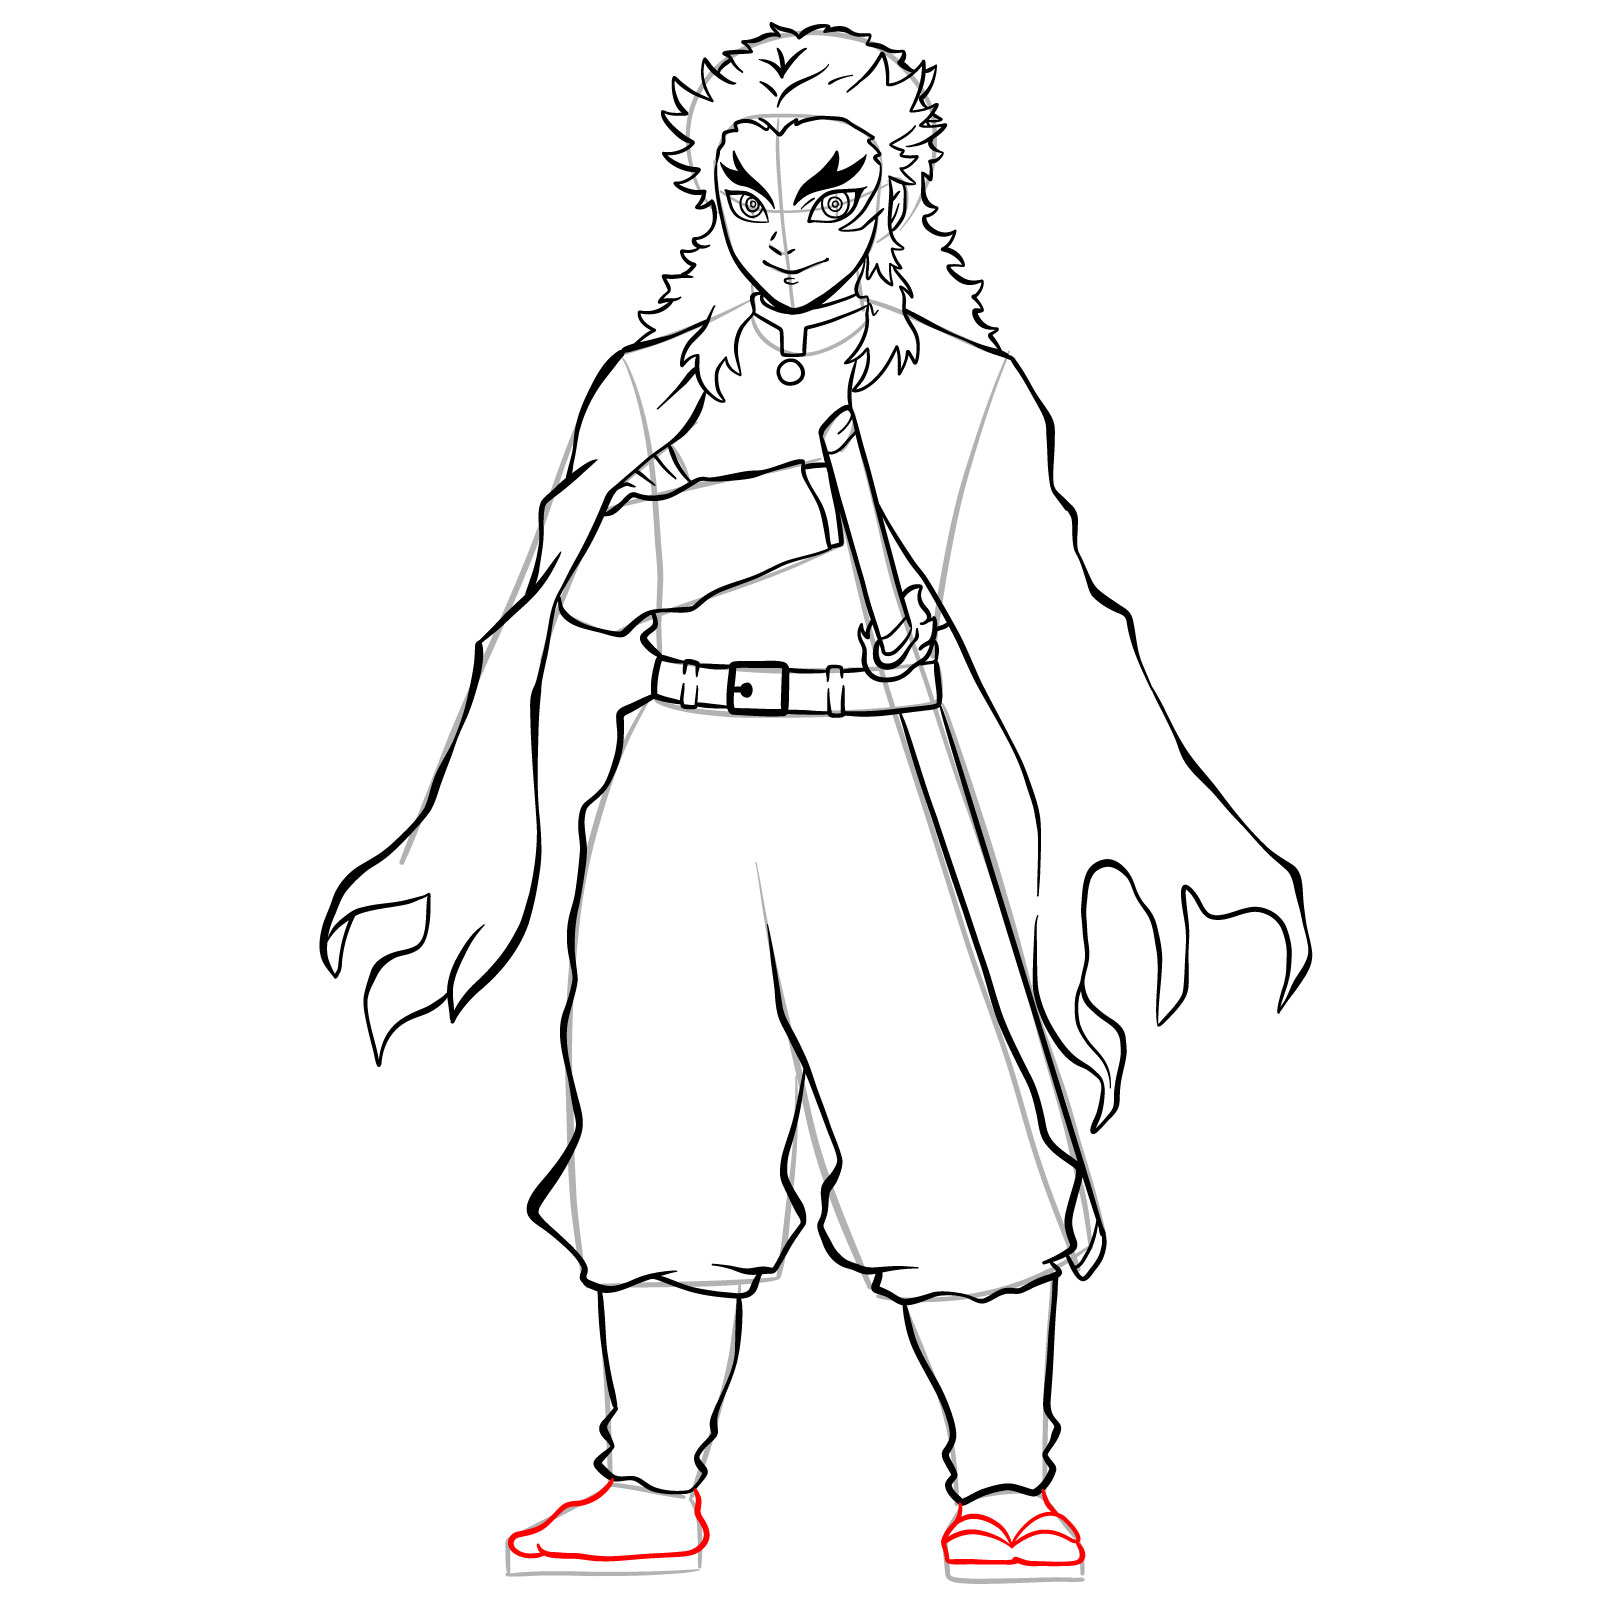
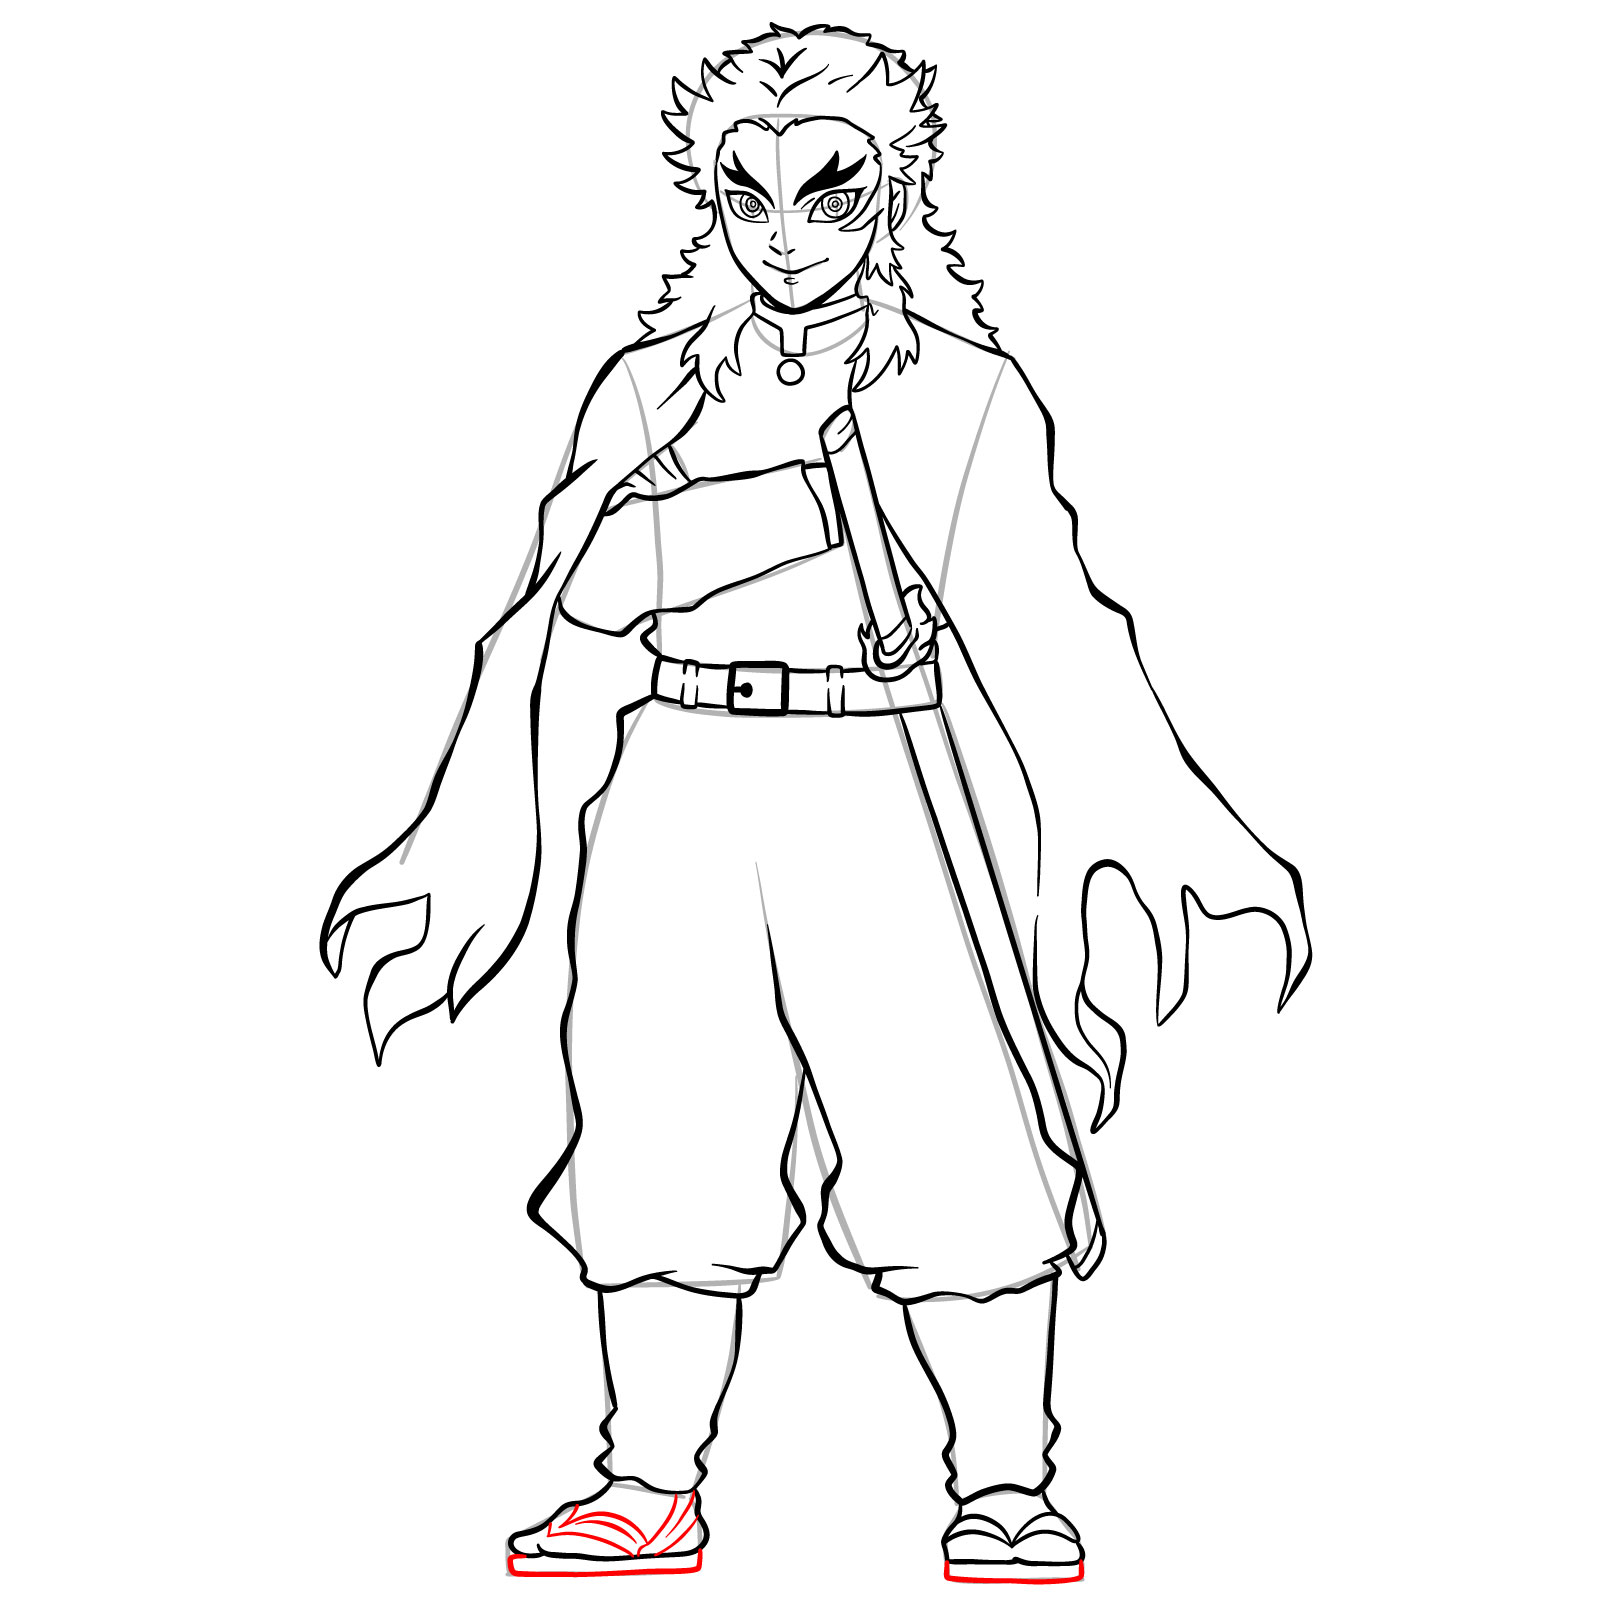
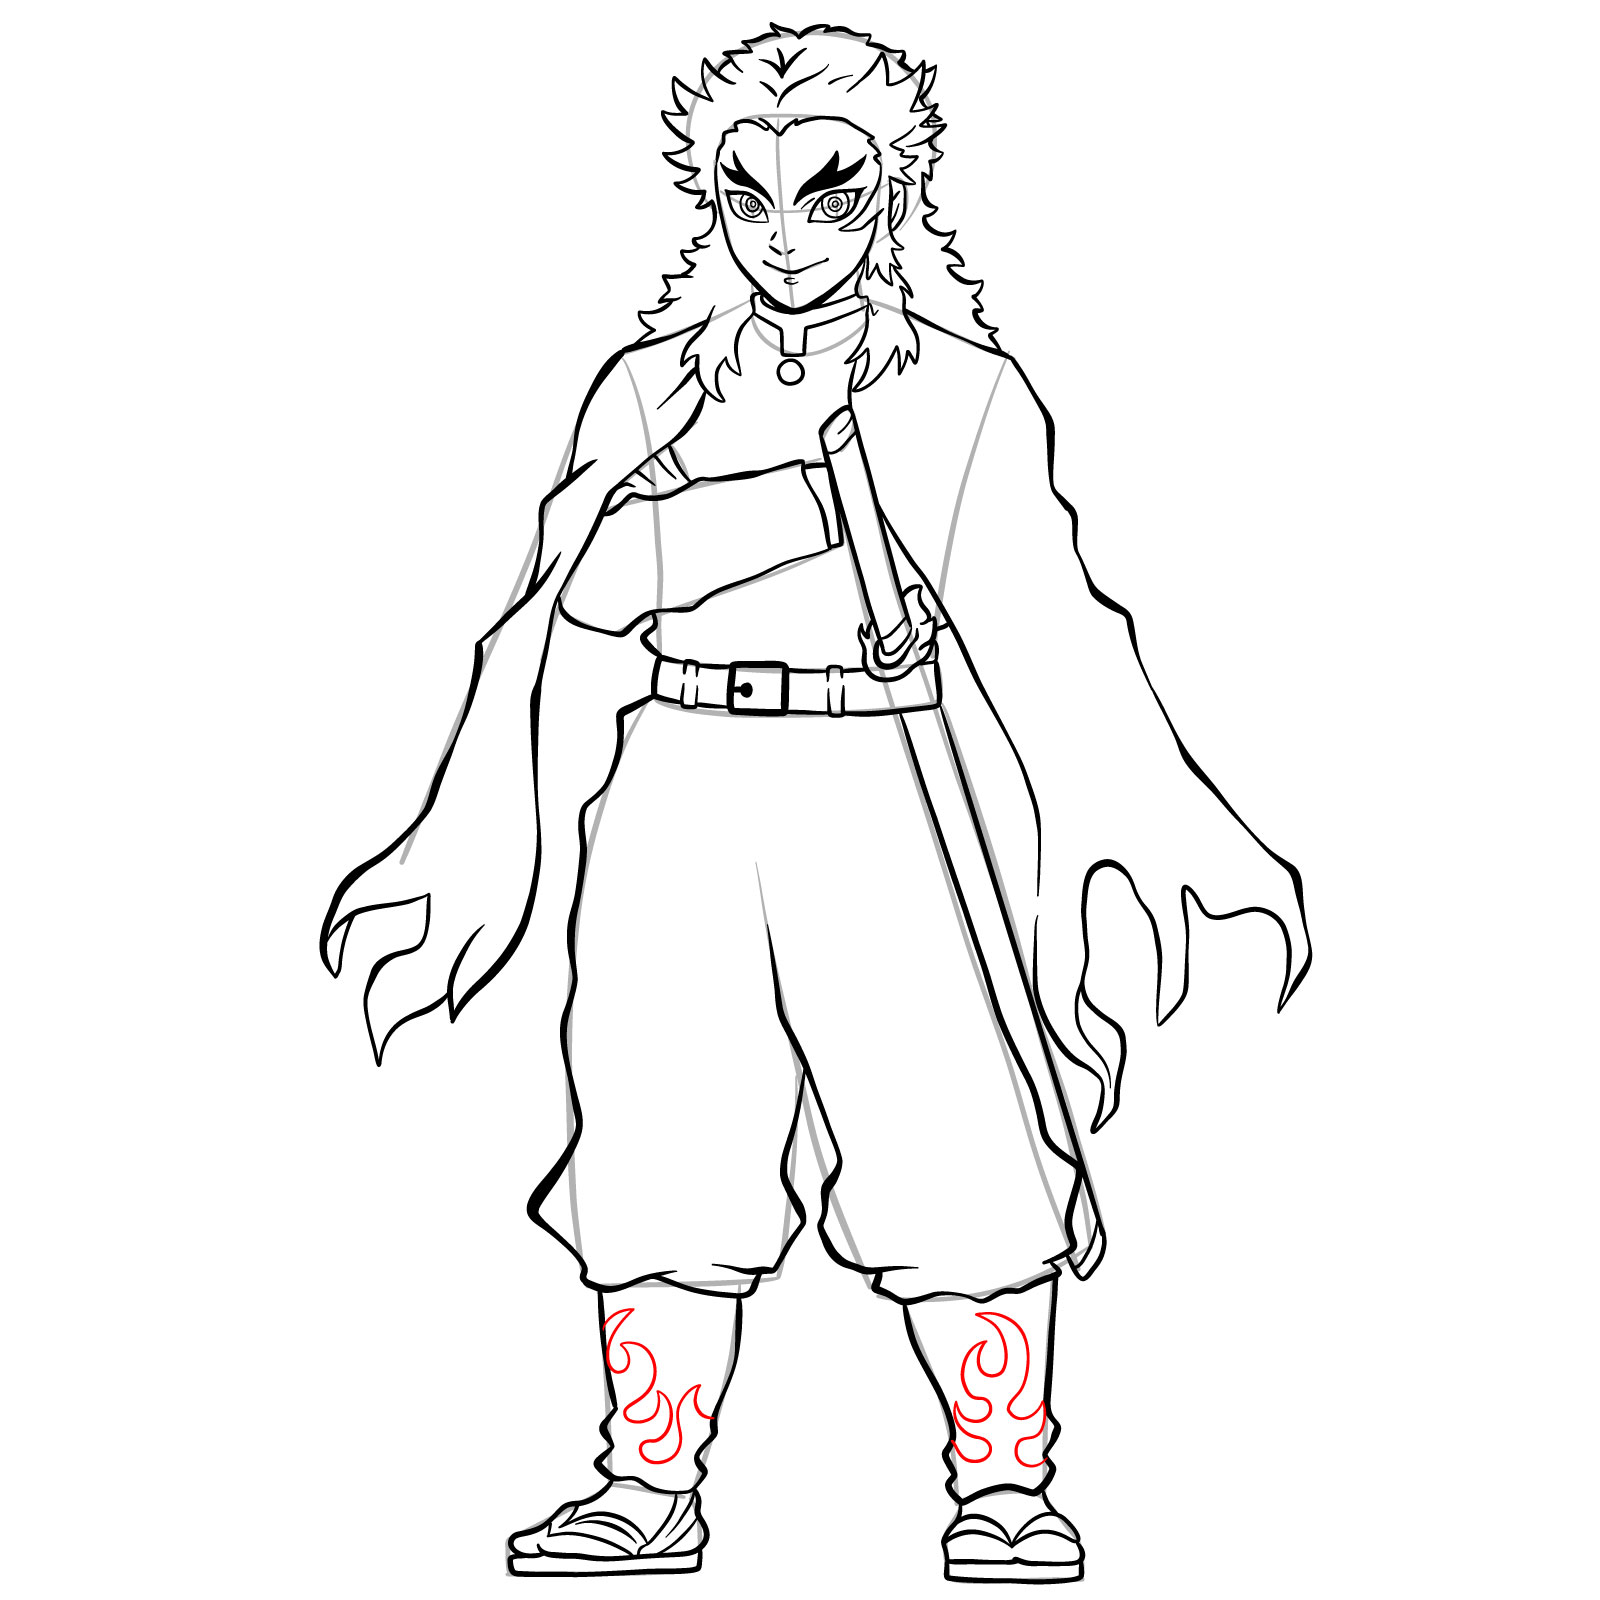
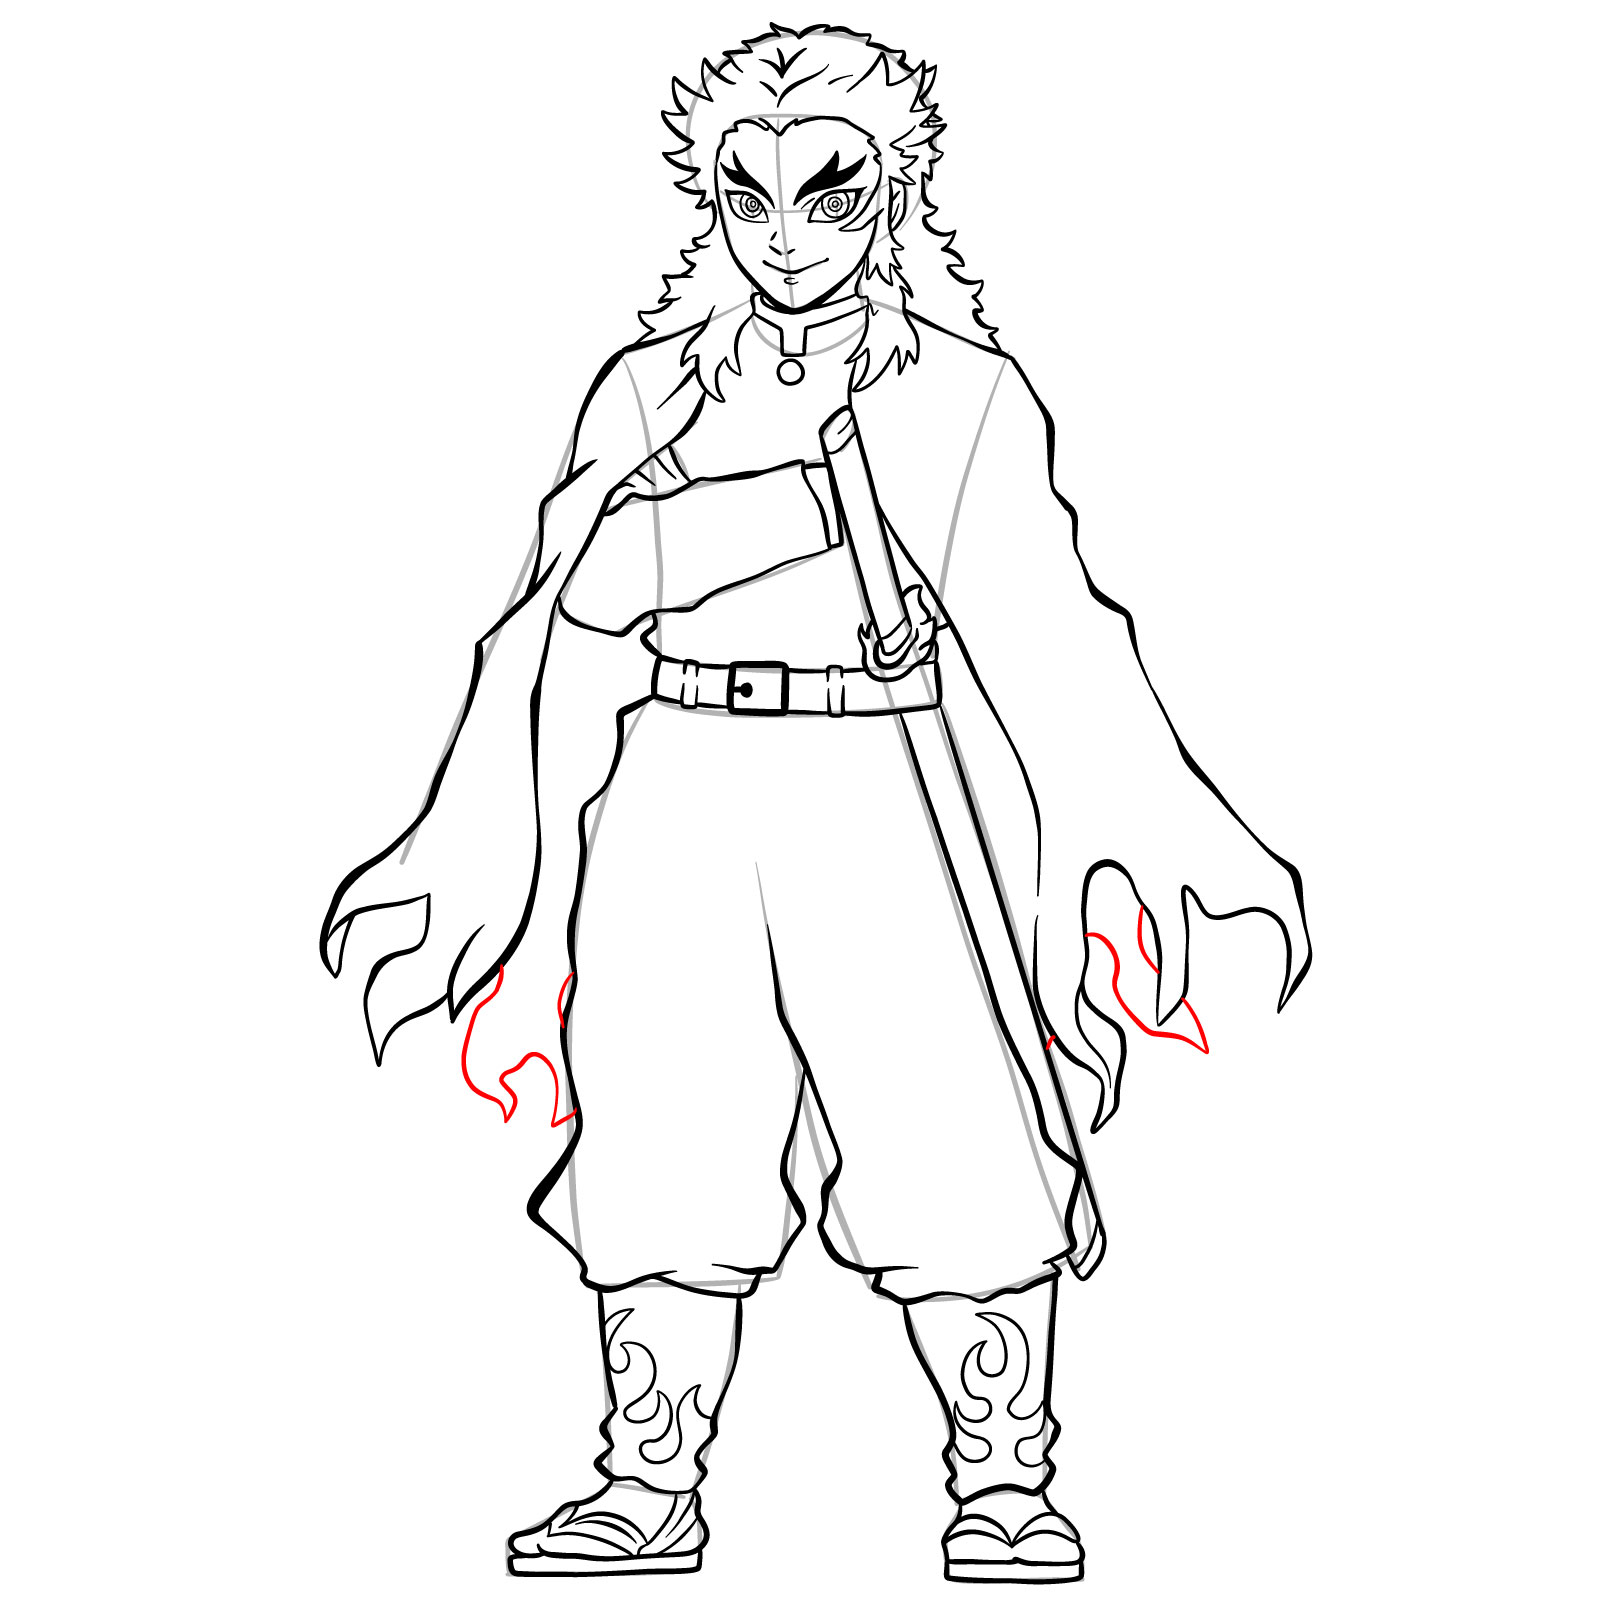
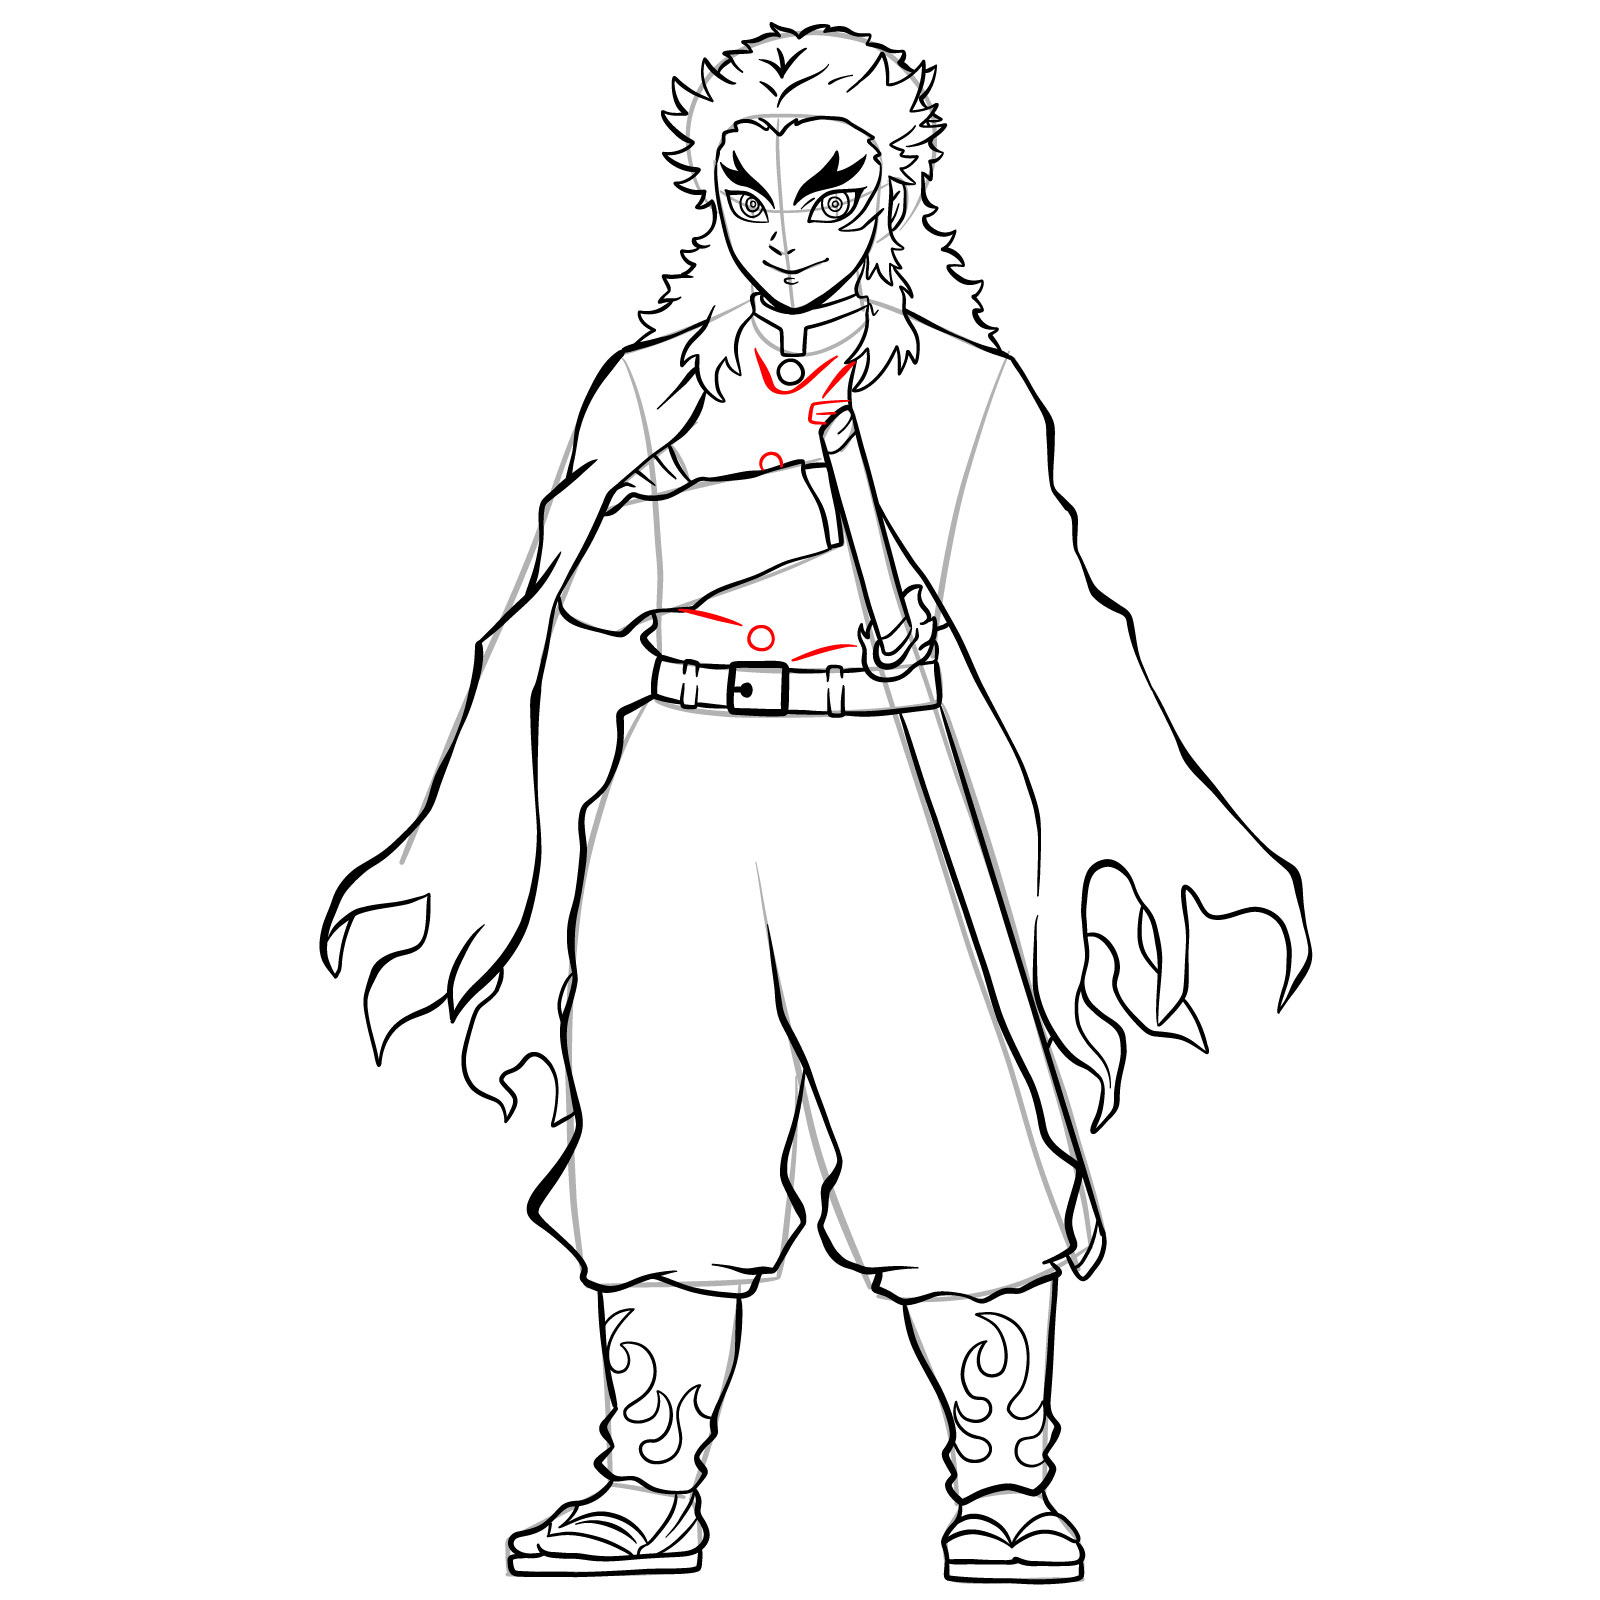
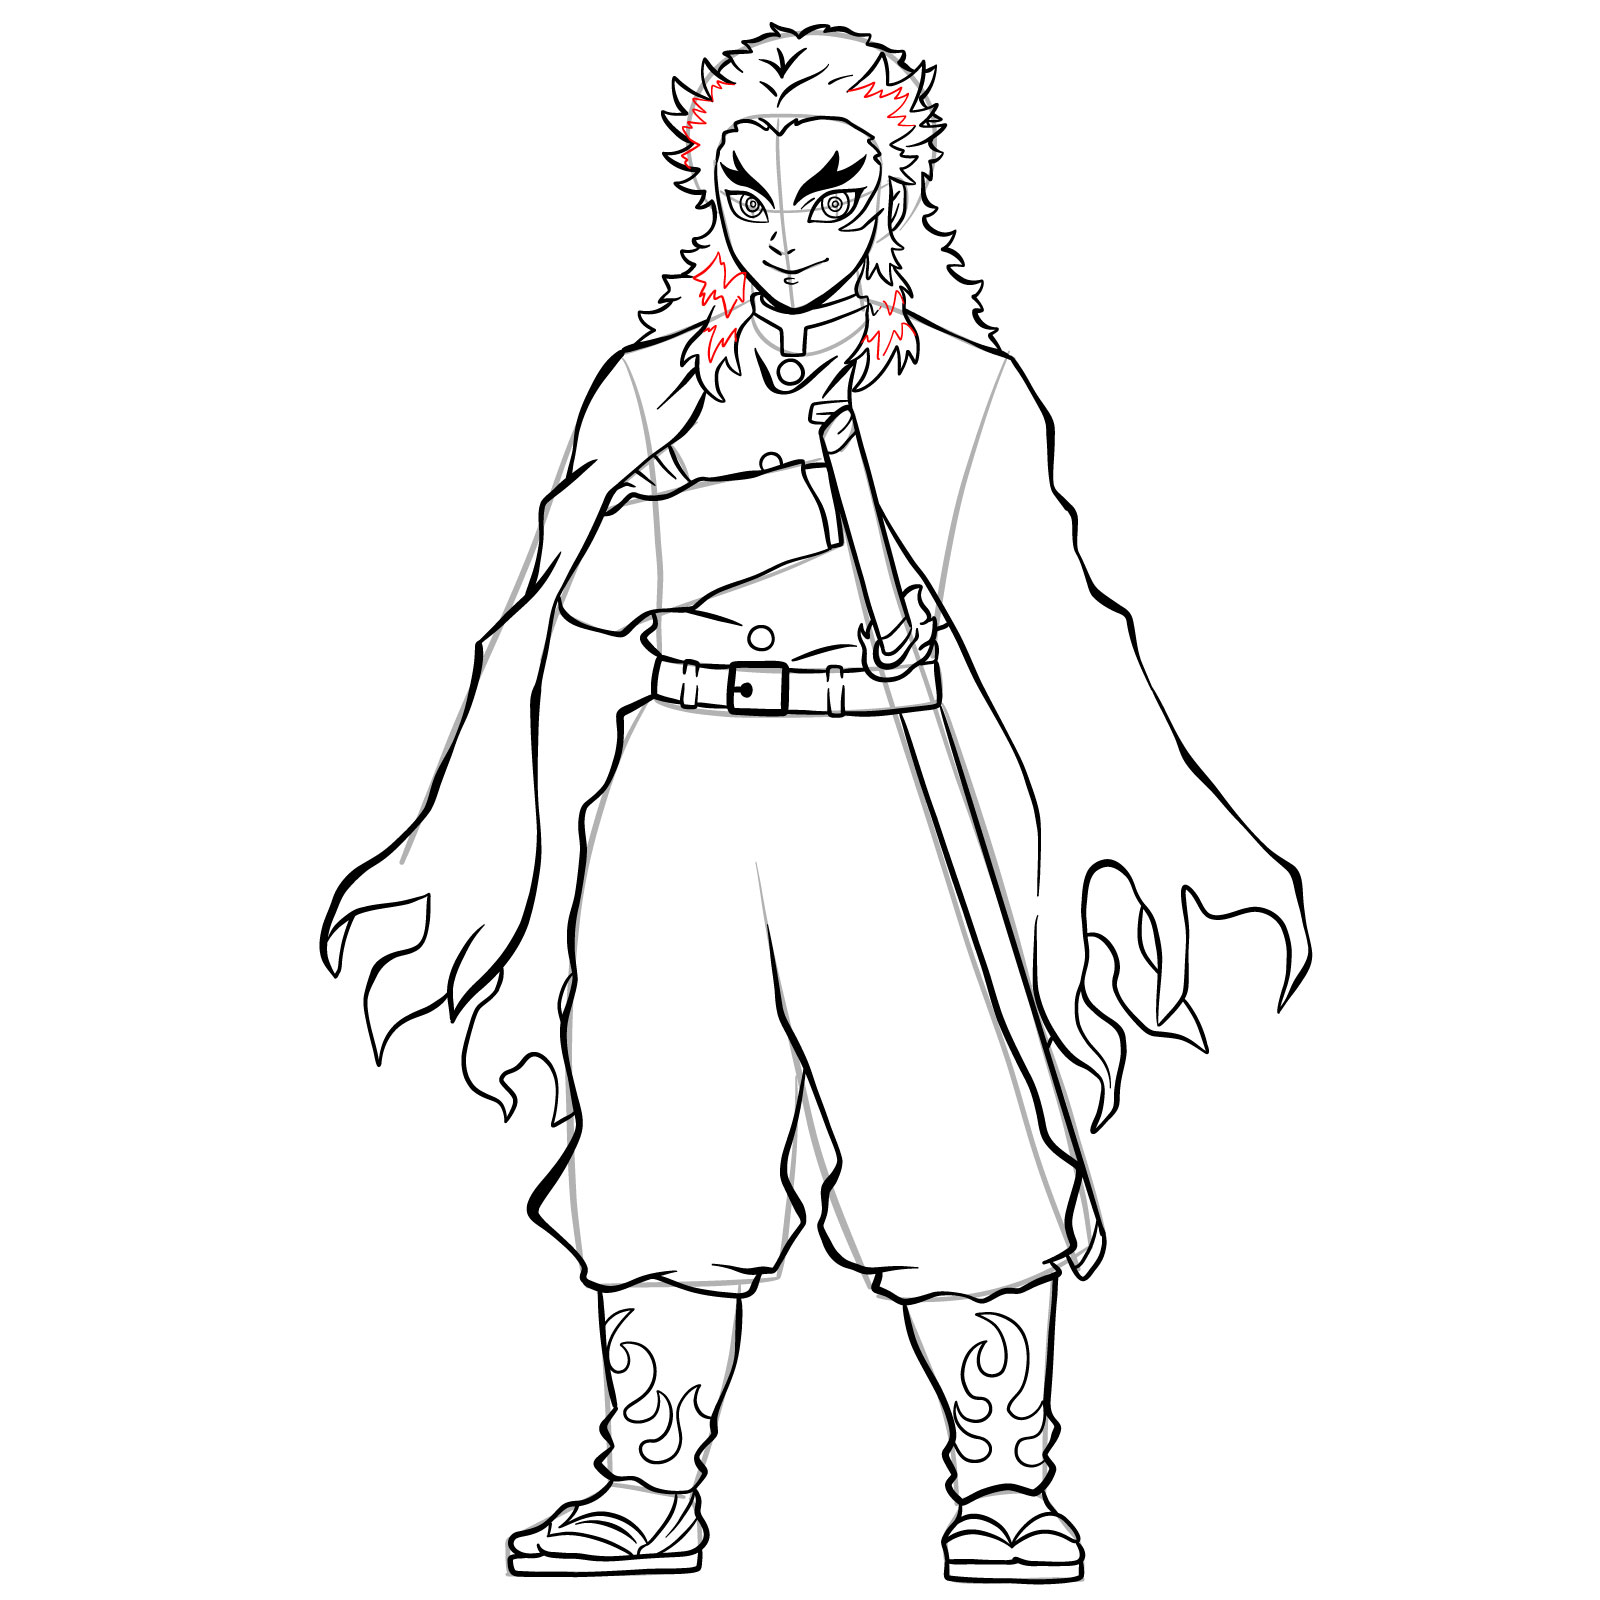
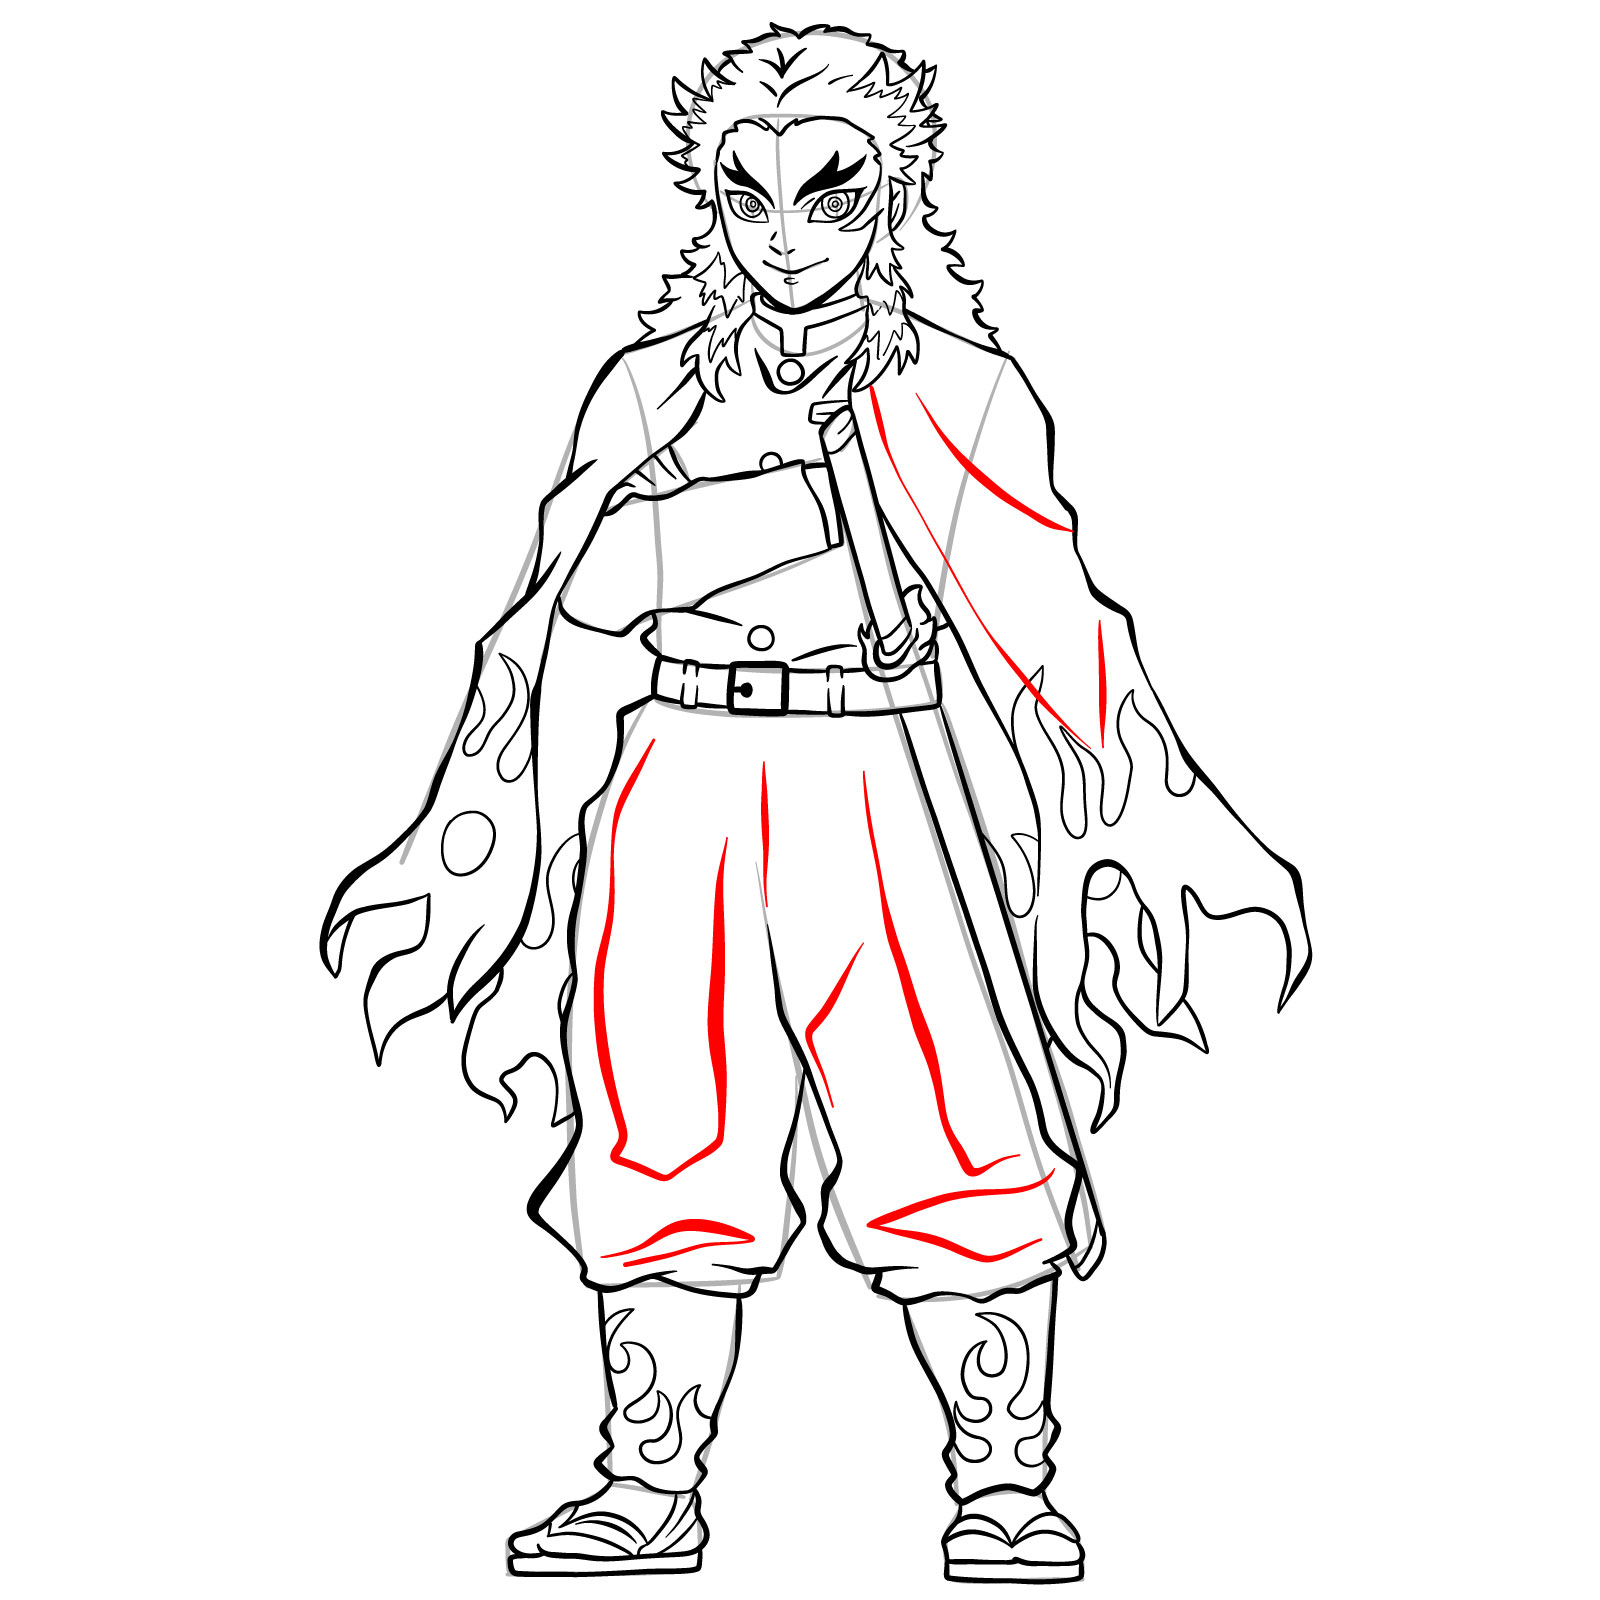
The Step-by-Step Guide: Color Guidelines and Instructions
Follow this step-by-step guide to create your artwork of Kyojuro Rengoku. Keep in mind the color guidelines as you progress through the steps:
- Red Color: The red color indicates the current step that requires your focus and attention.
- Black Color: The black color represents the lines you have previously drawn.
- Grey Color: The grey color signifies the basic sketch that serves as the foundation for your artwork.
This step-by-step guide consists of 40 detailed steps, with the first three steps dedicated to creating the basic sketch. Take your time and work through each step patiently to achieve the best results. Let’s dive into the guide and sketch Kyojuro Rengoku!


Now that you know how to draw Kyojuro Rengoku, it would be great to see what you came up with. There’s a pinned version of this tutorial over on Pinterest, and the comments there are where people drop their finished drawings, so your Rengoku will actually get seen by other artists who are working through the same steps. If you want a heads-up when new guides go up, the signup form at the top of this page sends a weekly digest, and you can also follow along on Facebook or the YouTube channel for more.
can you draw sabito and his sister