Let’s create another Halloween drawing! This time, we’ll focus on the Grim Reaper. Unlike the usual scary skeleton with a scythe, in this version, the face will remain hidden under a hood. I’ll also be posting two more Grim Reaper drawings next – one with the face visible and another in a chibi style. So, if you’re into Halloween art, check those as well!
About the Grim Reaper’s Look
The Grim Reaper is a well-known figure in many cultures, often representing death or the guide to the afterlife. In this version, we’re going to focus on some key points to make it iconic:
Cloak: Dark and tattered, covering the body entirely.
Hood: Oversized and deep enough to hide the face.
Scythe: A long, traditional tool associated with harvesting souls.
Skeletal Hands: Gripping the scythe, creating an eerie image.
About the Drawing Guide
For this drawing guide, we’ll be working with bold lines from the start, since it’s a silhouette-heavy character. Instead of starting with a basic sketch and refining it, you’ll be able to jump straight into defining the key elements.
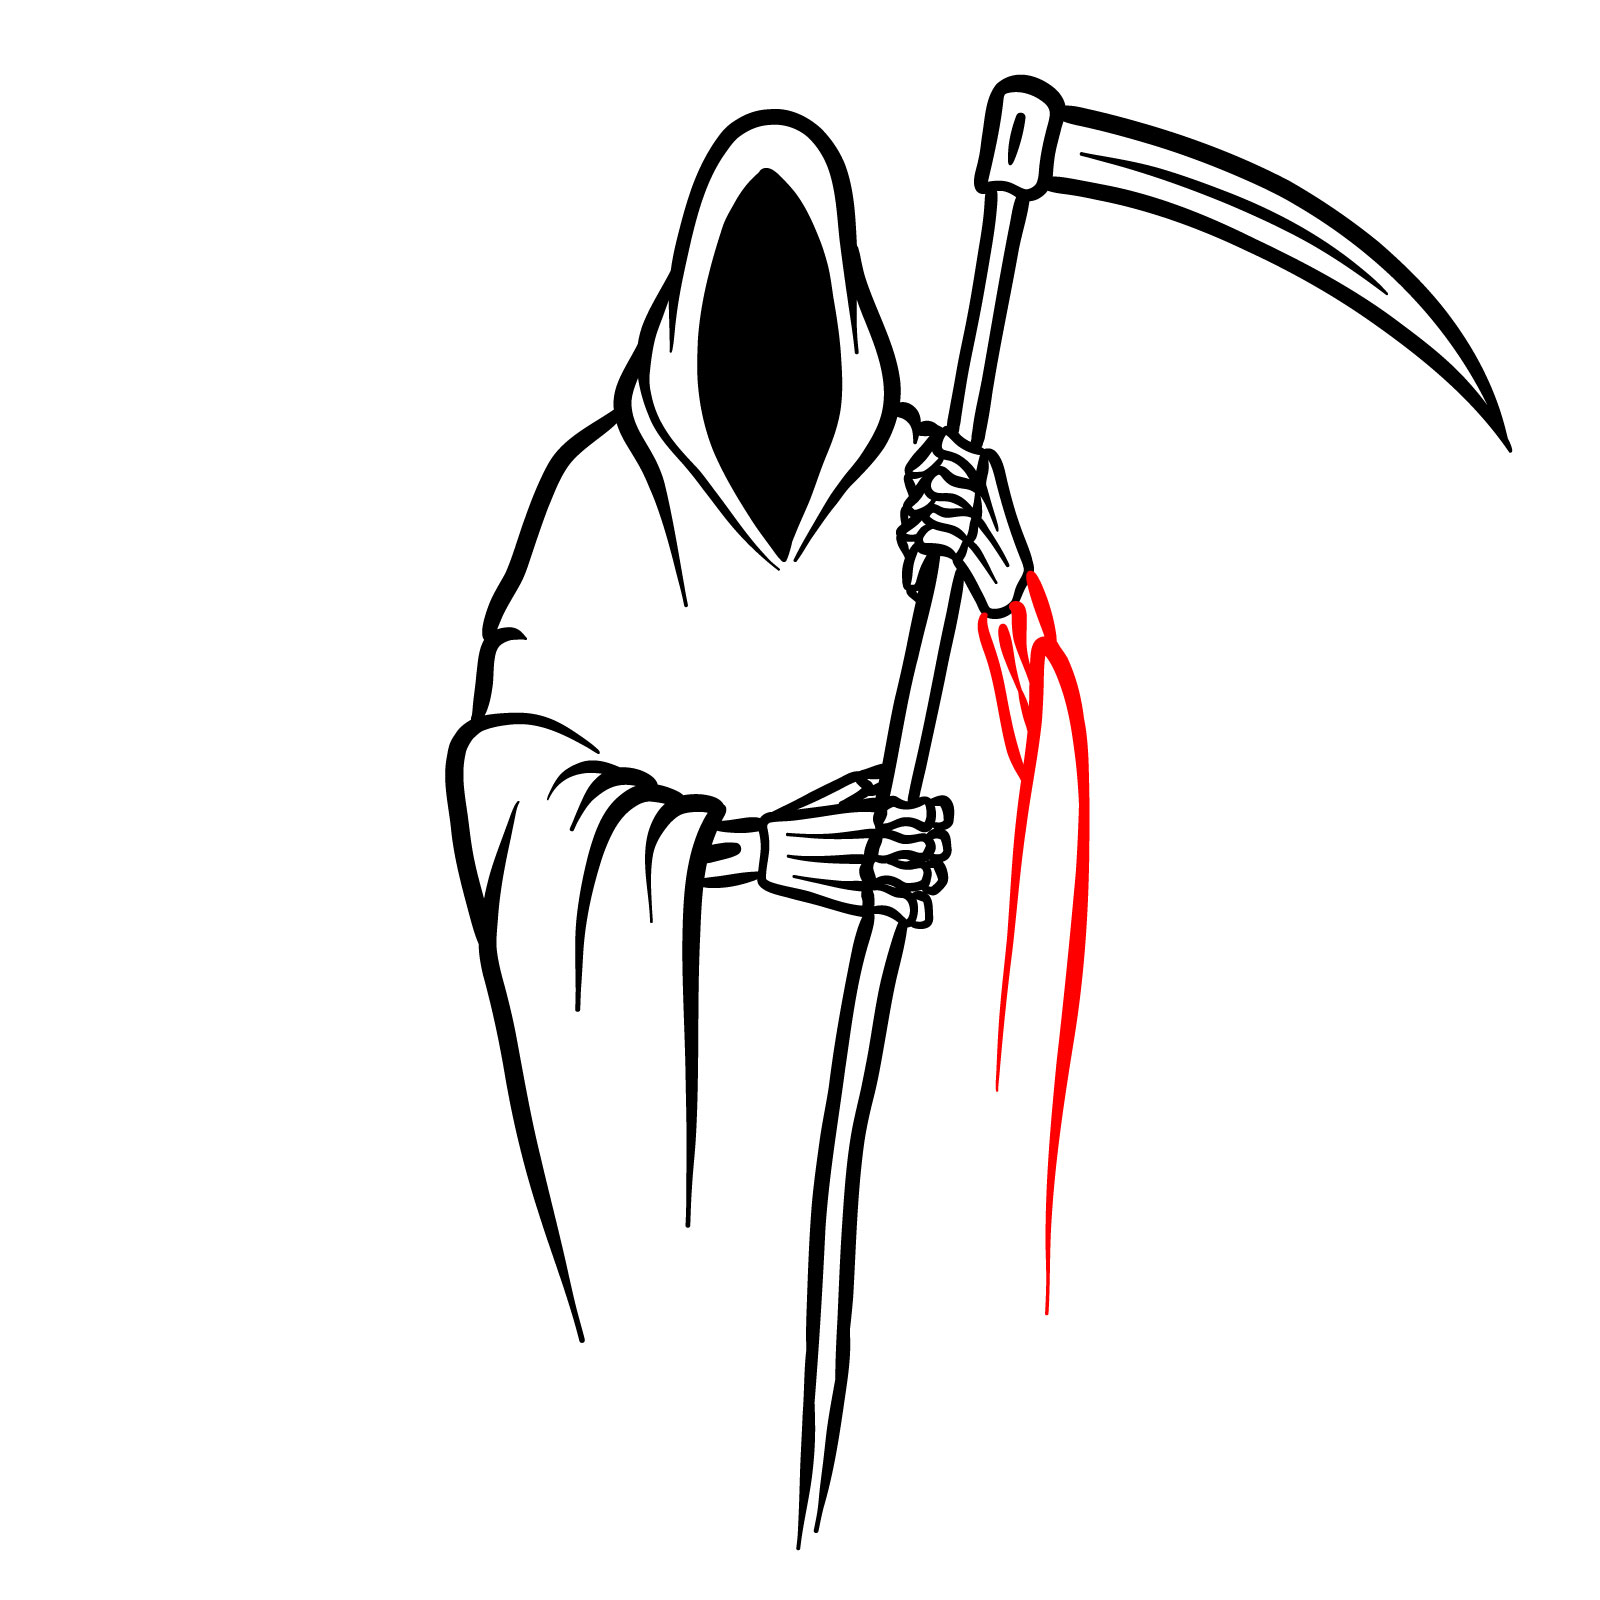
We’re going to use two colors in this guide:
Red Color: This represents the current step you should be focusing on.
Black Color: These are the lines and areas already completed.
Now that you’re ready, grab your pencil and paper, and let’s get started on bringing the Grim Reaper to life on your drawing pad!
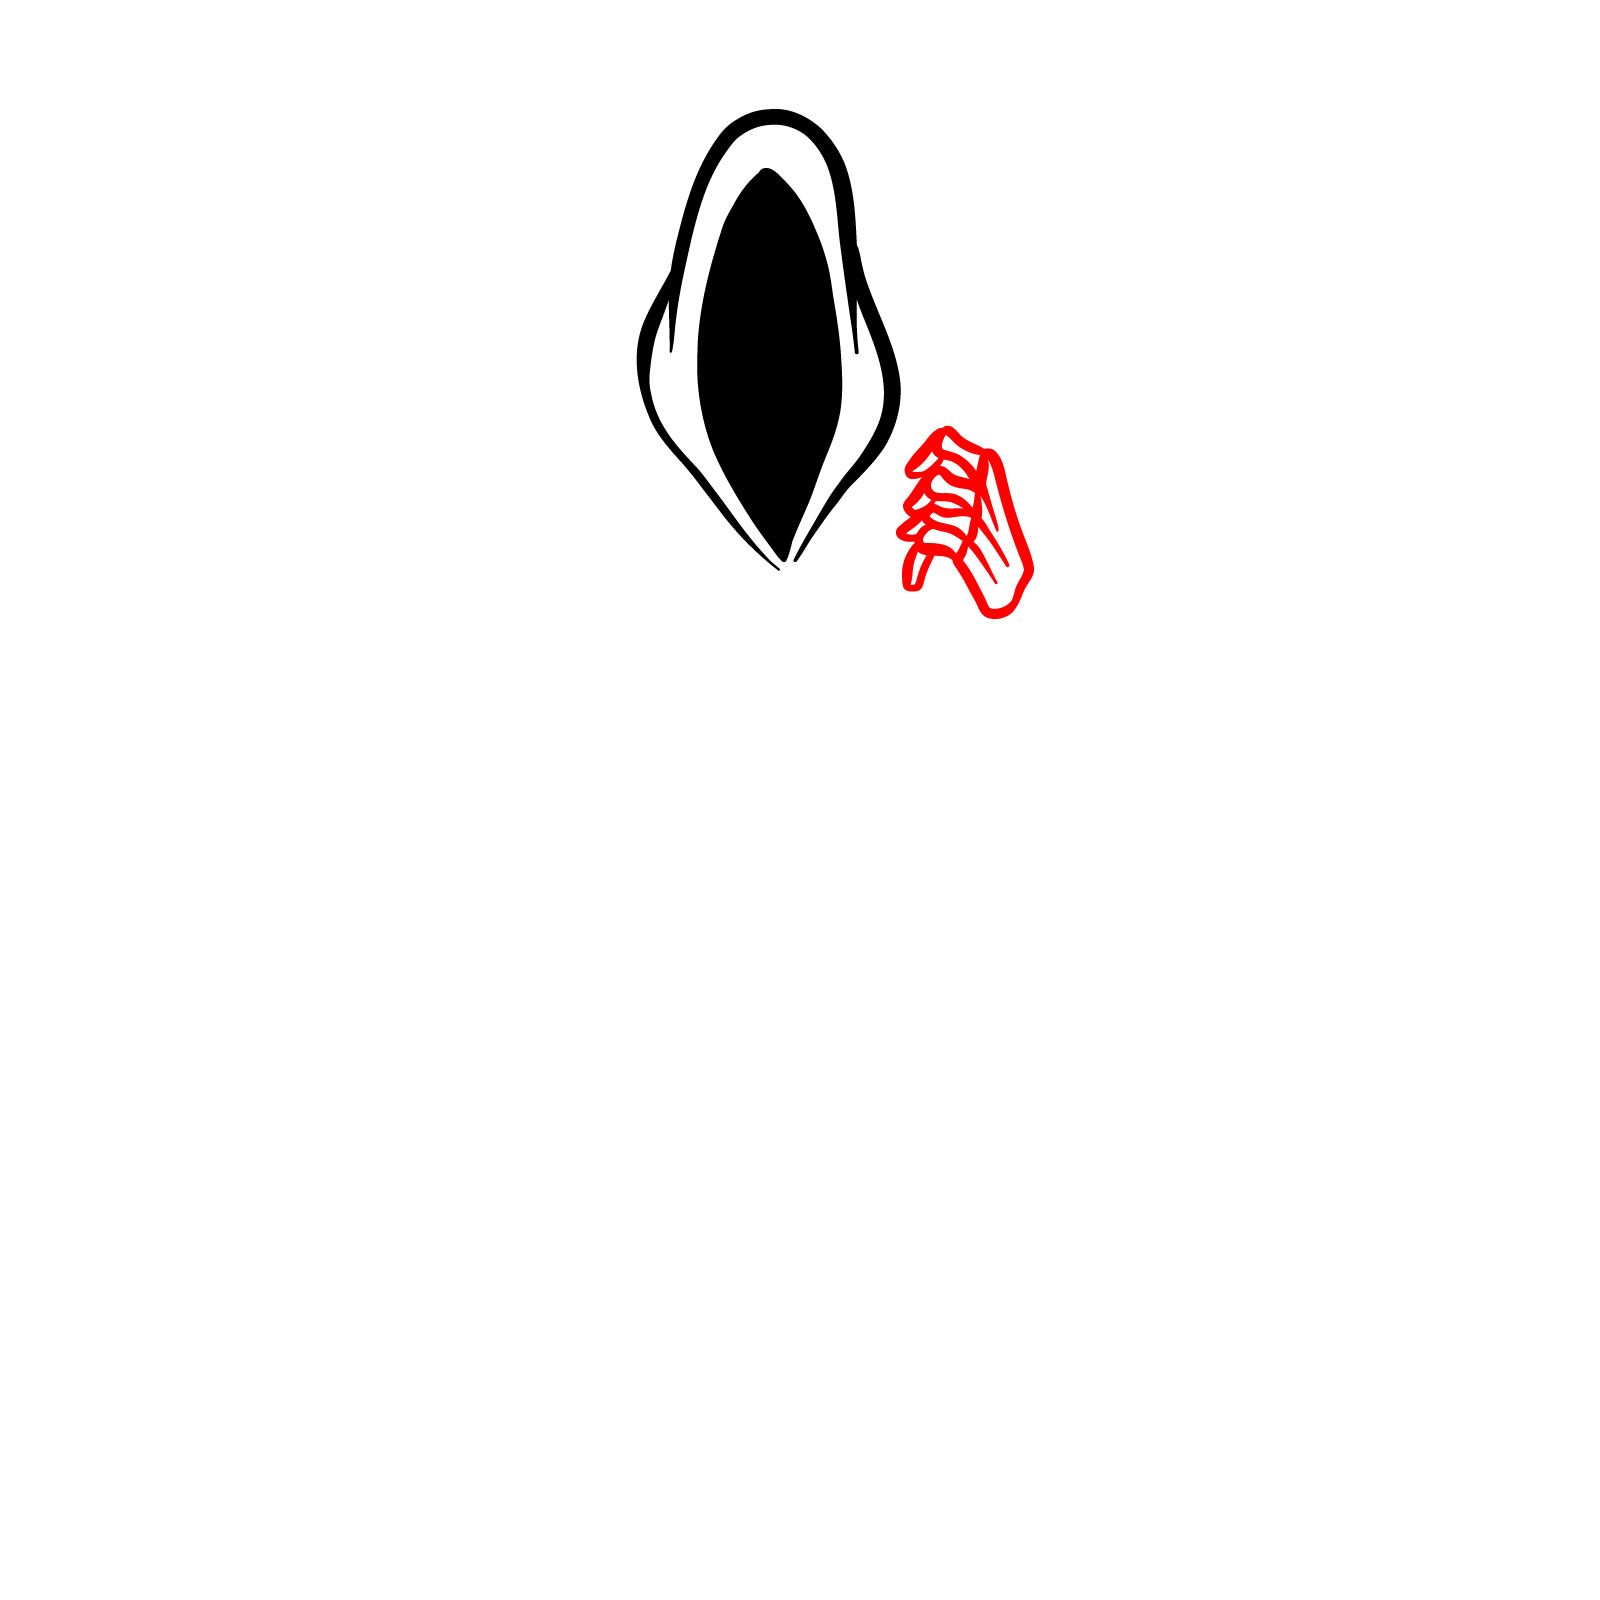
Step 1 – upside down U for the top part of the hood, which will define the Grim Reaper’s head shape.
Step 2 – draw the base of the hood, connecting the U to form the full head covering.
Step 3 – inside the hood, create an almond shape and fill it with black to represent the hidden face.
Step 4 – sketch the first simplified skeleton hand on the right side, which will be holding the scythe.
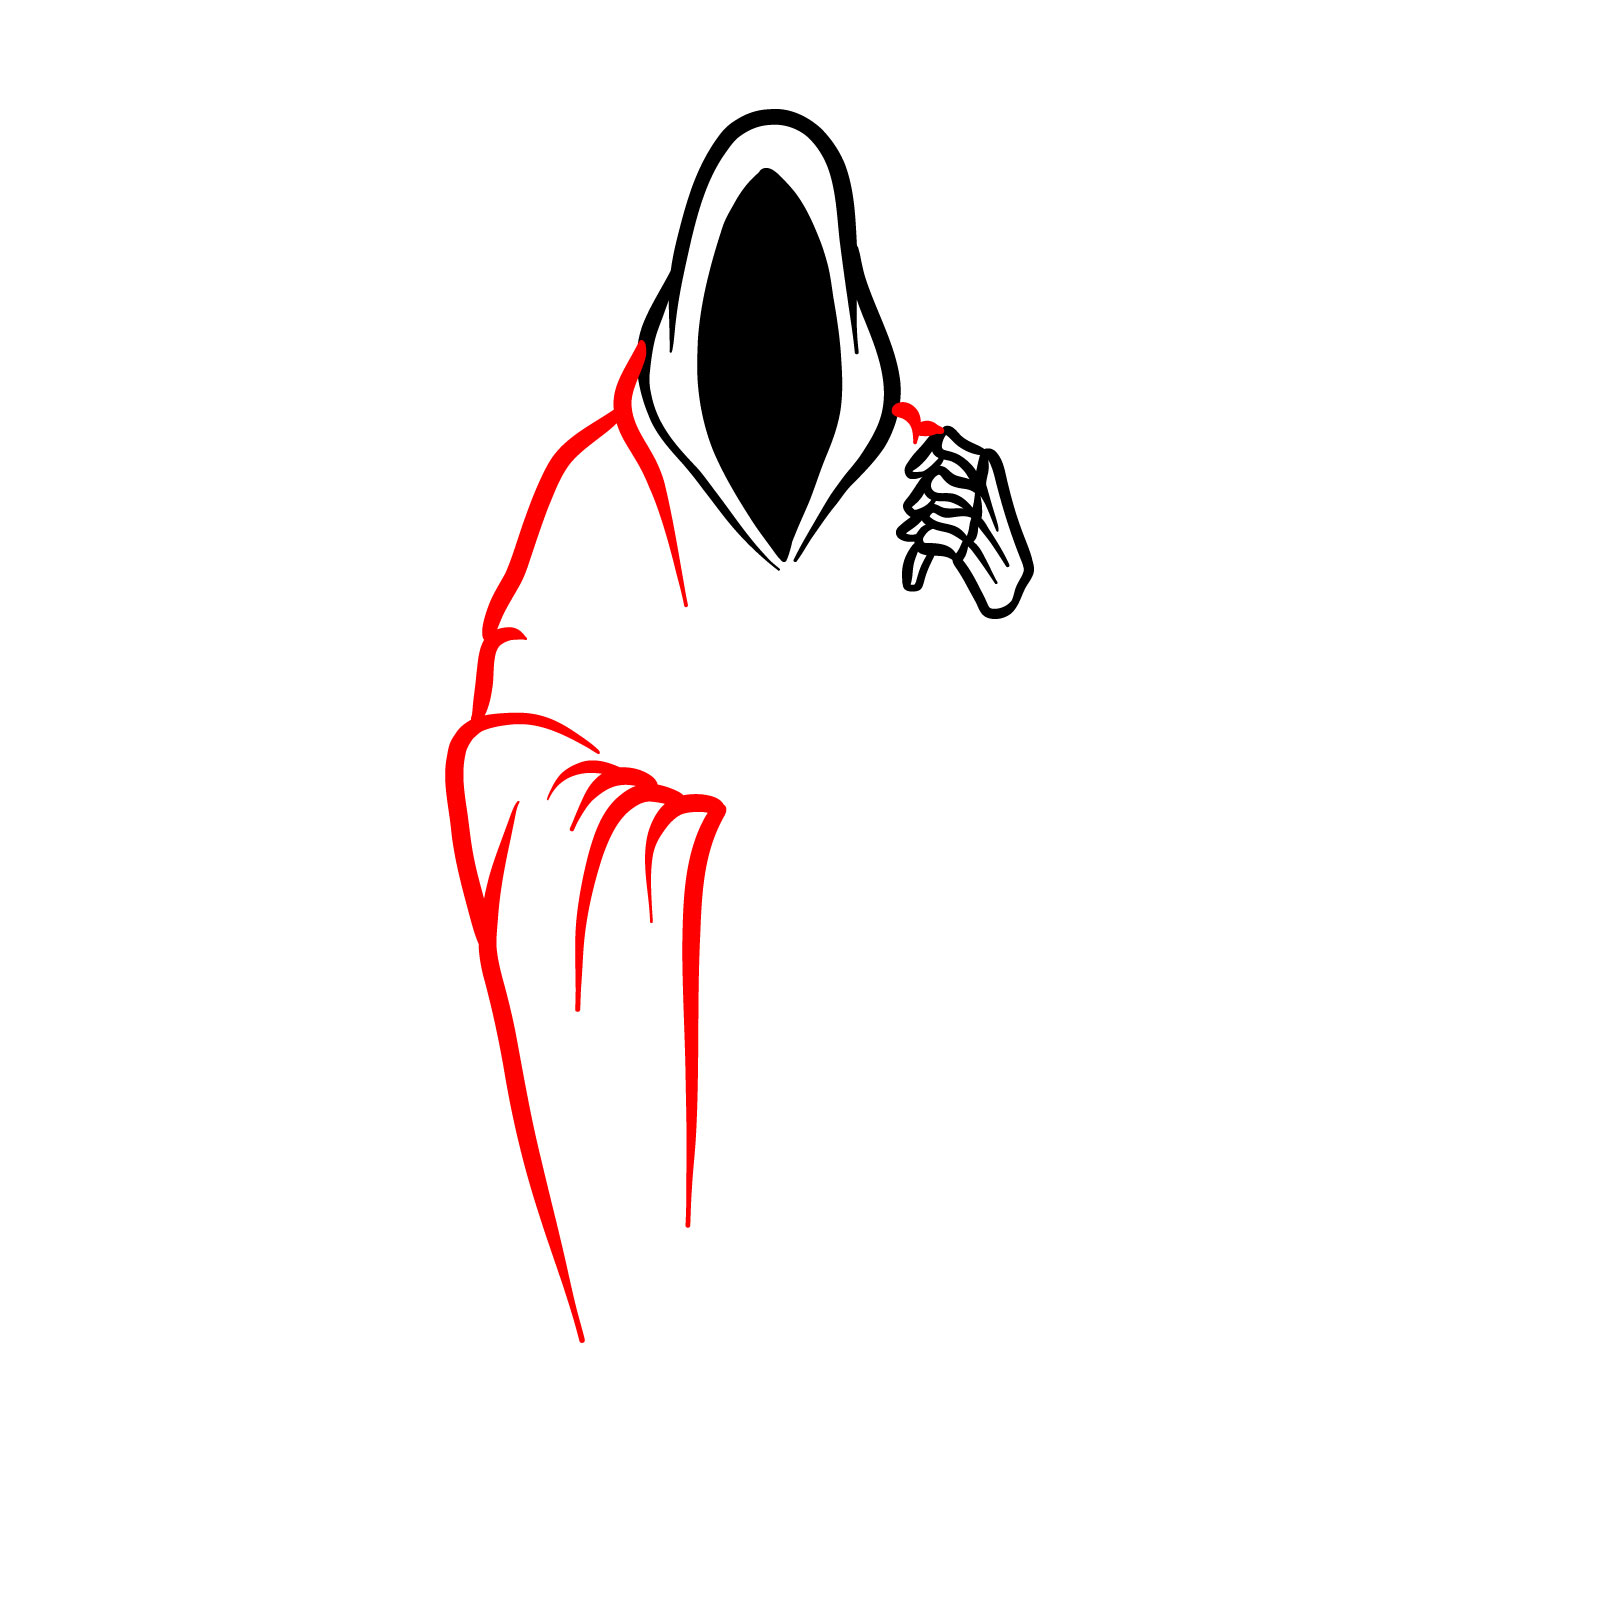
Step 5 – add the shoulders and the sleeve of the other arm, which will be draped in the Reaper’s long robe.
Step 6 – sketch the next hand, ready to grasp the scythe as well.
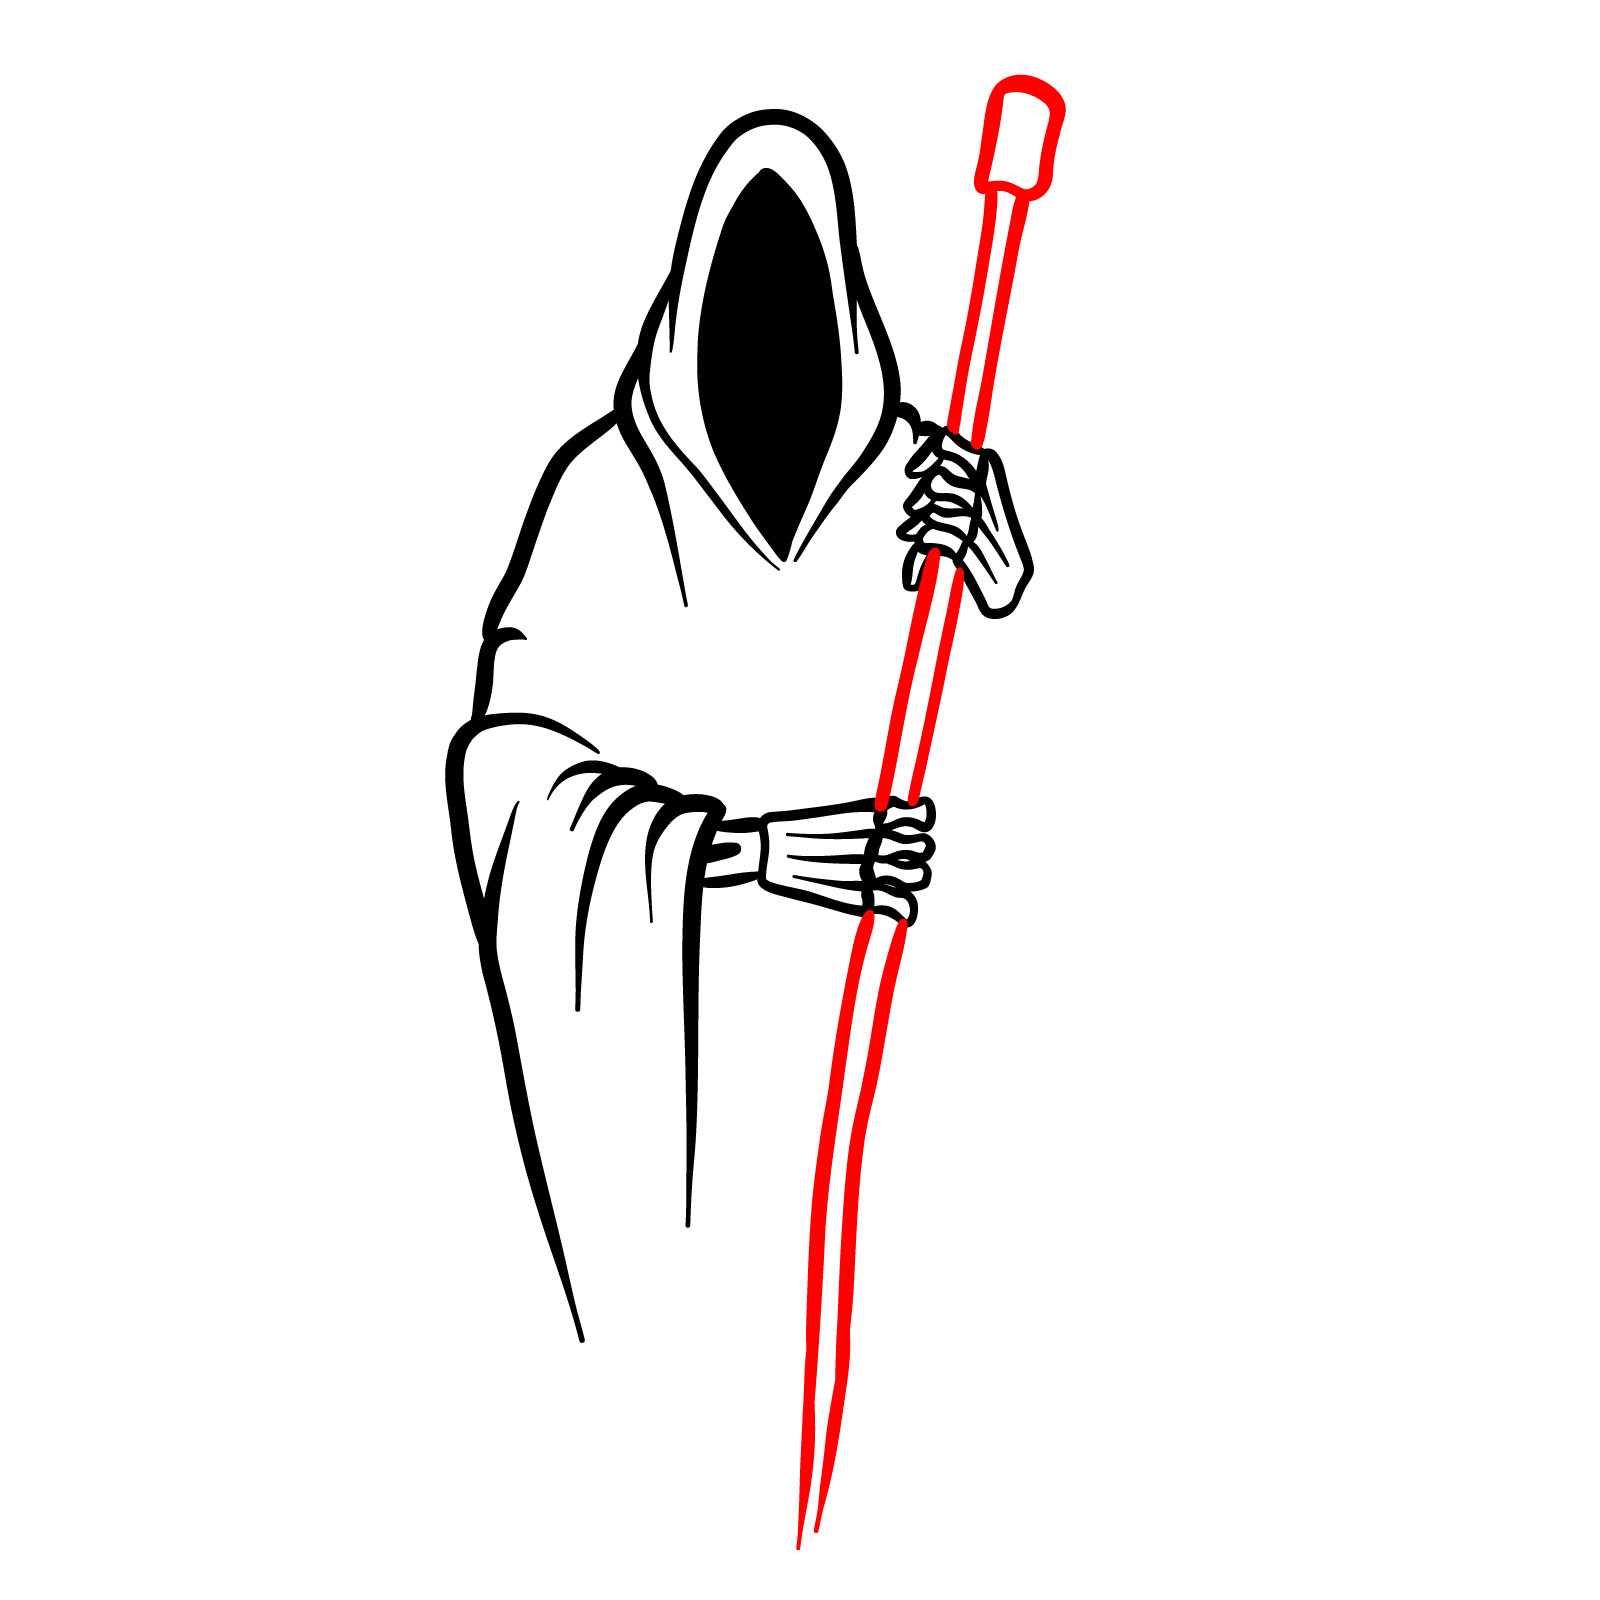
Step 7 – draw the scythe’s long handle stretching across the body, with the top resting near the head.
Step 8 – outline the large curved blade of the scythe at the top of the handle.
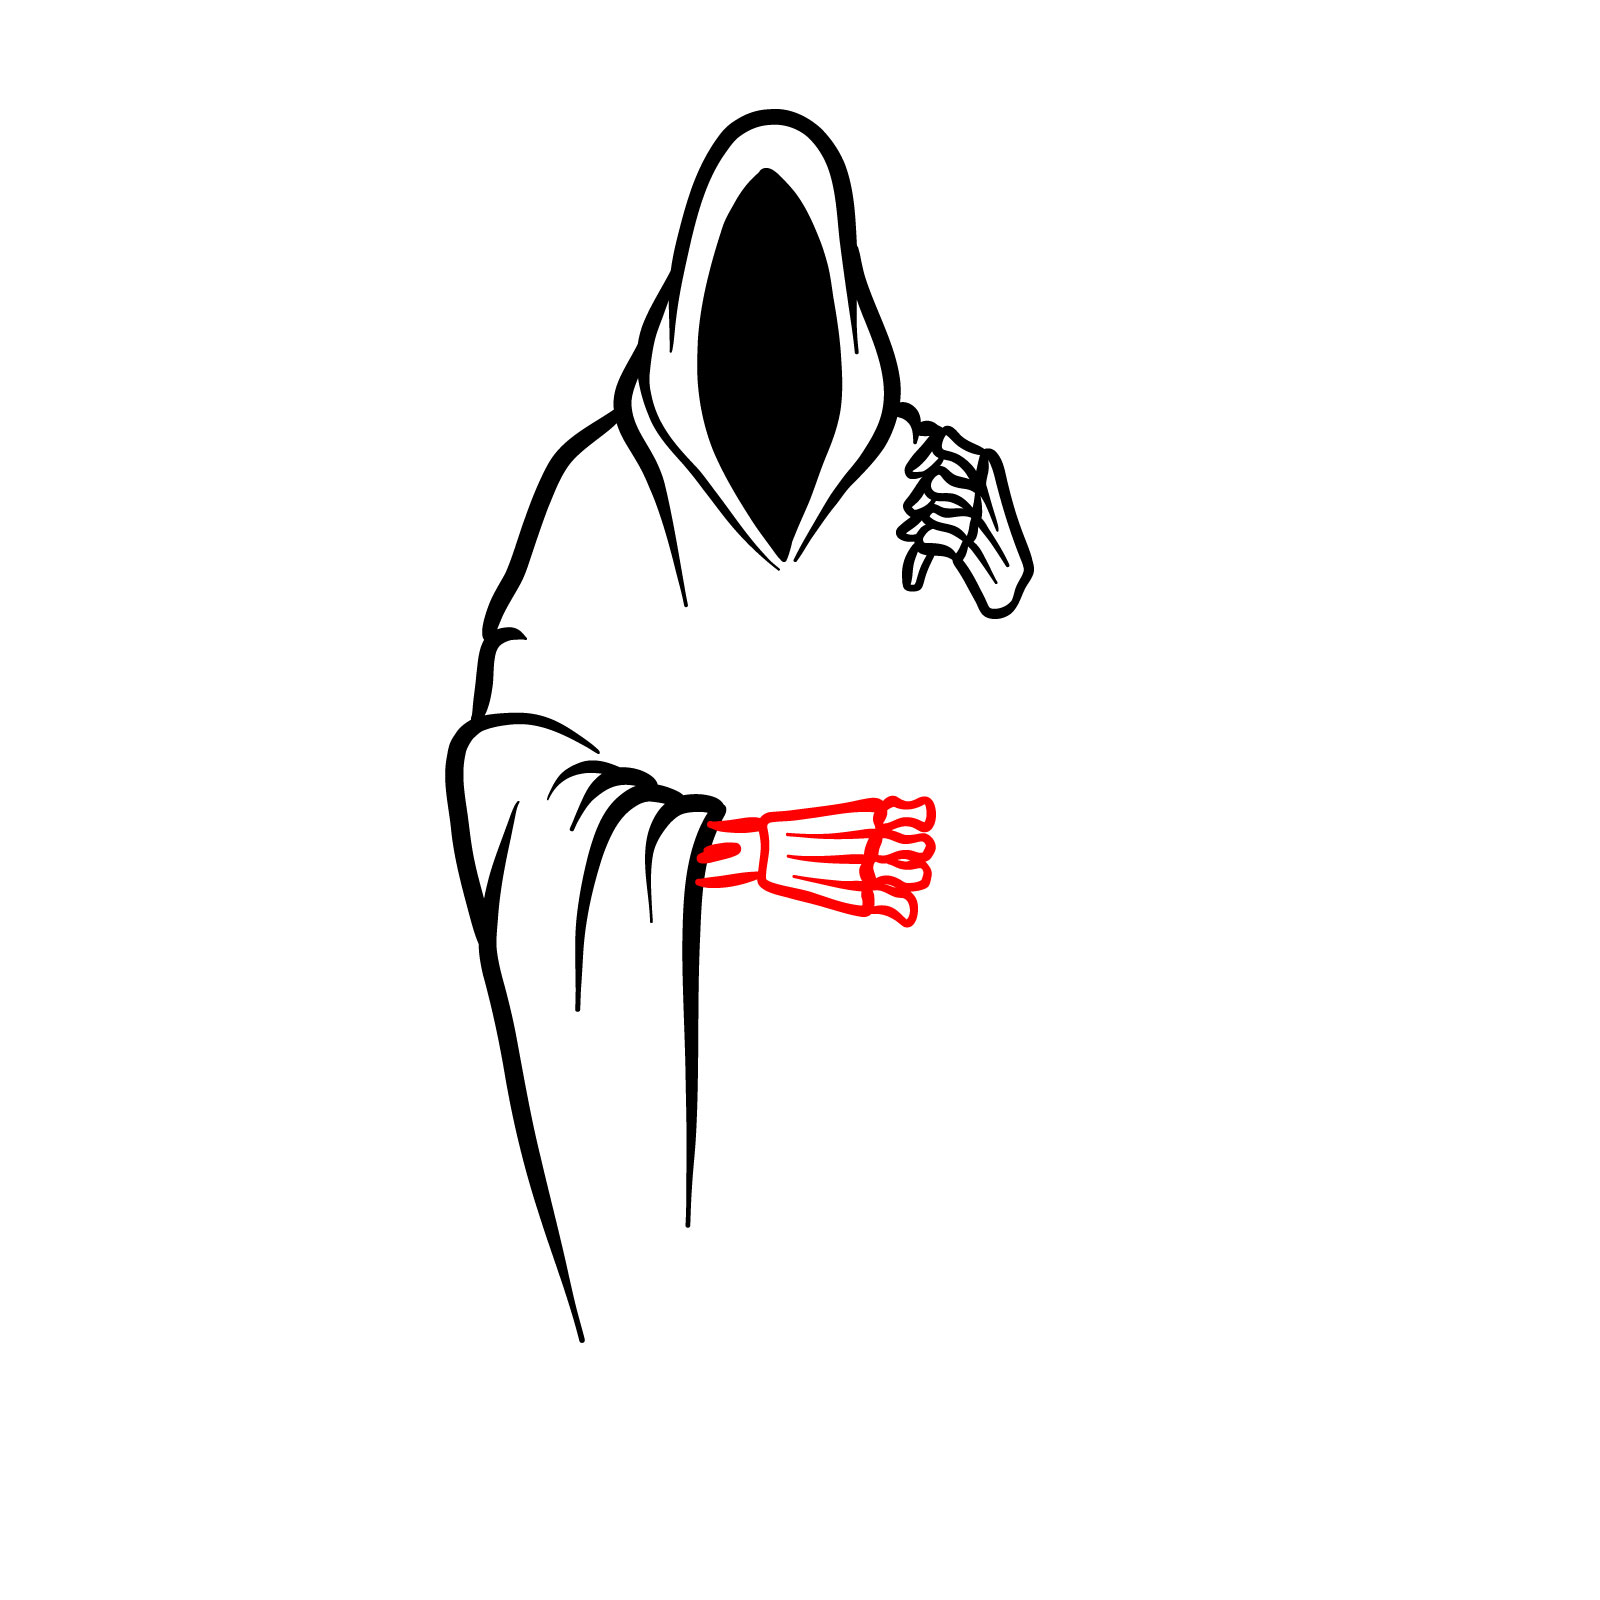
Step 9 – go back and add the missing fingers on both hands, adjusting the grip on the scythe.
Step 10 – draw the visible part of the wrist peeking out from the first hand’s sleeve, and complete the sleeve’s outline.
Step 11 – inside of the sleeves should be filled with black to show the depth and create a shadow effect.
Step 12 – add folds and creases to the robe, paying special attention to the outer lines of the sleeves to give them more volume.
Step 13 – observe the whole drawing, clean up stray lines, and define any areas that need more detail. You can also ink the sketch at this stage if you’d like.
Step 14 – optionally add colors to the robe, hands, handle, and blade. You can use this step as a reference for coloring, sticking to dark tones for the Reaper’s robes.
Don't Miss New Tutorials! Follow SketchOk
I publish new step-by-step drawing guides every single day. Follow on your favorite platform so you never miss a tutorial. Thousands of artists are already drawing along and I can't wait you to join in!
On my Patreon you can grab unique hand-made coloring pages: each one drawn by me personally. Every purchase directly supports the creation of new drawing tutorials. It's the best way to practice your skills, keep the site going, and get something truly original at the same time.
Feel free to check out SketchOk’s social media links below for more drawing tutorials, and if you’d like to support my work, you can buy me a coffee. Your support means a lot!
Disclaimer: All original artworks and photos used as references for the creation of these drawing tutorials are the property of their respective owners. If your work has been featured without proper credit, please kindly leave a comment below, and the issue will be promptly addressed. We greatly appreciate your exceptional art. Thank you.