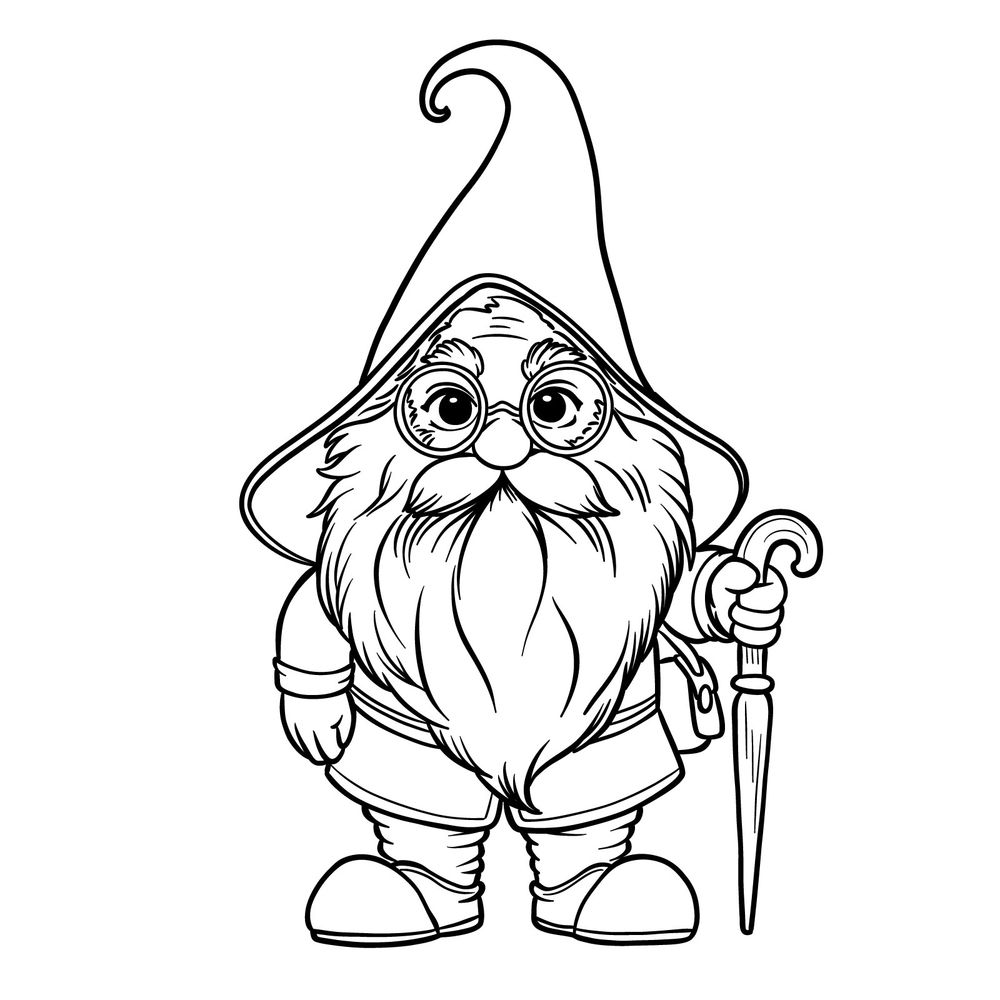
If you’re eager to learn how to draw a gnome, you’ve come to the right place. I’ll guide you through a simple process that turns basic shapes into a charming gnome character, perfect for your artwork collection or a fun project.
Focus on the Gnome’s Unique Features
- Notice the gnome’s oversized pointed hat, which dominates the figure and adds a whimsical element to the character.
- Observe the large, bushy beard that covers much of the gnome’s face, only leaving space for the round, spectacled eyes and nose.
- The gnome’s attire is typical, with a simple, bulky tunic and large boots, enhancing the mythical aspect of the character.
- Pay attention to the accessories like the belt and the cane.
- For related characters to explore, consider drawing other mythical figures such as fairies or hobbits, which can be found in our mythical figures drawing guide section.
Understanding the Step-by-Step Gnome Drawing Guide
This guide consists of a series of images, each representing a step in the drawing process. By following these steps sequentially, you’ll gradually see your gnome come to life.
- Red Color: Highlights the current step you’re working on.
- Black Color: Shows the lines from the previous steps.
- Gray Color: Indicates the initial sketch outlines.
The guide includes 19 steps, starting with a basic sketch. In the final step, you have the option to ink your sketch. Inking over the pencil lines makes the drawing stand out, and it’s important to allow the ink to dry before gently erasing the underlying pencil marks to avoid smudging.


I hope this guide on how to draw a gnome helps you create a character full of charm and personality. Don’t forget to follow SketchOk on social media for more updates and drawing tips:
Remember to pin this guide to your Pinterest to easily revisit anytime you feel inspired to draw!
