
What’s more fun and simple to draw for Halloween than a cute little ghost? This easy guide will show you how to sketch a playful, chibi-style blanket ghost in just a few steps. Perfect for beginners and anyone looking to add a bit of cuteness to their spooky season artwork!
A Cute Blanket Ghost in Details:
- Round, Playful Shape: The blanket ghost has a soft, rounded body, making it look friendly and easy to draw.
- Big, Expressive Eyes: The ghost’s large eyes make it appear cute.
- Wavy Bottom: The bottom of the ghost looks like a blanket, with soft, wavy edges.
- Raised “Arms”: The ghost has two simple raised arms, making it look like it’s floating through the air.
- Simple Face: With just a few features, like small cheeks and a smiling mouth, this ghost is as cute as it gets.
Once you’ve mastered drawing this cute ghost, try adding some more Halloween characters to your art! You could sketch a black cat, a haunted house, a witch’s hat, a chibi witch on a broomstick or even a spooky tombstone to make a complete Halloween scene.
Cute Blanket Ghost Drawing Guide
This guide is designed to be super simple and fun to follow, making it perfect for all skill levels. We’ll skip the basic shapes and start build up to the final look from the first step, adding personality along the way. The ghost’s design is chibi-inspired, meaning the features are exaggerated and playful, which makes it even easier to draw. You don’t need any fancy tools — just a pencil, paper, and your Halloween spirit! Here’s how the guide works:
- Red: These lines highlight what you should be focusing on in the current step.
- Black: These lines show what you’ve already drawn in previous steps.
By the end, you’ll have an adorable little ghost ready to join your Halloween collection!
Start by drawing the top half of an oval. This will be the top part of your cute blanket ghost.

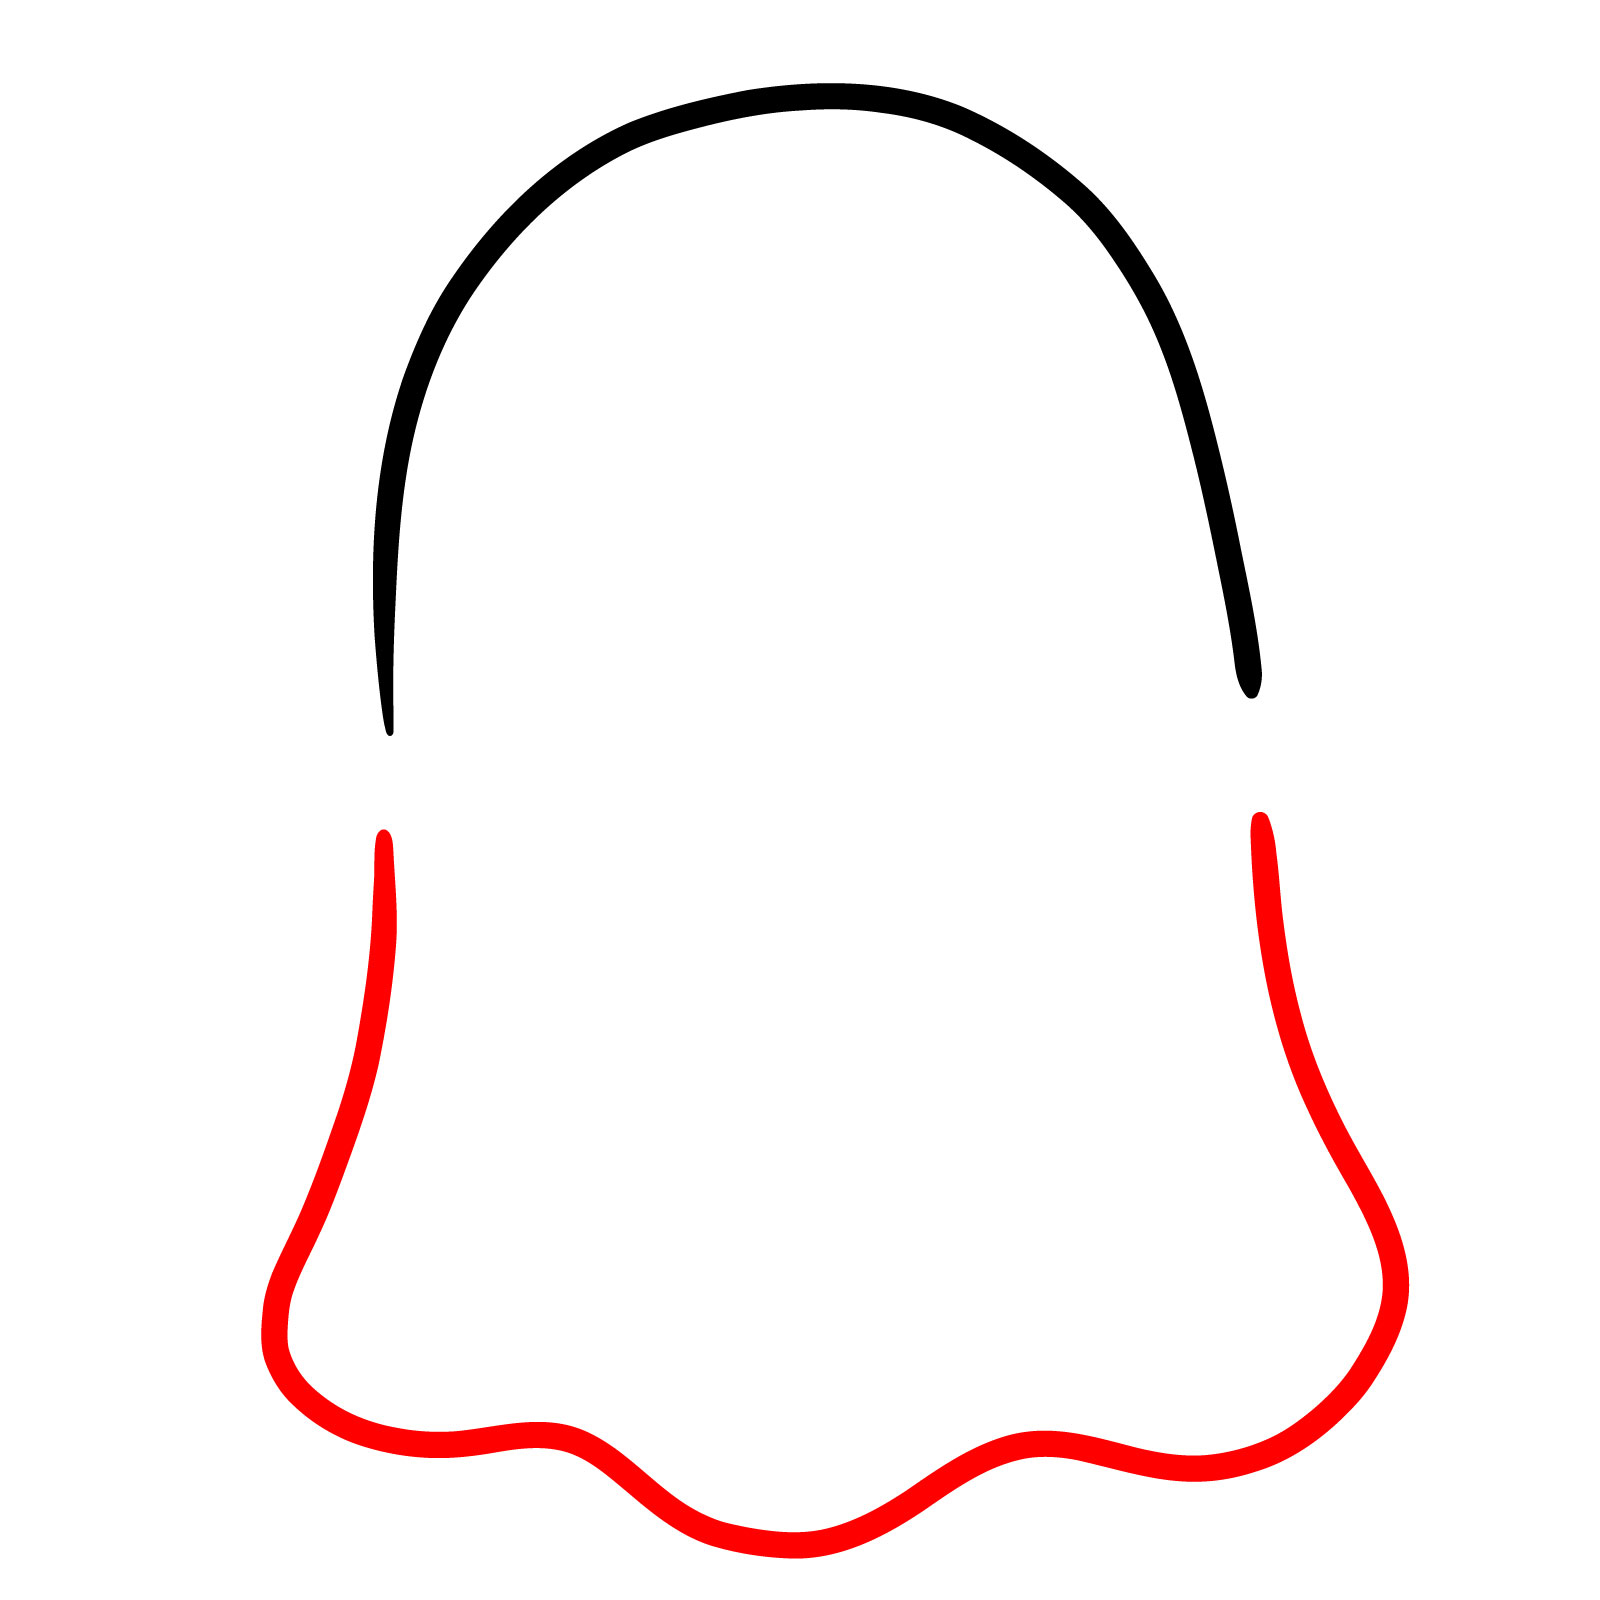
Draw the remaining part of the ghost, making wavy lines at the bottom to give the impression of a flowing blanket. Leave small spaces on each side between the line from step 1 where the hands will go.
Sketch two raised hands on either side of the ghost’s body, connecting them to the spaces you left in step 2.

Add two circles for the ghost’s eyes, and then draw a wide, happy mouth below. Fill the mouth with black.

Fill in the eyes with black, but leave small circular highlights inside each eye for a playful expression.

Draw two small horizontal ovals for the ghost’s cheeks, giving it a blushing look. Add two bold, curved lines above the eyes to create expressive eyebrows.

Review your ghost drawing and adjust any details that need defining. Smooth out the lines or enhance any areas that need more clarity.

To finish your drawing, add some simple colors — such as light blue shadows along the edges of the ghost’s body and light pink for the cheeks—to bring your ghost to life.

Once you’ve finished drawing your cute blanket ghost, review the details and make any final adjustments. If everything looks good, you can erase any remaining pencil marks and maybe add a few Halloween-themed decorations around your ghost. Don’t forget to check out my other Halloween drawing guides if you want to create more spooky (or cute) characters. Follow me on social media for updates on new tutorials, and if you’d like to support my work, consider donating — every bit helps me keep creating fun, free guides for you to enjoy!
If you’d like to support my work, you can donate here. Thanks for your support, and happy Halloween!
very good
Thank you!