
The allure of graveyards and their mysterious symbols have fascinated artists for generations. In this guide, you’ll learn how to draw a tombstone with a skeleton arm, a scene that captures both the silence of the grave and the lurking surprises beneath.
Character’s Appearance and Focal Drawing Points
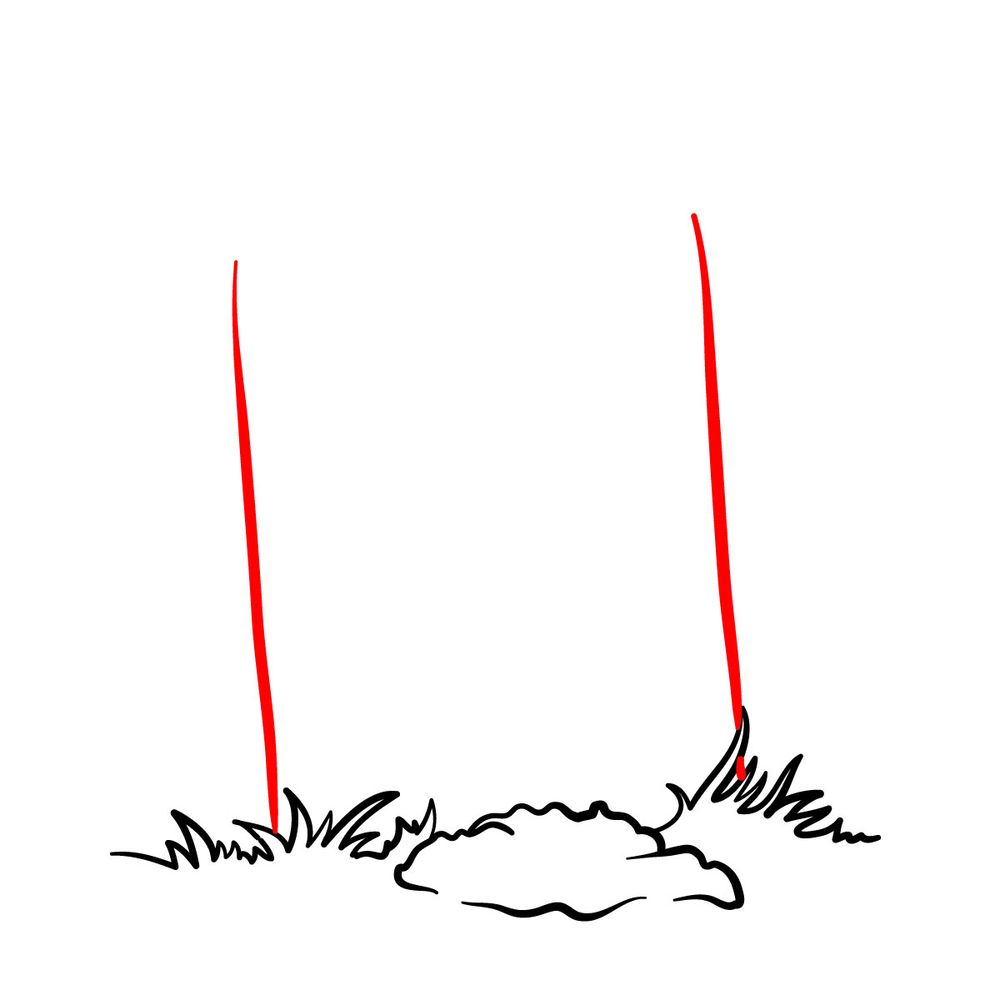
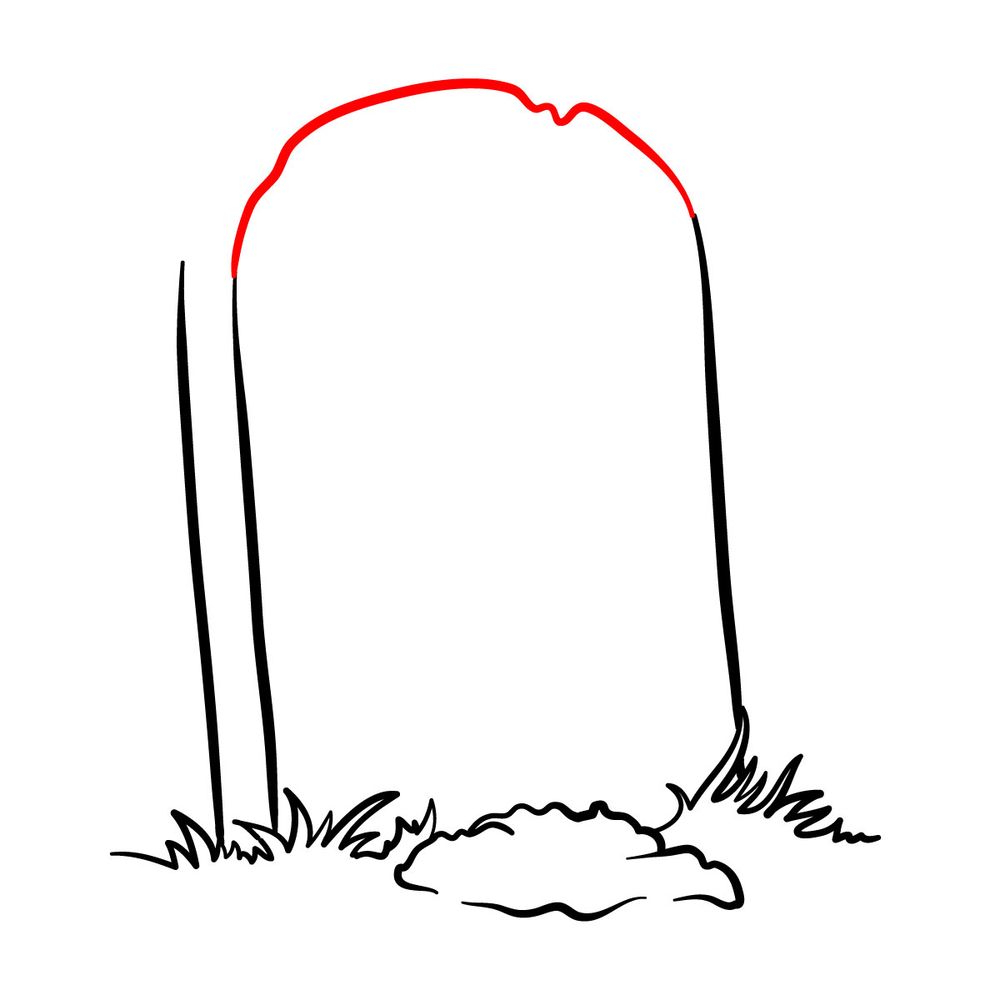
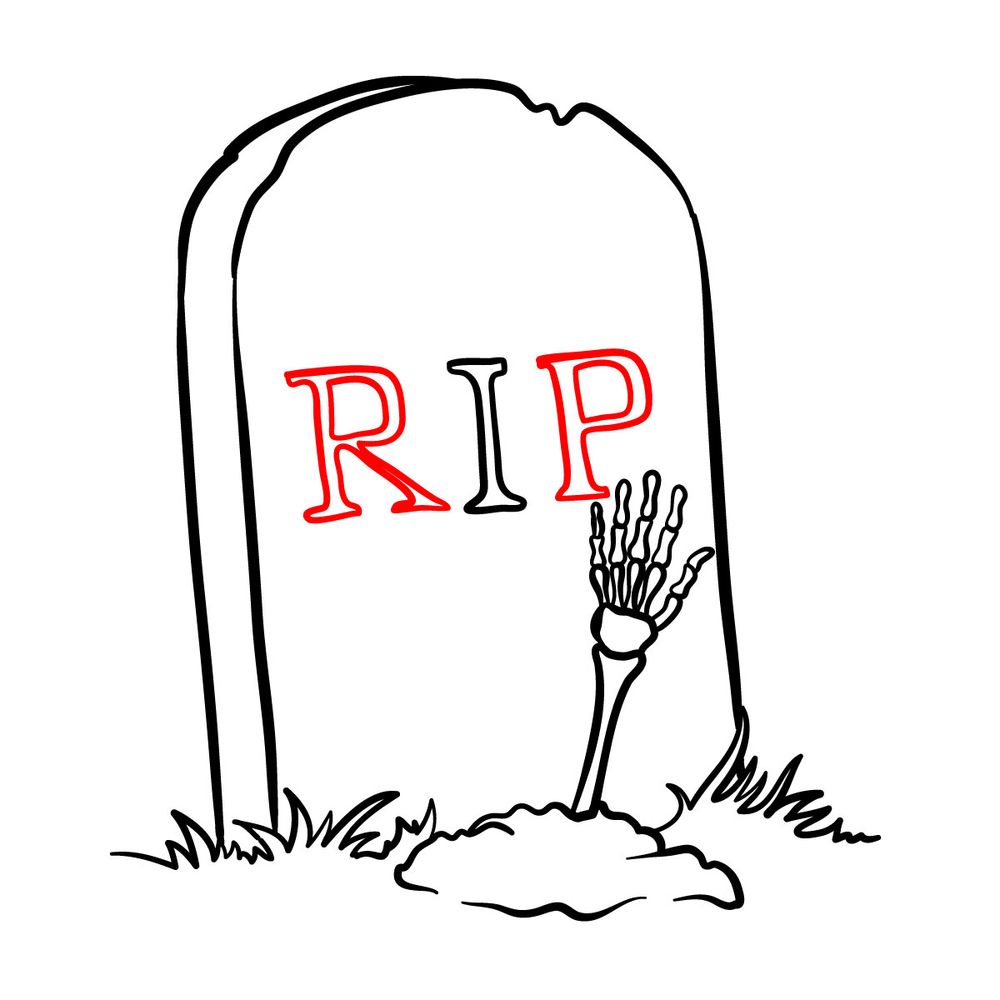
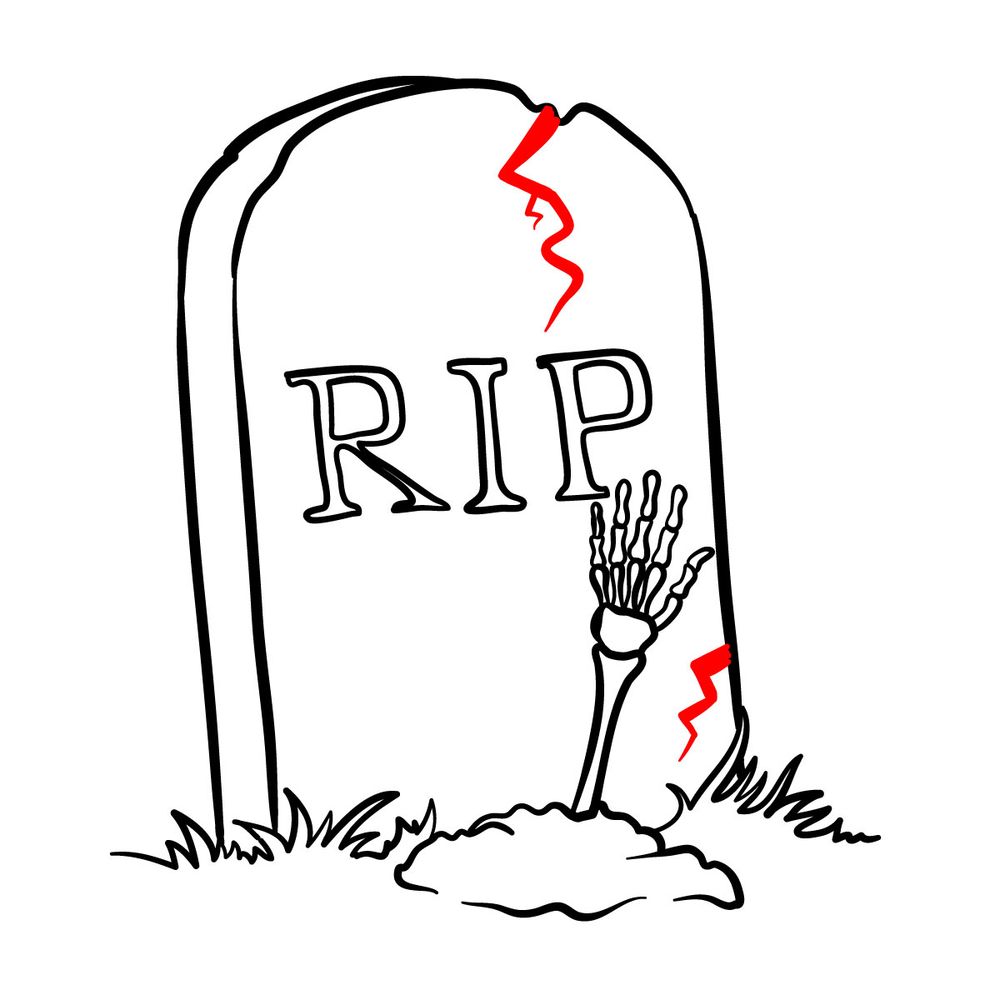
The tombstone, marked with the classic “R I P” inscription and marred by the passage of time with a few cracks, stands as a testament to mortality. The skeletal arm, a symbol of the lingering spirit, emerges from the ground, reaching out and hinting at the stories that lie buried beneath.
- The Tombstone: A sturdy stone marked with “R I P” and a few cracks, showcasing age and wear.
- Skeleton Arm: Slender, bony, and detailed, indicating the fragile nature of life.
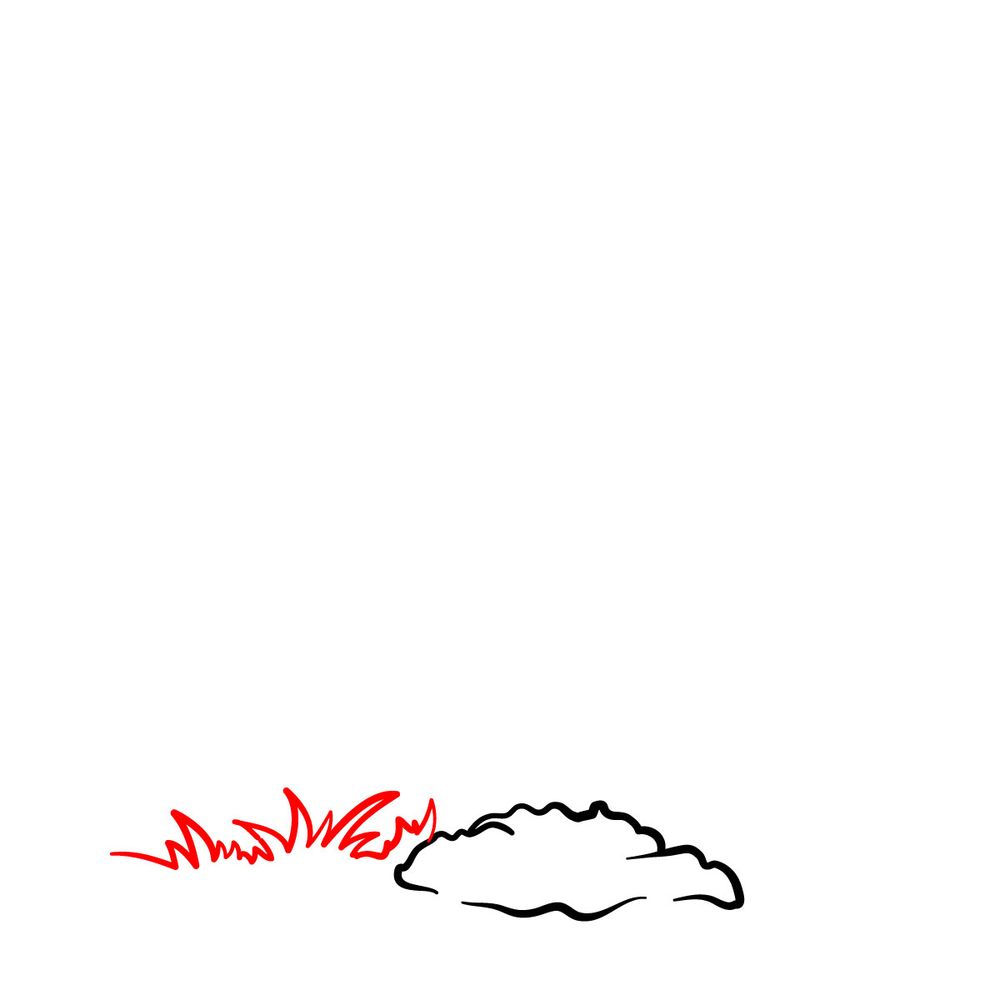
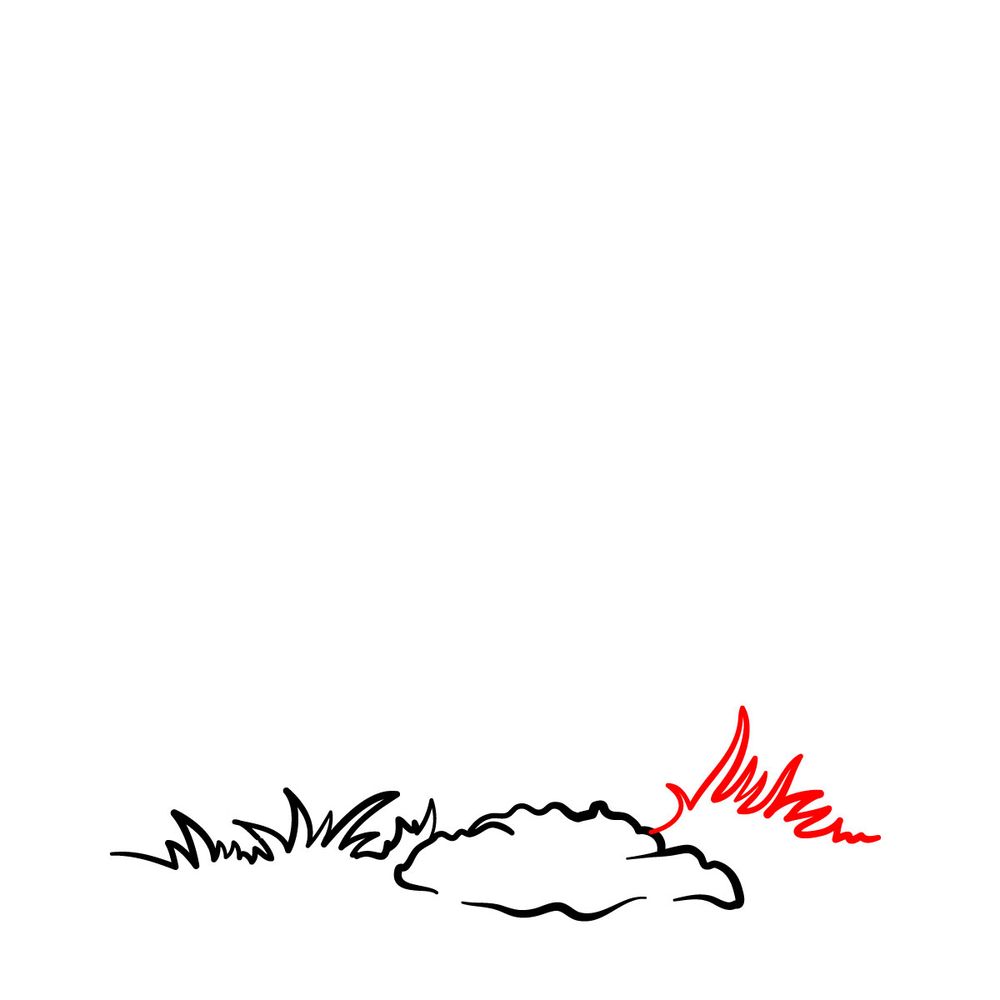
- Surroundings: Wisps of grass growing around the tombstone, adding life to the otherwise somber setting.
If you’re looking to expand on this Halloween setting, consider adding ghostly apparitions or other gravestones. Perhaps a weeping willow in the background or an old crow perched on the tombstone. These elements can help create a richer narrative for your artwork.
Artistic Tips for Sketching the Tombstone and Skeleton Arm
Drawing requires precision and patience. Consider these tips when sketching:
- Begin with gentle strokes to outline the basic shape of the tombstone and skeleton arm. It helps in capturing proportions without committing too strongly.
- For intricate parts like the skeleton arm, use references to achieve realism.
- Remember, every crack, chip, or imperfection on the tombstone tells a story. Don’t be afraid to add those details; they make your drawing unique.
About the Guide and Its Instructions
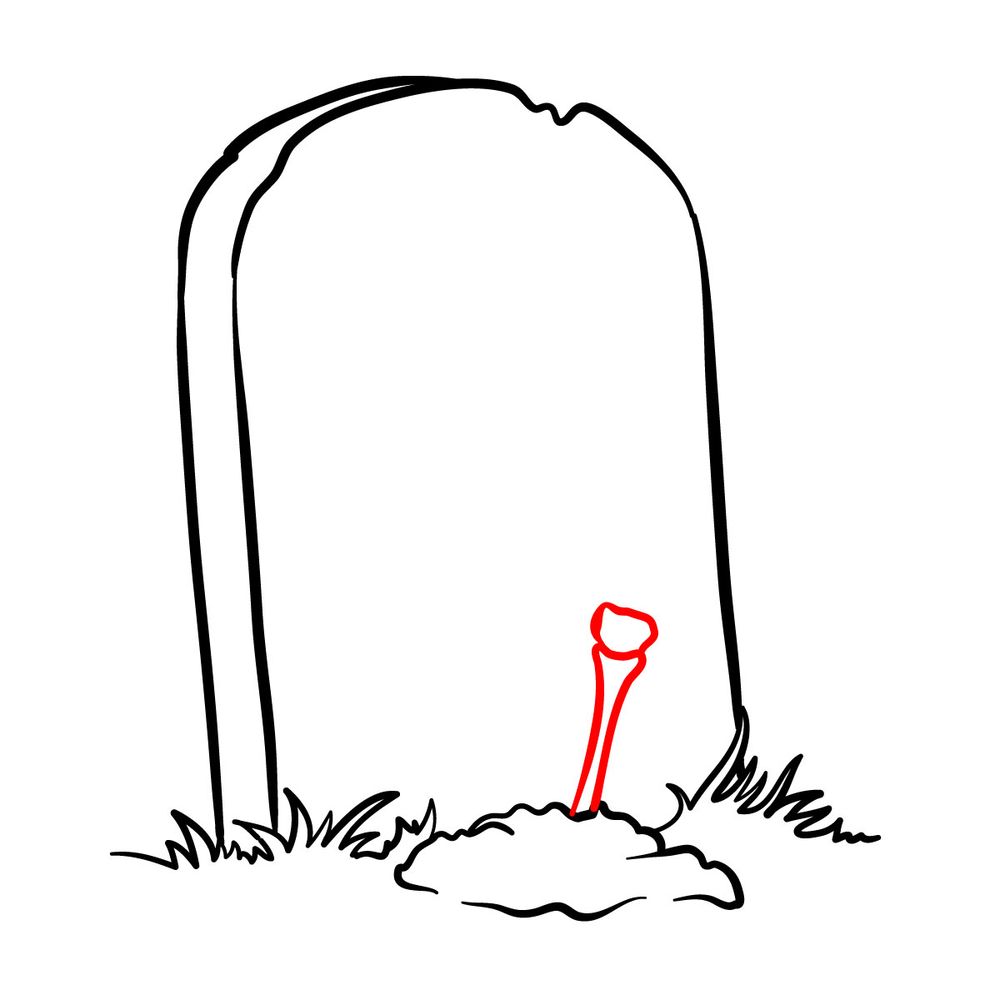
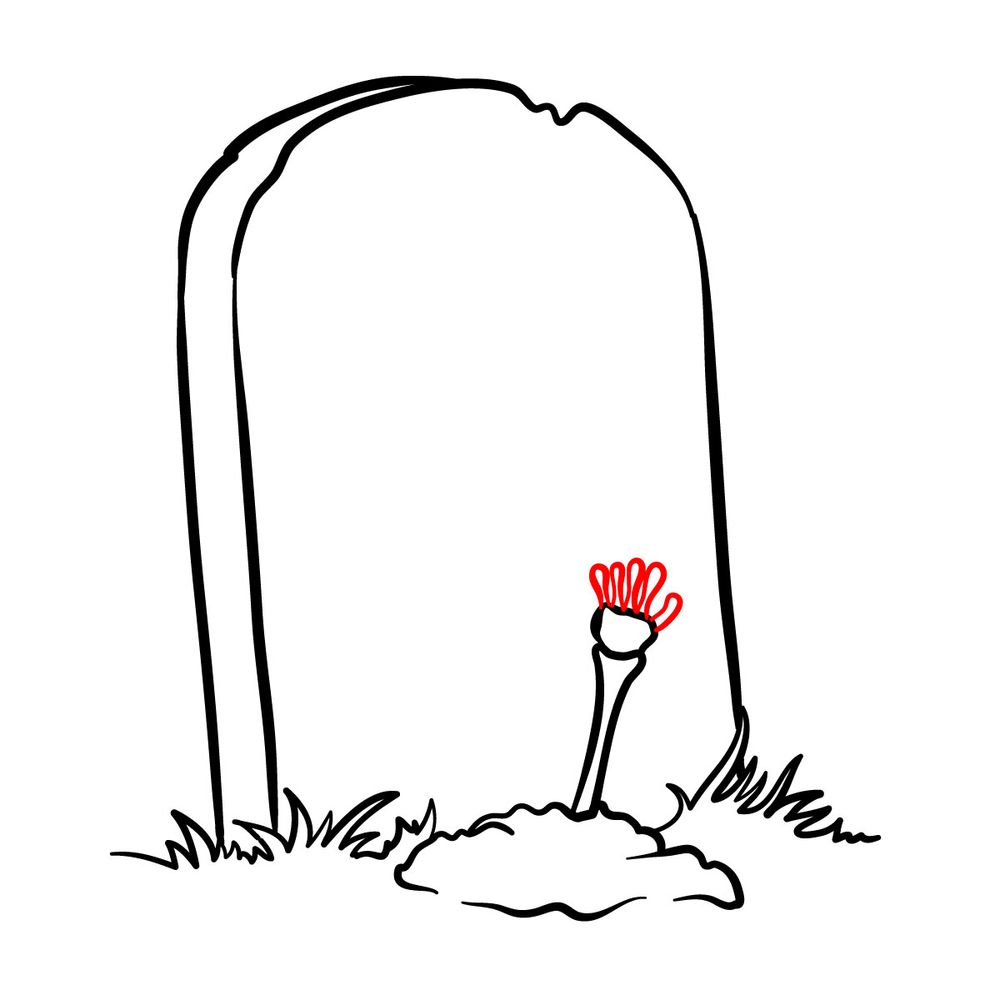
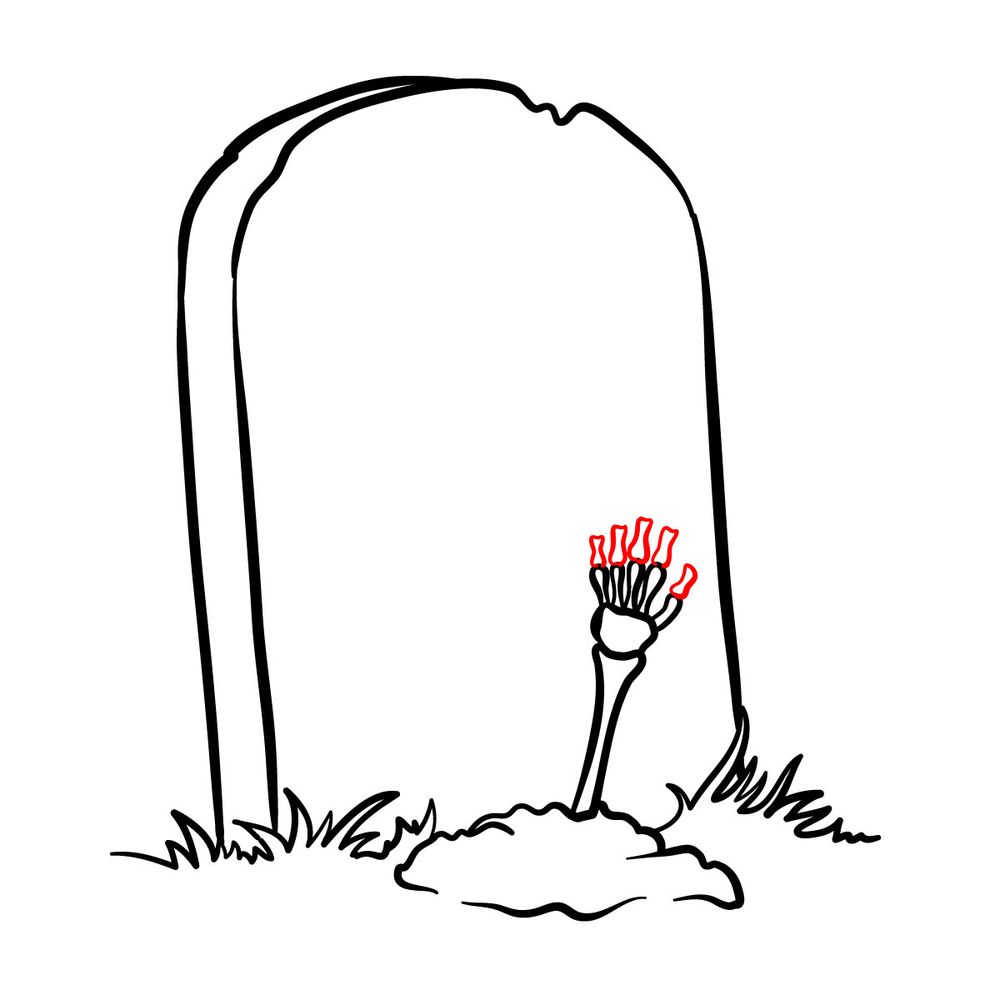
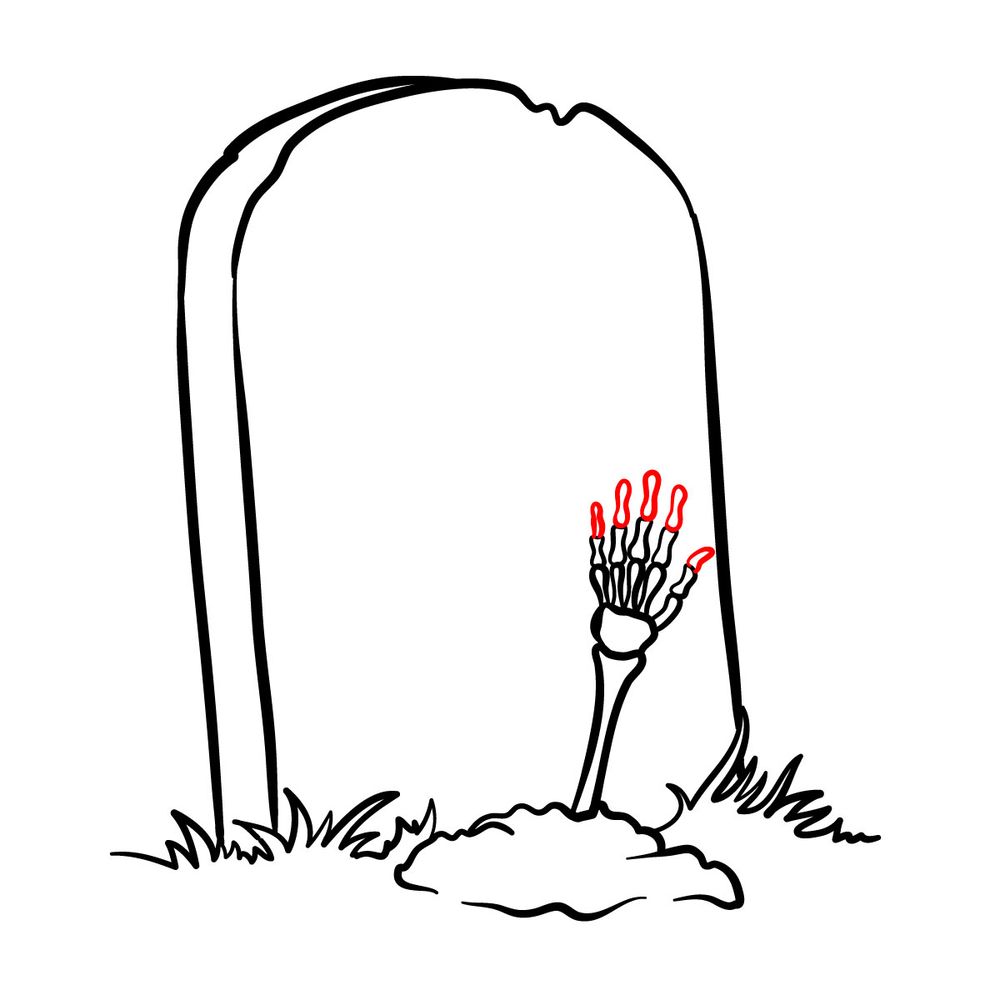
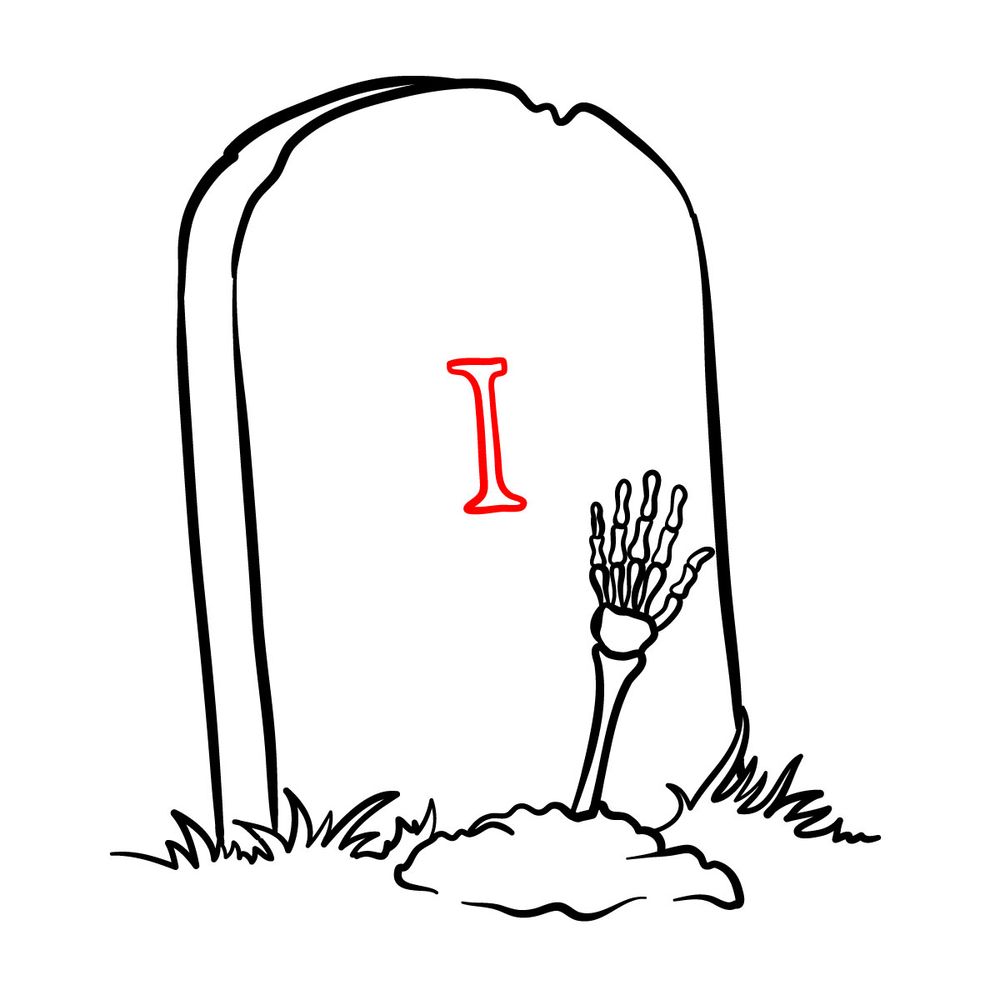
This guide, spanning 15 detailed steps, ensures you grasp every nuance of the drawing. Our color-coding system is devised to streamline the process:
- Red Color: Denotes the current drawing step you should be concentrating on.
- Black Color: Illustrates the previously sketched lines, guiding your progress.
Once the sketch is completed, if desired, you can ink over your drawing. It’s imperative to allow the ink to dry completely before gently erasing the pencil marks to maintain clarity and avoid smudging.


Working through how to draw a Tombstone with a Skeleton Arm can feel a little tricky at first, especially getting the bony fingers and the cracked stone to look right together, but a lot of those shapes tend to click on a second pass. Give it another run if something felt off the first time around. If you want a steady flow of new guides like this one, the signup form at the top of the page will drop a weekly batch of fresh Monsters And Fantasy Creatures tutorials right into your inbox.