Introduction: Becoming a Dhampir Artist
Unleash your inner vampire hunter and learn how to draw Blade, the iconic dhampir from Marvel Comics. Known for his unique physiology and unmatched skills in battling vampires, Blade has captured the imagination of comic book fans for decades. In this tutorial, you’ll follow a step-by-step guide to bring the character to life.
The Dhampir’s Tale: Blade’s Origins and Appearance
Blade, also known as Eric Cross Brooks, first appeared in The Tomb of Dracula #10 in 1973, created by writer Marv Wolfman and penciller Gene Colan. Born a dhampir, Blade possesses the strengths of both humans and vampires, making him the ultimate vampire hunter. His mission is to rid the world of vampires, and he is well-equipped with an array of weapons, martial arts skills, and a distinctive appearance to help him in his quest.
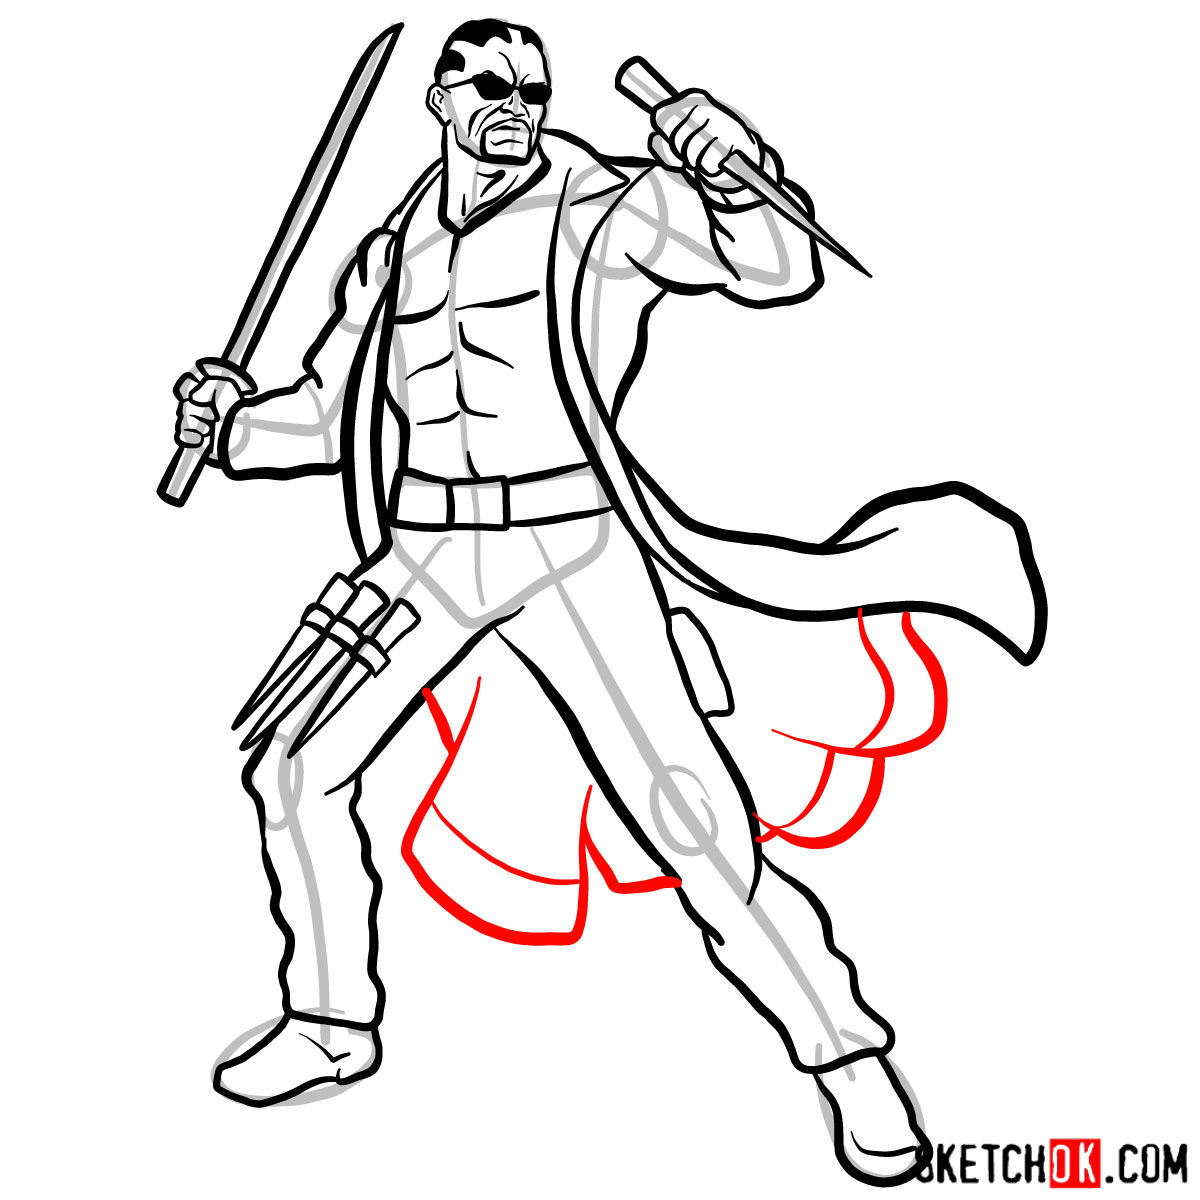
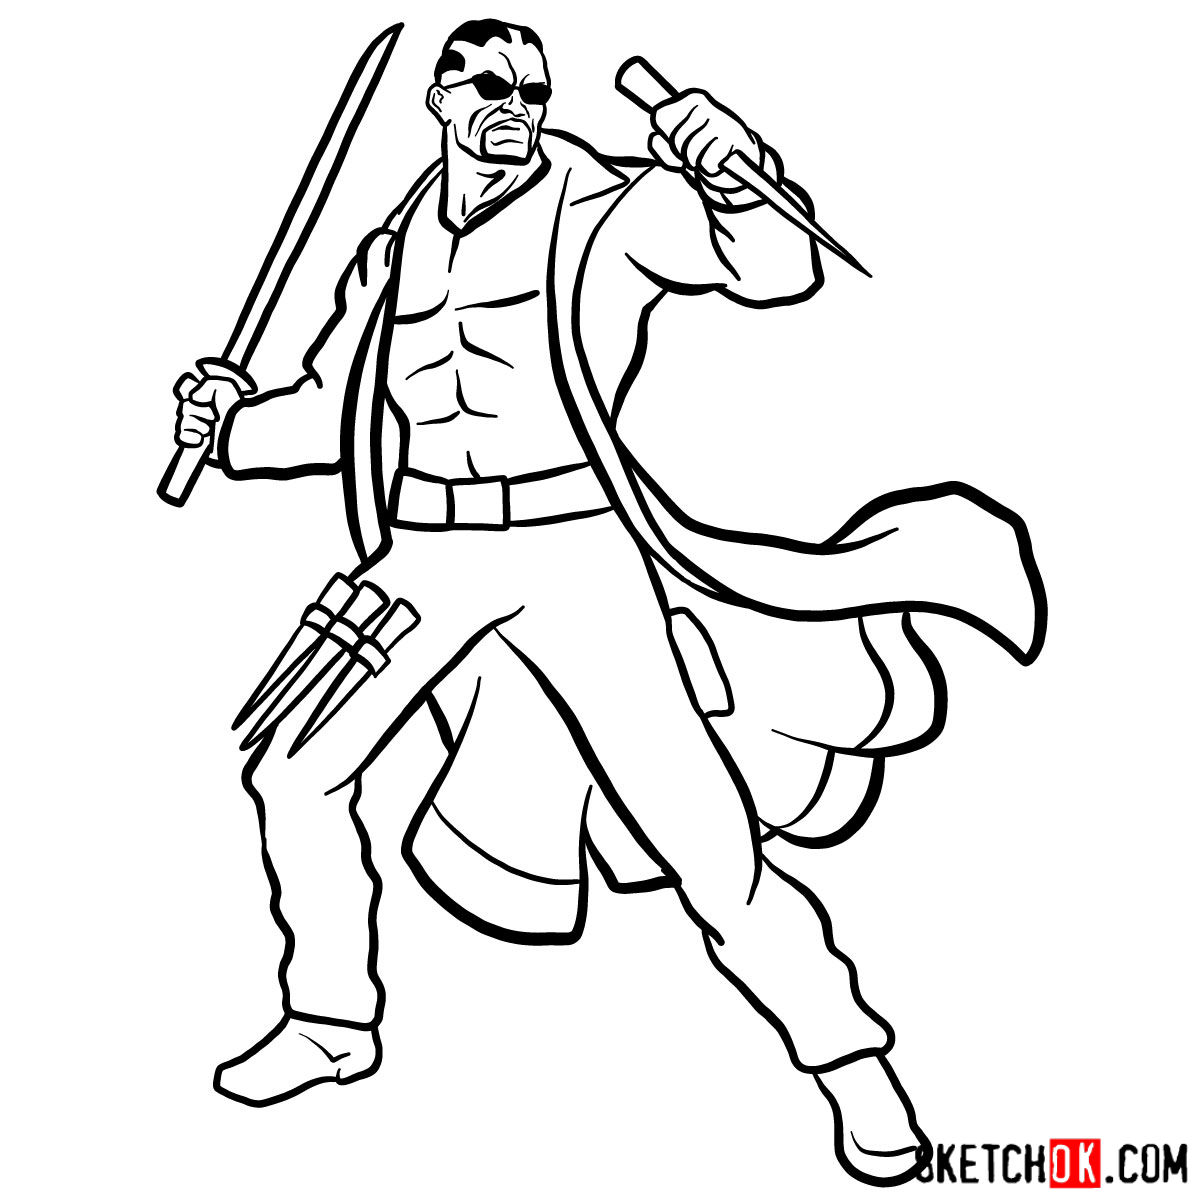
Blade’s appearance is characterized by his trademark black sunglasses, a high-collared leather trench coat, and a bandolier of wooden stakes. His hairstyle, a short flat-top, adds to his unmistakable look. Blade’s signature weapon is a specially-designed sword with a silver blade, perfect for dispatching vampires in style.
Blade’s story has been adapted into various forms of media, including films, television series, and video games. Wesley Snipes portrayed the character in the Blade film trilogy, while Mahershala Ali is set to bring him to life in the Marvel Cinematic Universe (MCU) with an upcoming standalone film.
Tools of the Trade: Materials for Drawing Blade
Before you begin your Blade drawing journey, gather the following recommended materials and tools:
- Pencils (HB, 2B, and 4B)
- Erasers (kneaded and plastic)
- Sharpener
- Quality drawing paper
- Fineliners or ink pens (for inking)
- Colored pencils, markers, or watercolors (for coloring)
Keep in mind that these are just suggestions, and you’re welcome to use any tools you’re comfortable with to create your Blade masterpiece.
Step-by-Step Dhampir Drawing: Unleashing Blade on Paper
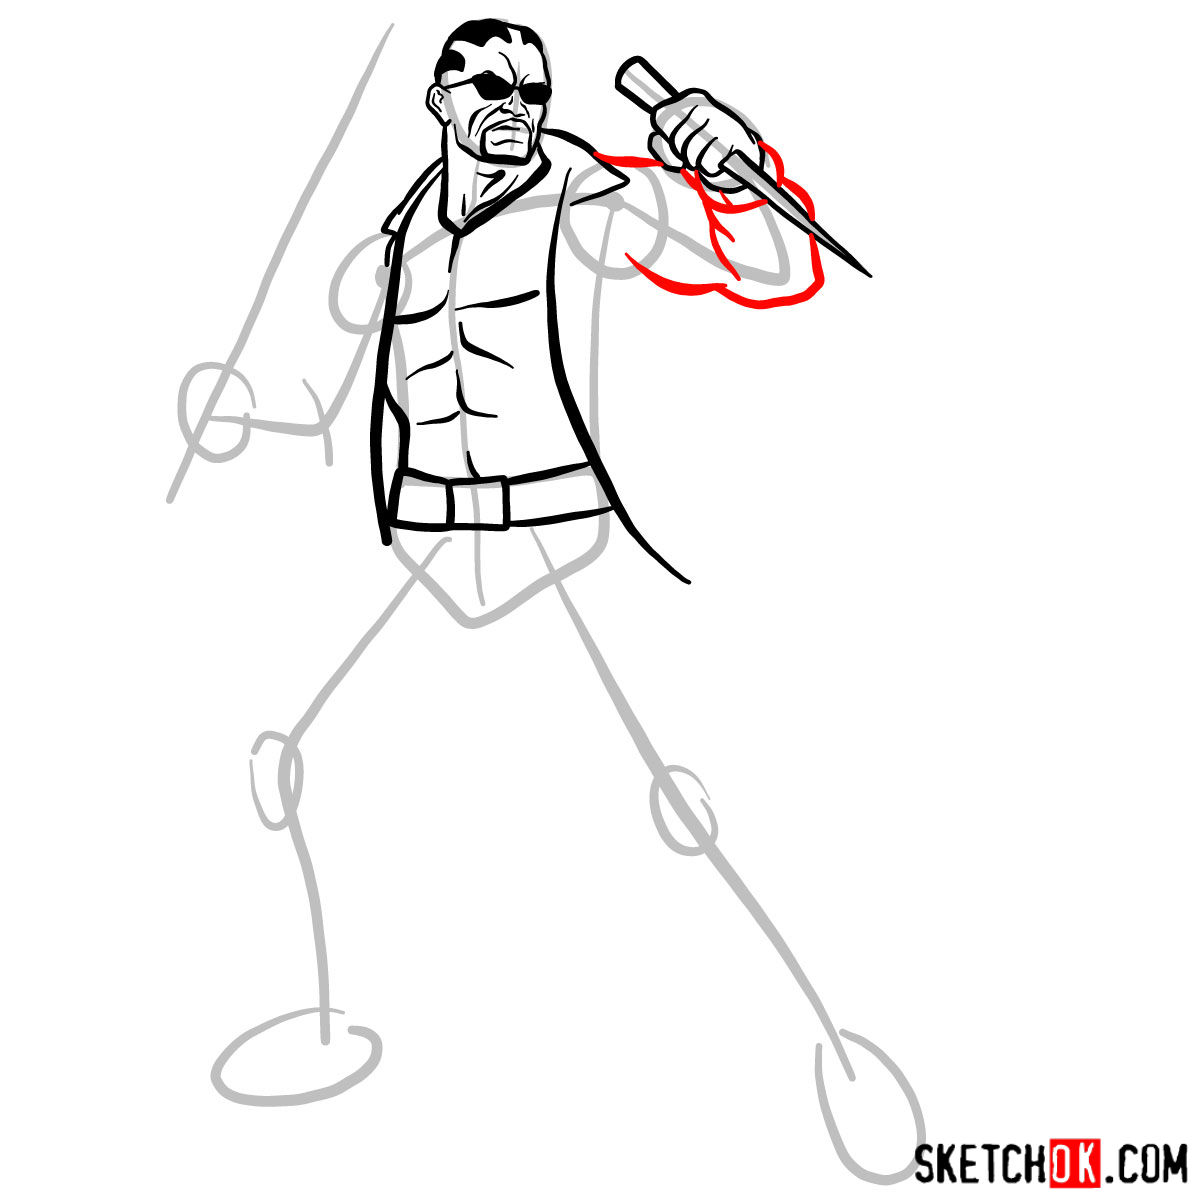
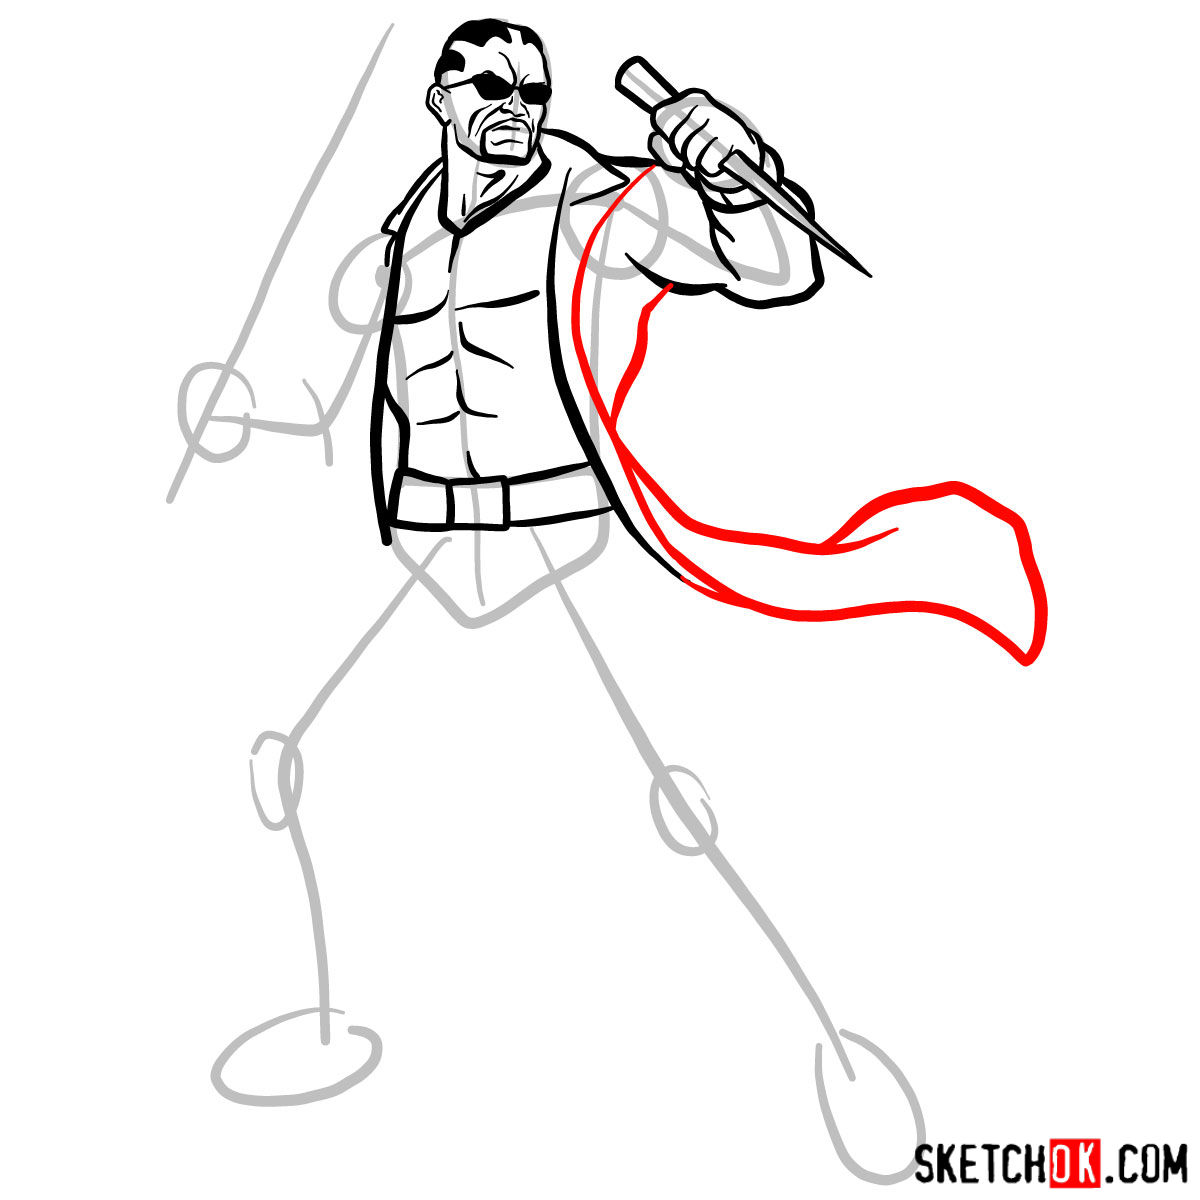
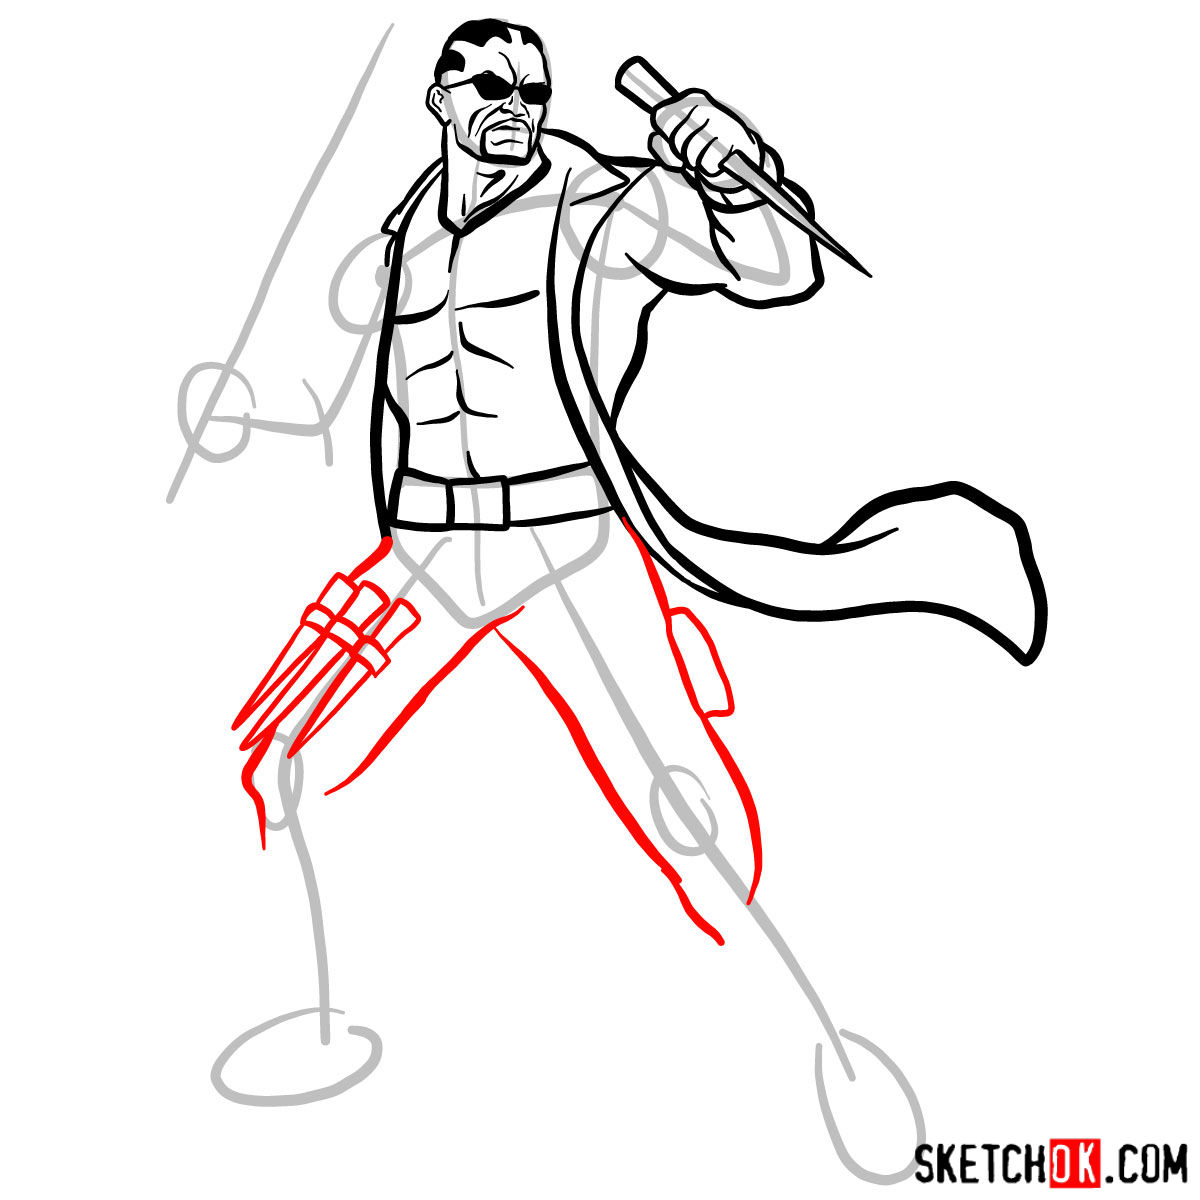
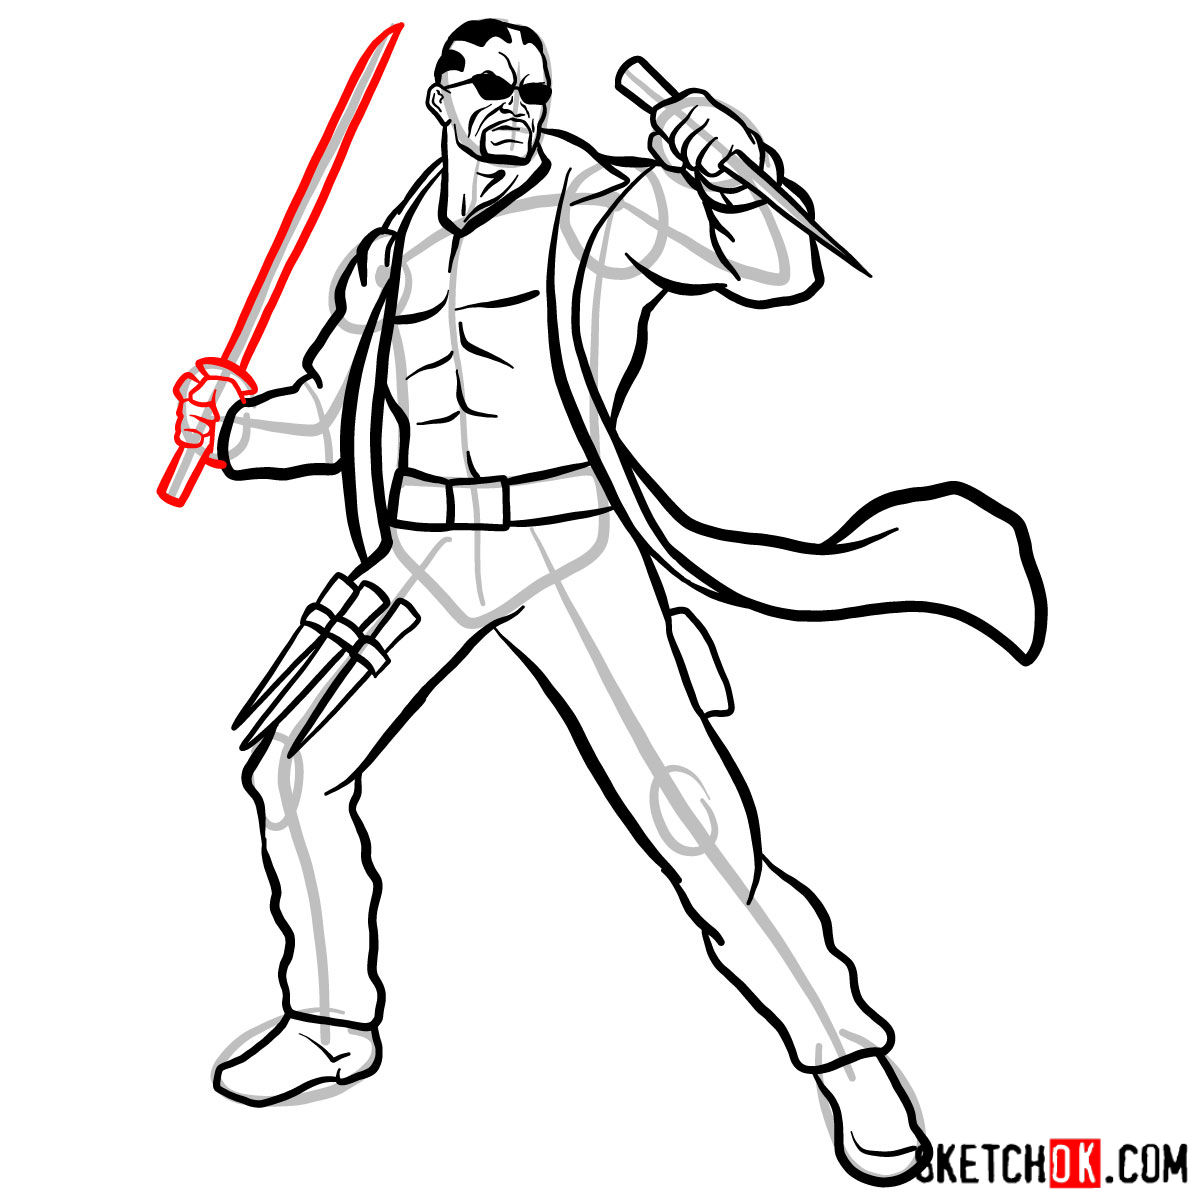
This tutorial features a series of images to guide you through the process of drawing the vampire hunter. The images use three distinct colors: red for the current step, gray for the basic proportion sketch, and black for previously drawn lines.
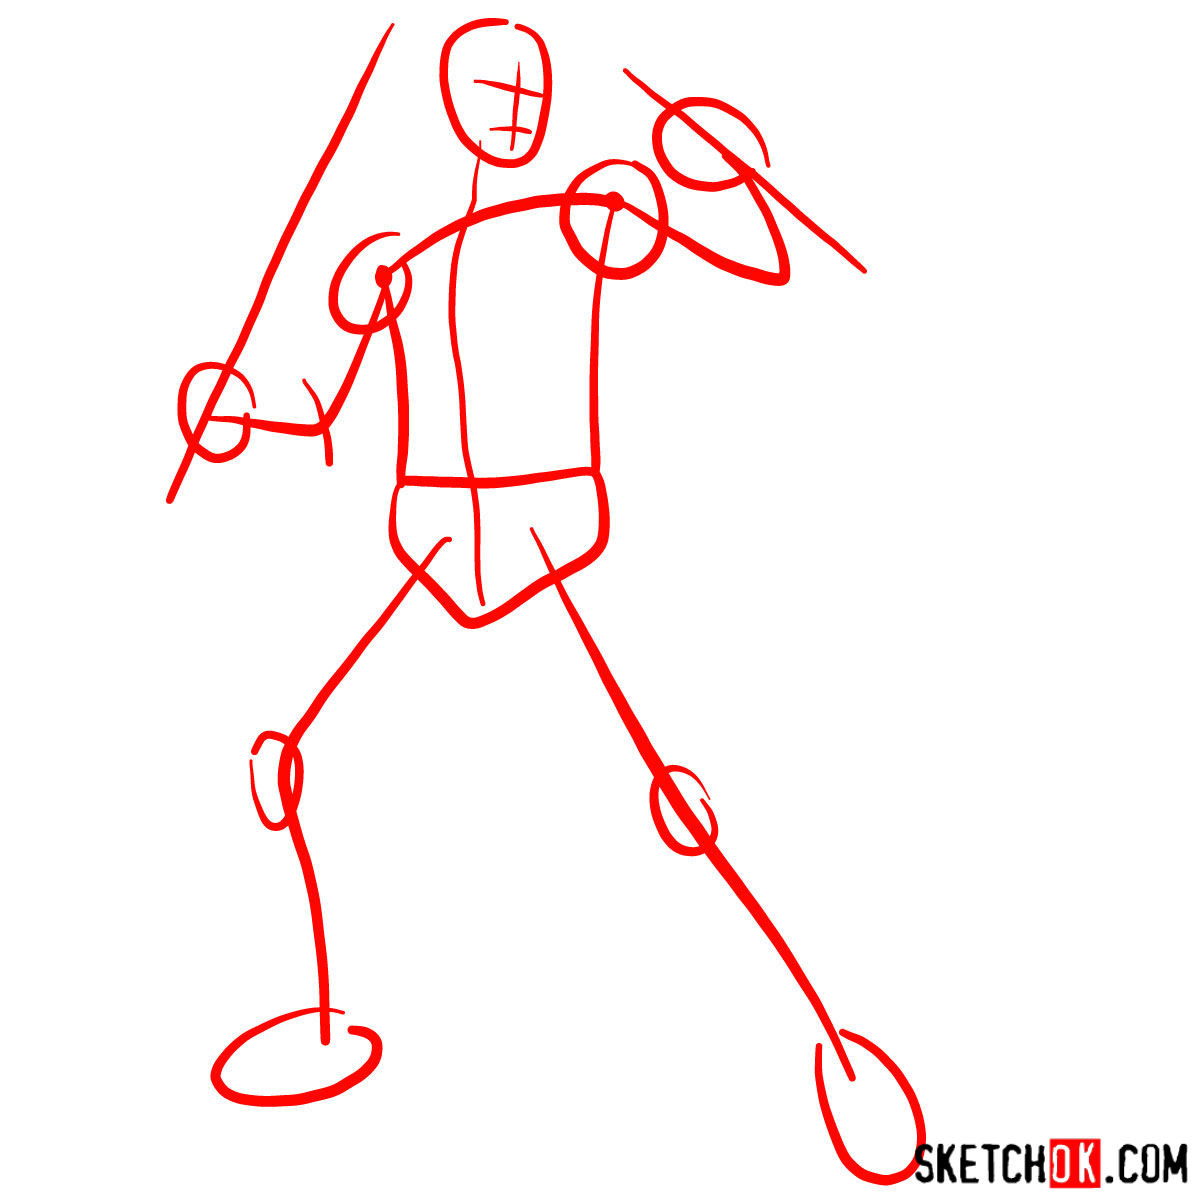
Part 1: Crafting the Dhampir Skeleton
The first step involves creating a basic sketch using light pencil strokes. This fundamental structure will serve as the foundation for Blade’s anatomy and proportions. Keep your strokes light and loose, as you’ll refine the sketch later.
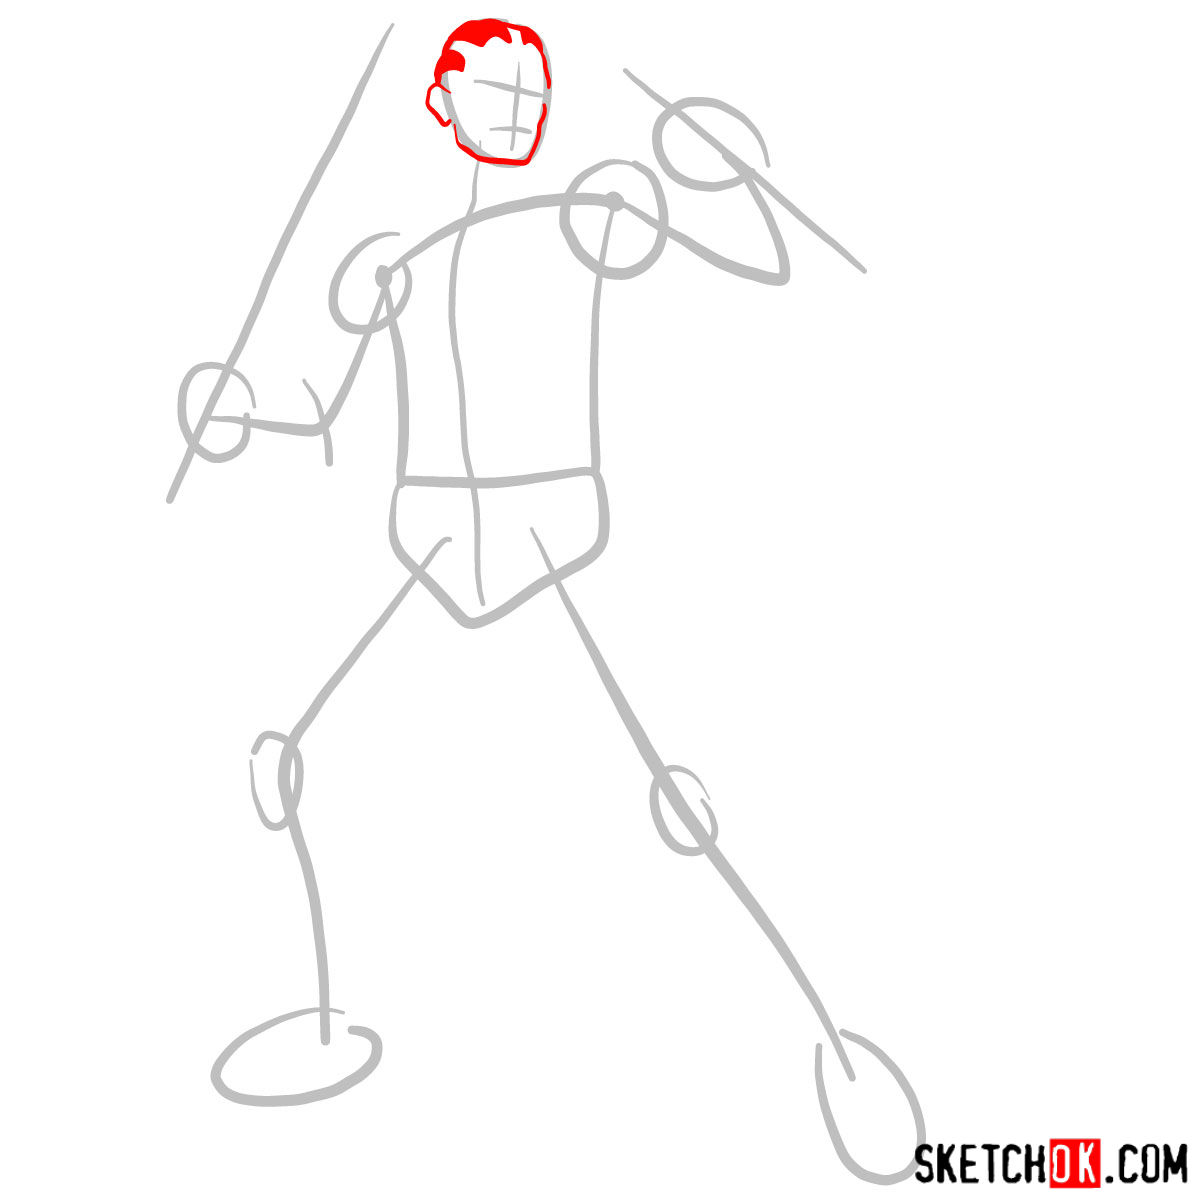
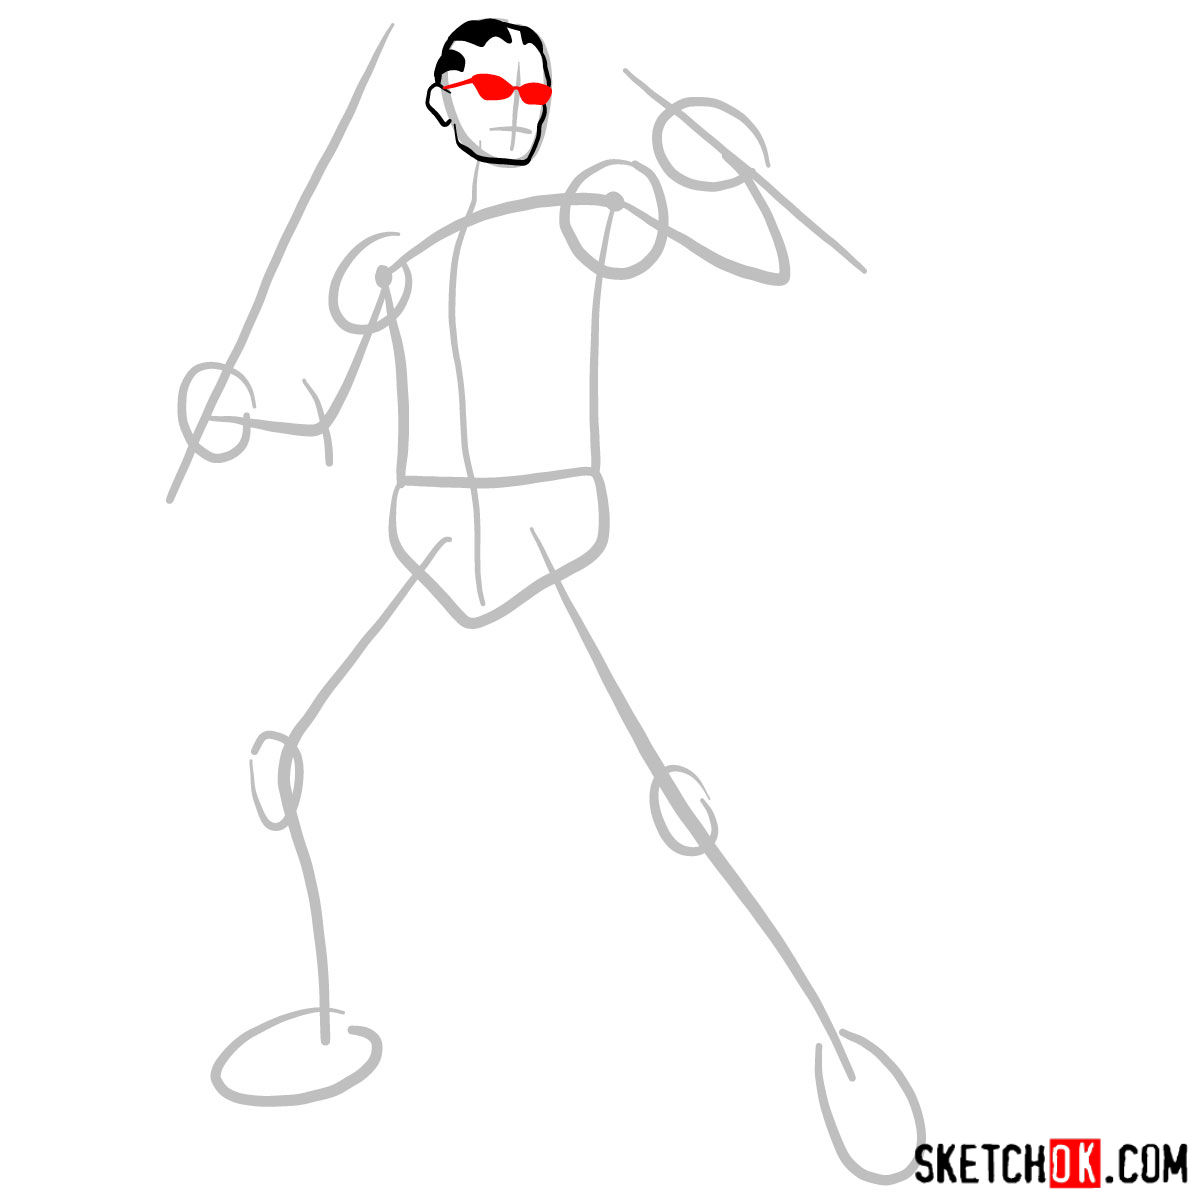
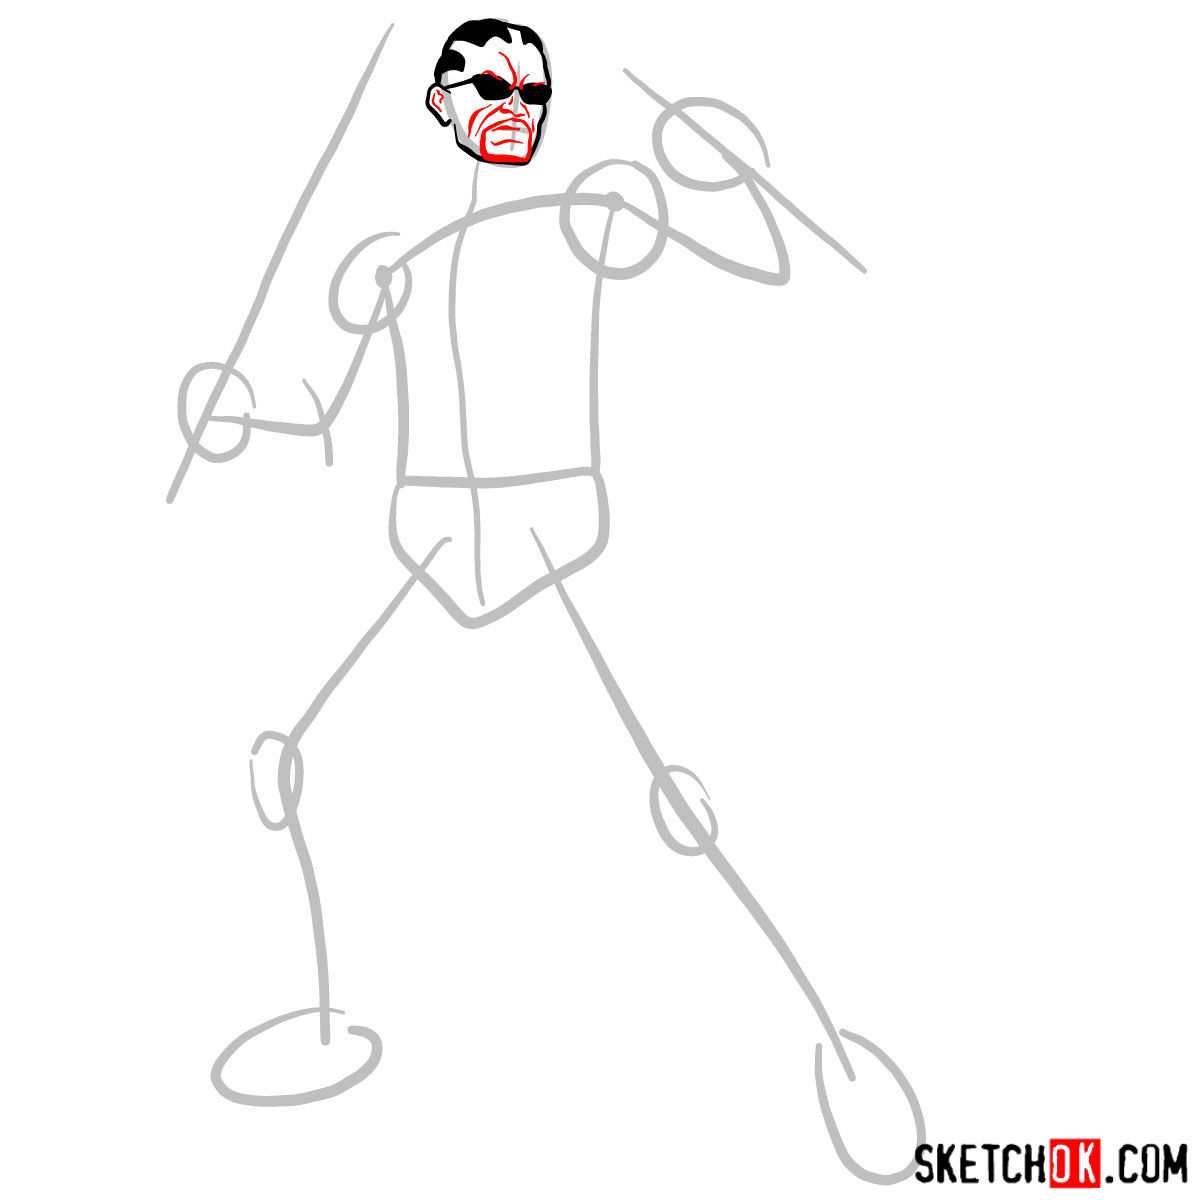
Part 2: Fleshing Out the Vampire Hunter
Once you’ve established the basic structure, it’s time to refine your sketch. Add details such as Blade’s trench coat, bandolier, and signature sunglasses. Don’t forget his iconic flat-top hairstyle and facial features. Pay close attention to the proportions and correct them if necessary.


Part 3: Inking Blade’s Legacy
With the refined sketch in place, proceed to ink your drawing. Use fineliners or ink pens to outline Blade’s form, adding depth and definition to his appearance. Make sure to carefully trace over your pencil lines, enhancing the details and bringing your character to life.
Part 4: Breathing Life into Blade with Color and Shading
The final step involves coloring and shading your drawing. Choose your preferred medium – colored pencils, markers, or watercolors – and apply color to his attire, skin, and weaponry. Add shading and highlights to give your artwork a three-dimensional appearance, making Blade look ready to take on any vampire threat.

Dhampir Drawing Wisdom: Tips and Techniques
Enhance your drawing with these additional tips and techniques:
- Practice sketching Blade’s unique features, such as his sunglasses and trench coat, separately before incorporating them into your drawing.
- Study the anatomy and proportions of the human body to help you create a more accurate and believable character.
- Experiment with different shading techniques, such as hatching and cross-hatching, to add depth and dimension to your drawing.
- Try different coloring mediums and techniques to find the style that suits you best.
- Be patient and allow yourself time to practice and improve. Remember, even Blade wasn’t born a master vampire hunter – he trained and honed his skills over time.
Frequently Asked Questions
What should I focus on when drawing Blade’s face?
When drawing Blade’s face, pay special attention to his strong jawline, high cheekbones, and flat-top hairstyle. His signature sunglasses should sit comfortably on the bridge of his nose, with his eyes hidden behind the dark lenses. Make sure to include his stern, determined expression to convey his unwavering resolve as a vampire hunter.
How can I make Blade’s trench coat look more realistic?
To make Blade’s trench coat look more realistic, study the way fabric folds and drapes on the body. Consider the weight and texture of leather, and try to replicate those qualities in your drawing. Pay attention to the way the coat moves with Blade’s body and how it interacts with his other clothing items and accessories.
Congratulations on completing your Blade drawing! Now that you’ve learned how to draw this legendary vampire hunter, don’t stop here, the Ghost Rider and John Constantine are looking for your attention. Continue to practice and explore the world of Marvel characters. Share your artwork with others, and support fellow artists by checking out their tutorials and donating on Buy Me a Coffee.
Remember, every artist has their unique journey – much like Blade’s eternal quest to rid the world of vampires. Keep honing your skills and share your passion for drawing with the world. Good luck, and happy hunting!