Last Updated on May 14, 2026
Introduction: Shrink Your Drawing Fears and Grow Your Skills
Are you ready to dive into the tiny world of superheroes and learn how to draw Ant-Man? Perfect! In this step-by-step drawing tutorial, we’ll guide you through the entire process, from the basic sketch to the final, polished illustration. We’ll also share some interesting facts about this iconic Marvel character. By the end of this tutorial, you’ll not only have a fantastic Ant-Man drawing but also a deeper understanding of the character’s history and legacy.
Ant-Man: A Tale of Many Sizes
Ant-Man is a superhero persona created by Marvel Comics legends Stan Lee, Larry Lieber, and Jack Kirby. Since his first appearance in 1962, various characters have taken up the mantle, including the brilliant scientist Hank Pym, who also adopted other superhero identities such as Giant-Man, Goliath, and Yellowjacket. Later on, reformed thieves Scott Lang and Eric O’Grady continued Ant-Man’s legacy. As a founding member of the Avengers, this superhero has appeared in numerous comic books and movies, proving that size truly doesn’t matter when it comes to heroics.
Assemble Your Artistic Arsenal
Before we embark on this drawing adventure, let’s gather the recommended materials and tools:
- Pencil: For sketching and refining your drawing
- Eraser: To clean up any mistakes or stray lines
- Inking pen or fine-tip marker: For outlining and adding definition
- Colored pencils, markers, or paints: For bringing your Ant-Man to life with vibrant colors
- Drawing paper: A smooth surface for your masterpiece
Remember, these are just recommendations. Feel free to use any tools that make you feel comfortable and inspired!
A Step-by-Step Guide to Drawing Ant-Man
In this tutorial, we’ll break down the drawing process into four manageable parts. Remember that the red color in the guide images represents the current drawing step, the grey color shows the basic proportions sketch, and the black color indicates the previously drawn lines.
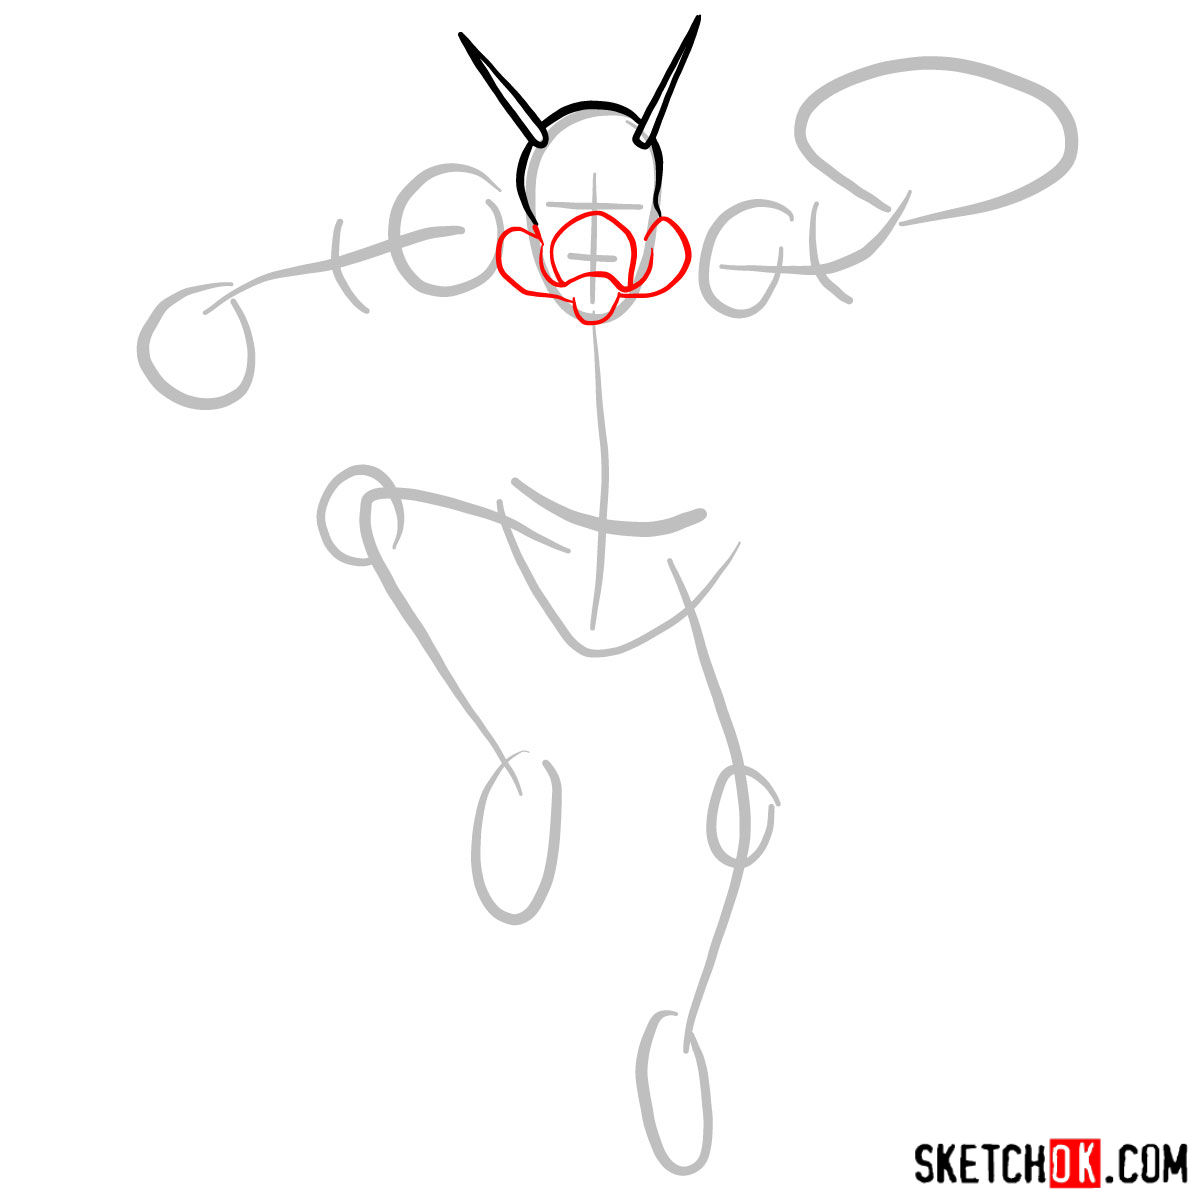
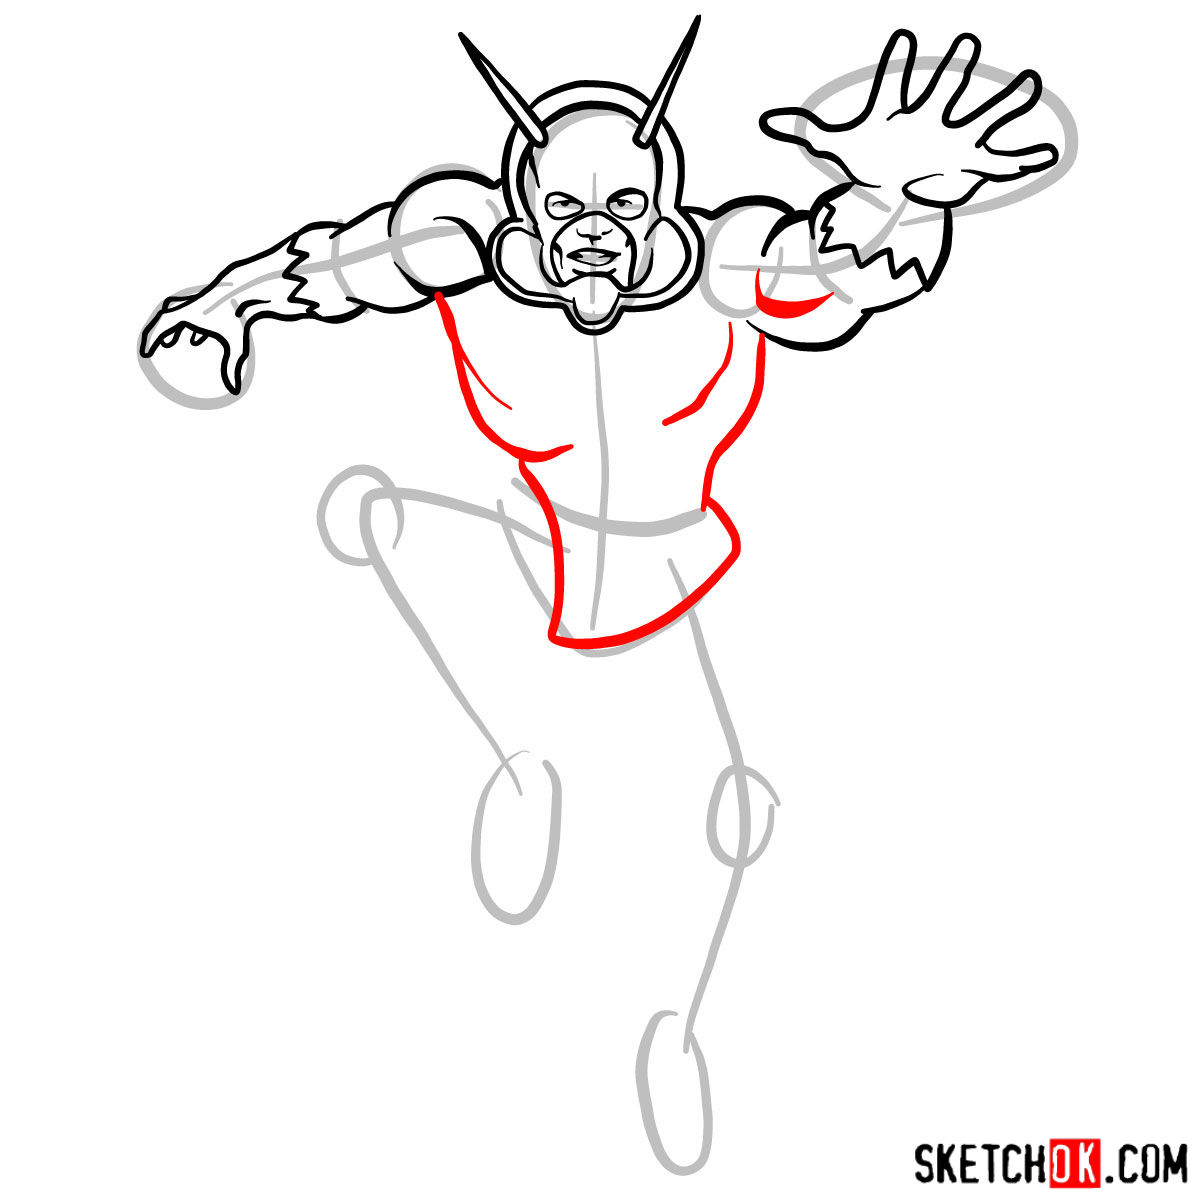
Part 1: Sketching the Ant-Sized Foundation
The first step in drawing Ant-Man is creating a basic sketch to establish the character’s proportions. Use light pencil strokes to lay the foundation for your drawing, as you’ll be refining and building upon this sketch in the next steps. At this stage, focus on capturing the overall shape and structure of the character.
Keep in mind that this initial sketch doesn’t have to be perfect – it’s simply a guide to help you refine your drawing later on. Be patient with yourself and remember that practice makes perfect, whether you’re drawing Ant-Man, Spider-Man, or any other superhero.

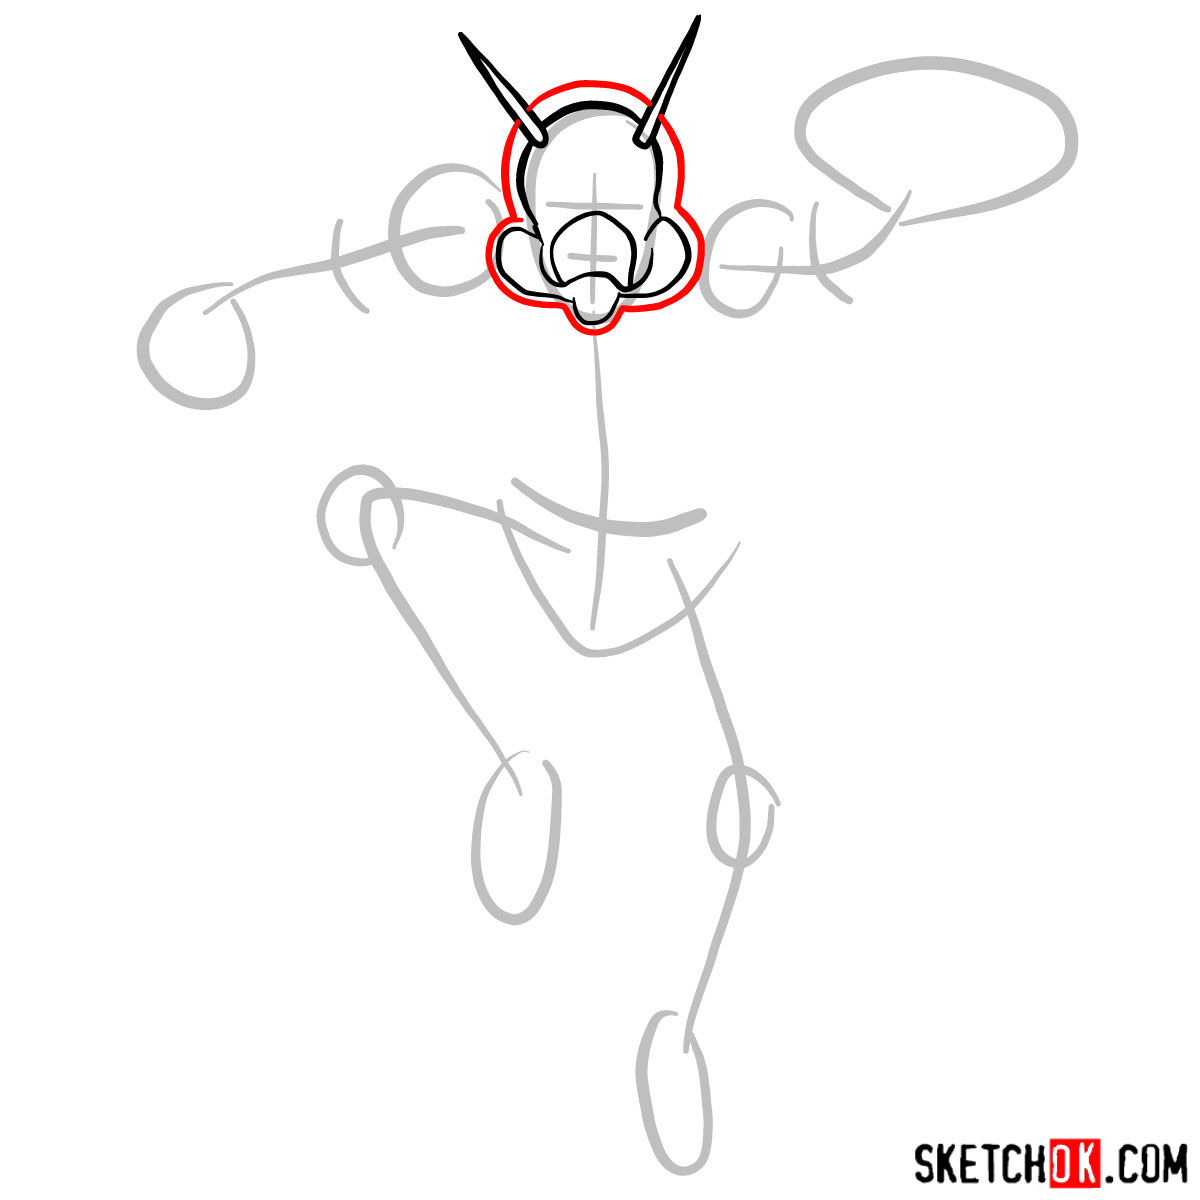
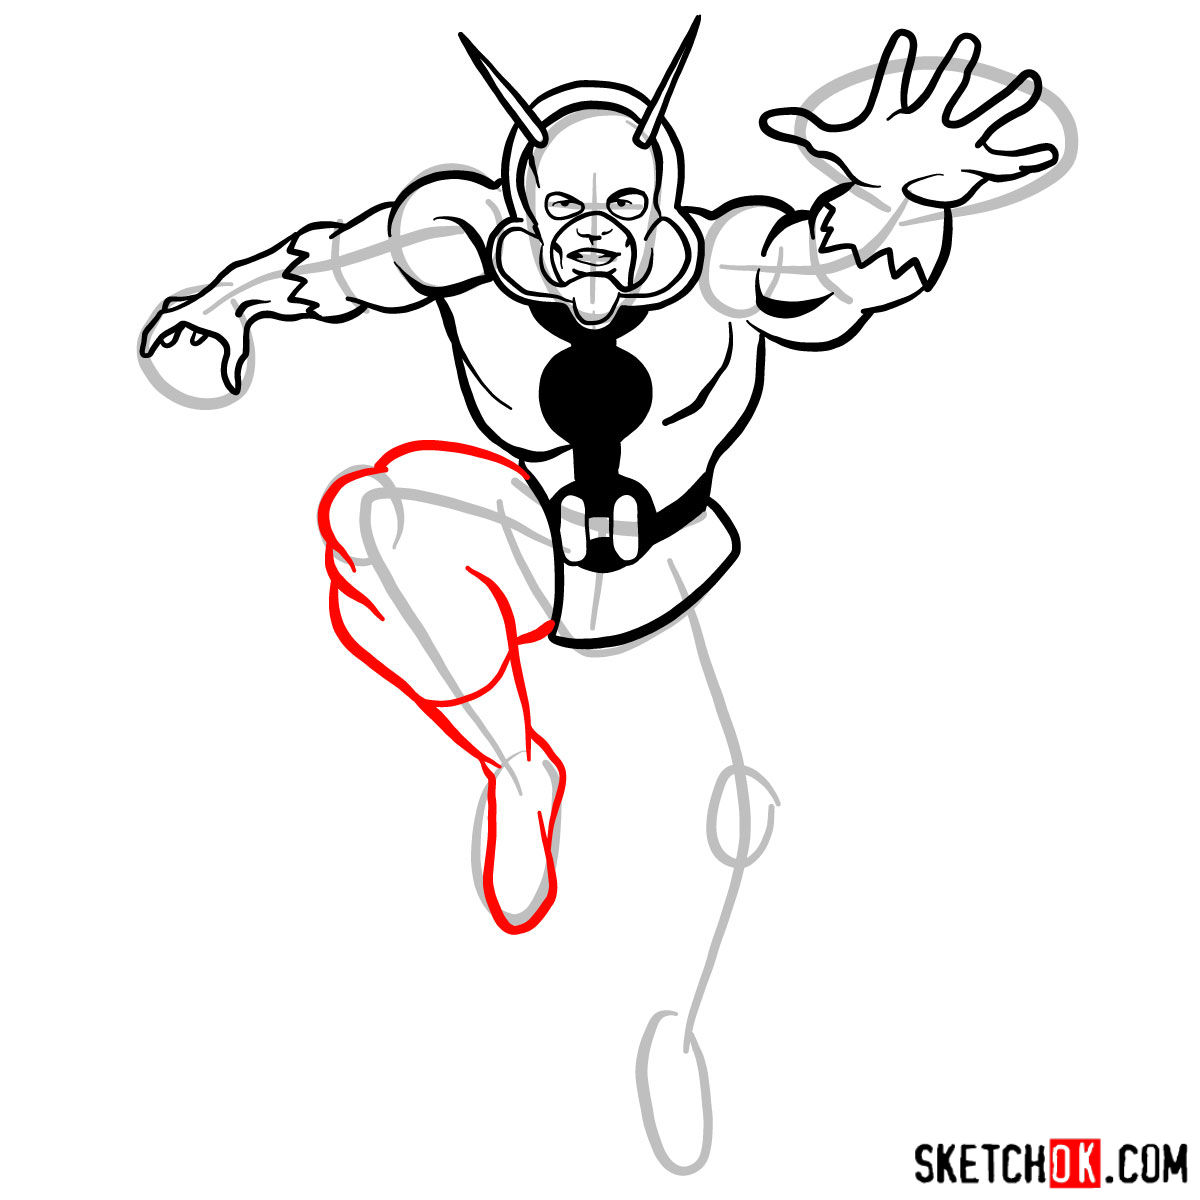
Part 2: Refining the Insect-Sized Details
With your basic sketch in place, it’s time to refine your drawing by adding details and improving proportions. Carefully study Ant-Man’s costume and features, and make any necessary adjustments to your sketch. This step is crucial for ensuring that your drawing accurately captures the character’s iconic appearance , including elements like his helmet, suit patterns, and any additional accessories.
Take your time and be patient during this step, as capturing the unique features of Ant-Man will help bring your drawing to life. Don’t get discouraged if your sketch isn’t perfect on the first try – even the greatest artists need time to hone their skills.


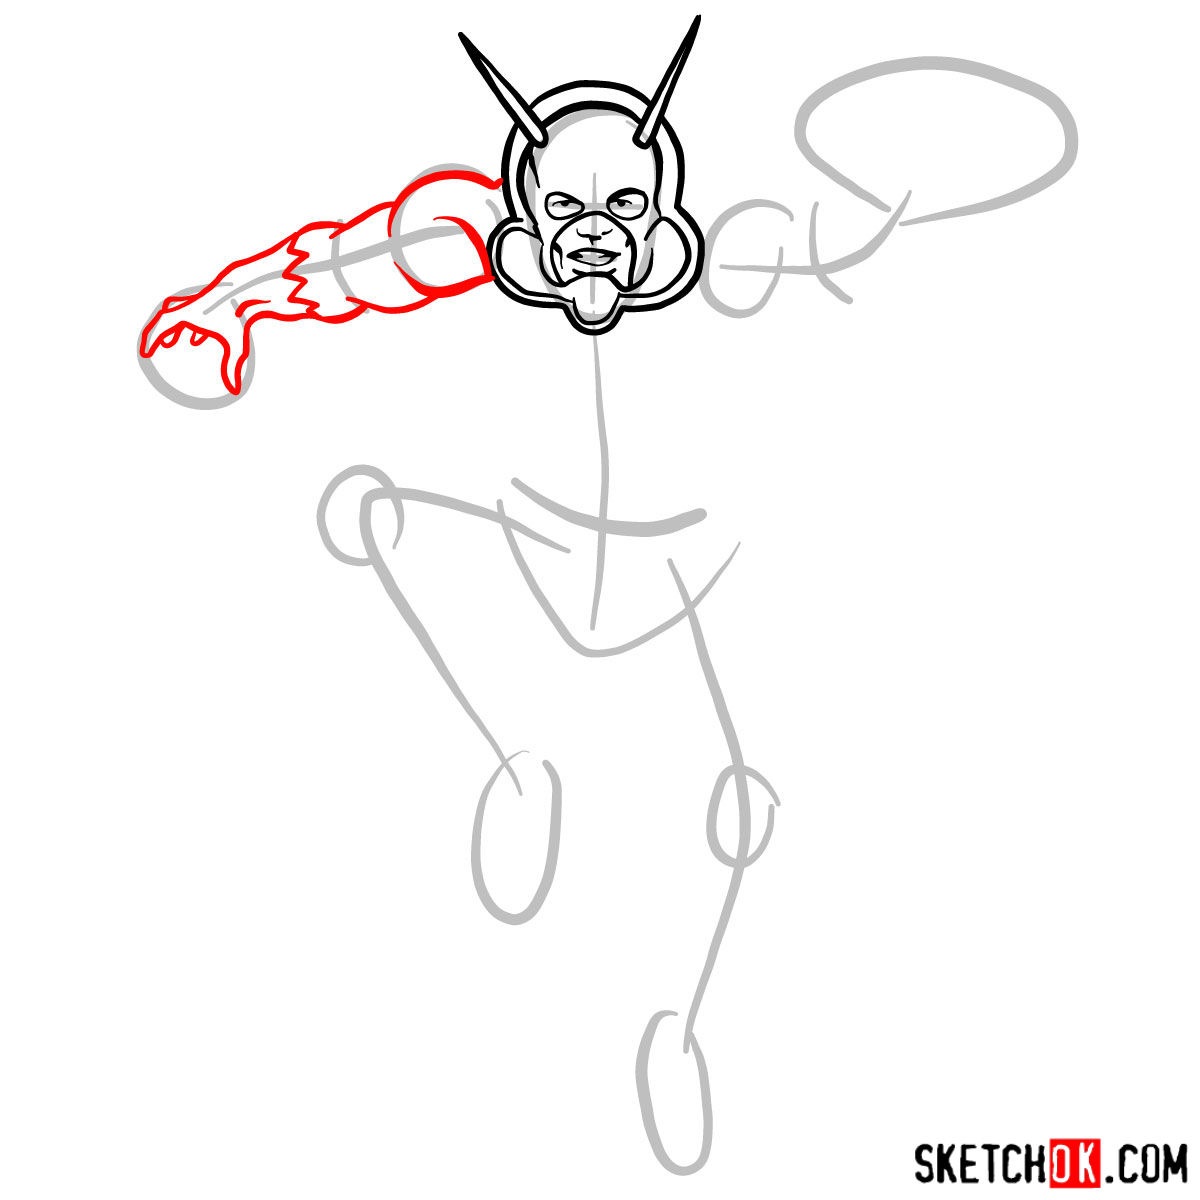
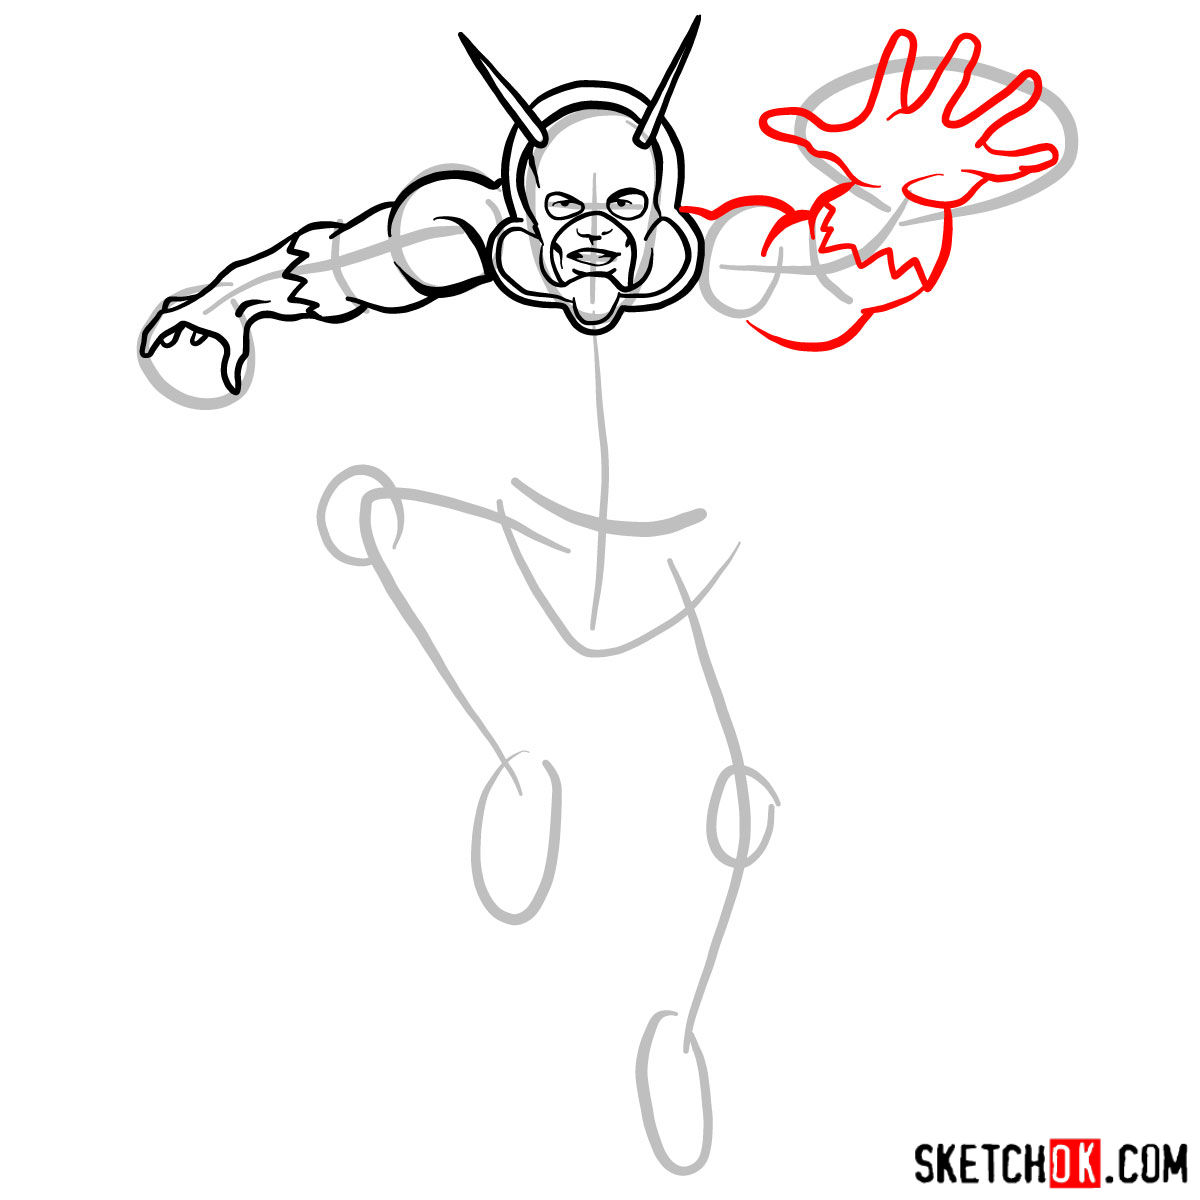


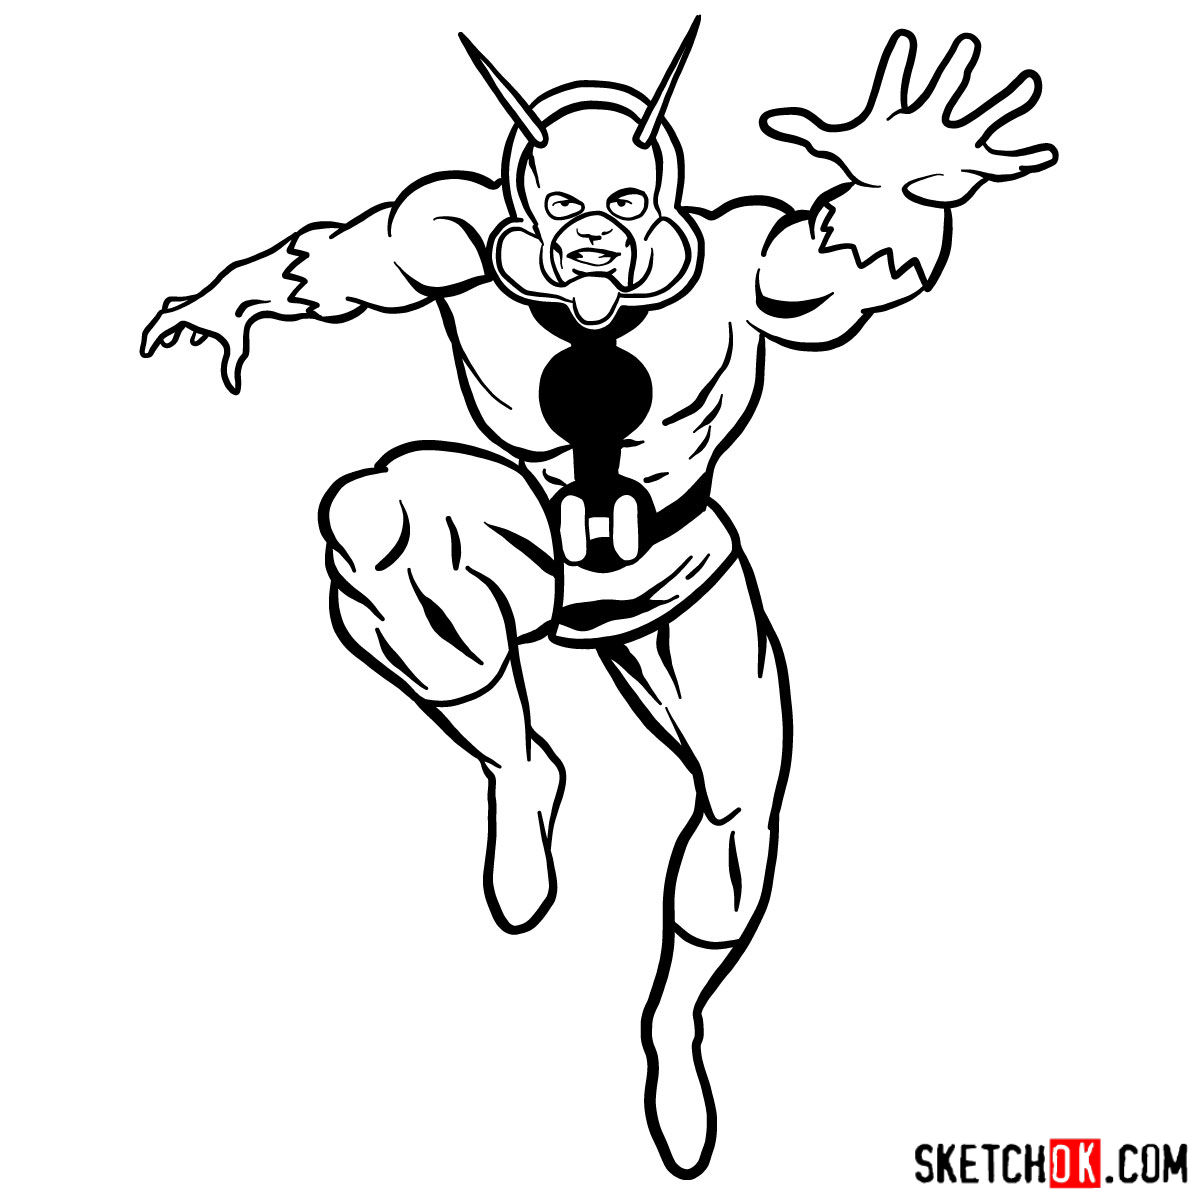
Part 3: Inking the Tiny Titan
Once you’re satisfied with your refined sketch, it’s time to add ink to your Ant-Man drawing. Using a fine-tip pen or marker, carefully outline your sketch, adding definition to the character’s features and costume details. This step will help your drawing stand out and give it a polished, professional appearance.
When inking your drawing, keep a steady hand and take your time. Remember to let the ink dry before erasing any pencil lines to avoid smudging your artwork. Inking can be a bit nerve-wracking, especially for beginners, but don’t worry – with practice, you’ll become more confident in your abilities.
Part 4: Coloring and Shading the Miniature Marvel
Now that your Ant-Man drawing is inked and ready, it’s time to bring him to life with color! Choose your preferred coloring medium, such as colored pencils, markers, or paints, and carefully apply color to your drawing. Pay attention to shading and highlights to give your Ant-Man depth and dimension, making him appear more lifelike and dynamic.
As you color your drawing, consider the different lighting scenarios and how they would affect Ant-Man’s appearance. Experiment with various techniques to find the style that best suits your artistic vision, and remember to have fun while you’re at it!
")
Now that you know how to draw Ant-Man, try setting the sketch aside for a day or two and then redraw him from scratch without looking at the steps. That second attempt usually reveals how much you’ve actually internalized, and the lines tend to come out cleaner and more confident. New guides get added to SketchOk regularly, and you can follow along on Pinterest or check the YouTube channel, where video versions of some guides get uploaded over time.