Delve into the fascinating world of animation by learning how to draw one of the classic Hanna-Barbera characters, Peter Potamus. Known for his adventures in The Peter Potamus Show, this endearing hippopotamus has captured the hearts of many since his debut in 1964. Now, it’s your turn to bring him to life through the art of sketching.
Visualizing Peter Potamus: Key Features to Draw
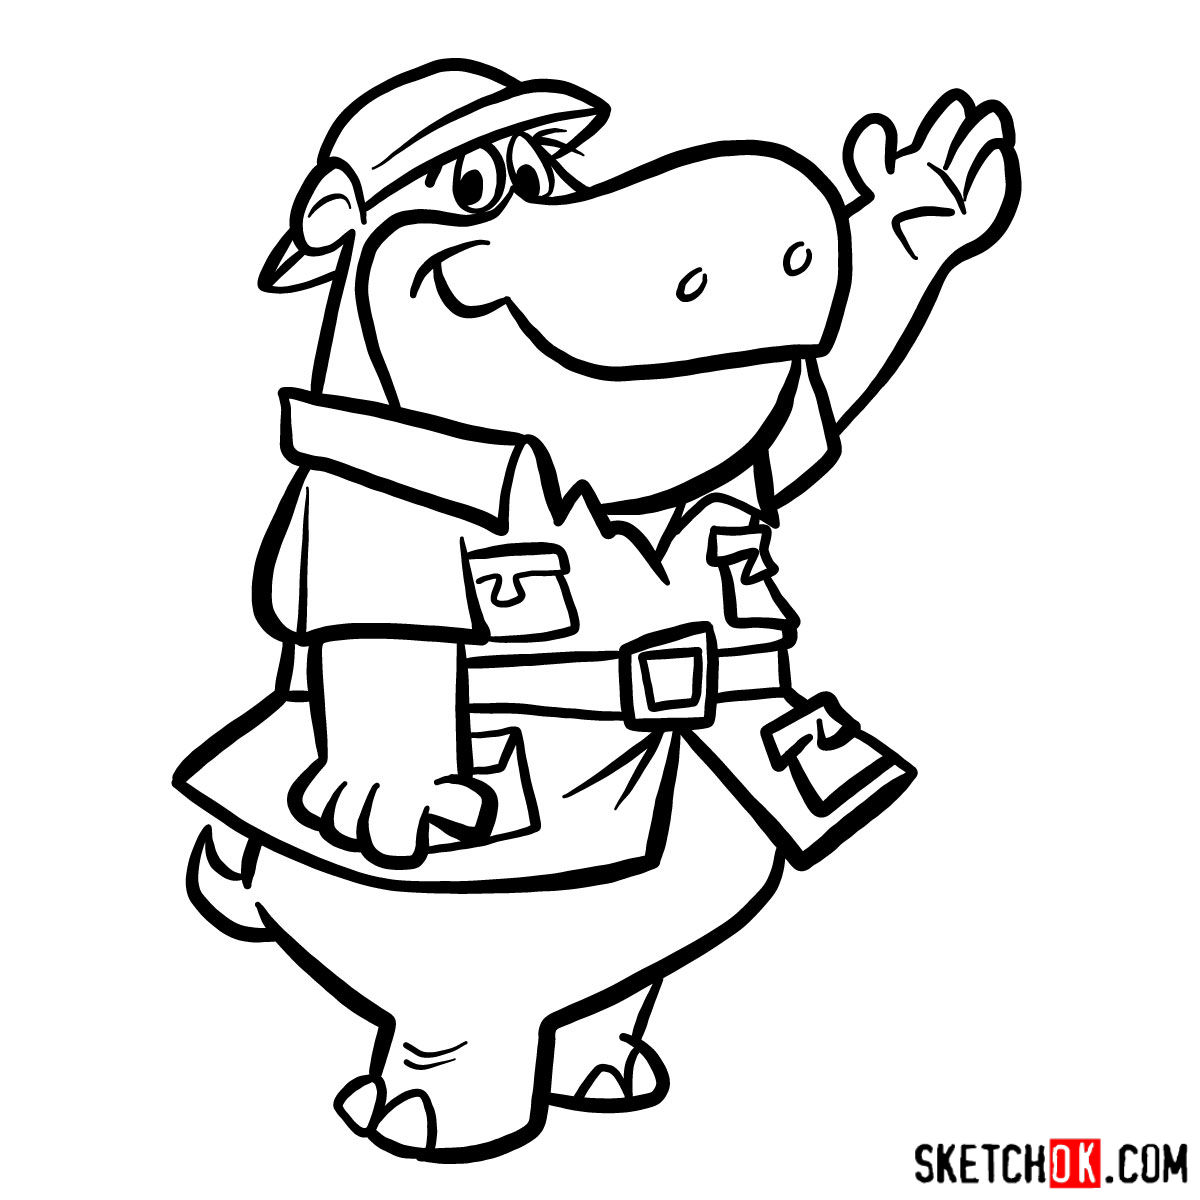
Peter Potamus, a charming, adventurous hippopotamus, has a distinct character design. Here are some key features to keep in mind when sketching:
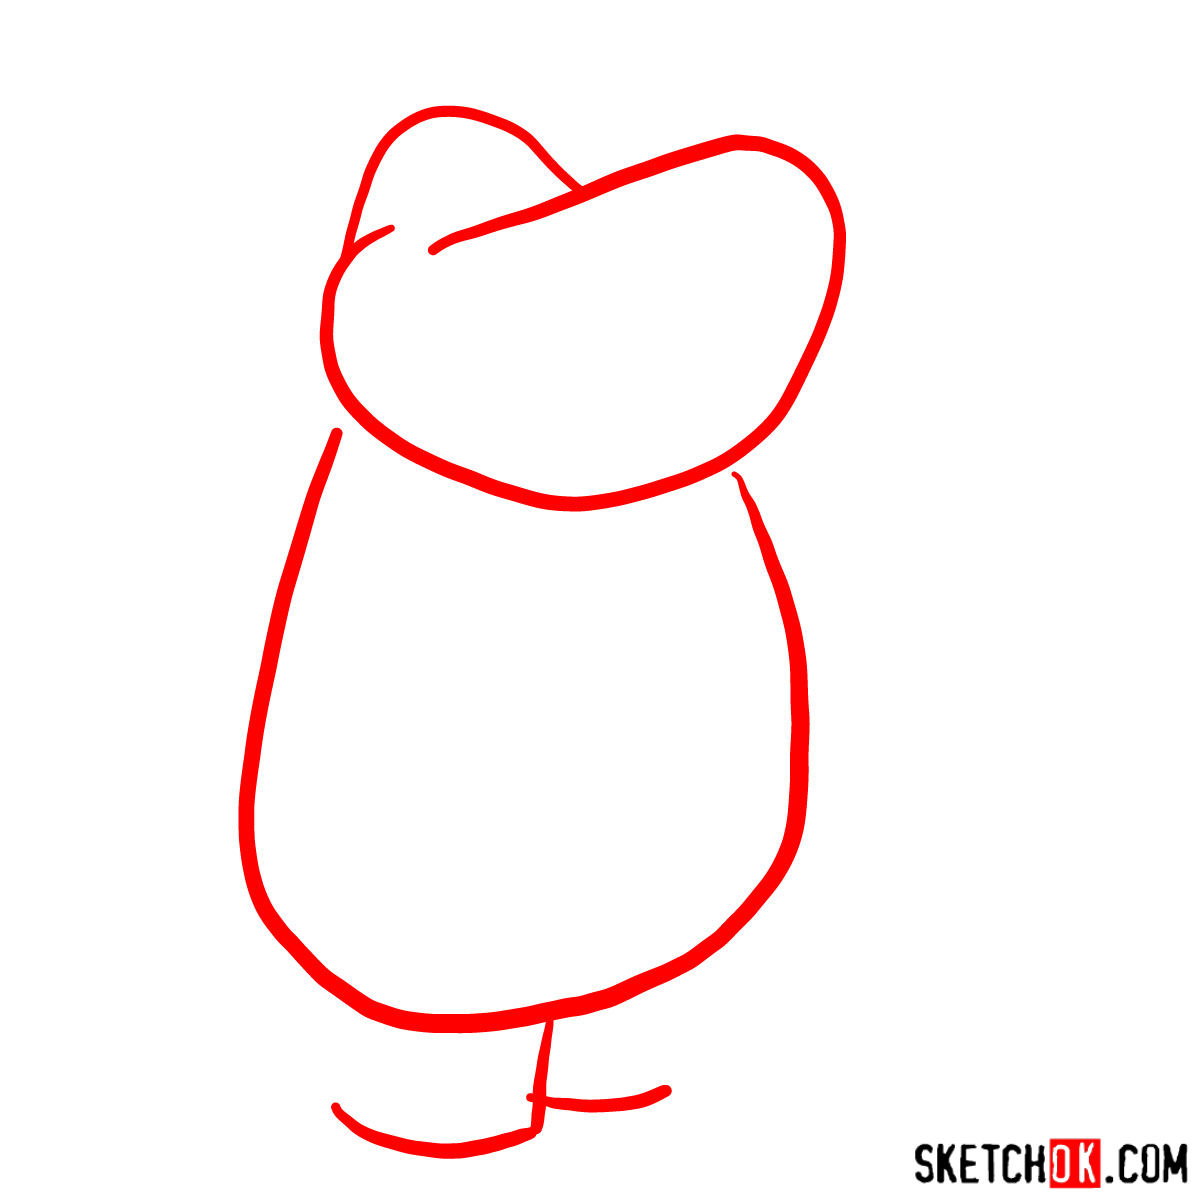
- Peter Potamus is a sizable, rounded figure, reflecting his jovial and lovable nature.
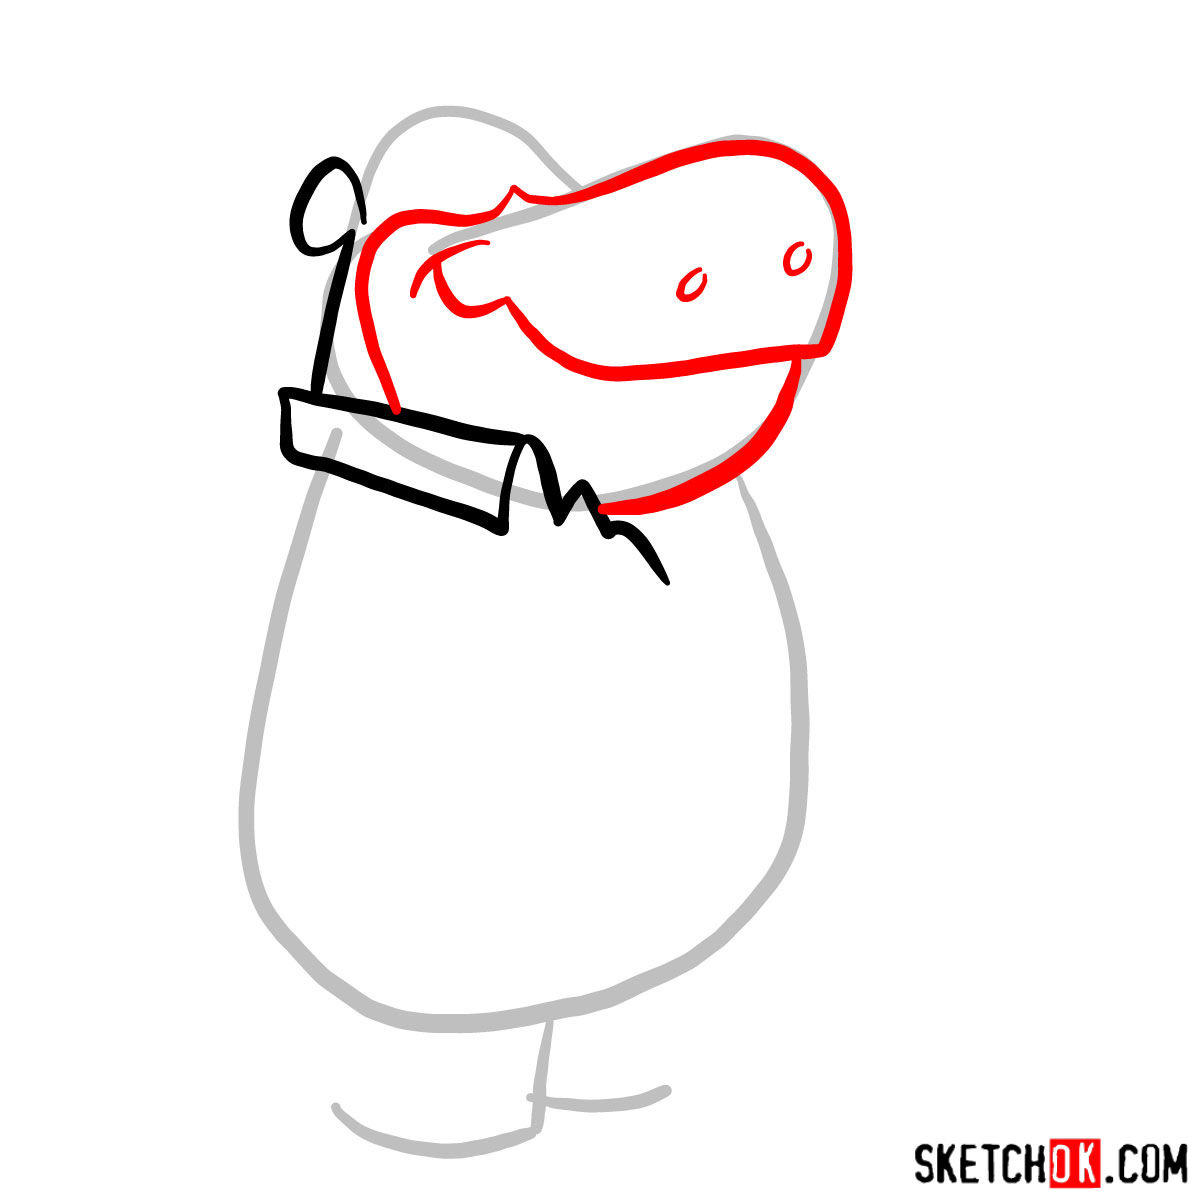
- He has large, expressive eyes that convey his emotions.
- His wide, hearty smile is one of his most iconic features.
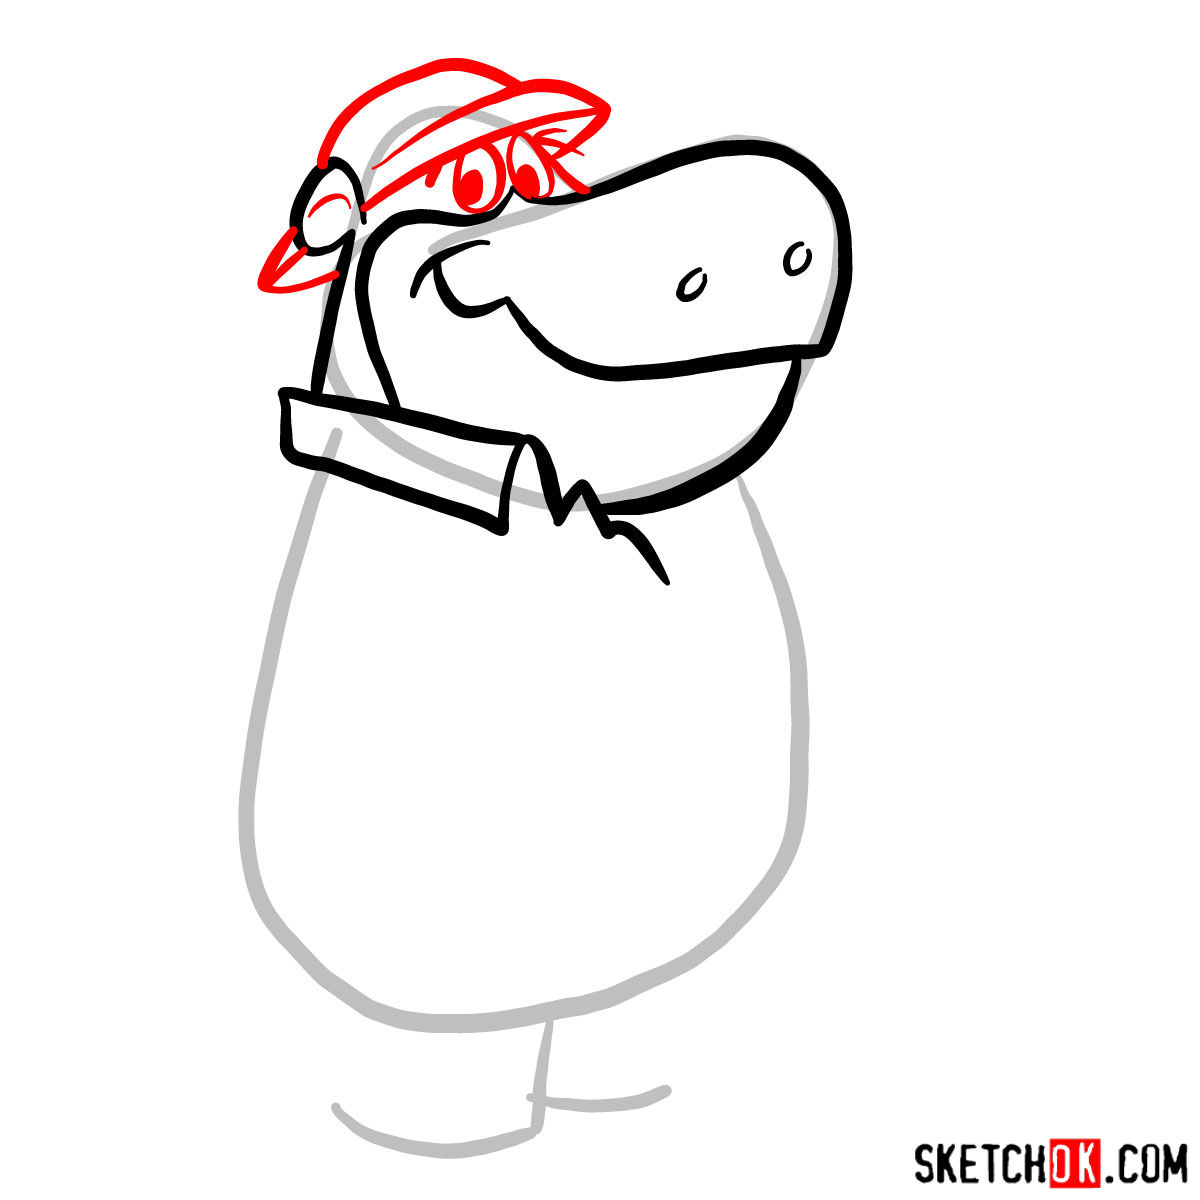
- Don’t forget the signature hat, an integral part of Peter’s attire.
While focusing on Peter Potamus, consider including other characters from the show like Breezly and Sneezly, Yippee, Yappee, and Yahooey t0 create a dynamic sketch filled with nostalgic charm.
Your Guide to Sketching Peter Potamus
Our comprehensive guide is designed to help you navigate the process of sketching Peter Potamus. With 12 steps, we aim to simplify the process while also offering opportunities for customization and creativity.
Here’s a quick rundown of our color-coded instructions:
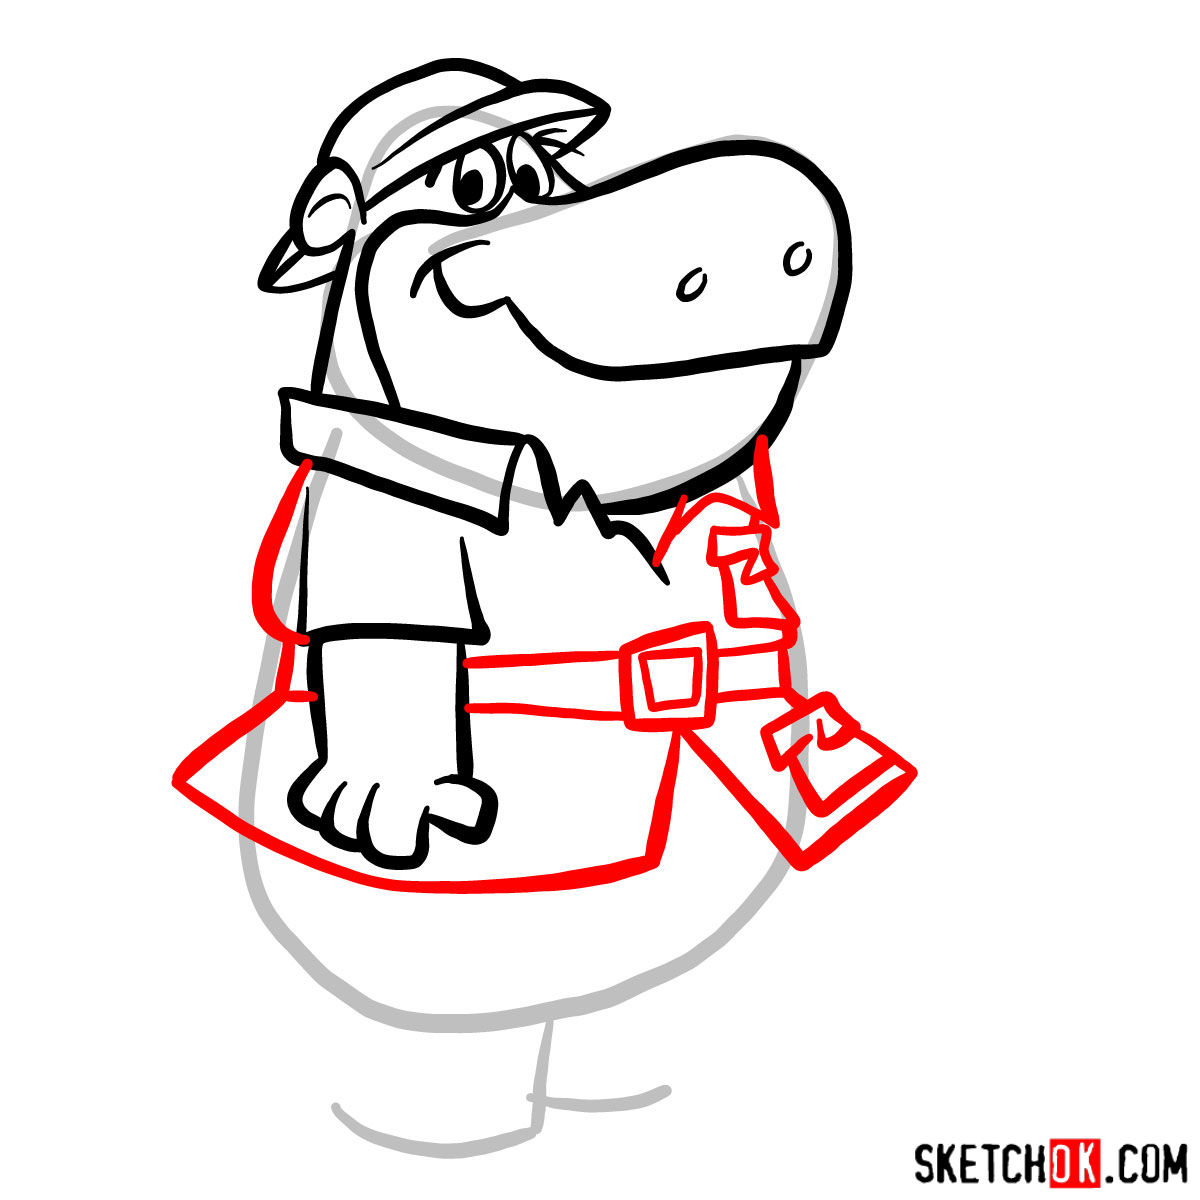
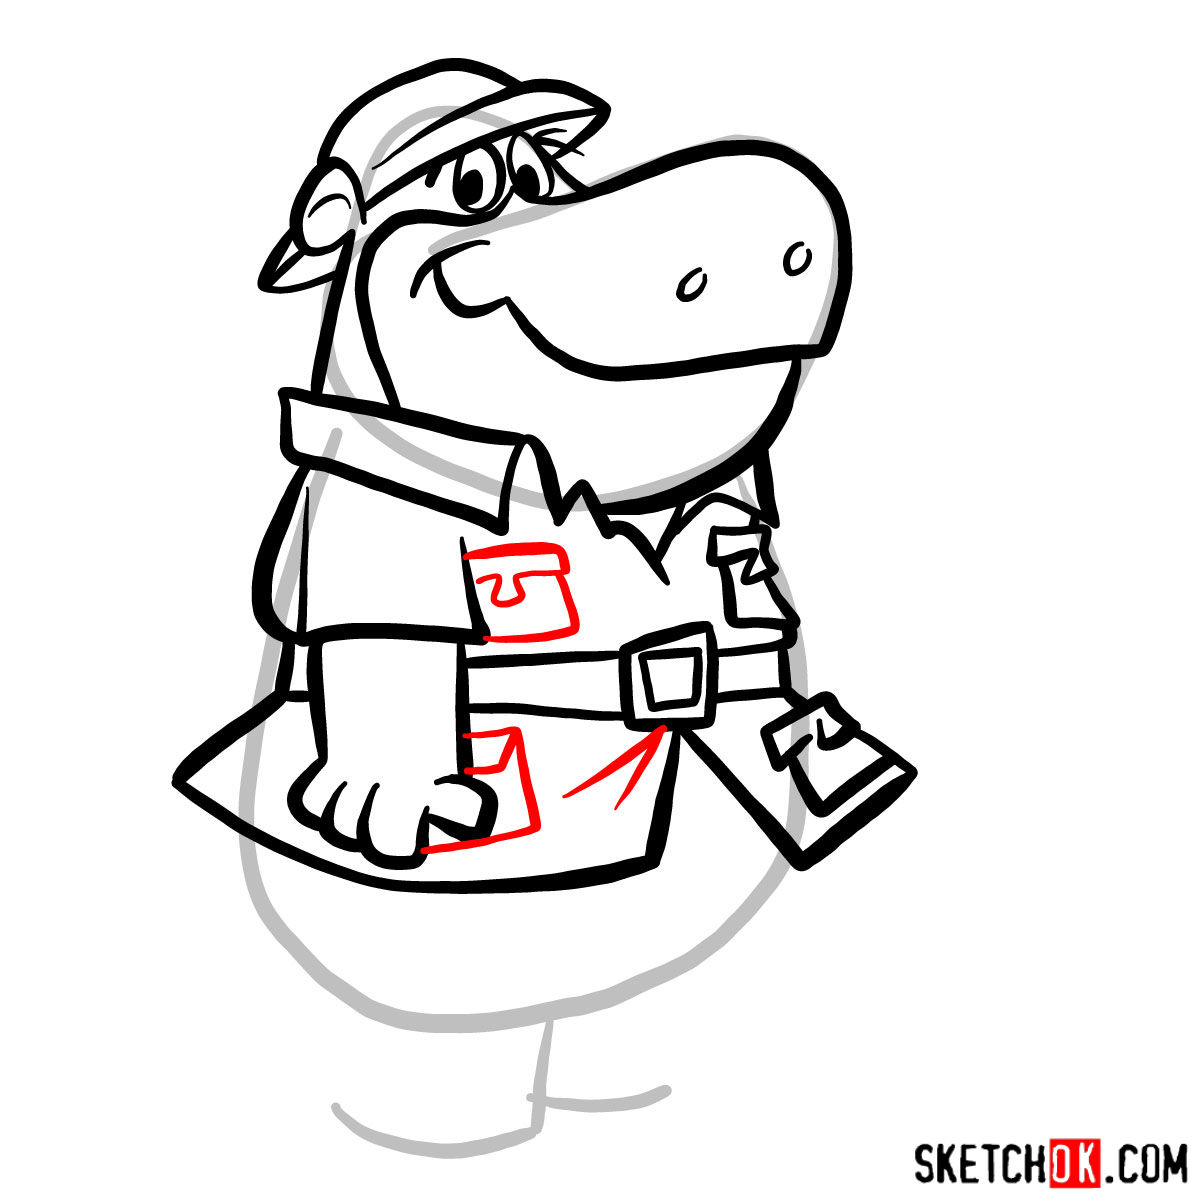
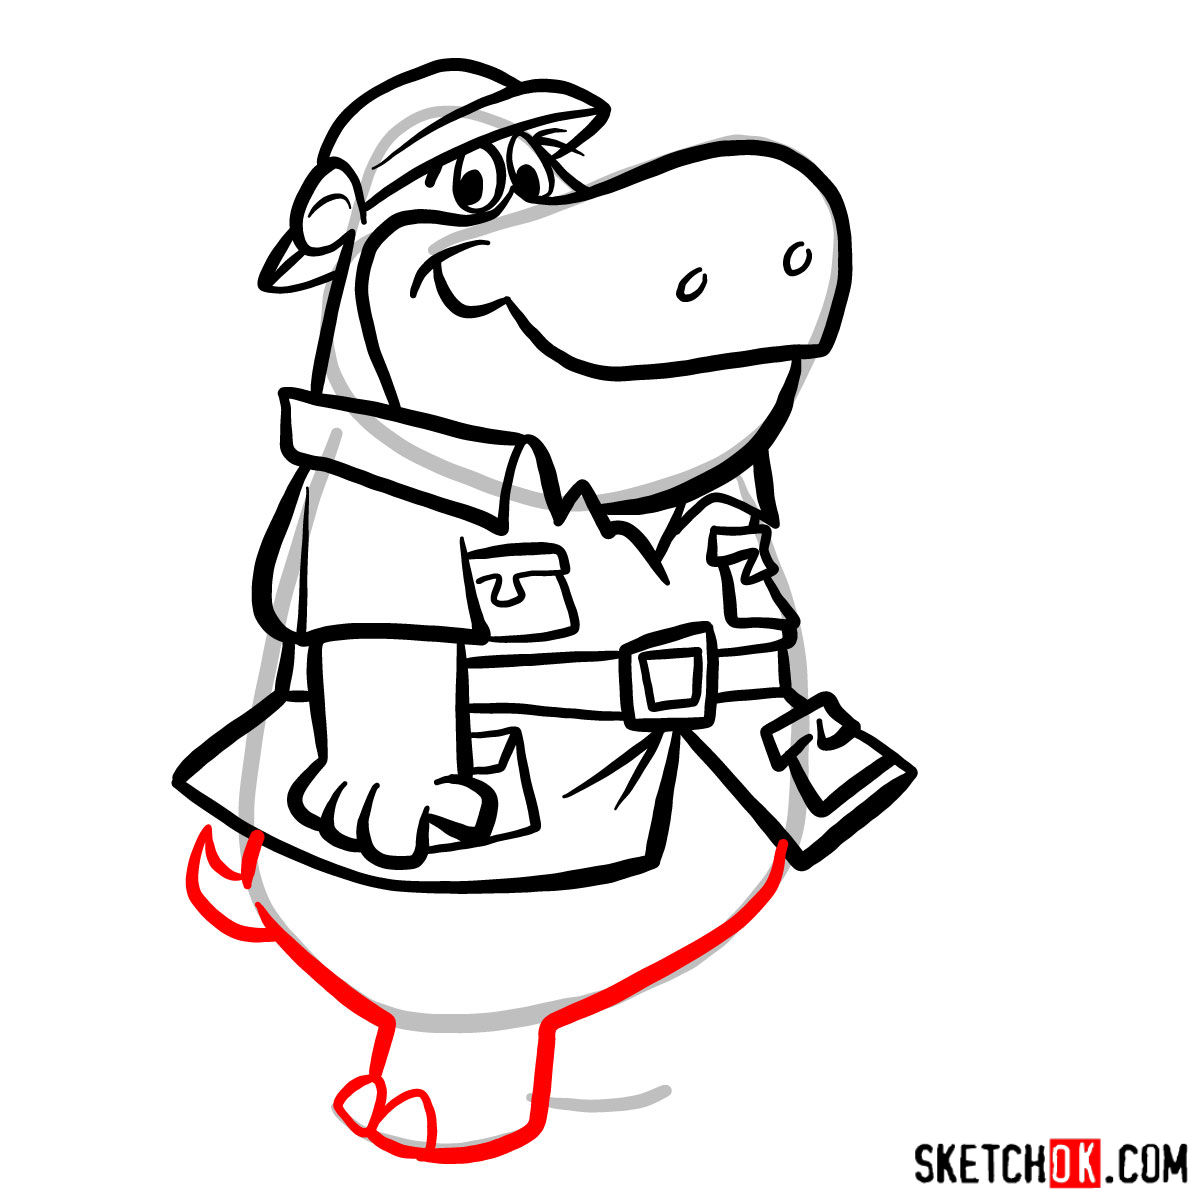
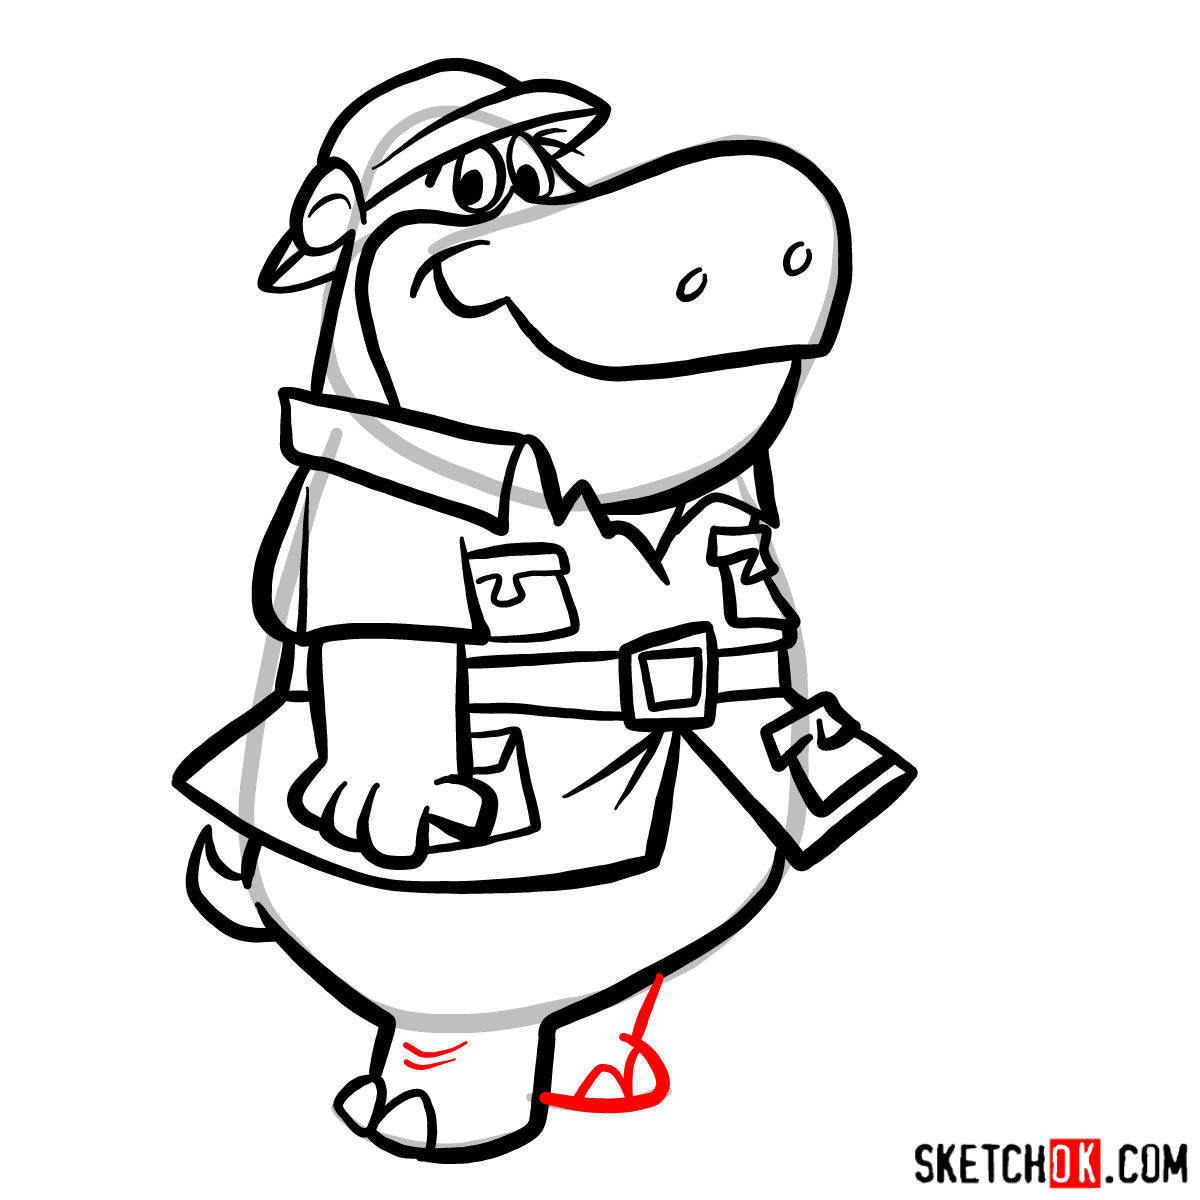
- Red Color: The red lines in each step represent the current drawing line or section you should focus on.
- Black Color: The black lines depict previously drawn lines to keep track of your progress.
- Grey Color: The grey lines showcase the basic proportions sketch, especially useful in the initial steps.
In the first step, you’ll create a basic structure of the sketch. Remember to use light pencil strokes during this stage, making it easier to erase and adjust as you progress. By the time you reach the final step, you’ll have the option to ink the sketch. Remember to let the ink dry before gently erasing the pencil lines to avoid smudging your masterpiece.


Now that you know how to draw Peter Potamus, head over to the pinned post for this tutorial on Pinterest and drop your finished sketch in the comments. That’s where the SketchOk community tends to gather, share their versions, and swap tips on things like getting his big round snout just right. If you prefer watching over reading, some guides also have video versions on the YouTube channel worth checking out.