Immortalized in the annals of childhood and fantasy, Peter Pan, the protagonist from J. M. Barrie’s 1904 play, and later, Disney’s 14th animated feature film, has captivated audiences with his endearing innocence and eternal youth. Known as the boy who wouldn’t grow up, Peter Pan symbolizes the timeless allure of childhood — a realm filled with ceaseless adventures, infectious laughter, and uninhibited imagination.
Peter Pan, with his sprightly demeanor and cocksure attitude, is often accompanied by Tinker Bell, a fiery pixie with a feisty personality. He sports an attire resembling a forest elf’s — a tunic, tights, and a hat with a feather — embodying his adventurous spirit and his affinity with the magical island of Neverland. While drawing Peter Pan, you could also consider adding characters like Disney Fairies to your sketch, for a comprehensive depiction of the timeless story.
Understanding the Drawing Guide
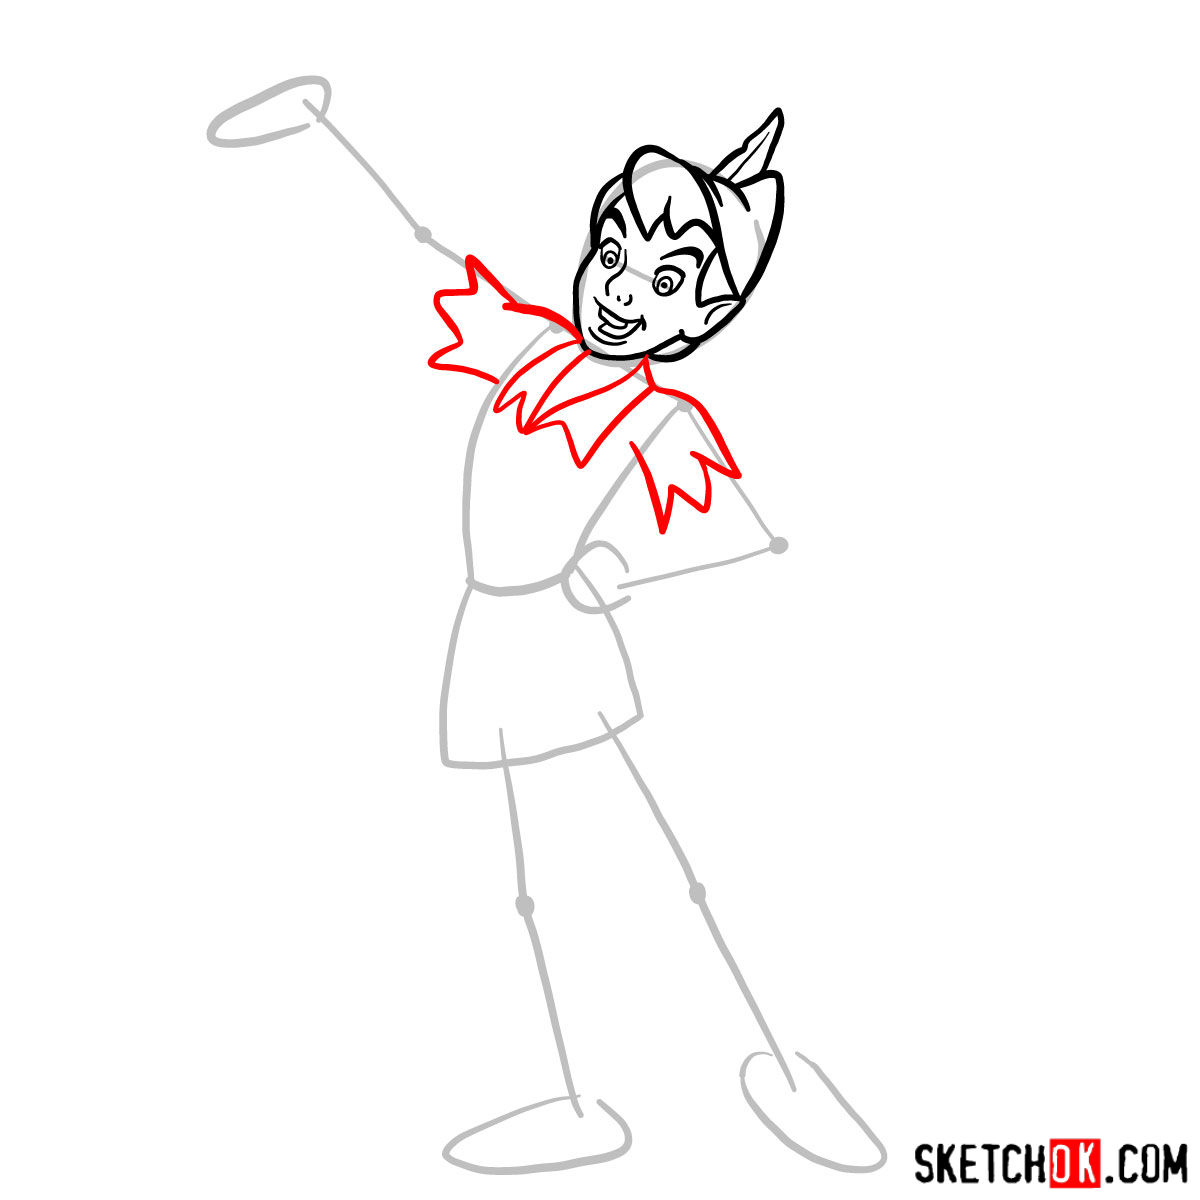
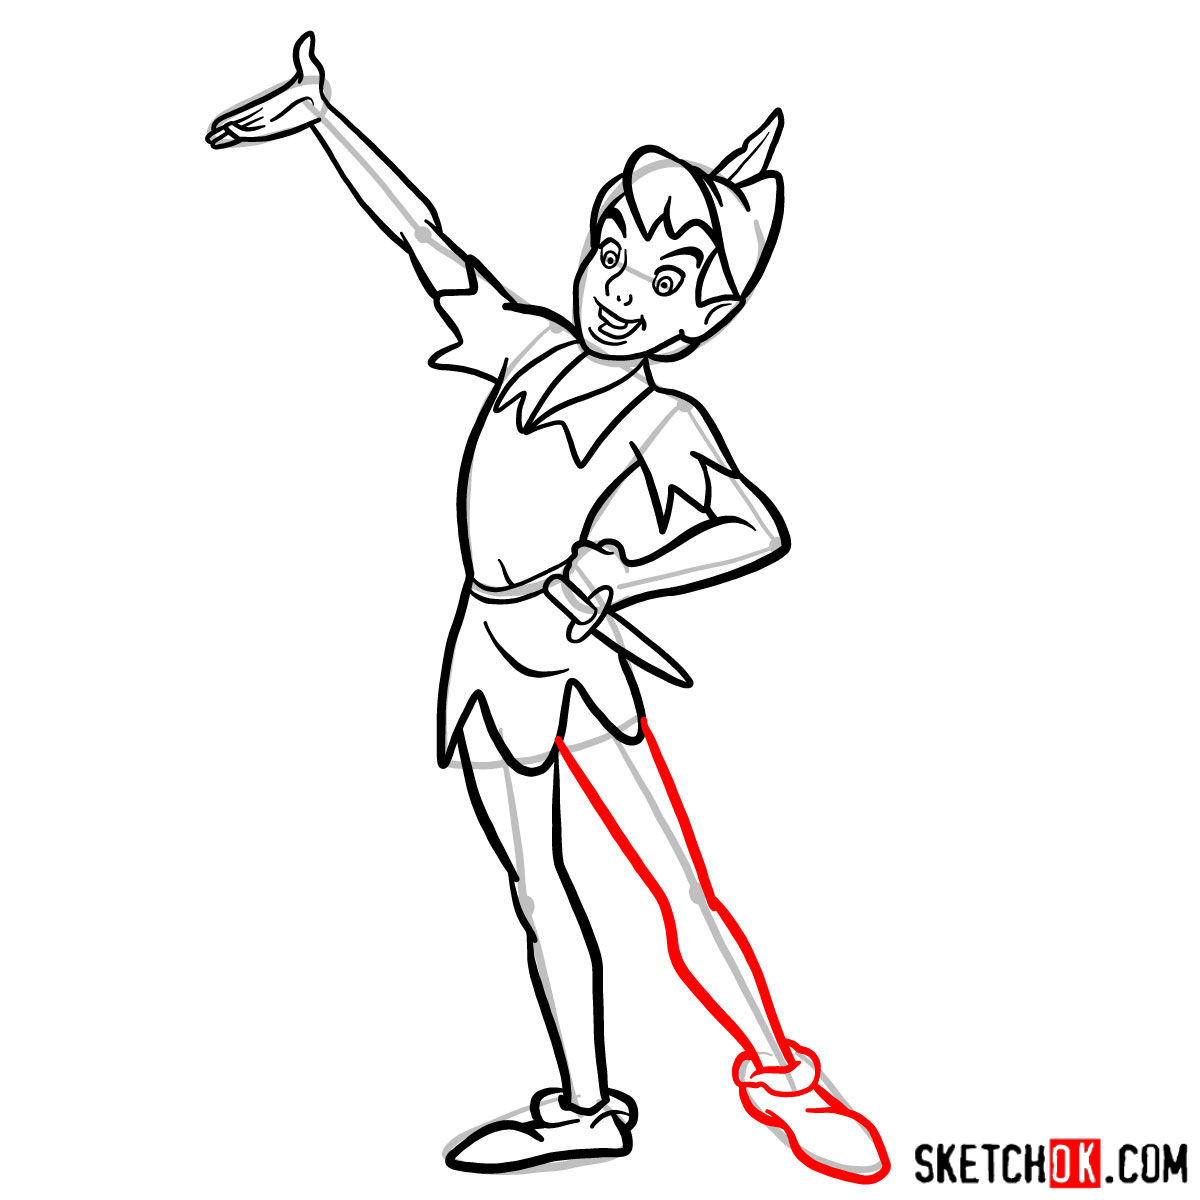
Our drawing tutorial employs an intuitive color-coding system to make the sketching process seamless and enjoyable for artists of all skill levels. Here’s what the colors represent:
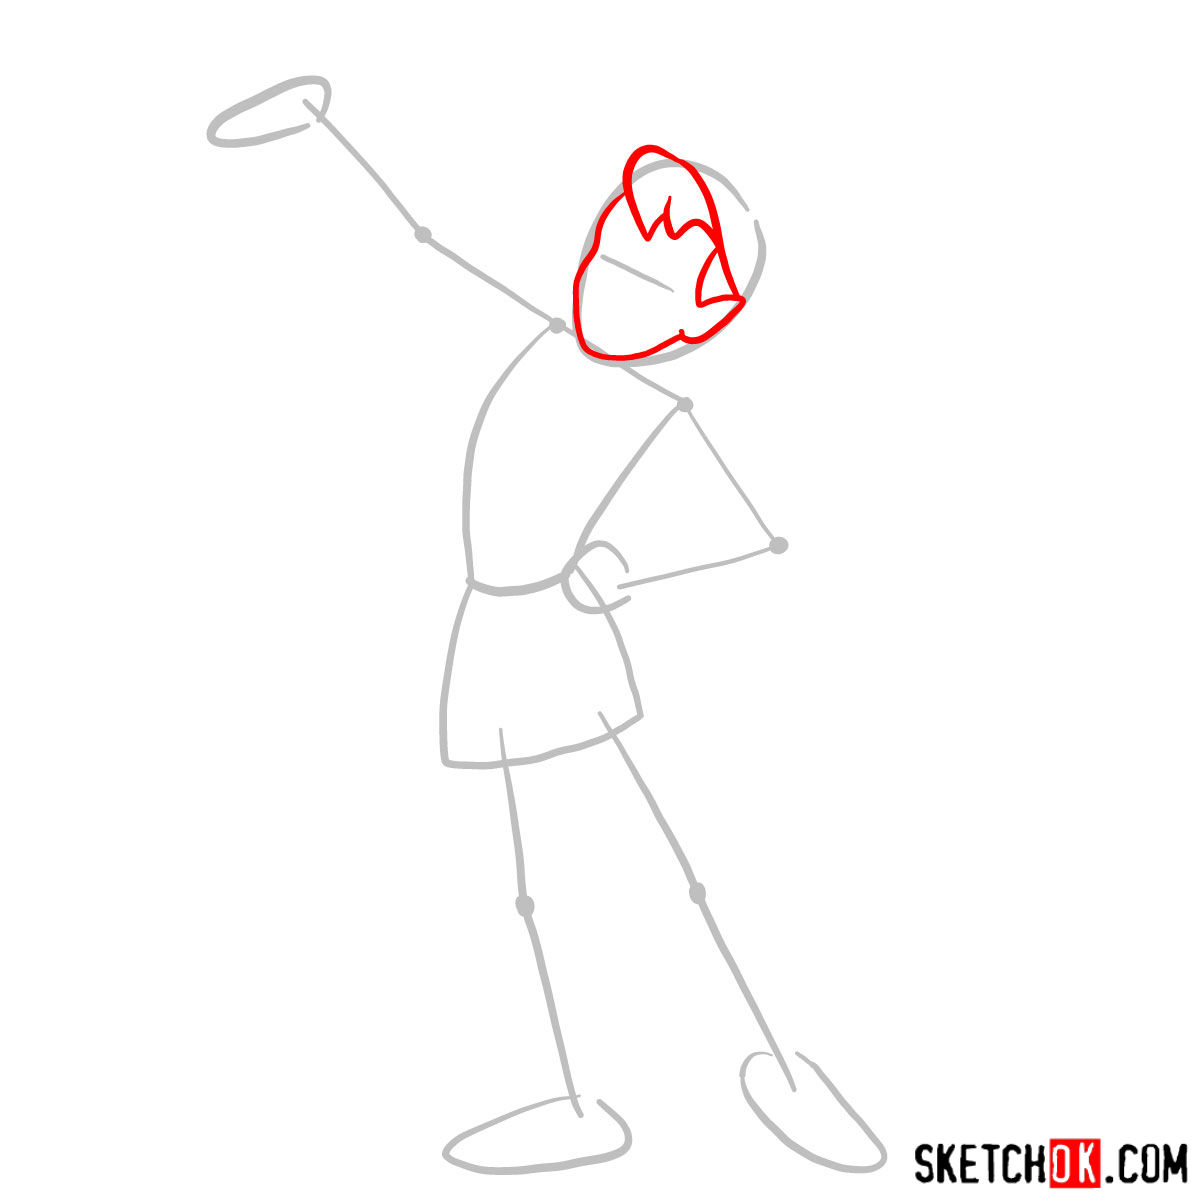
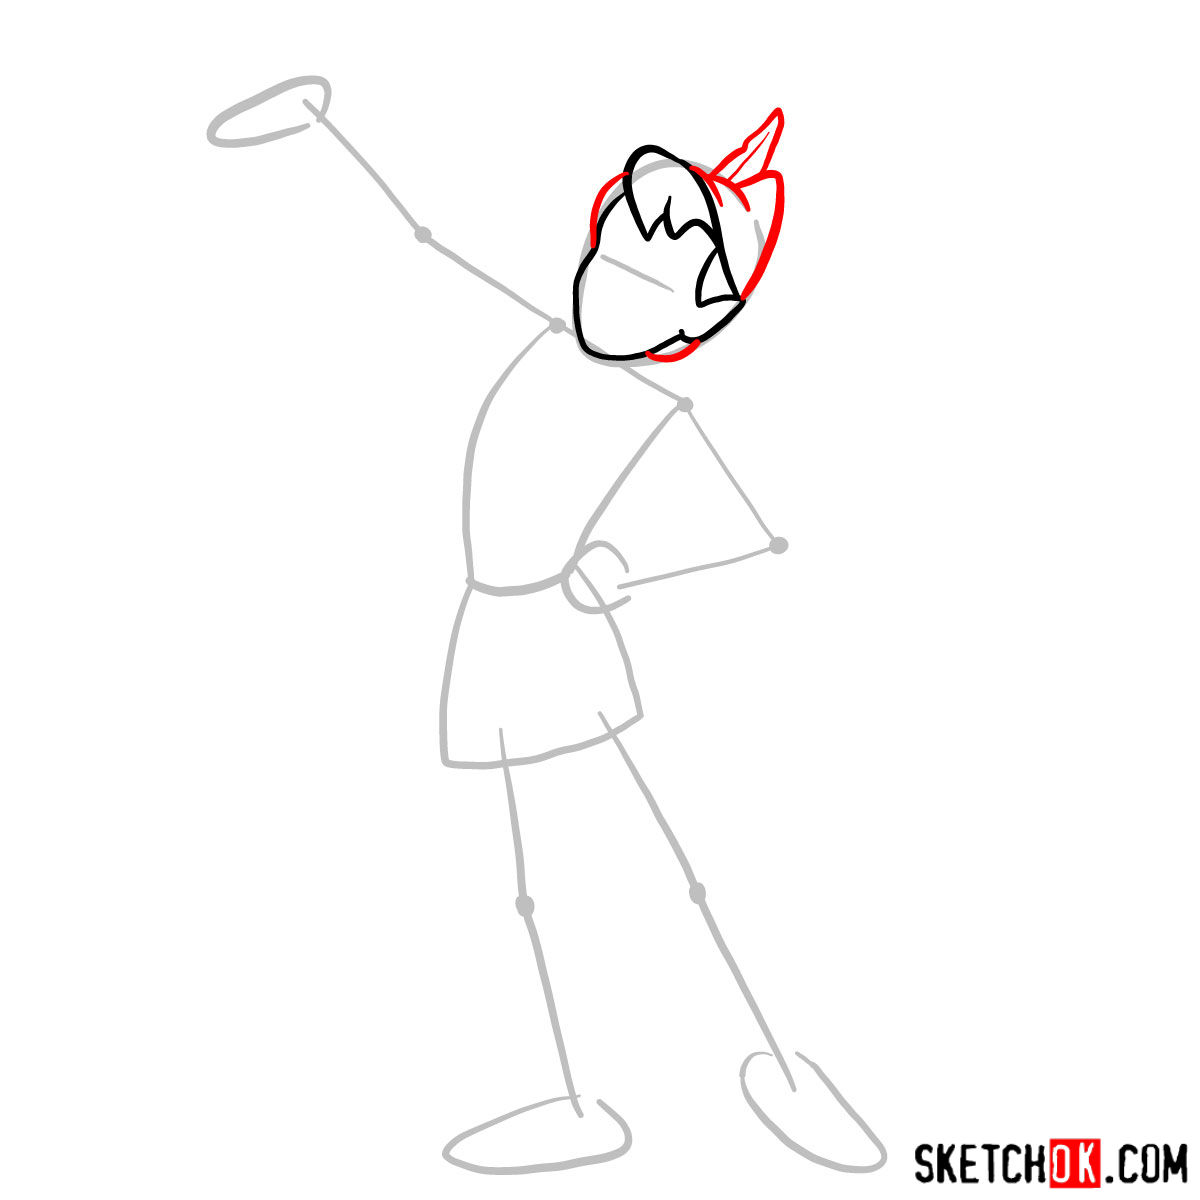
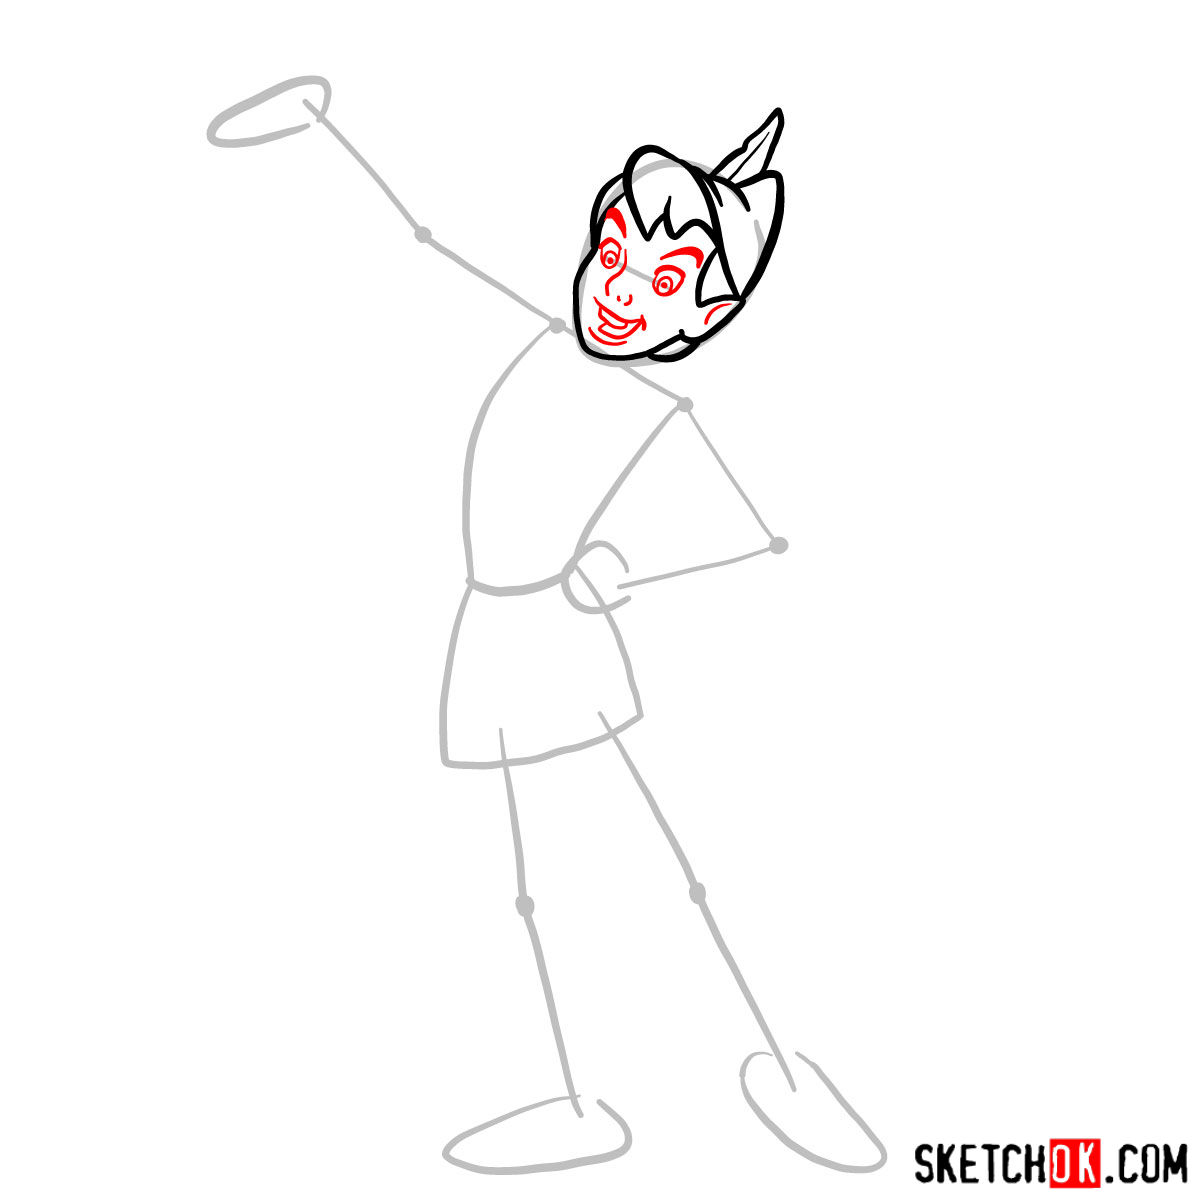
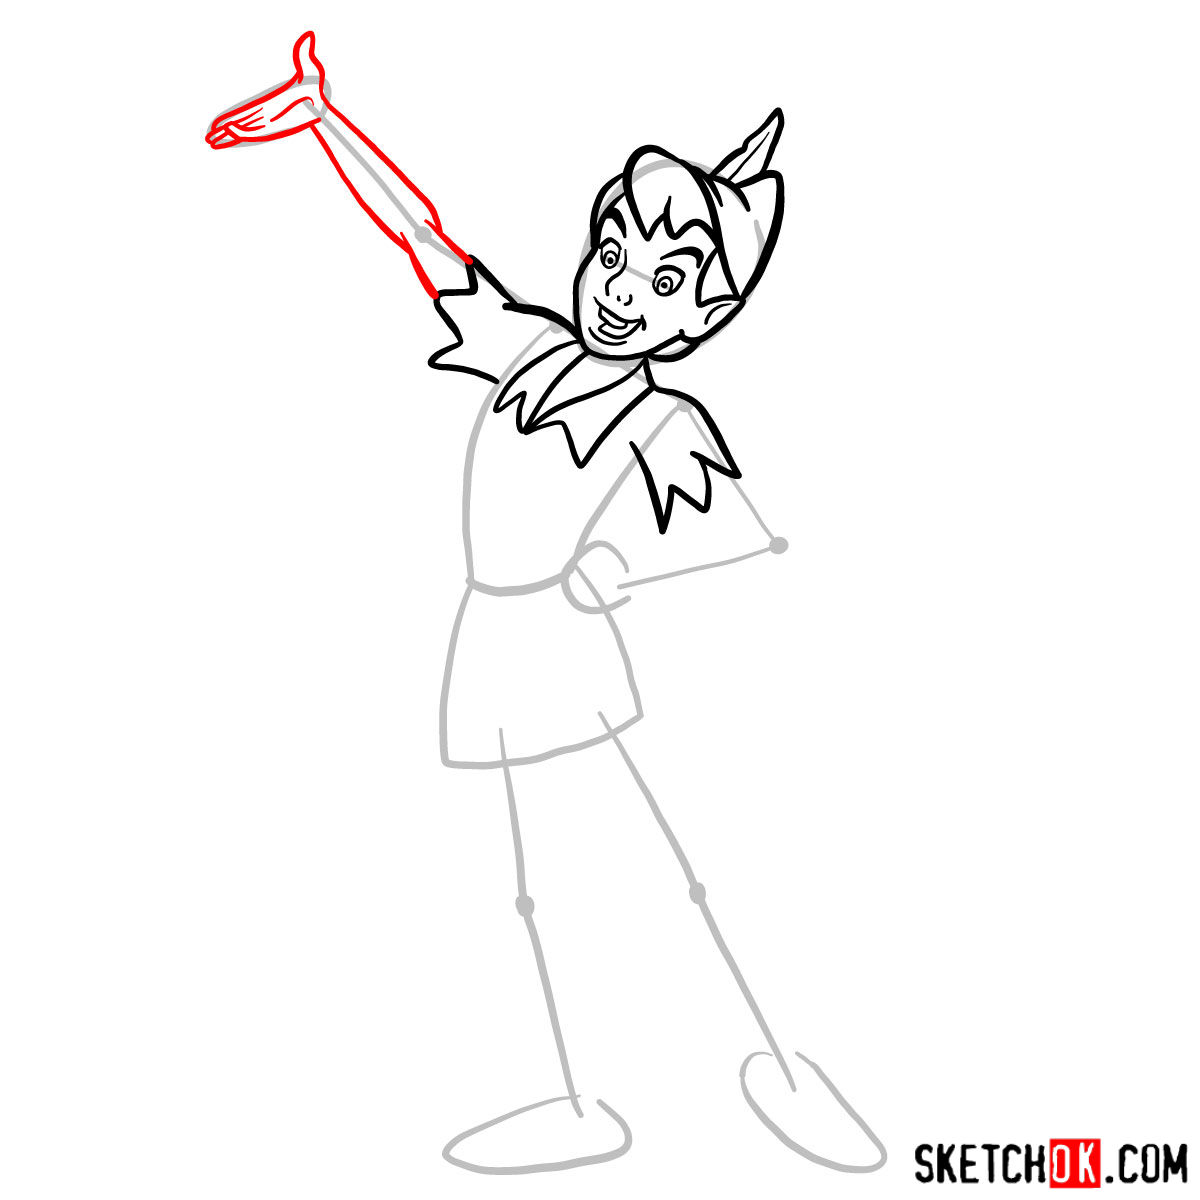
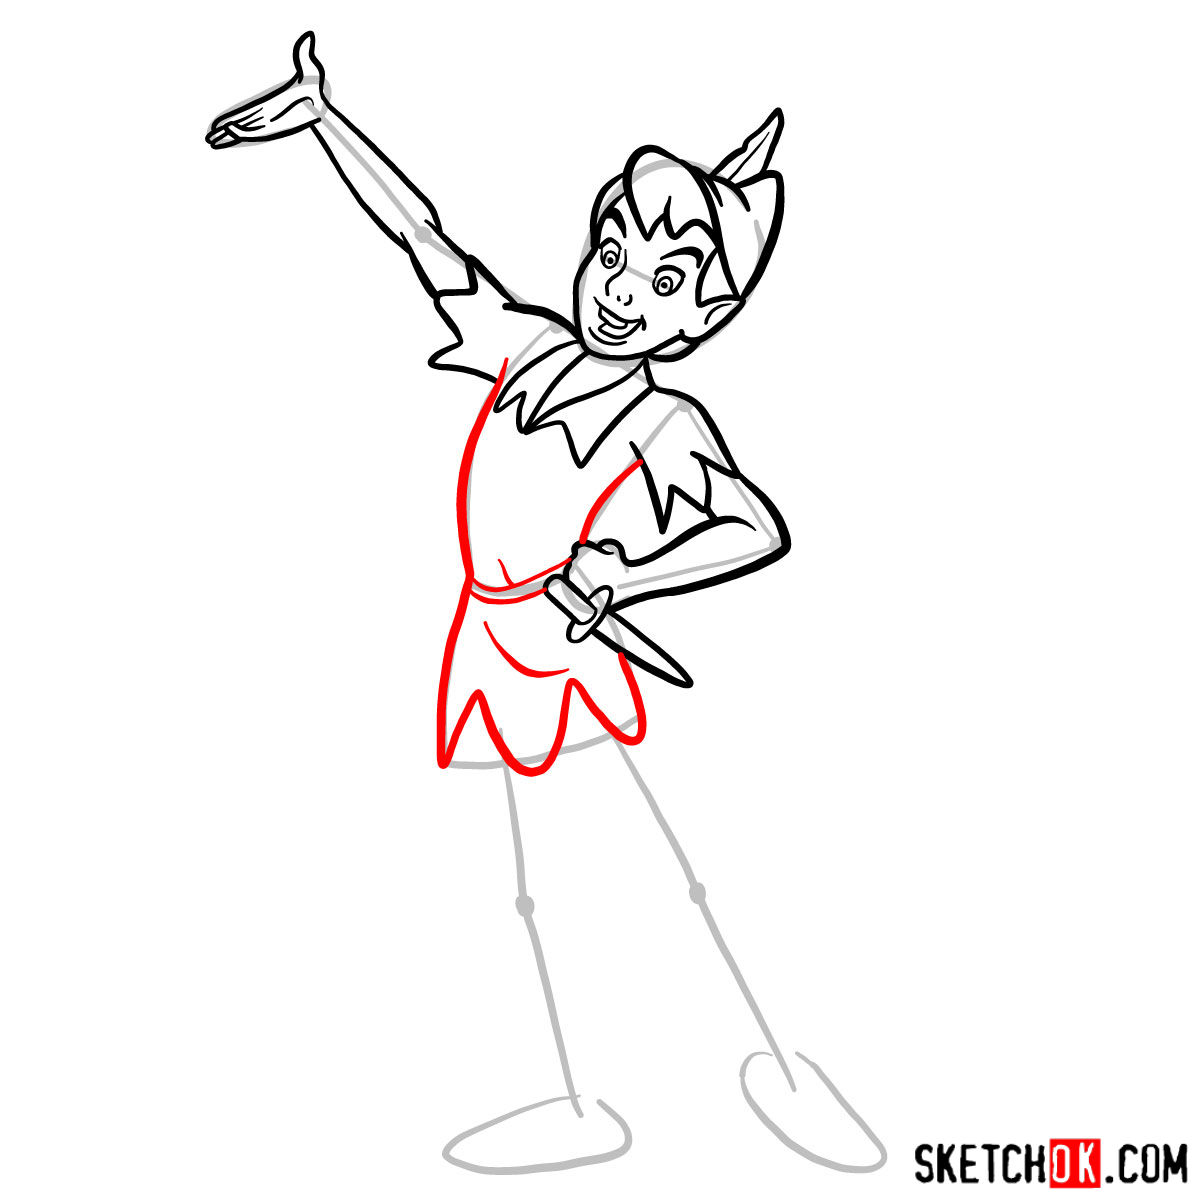
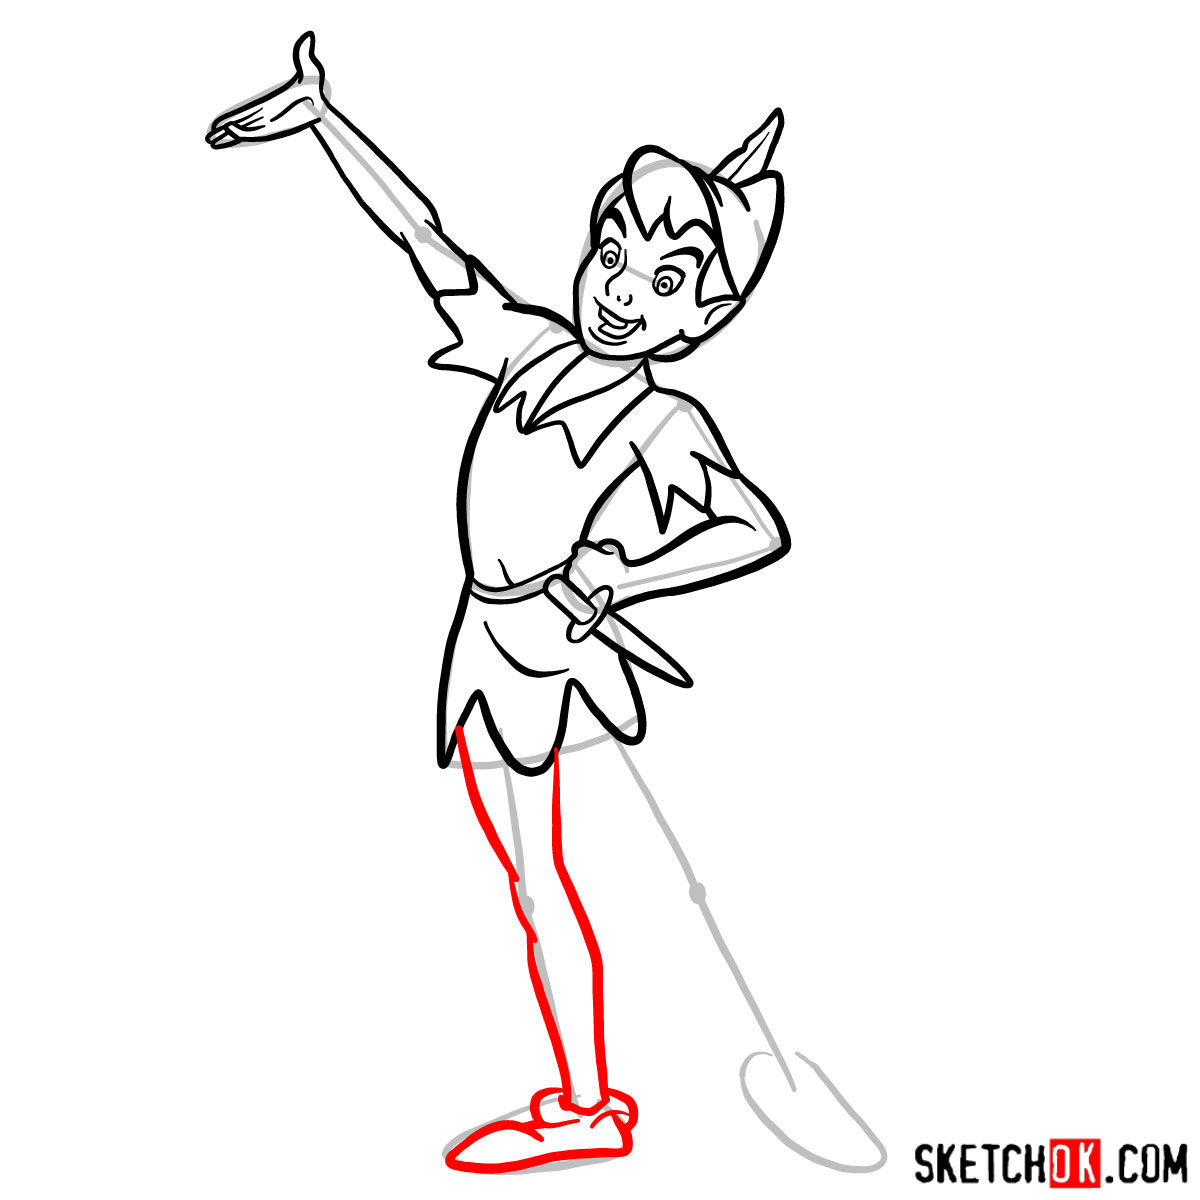
- Red Color: The current step you should be focusing on.
- Black Color: The lines you have previously drawn.
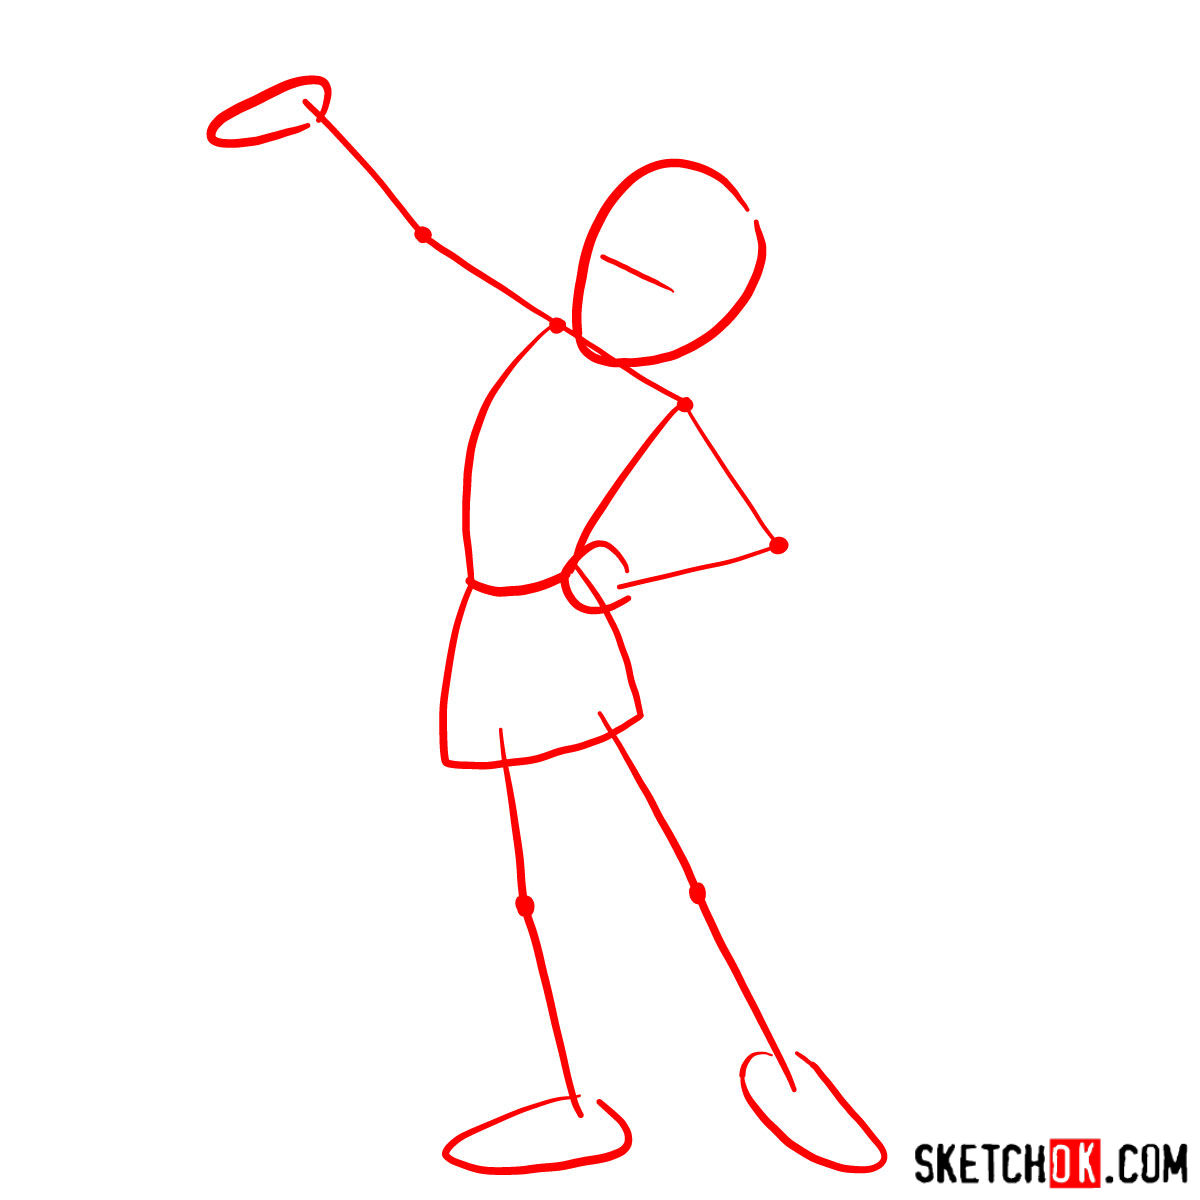
- Grey Color: The basic sketch for proportions.
The guide is divided into 12 steps, starting with a basic sketch to help set the proportions right. Light pencil strokes are encouraged in the beginning, allowing easy adjustments. The final step involves inking the sketch. It is advisable to let the ink dry before gently erasing the pencil lines to avoid smudges, thus retaining the sharpness and clarity of your drawing.

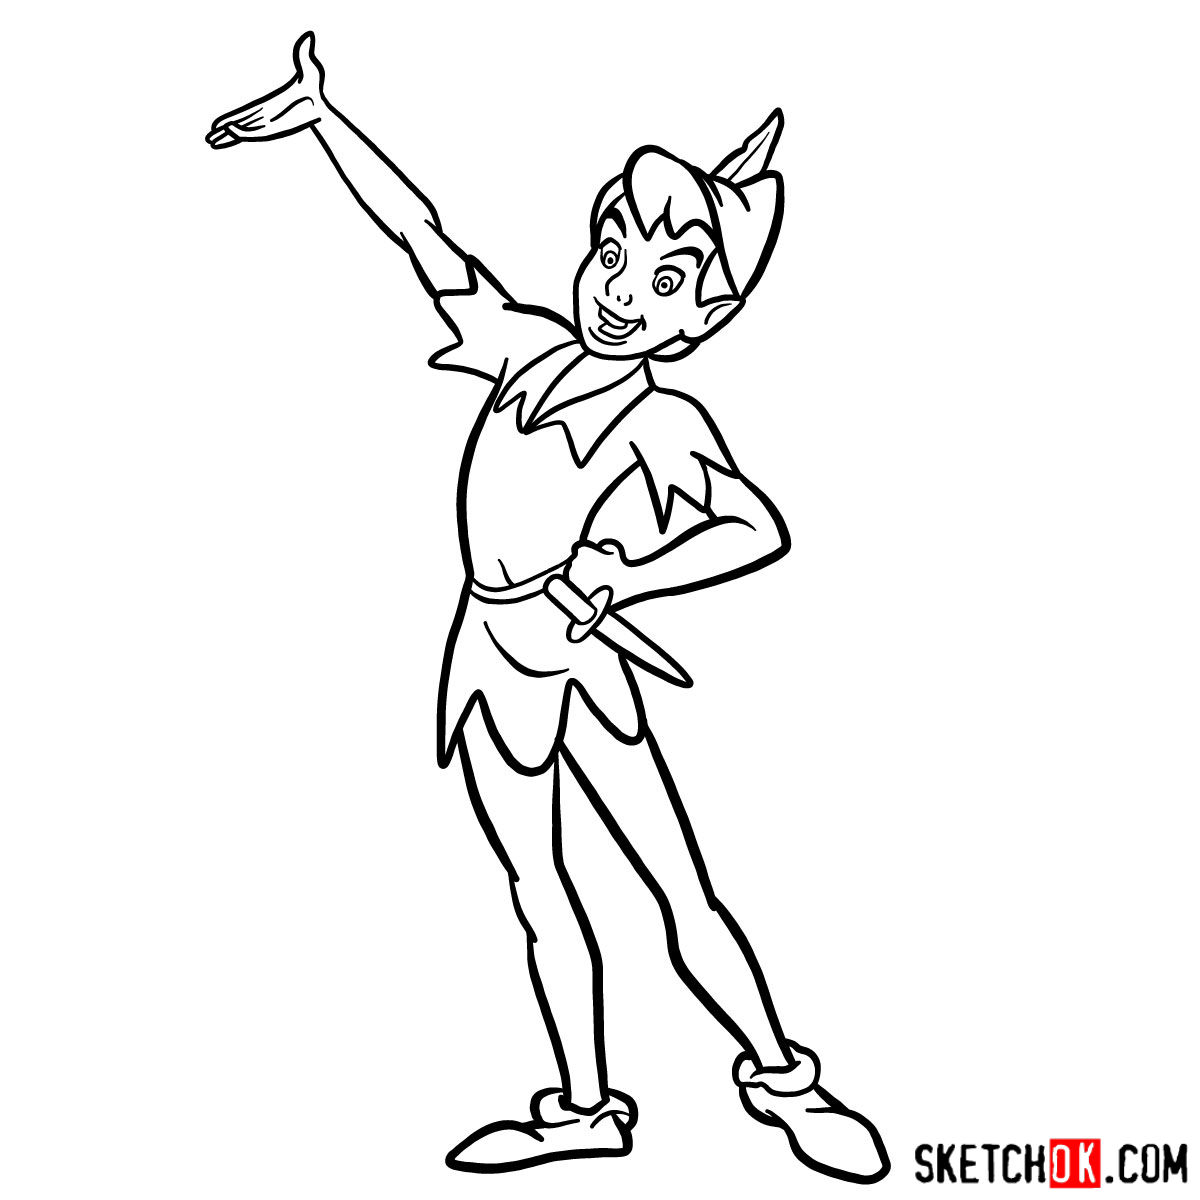

Now that you’ve worked through how to draw Peter Pan, feel free to share what you came up with in the comments on the Pinterest post for this guide. If you learn better by watching than reading, the SketchOk YouTube channel regularly puts out new drawing videos, so it’s worth checking in there. Signing up for the weekly email digest at the top of the page is also a easy way to catch new tutorials as they drop.