Welcome to this exciting tutorial where we will guide you on how to draw Mr. Peabody & Sherman, the lovable, time-traveling pair. Inspired by the “Peabody’s Improbable History” segments from “The Adventures of Rocky and Bullwinkle and Friends”, this classic duo can now come alive on your sketchbook!
A Trip Down Character Lane
When drawing these characters, there are some key aspects to keep in mind:
-
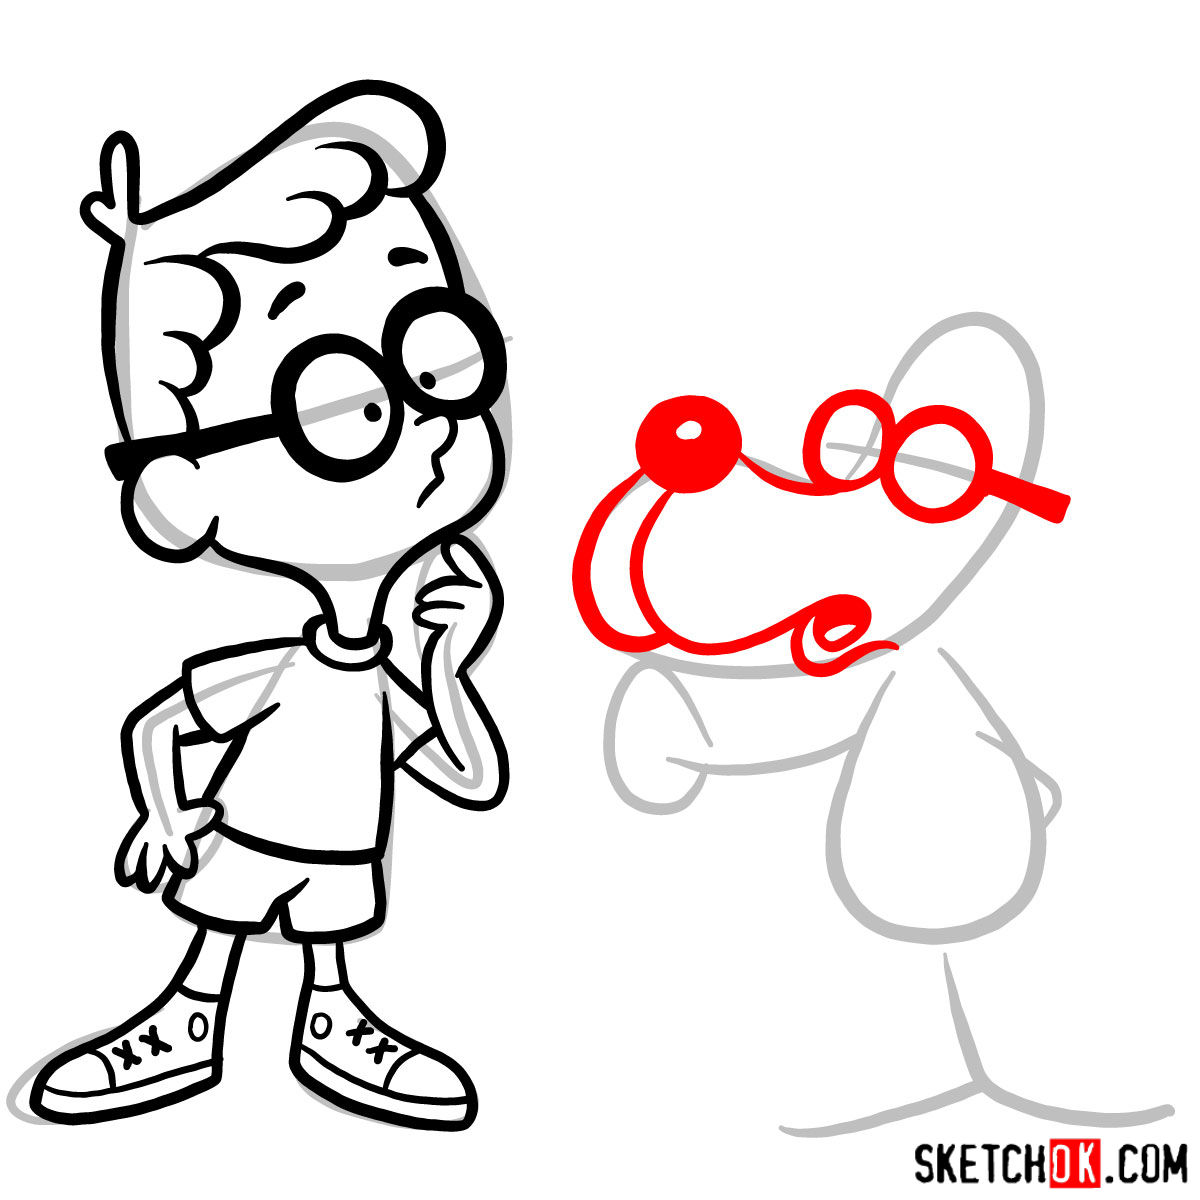
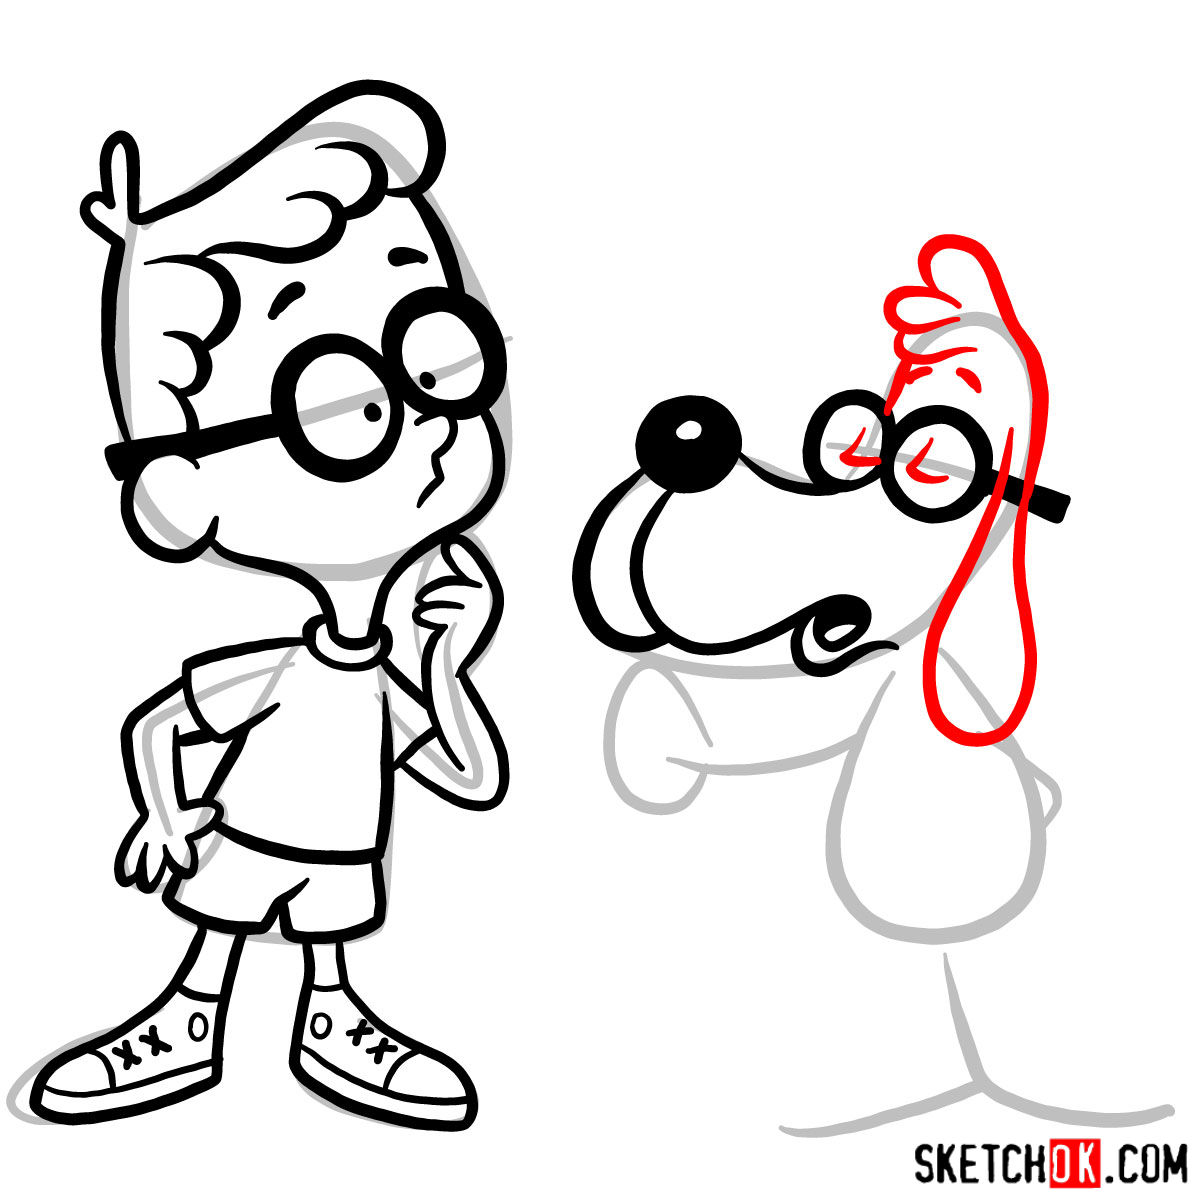
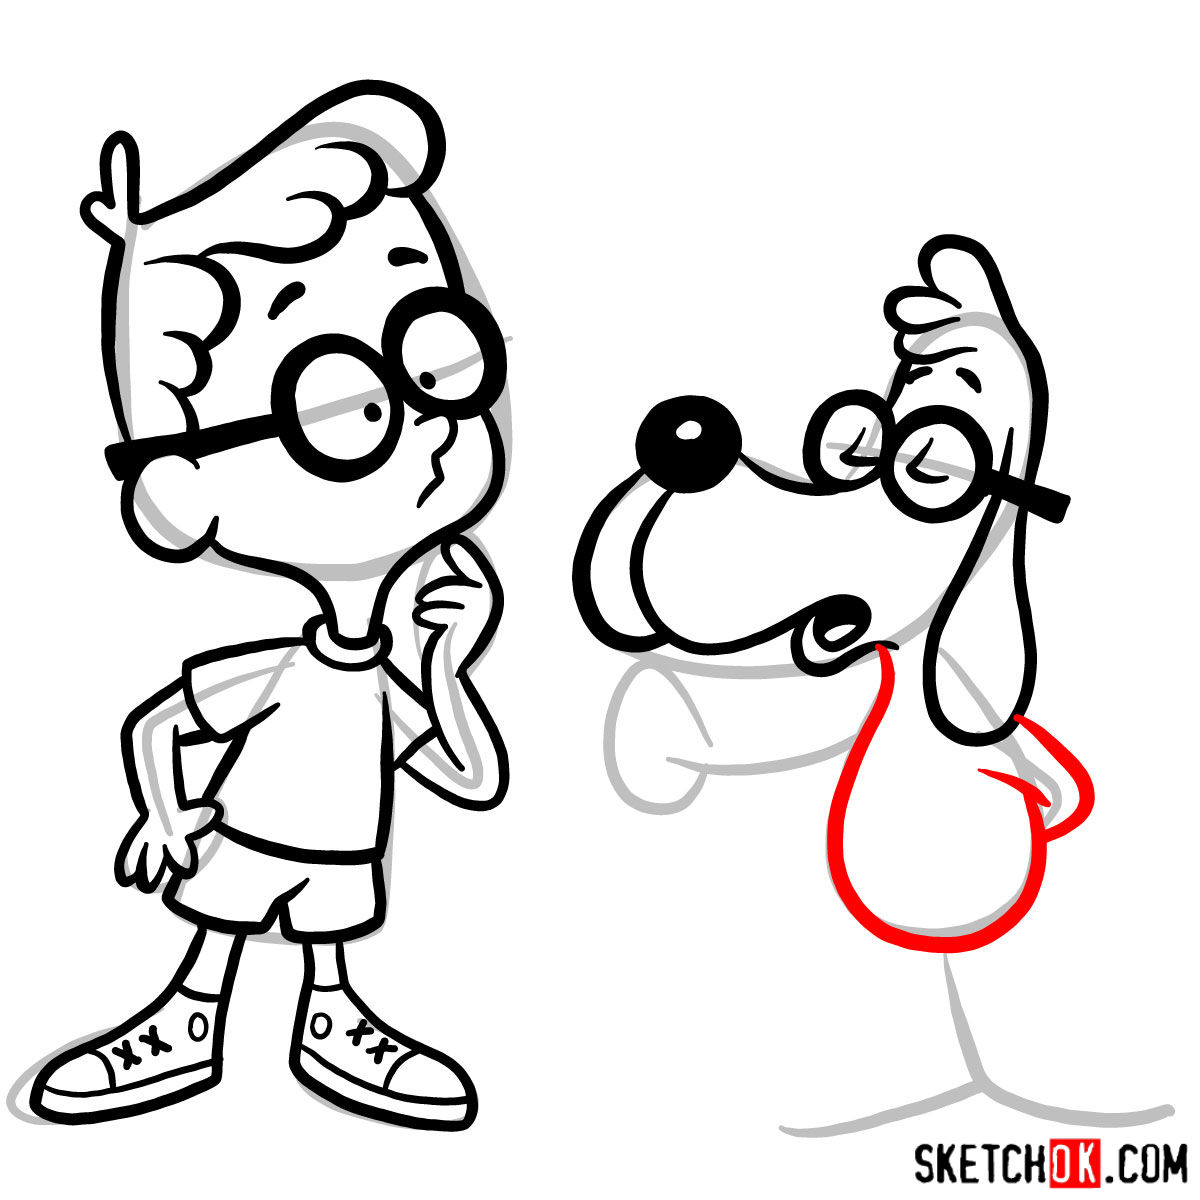
- Mr. Peabody: With his circular glasses and sharp bow tie, Mr. Peabody oozes intellectual charm. As the first beagle to win a Nobel Prize, his confident posture and detailed expression are essential.
- Sherman: This round-faced boy with a pageboy haircut is a symbol of youthful energy and curiosity. His big eyes and curious look define his cheerful character.
You could also consider adding Rocky and Bullwinkle from the original series to your drawing to enhance the nostalgic feel.
Navigating the Sketching Timeline
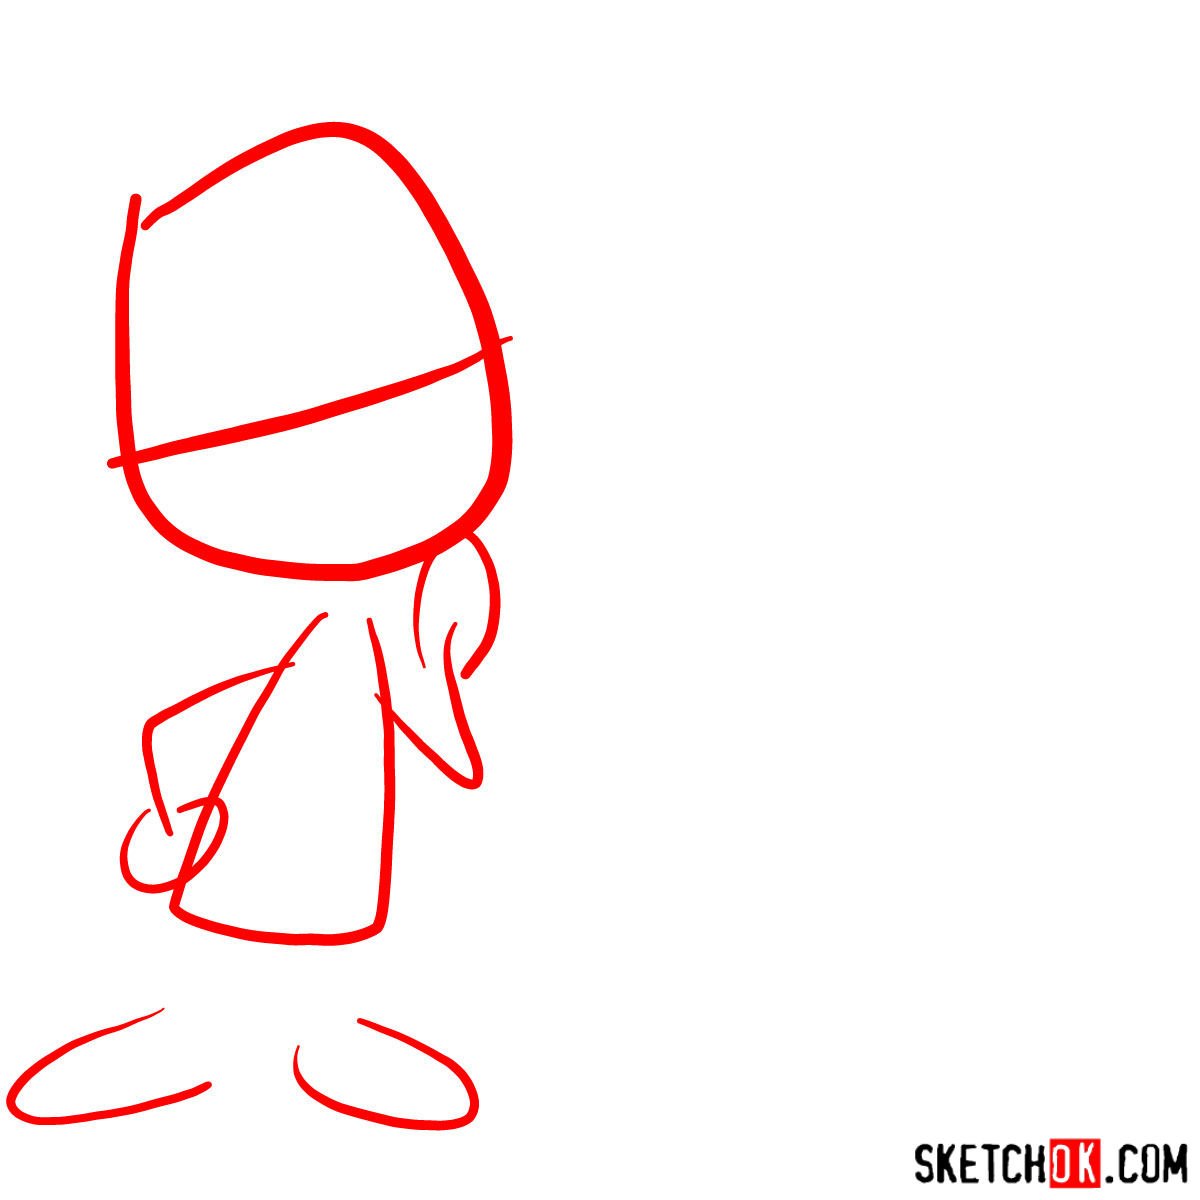
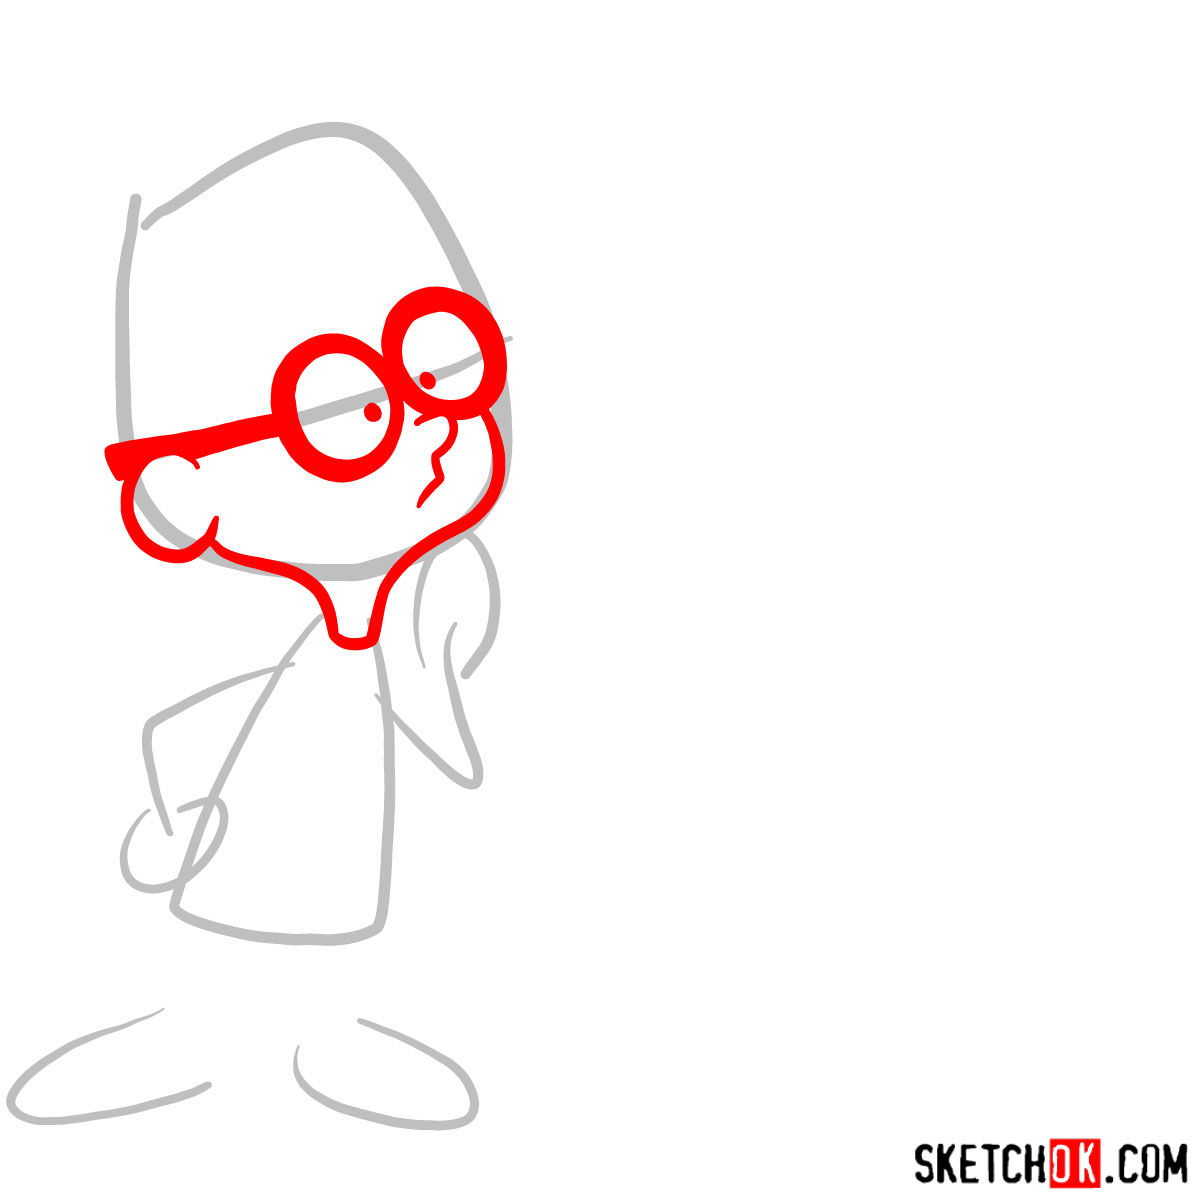
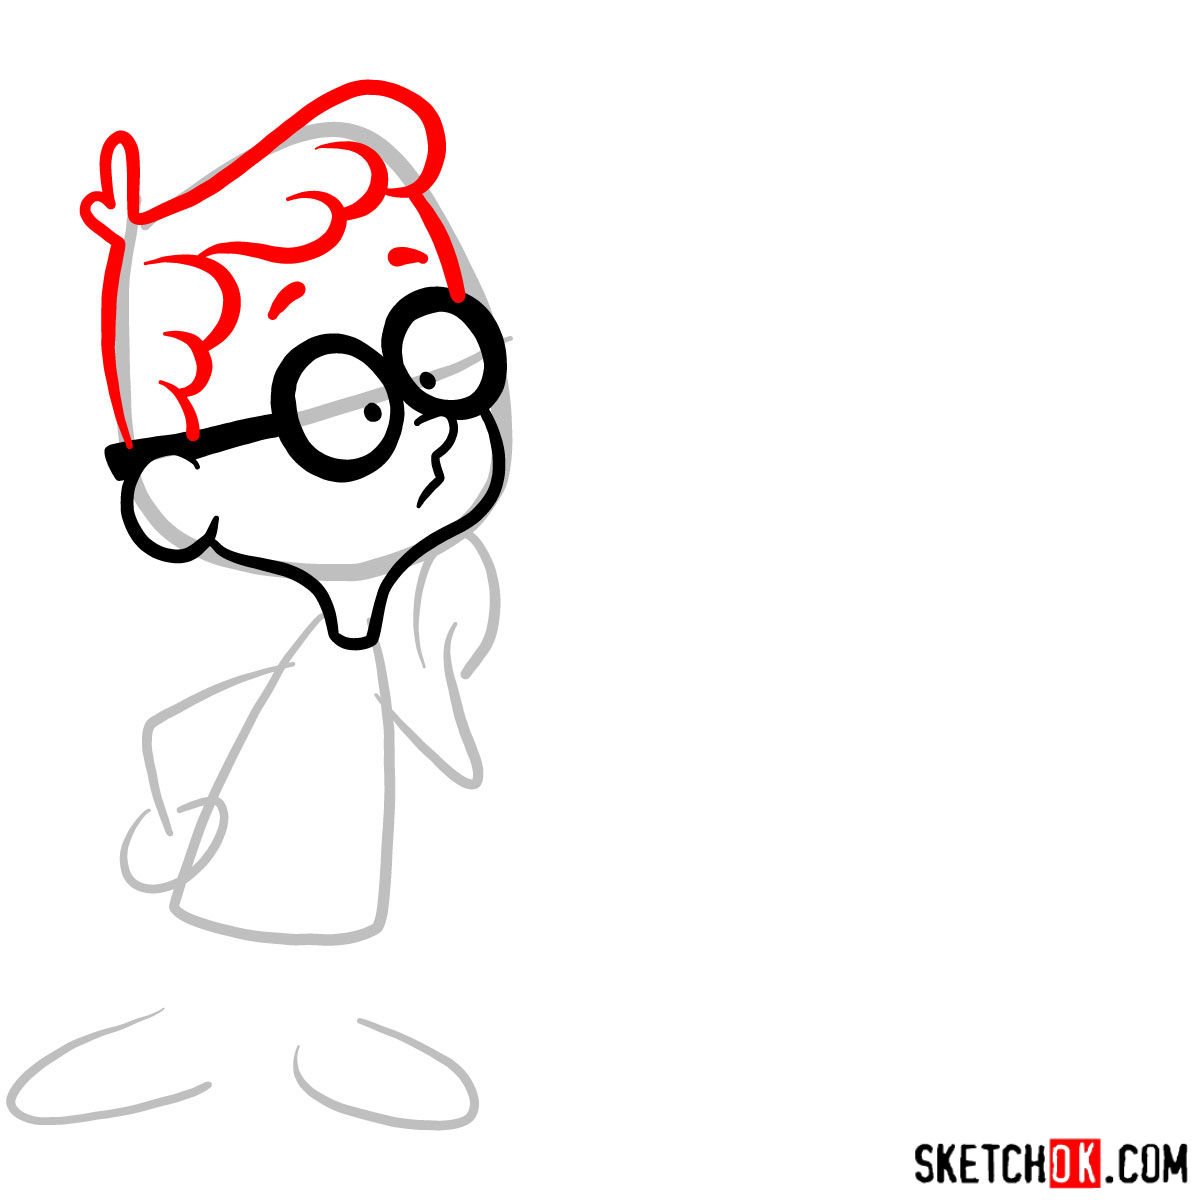
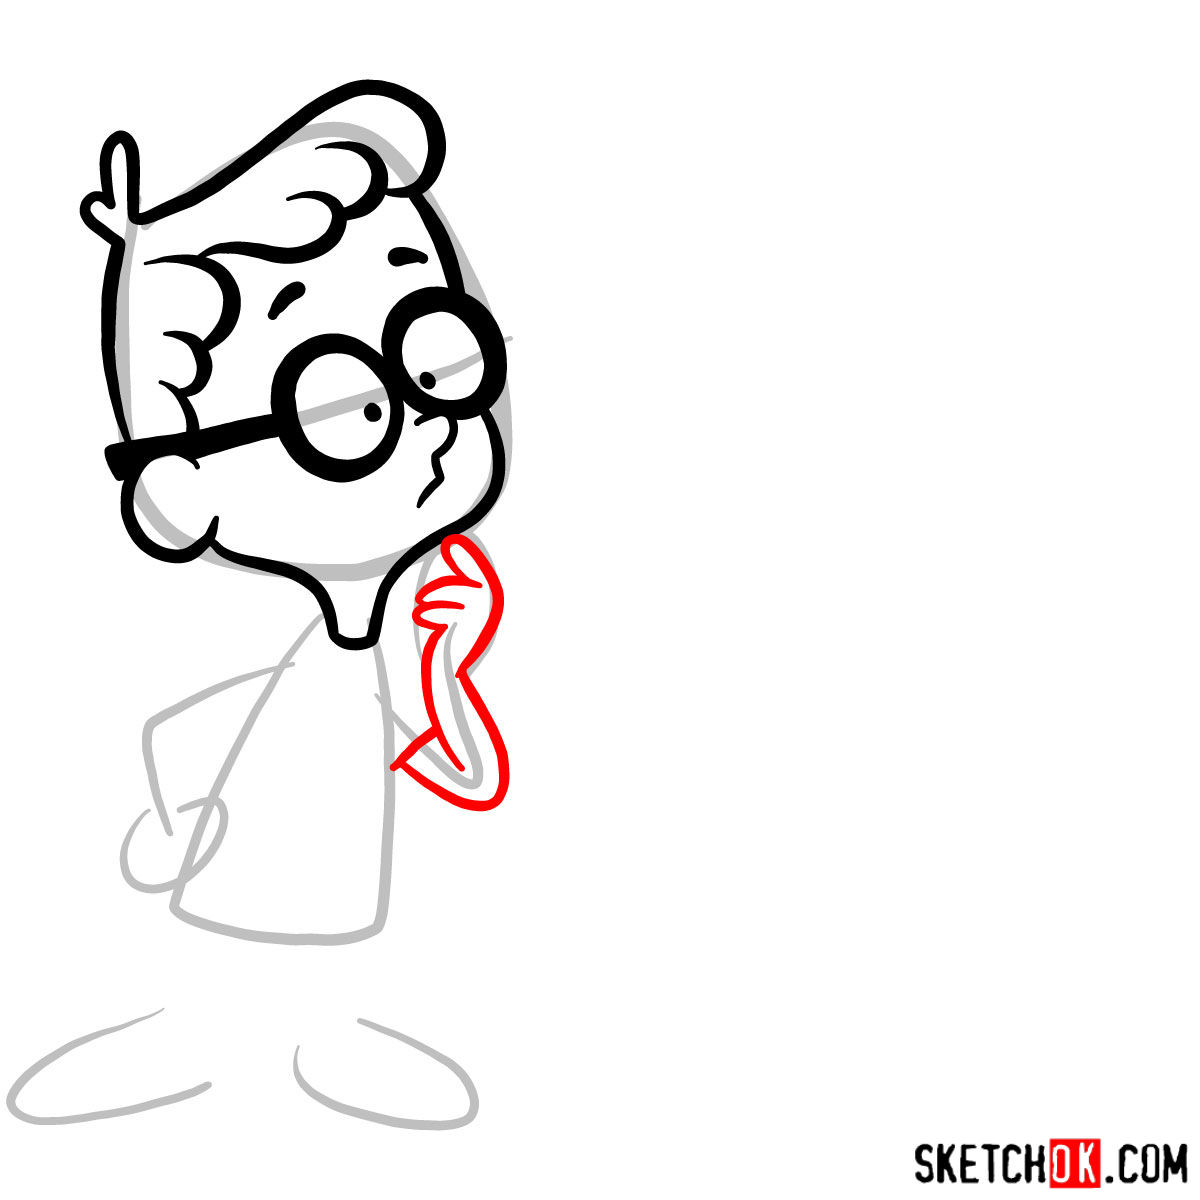
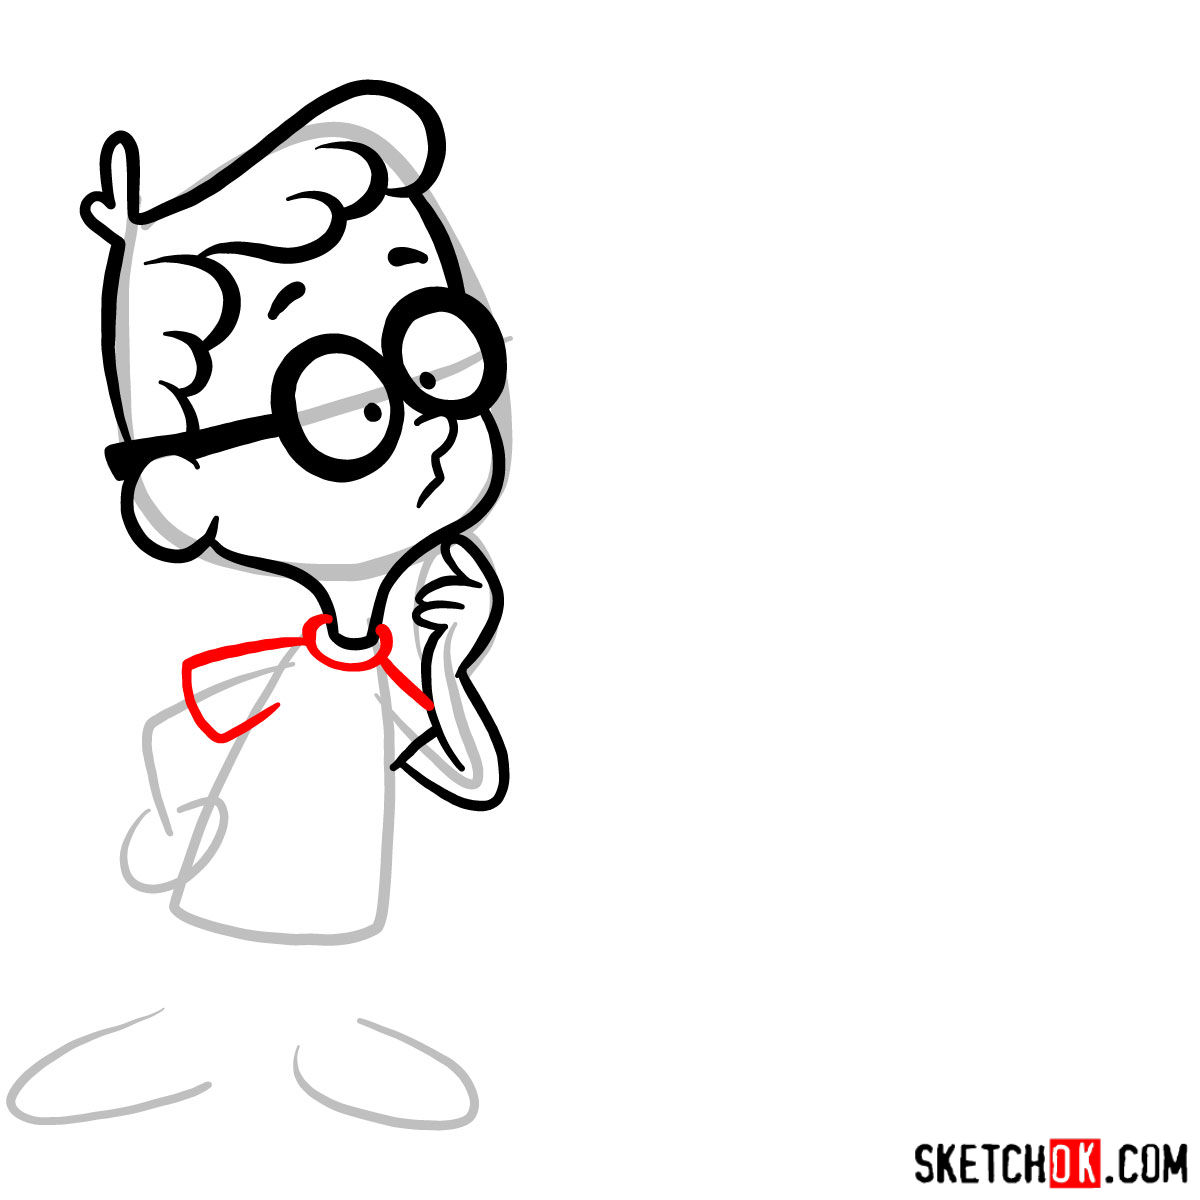
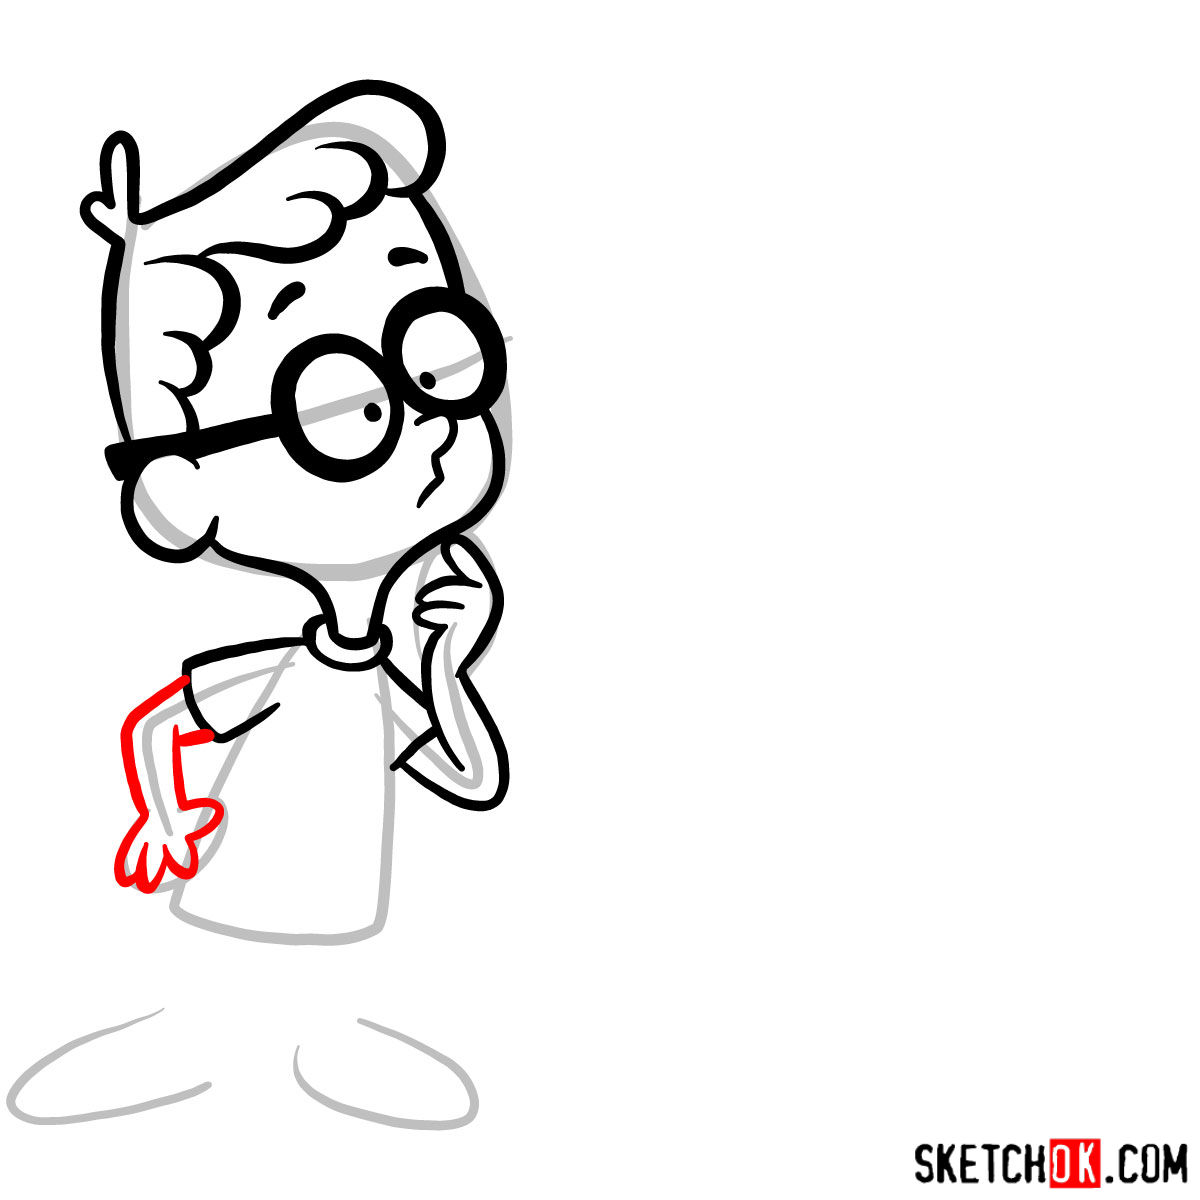
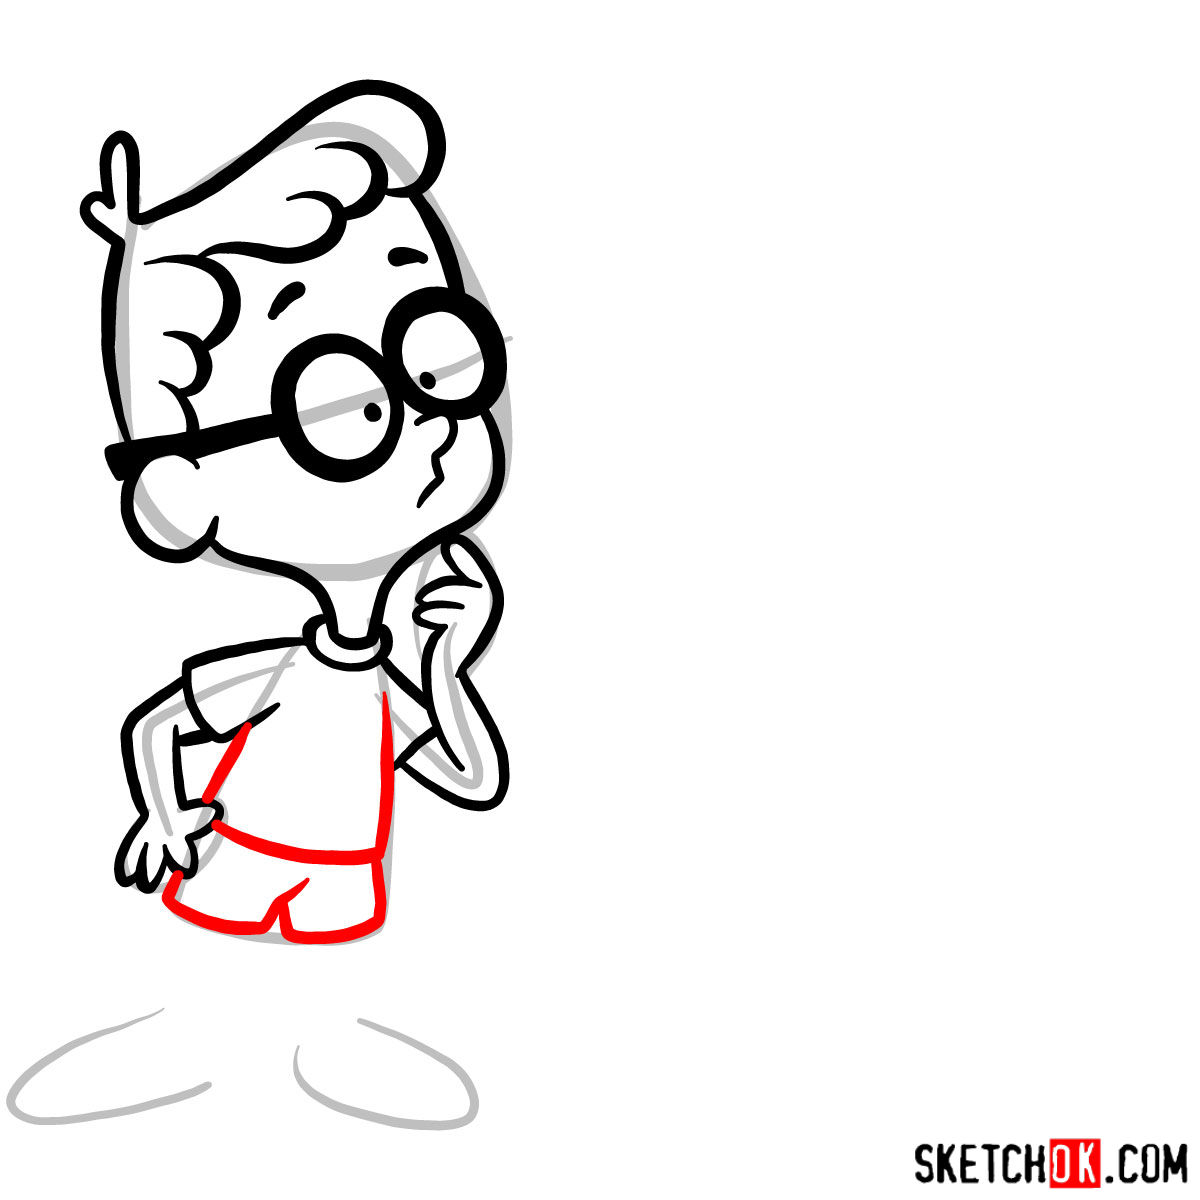
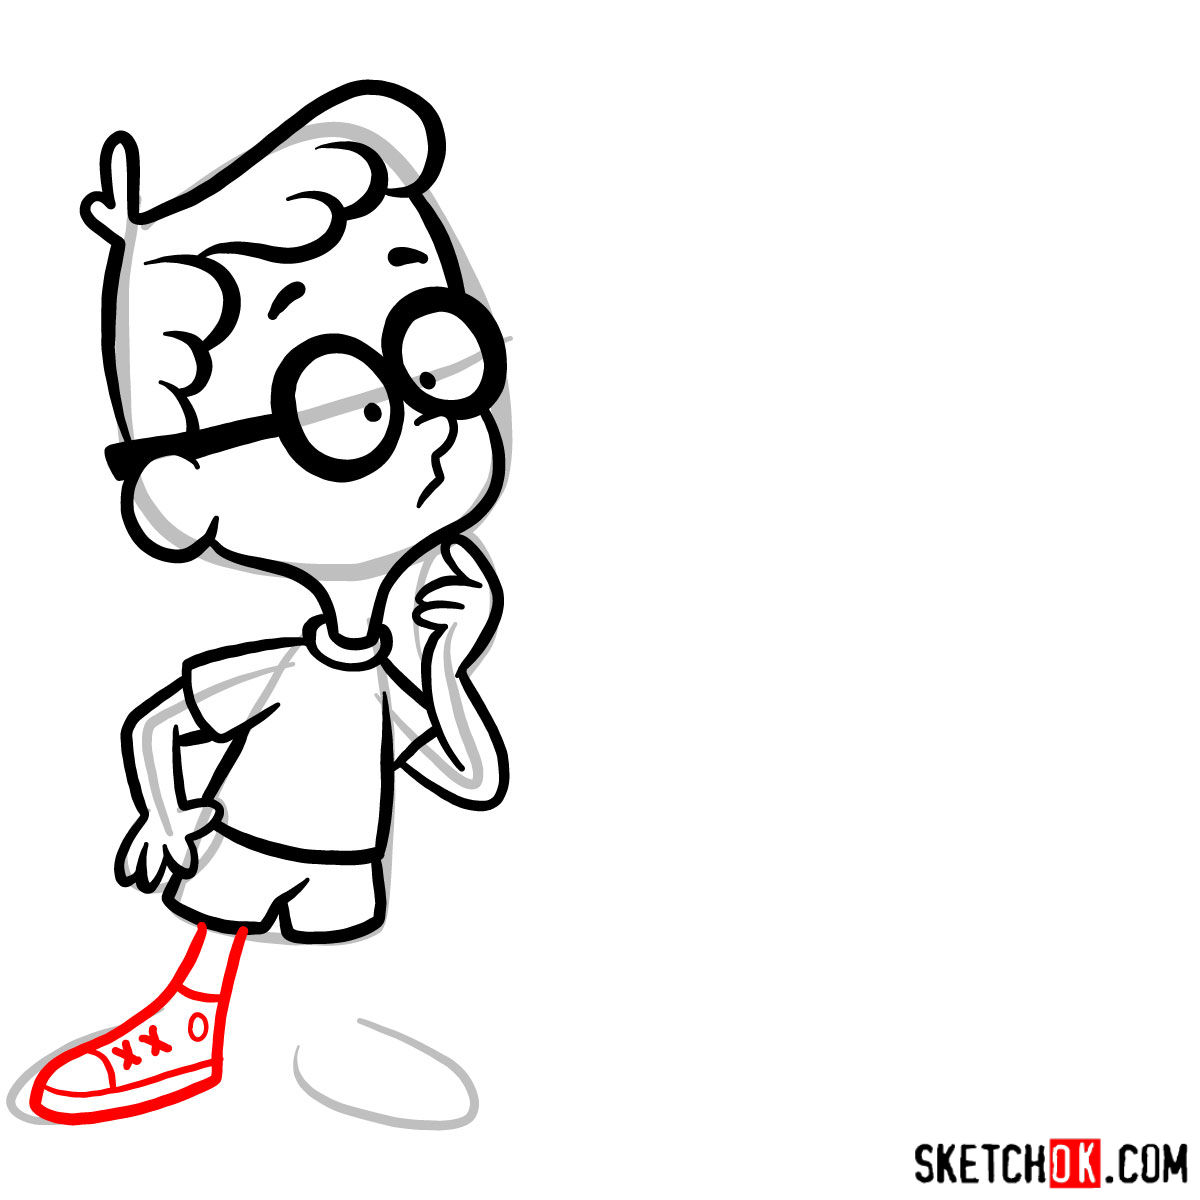
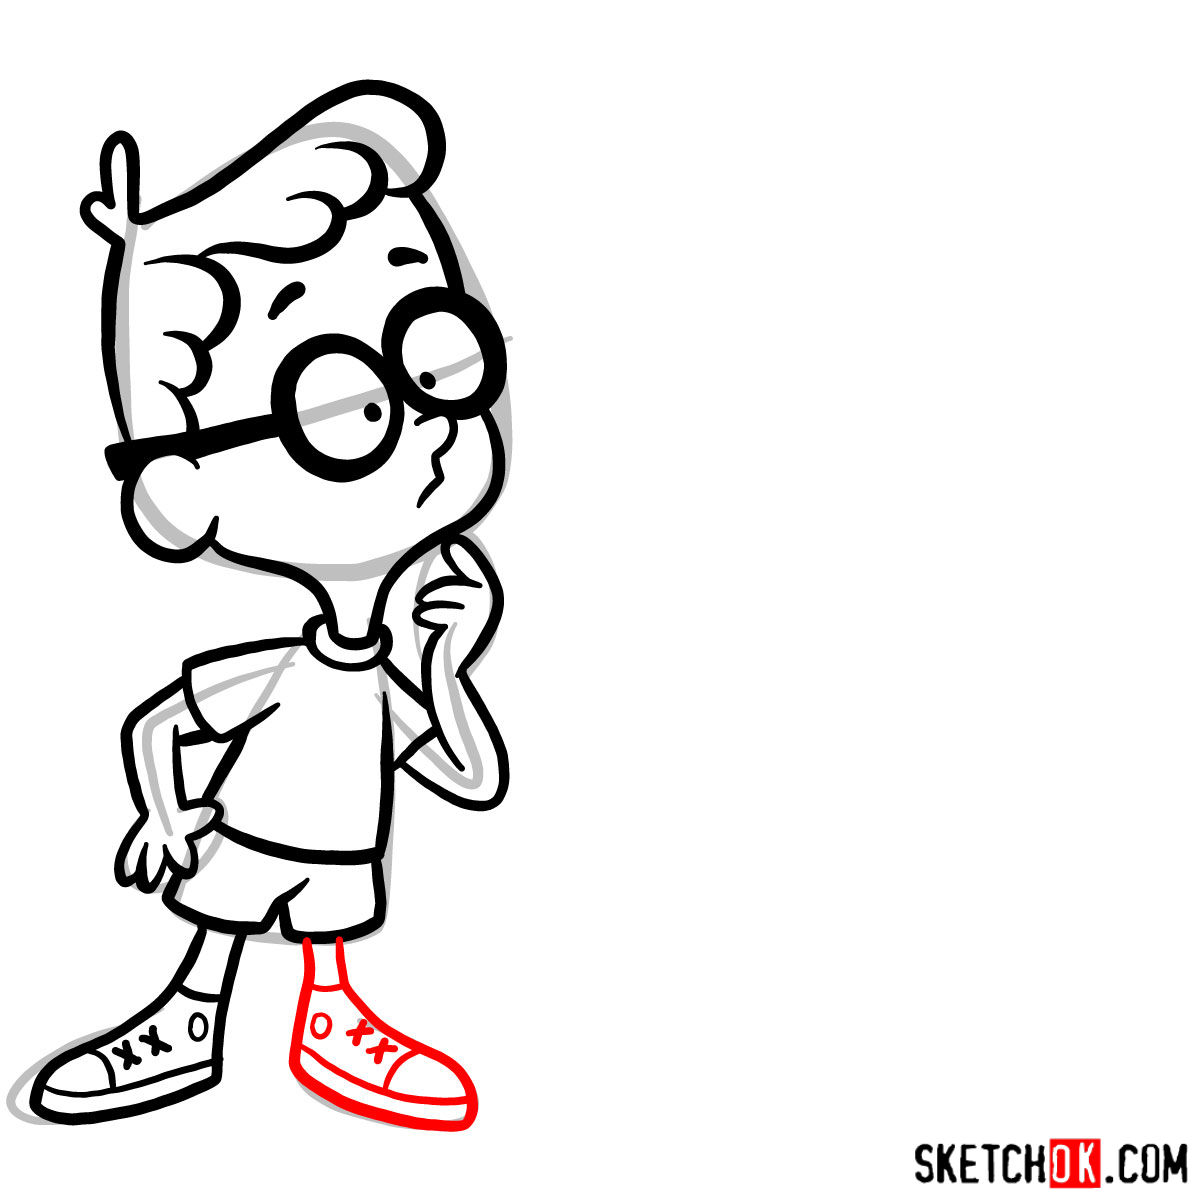
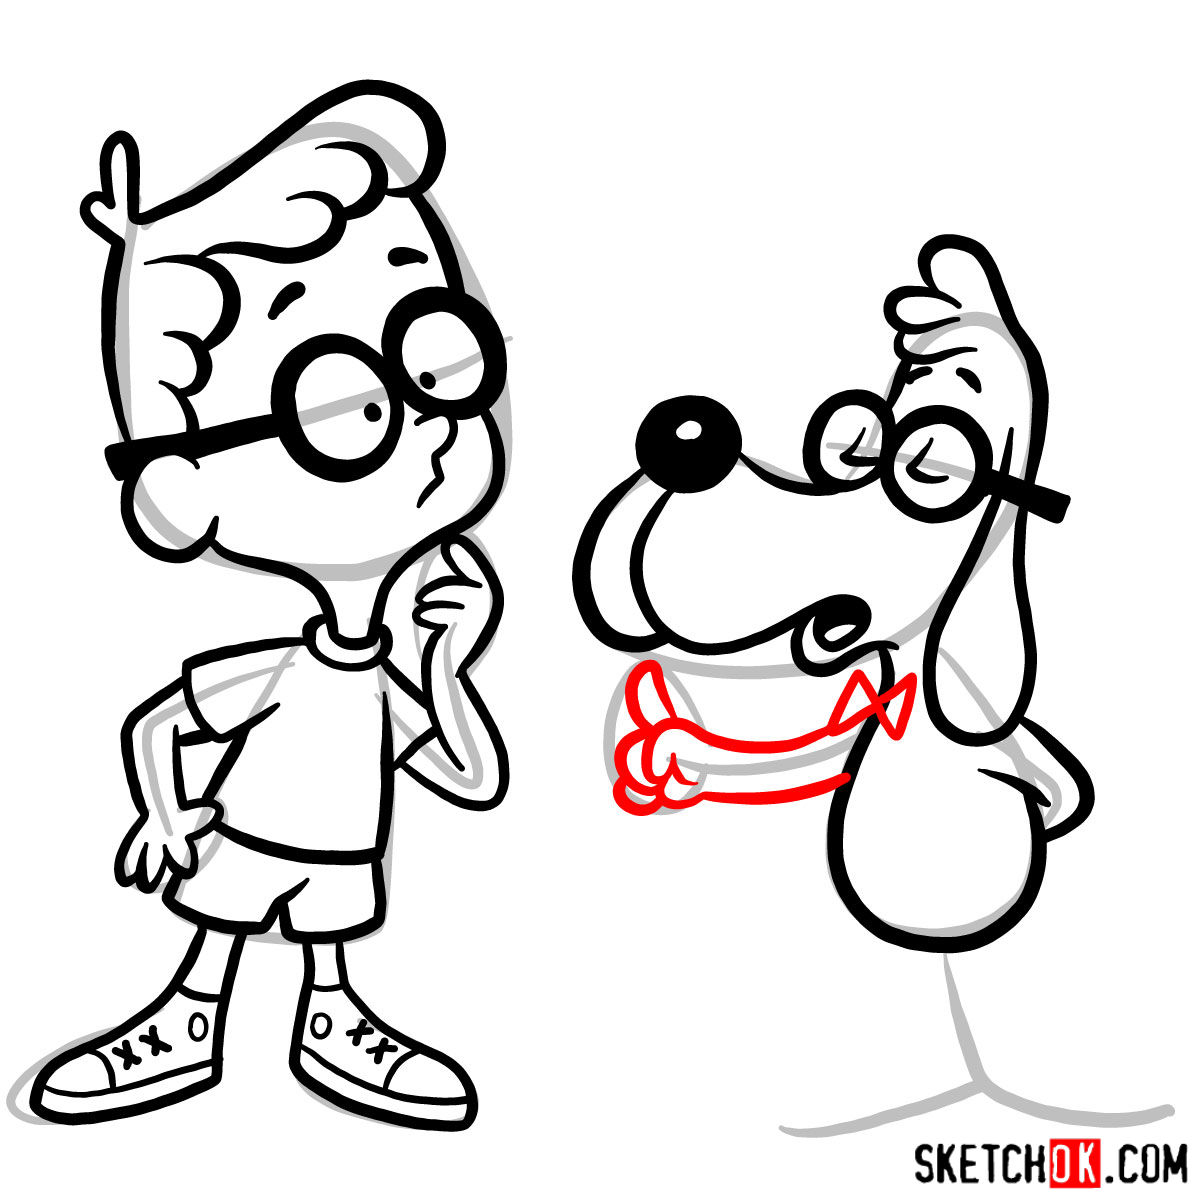
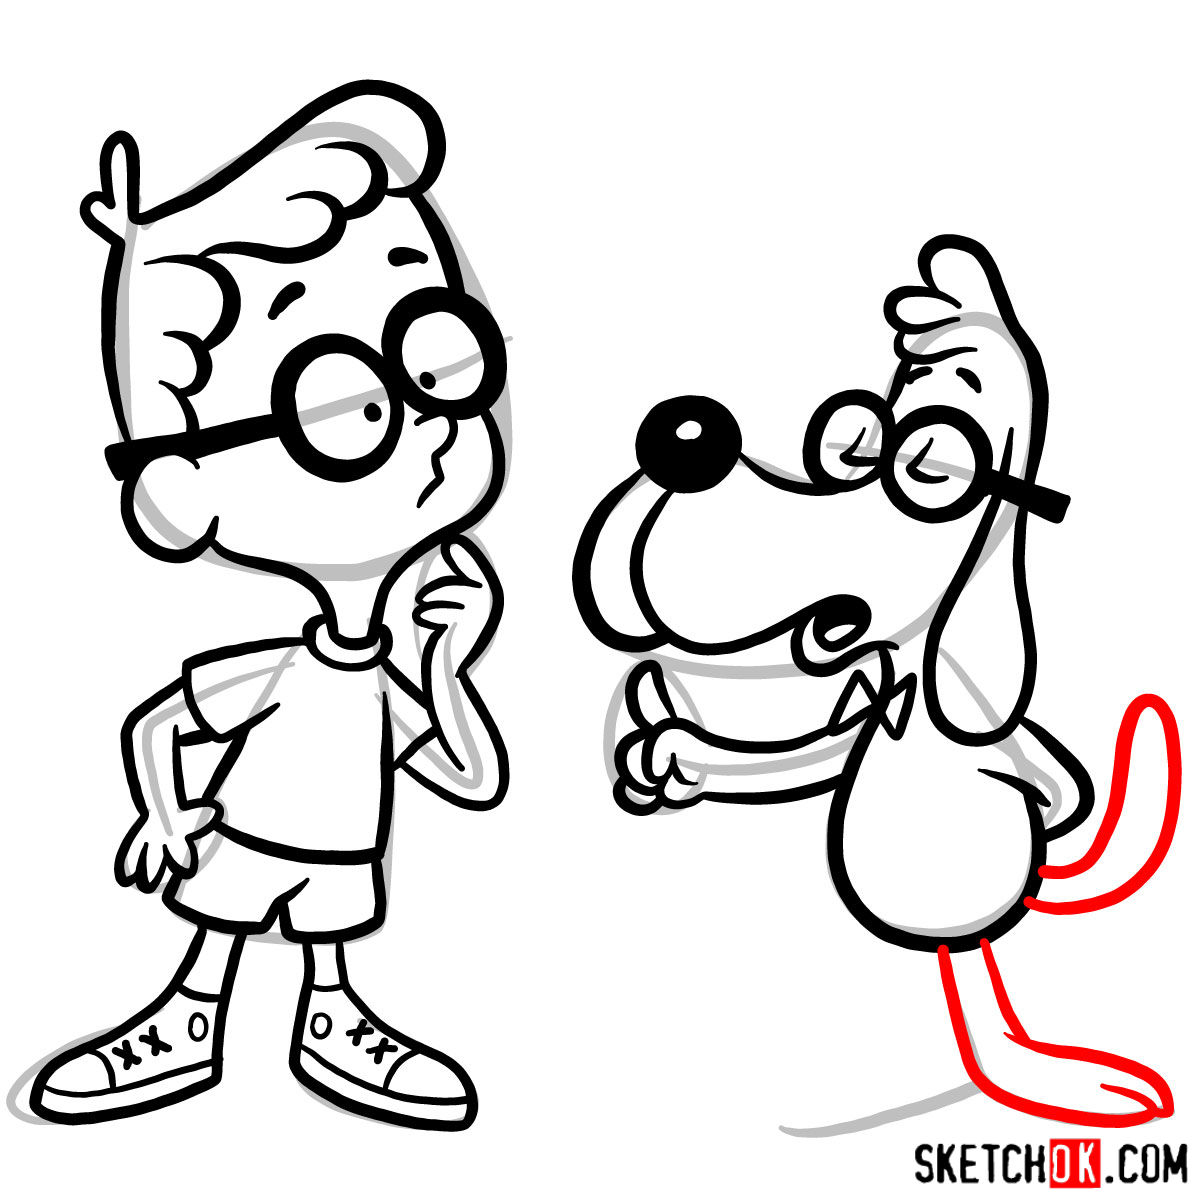
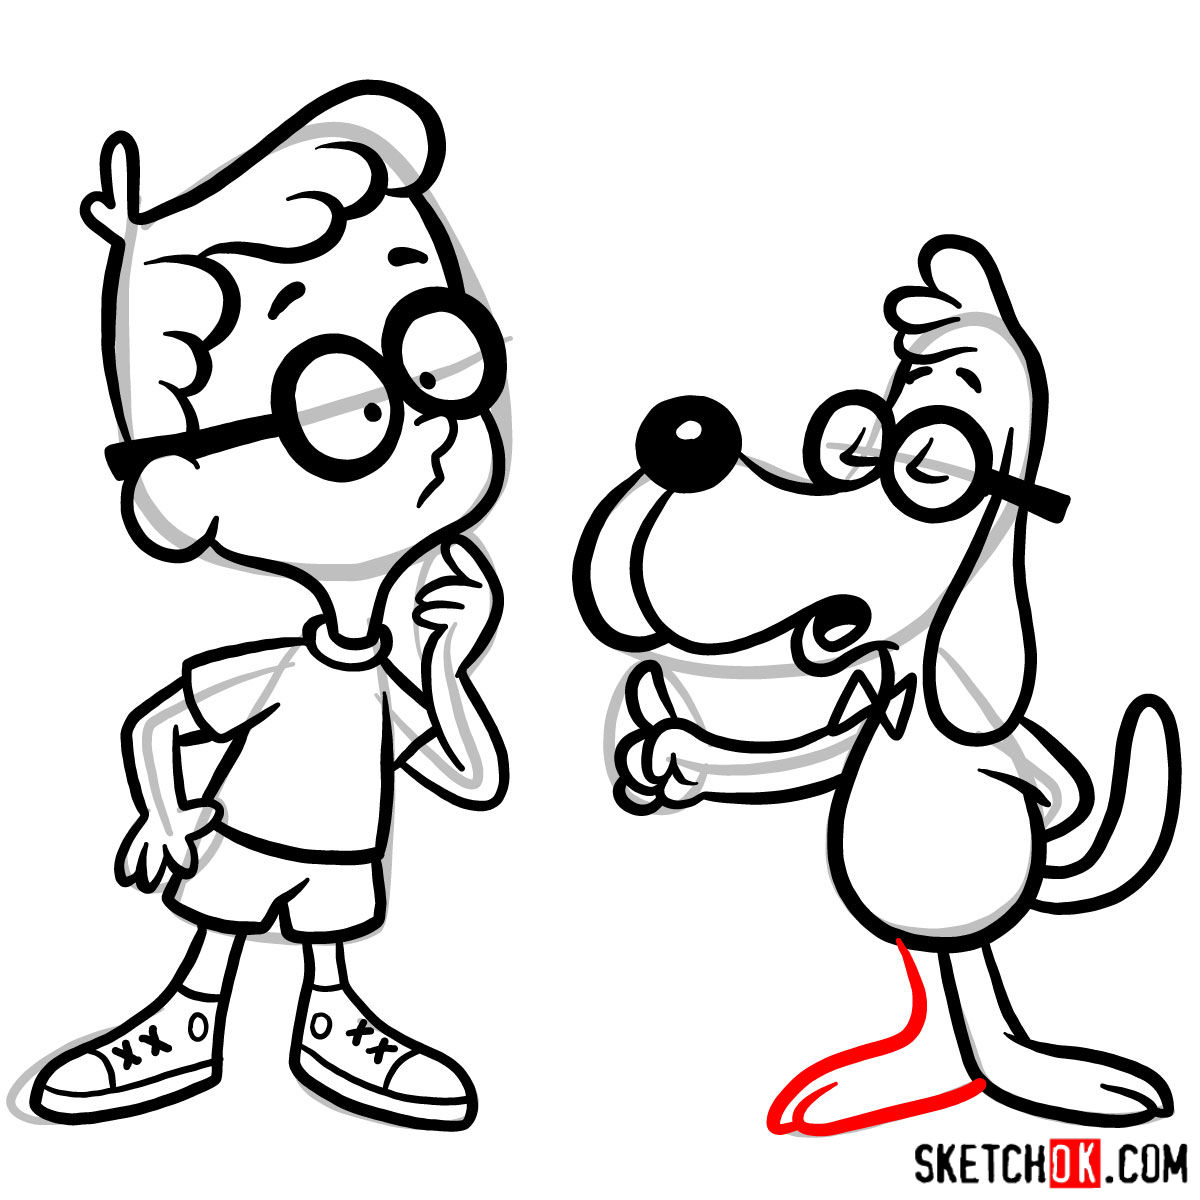
In this 18-step guide, we’ll start drawing each character by creating a basic sketch and laying down the foundation. Remember to use light pencil strokes for these initial steps. The color coding for each step is as follows:
-
-
- Red Color: Represents the current step you should be focusing on.
- Black Color: Showcases the lines you have previously drawn.
- Grey Color: Depicts the basic sketch and proportions.
-
In the final stage, you may opt to ink your sketch. Inking will make your lines clear, crisp, and professional-looking. Make sure to wait until the ink has completely dried before erasing the pencil sketch to avoid smudging.


Unraveling the Drawing Mysteries
What is the importance of sketching lightly in the initial stages?
Sketching lightly helps you to easily erase and adjust lines in the early stages. It makes the refining process more forgiving and less messy.
Why should we wait until the ink dries before erasing the pencil sketch?
Waiting for the ink to dry before erasing the pencil sketch is crucial to prevent any smudging or distortion of your final artwork. This ensures your sketch remains clean and professional-looking.
What are some tips to successfully capture the unique features of Mr. Peabody and Sherman?
To capture the unique features of Mr. Peabody and Sherman, pay close attention to their defining attributes. For Mr. Peabody, this includes his glasses and bow tie, and for Sherman, his round face and boyish haircut. Keeping these features in mind will help you to create an accurate representation of the characters.
Sketching Out a Conclusion
As we wrap up this artistic journey, we would like to remind you that these guides are created with a lot of effort and dedication. If you found this tutorial helpful, consider donating to help keep SketchOk project alive and to produce more free drawing guides. You can donate here: Buy Me a Coffee.
And remember, art is meant to be shared! Spread the word about this guide on Facebook, Instagram, and Pinterest. Let’s grow this creative community and keep inspiring each other to create and learn. Happy drawing!