Last Updated on May 14, 2026
Ever dreamt of drawing Kim Possible, the iconic animated action-comedy character? This exciting and well-known character from Disney Channel is a beloved figure by many for her tenacity, adventurous spirit, and unique look. This guide aims to make your dream possible by teaching you how to draw Kim Possible’s face. By following our step-by-step instructions, you can bring her to life on your sketchpad. And who knows? Maybe next you’ll be adding Ron Stoppable, or even the villainous Dr. Drakken to your growing art portfolio.
Studying Kim Possible: Character Details
Before starting the sketching process, it’s crucial to familiarize yourself with Kim Possible’s key features. Her face is expressive, making it a perfect exercise in character drawing. Some of the essential elements to take into account include:
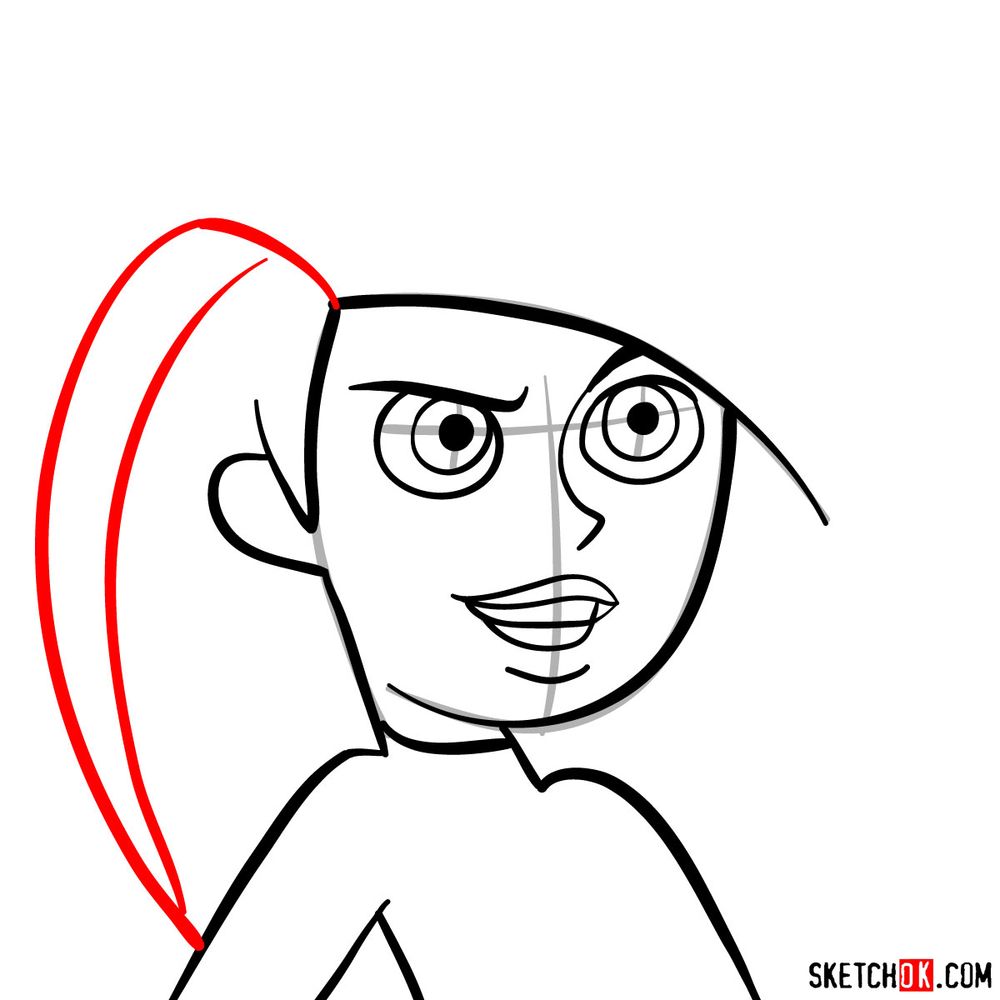
- Kim’s distinctive large eyes, which express her determination and spirit.
- Her thin, pointed eyebrows that often show her emotions and determination.
- Kim’s unique hairstyle, featuring a flip at the ends that adds to her dynamic persona.
Pay close attention to these features, as they will greatly enhance your depiction of Kim Possible. Drawing her gives you a chance to practice these elements that are common in other characters, enhancing your overall sketching skills.
About the Step-by-Step Drawing Guide
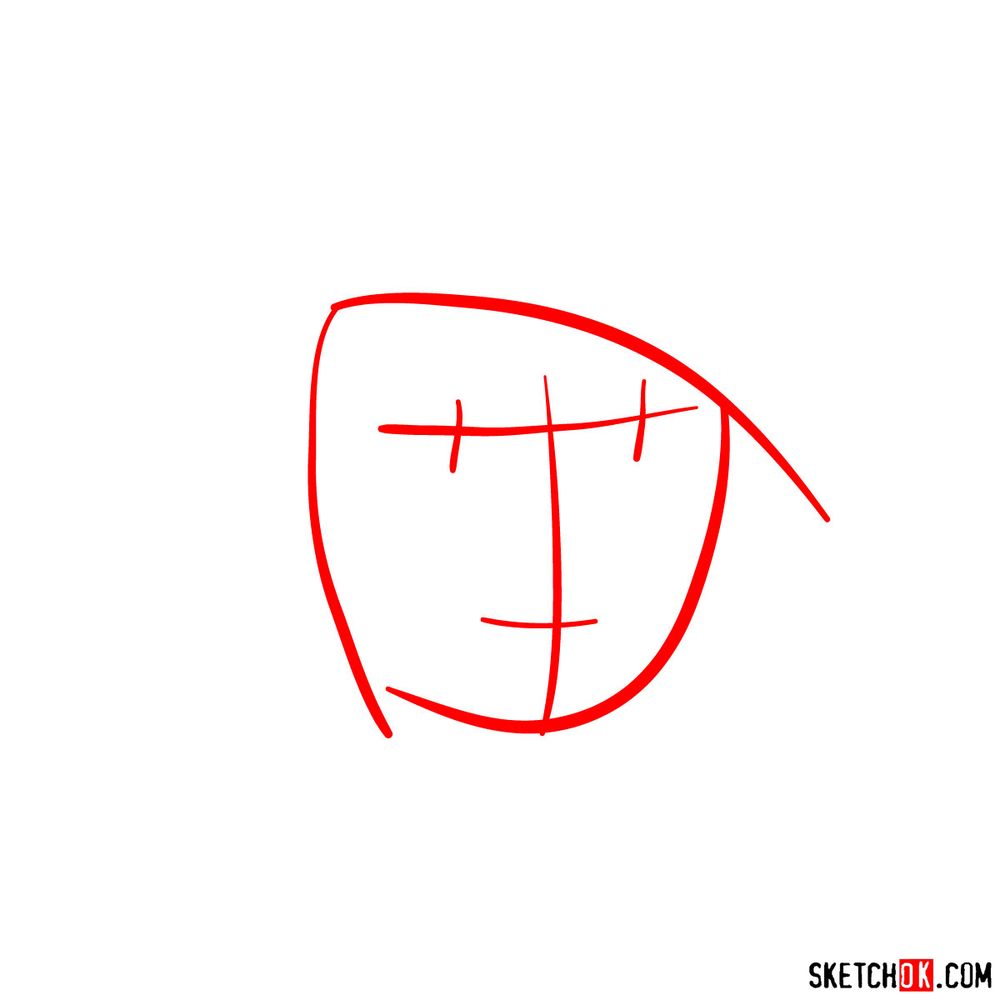
Our guide is composed of 9 steps, designed to provide clear, concise directions for your sketching process. The first step focuses on establishing the basic structure of the sketch, creating a proportional guideline for Kim’s face. Remember to use light pencil strokes in this phase, as it allows easy adjustments later.
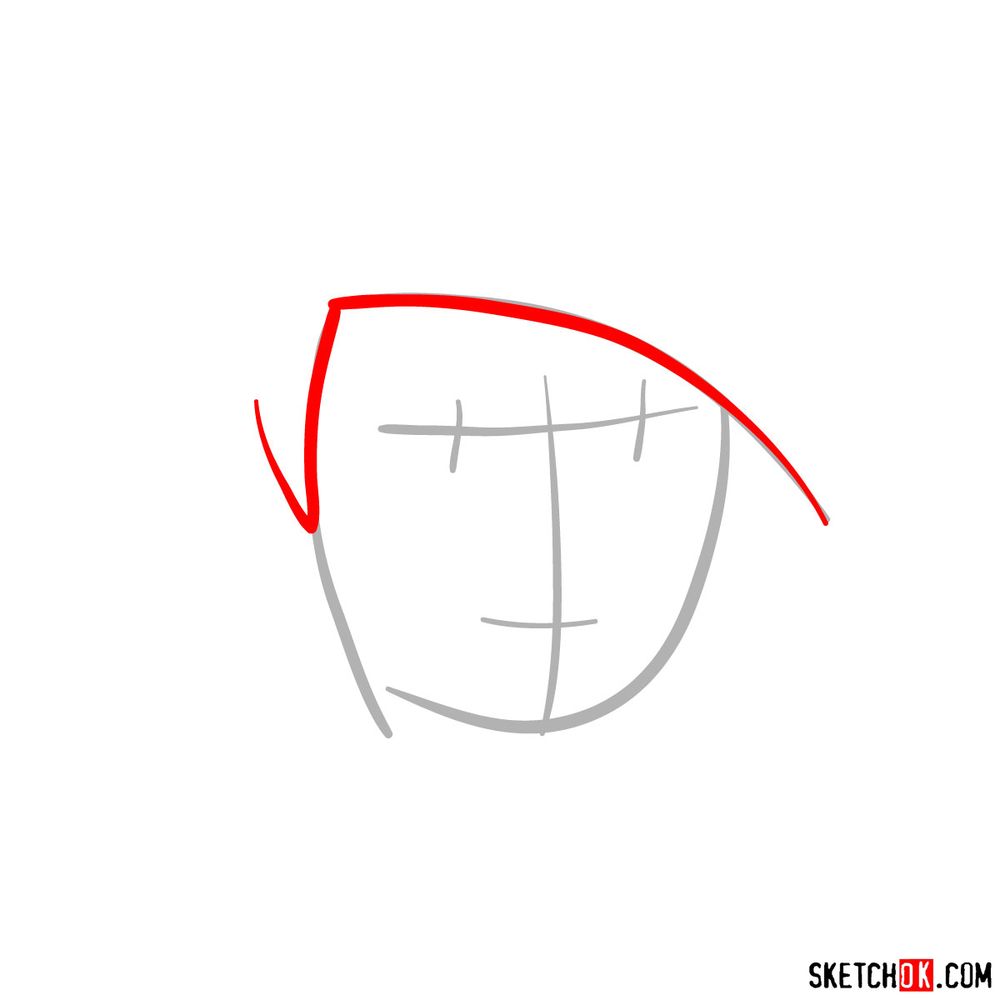
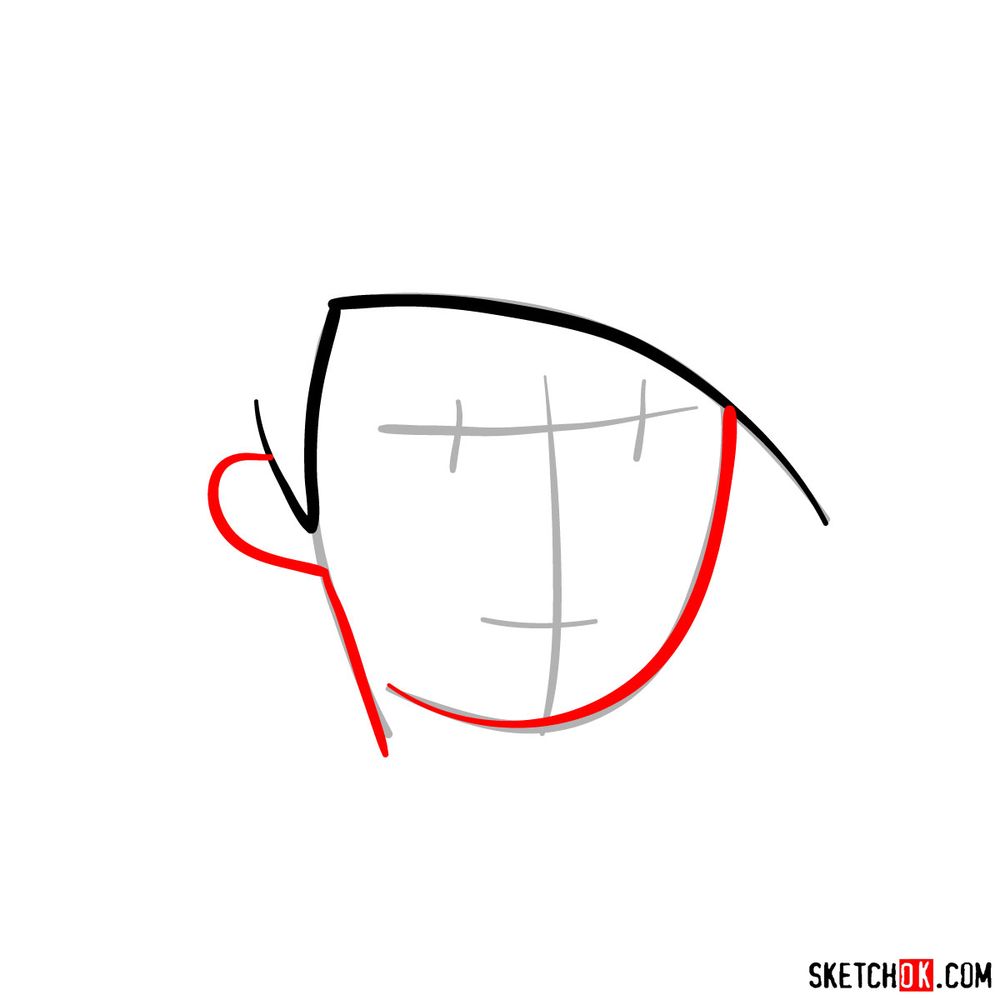
Here’s what you need to know about the color-coding:
- Red Color: The current step to be executed.
- Black Color: The lines you’ve previously drawn.
- Grey Color: The underlying sketch or basic proportions.
In the final stage, you can choose to ink your sketch. Once the ink is dry, gently erase the pencil sketch to leave a clean, finished drawing. Inking brings boldness and clarity to your sketch, and waiting for the ink to dry prevents smudging. Erasing the pencil sketch ensures your finished piece is neat and clear.


Now that you’ve worked through how to draw Kim Possible’s face, was it easier or harder than you expected? Those big expressive eyes and that signature smirk can be tricky to nail the first time around. Drop your thoughts or share your finished drawing in the comments on the pinned Pinterest post, where other fans of Kim are doing the same.