Home » Cartoon Characters » Various » How to draw Jack Skellington

How to draw Jack Skellington

Drawing has been an age-old method of expressing creativity. From murals on caves to modern-day digital art, drawing is the soul of artistry. Now, imagine merging the joy of drawing with the magic of Halloween! Welcome to our step-by-step tutorial on how to draw Jack Skellington, the beloved Pumpkin King of Halloween Town.

Character’s Appearance and Focus Points

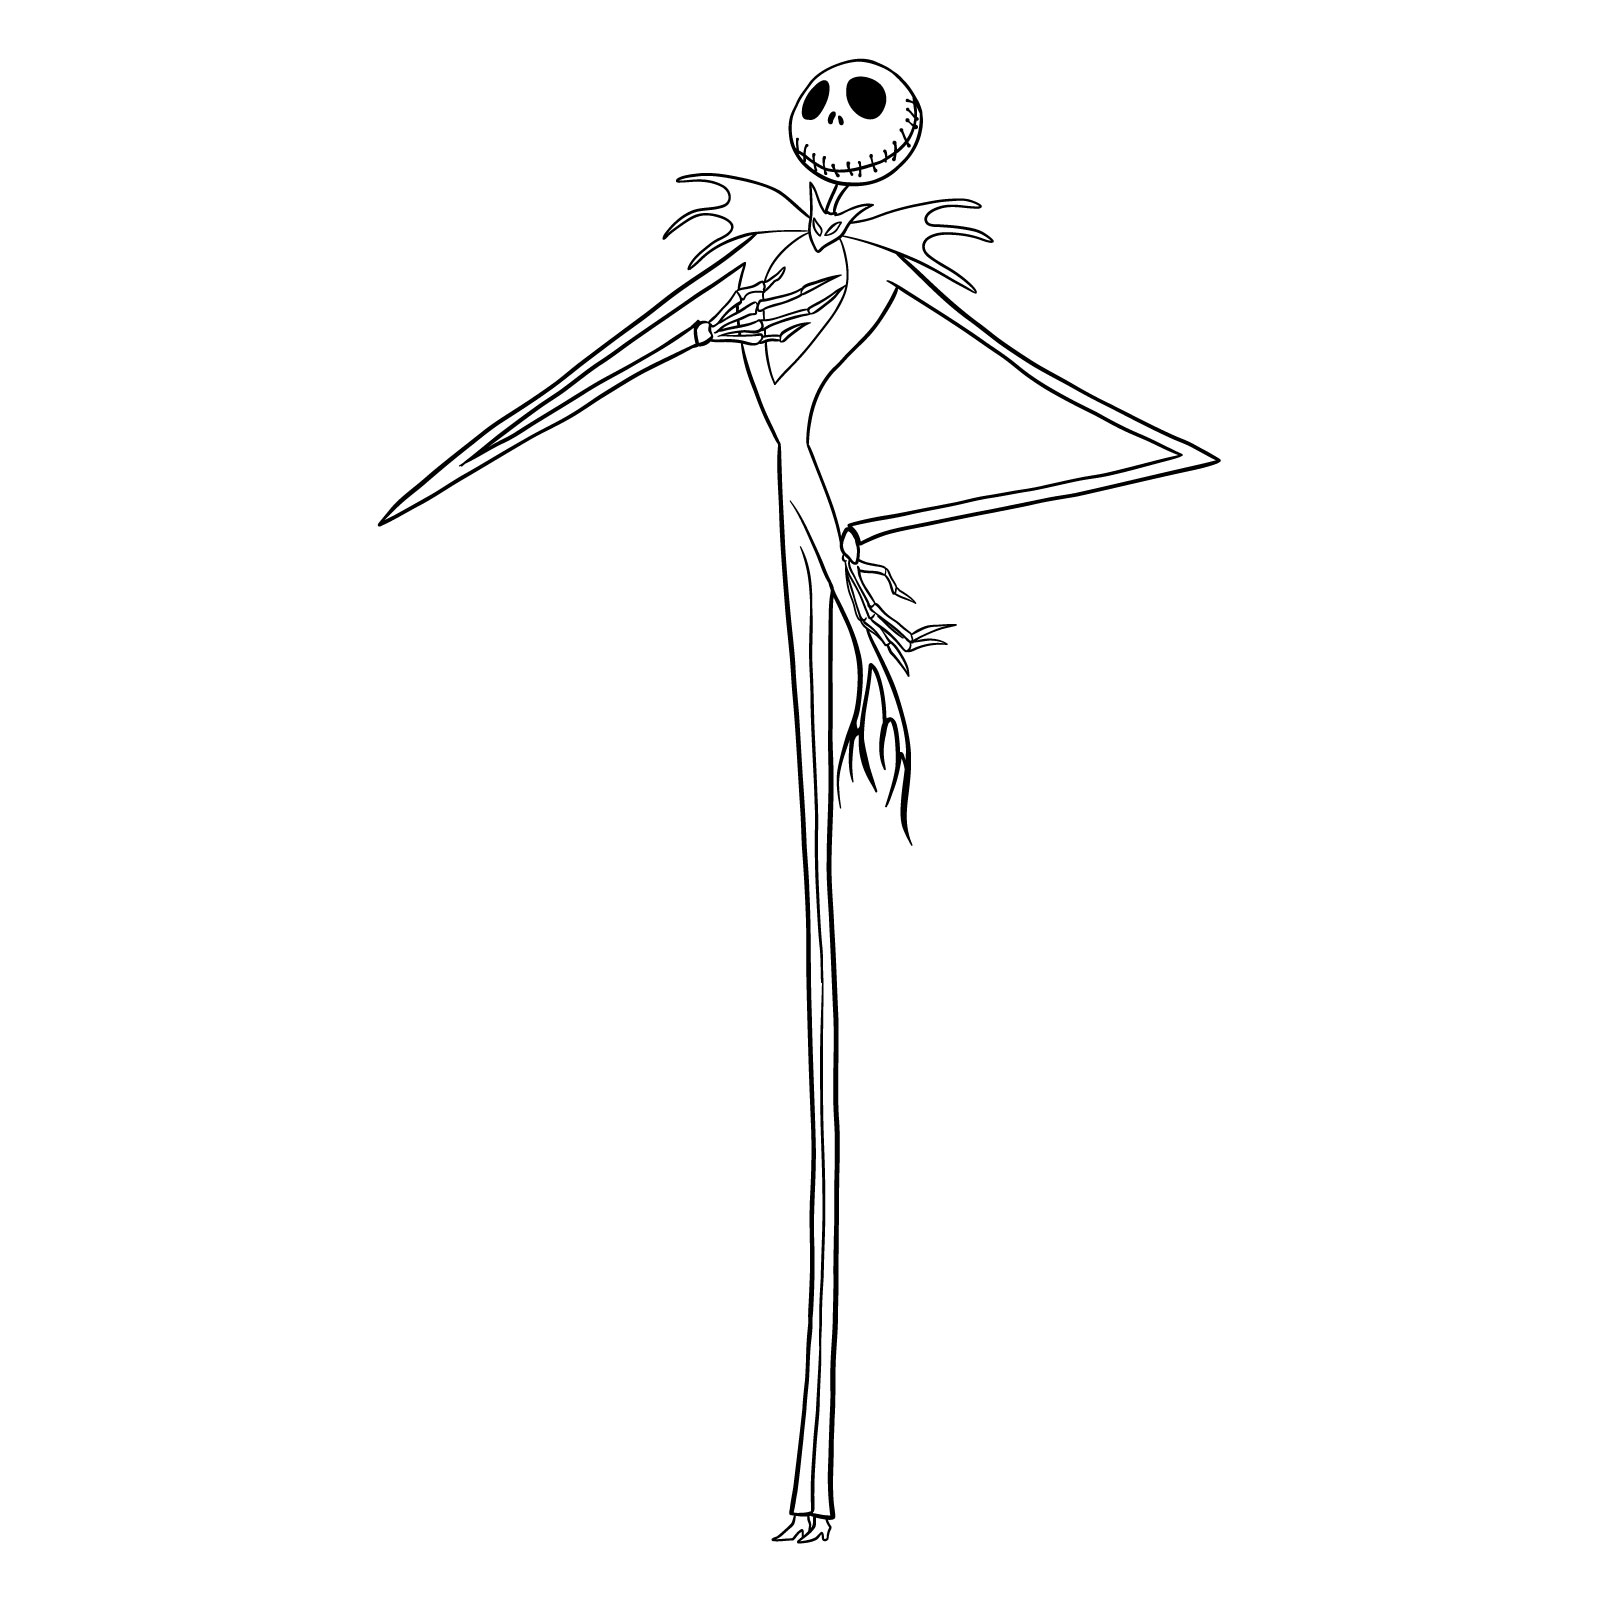
Jack Skellington, often referred to as the Pumpkin King, is no ordinary skeleton. Here’s a breakdown of his iconic features:

  • Tall, slender, and skeletal frame: This makes Jack distinct from most characters.
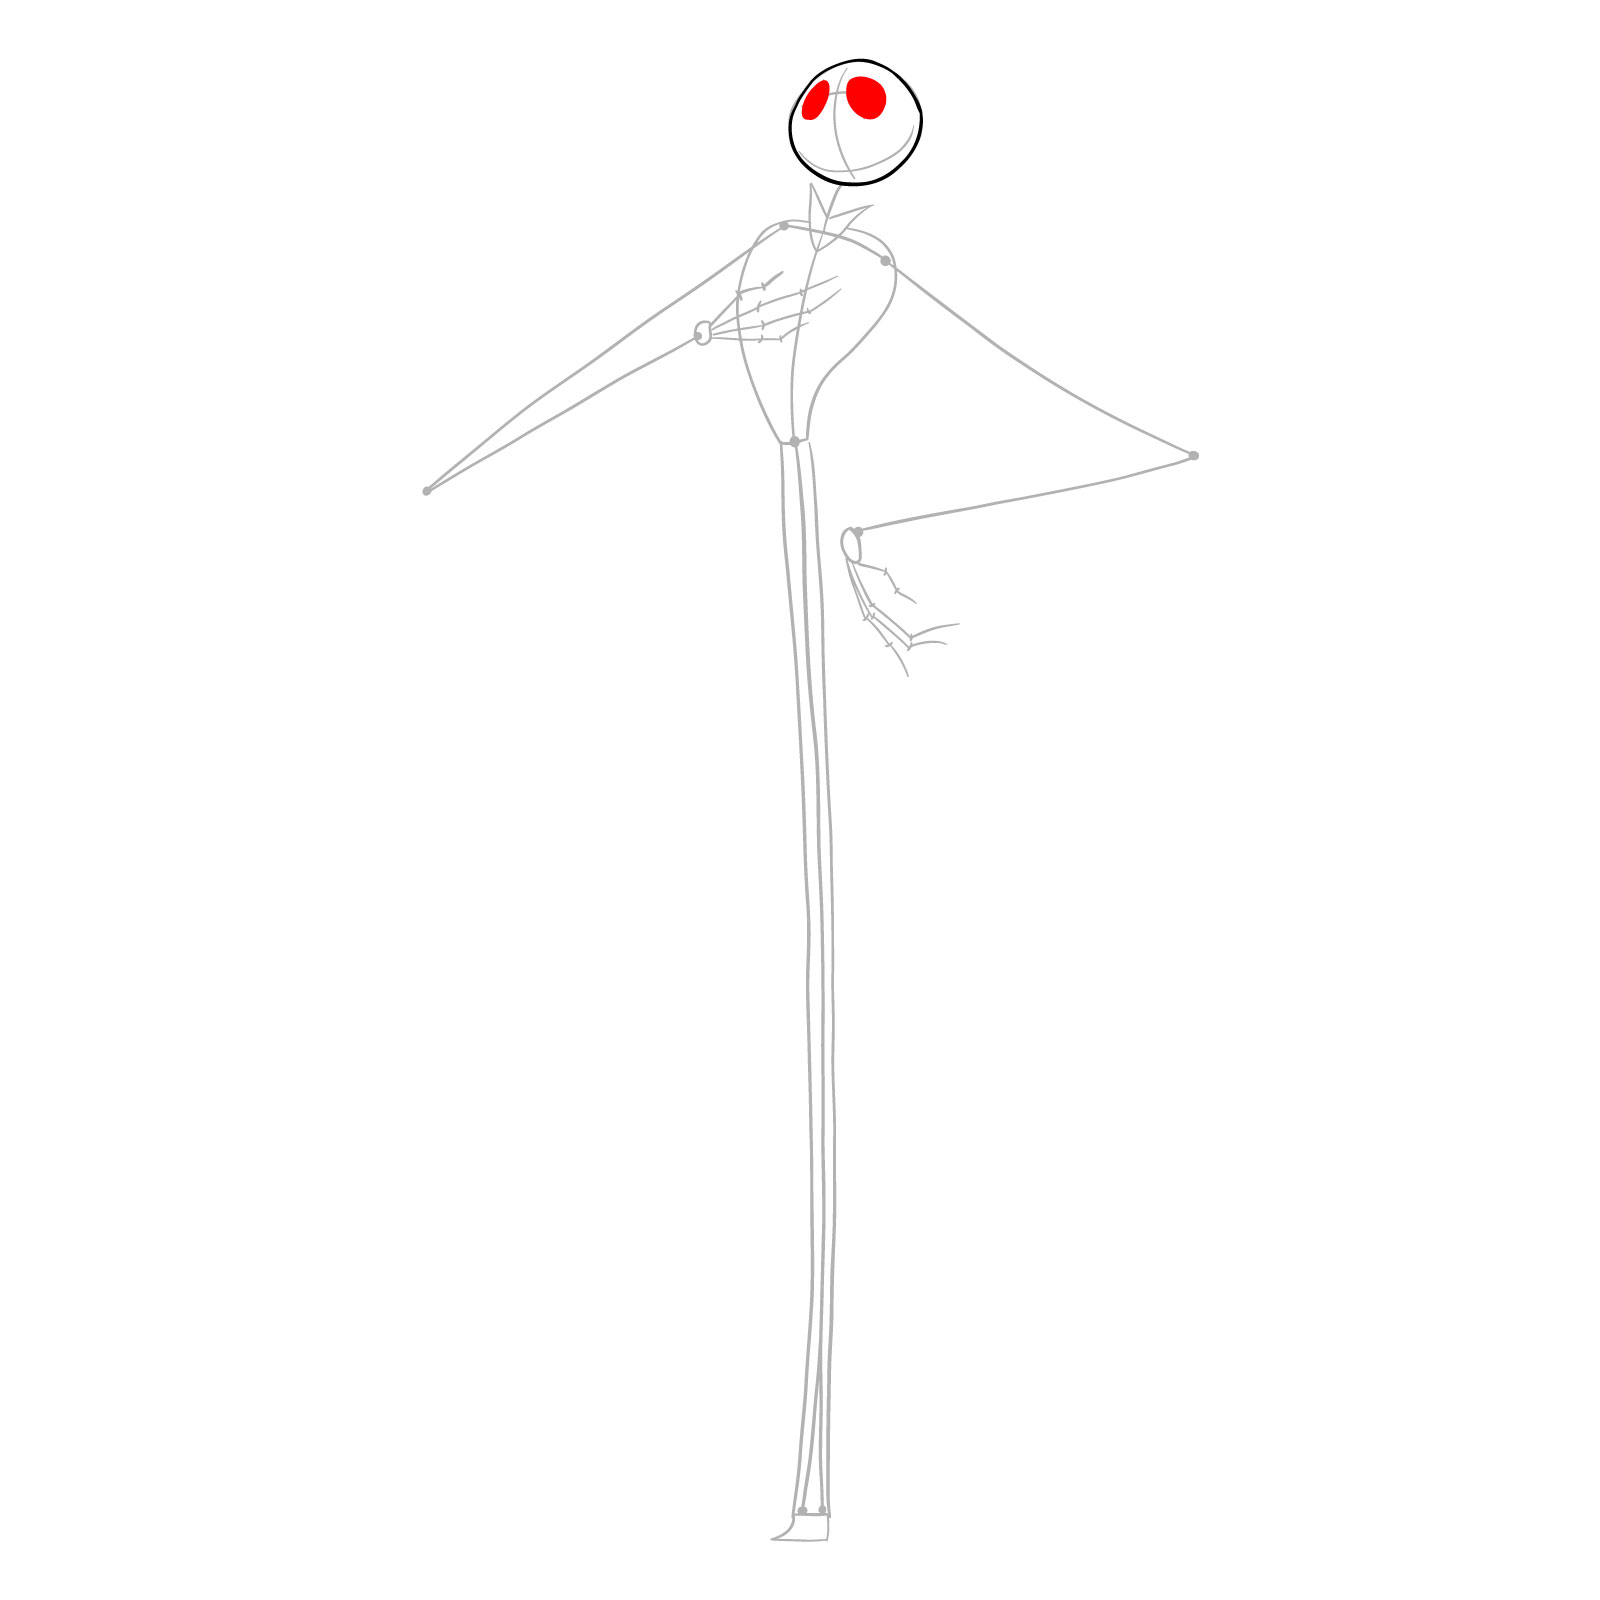
  • Large, round head: Almost like a balloon with two big hollow eyes.
  • Long, pin-thin limbs: His legs and arms, though skeletal, are longer than usual.
  • Bowtie resembling a bat: An iconic part of Jack’s outfit.
  • Elegant black suit: It gives him that formal yet quirky look.

About the Guide

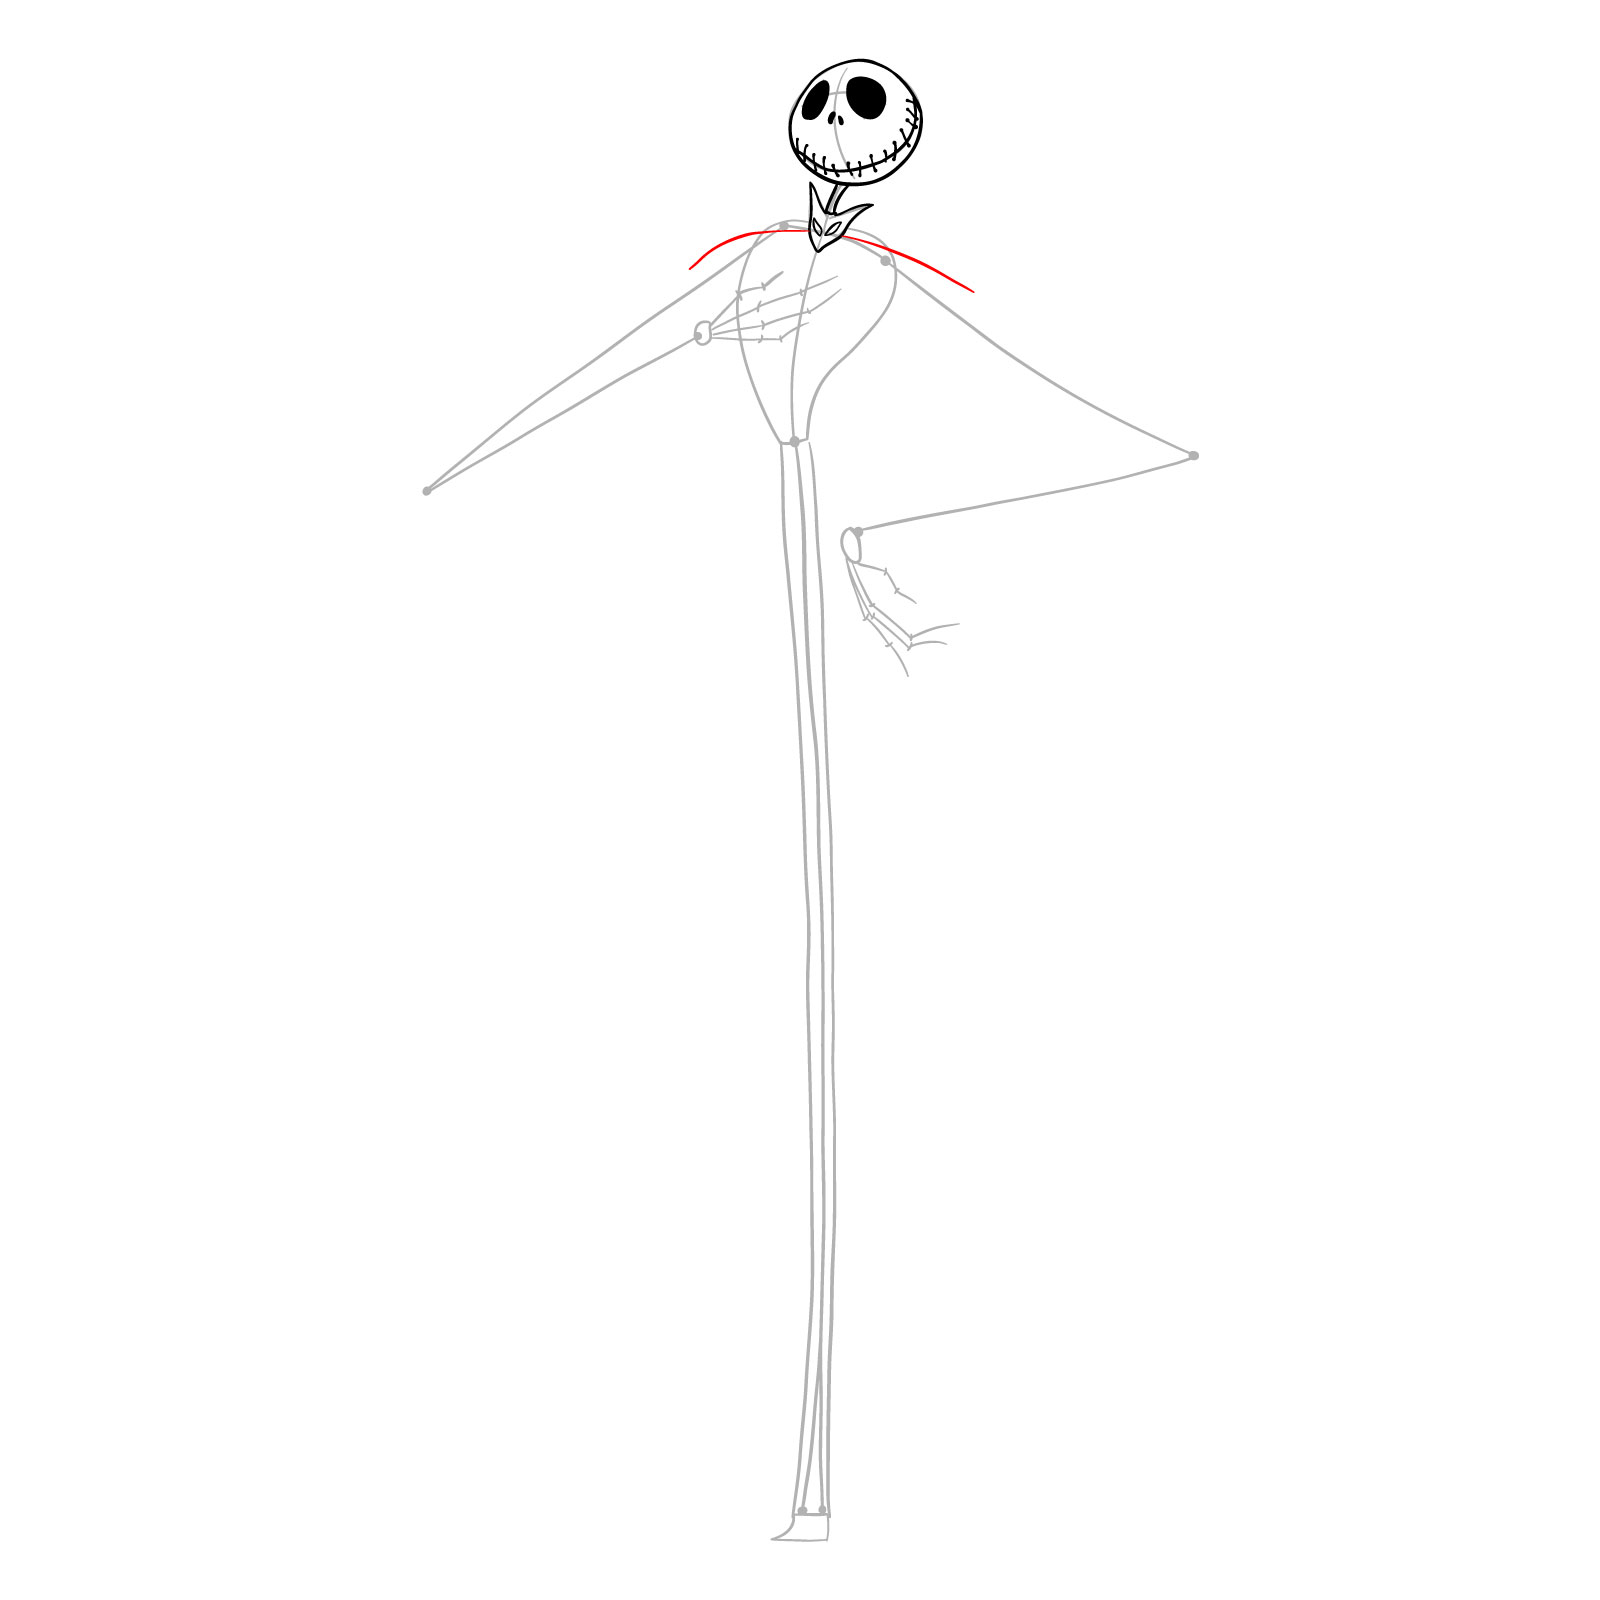
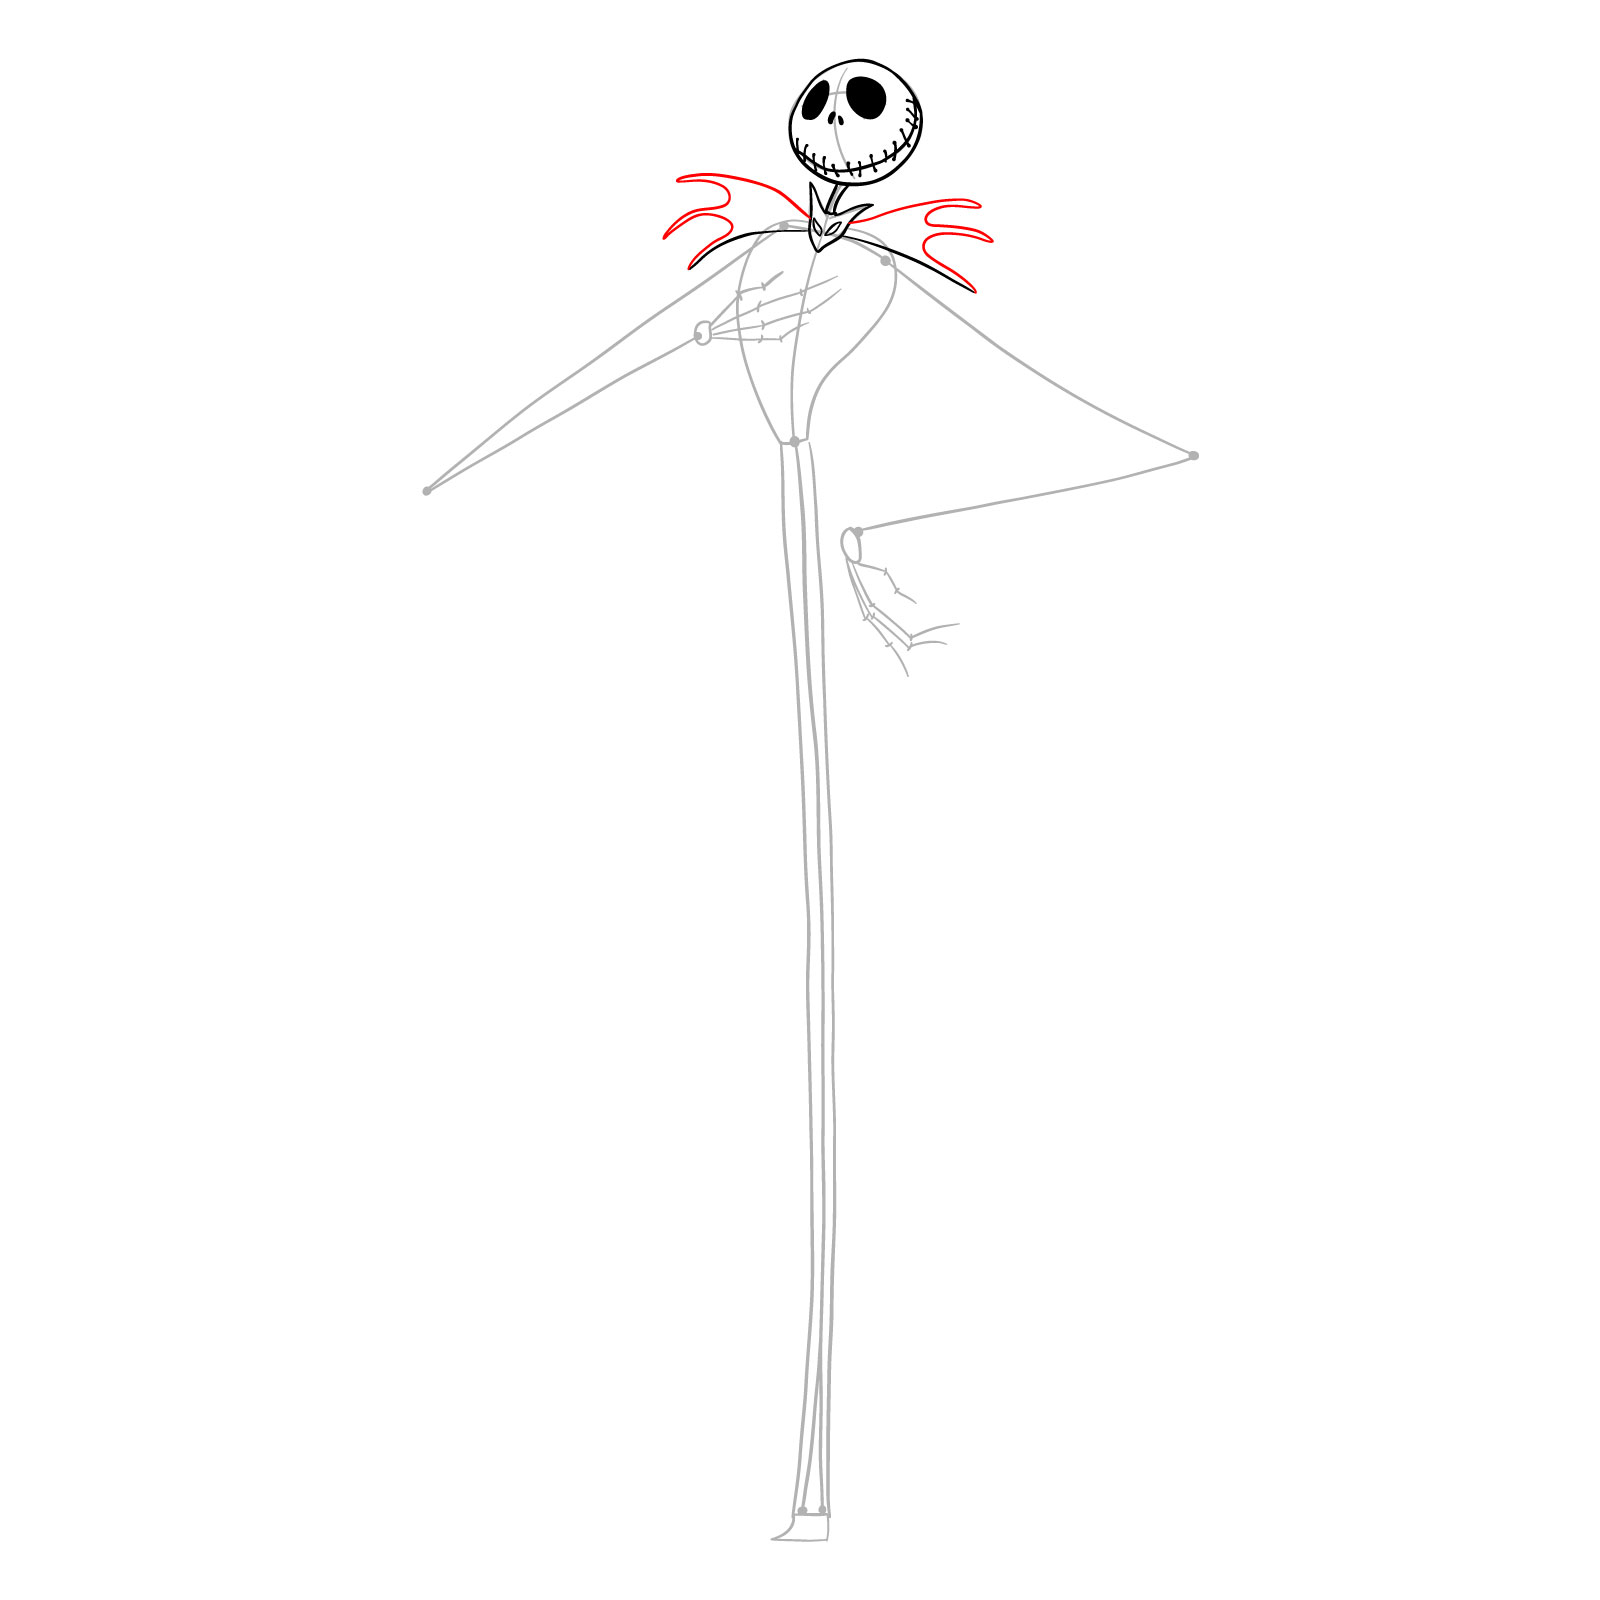
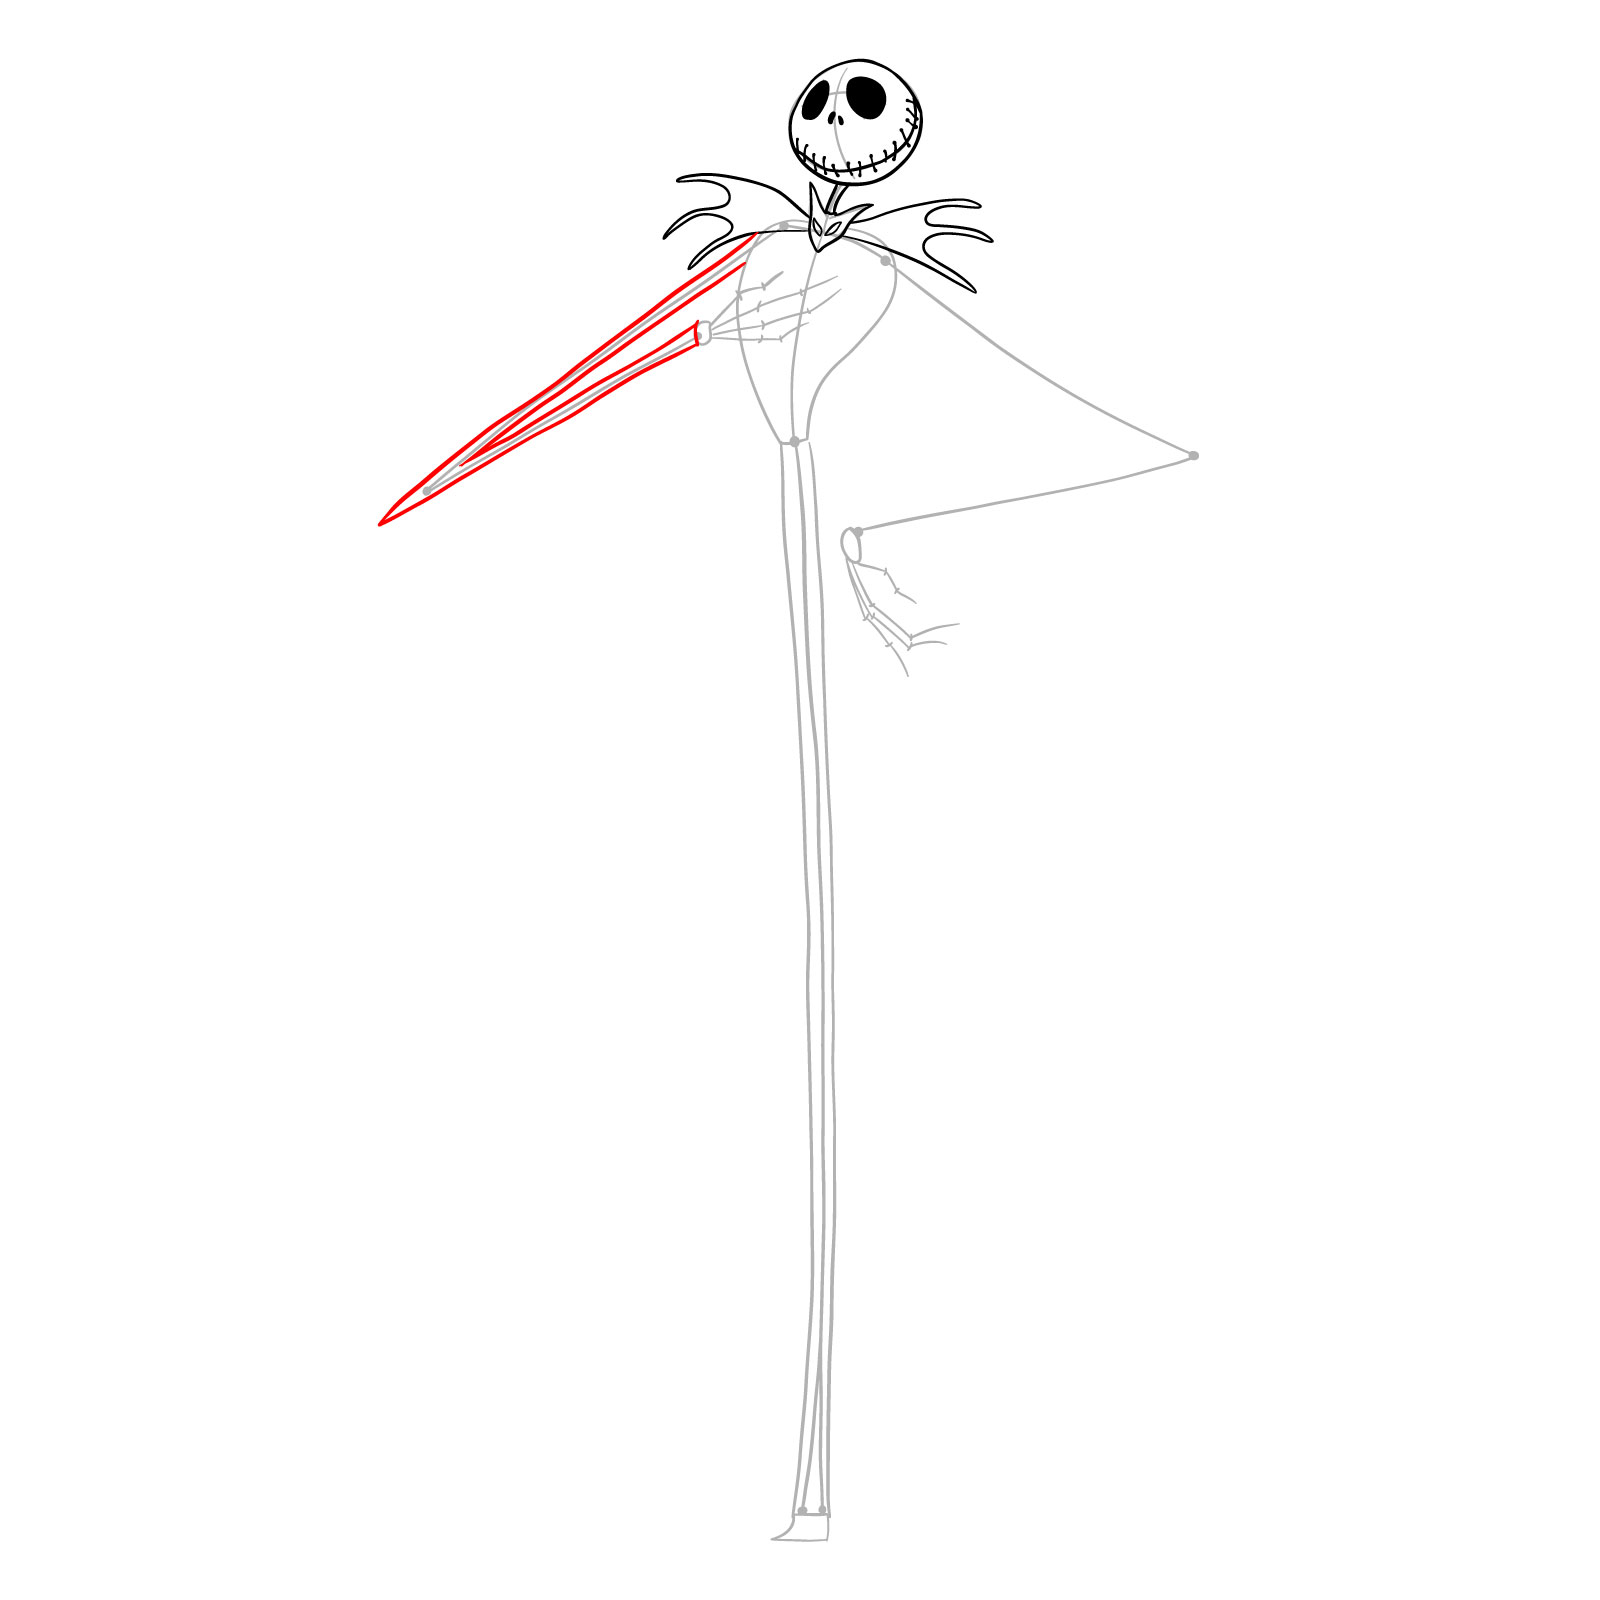
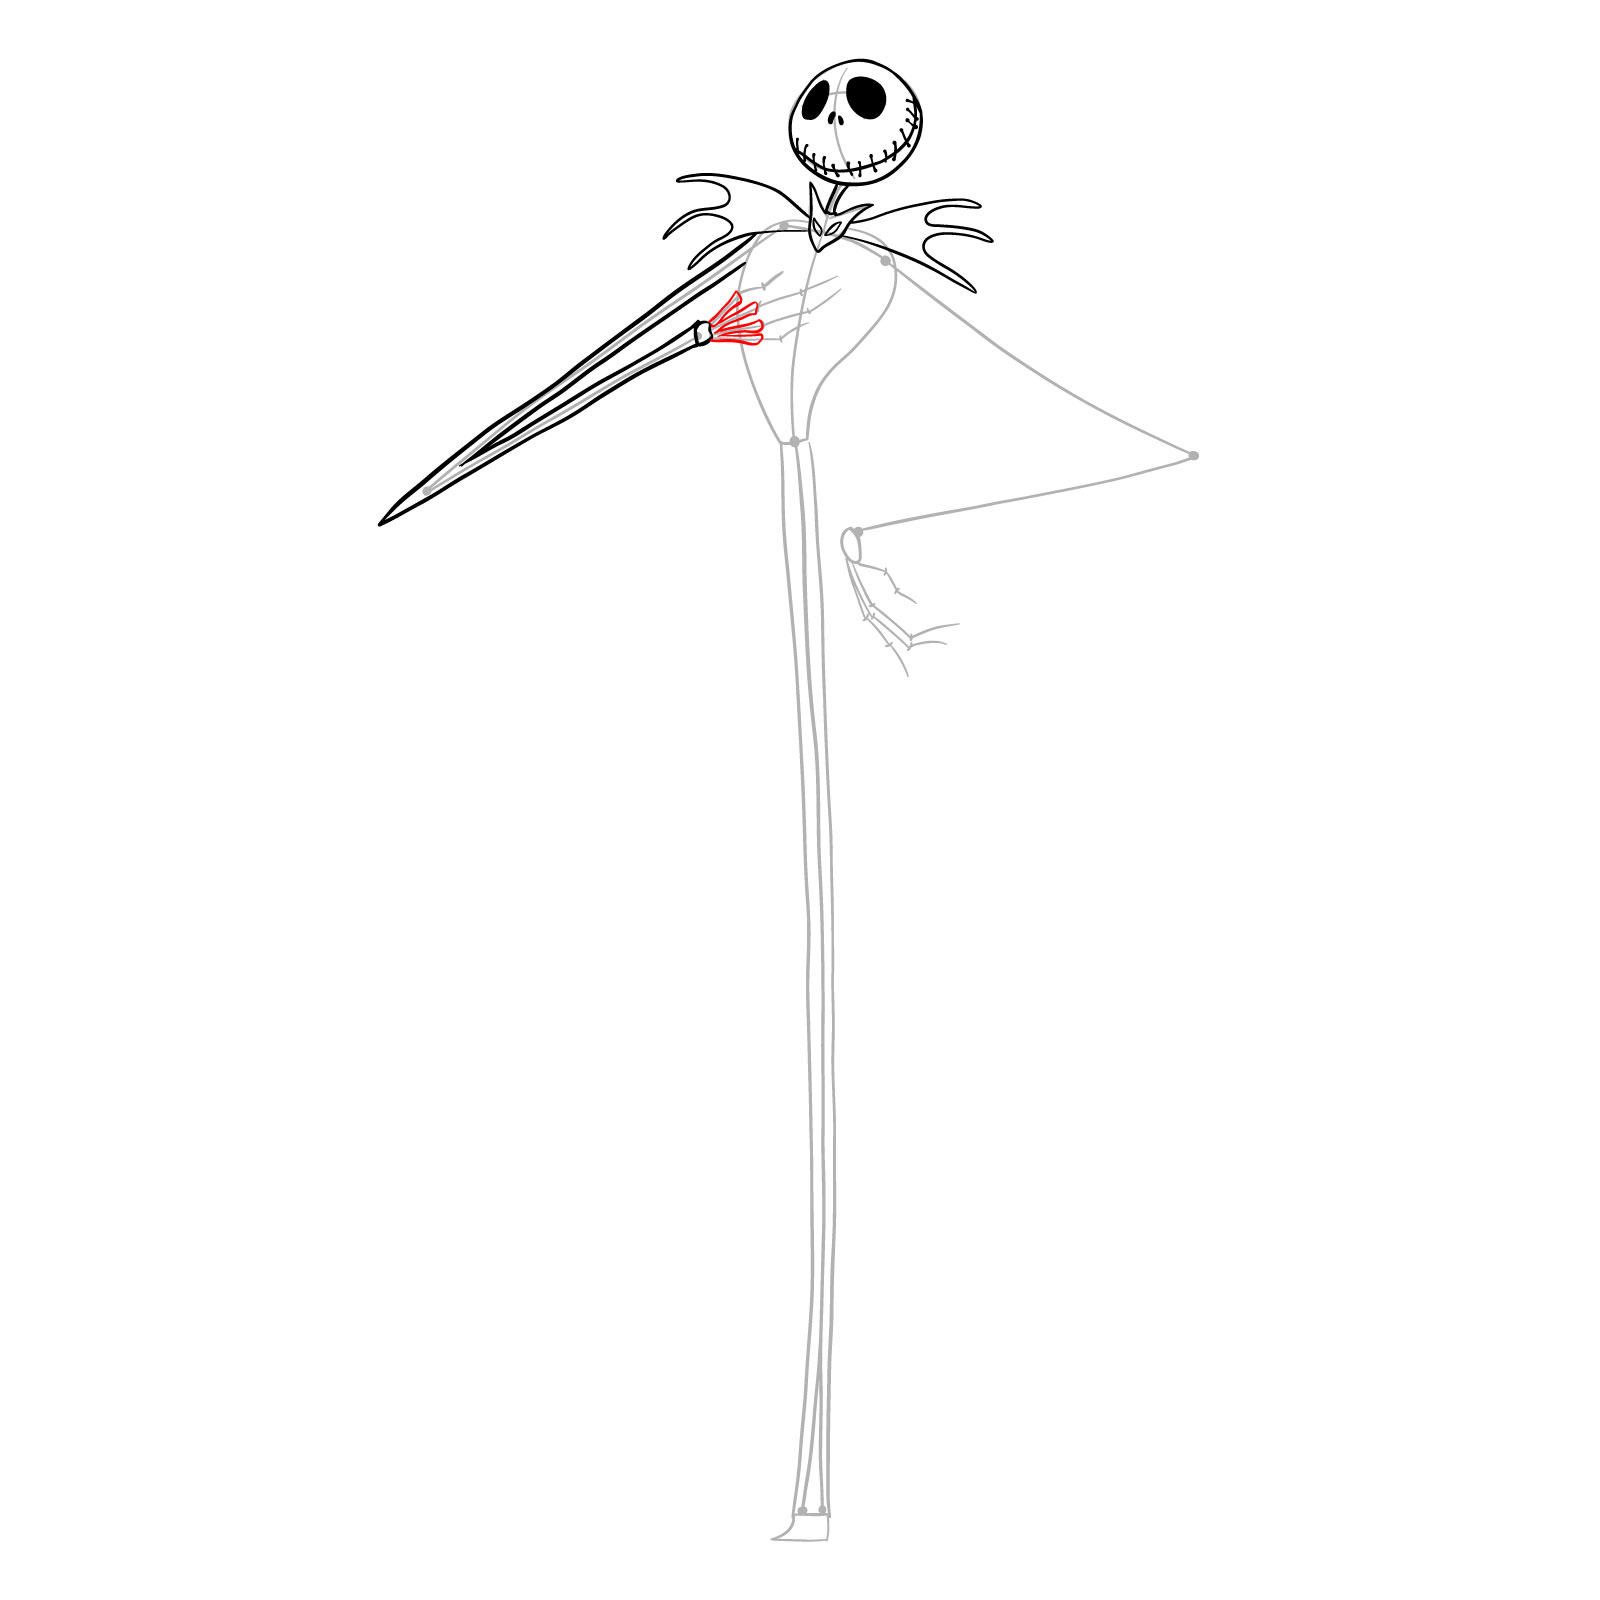
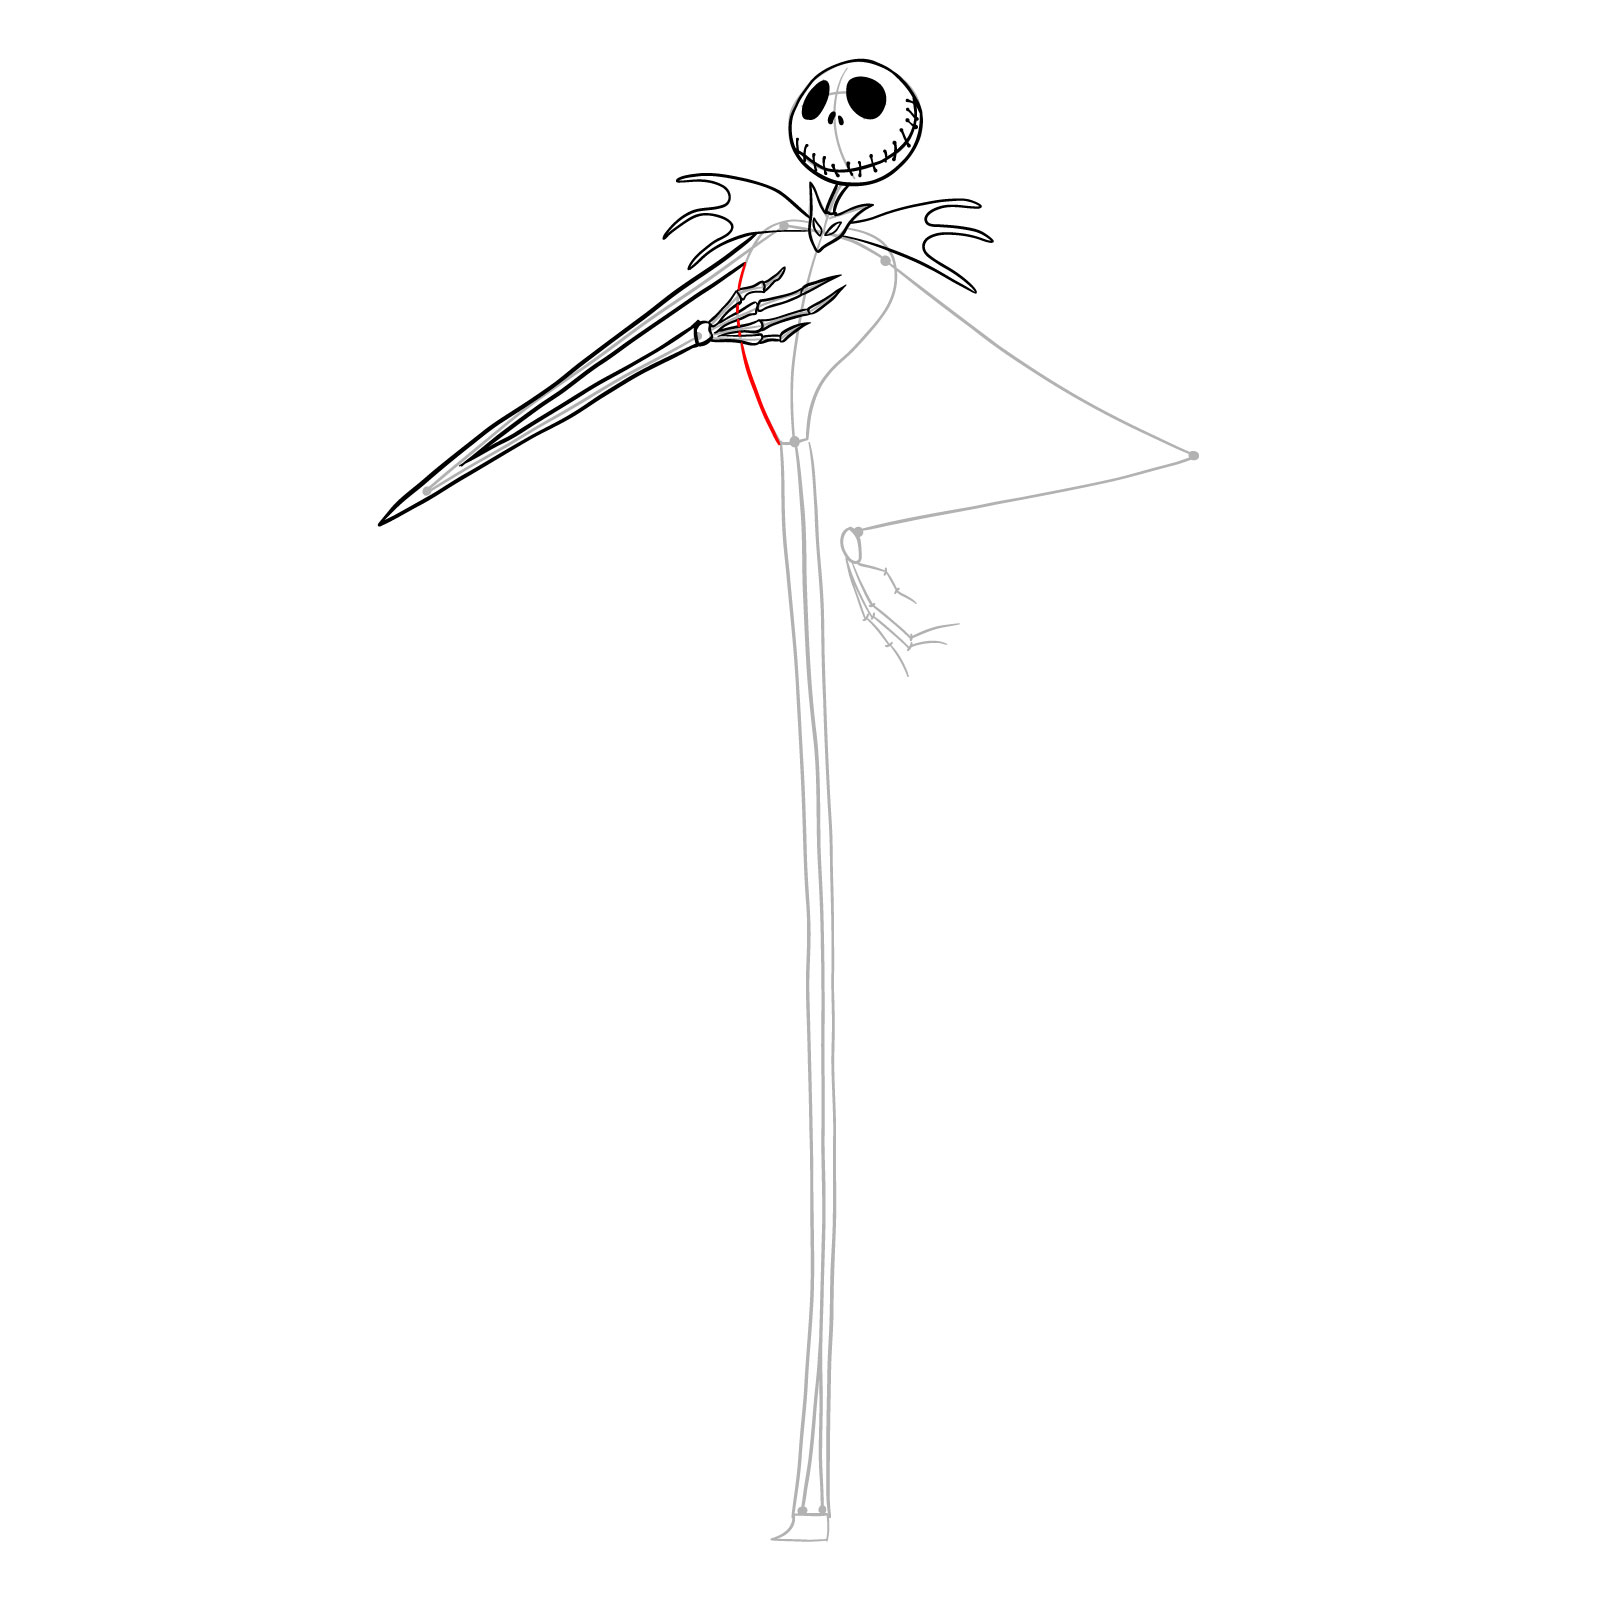
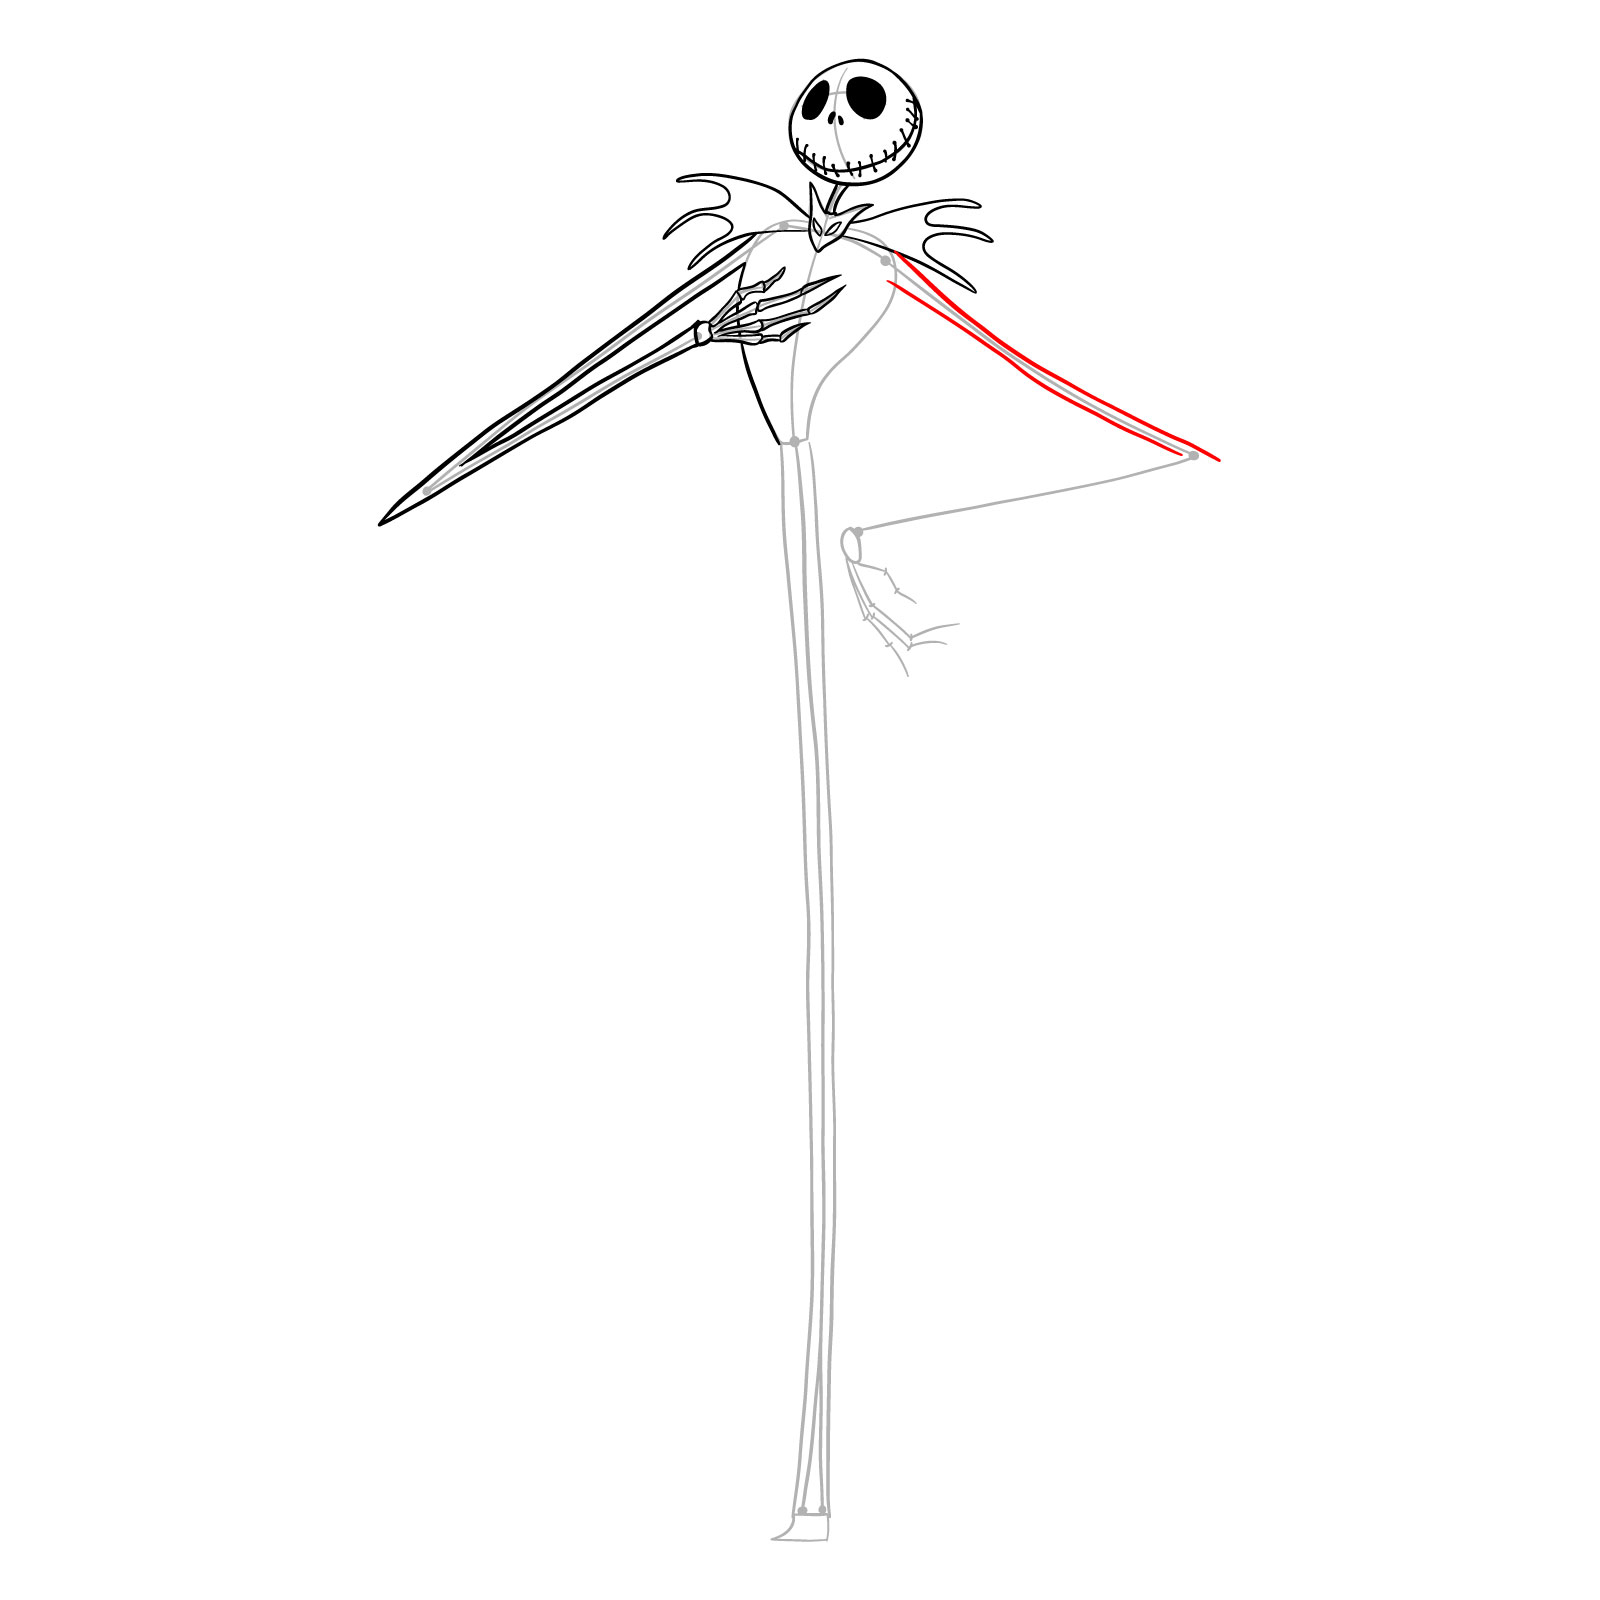
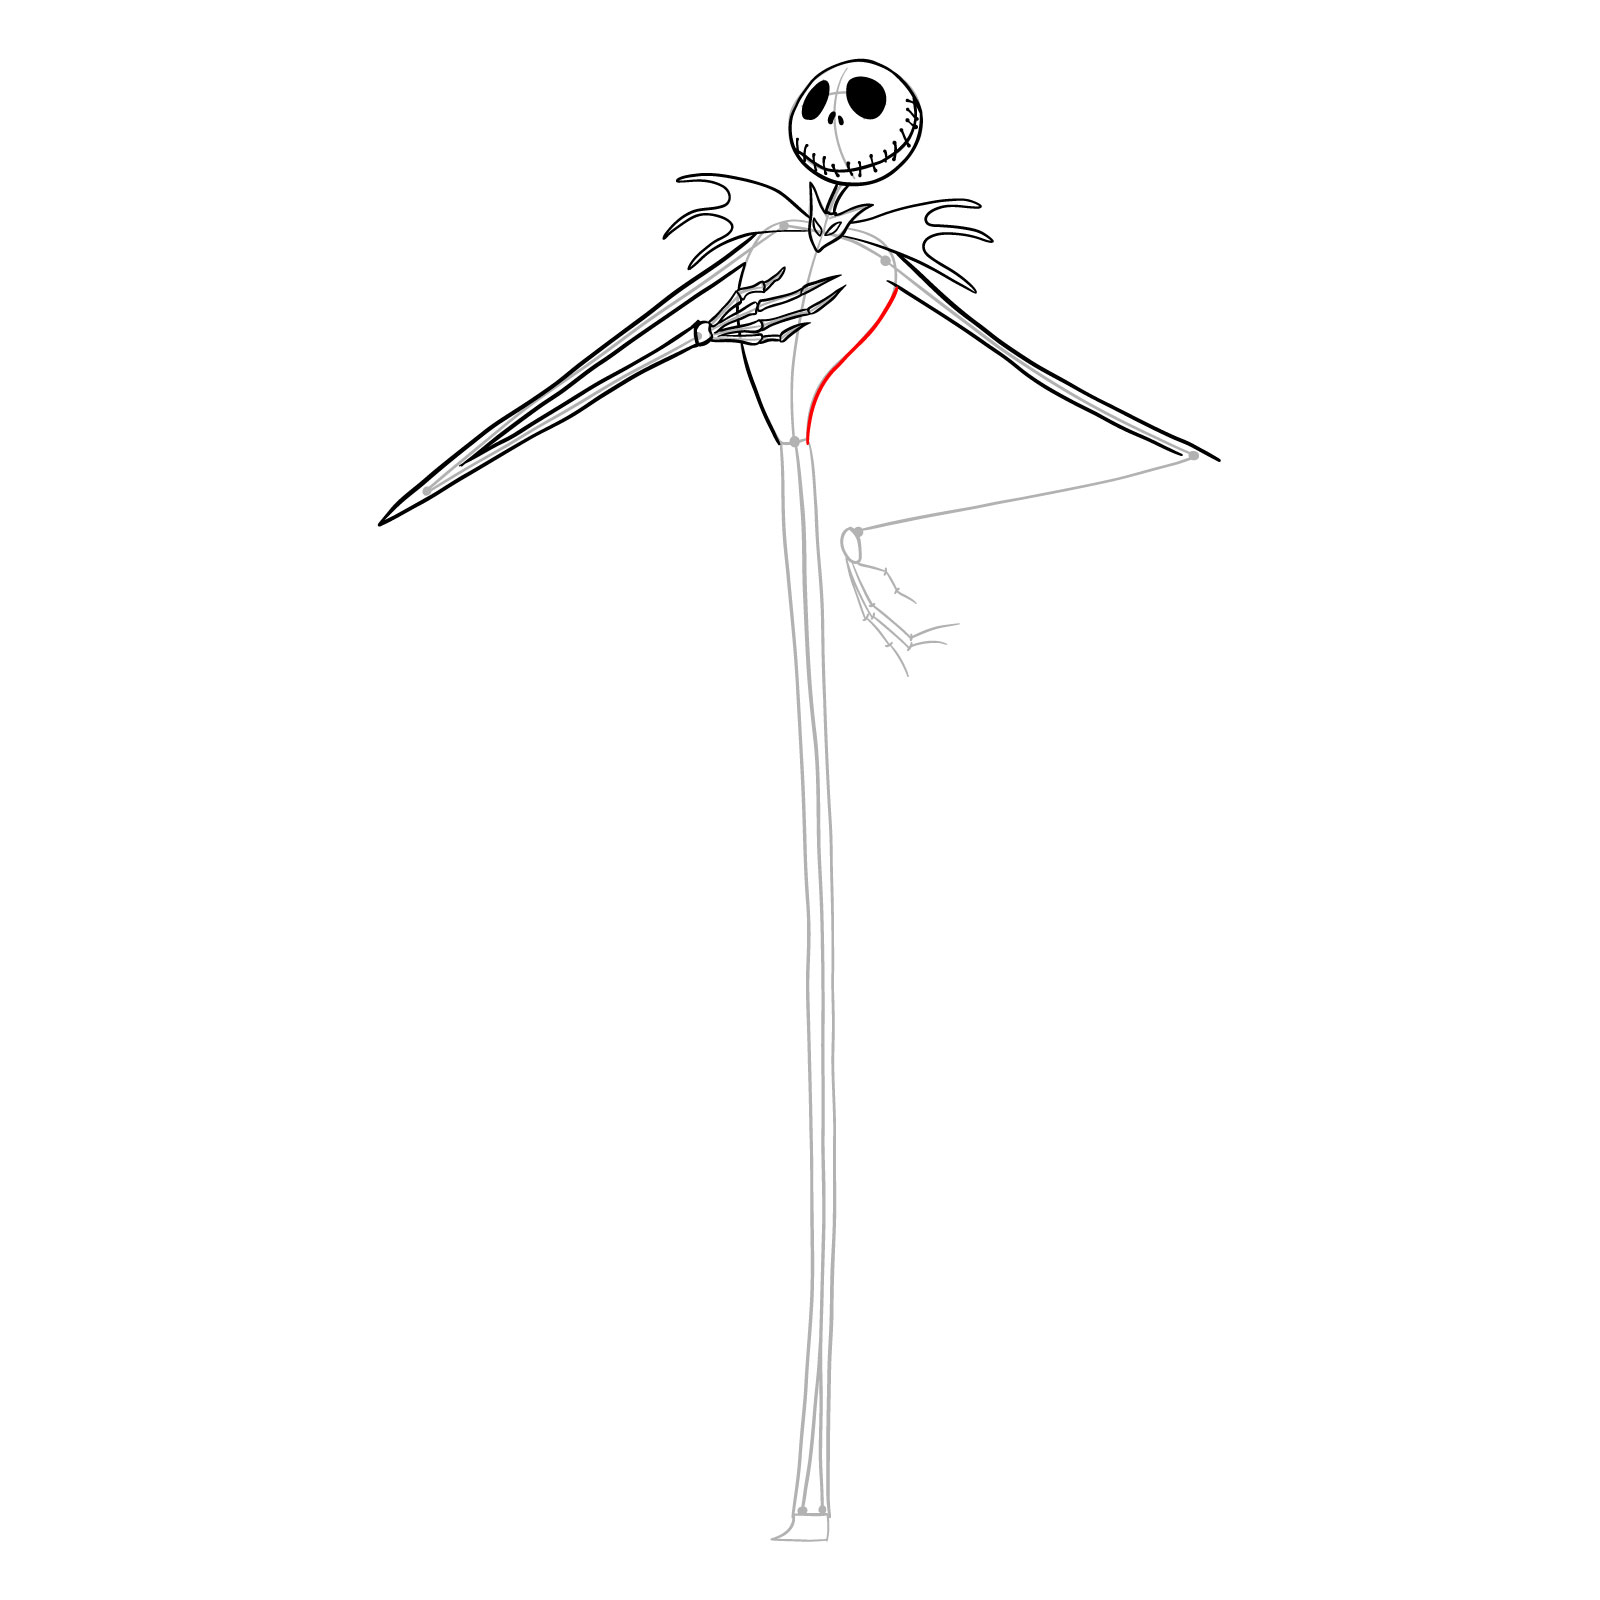
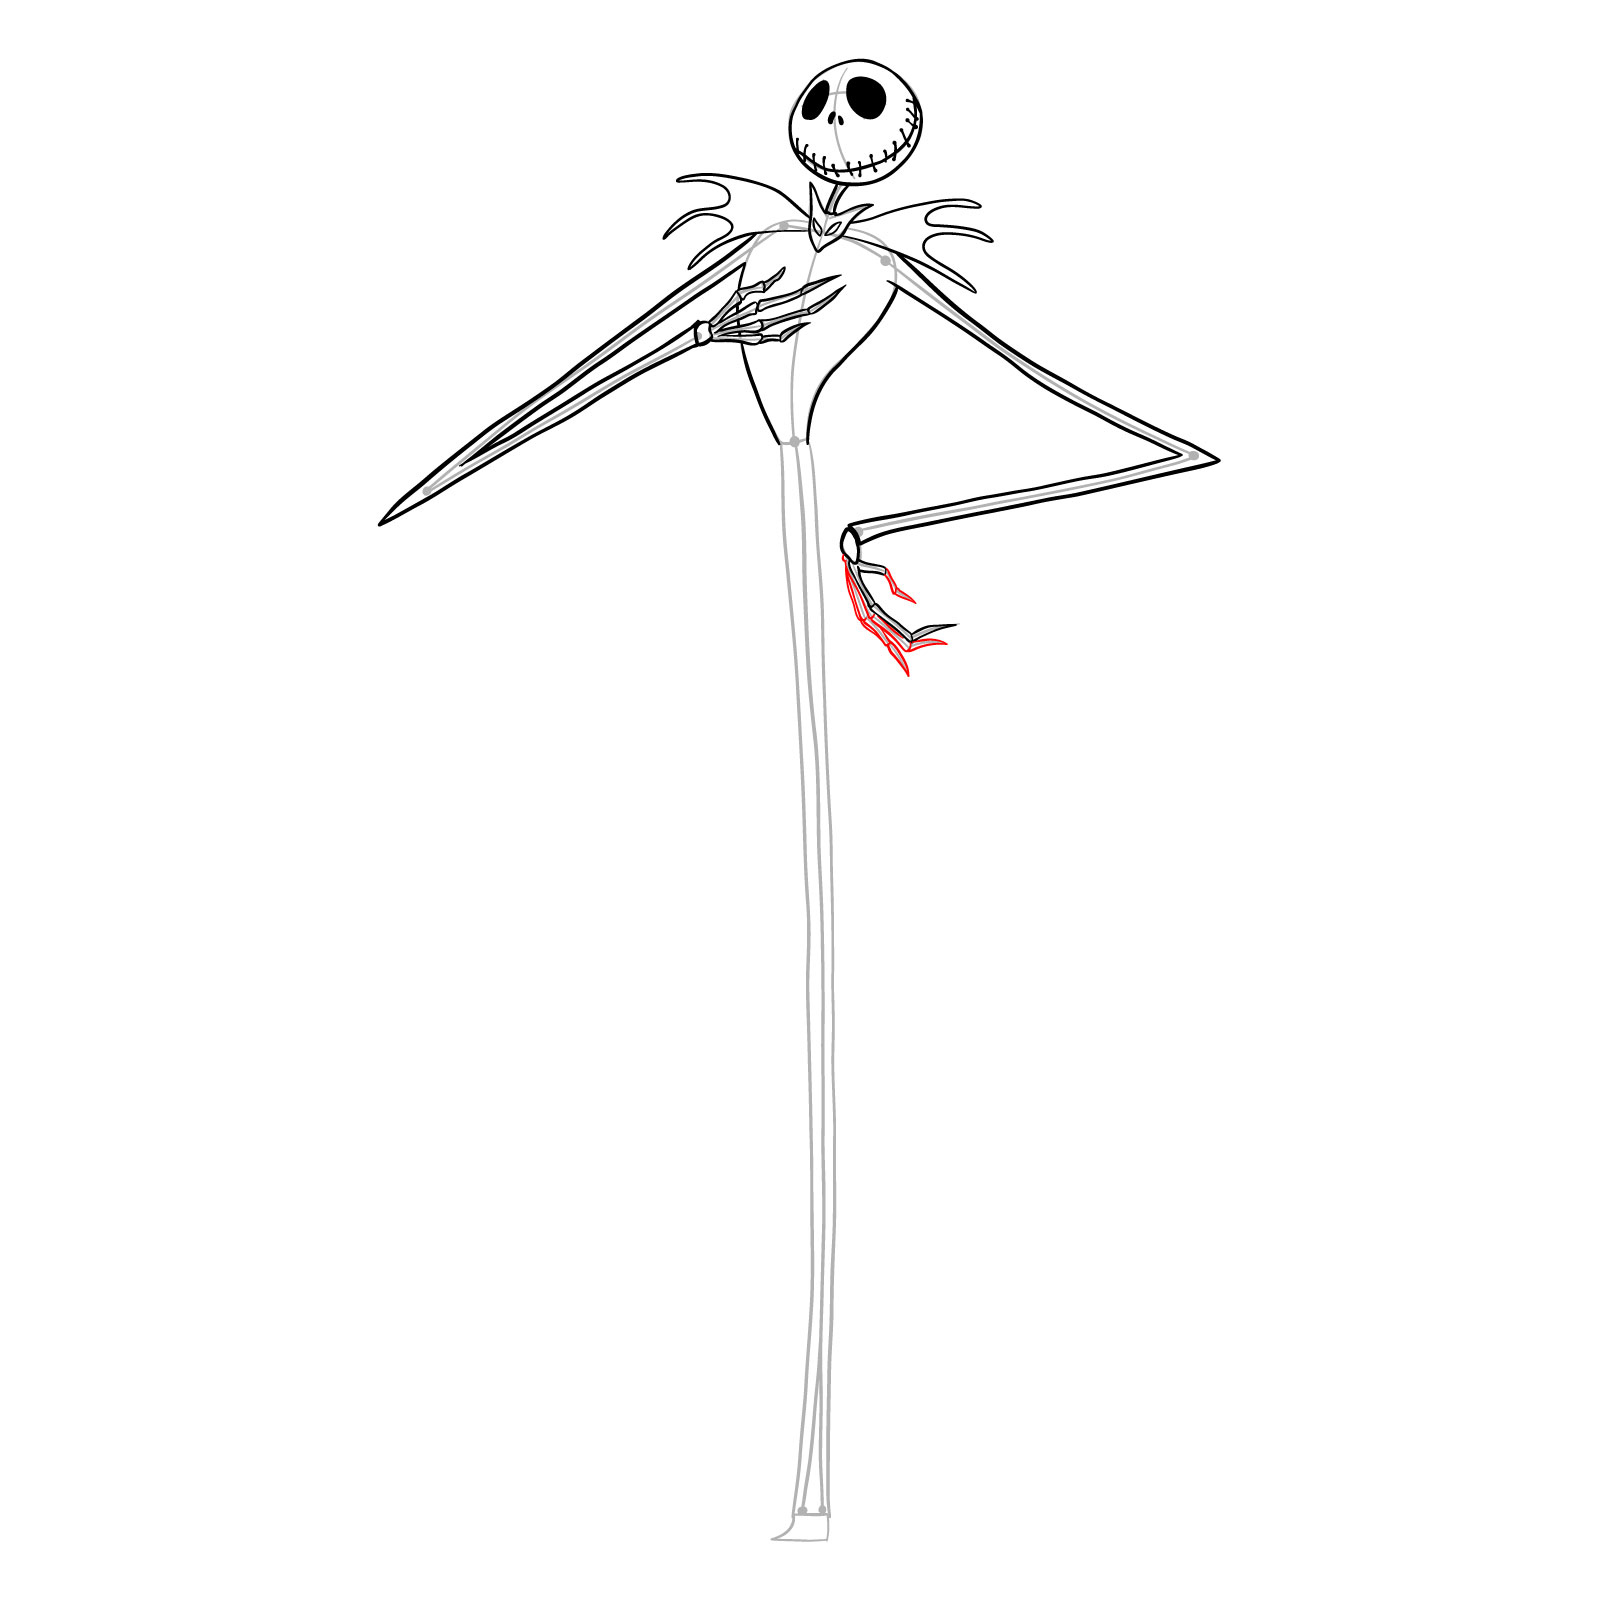
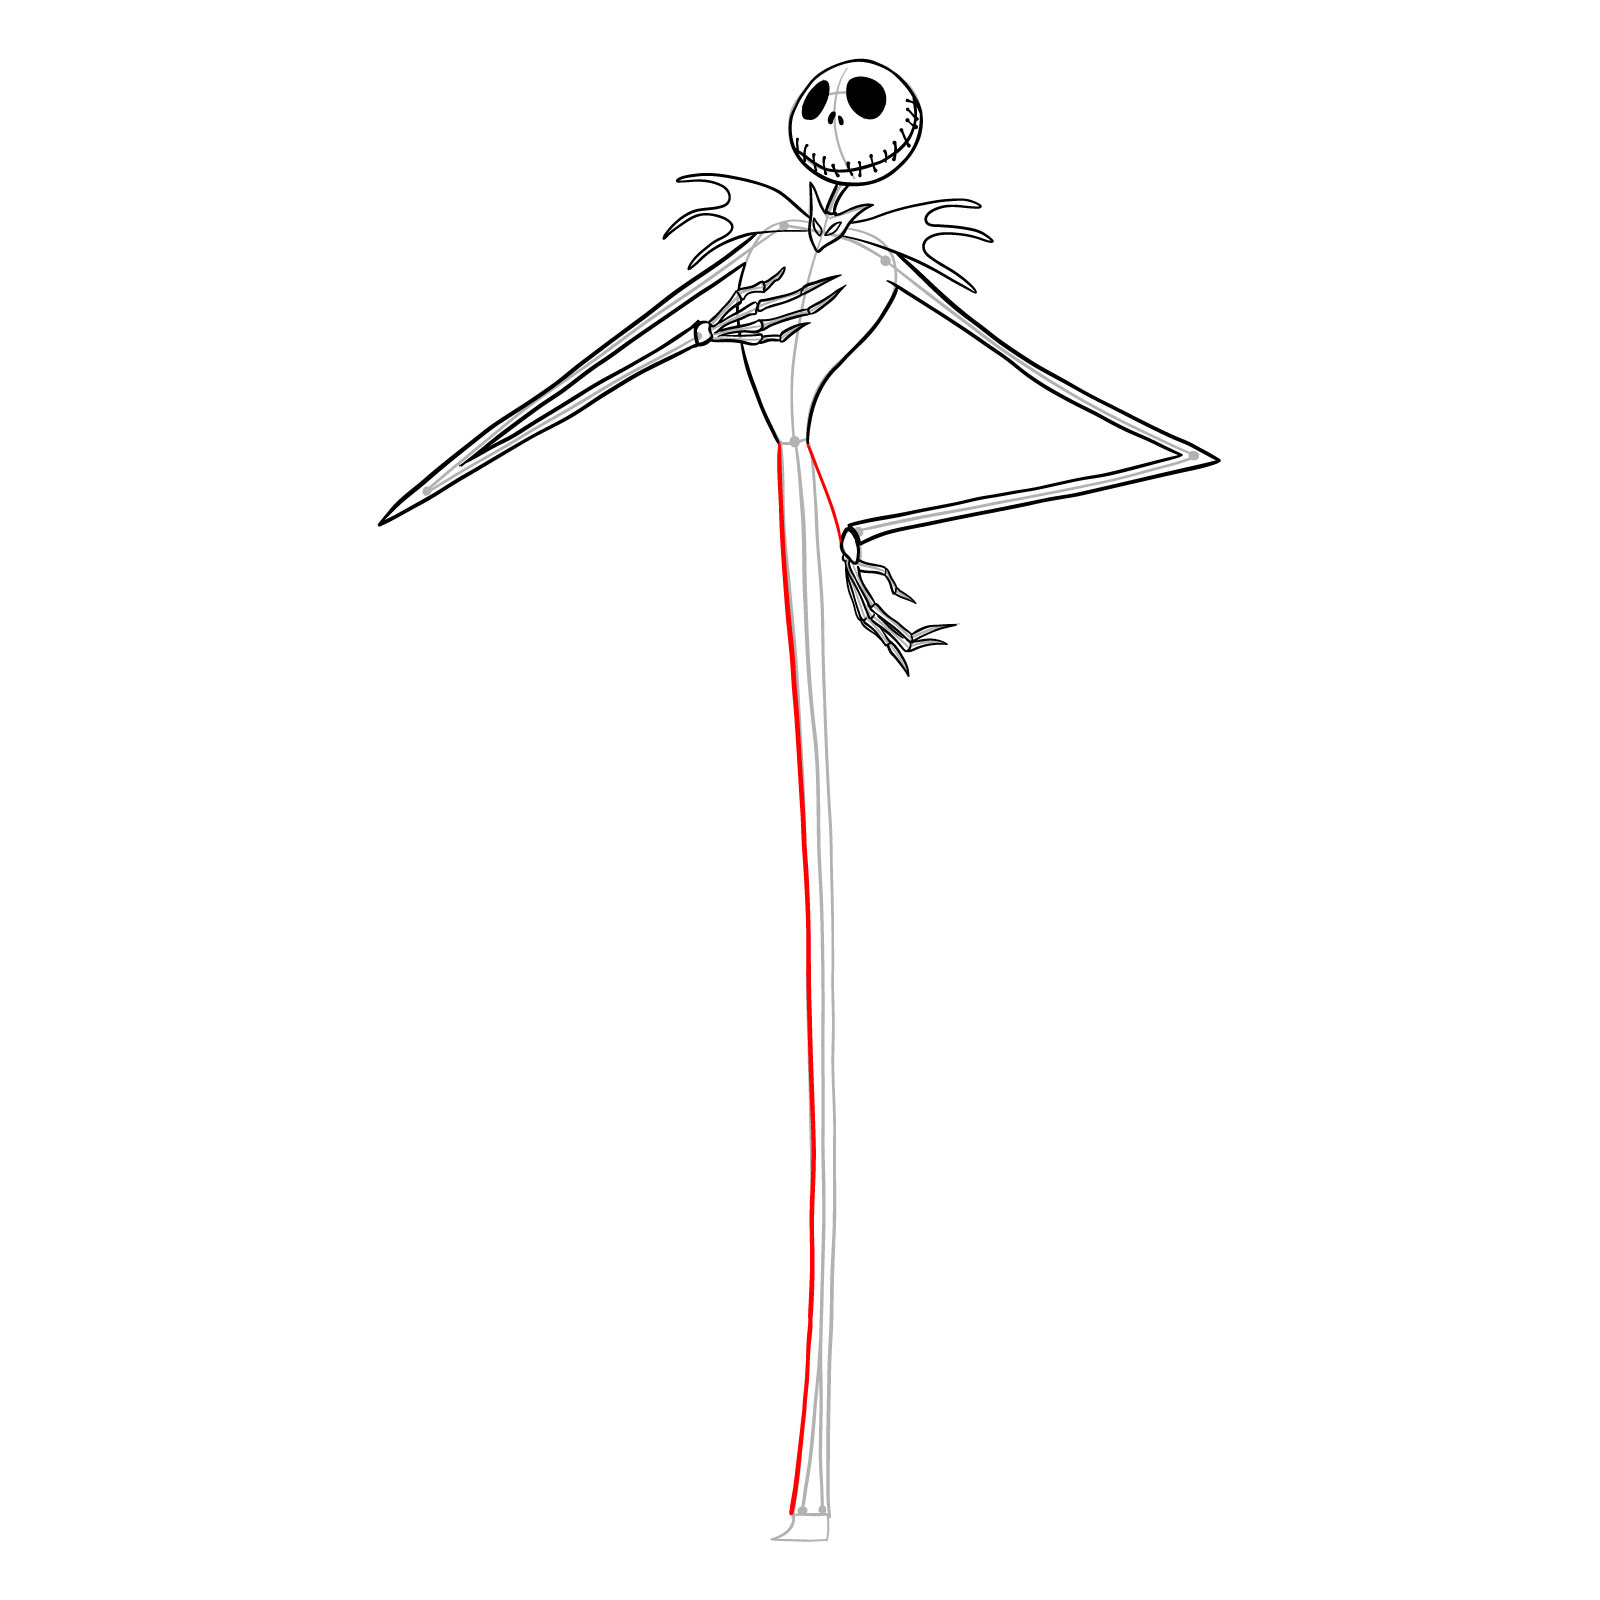
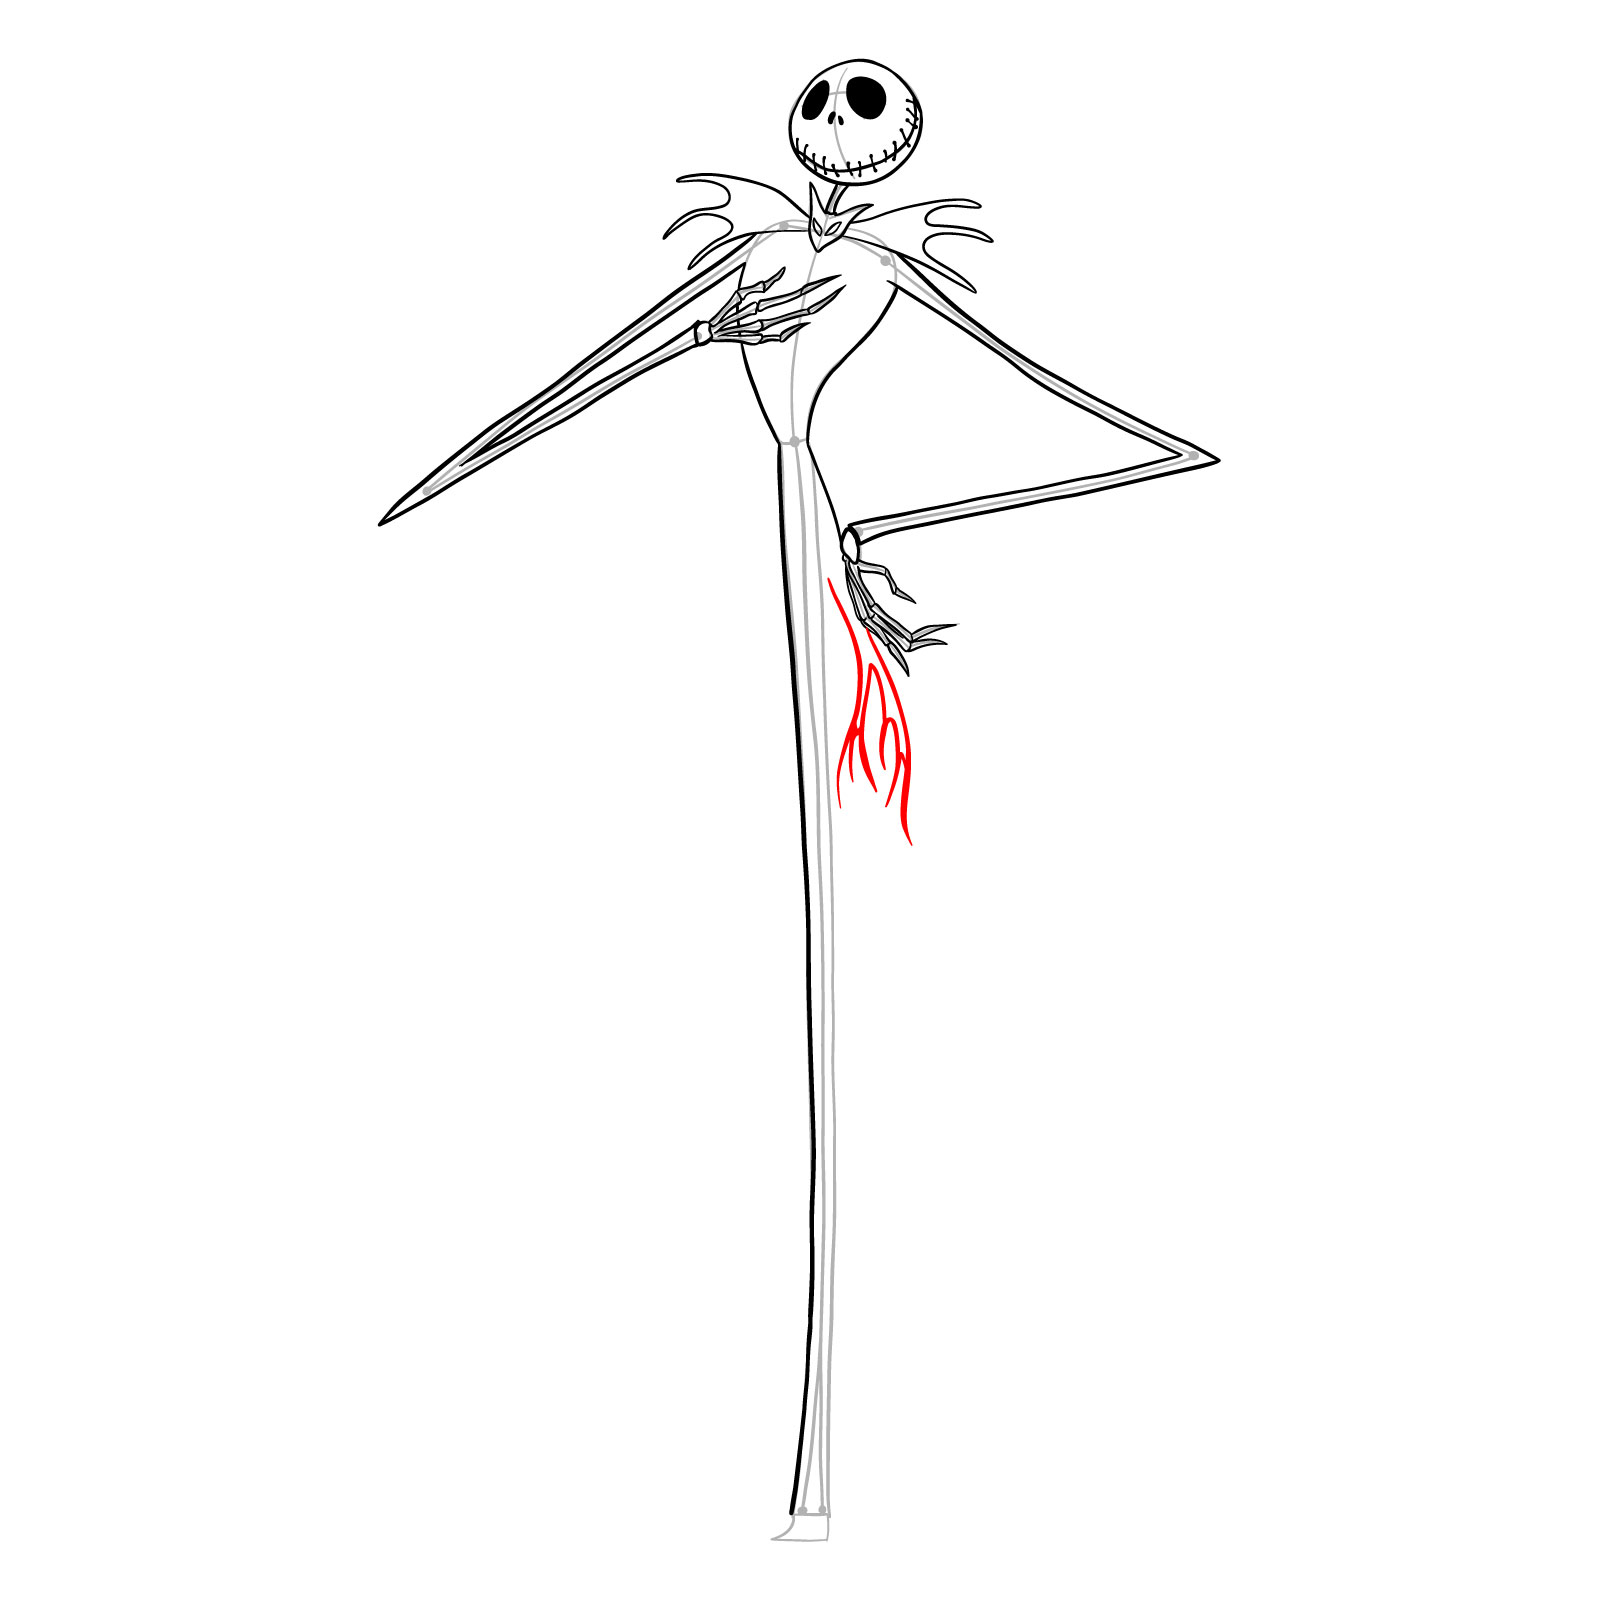
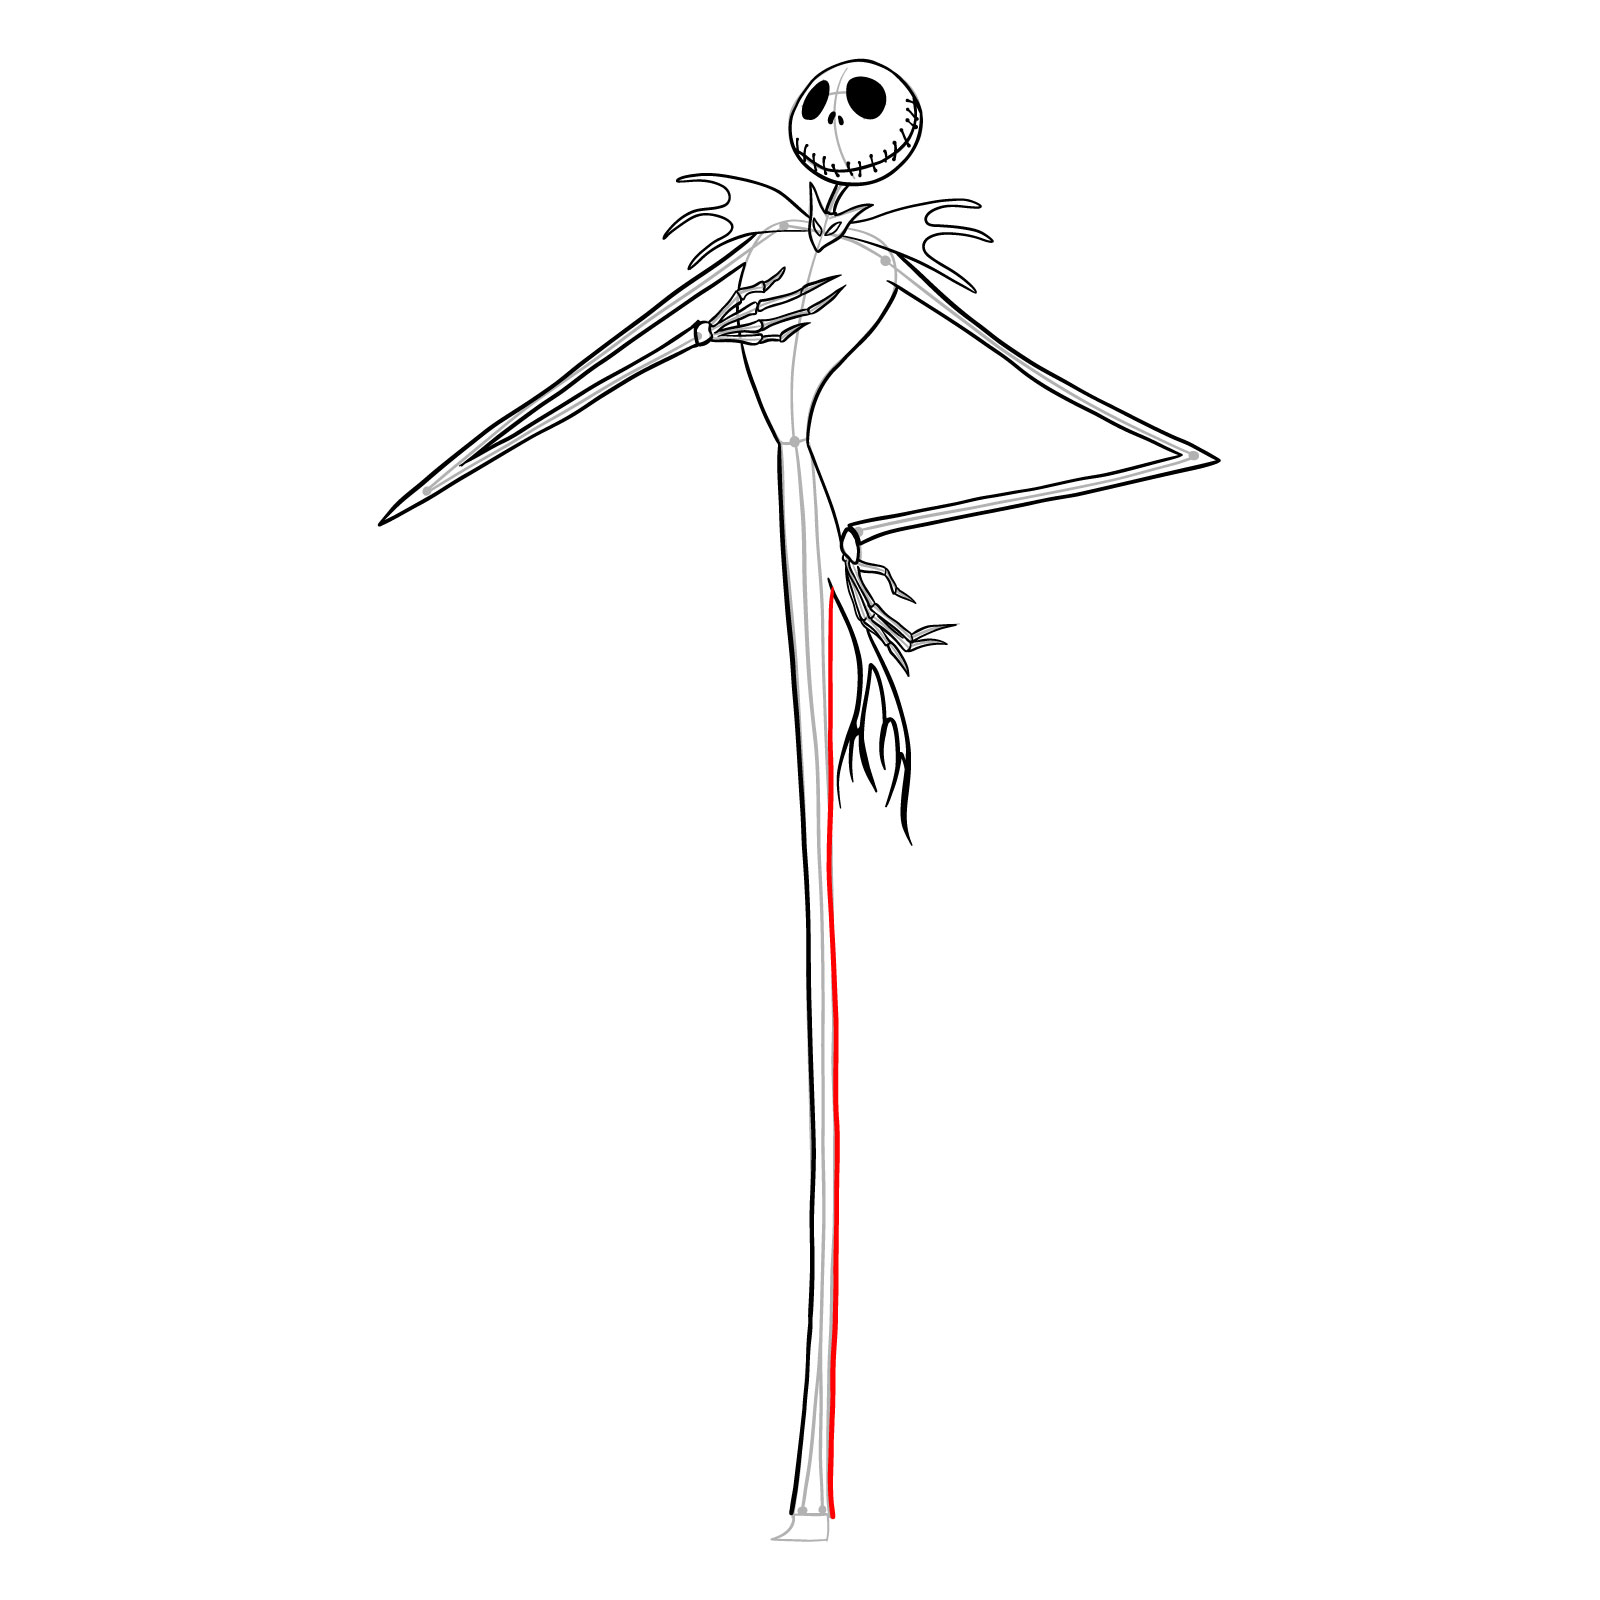
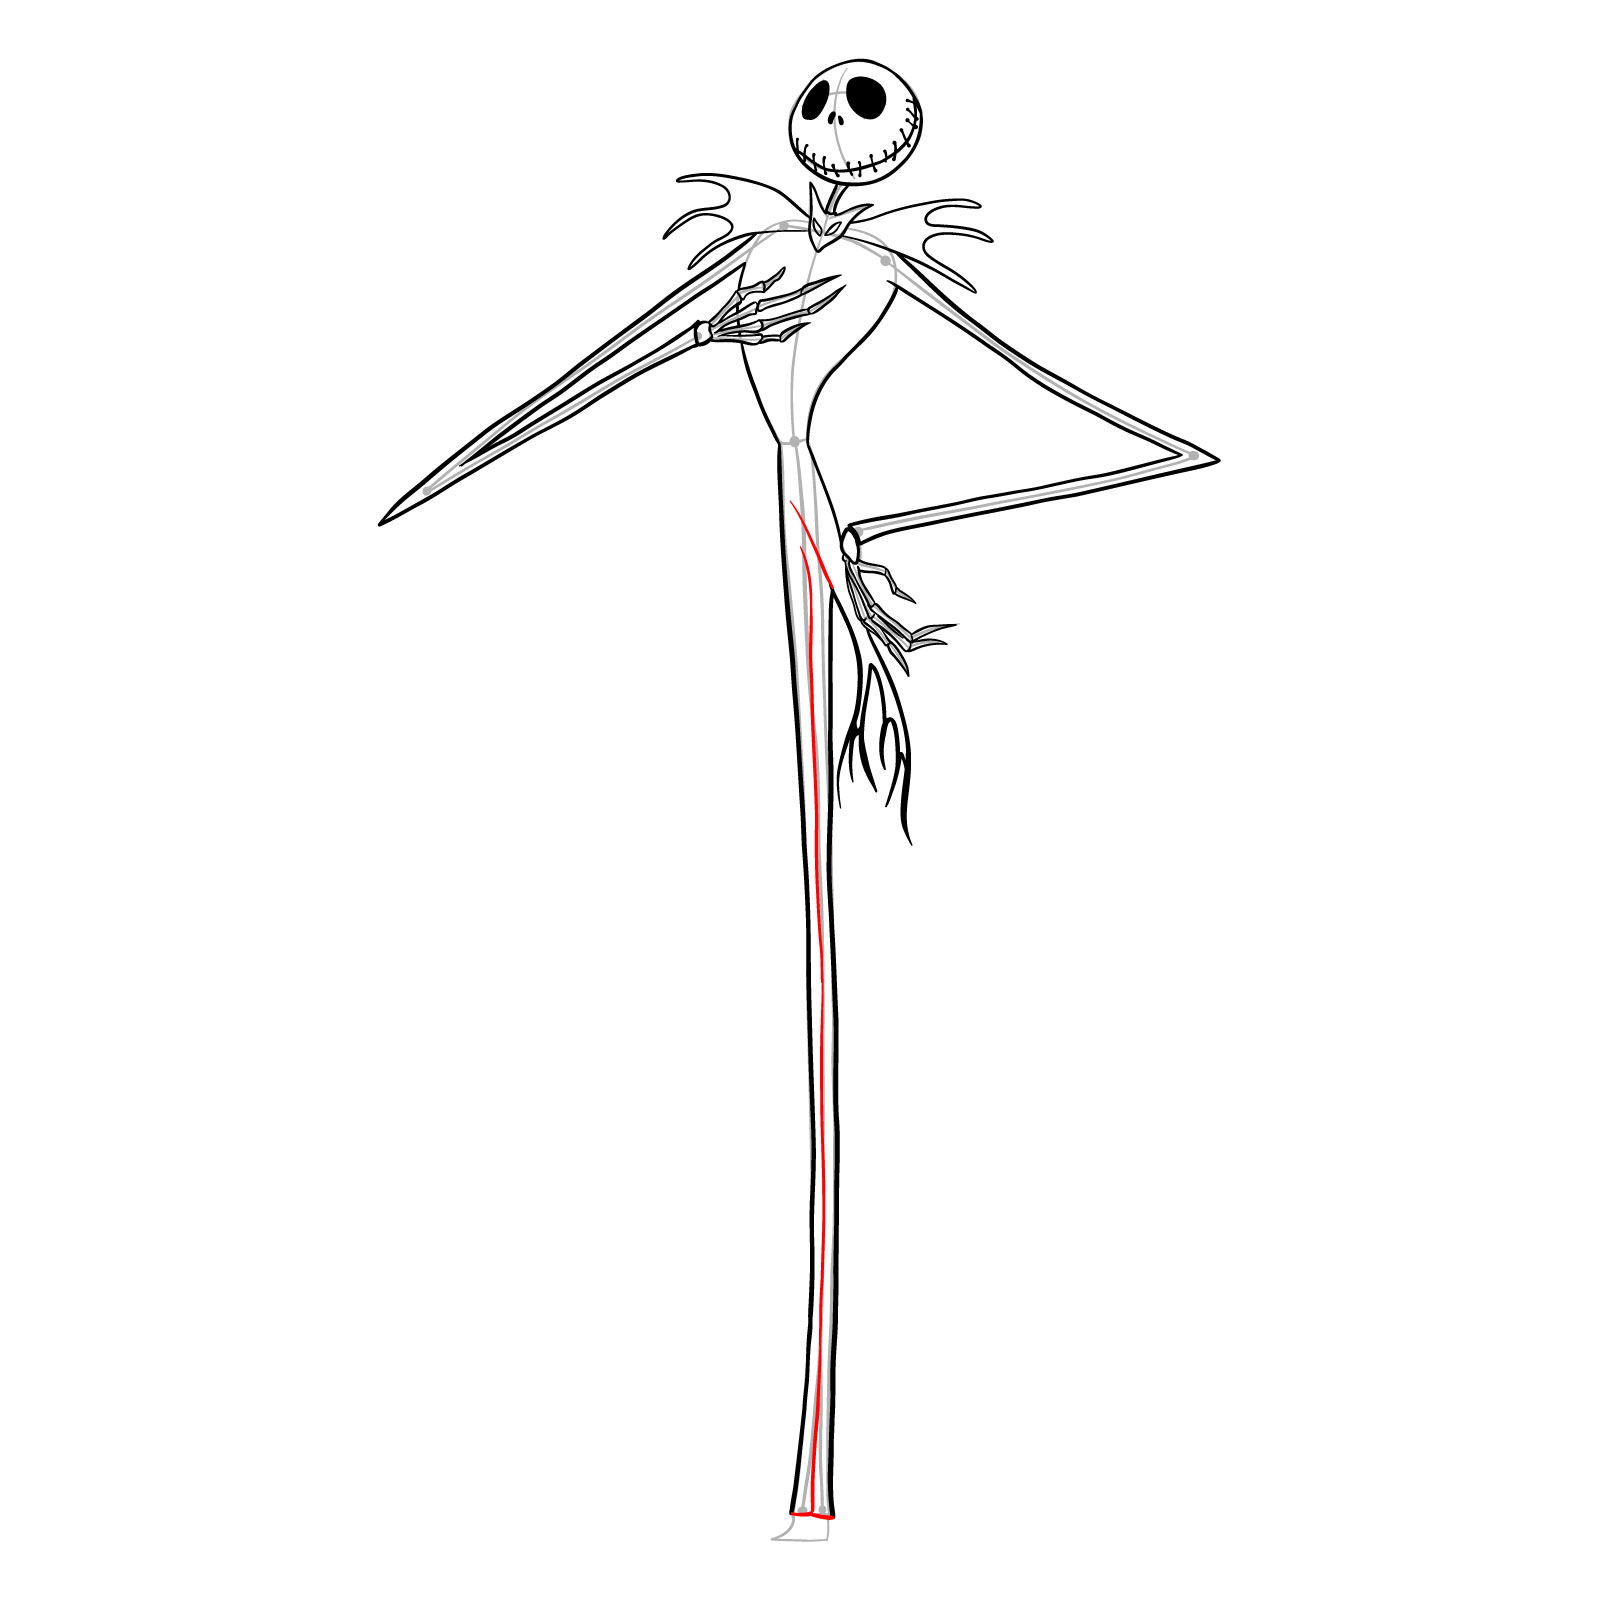
Before we venture into drawing, understanding the guide’s layout is crucial:

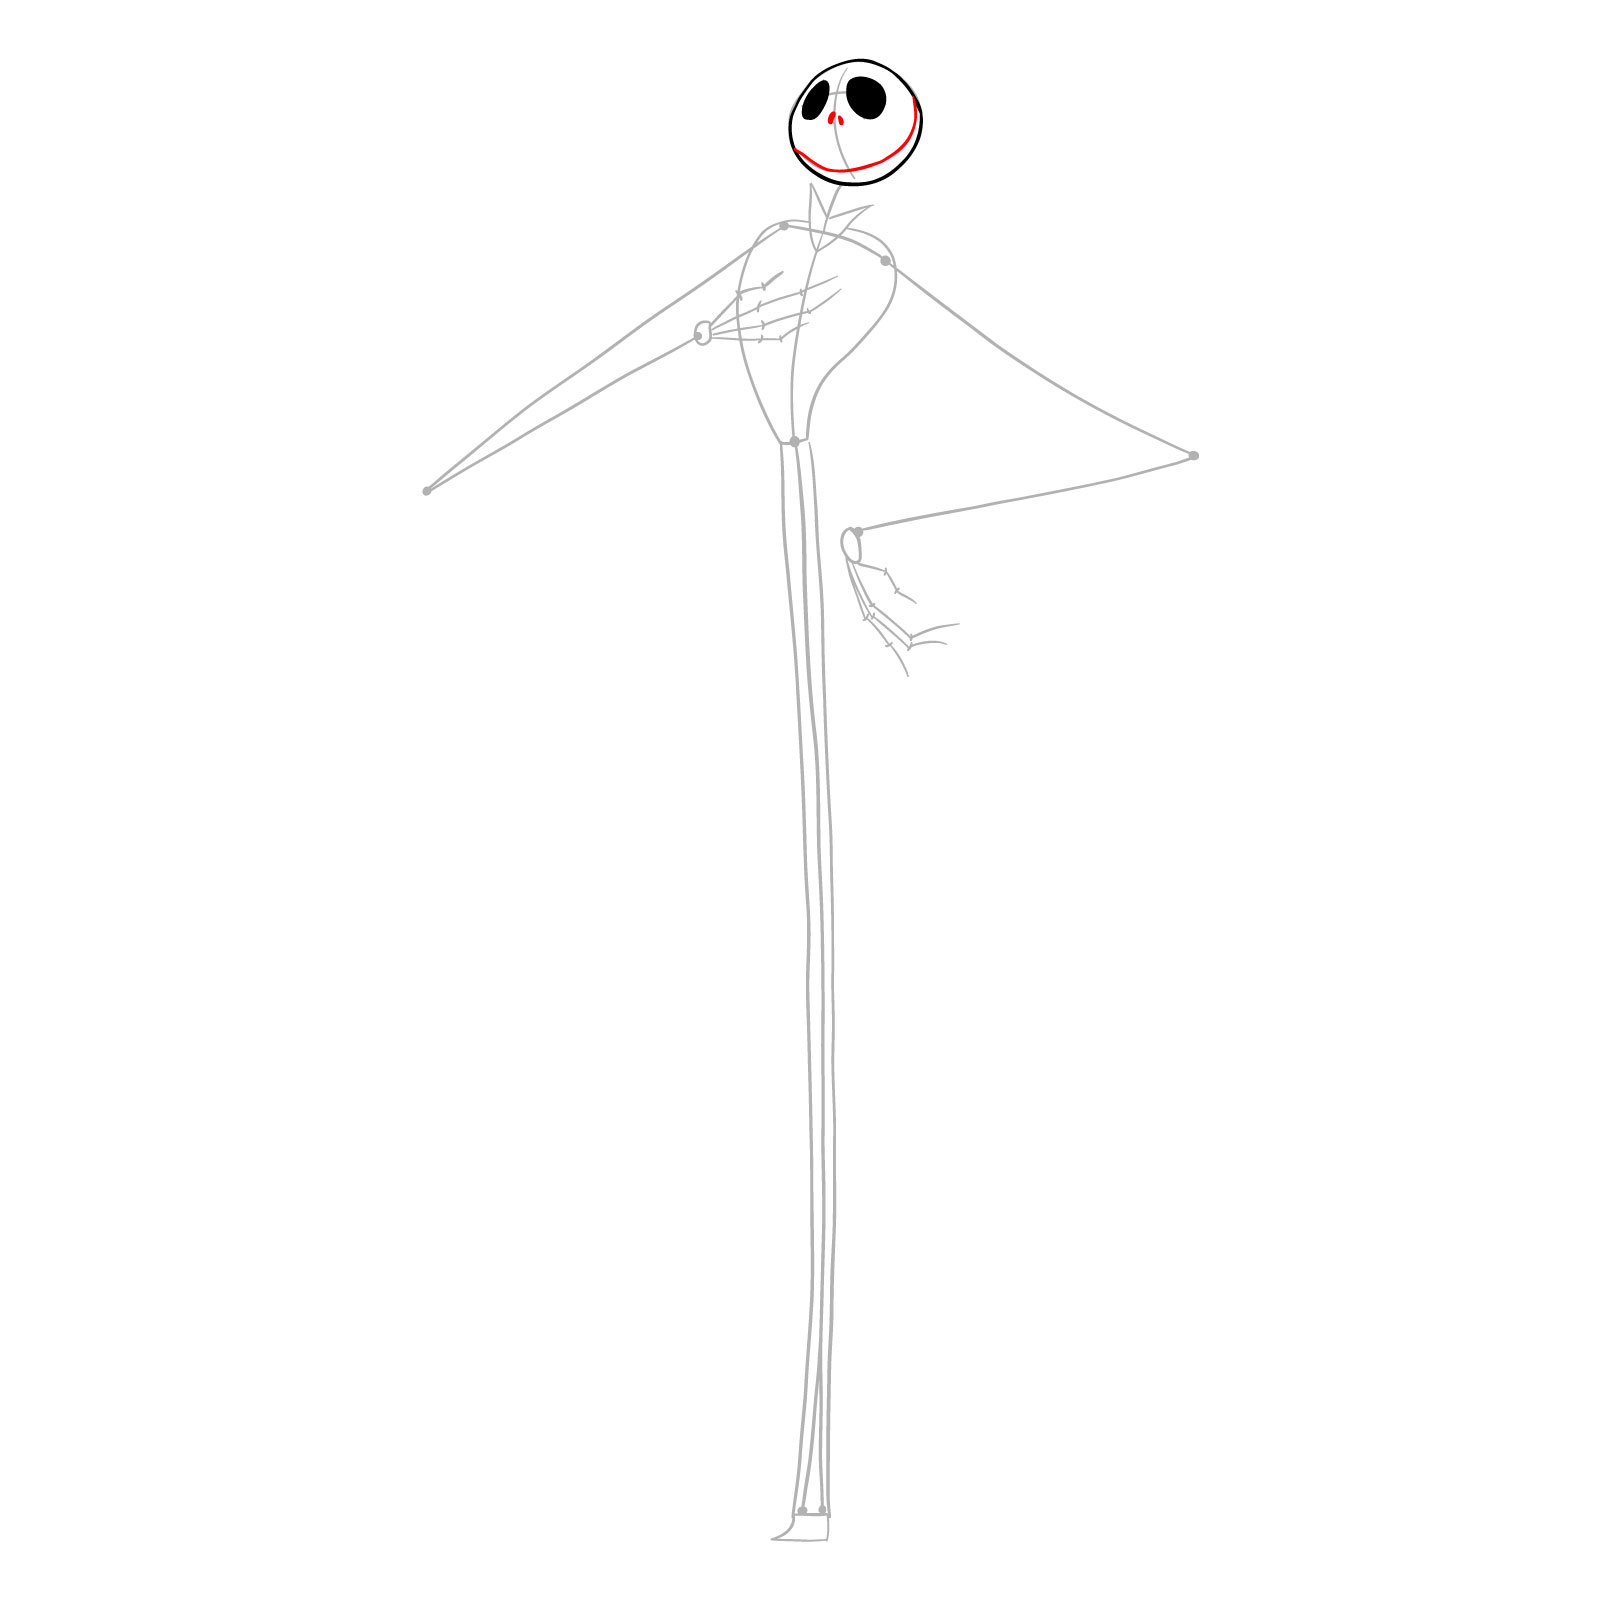
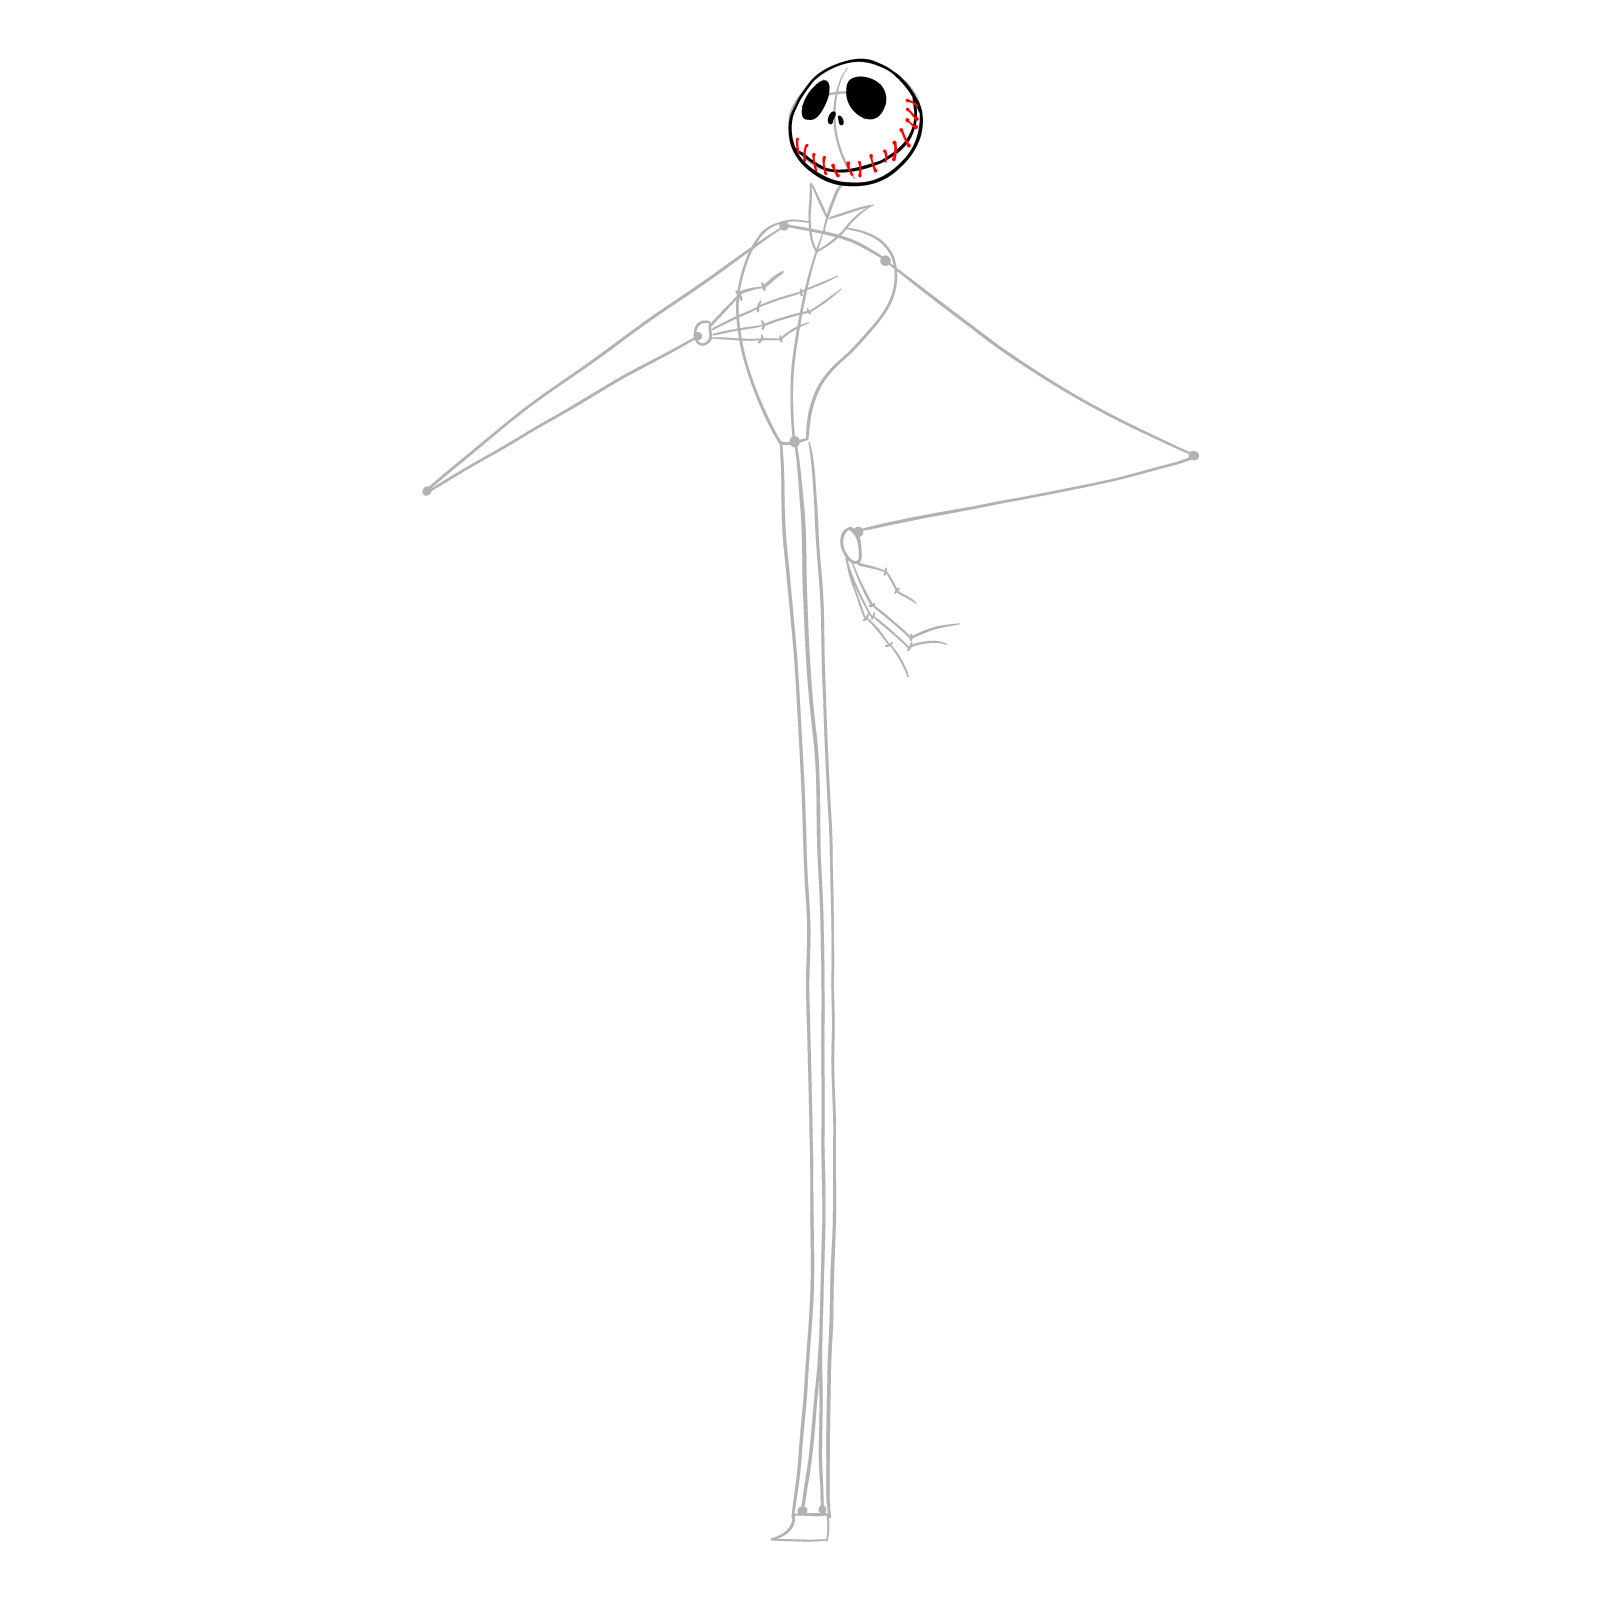
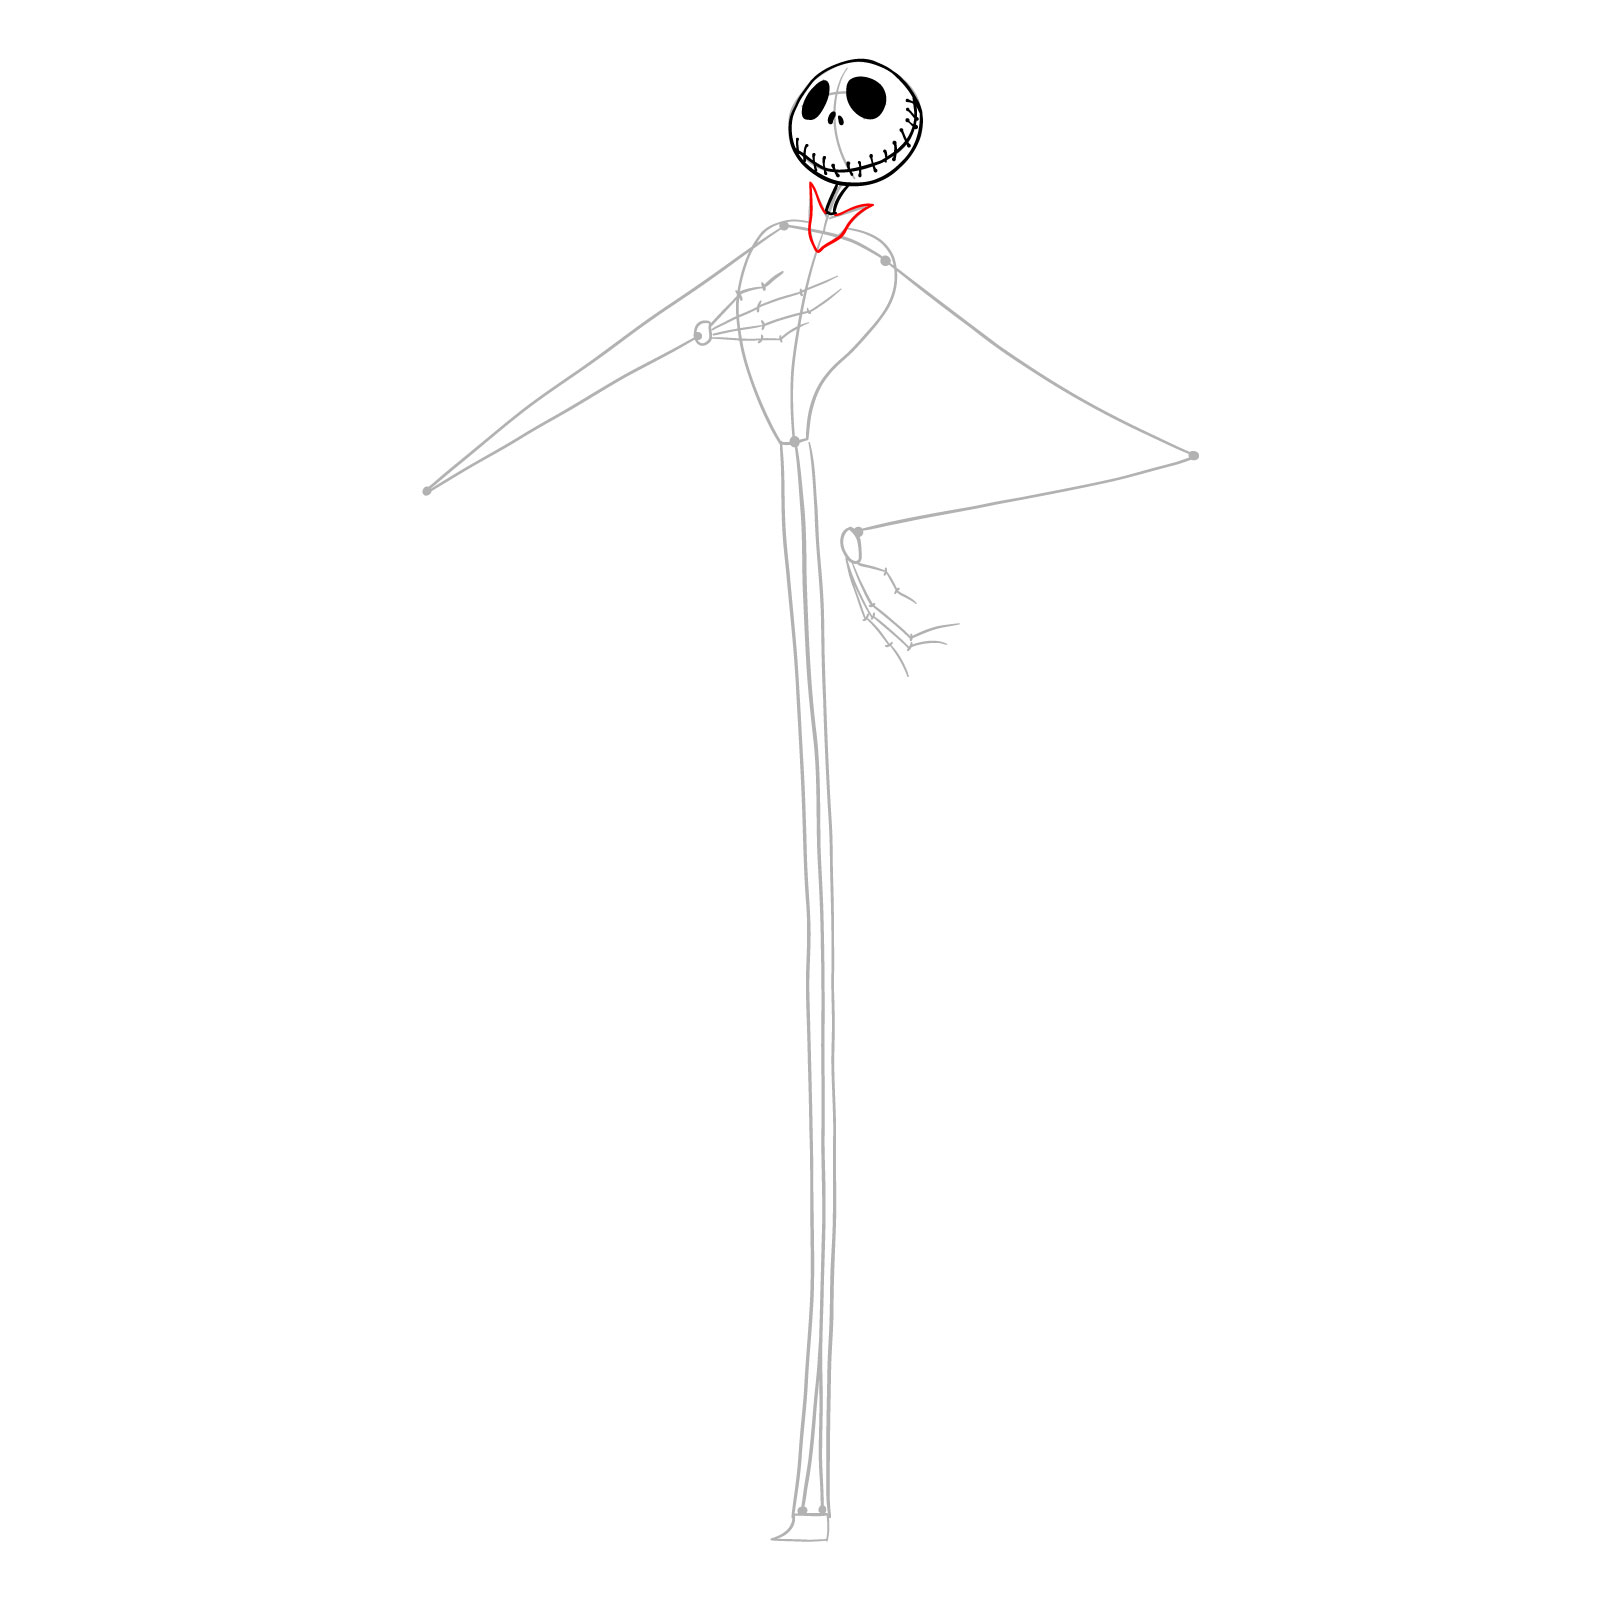
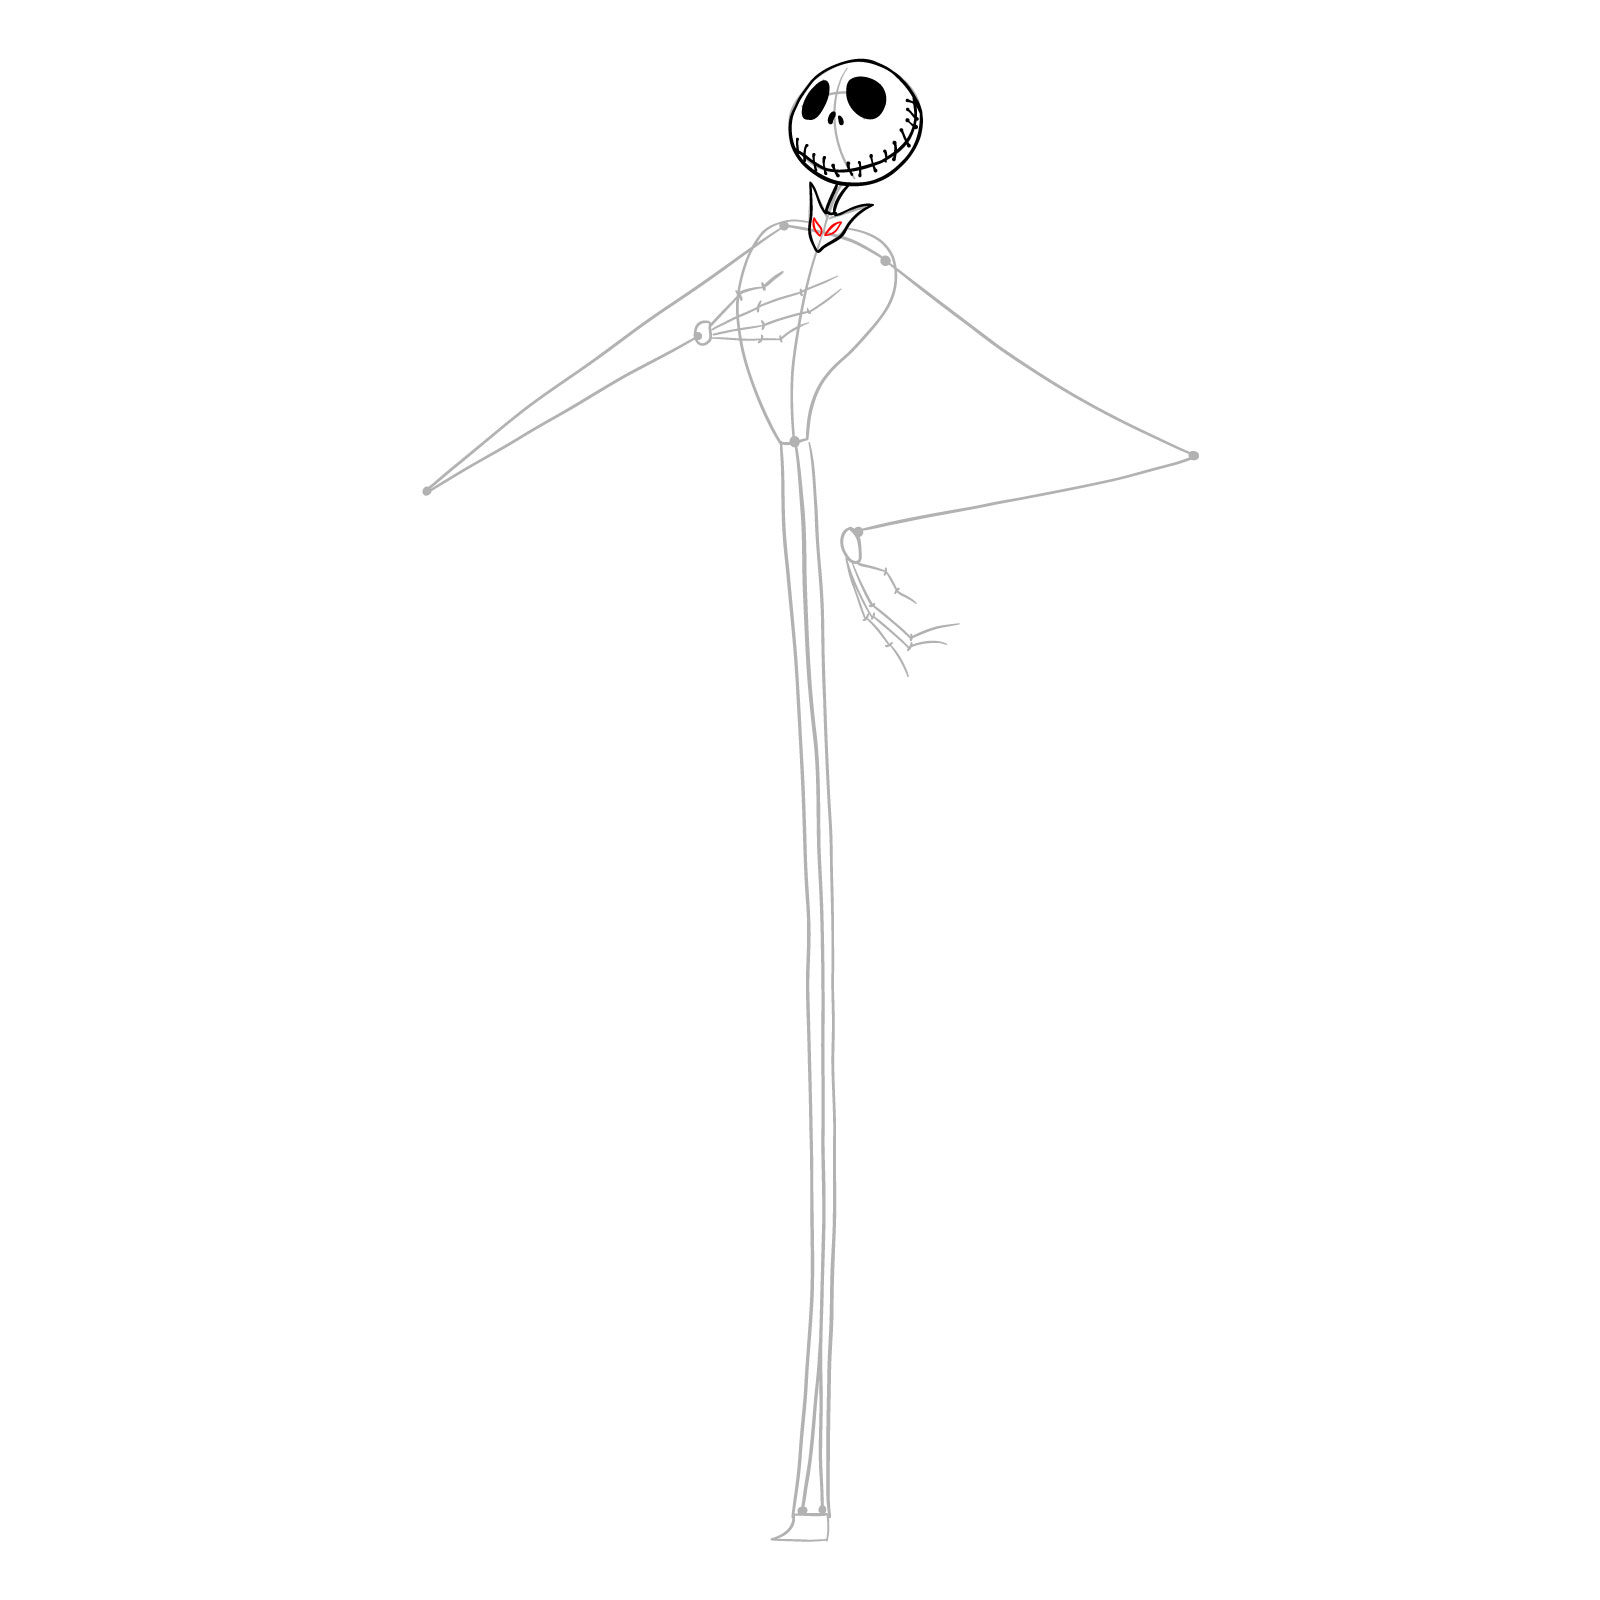
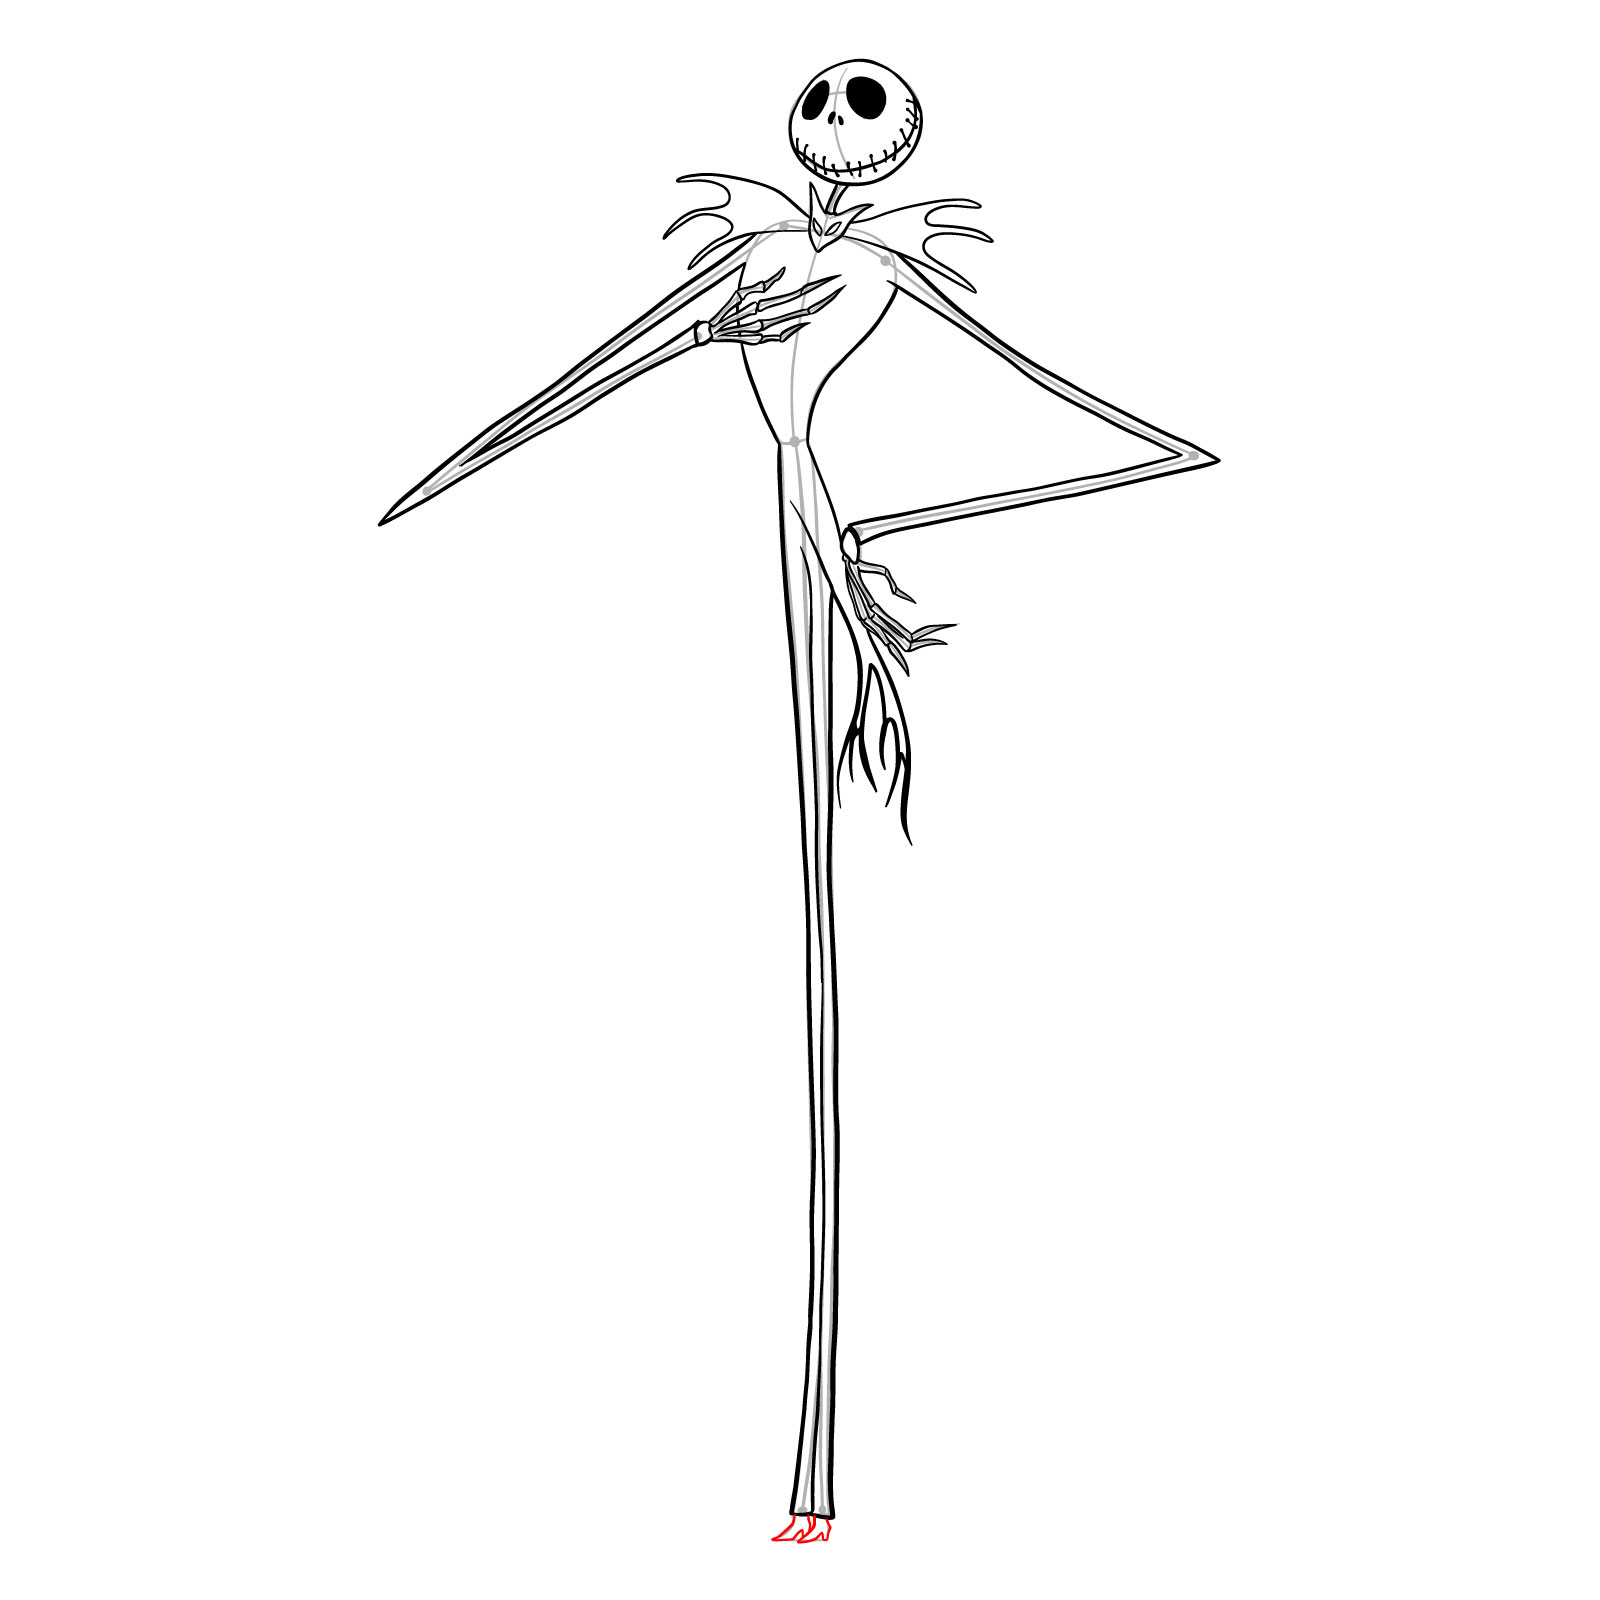
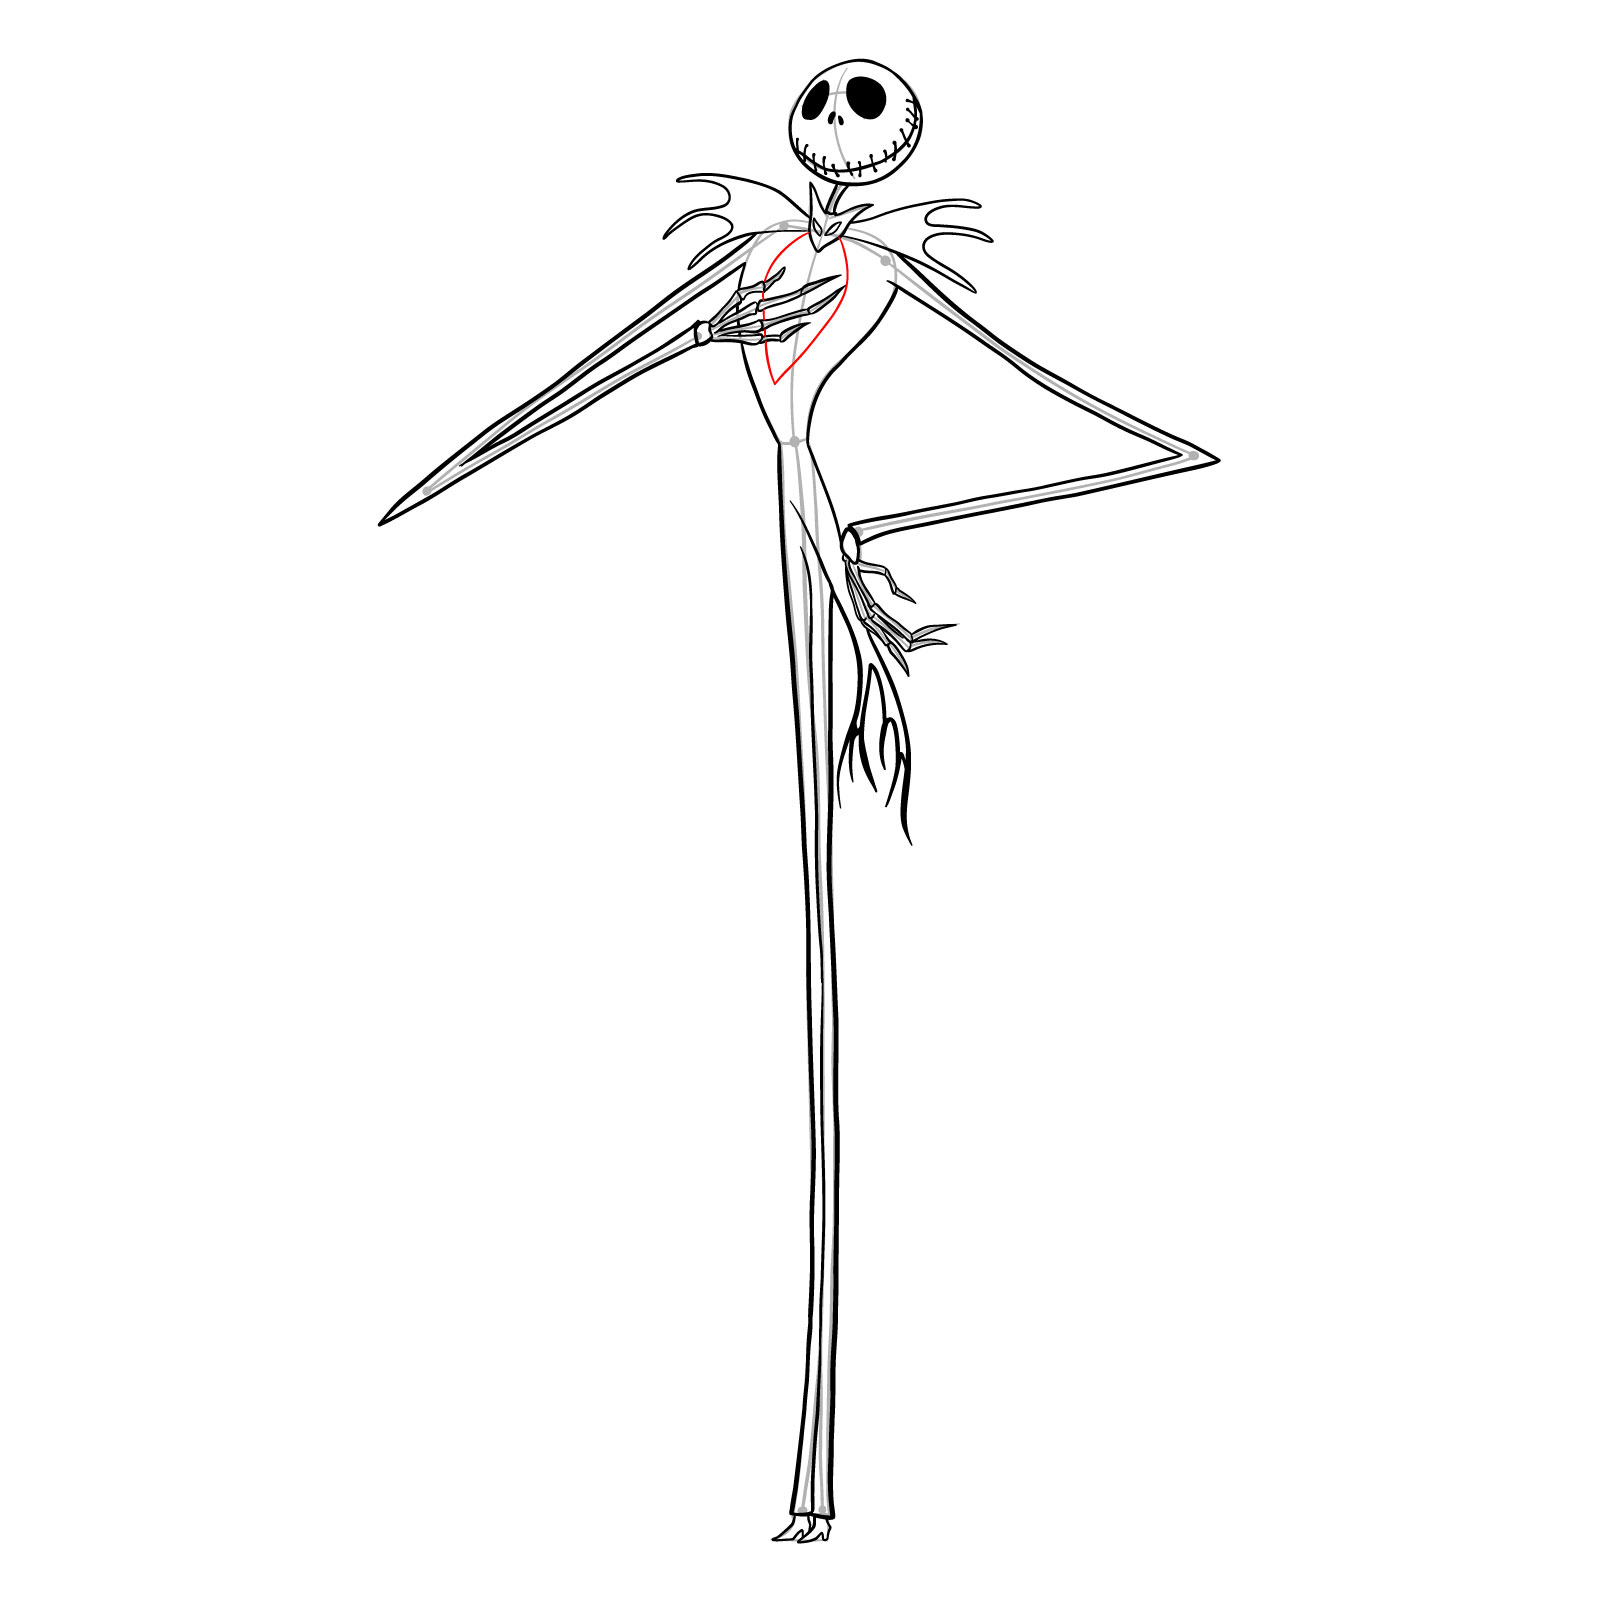
  • Red Color: Represents the current step.
  • Black Color: Showcases the lines you’ve drawn in the past steps.
  • Grey Color: Demonstrates the foundational sketch.

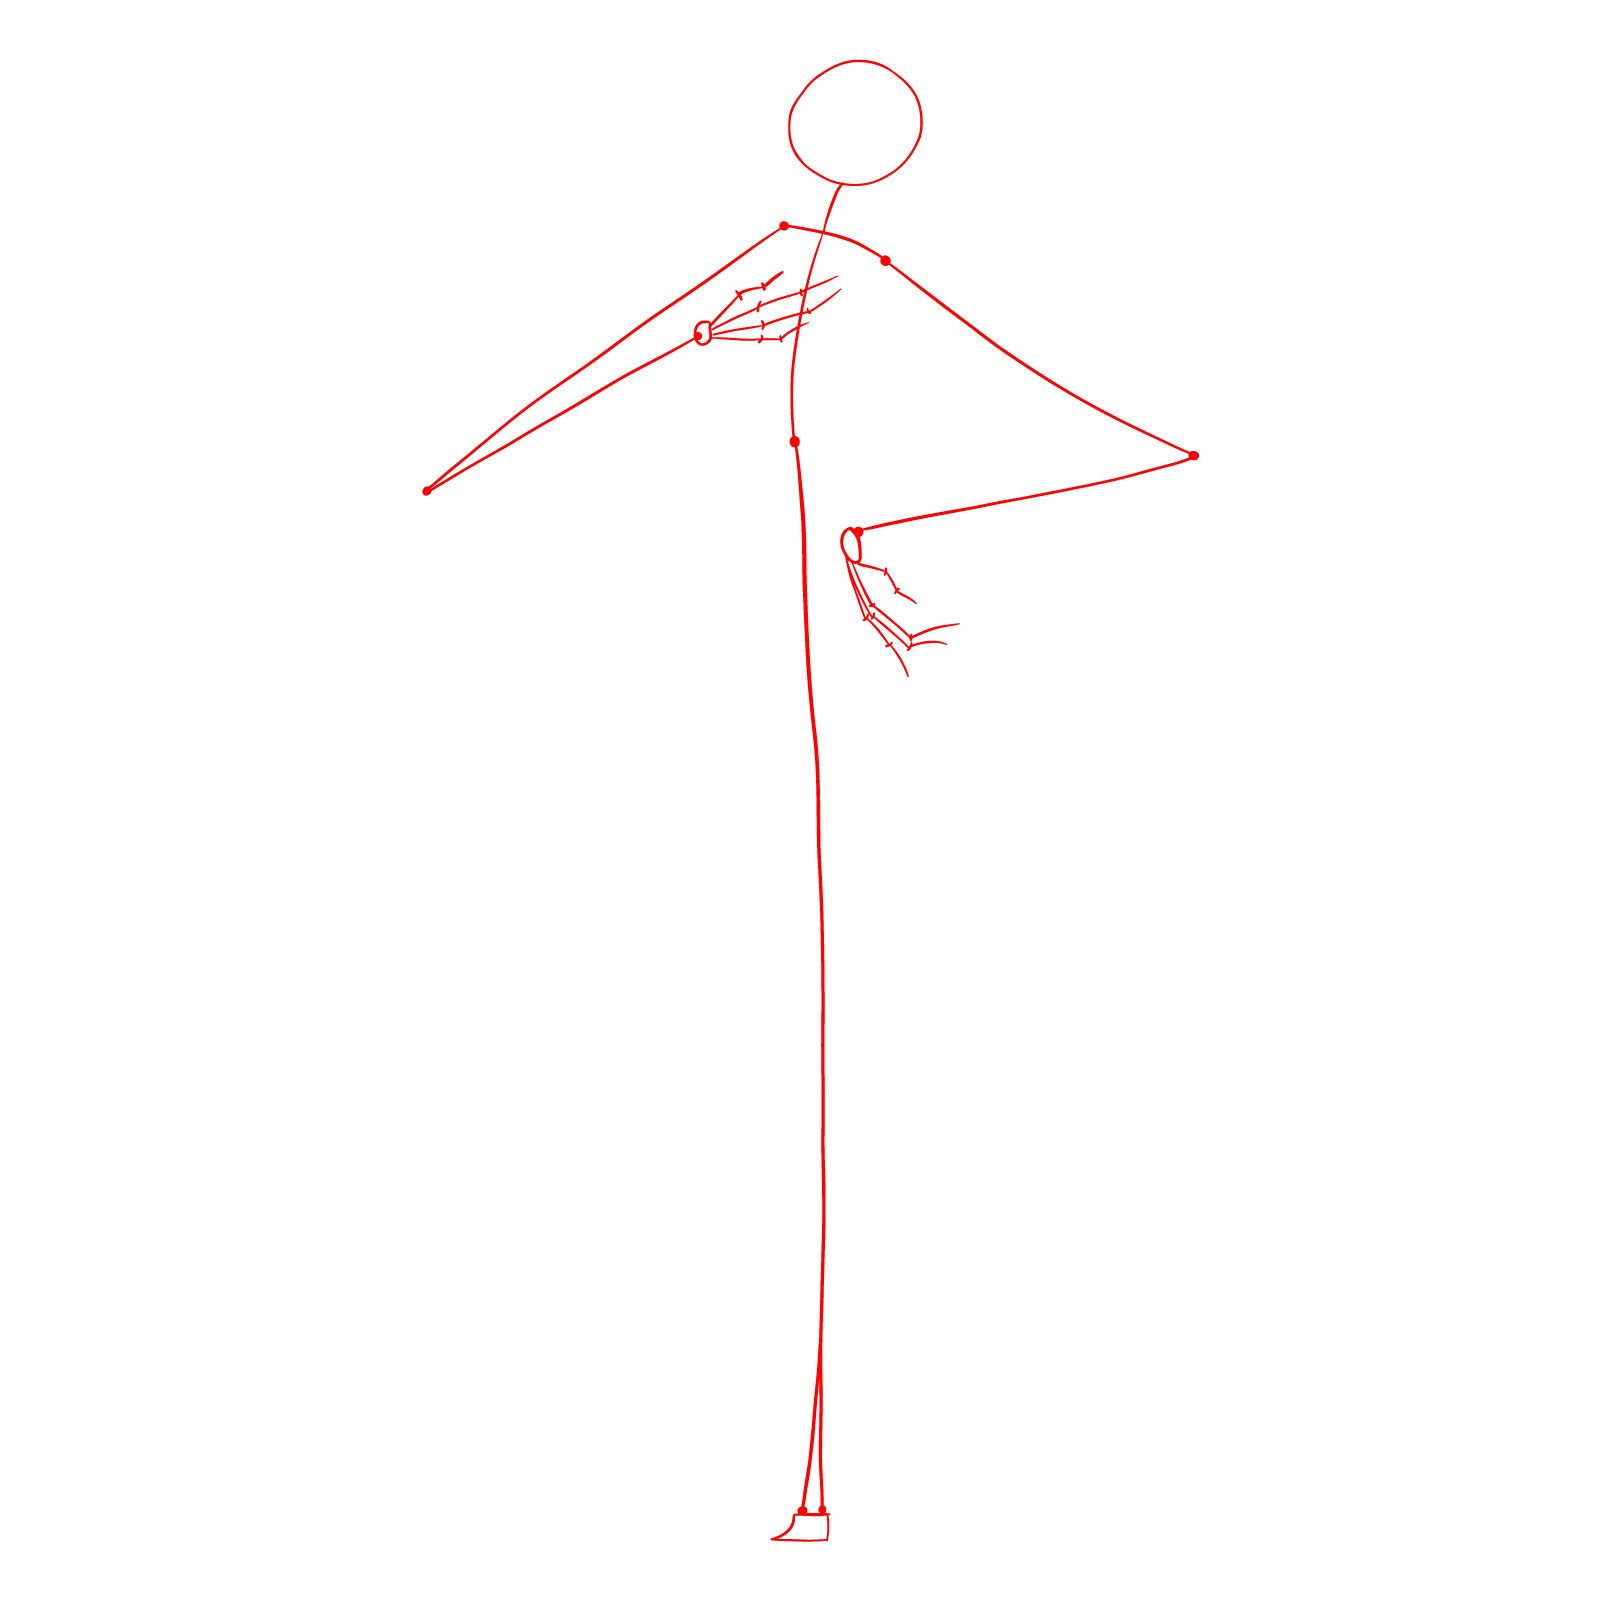
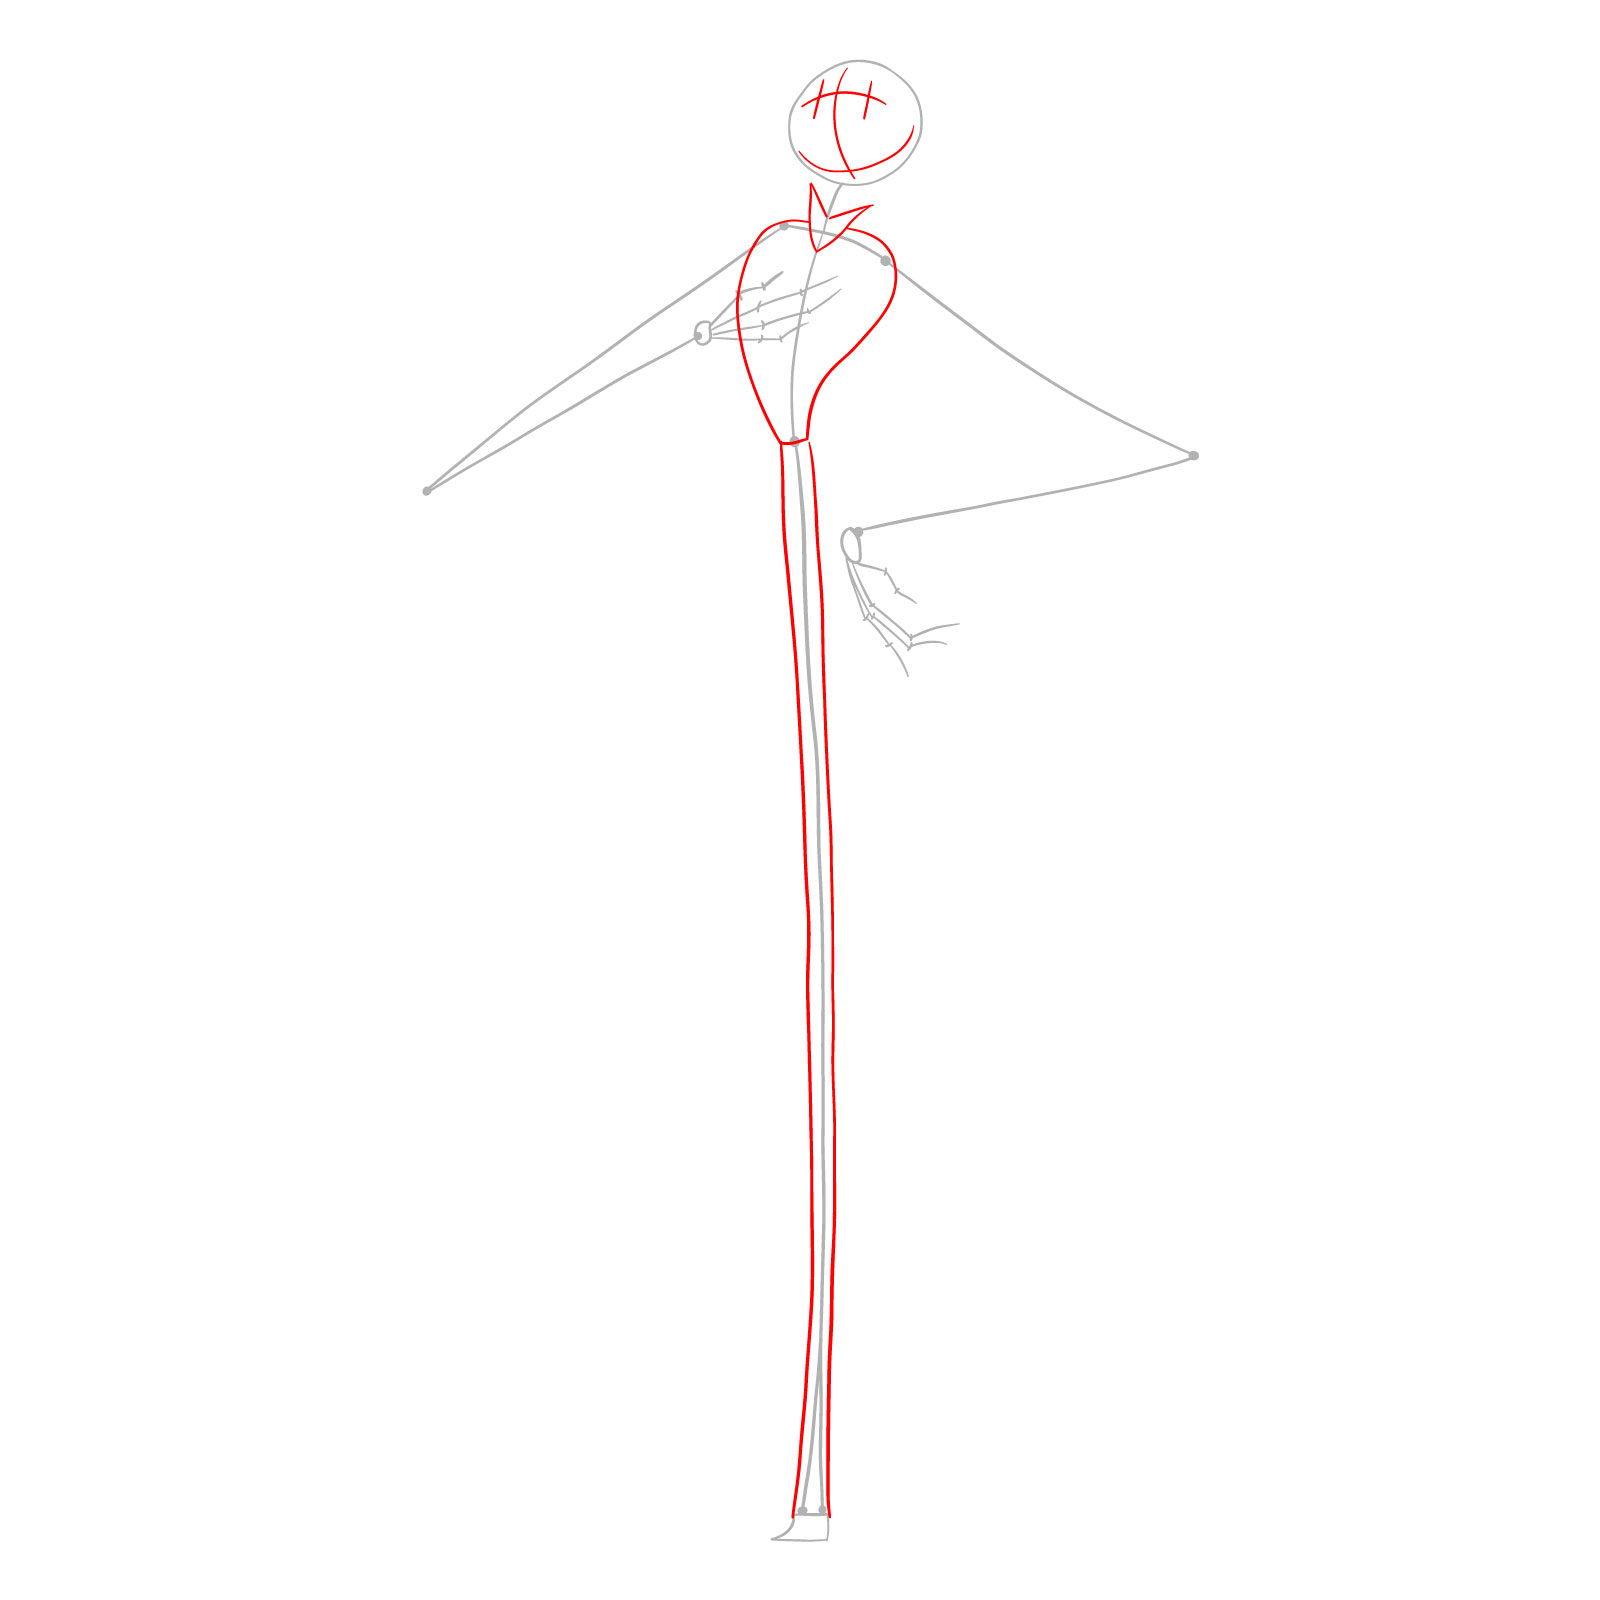
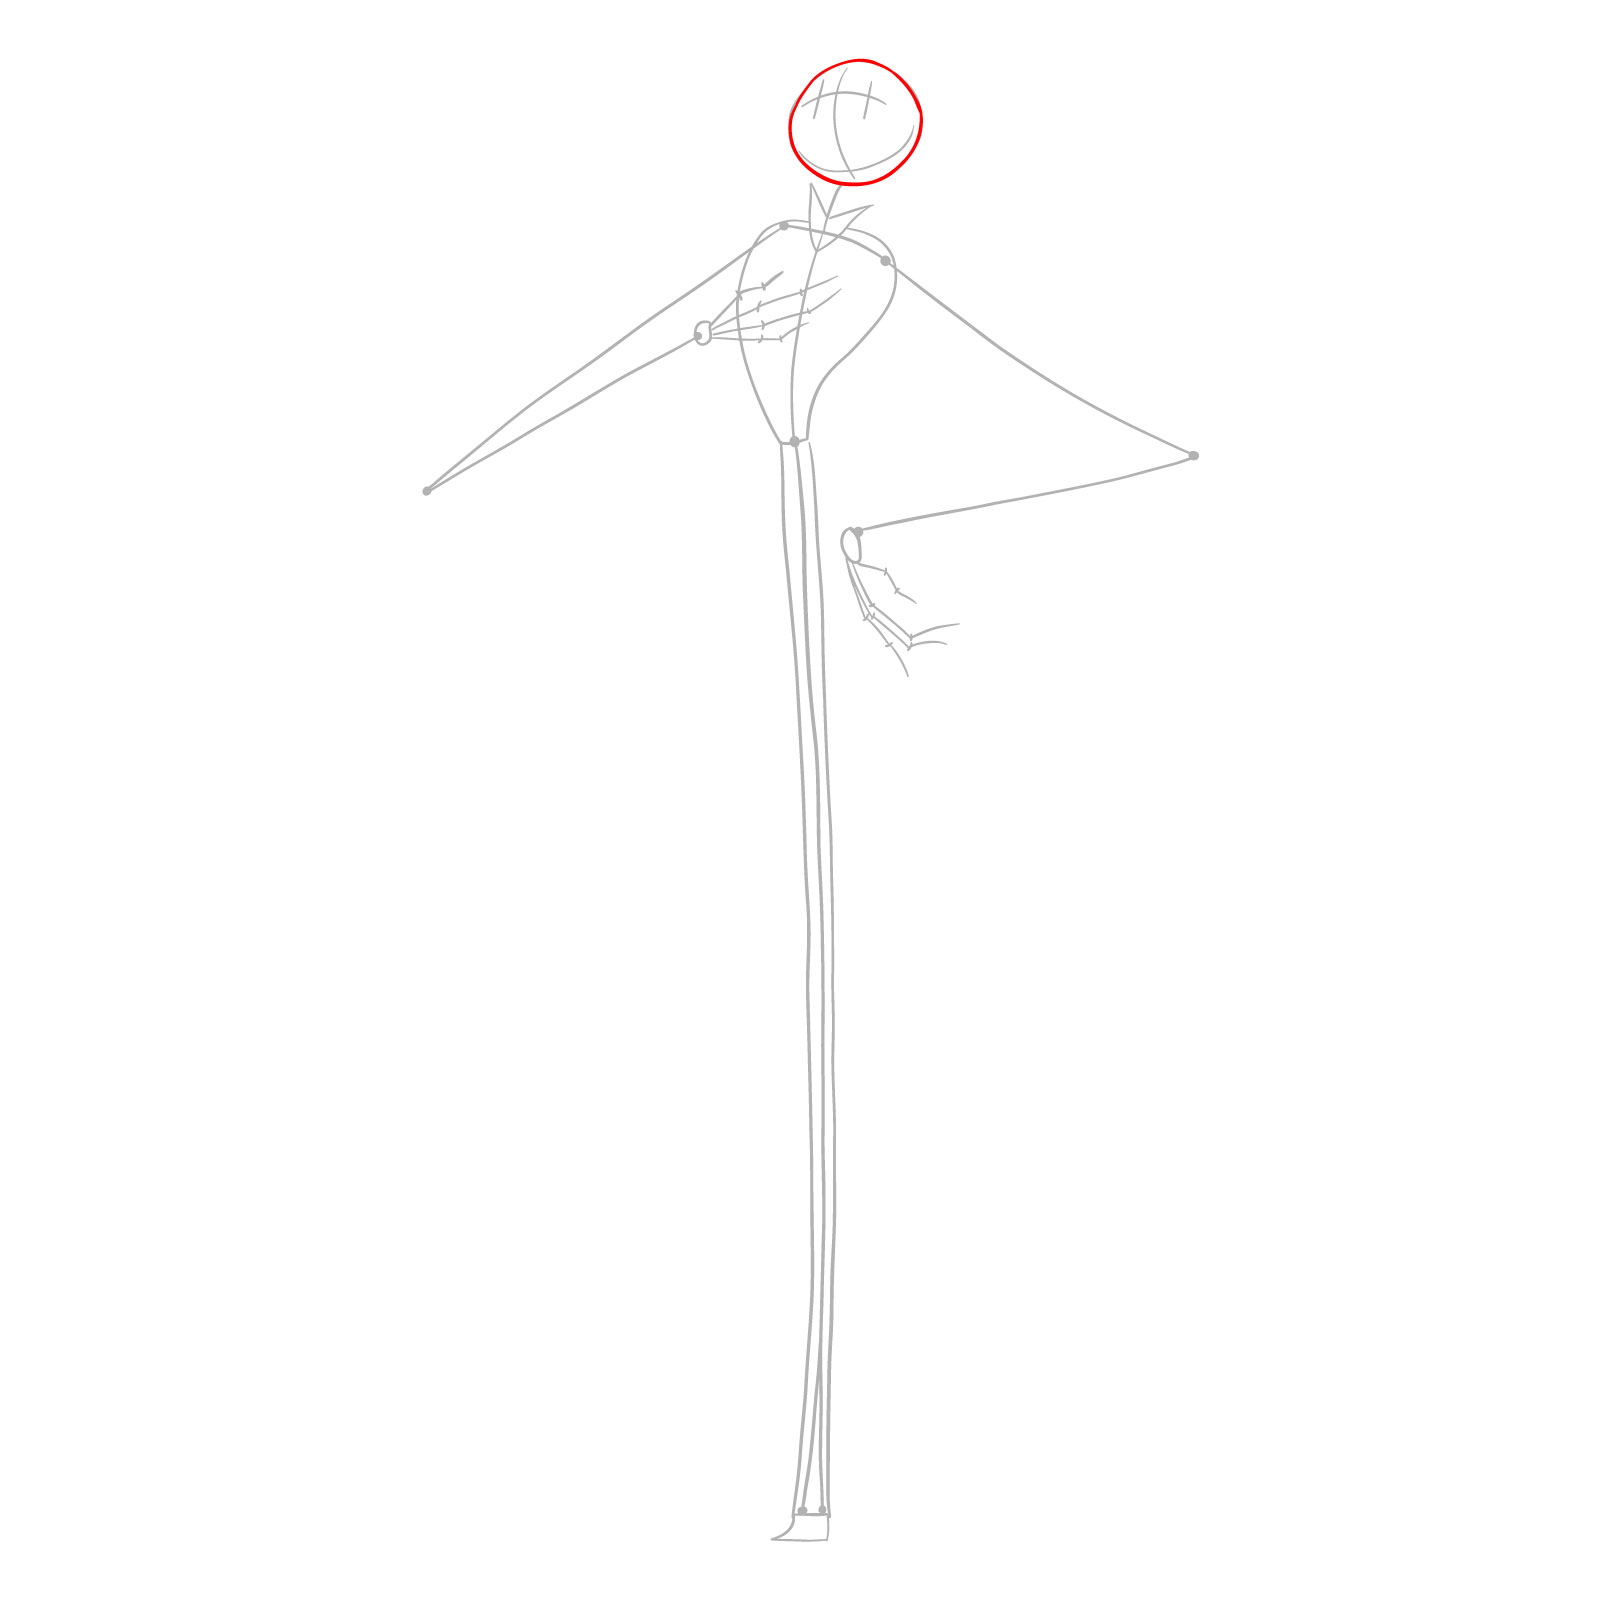
There are 29 steps to complete. The first two are foundational, aimed at setting the right proportions using light pencil strokes. Upon completion, you may choose to ink your sketch. It’s crucial to wait for the ink to dry before erasing the pencil marks to avoid smudges.
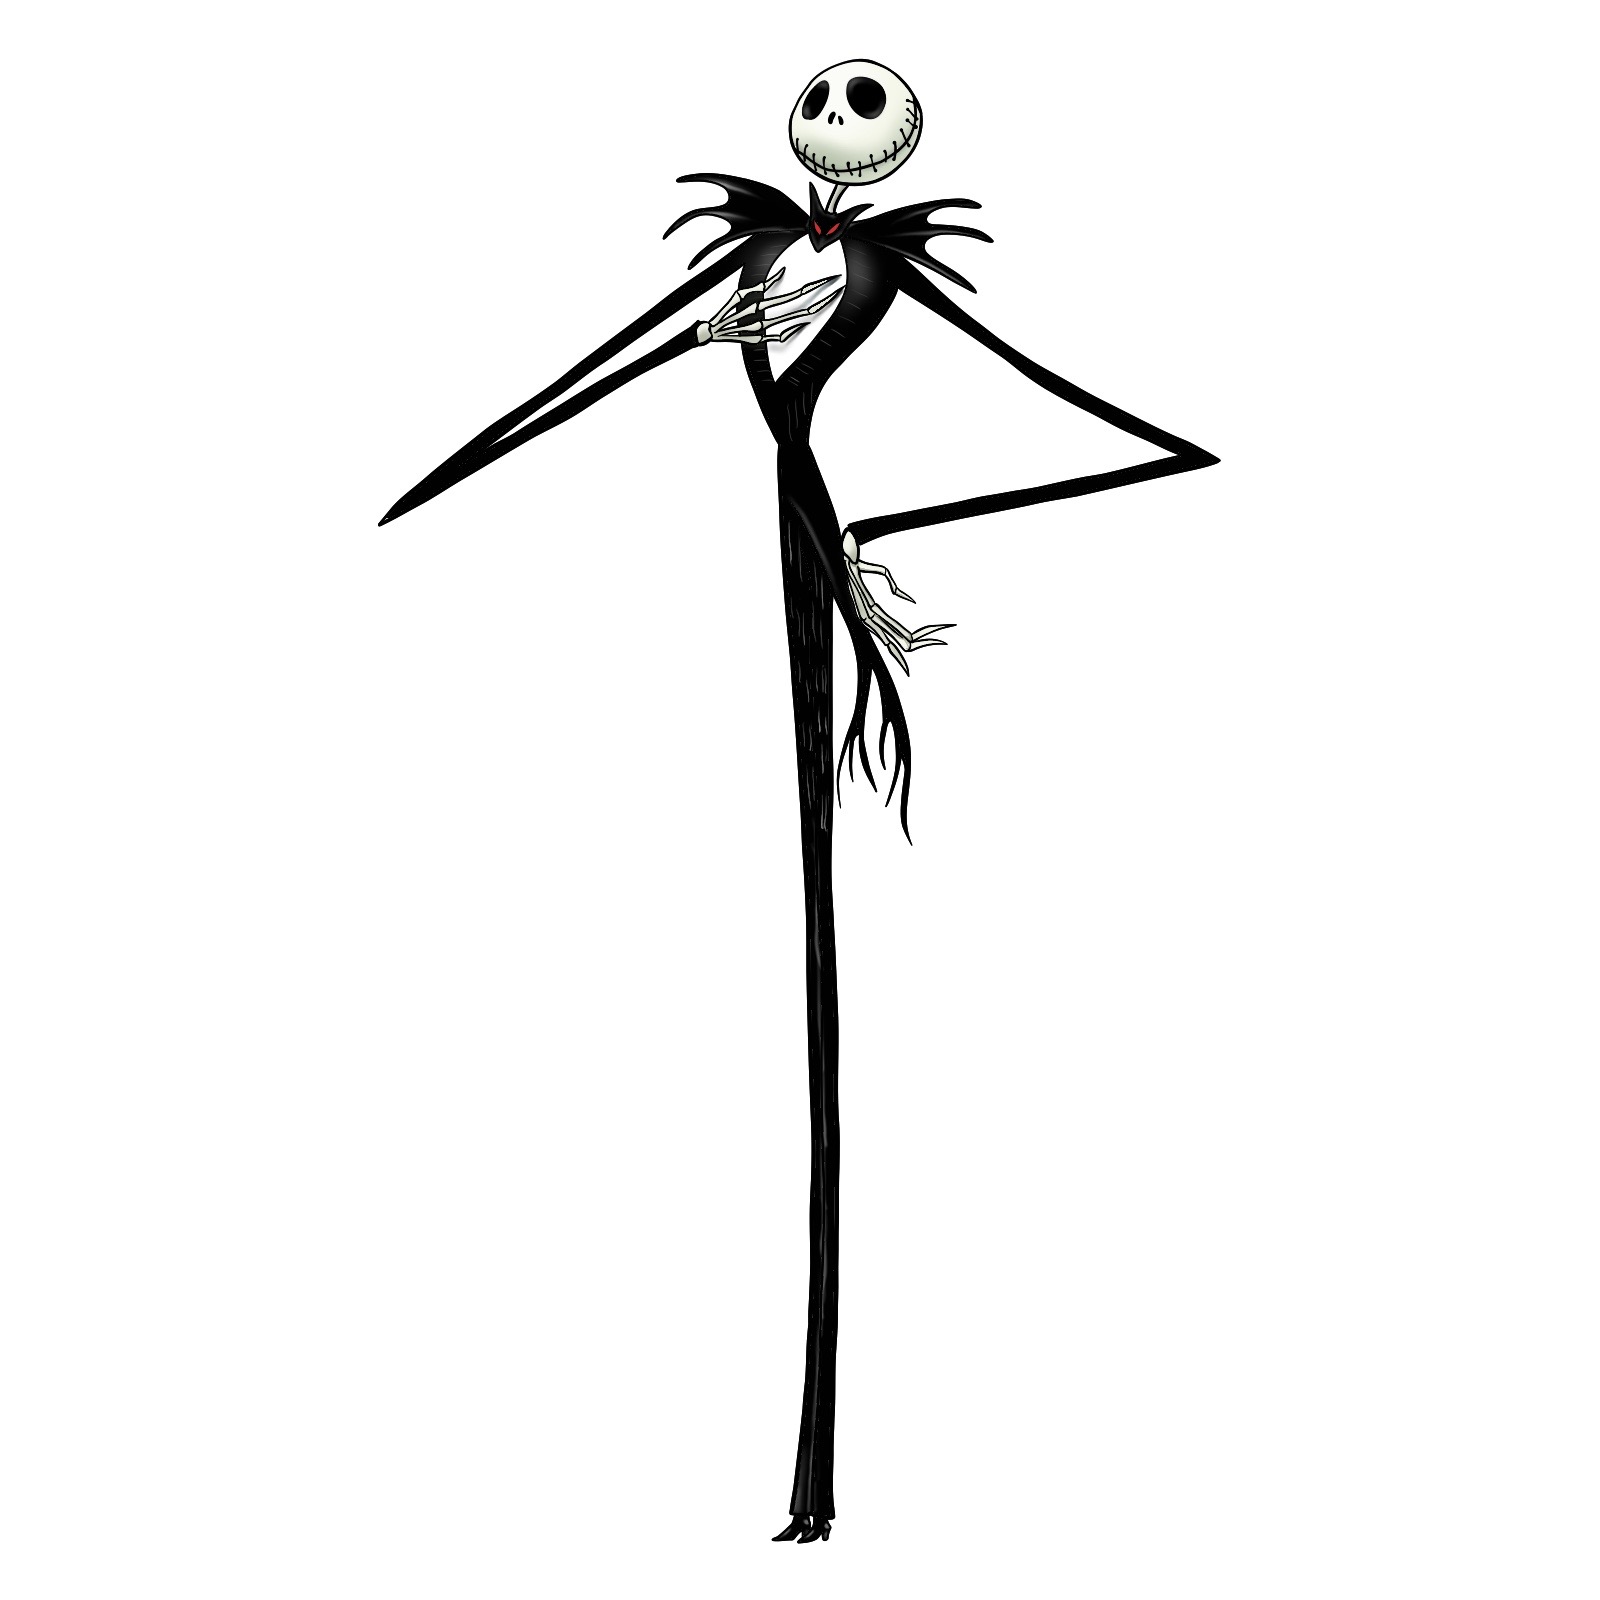
Step 01

How to draw Jack Skellington - step 01

Step 02

How to draw Jack Skellington - step 02

Step 03

How to draw Jack Skellington - step 03

Step 04

How to draw Jack Skellington - step 04

Step 05

How to draw Jack Skellington - step 05

Step 06

How to draw Jack Skellington - step 06

Step 07

How to draw Jack Skellington - step 07

Step 08

How to draw Jack Skellington - step 08

Step 09

How to draw Jack Skellington - step 09

Step 10

How to draw Jack Skellington - step 10

Step 11

How to draw Jack Skellington - step 11

Step 12

How to draw Jack Skellington - step 12

Step 13

How to draw Jack Skellington - step 13

Step 14

How to draw Jack Skellington - step 14

Step 15

How to draw Jack Skellington - step 15

Step 16

How to draw Jack Skellington - step 16

Step 17

How to draw Jack Skellington - step 17

Step 18

How to draw Jack Skellington - step 18

Step 19

How to draw Jack Skellington - step 19

Step 20

How to draw Jack Skellington - step 20

Step 21

How to draw Jack Skellington - step 21

Step 22

How to draw Jack Skellington - step 22

Step 23

How to draw Jack Skellington - step 23

Step 24

How to draw Jack Skellington - step 24

Step 25

How to draw Jack Skellington - step 25

Step 26

How to draw Jack Skellington - step 26

Step 27

How to draw Jack Skellington - step 27

Step 28

How to draw Jack Skellington - step 28

Step 29

How to draw Jack Skellington - final step

Frequently Asked Questions

What’s the best technique for Jack’s hollow eyes?

The trick lies in the shape: think of them as elongated ovals. Sketch lightly, ensuring they’re proportionate to Jack’s round head. The hollow eyes are crucial to capturing his soulful expression.

Any tips on drawing his bat bowtie?

Think of it as a bat in flight. Start with the center and move outwards, sketching the wings as elongated curves. Remember, it should sit right below his neck, proportional to his slender frame.

Wrap-Up

If you’ve made it this far, congratulations! Drawing is not just about the strokes and shades; it’s about the journey, the learning, and the passion. If this guide on how to draw Jack Skellington ignited the artist in you, consider sharing the link with friends and fellow enthusiasts.

Drawing tutorials like these are made possible through your generous support. By donating, you enable us to keep producing quality content and even pitch ideas for future tutorials. This ensures the SketchOk project thrives, spreading the joy of drawing.

Support Us: Donate

Stay Connected:

From the bottom of my heart, thank you for being a part of this artistic journey. Until next time, keep sketching!

Did you like the tutorial?

You can support the author of this website and also suggest your own ideas for new drawings by making a small donation here:

Leave a Comment

61