Who doesn’t know Elmo, the adorable, fuzzy, red Muppet from Sesame Street? He’s known for his distinctive high-pitched voice and his self-referential language. Embodying the spirit of a three-and-a-half-year-old, Elmo is a character filled with enthusiasm, curiosity, and a whole lot of love. Now, you have the chance to bring him to life on your sketchpad. Our guide will teach you how to draw Elmo, step by step, with clear instructions that even beginners can follow. So, grab your pencils and let’s begin!
Elmo’s Appearance and Key Focus Points
Elmo is characterized by his unique features that stand out and captivate his audience. While sketching Elmo, consider the following points:
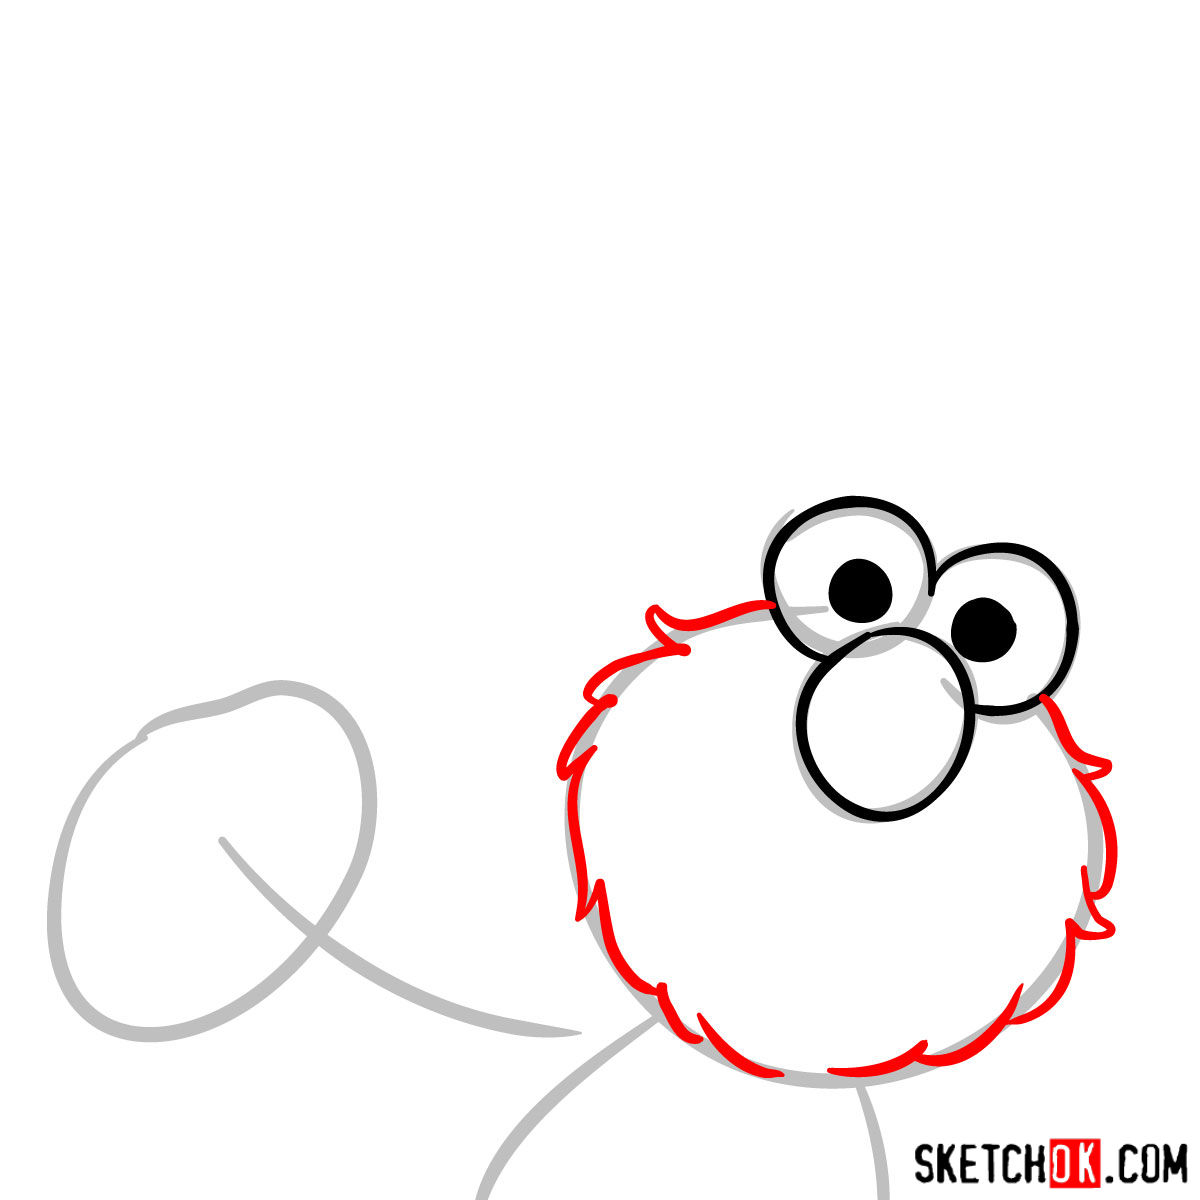
- Elmo’s head and body are a single, round, blob-like shape, portraying his chubby and lovable character.
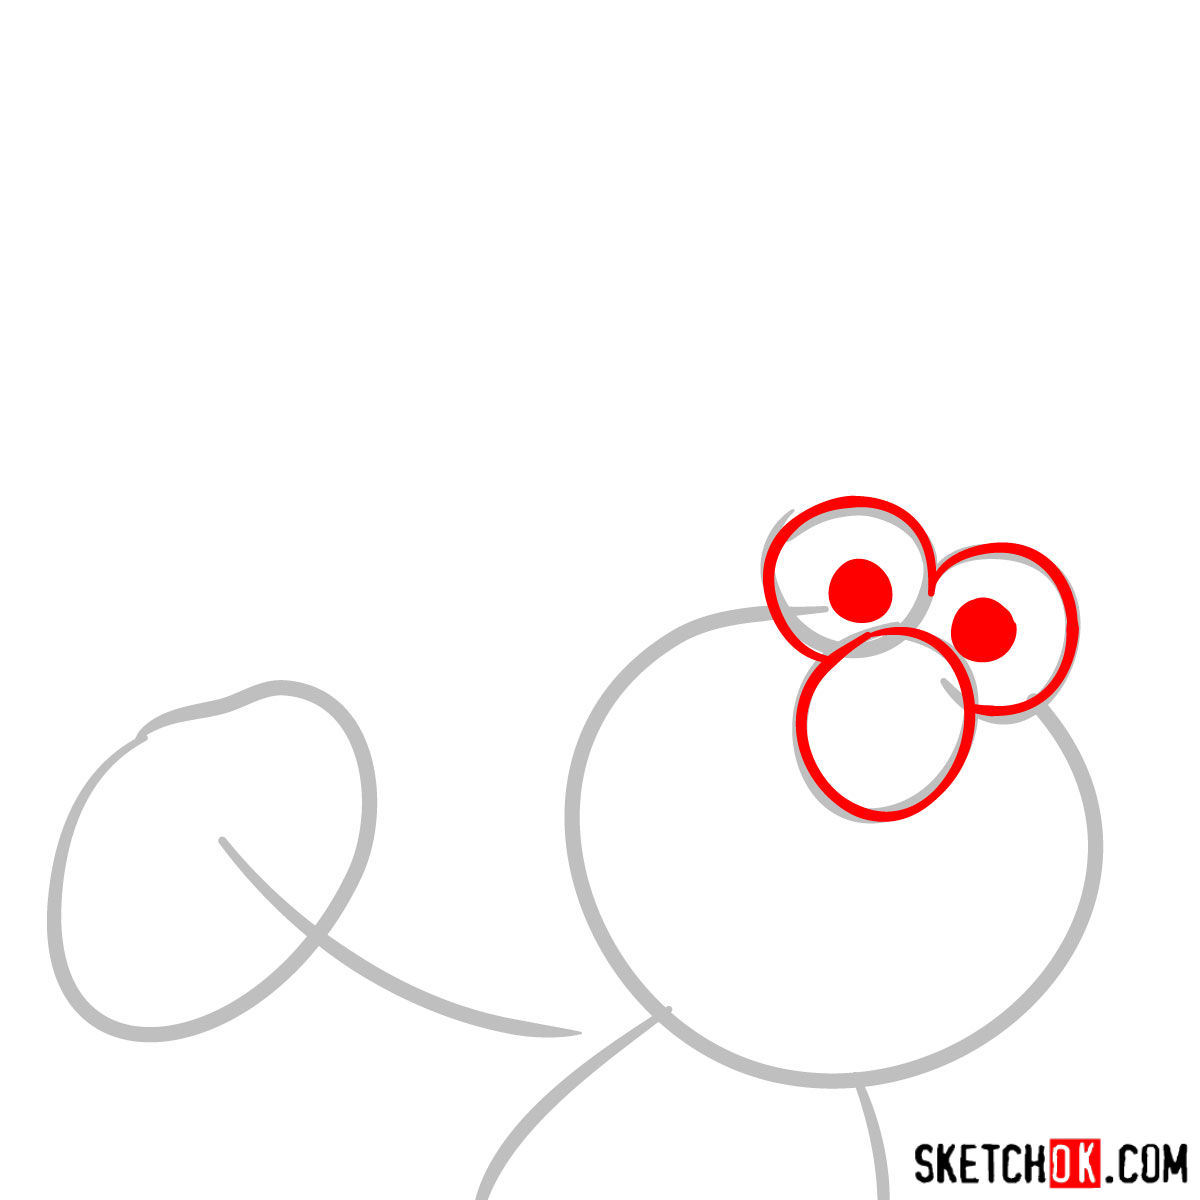
- His wide, oval eyes are full of life and sit high on his face.
- The orange, oval-shaped nose is a central feature, placed just below the eyes.
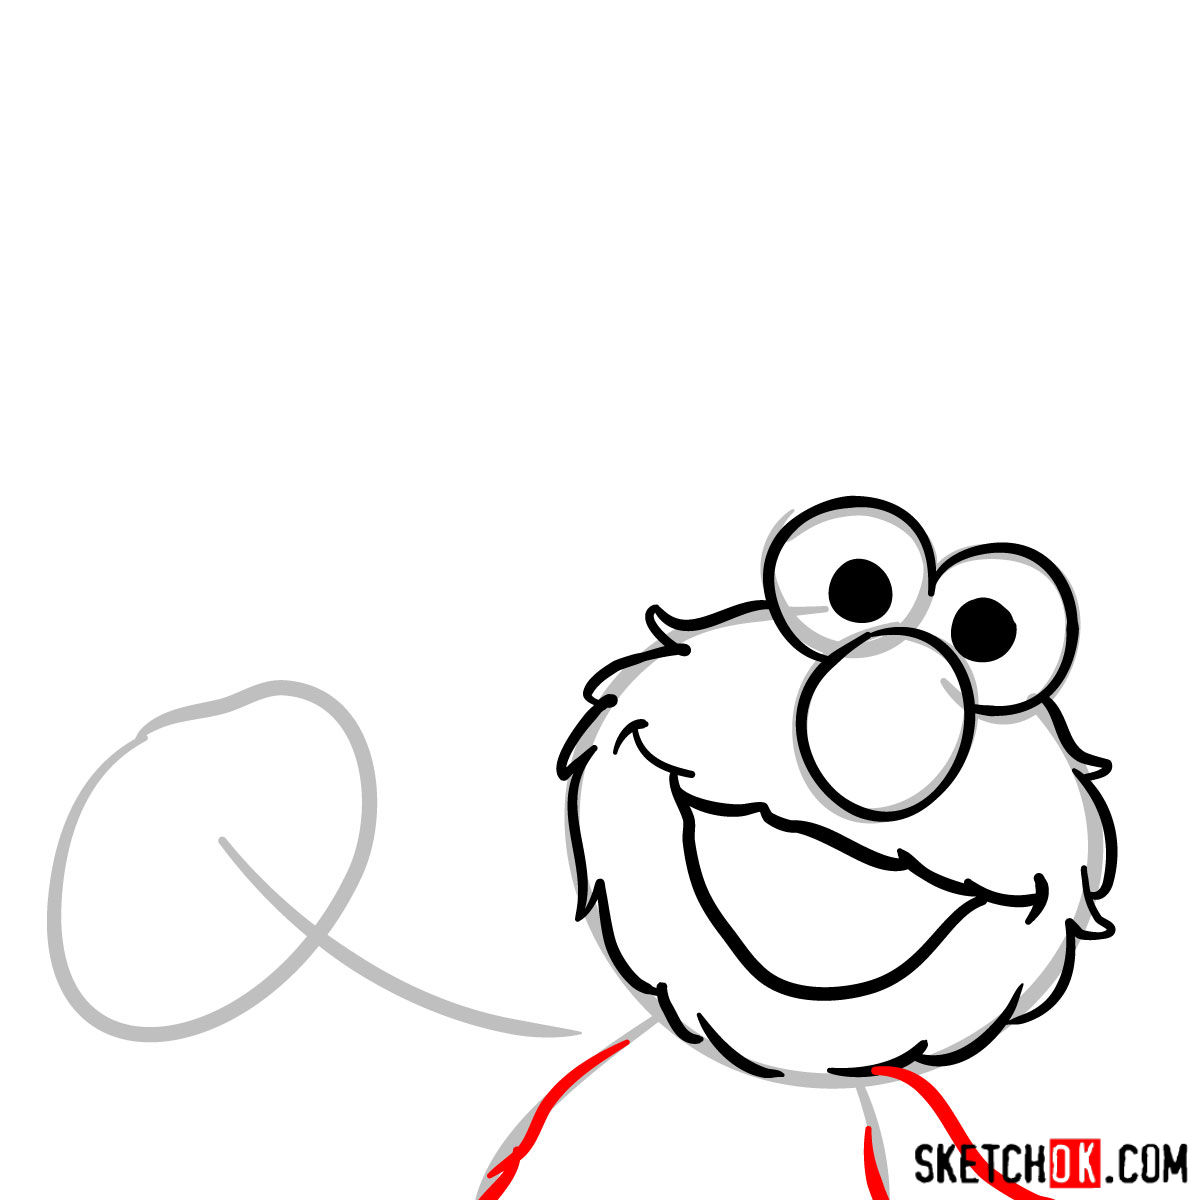
- Don’t forget his wide mouth that gives Elmo his perpetual happy expression!
- Elmo’s fur is fluffy and textured, which can be achieved by adding short, curved lines all over his body.
- Lastly, his arms and legs are thin and short, fitting his toddler-like persona.
Once you’ve mastered drawing Elmo, you can bring characters to your canvas like Kool-Aid Man, Hello Kitty or even TheOddOnesOut creating a lively Muppet scene!
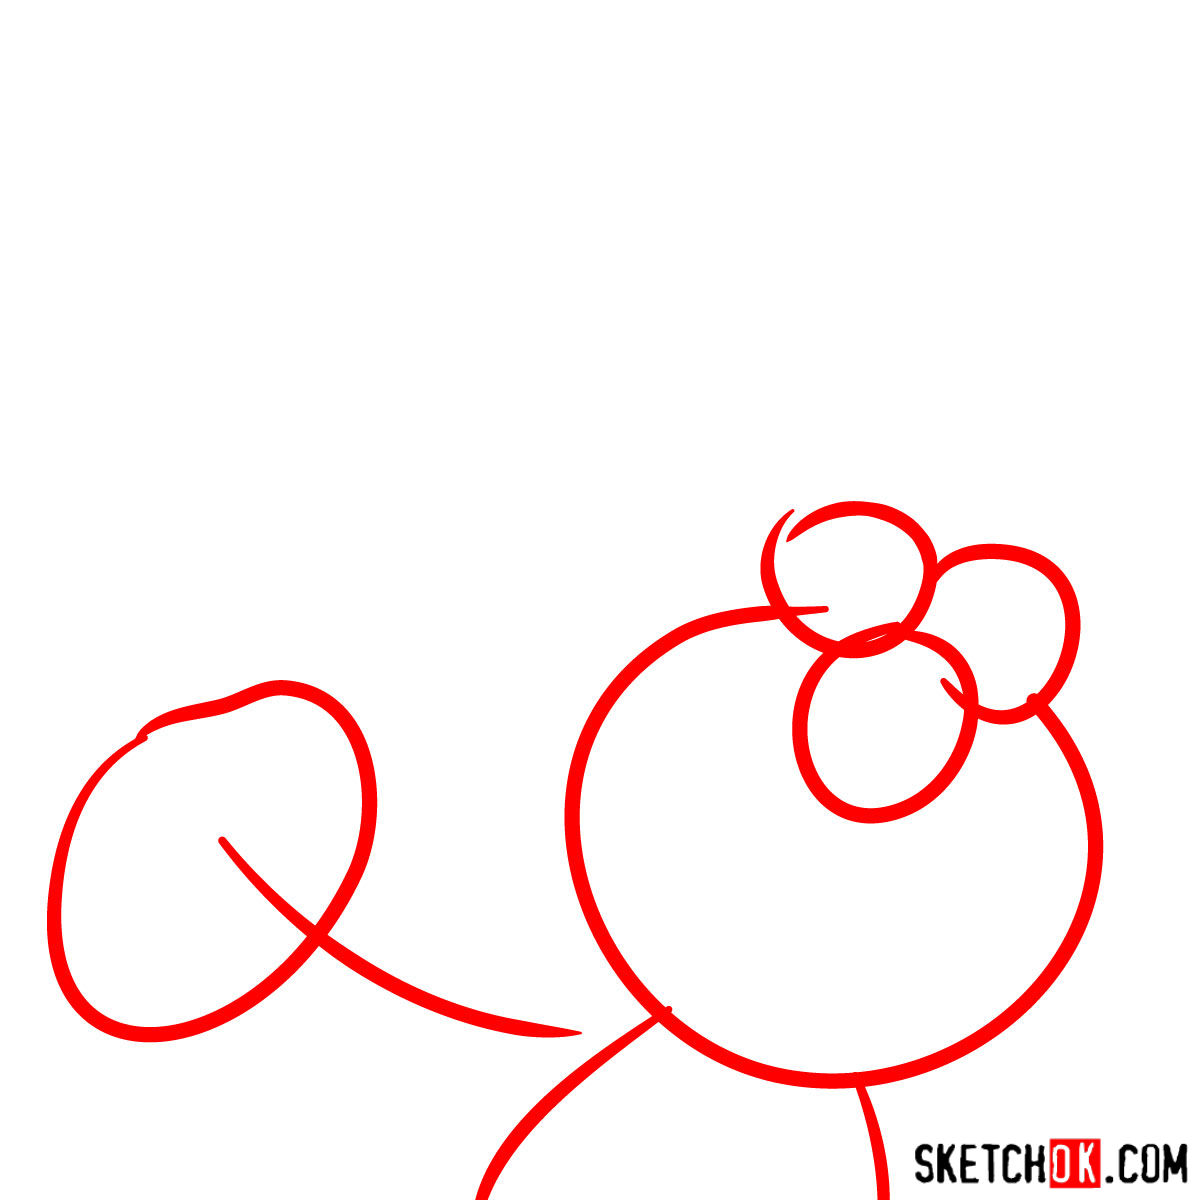
Guiding You Through the Drawing Process
Our 8-step guide is designed to help you sketch Elmo with precision and ease. To make this process simpler, we’ve used a specific color code:
- Red Color: Indicates the lines or shapes to be drawn in the current step.
- Grey Color: Represents the basic sketch or underlying structure.
- Black Color: Highlights the lines from previous steps.
The initial step focuses on establishing the basic structure with light pencil strokes. This ensures accurate proportions and can be easily adjusted or erased. Once you’ve created the base, you’ll follow the red lines in each step to build Elmo’s features. Towards the end, you can choose to ink your sketch, allowing for a polished finish. Remember, patience is key when working with ink. Always wait for it to dry before erasing the pencil marks to avoid smudging your artwork.


Now that you know how to draw Elmo, go ahead and share what you made in the comments under the pinned post on Pinterest, where other people working through the same guide will actually see it. It’s a nice little spot to compare notes, spot what others tried differently, and maybe pick up a trick or two. If you want a steady stream of new guides, the signup form at the top of the page sends a weekly digest, and SketchOk is also on Facebook and YouTube if you prefer following along there.