Do you remember Clifford? He’s that giant, lovable canine who has been capturing the hearts of children and adults alike. Now, you have the opportunity to bring this charming character to life through your very own sketch. This guide will walk you through a step-by-step process of how to draw Clifford the Big Red Dog, making it an engaging and fun activity for both novice and experienced artists.
Understanding Clifford’s Uniqueness
Clifford, unlike your regular pup, stands out with his enormous size, often depicted around 25 feet tall! His size, however, can sometimes appear far larger, adding to his unique charm. Although his massive stature could be intimidating, Clifford’s disposition and behavior make him endearing. Inspired by a giant dog, Clifford is the epitome of friendliness and gentleness.
Besides his size, Clifford’s brilliant red color is another attribute that sets him apart. When drawing, emphasize his radiant red coat and lovable features, like his big, expressive eyes and ever-present smile.
Embarking on the Sketch Journey
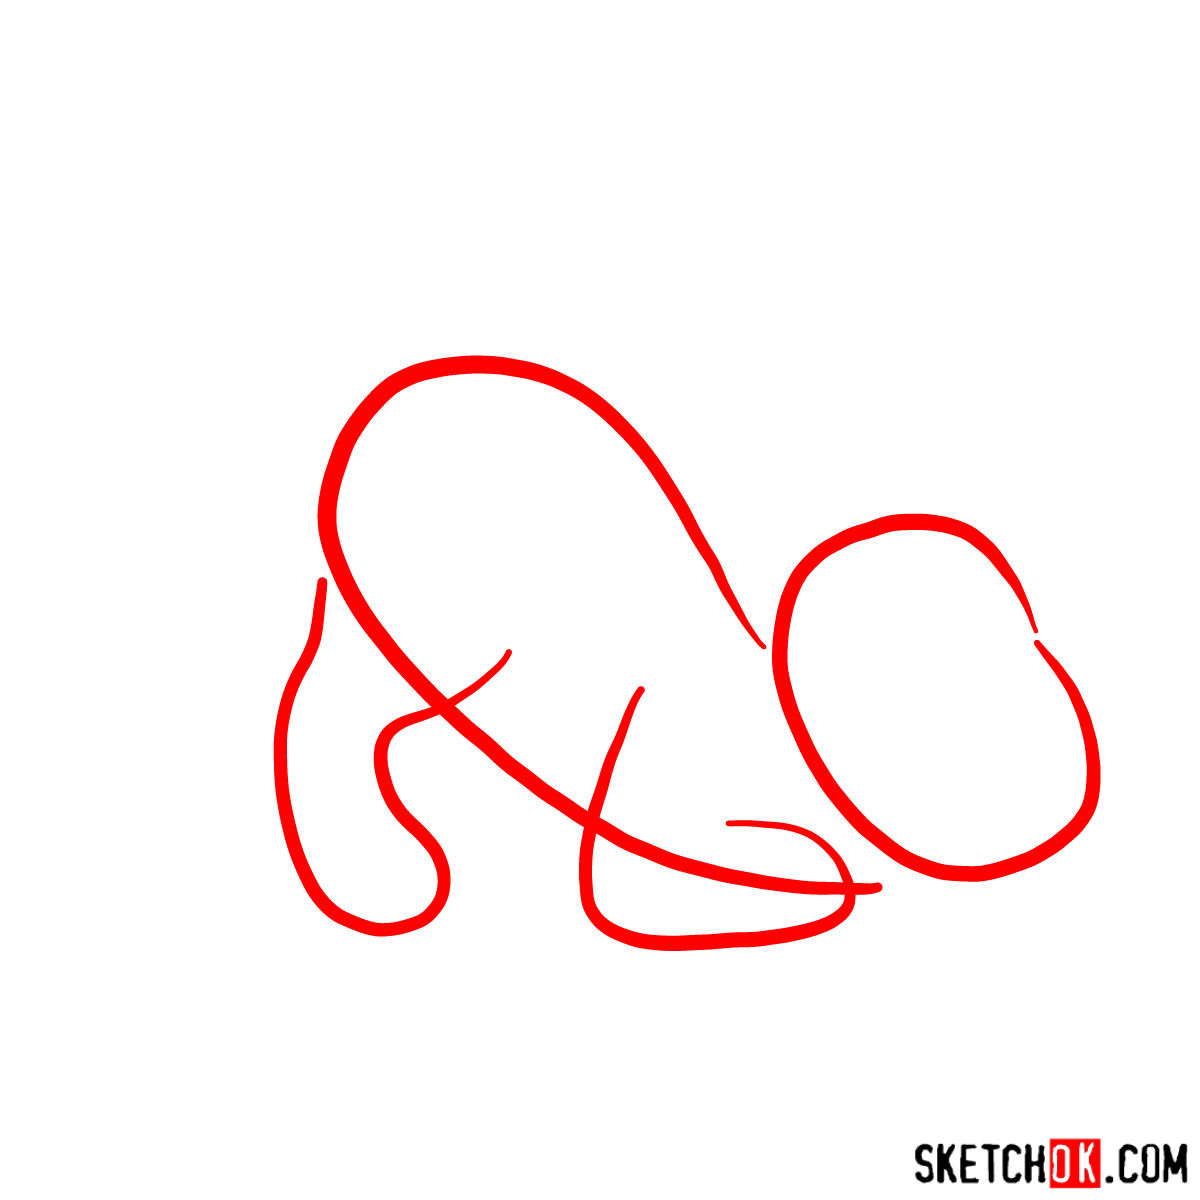
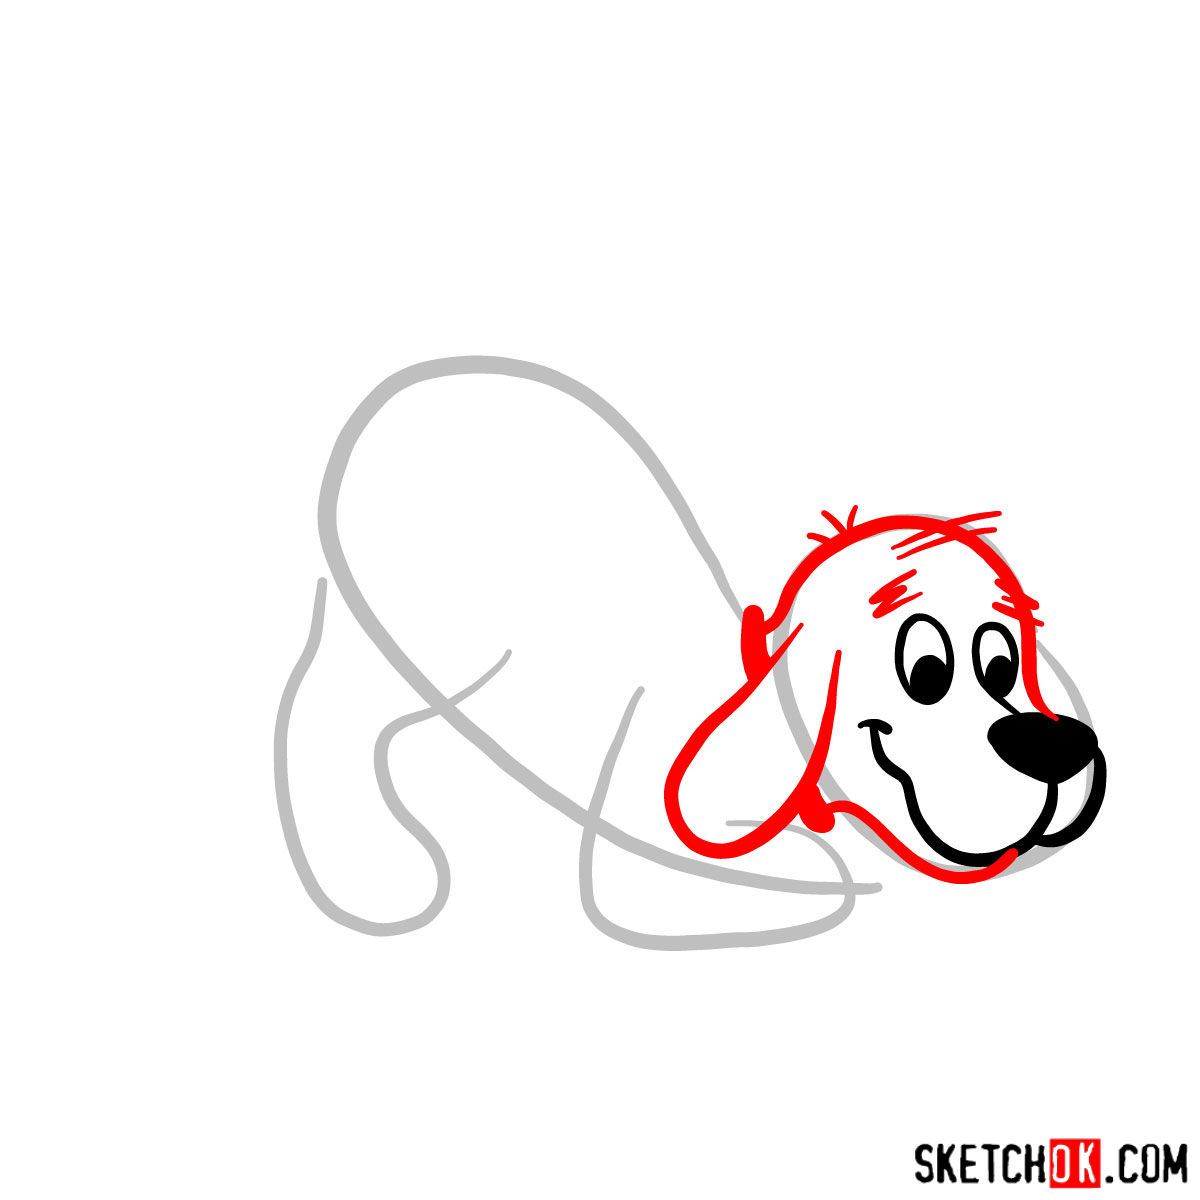
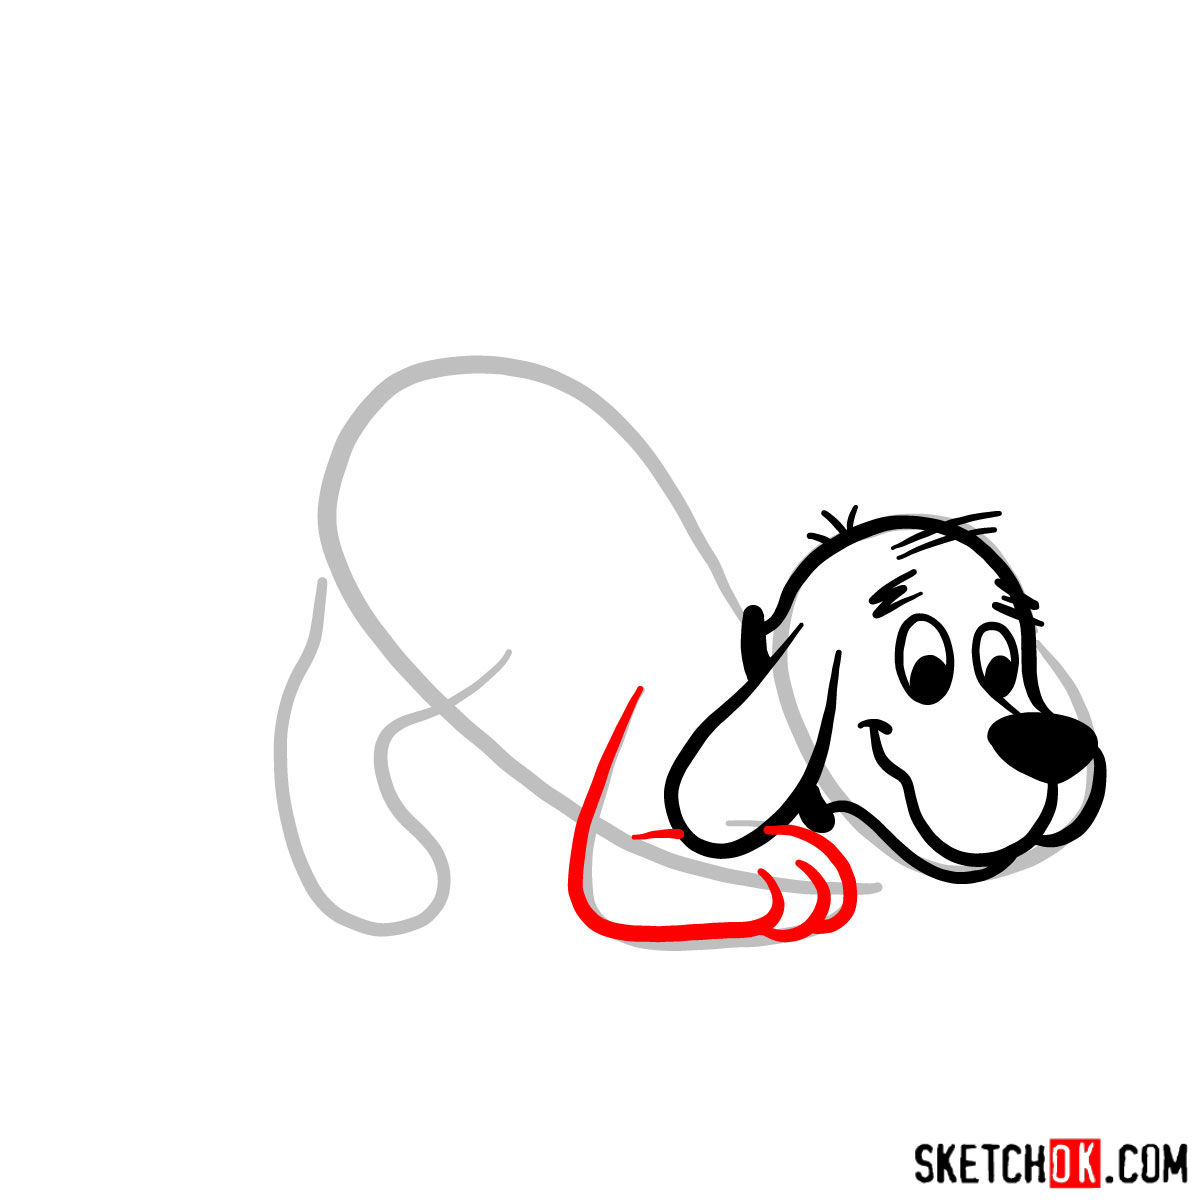
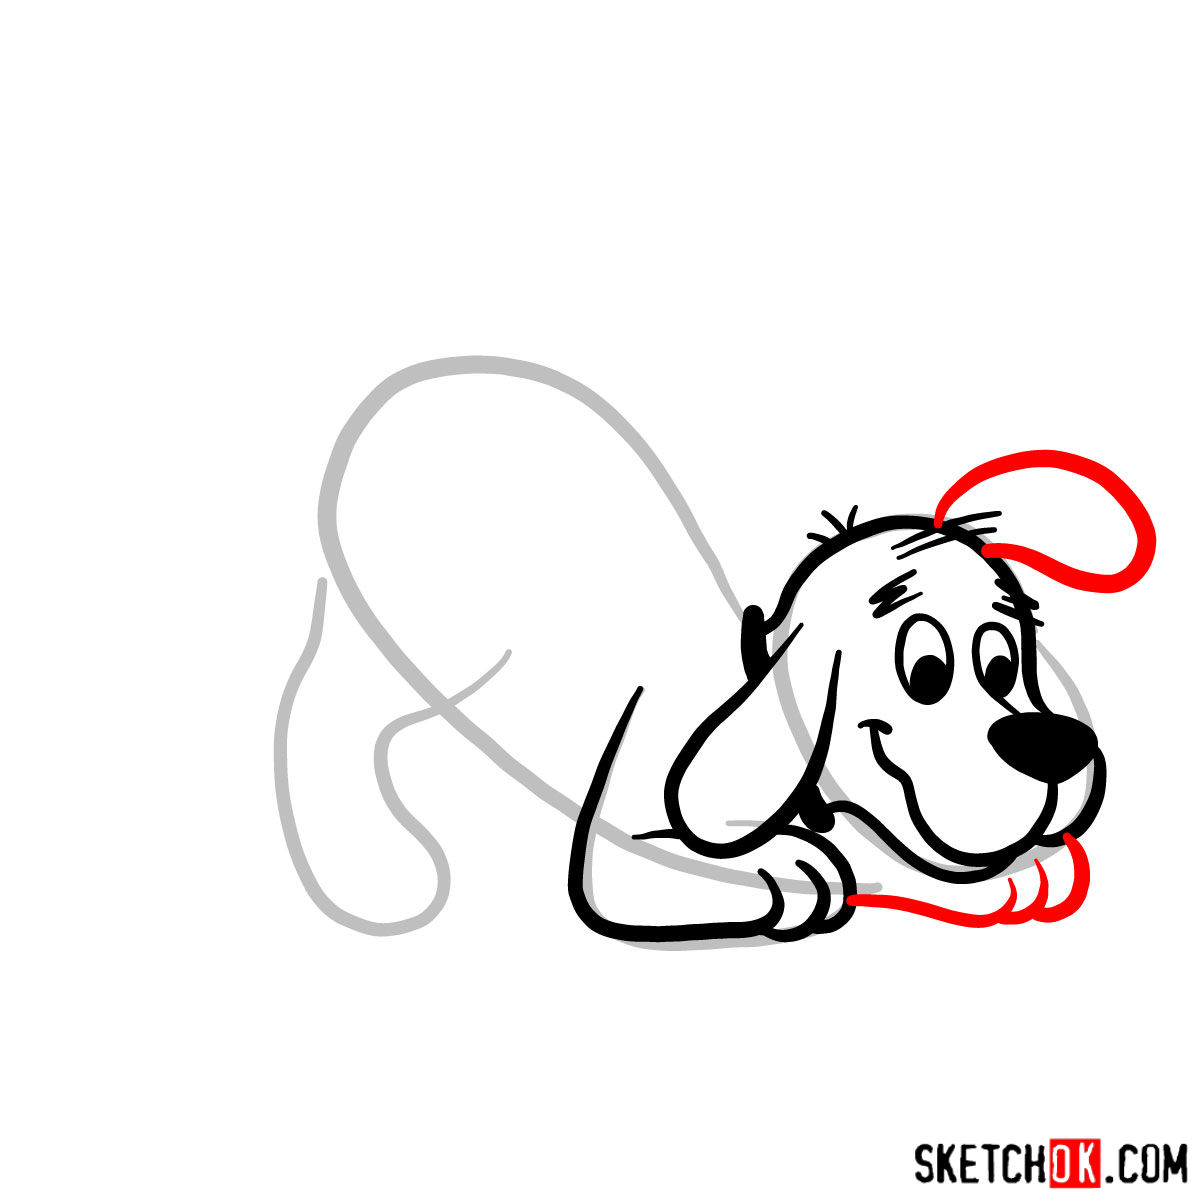
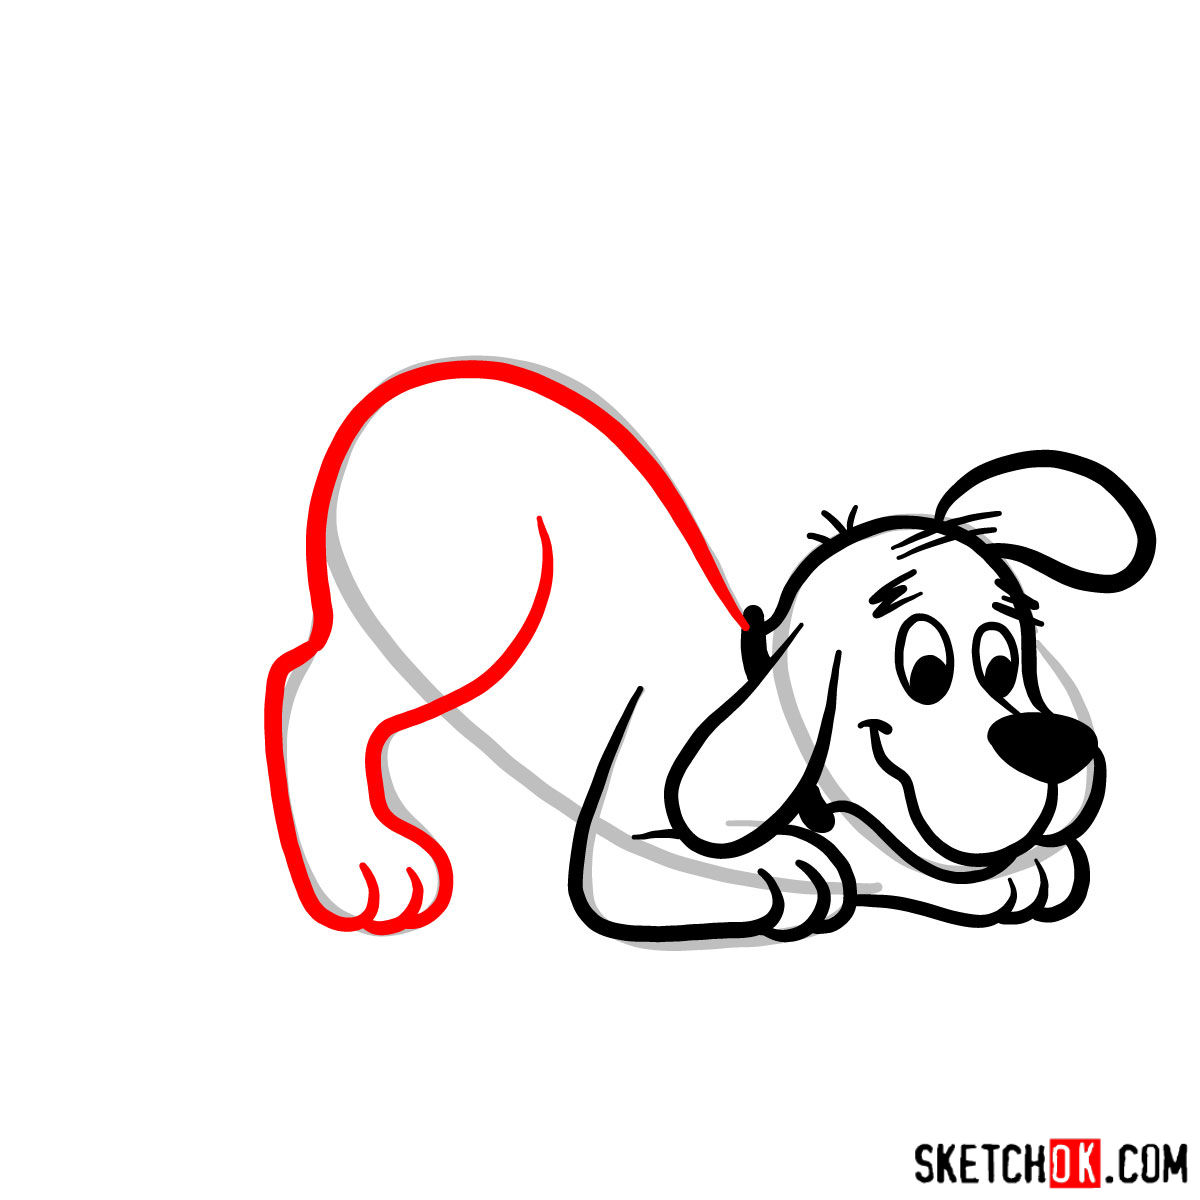
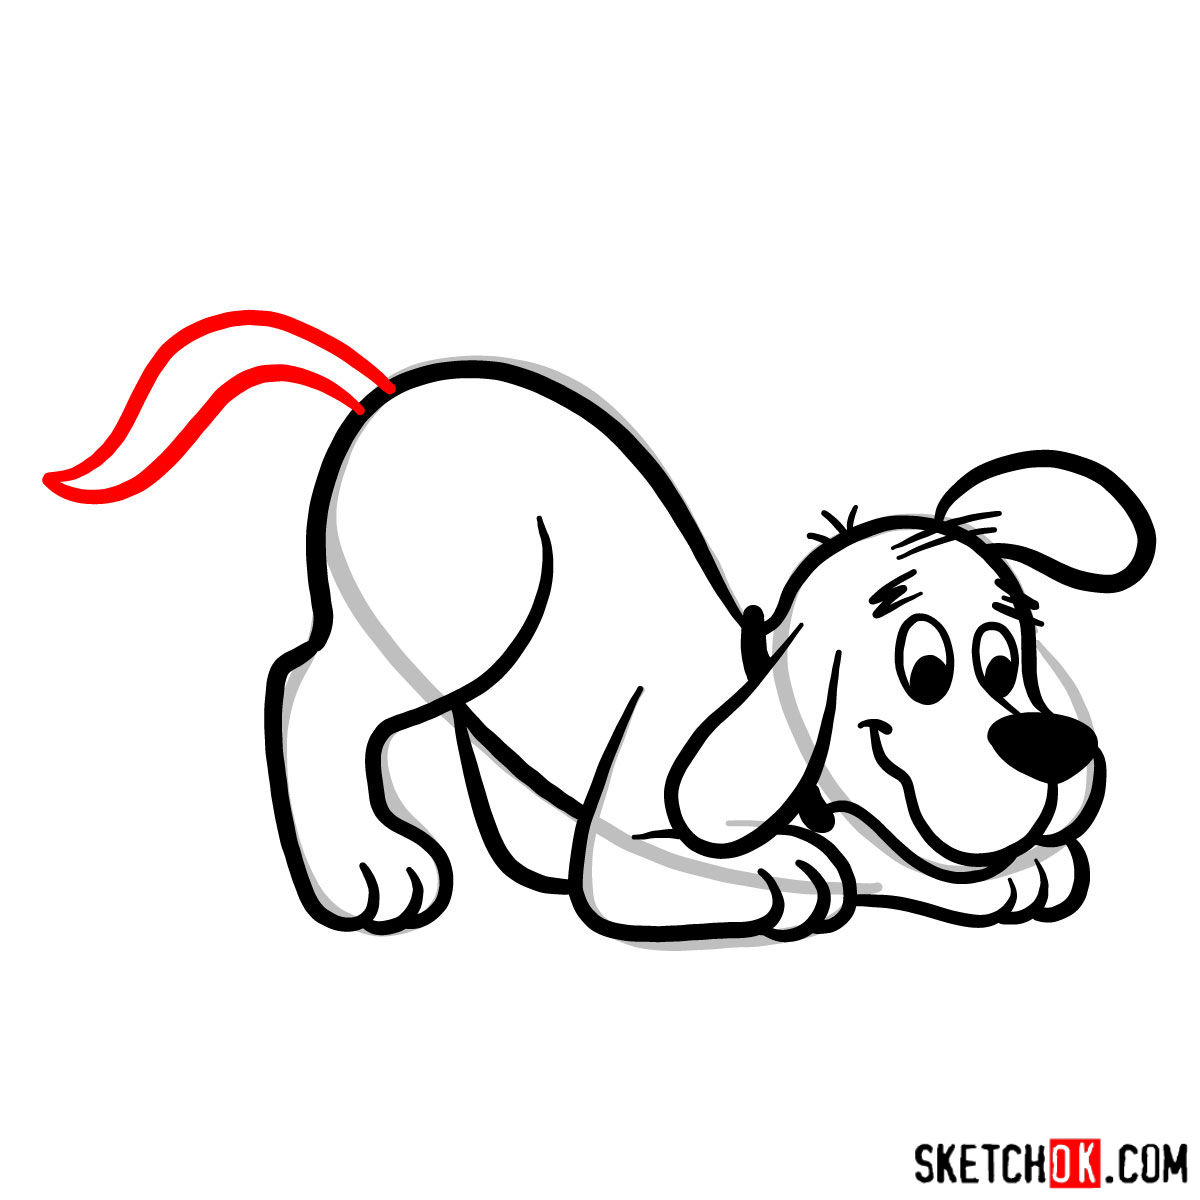
Our step-by-step guide consists of 10 stages, beginning with creating a basic sketch. You might be wondering about the color coding system we use in our guide. It’s quite simple and straightforward. Each color indicates a specific aspect of the drawing:
- Red Color: Represents the current drawing step.
- Black Color: Shows the lines you’ve previously drawn.
- Grey Color: Demonstrates the basic proportions sketch, useful for maintaining the correct proportions throughout the drawing.
Remember to use light pencil strokes in the initial stages for easy adjustments and erasing. The final stage involves inking the sketch, which gives it a more defined and polished look. Remember to let the ink dry before gently erasing the pencil sketch to avoid smudging. The last image in the guide serves as a color reference for coloring, bringing Clifford to life in his distinctive, radiant red.


Your first attempt at how to draw Clifford the Big Red Dog might not turn out exactly how you pictured it, and that’s completely fine since most first tries look a little rough around the edges. Save it, compare it to your next attempt, and you’ll probably surprise yourself with how quickly things improve. New guides like this one show up regularly, so following SketchOk on Pinterest or Facebook is an easy way to stay in the loop, and video versions of some guides also appear on YouTube if you prefer watching along.