Last Updated on May 14, 2026
For fans of the golden age of American animation, Droopy, the shrewd yet unassuming Basset Hound, holds a special place in our hearts. Created by the legendary Tex Avery in 1943, Droopy is an anthropomorphic character with a uniquely droopy face, giving him an unforgettable appeal. Today, we will guide you on your artistic journey as you learn how to draw Droopy, bringing this beloved character to life with your own personal touch.
The Quintessential Droopy: Key Features to Remember
Droopy stands out with several distinguishing features, from his lethargic demeanor to his jowly monotone voice. Despite his underwhelming presence, Droopy’s sharp wit always saves the day, and he’s even been known to hand his enemies a comical thrashing. When sketching, keep these distinctive traits in mind:
- His droopy face: The defining feature of this adorable character. Get this right, and your sketch will come to life with Droopy’s unique personality.
- The white fur: A subtle yet vital detail, reinforcing his Basset Hound origins.
- His slow, lethargic movements: A unique contrast to the wacky, energetic characters of his time.
And remember, Droopy didn’t exist in isolation. You might want to add other iconic characters from the era to your drawing, such as Yakki Doodle or Tom and Jerry, all of whom have interacted with Droopy in various films and shows, sometimes as allies, sometimes as foes.
Decoding the Artistic Process: Understanding Our Guide
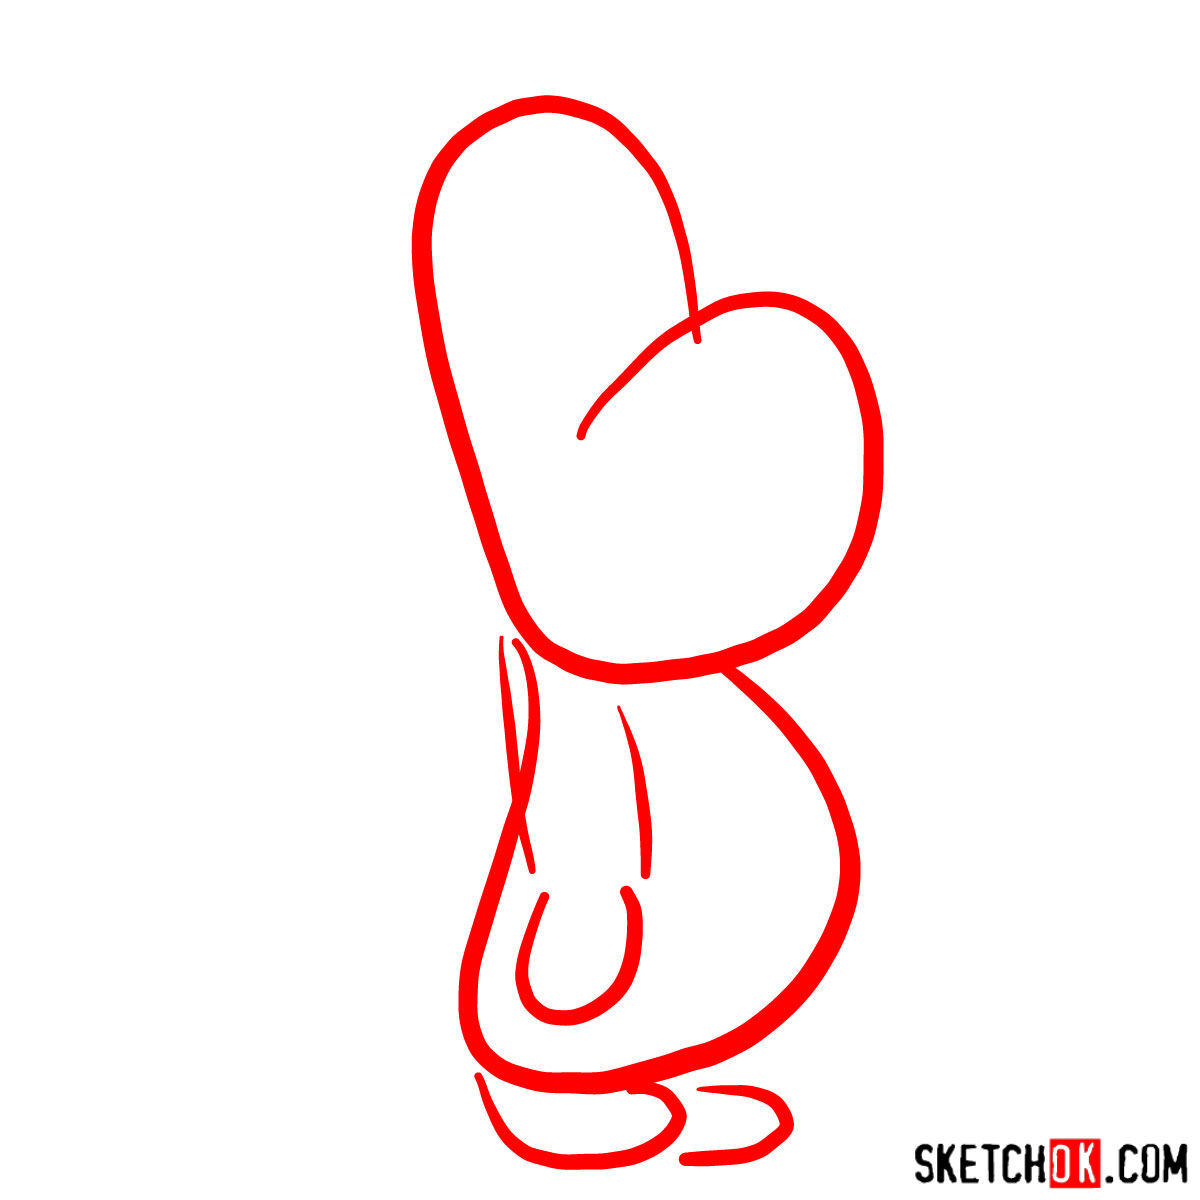
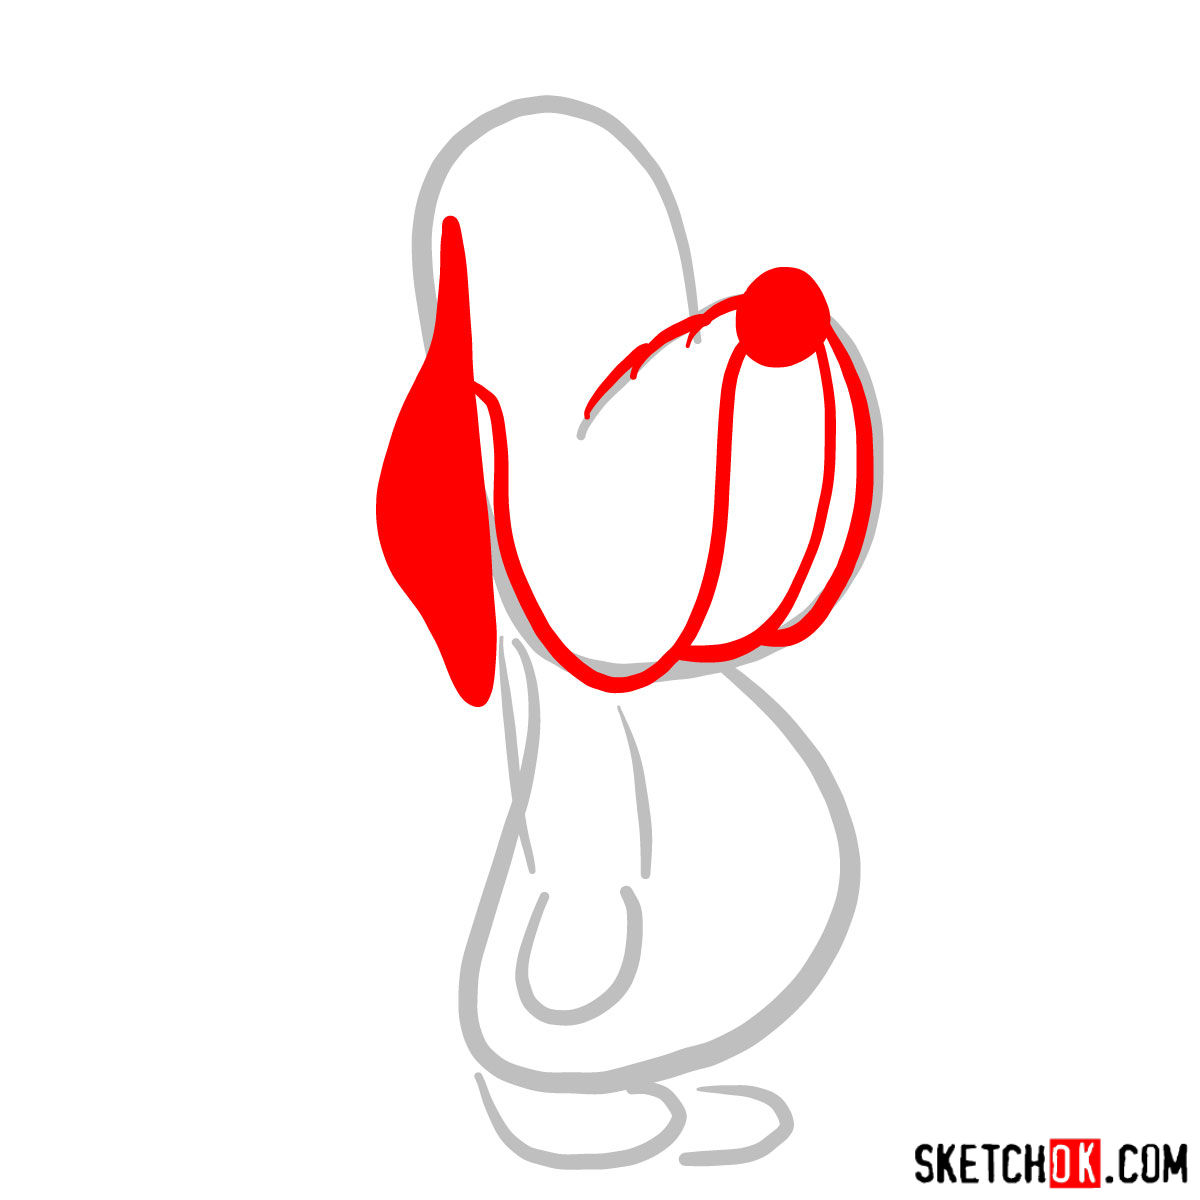
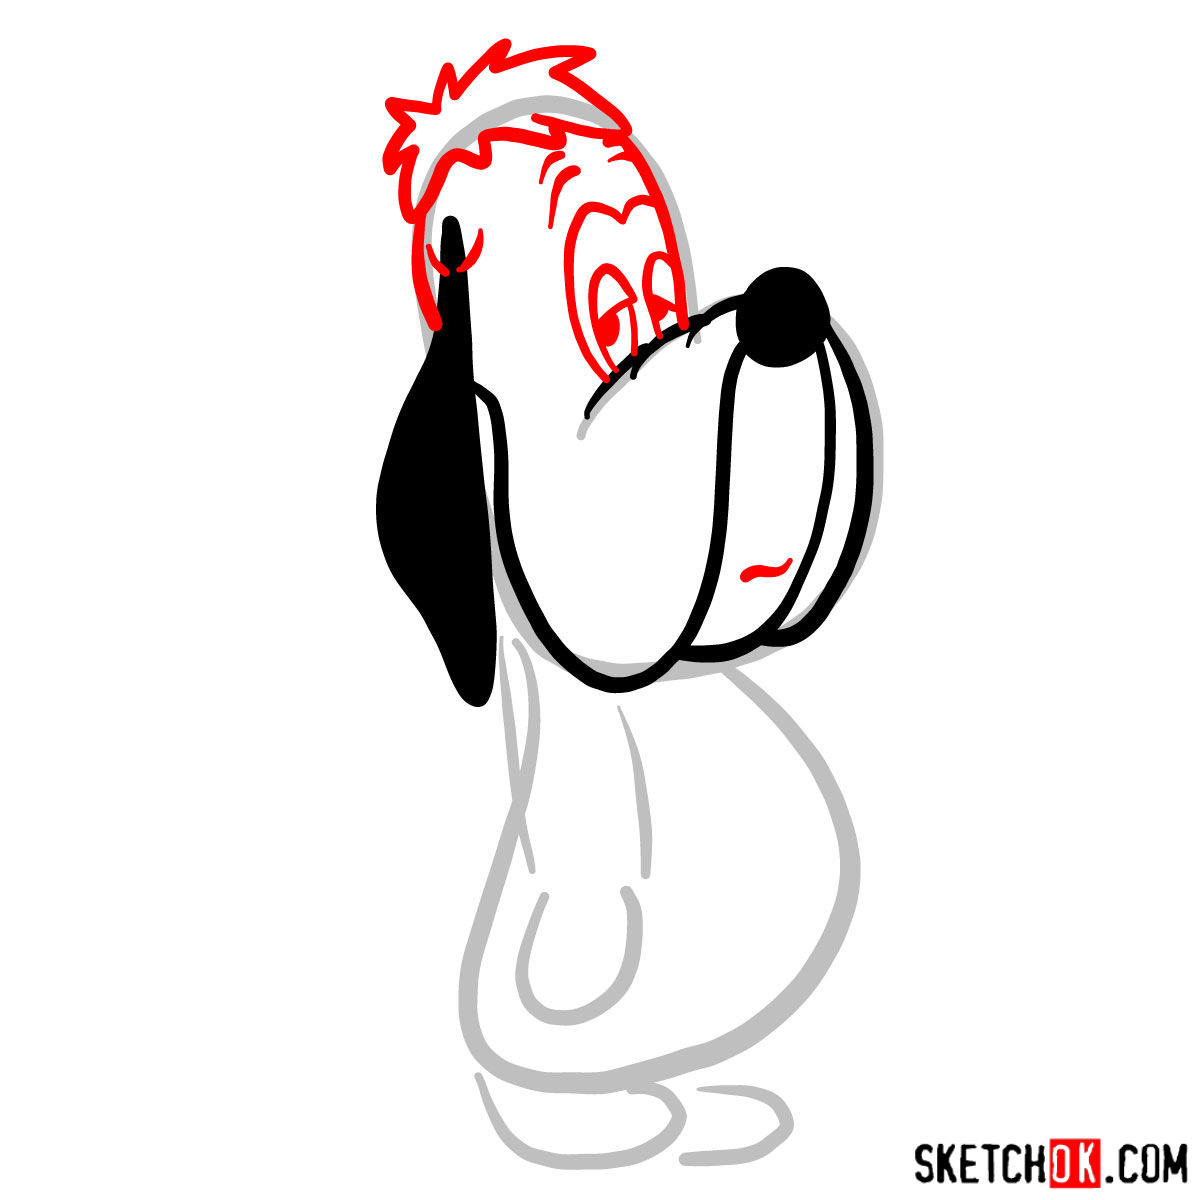
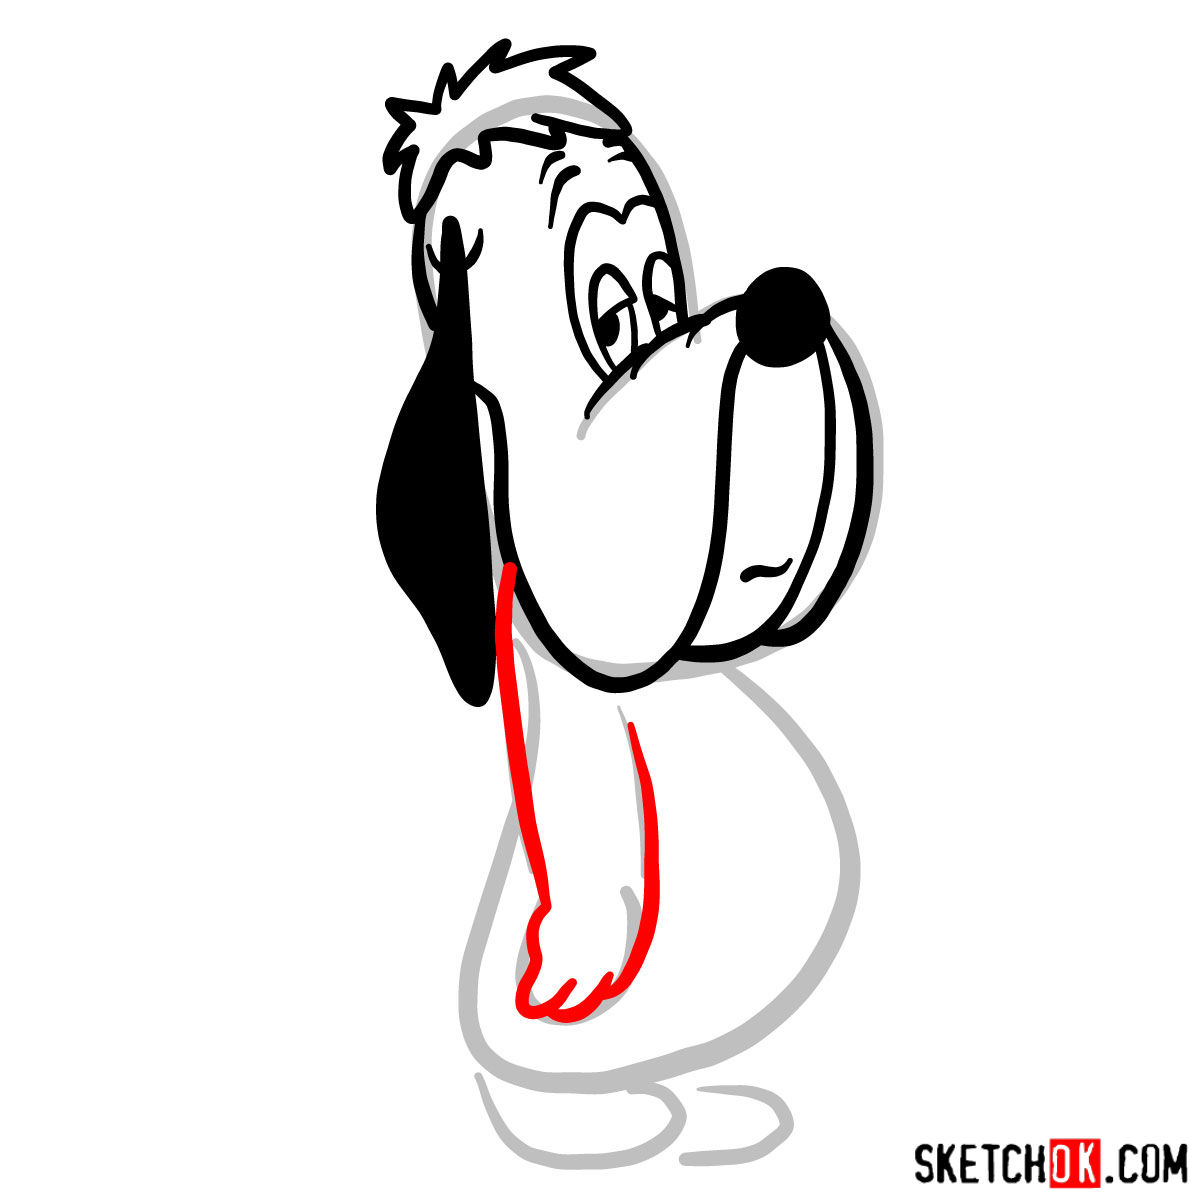
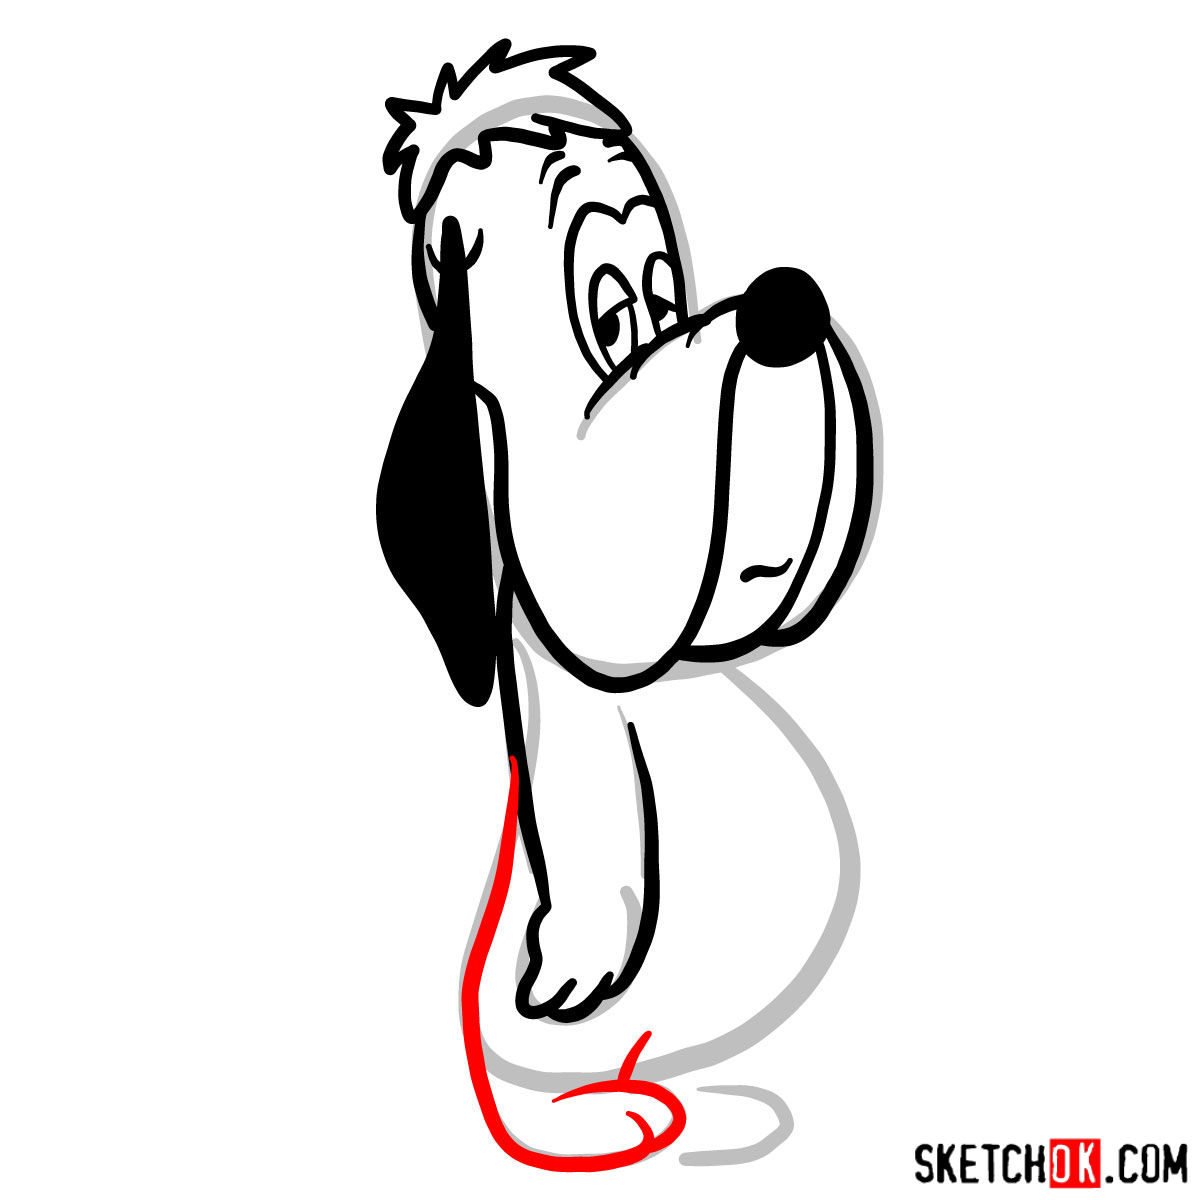
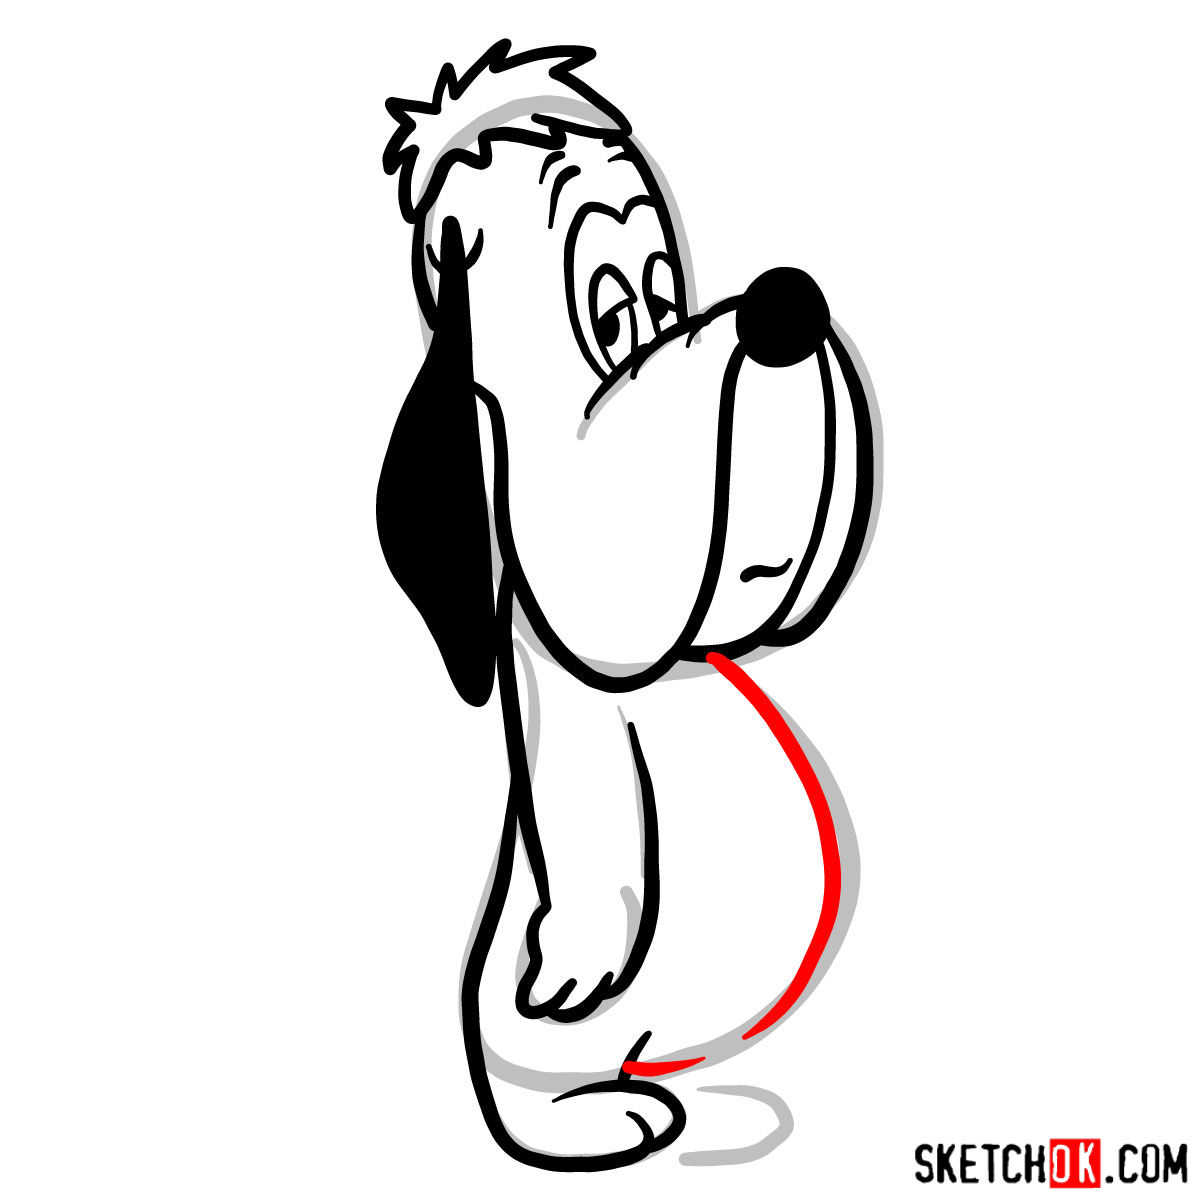
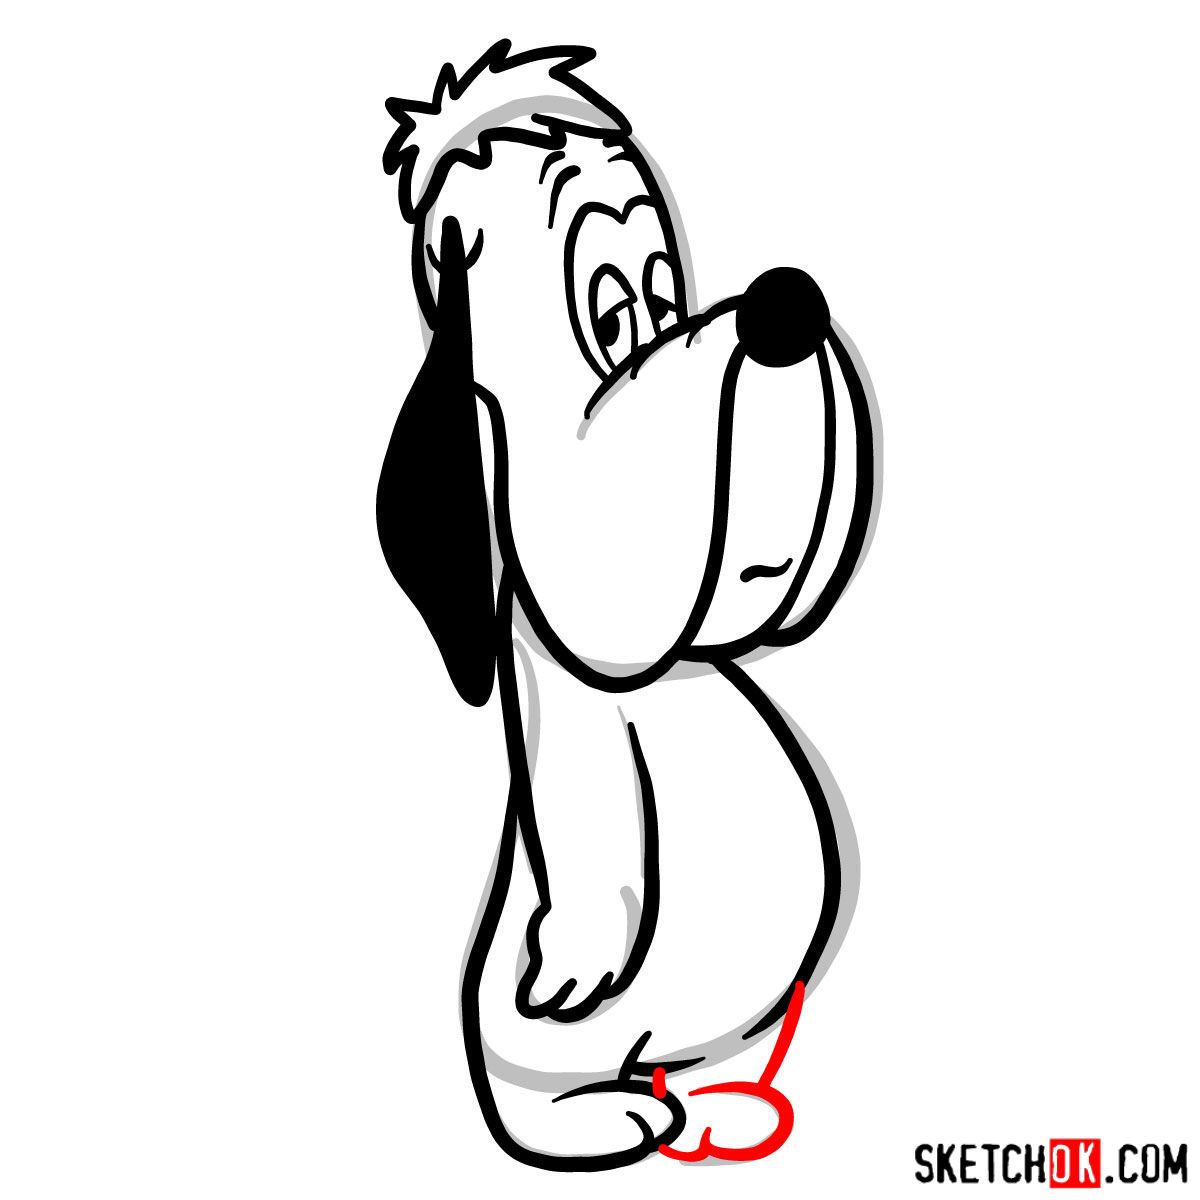
Our tutorial breaks down the process of drawing Droopy into 9 easily manageable steps, beginning with a basic sketch and culminating in a vibrant, detailed depiction of this beloved character. Understanding the color coding in the guide can significantly simplify the process:
- Red Color: Highlights the current drawing step.
- Black Color: Represents the lines drawn in previous steps.
- Grey Color: Denotes the basic sketch lines used for proportion purposes.
Start your artistic journey by creating a light pencil sketch, which serves as the foundation for the final piece. You can then proceed to ink your sketch, giving your drawing a finished look and making it last longer. Remember, patience is key: wait for the ink to dry completely before erasing the pencil lines to prevent any smudging. And don’t forget, the final image in the guide serves as a color reference when you’re ready to breathe life into your creation.
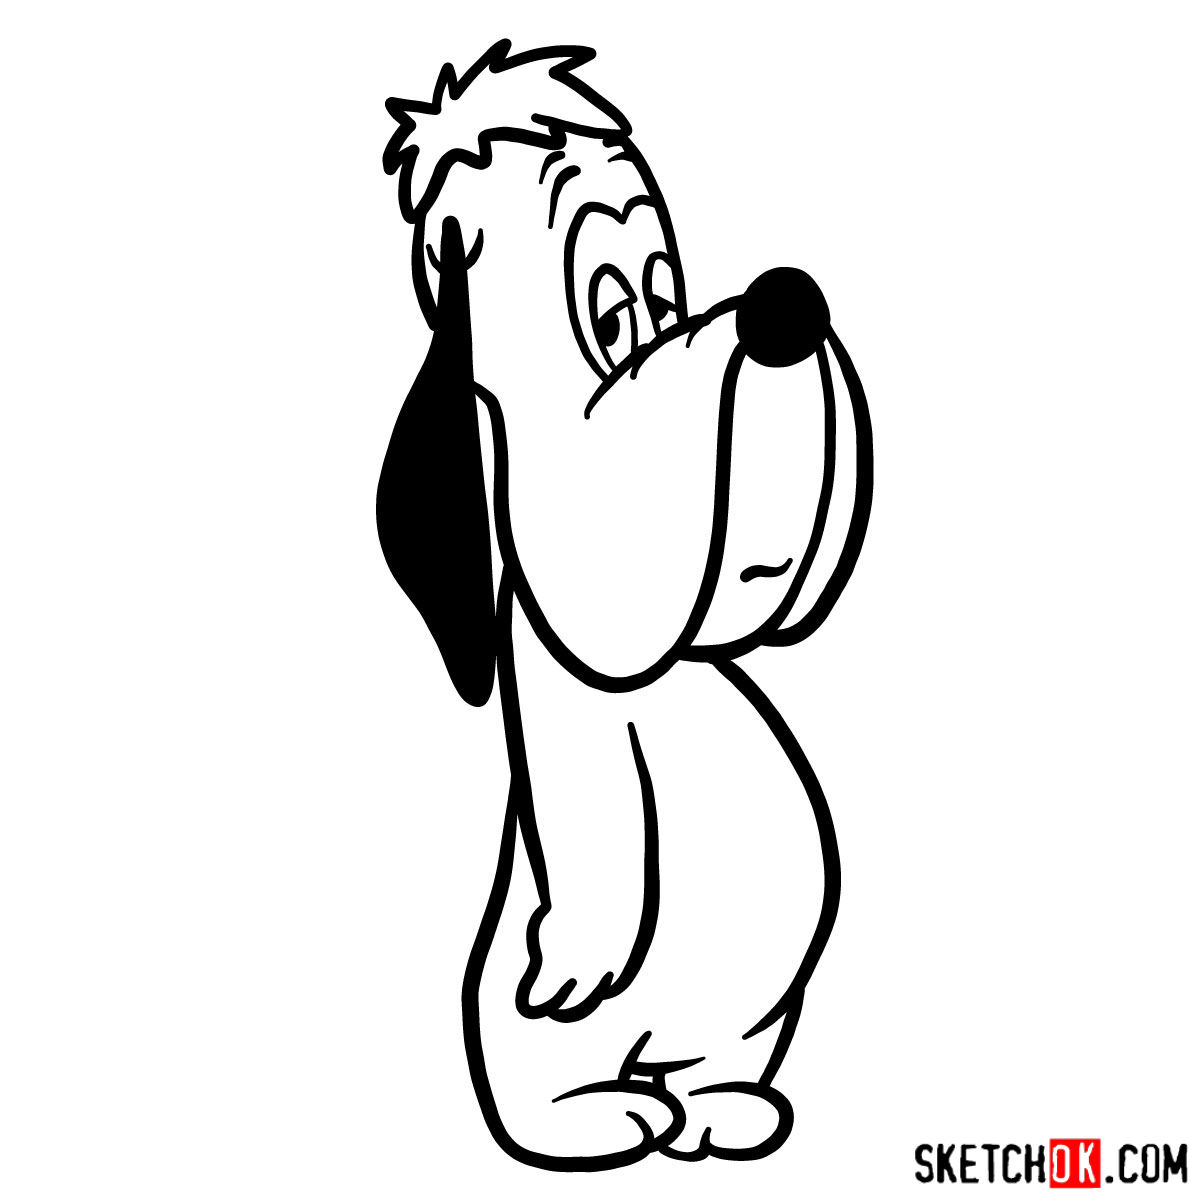
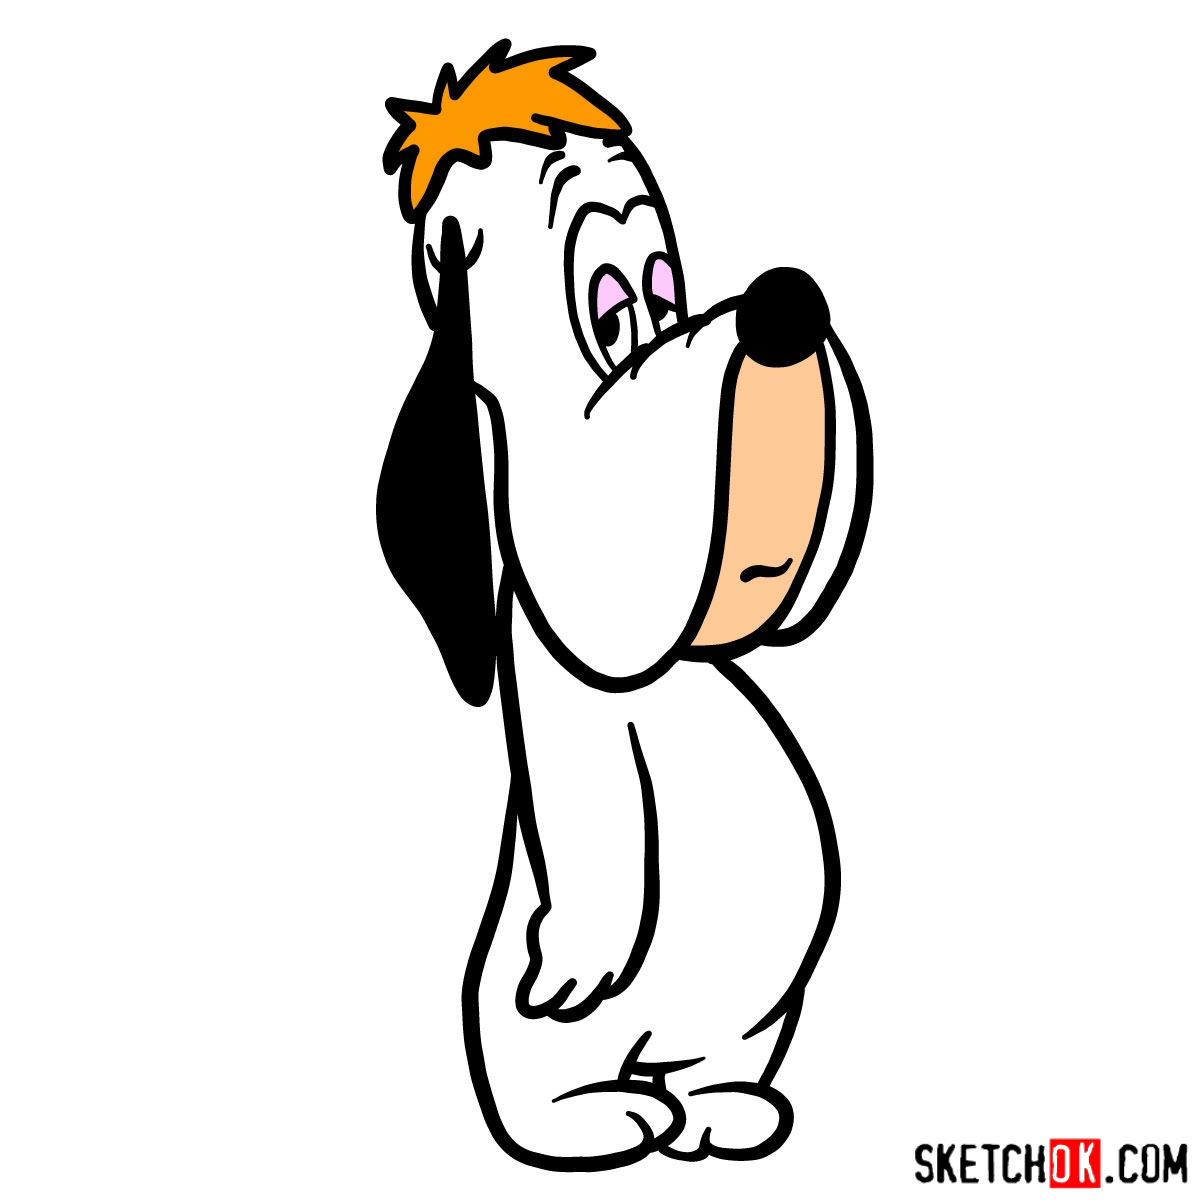
If your Droopy Dog doesn’t look exactly like the example, that’s completely fine and honestly pretty normal for a first or second attempt. The whole point is that you practiced breaking down a character into manageable shapes, and that skill carries over to everything else you draw. Feel free to drop your work-in-progress sketch in the comments on the pinned Pinterest post for this tutorial, it’s a good spot to see how others are tackling how to draw Droopy Dog too.
