Get ready to dive into the fascinating world of sketching as we unfold the process of drawing Astro Boy, the iconic character from the successful manga series. Created by Osamu Tezuka, this android boy with human emotions has made a significant impact globally, captivating hearts with his unique design and inspiring story.
Understanding Astro Boy’s Aesthetic
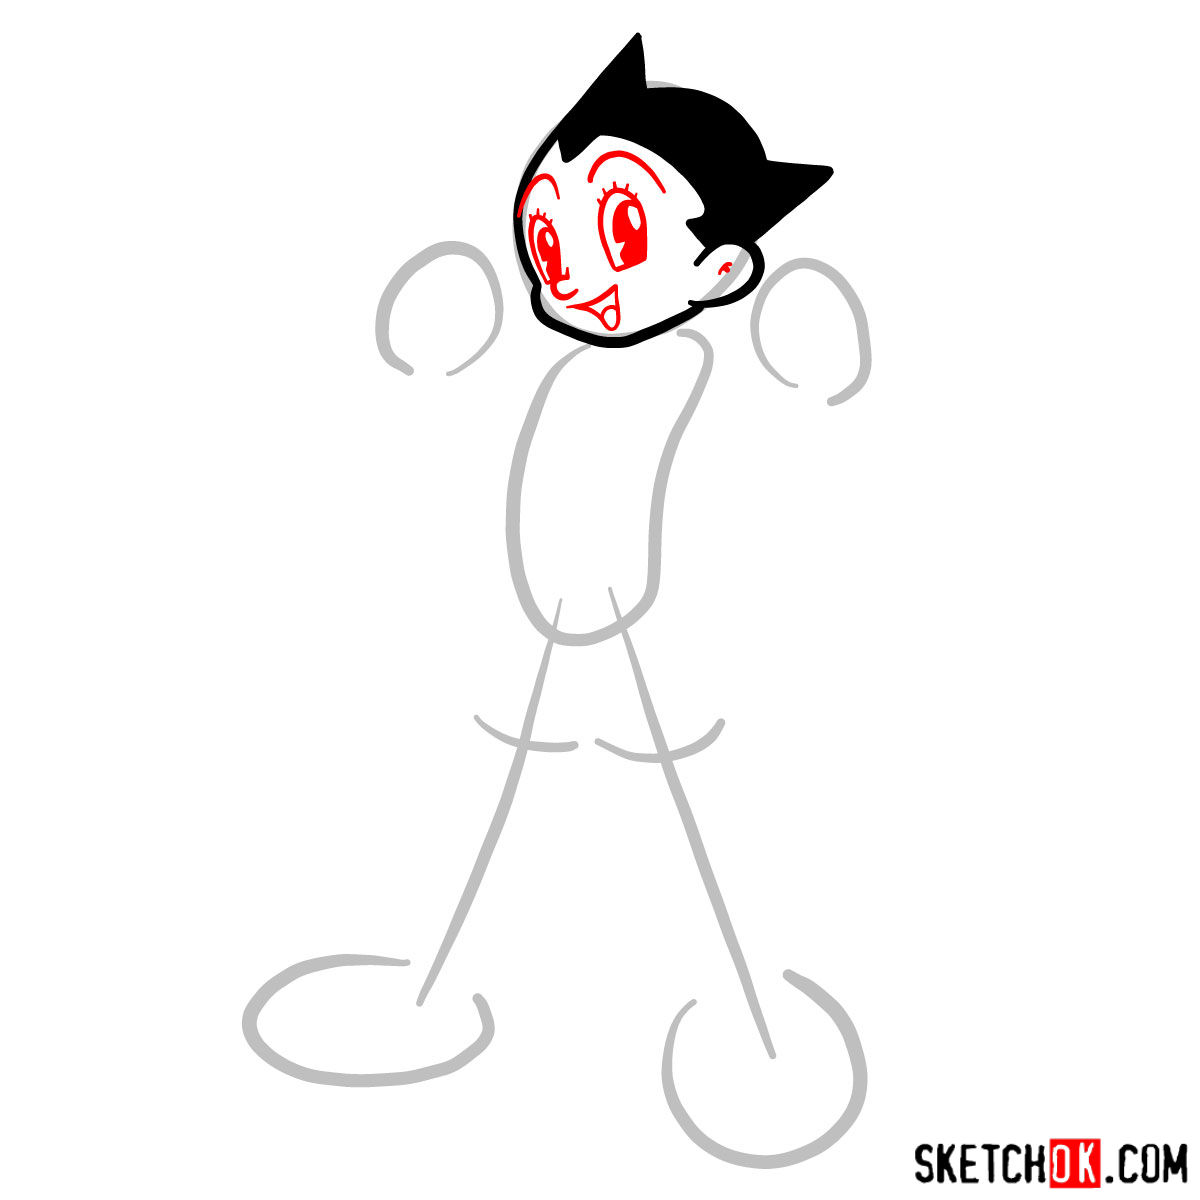
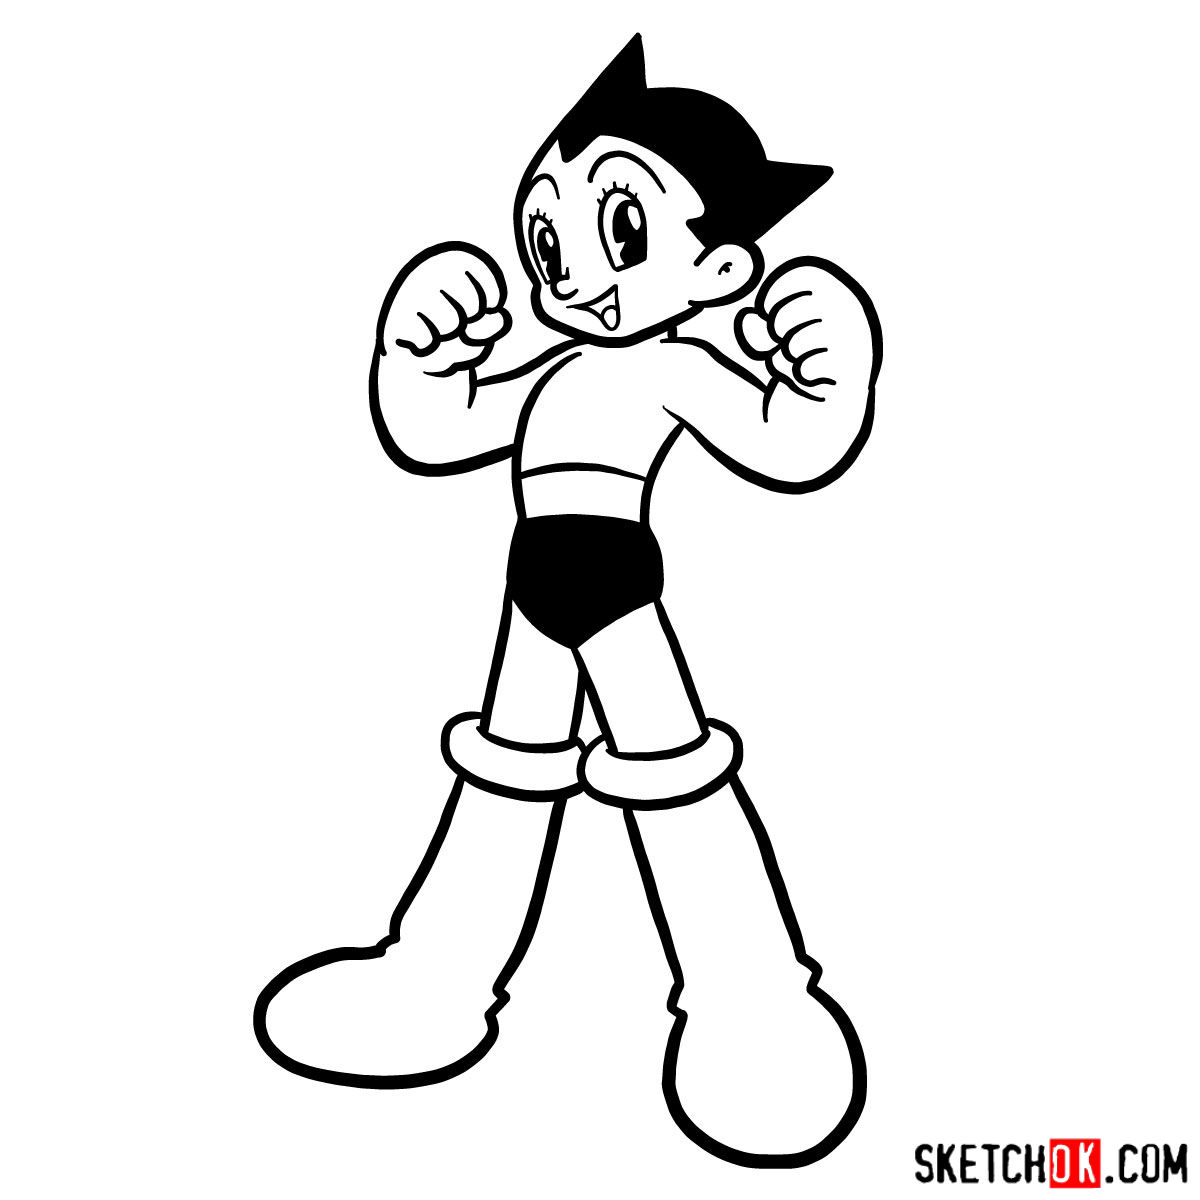
- Facial Features: Astro Boy’s face is characterized by large, expressive eyes and a small nose and mouth, giving him a distinctly youthful appearance.
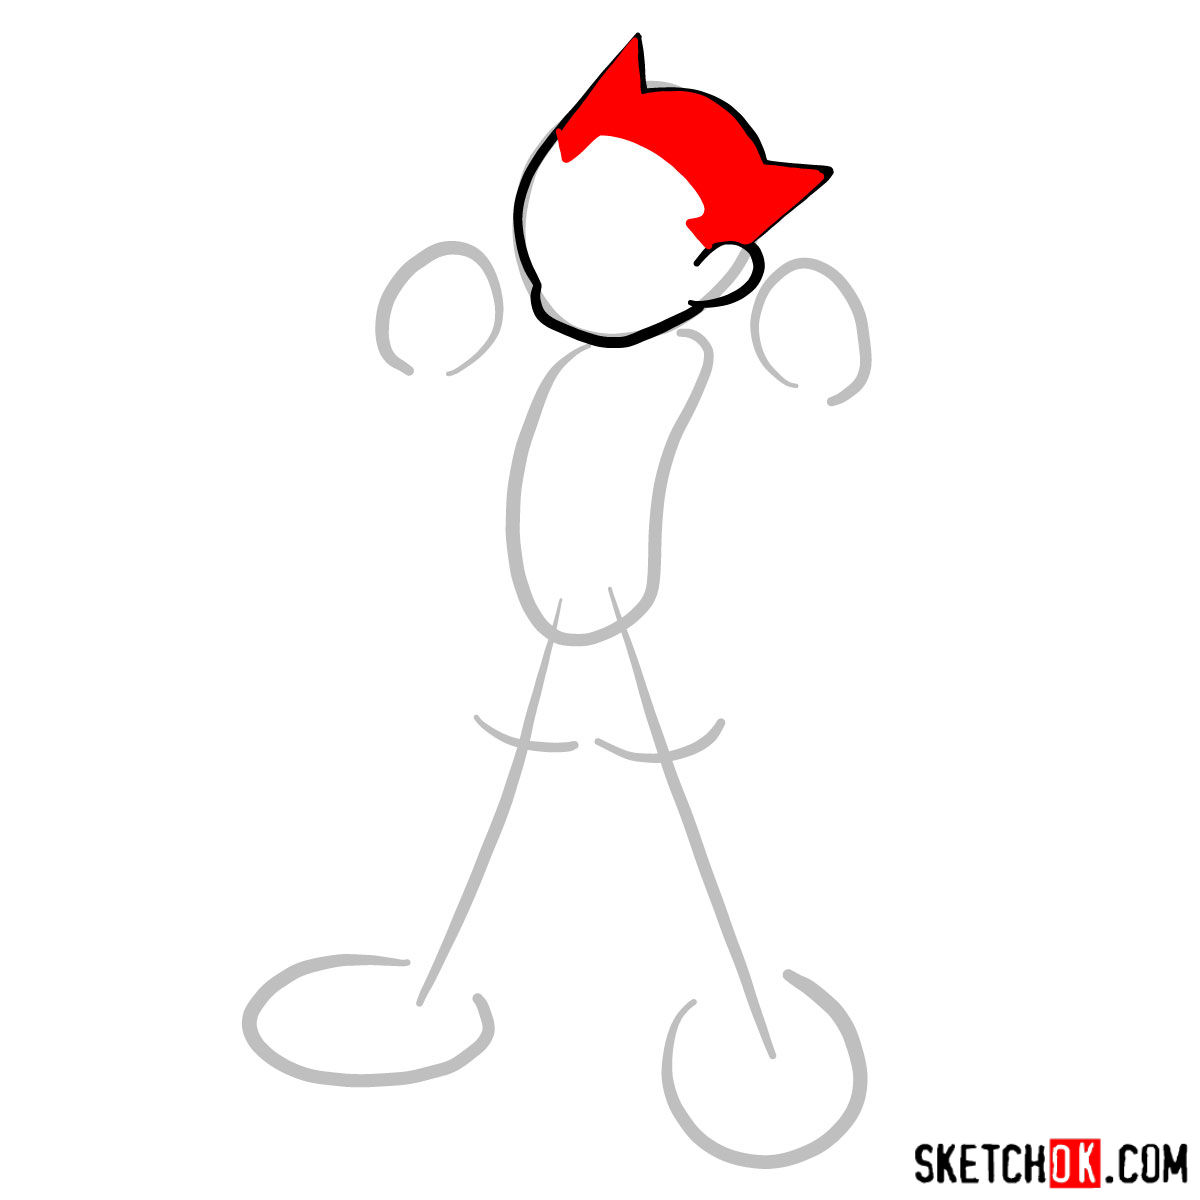
- Hairstyle: His hair is short and styled into a pointy, upward shape that adds dynamism to his overall look.
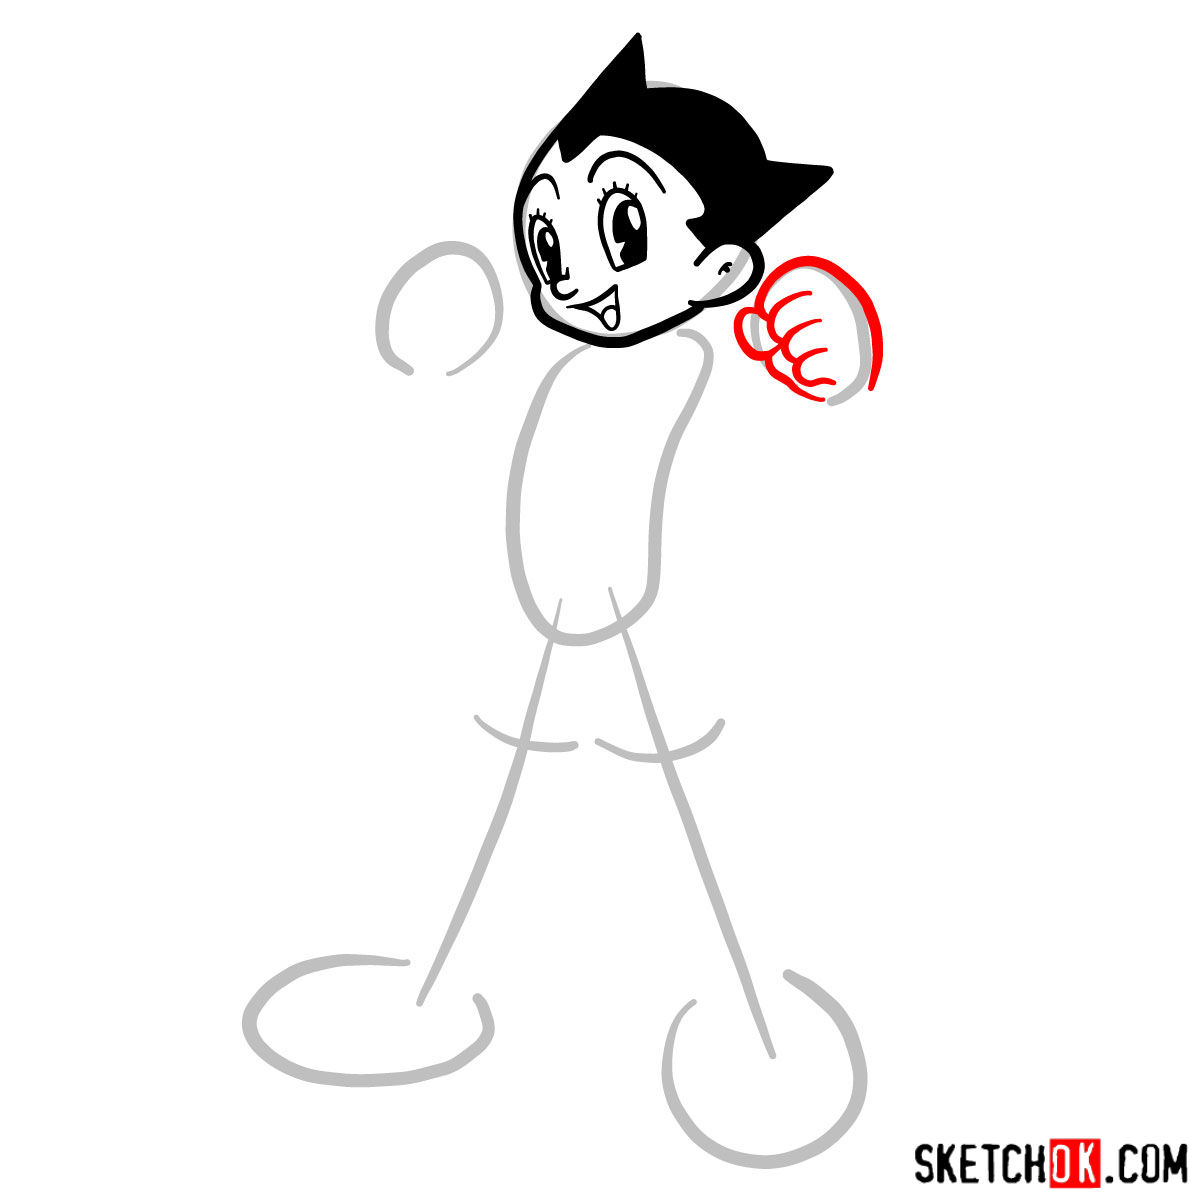
- Body Structure: Astro Boy’s body is compact and robotic, yet his movements and expressions mimic those of a human boy, making him a fascinating subject for drawing.
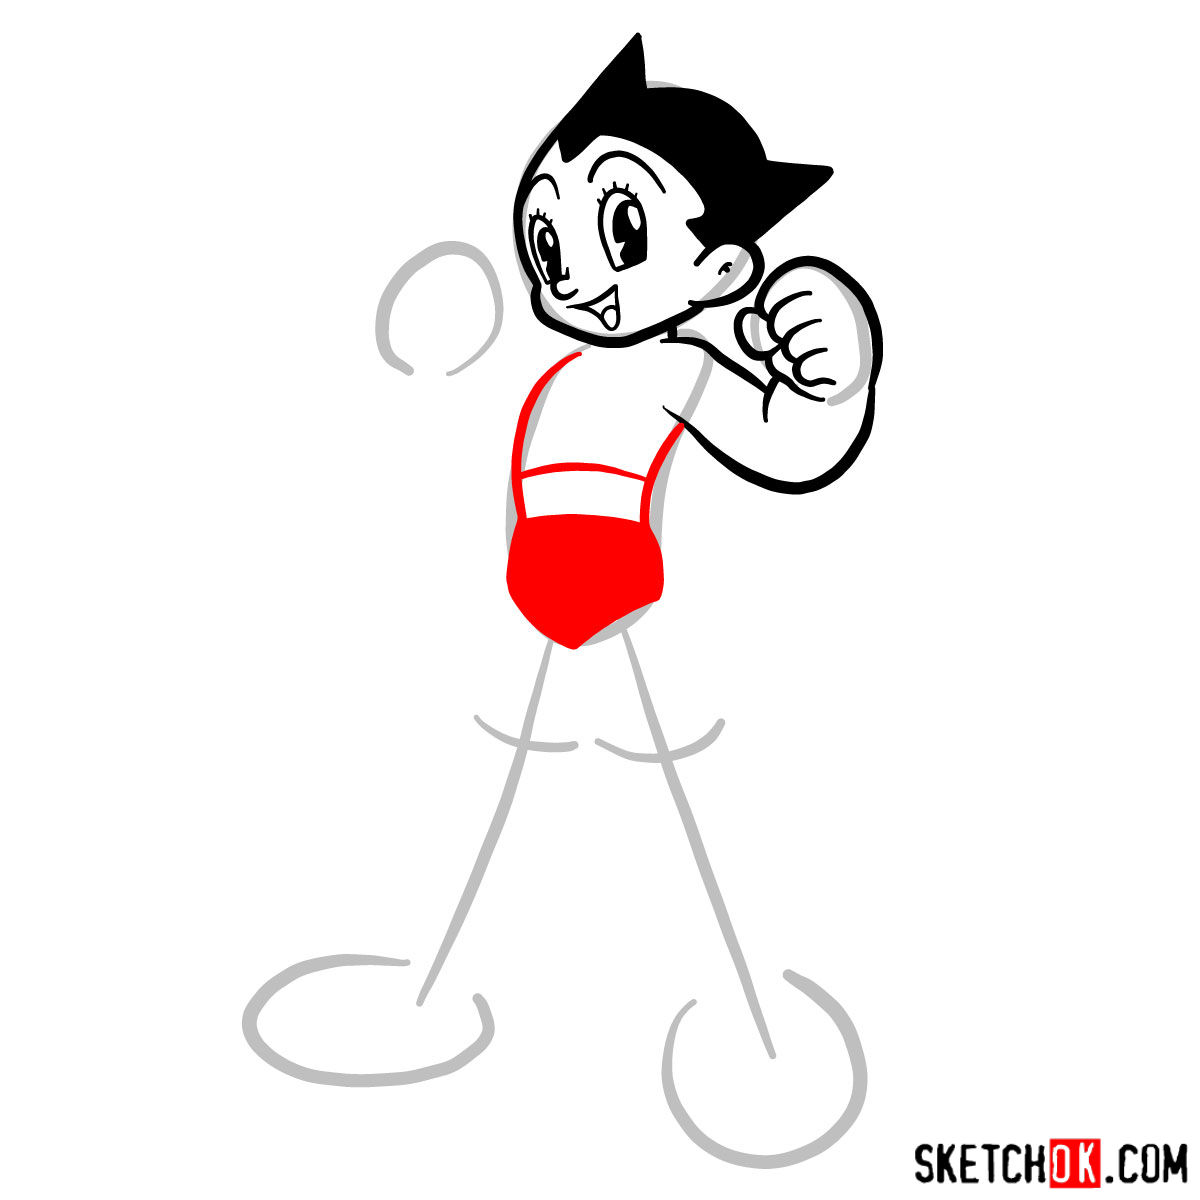
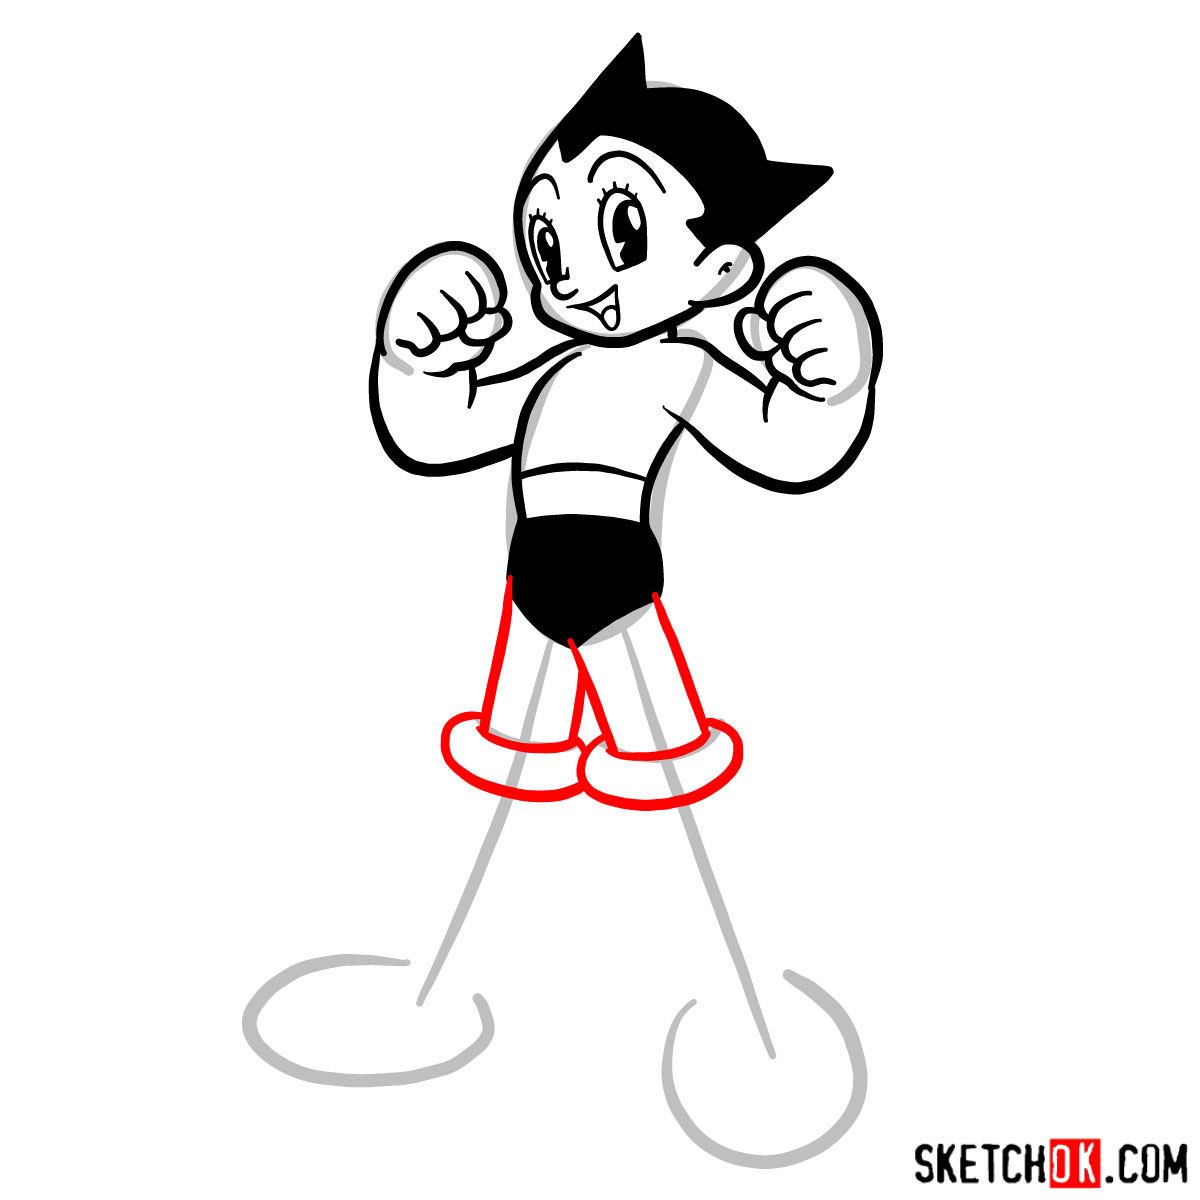
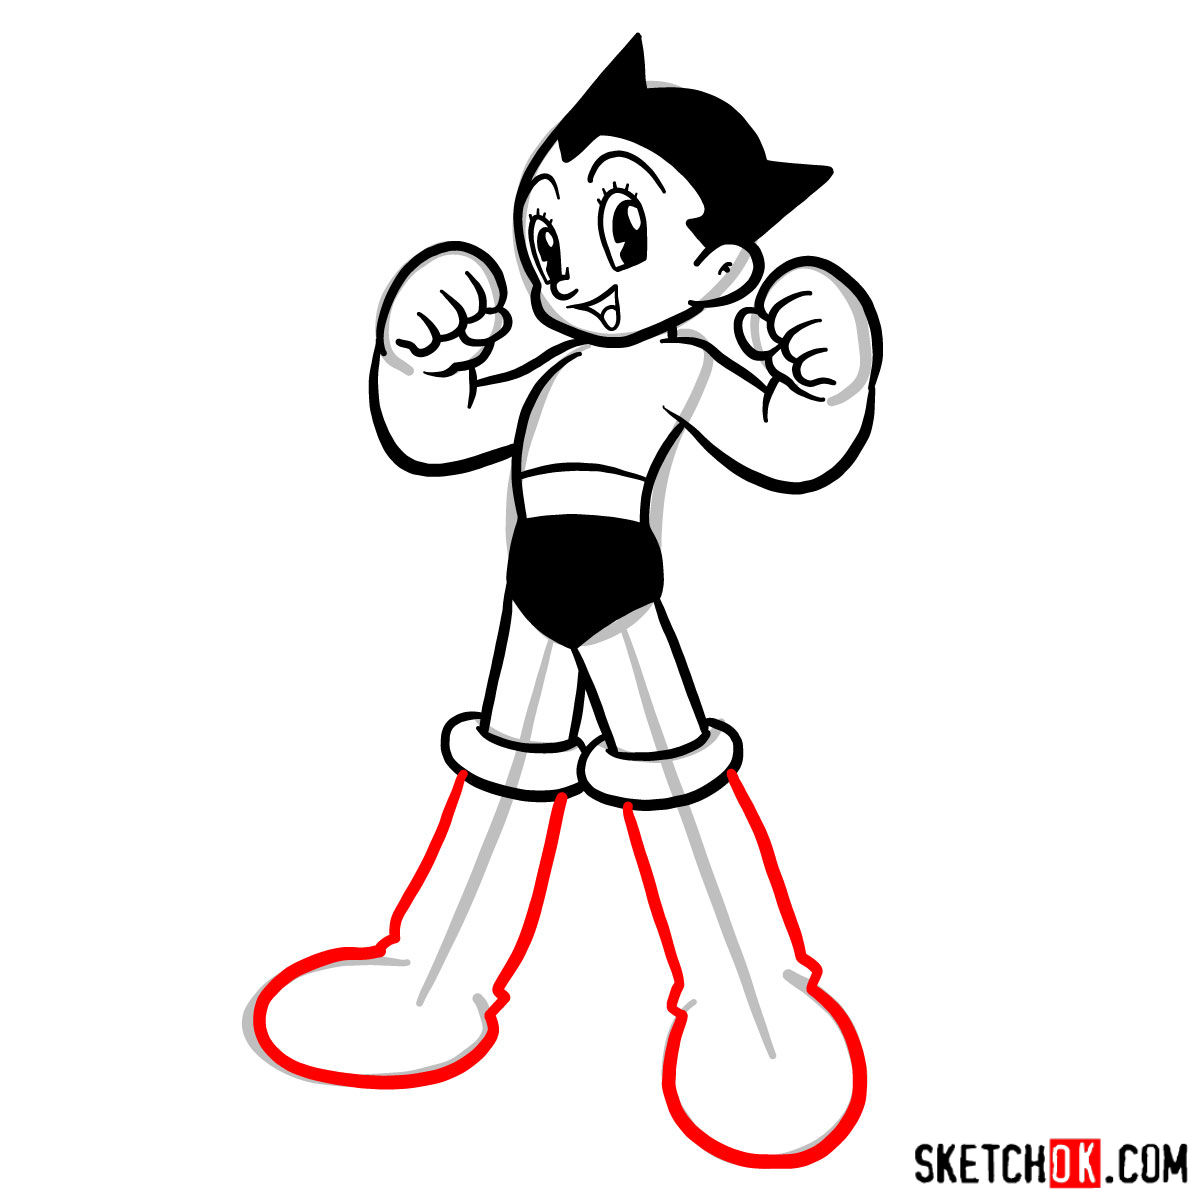
- Costume: He wears a minimalist outfit that includes a pair of shorts and boots, highlighting his robotic nature.
If you are looking for some additional inspiration, consider drawing other characters from the Astro Boy series or similar characters like Mega Man or Felix the Cat, who shares some visual similarities with Astro Boy. By combining different characters, you can create dynamic and engaging sketches.
Navigating the Drawing Guide
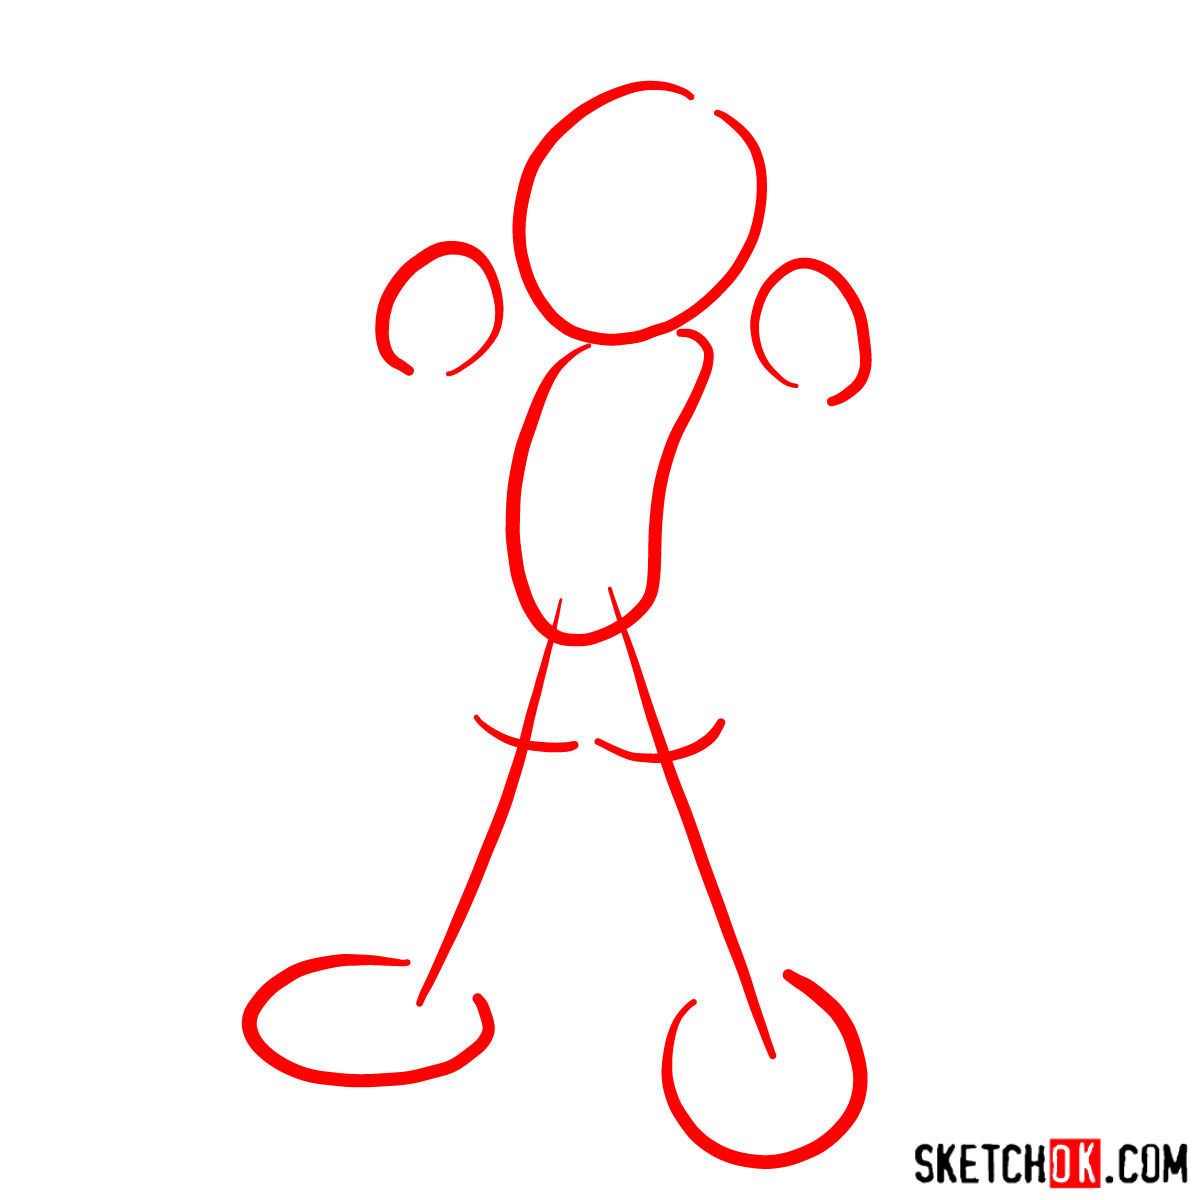
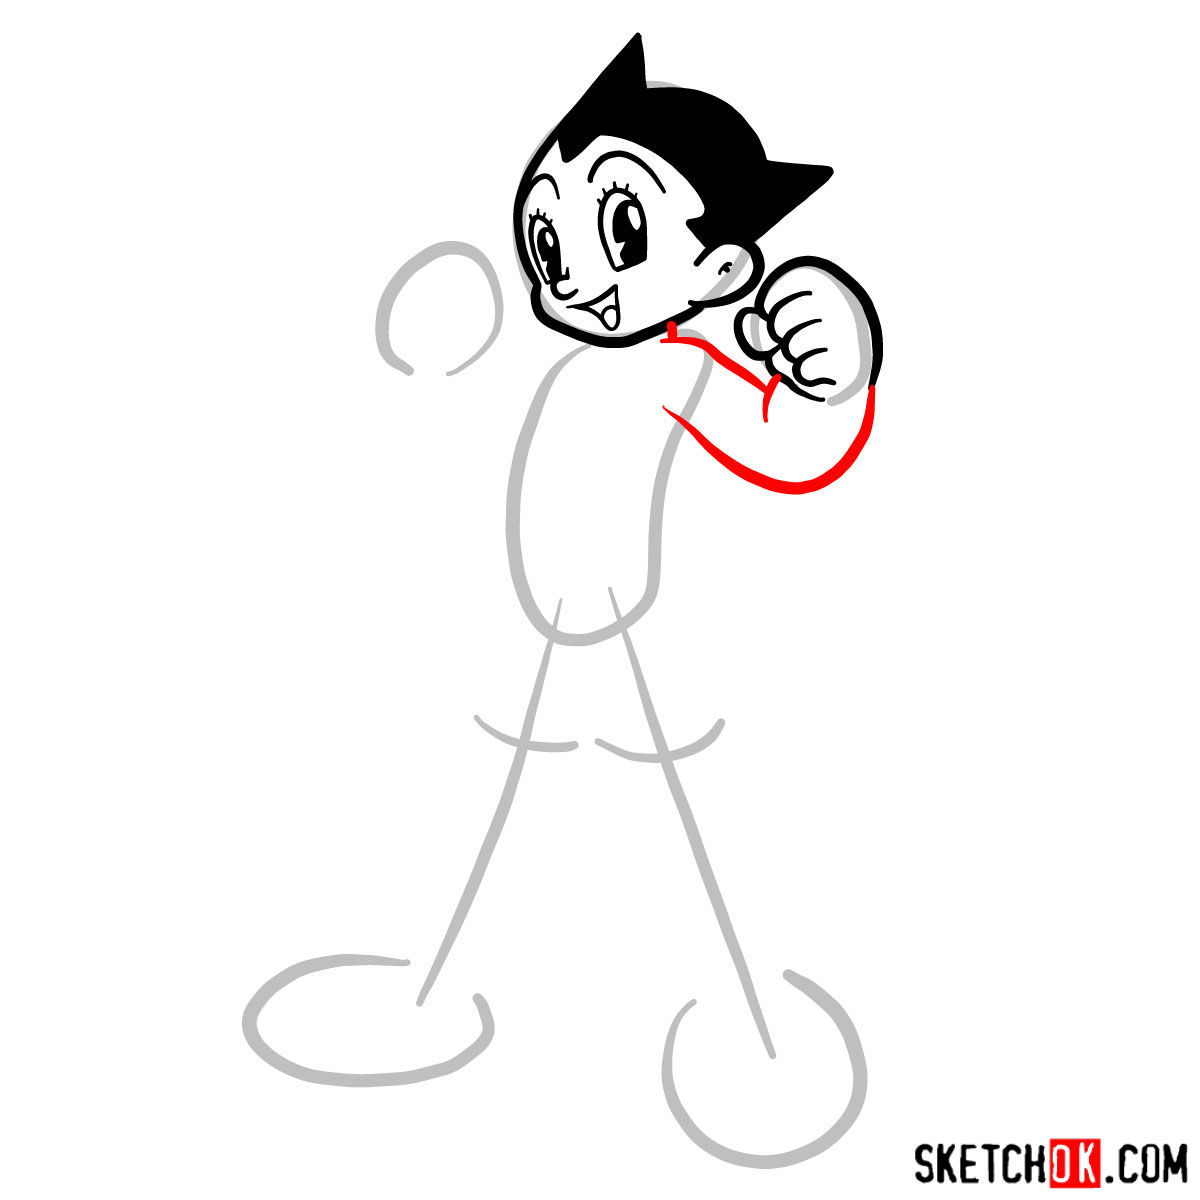
This drawing guide is carefully crafted into 12 simple steps, allowing both beginners and seasoned artists to grasp the essentials of sketching Astro Boy. Here’s what the guide’s color coding means:
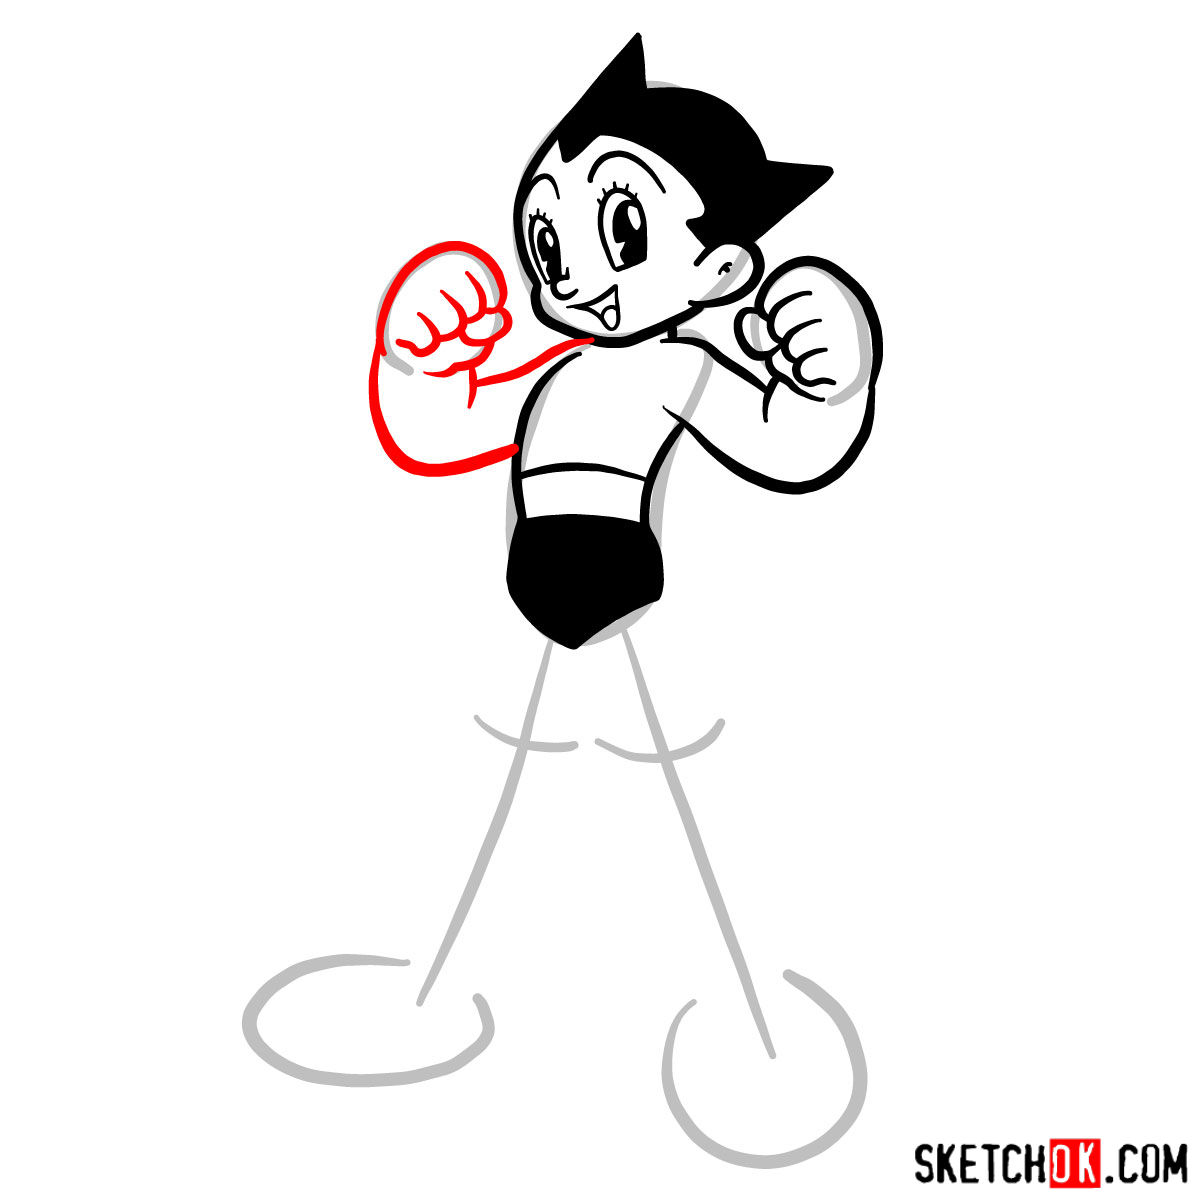
- Red Color: Represents the current step you should focus on.
- Black Color: Showcases the lines drawn in the previous steps.
- Grey Color: Displays the basic sketch you should start with.
In the final step, you will have the option to ink your sketch for a more polished look. Remember to let the ink dry completely before gently erasing the pencil lines. This prevents smudging and keeps your artwork crisp and clean.


Now that you’ve got a handle on how to draw Astro Boy, try setting your sketch aside and coming back to it in a few days without looking at the steps. You’ll be surprised how much the proportions and details stick when you give your brain a little time to process. New guides go up regularly on SketchOk’s Pinterest, and video versions of some guides appear on the YouTube channel if you prefer watching the process unfold.