Last Updated on September 21, 2023
Among the wondrous creatures of ‘How to Train Your Dragon‘, the Hotburple Dragon stands as an intriguing character with a blend of power and uniqueness. If you’ve ever dreamt of sketching this mesmerizing creature, you’re in the right place. This guide will navigate you through the process of drawing the Hotburple Dragon, capturing its essence and intricate details.
Decoding the Dragon’s Unique Appearance
The Hotburple Dragon is often described as a fusion of several creatures, each contributing to its distinct look:
- Walrus: This gives the Hotburple its substantial, robust physique.
- Bulldog: Reflecting its powerful and fearless nature.
- Tadpole: Lending a sense of fluidity and agility to its form.
- Trashcan: Representing its affinity for consuming molten minerals and producing lava slugs.
Notably, the Hotburple is a close cousin to the Gronckle. While they bear similarities, such as the hard bumps that cover their bodies, the Hotburple boasts a larger frame, wings, and uniquely positioned eyes. This dragon’s aesthetic draws inspiration from its kin, the Gronckle, but retains its distinctive features.
Essential Tips for Sketching the Hotburple
When drawing the Hotburple Dragon, consider the following advice to ensure a detailed and accurate representation:
- Start with a basic structure, laying down light pencil strokes to capture the dragon’s overall proportions.
- Focus on the dragon’s larger body and wings, distinguishing it from its relative, the Gronckle.
- Position the eyes closer to the snout, a key feature of the Hotburple’s face.
- Ensure the hard bumps are appropriately detailed, reflecting the dragon’s tough exterior.
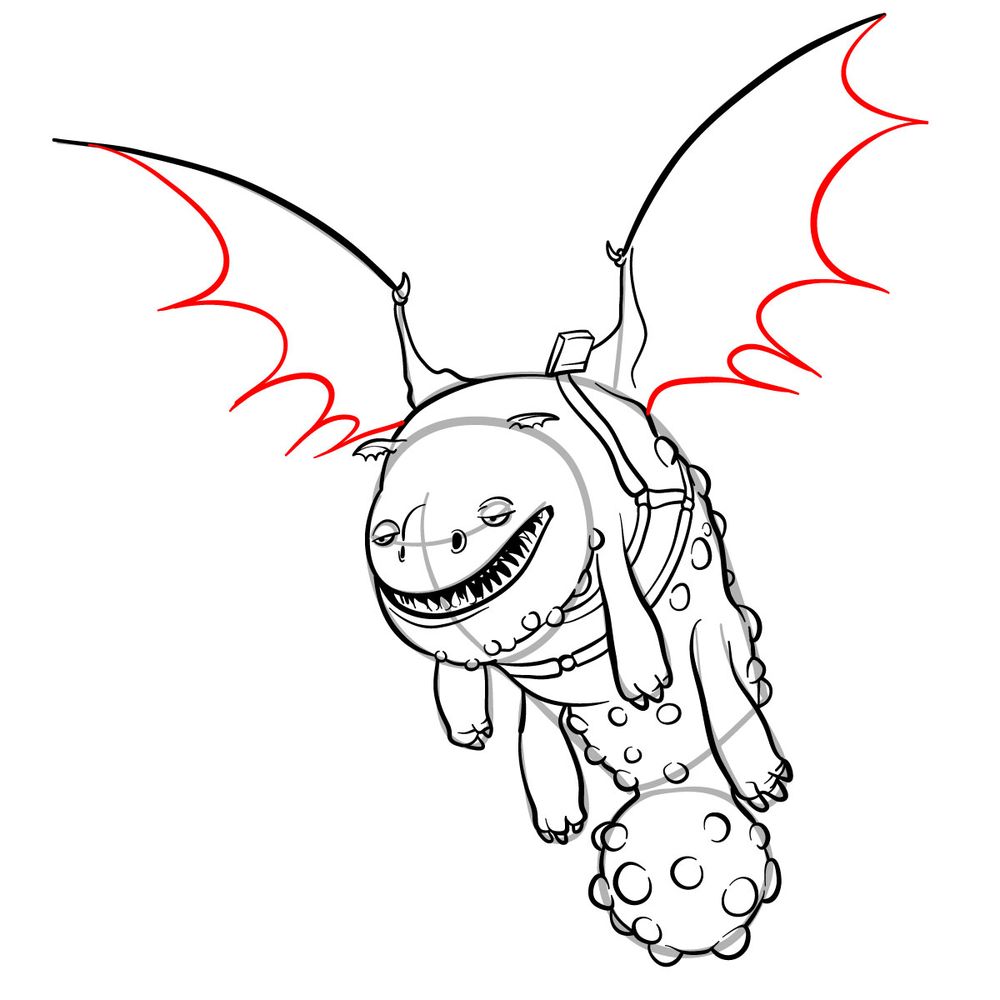
Understanding the Drawing Guide
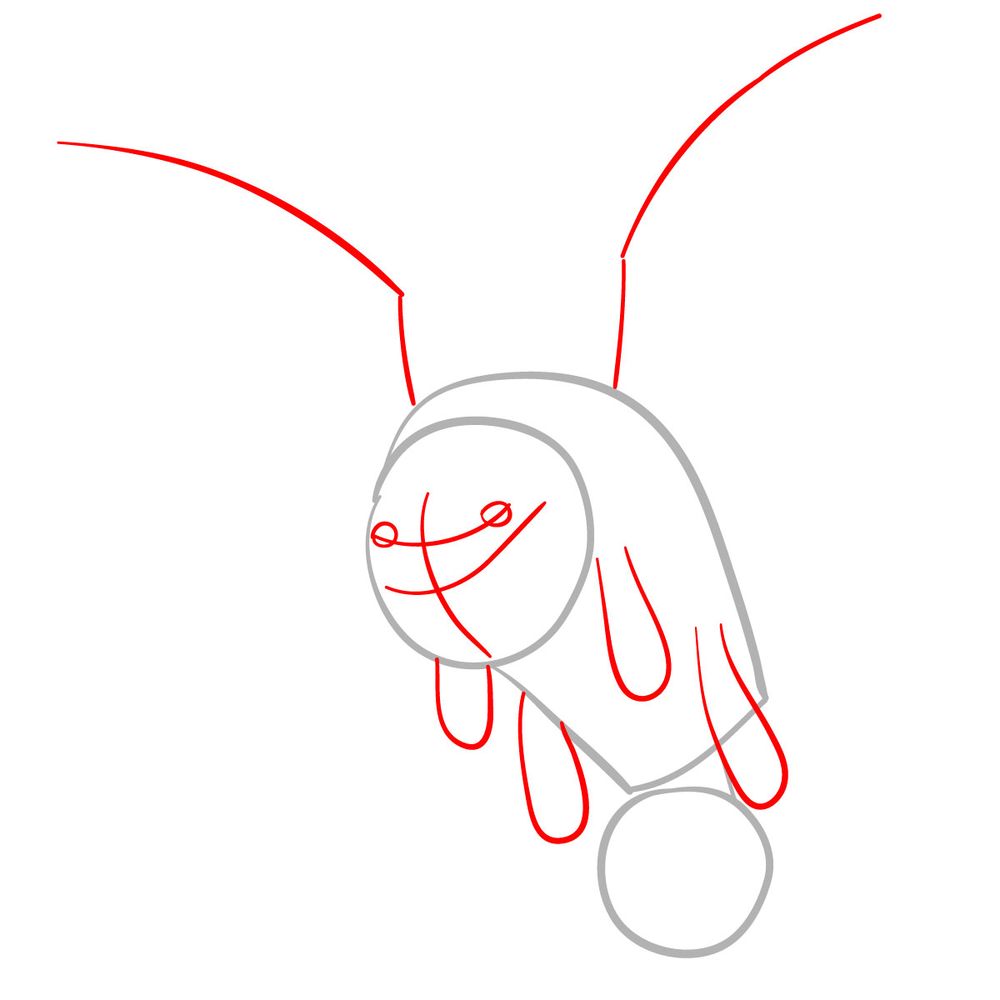
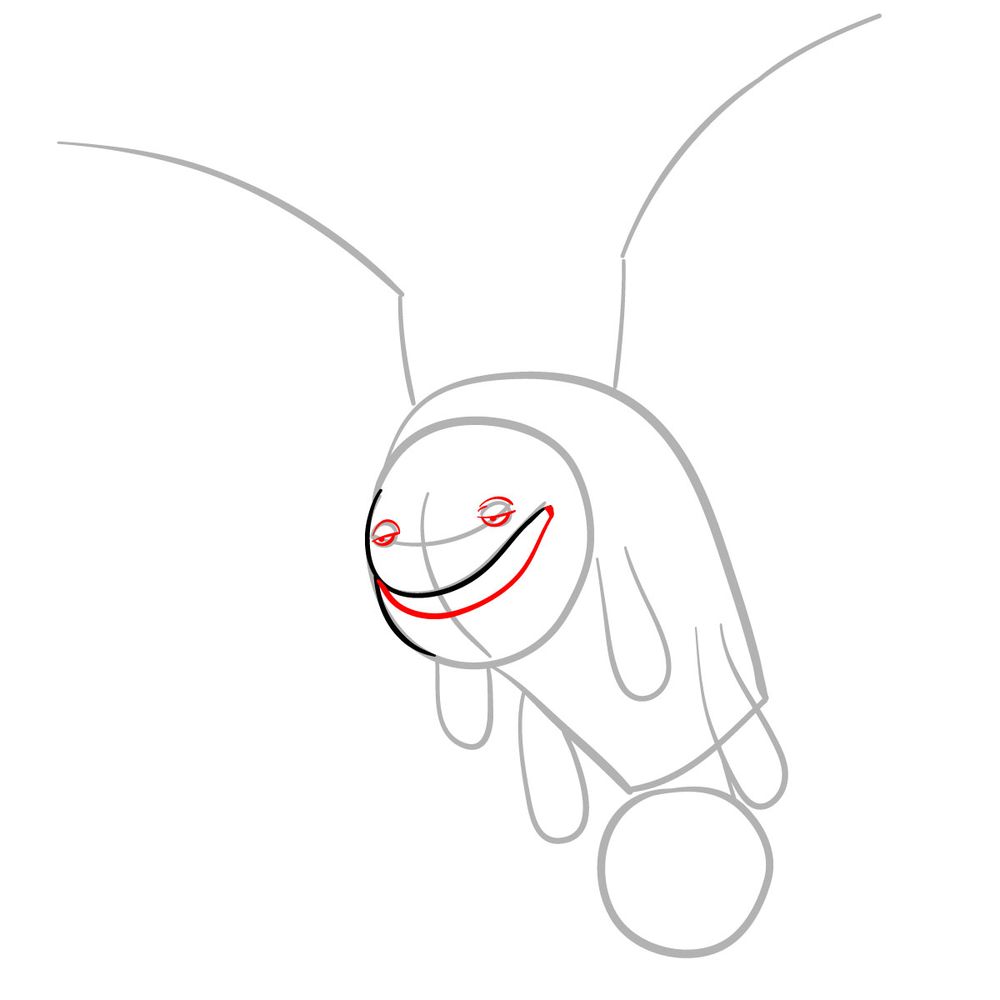
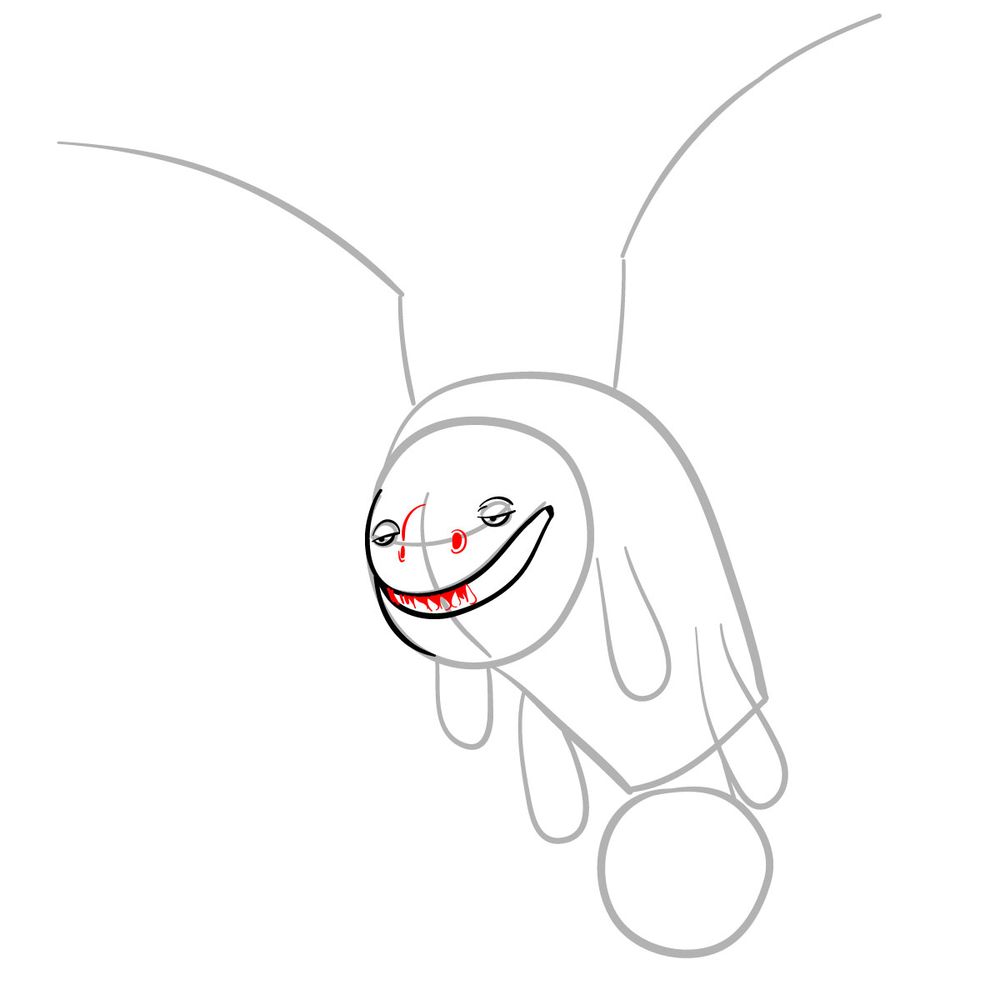
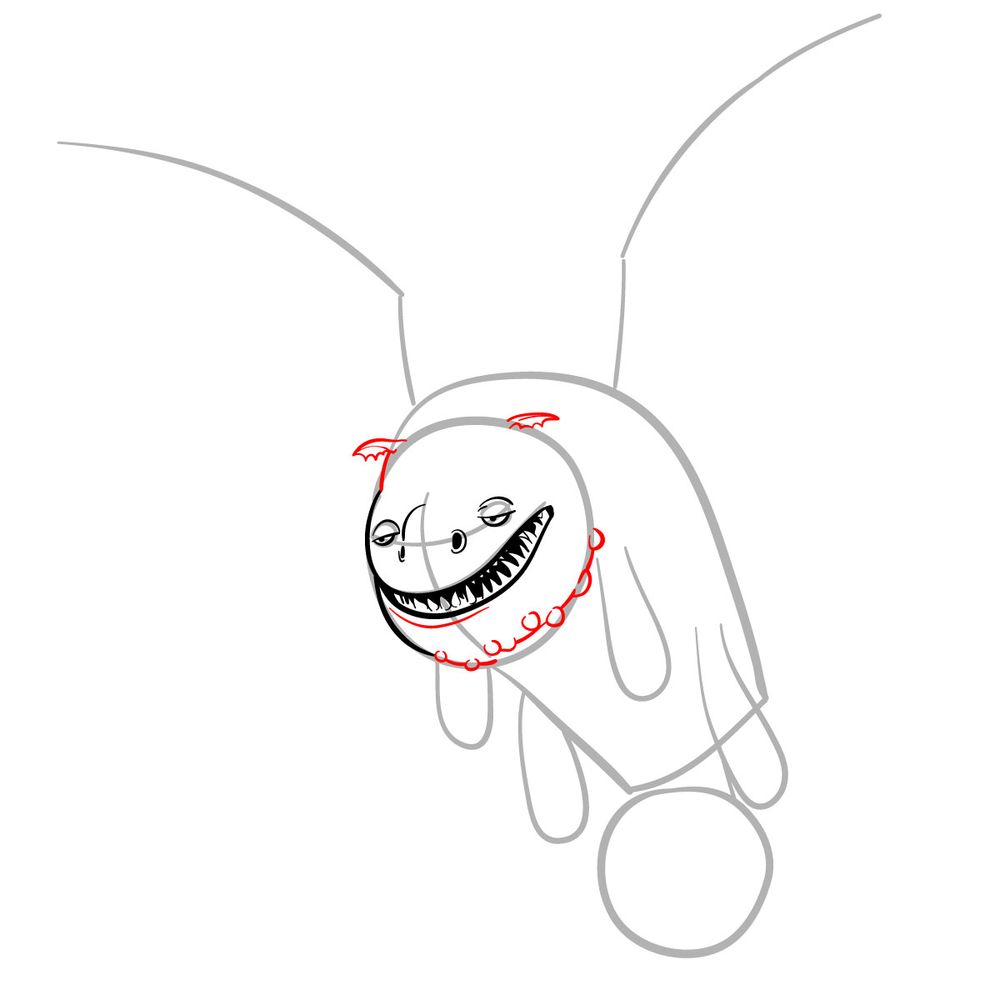
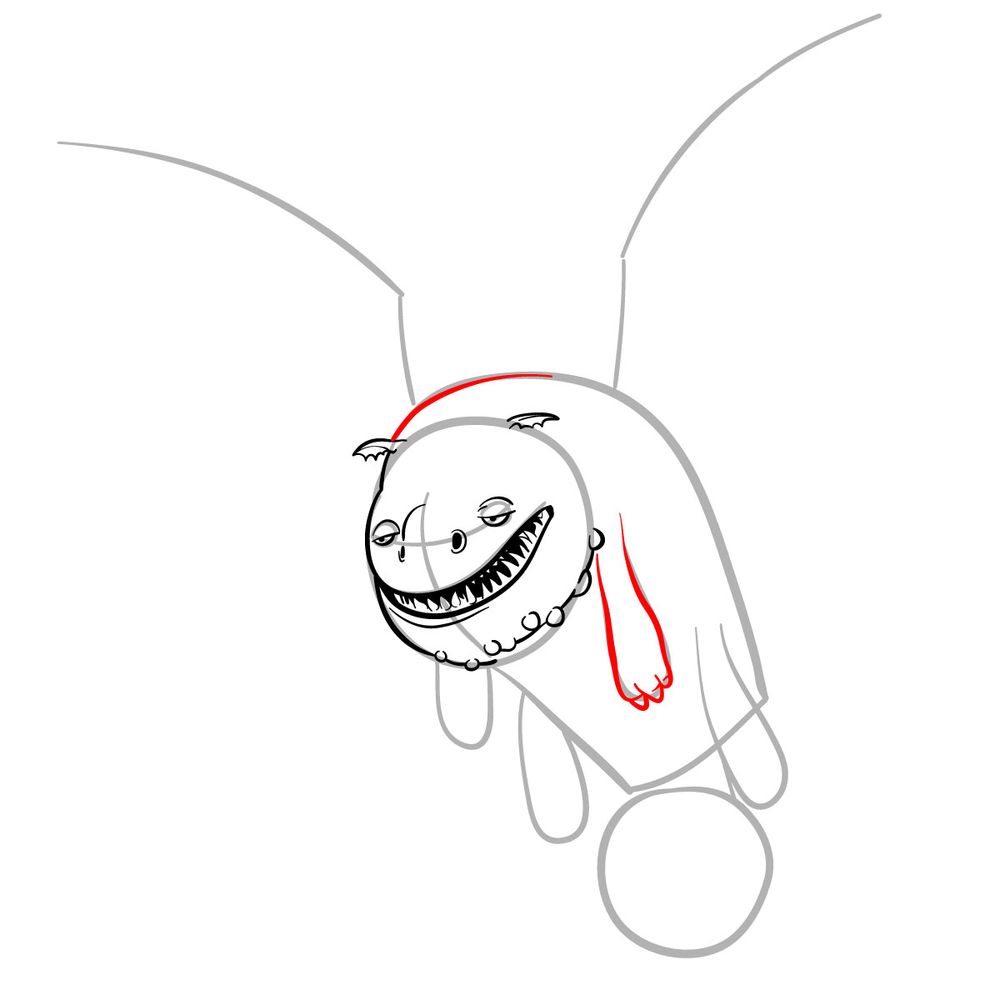
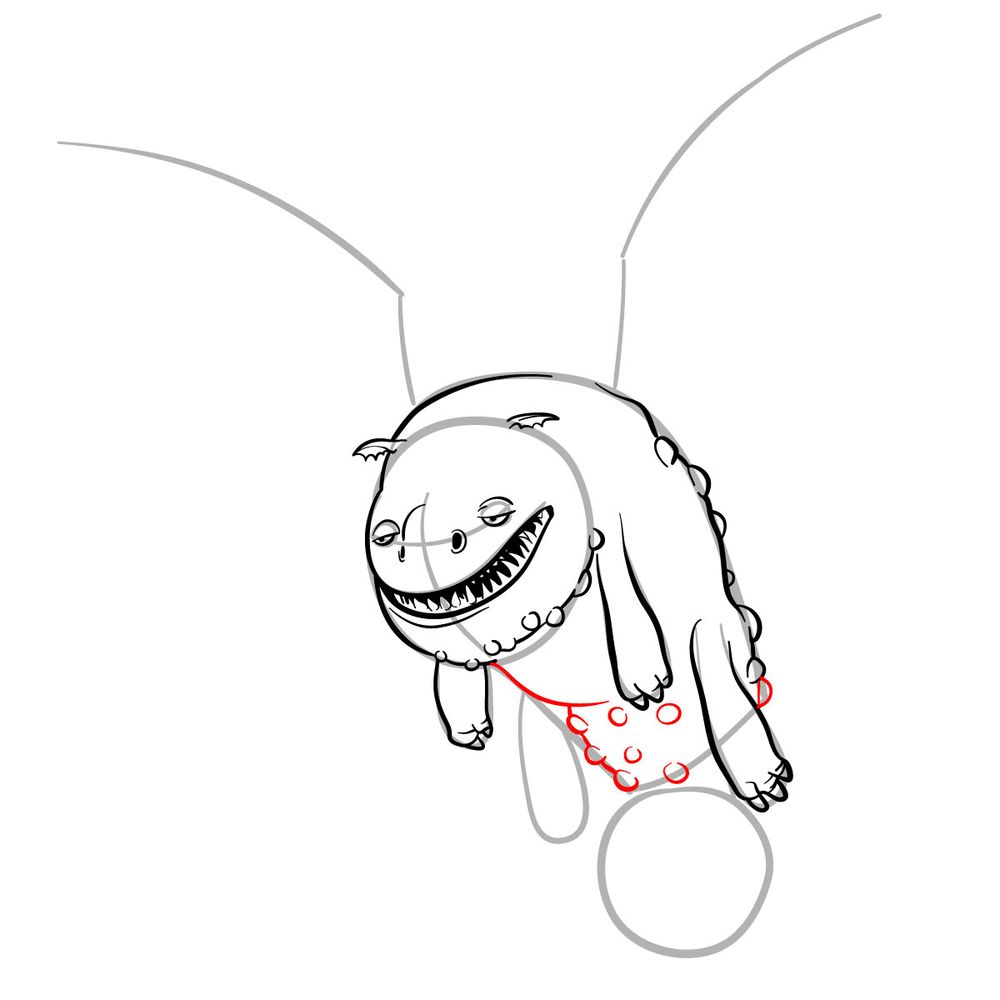
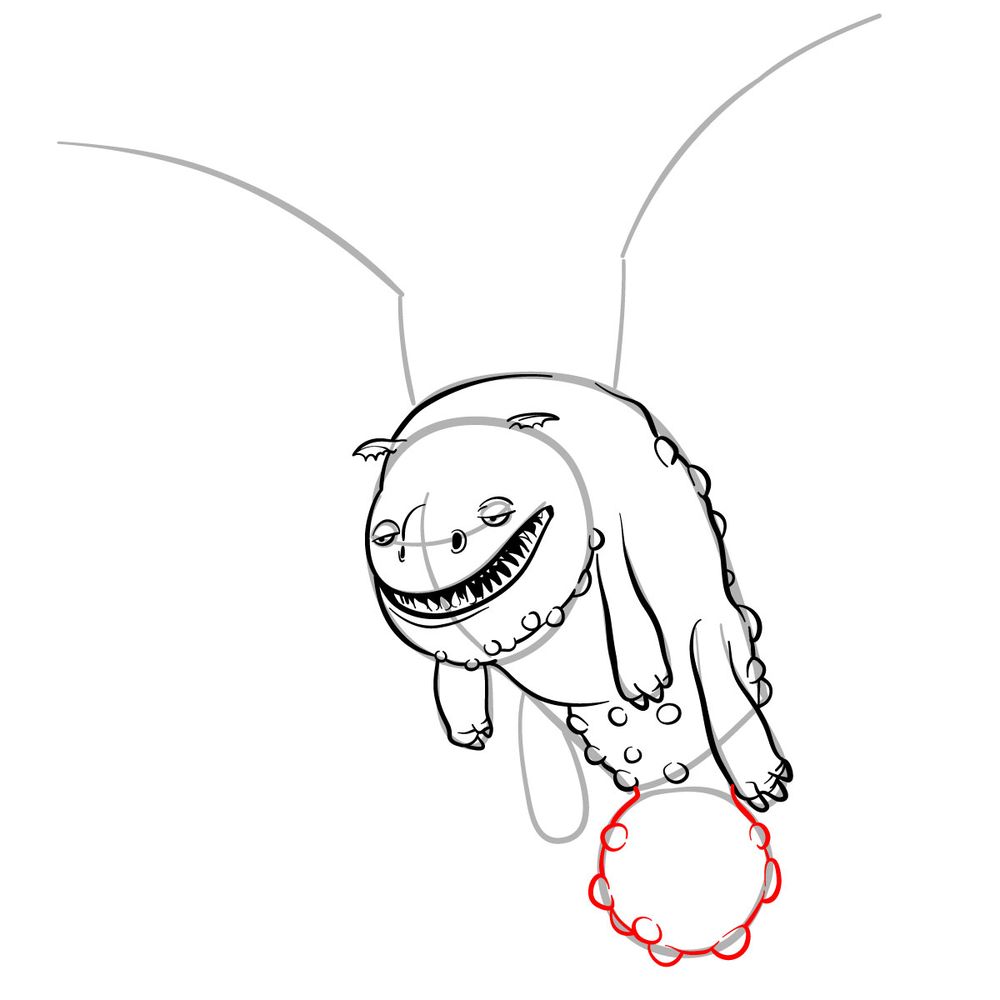
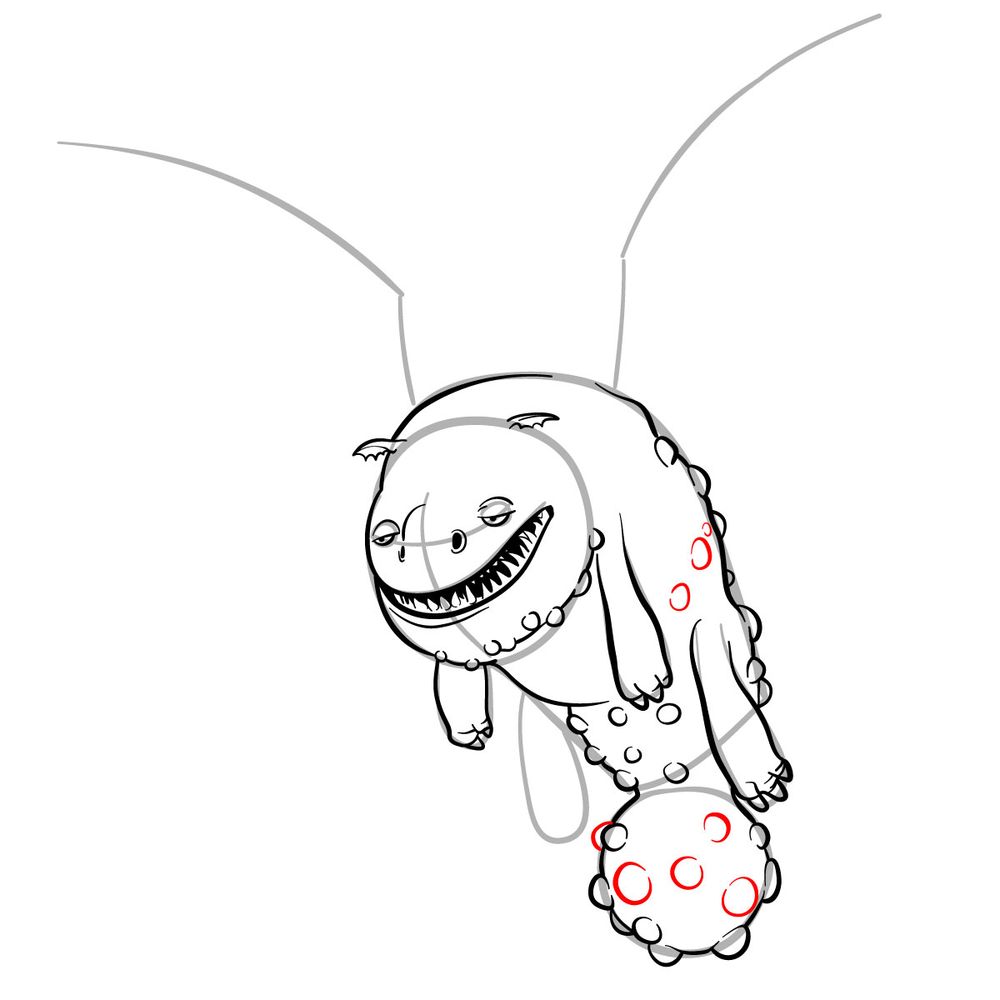
This step-by-step guide consists of 18 detailed steps. The initial phase focuses on crafting a basic sketch, capturing the dragon’s proportions. As you progress, you’ll delve deeper into the Hotburple’s intricate details:
- Red Color: Denotes the current drawing step, directing your attention.
- Grey Color: Represents the initial proportion sketch, serving as the foundational layout.
- Black Color: Highlights the lines from previous stages, offering a clear progression path.
After completing the sketch, artists can opt to ink their creation. Ensure that the ink dries completely before erasing underlying pencil marks to achieve a refined outcome. Inking provides depth, enhancing the drawing’s overall appeal.


Facts about the Hotburple
Delving into the finer details of the Hotburple can enhance the depth of your drawing. Their eggs, for instance, mirror their unique design, with large, smooth bumps adorning their surface. These bumps give a glimpse of the majestic dragon that is soon to emerge. Moreover, certain Hotburples, like the ‘Basket Case’, possess the unique ability to lay multi-colored eggs, adding a touch of mystique to their character.
Sketching the Hotburple Dragon offers a mesmerizing journey into the heart of the ‘How to Train Your Dragon’ universe. I hope this guide provides you with the tools and insights required to capture the spirit of this magnificent creature. If you found this tutorial beneficial, consider sharing the guide link with fellow art enthusiasts. Join me on my artistic adventure by following on Facebook, Instagram, and Pinterest.