
Last Updated on May 14, 2026
Welcome to our step-by-step tutorial on how to draw Bender, the iconic antihero from the beloved animated series, Futurama. If you’ve ever found yourself laughing at his antics and adventures, it’s time to bring this chain-smoking, gambling robot to life on your canvas.
A Brief Bender Backstory
Bender Bending Rodríguez, more commonly known as Bender, plays a pivotal comic role in Futurama. His creators, Matt Groening and David X. Cohen, gave the world a character with depth, wit, and a unique backstory. Born in Tijuana, Mexico, Bender’s ‘swarthy Latin charm’ is evident and provides ample jest throughout the series. Though he often chants, “kill all humans”, there’s more to him than this catchphrase reveals.
Character’s Appearance and Drawing Focus Points
- Physical Structure: Bender is a robust robot with a cylindrical head and body. His features are geometric and mechanical in nature.
- Face: His eyes are two large, expressive orbs, and he often sports a cheeky grin which reveals a set of squared teeth.
- Limbs: His arms and legs are articulated, resembling those of a typical robot.
Drawing Bender can be even more fun when paired with other Futurama characters like his best friend Philip J. Fry or his colleague Hermes Conrad. These characters contrast Bender’s robotic structure with their human forms, offering an exciting mix of figures to sketch.
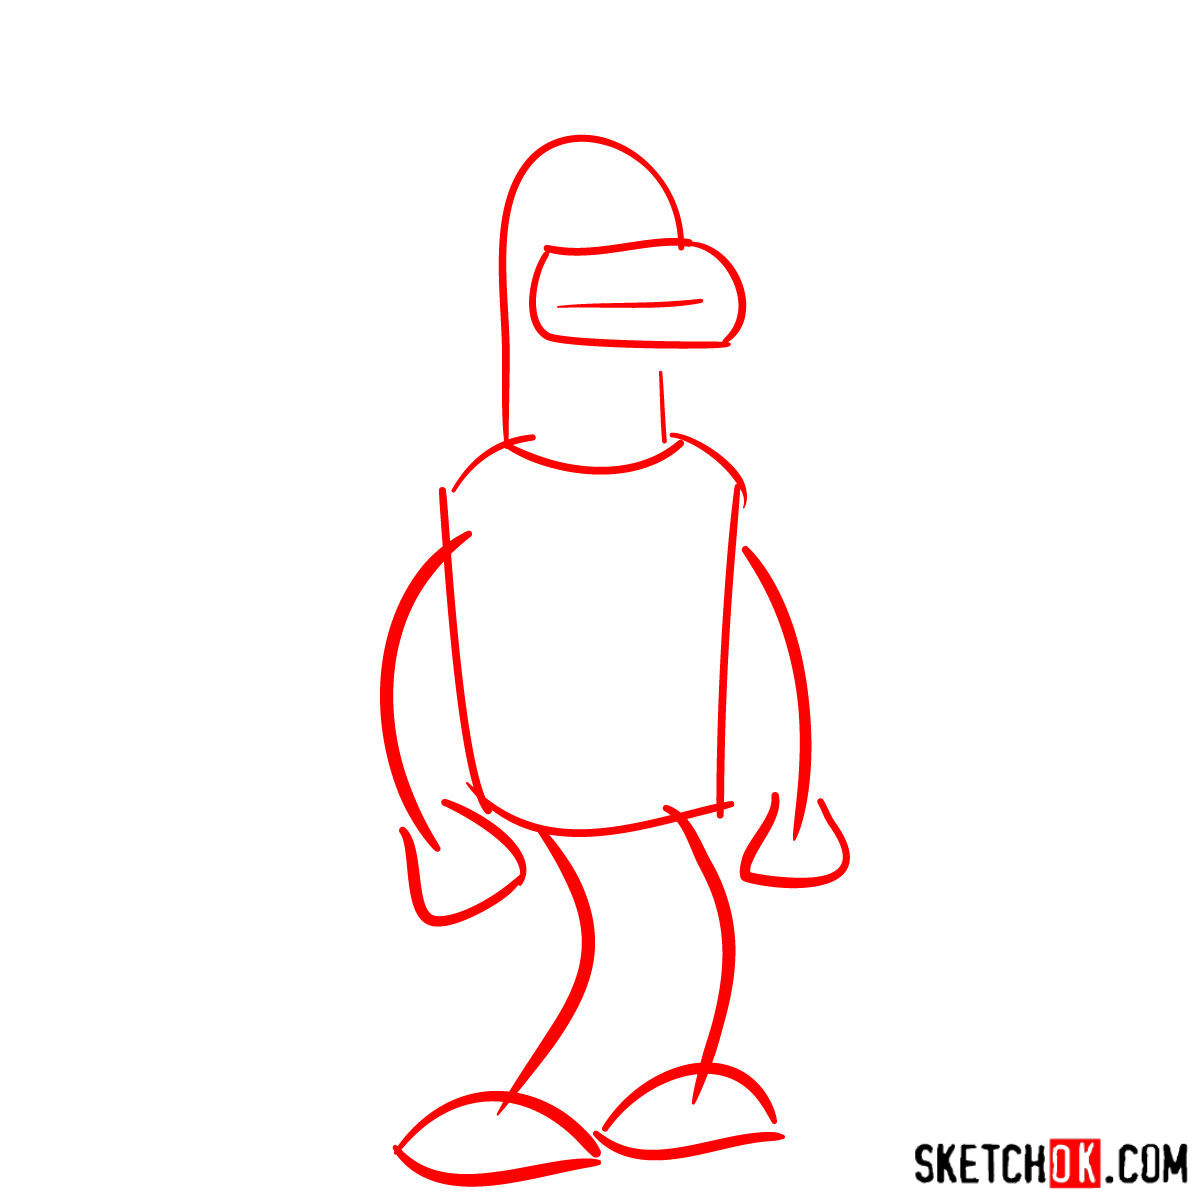
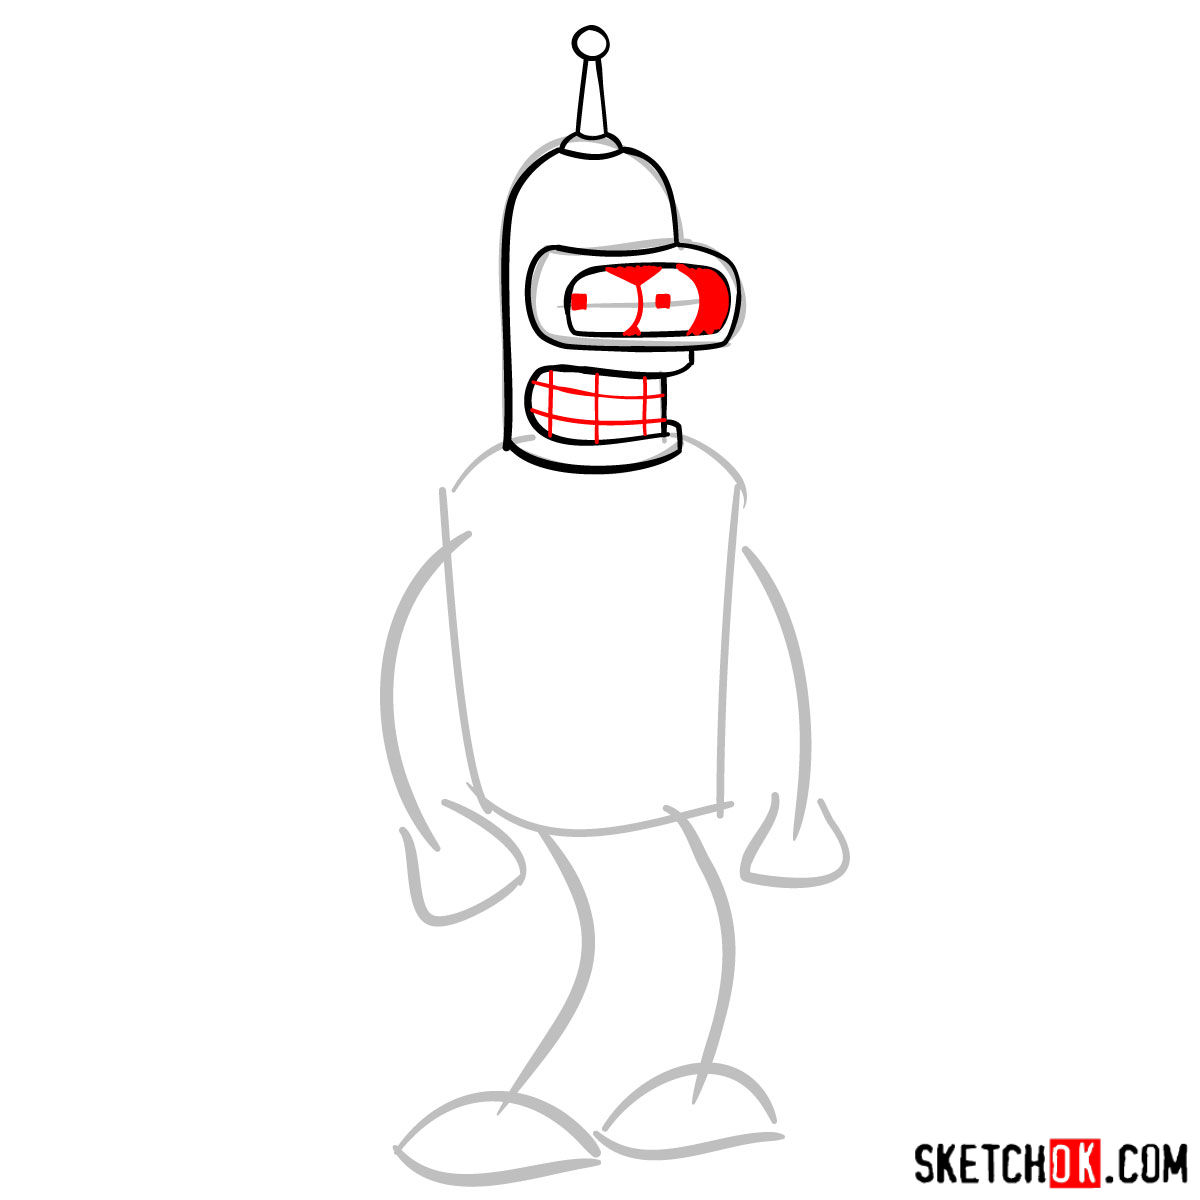
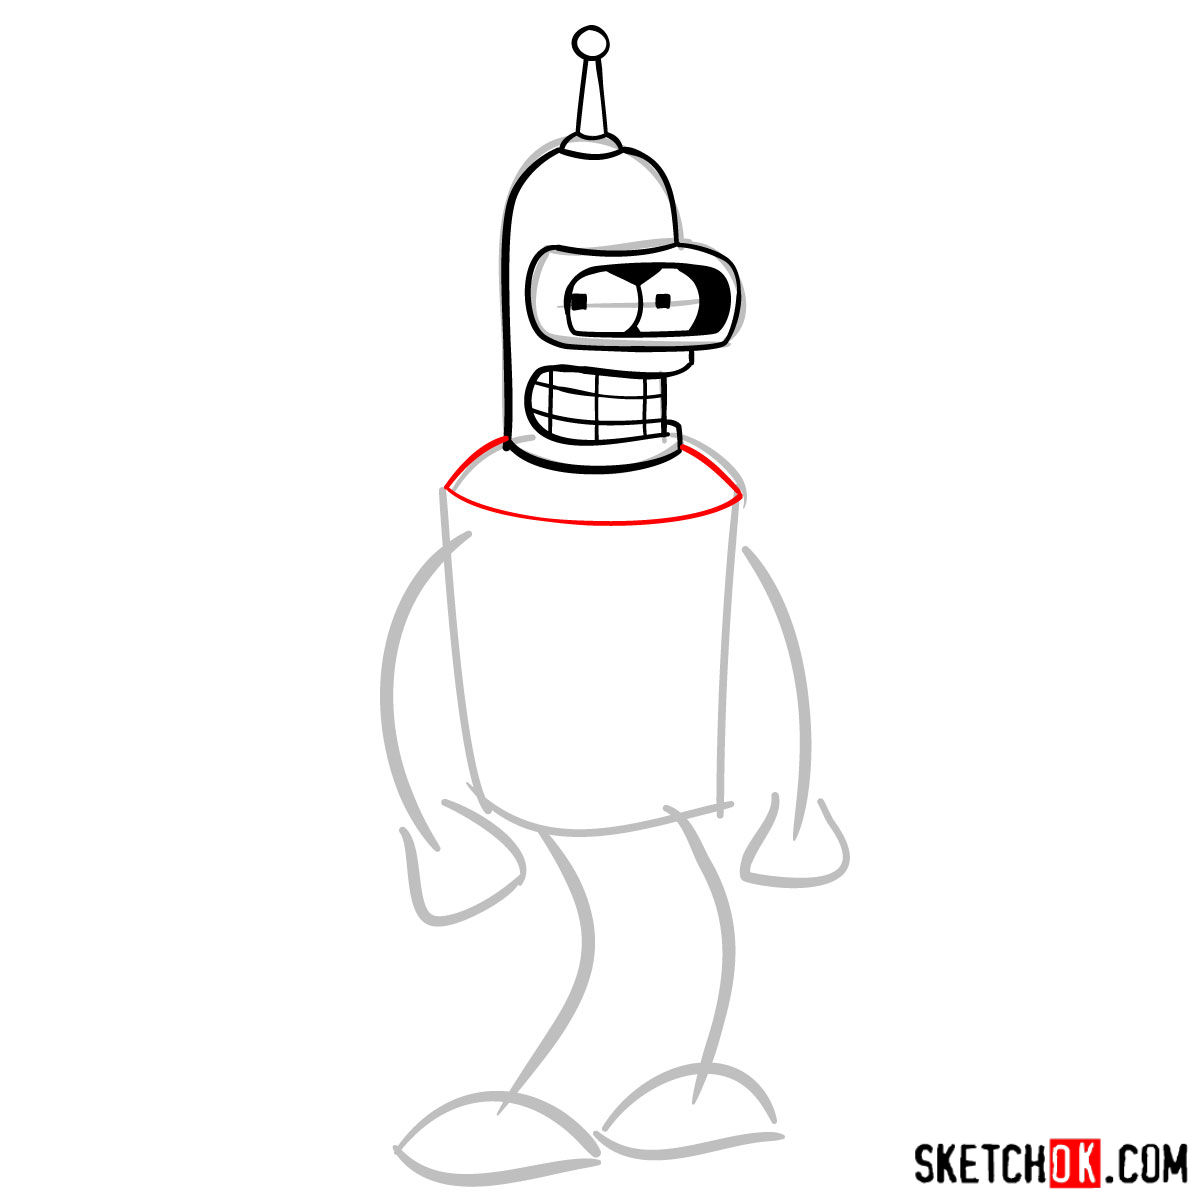
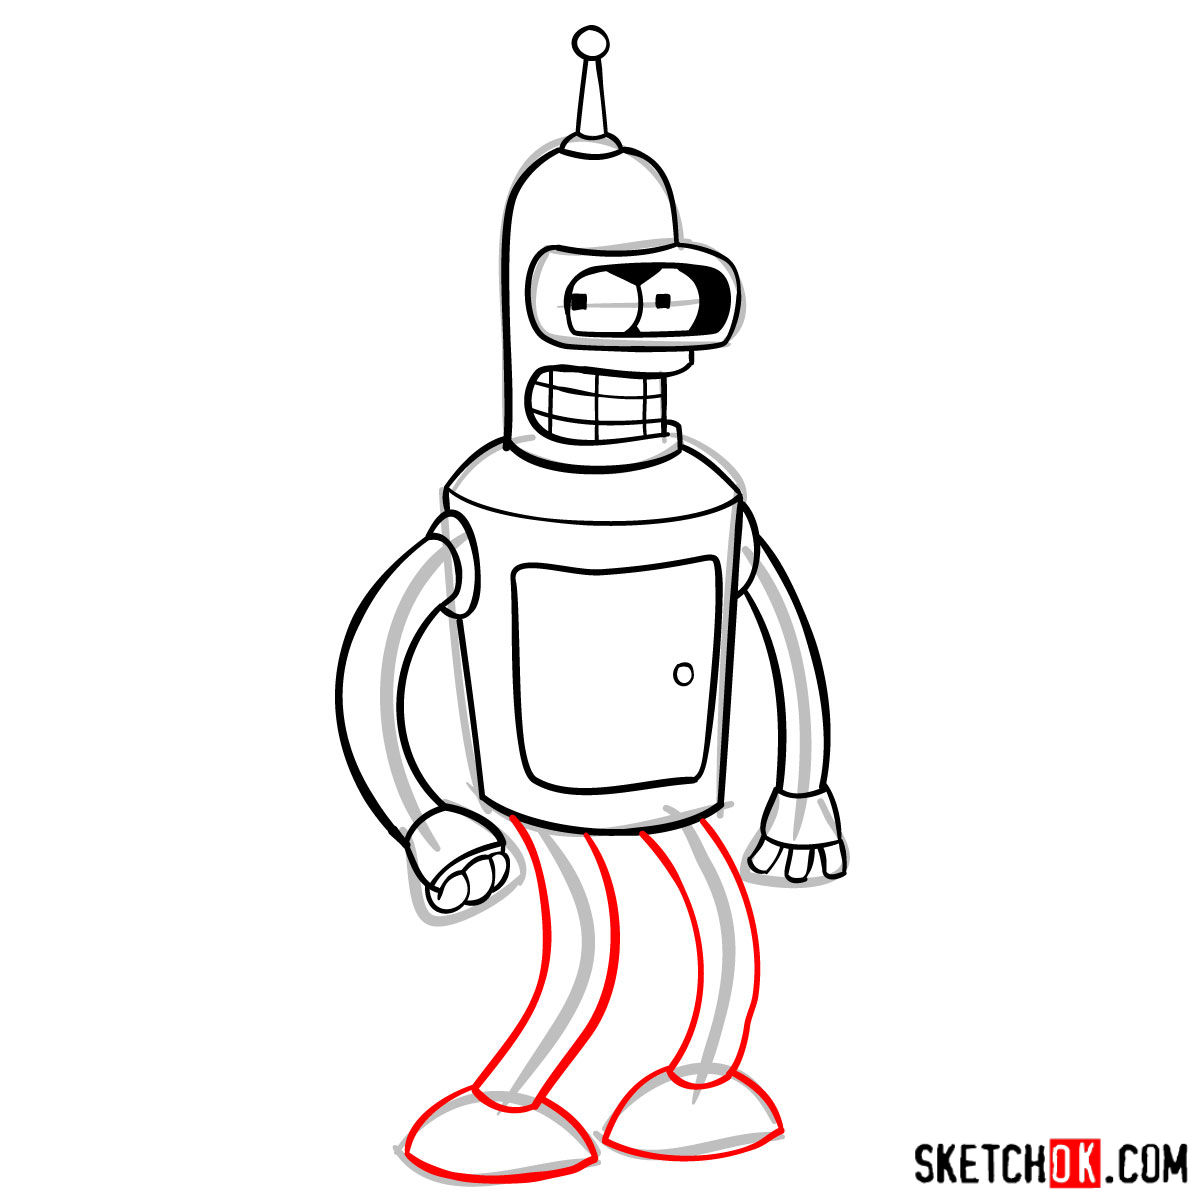
About the Drawing Guide
Before diving into the drawing, it’s essential to understand our guide’s structure. Here’s what each color signifies:
- Red Color: This represents the current step in the drawing process. It’s the area you should focus on sketching.
- Grey Color: This showcases the foundational sketch, helping ensure correct proportions and alignment.
- Black Color: Represents lines you’ve already drawn in previous steps.
Our guide comprises 12 distinct steps. Start by constructing a basic sketch to nail down Bender’s proportions. Post sketching, for those who wish to ink their artwork, it’s crucial to wait for the ink to dry completely before erasing the pencil lines. This prevents smudging and retains the sharpness of your drawing. The final image, colored in its entirety, serves as a reference to aid your coloring process.


Now that you know how to draw Bender Rodríguez, head over to the pinned SketchOk post on Pinterest and drop your finished sketch in the comments. That’s where the community tends to gather, share their takes on Bender, and swap tips on nailing his boxy proportions and that signature smug expression. If you prefer watching over reading, check out the SketchOk YouTube channel too, since video versions of some guides show up there.