
Ever wondered how to capture the essence of the 20th-century guy who’s now living it up in the 31st century? We’re talking about none other than the beloved Philip J. Fry of Futurama fame. Drawing Fry is not just about his signature red hair or his laid-back attire; it’s about capturing a character who bridges two eras. By following our comprehensive guide, you’ll learn how to draw Philip J. Fry and perhaps bring a bit of the year 2999 to your sketchbook.
Spotlight on Fry: Features & Details
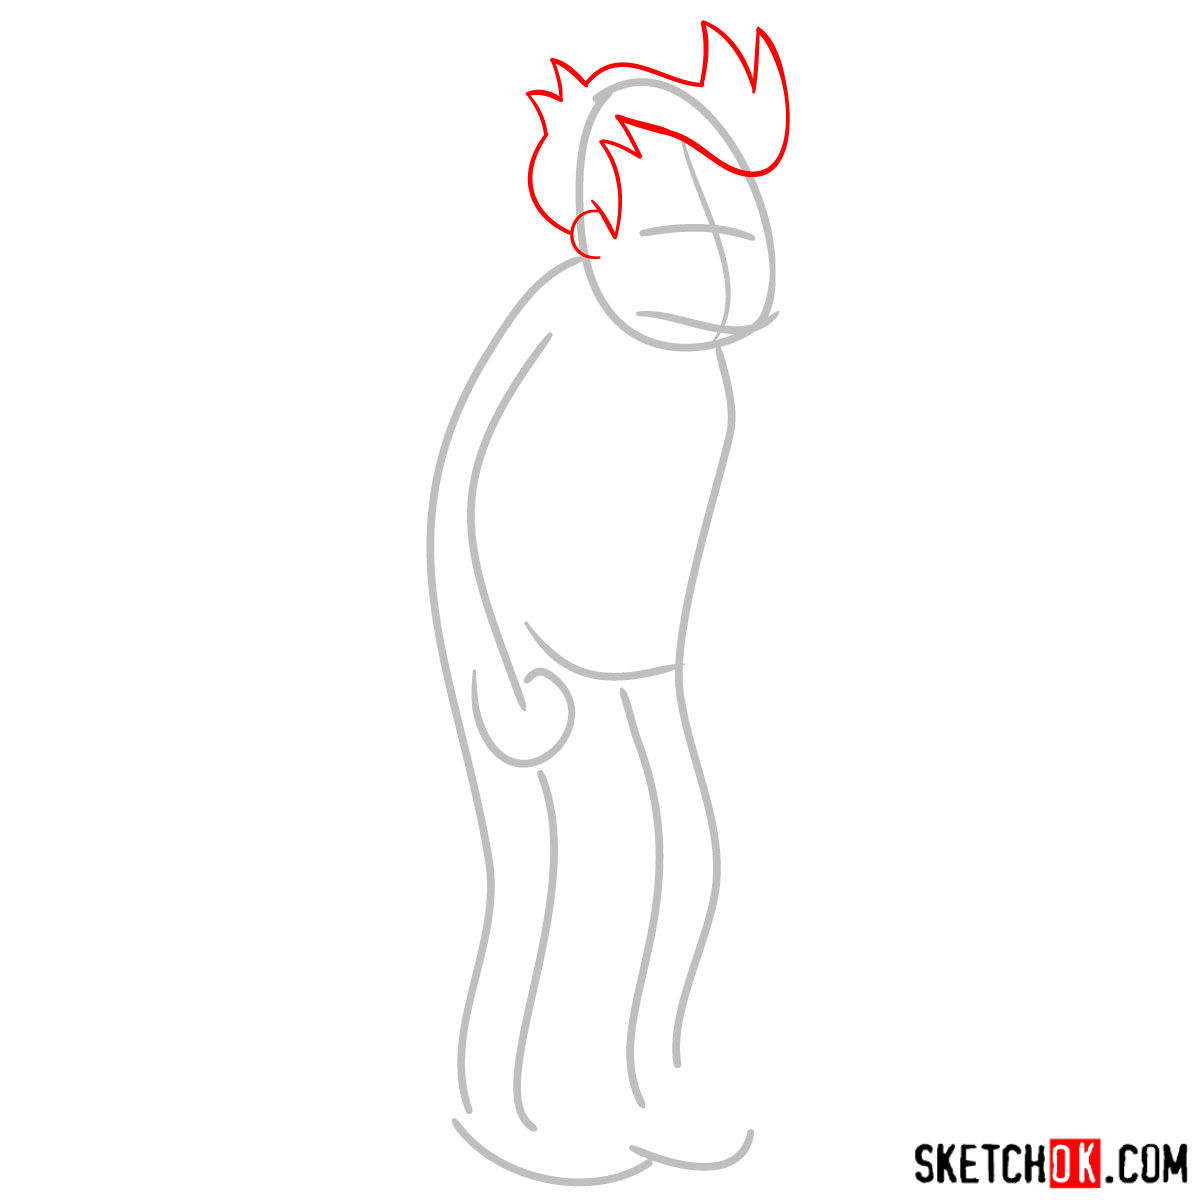
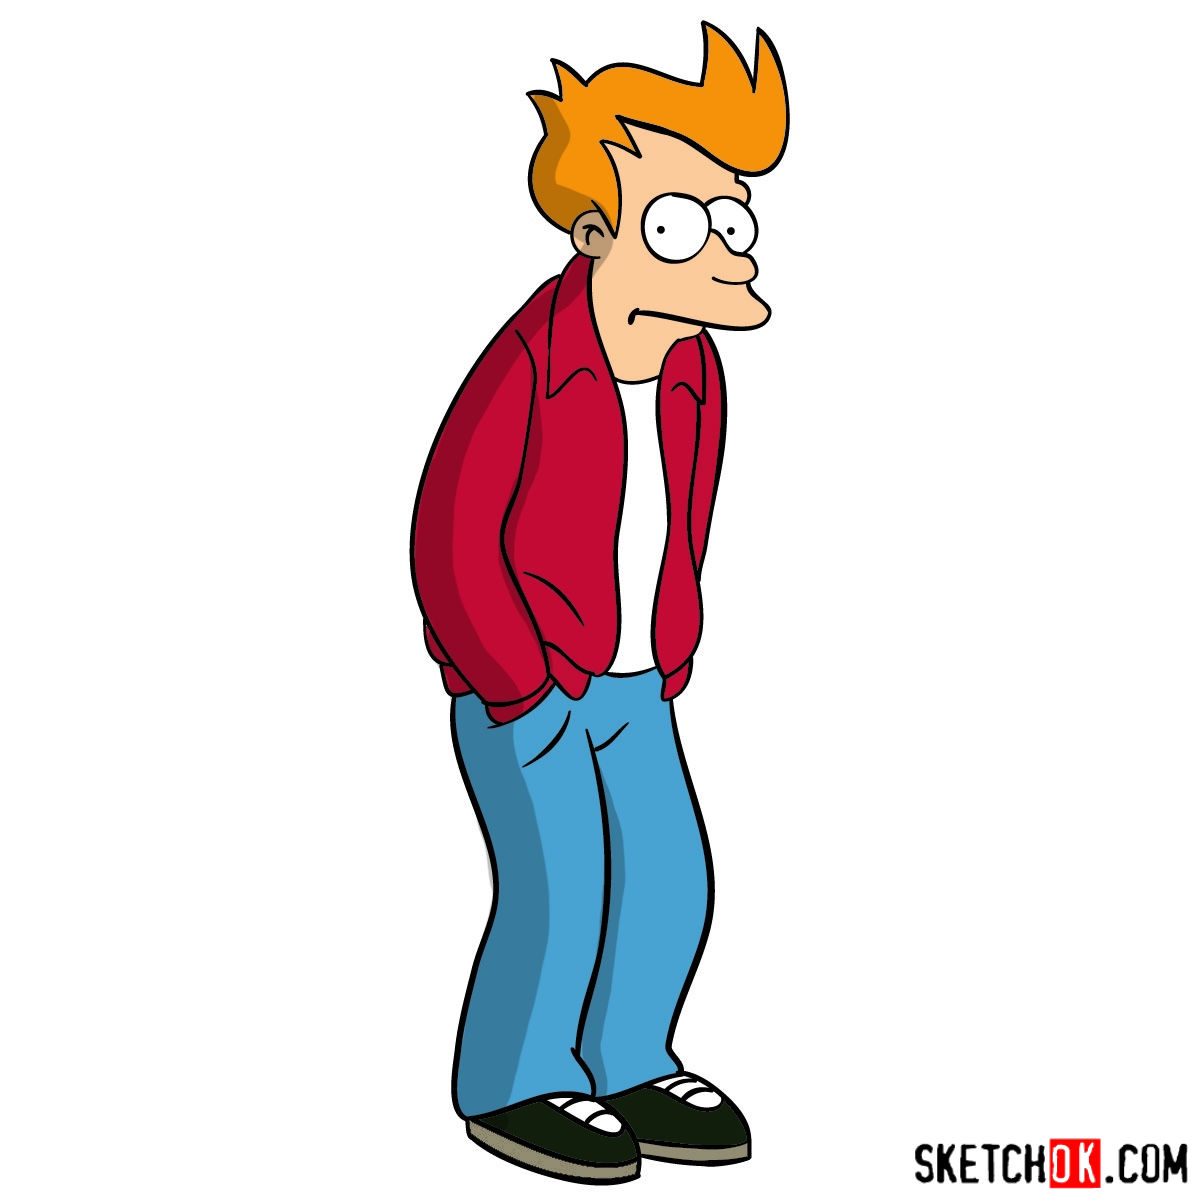
- Hair: Bright red with two iconic spikes pointing forwards.
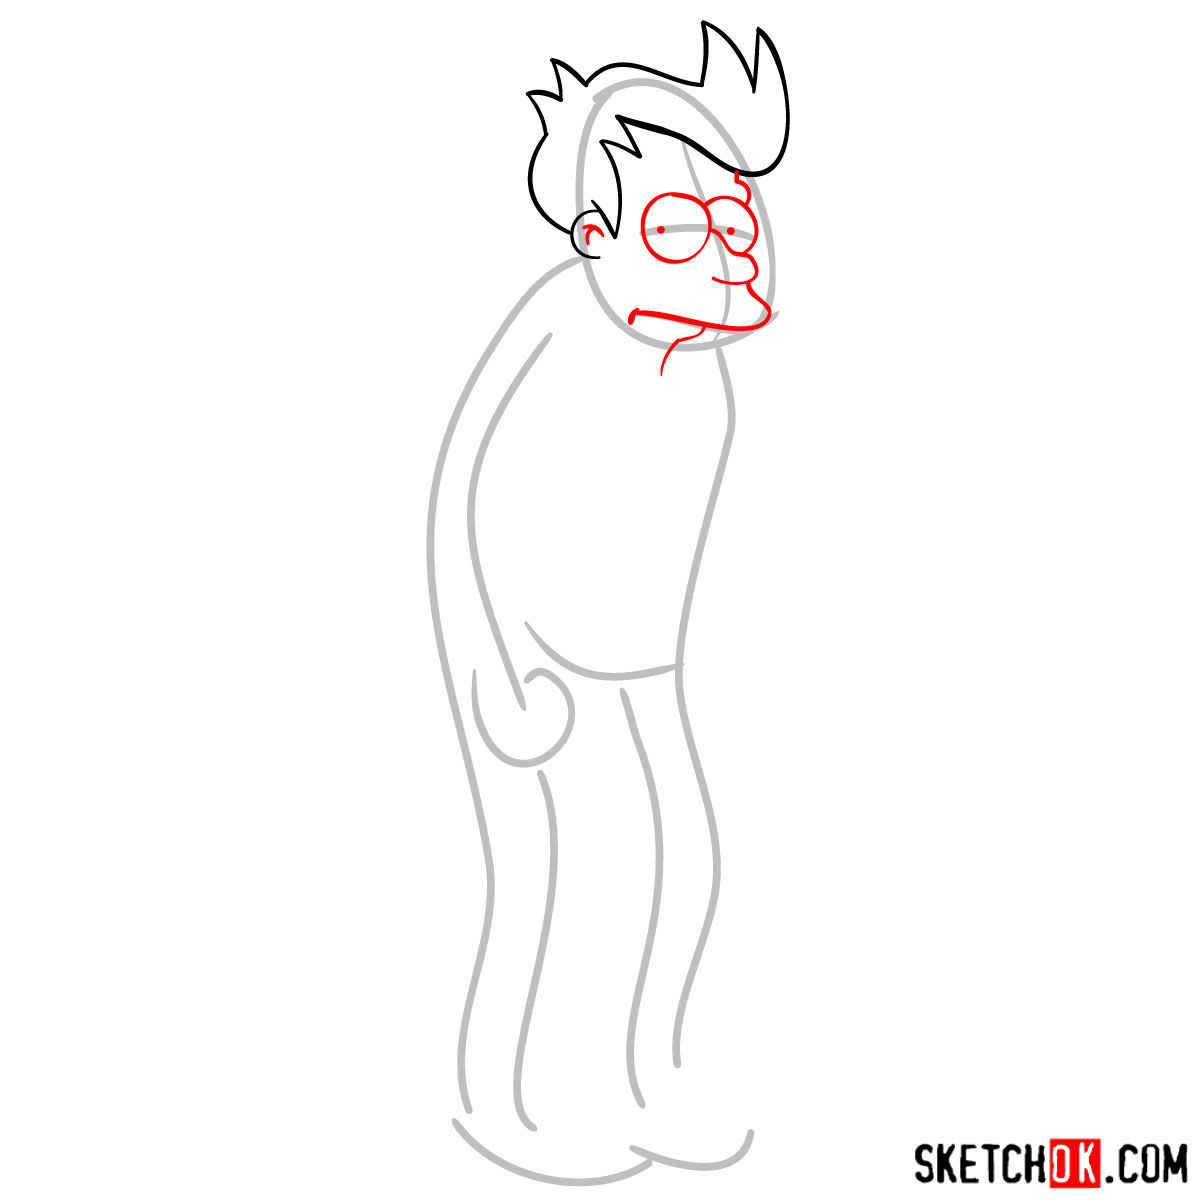
- Face: Fair-skinned with expressive eyes, capturing his often bewildered yet endearing look.
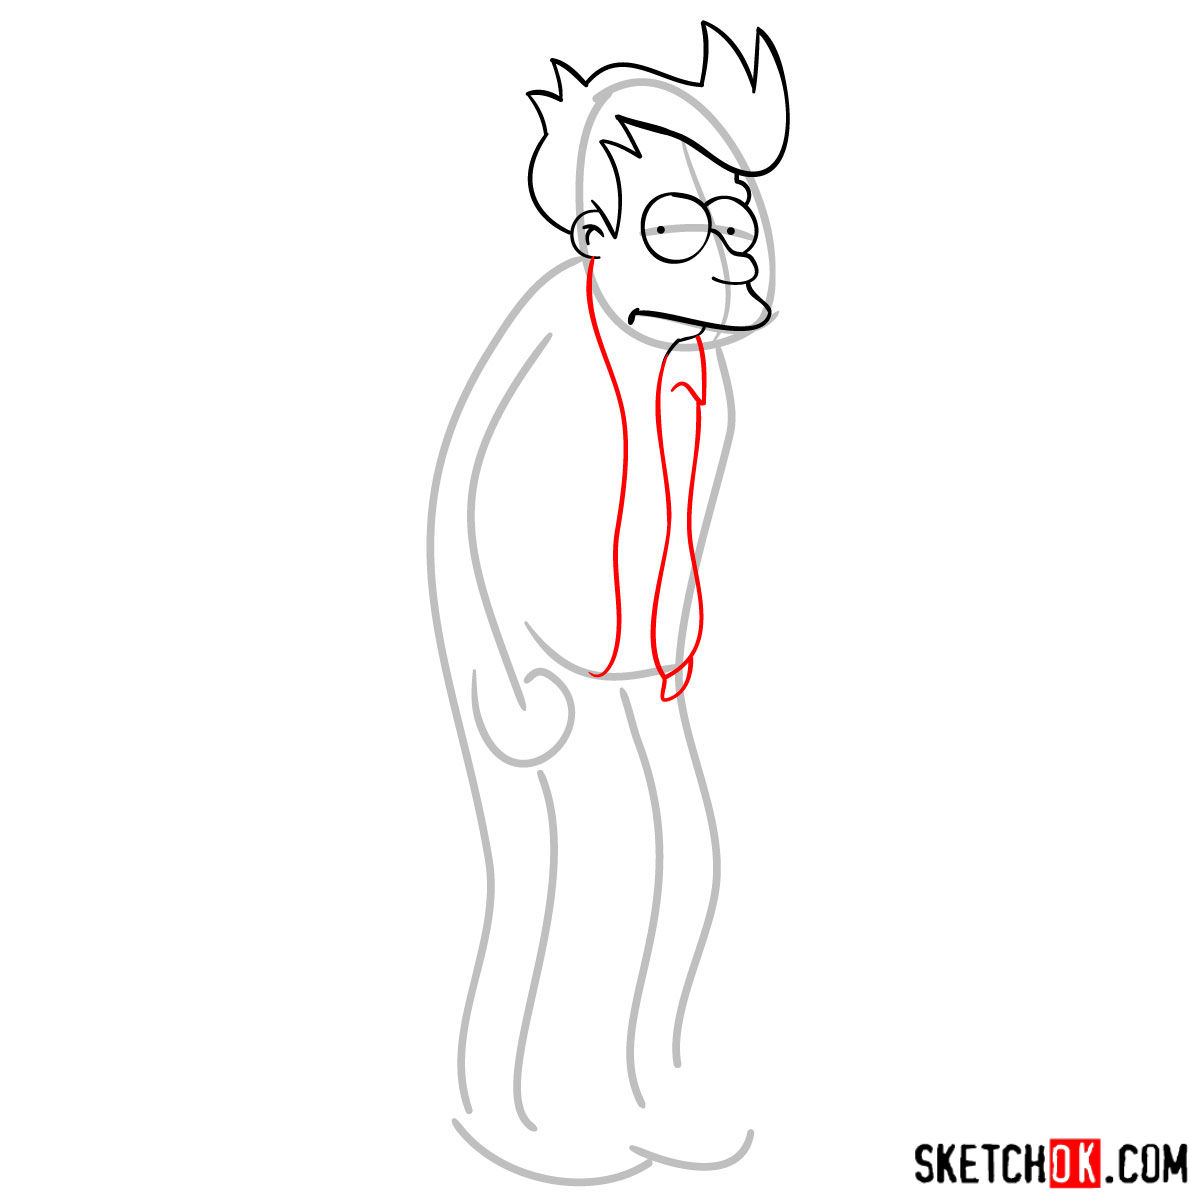
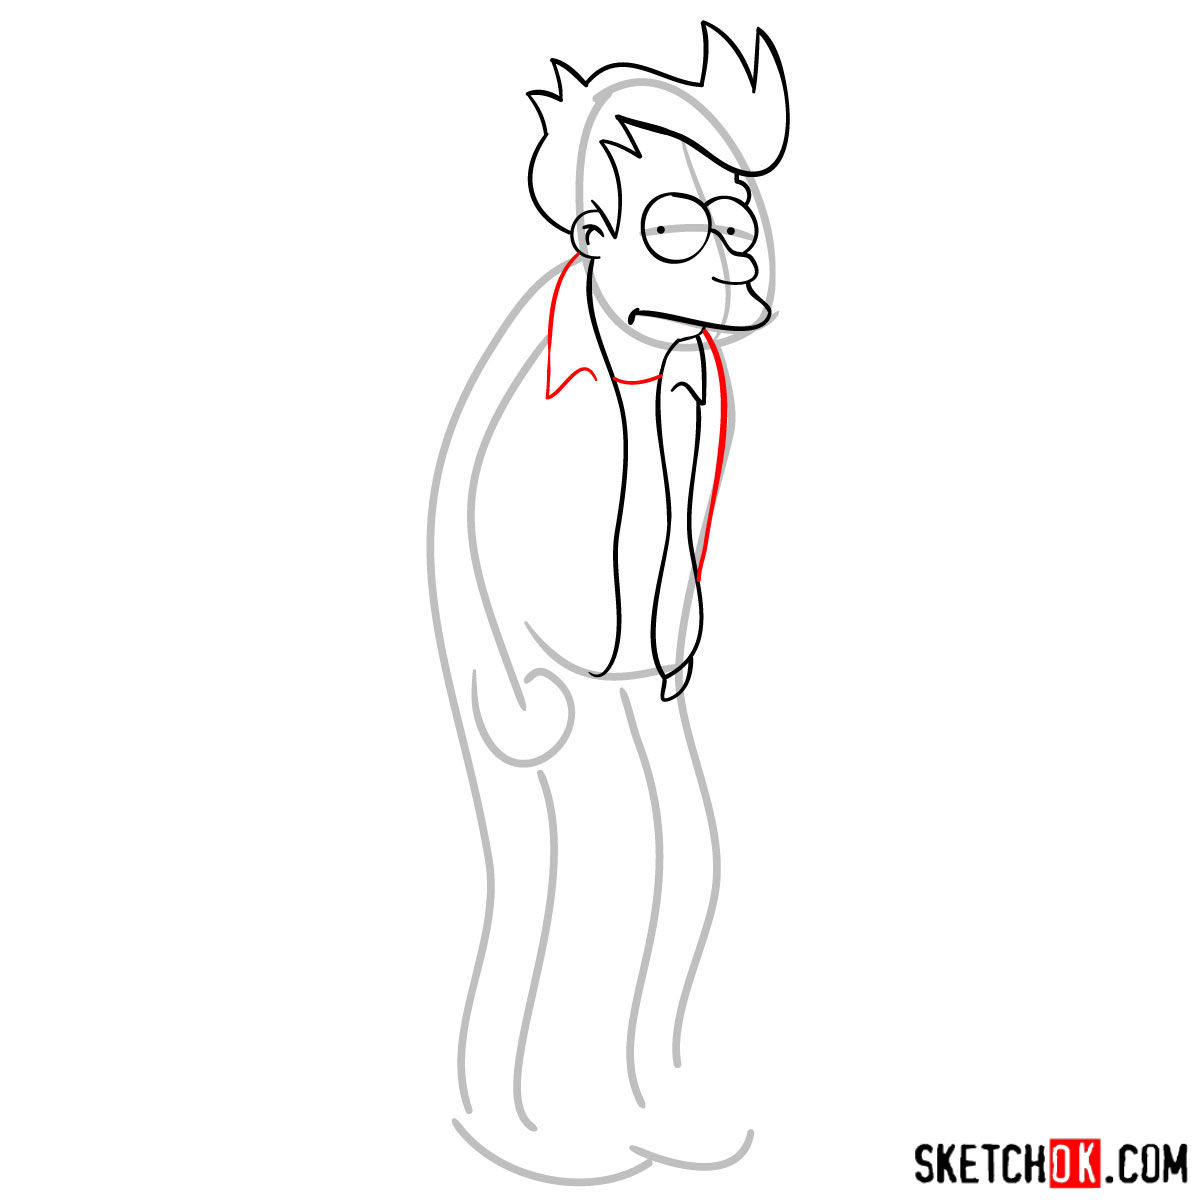
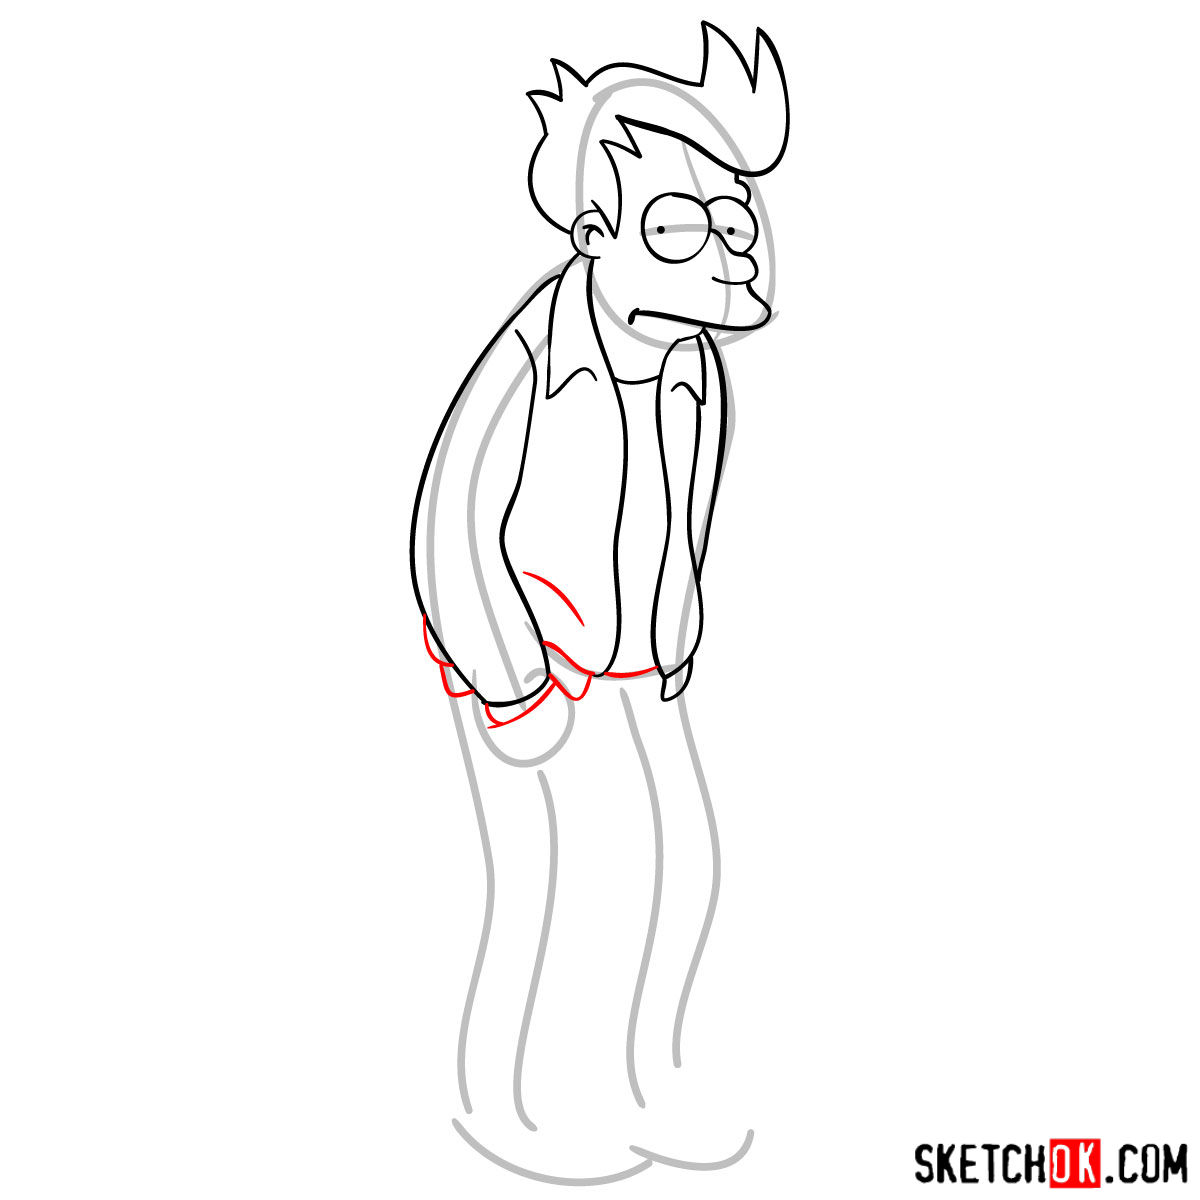
- Attire: A casual red jacket over a plain white tee, paired with blue jeans.
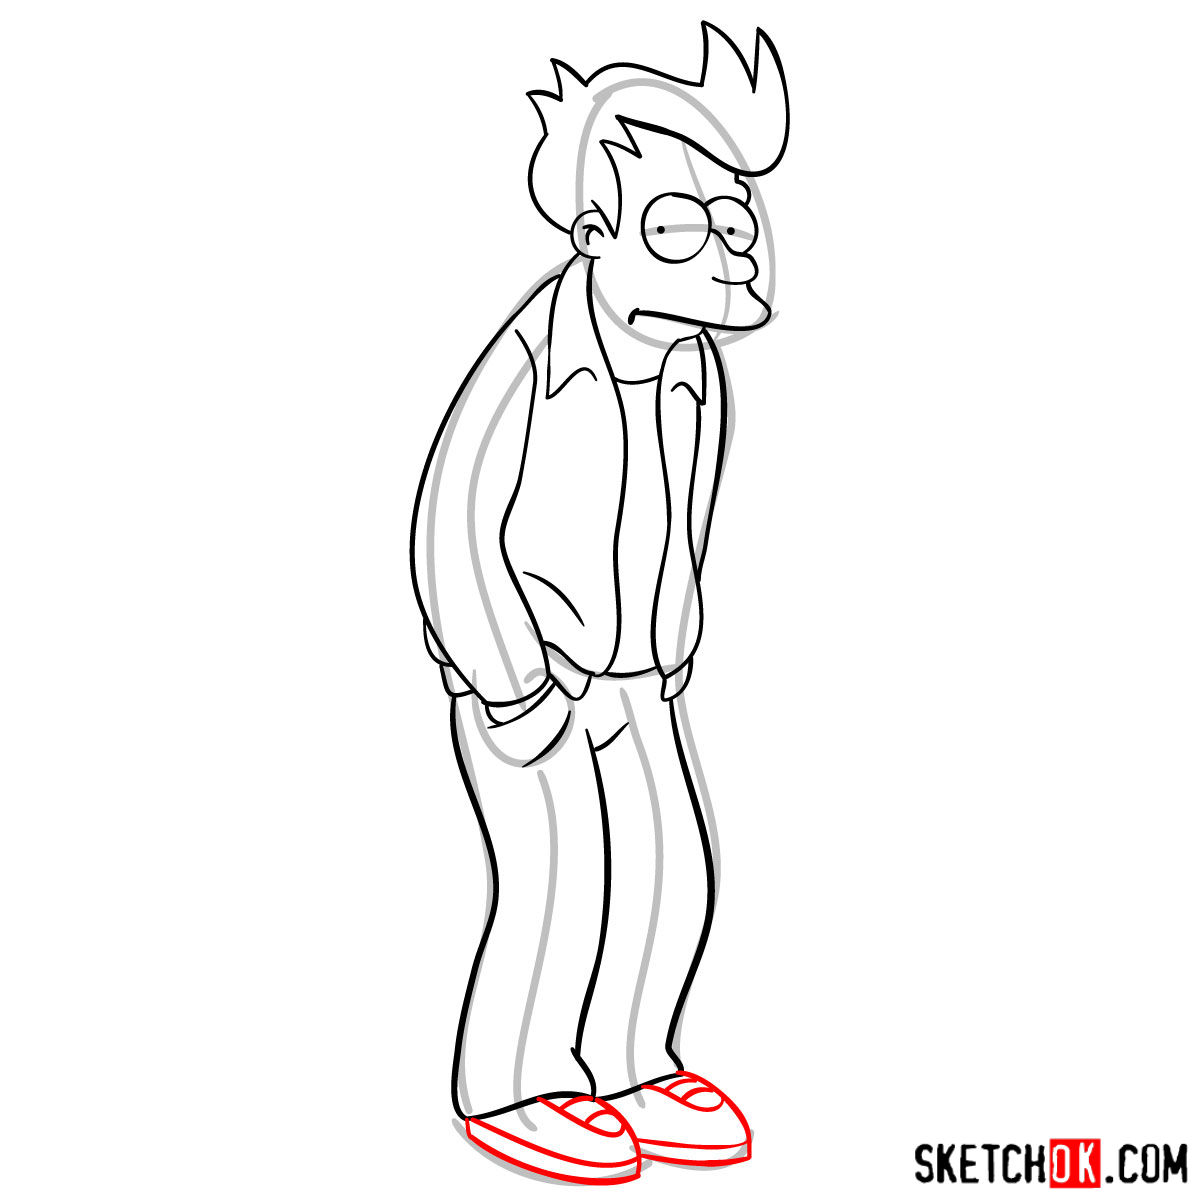
- Footwear: Black sneakers, characterized by gray soles and white laces.
- Physique: A slight belly peeking through, epitomizing his laid-back nature.
If you enjoy drawing Fry, consider expanding your Futurama collection. Characters like Bender, Leela, or the wise-cracking Zoidberg could be a great addition to your artistic repertoire!
About the Tutorial: What to Expect
The art of drawing is best learned in stages, and our guide has been meticulously designed to ease you into the process.
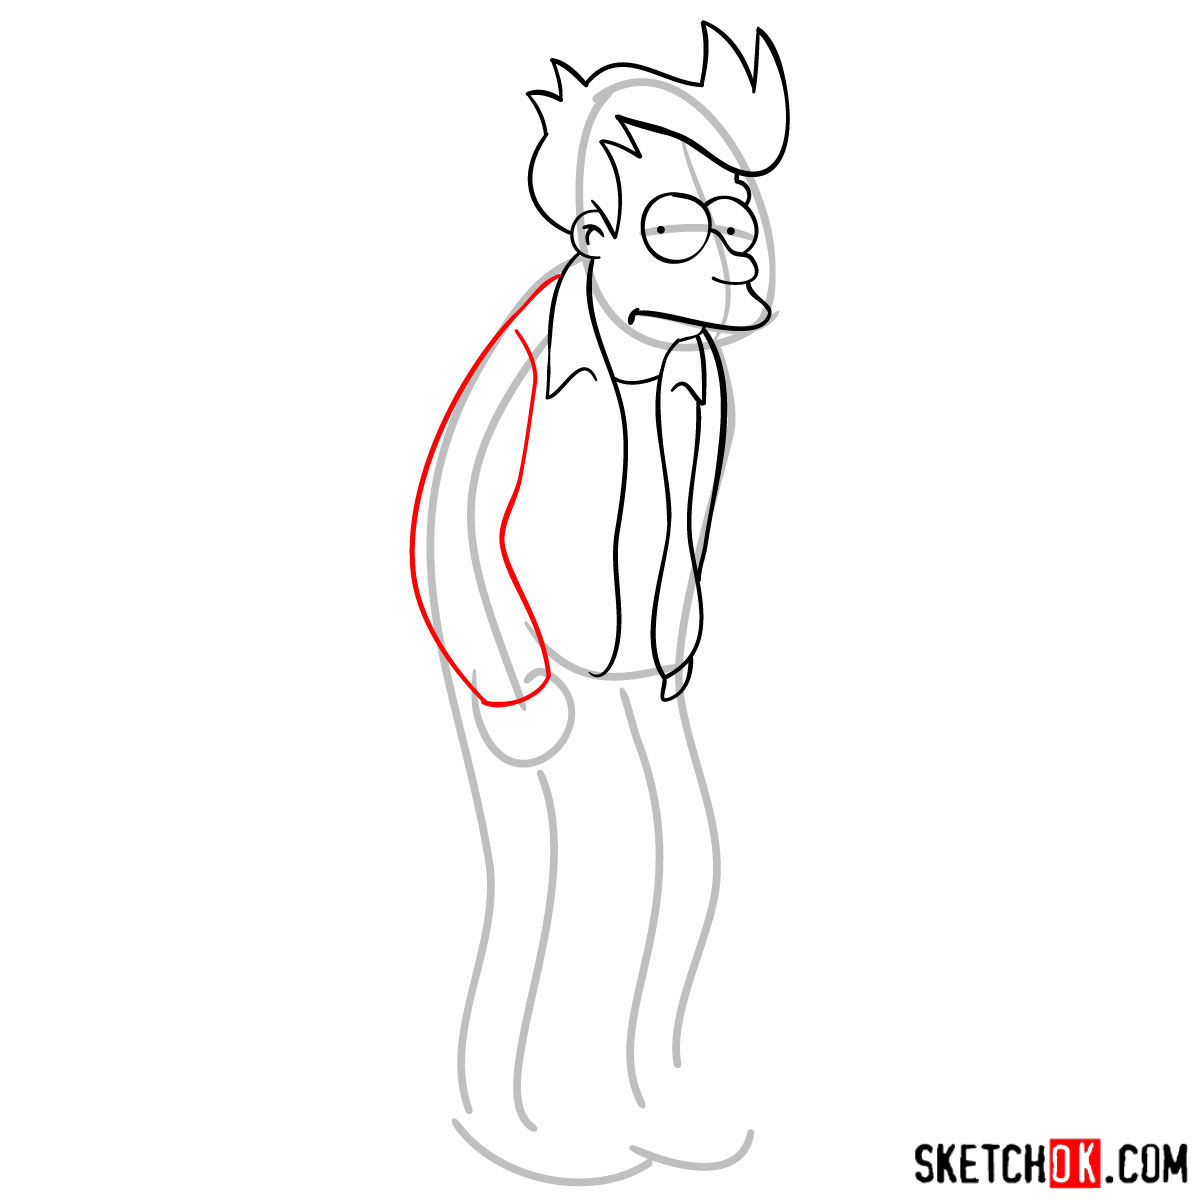
- Red Color: Signifies the current drawing step.
- Black Color: Denotes the lines you’ve previously drawn.
- Grey Color: Represents the basic proportion sketches.
With 11 steps in total, the first step is all about building the basic structure using light pencil strokes. These foundational steps are crucial for maintaining the right proportions. Once you’ve sketched out Fry to your satisfaction, there’s the option to ink your artwork. When inking, patience is paramount; wait for the ink to dry thoroughly before gently erasing the pencil lines. This ensures a clean and vibrant final piece. As a cherry on top, our last image showcases a colored version of Fry, serving as a perfect reference for artists who love adding a splash of color!


Your first attempt at learning how to draw Philip J. Fry step by step might not turn out exactly how you pictured, and that’s completely fine since most drawings take a few tries before they start clicking. Save your sketch, come back to it, and see how much cleaner the next one feels. More guides like this one show up regularly, so follow SketchOk on Pinterest or Facebook to catch new tutorials as they drop.