Embarking on the journey of artistry, we will be focusing on the transformation of Baymax from an inflatable healthcare companion to a superhero in gleaming armor. In this guide, learn how to draw Baymax in his superhero armor, capturing every detail of his impressive design.
Baymax’s Superhero Armor: The Pinnacle of Design
- Color Palette: Dominated by red and purple, the colors depict power, heroism, and valor.
- Material: Comprising metal, this sleek and trim armor stands in stark contrast to the prototype.
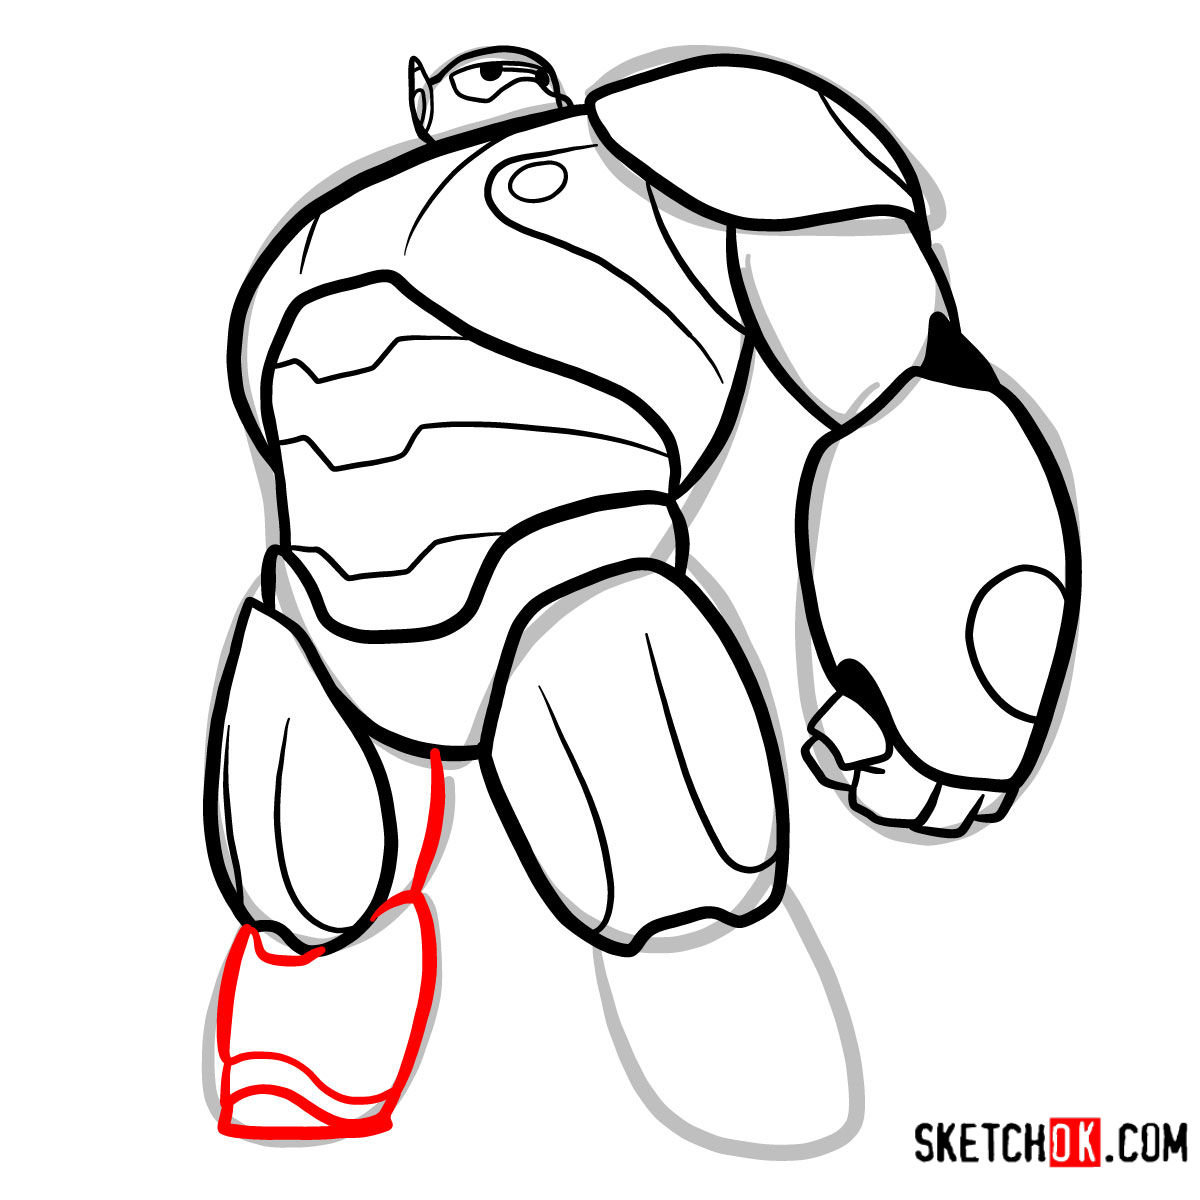
- Enhancements: Equipped with rocket thrusters in its feet and wings on its back, the armor is designed for optimal flight.
- Durability: The reinforced design ensures flexibility and strength, amplifying Baymax’s speed in critical situations.
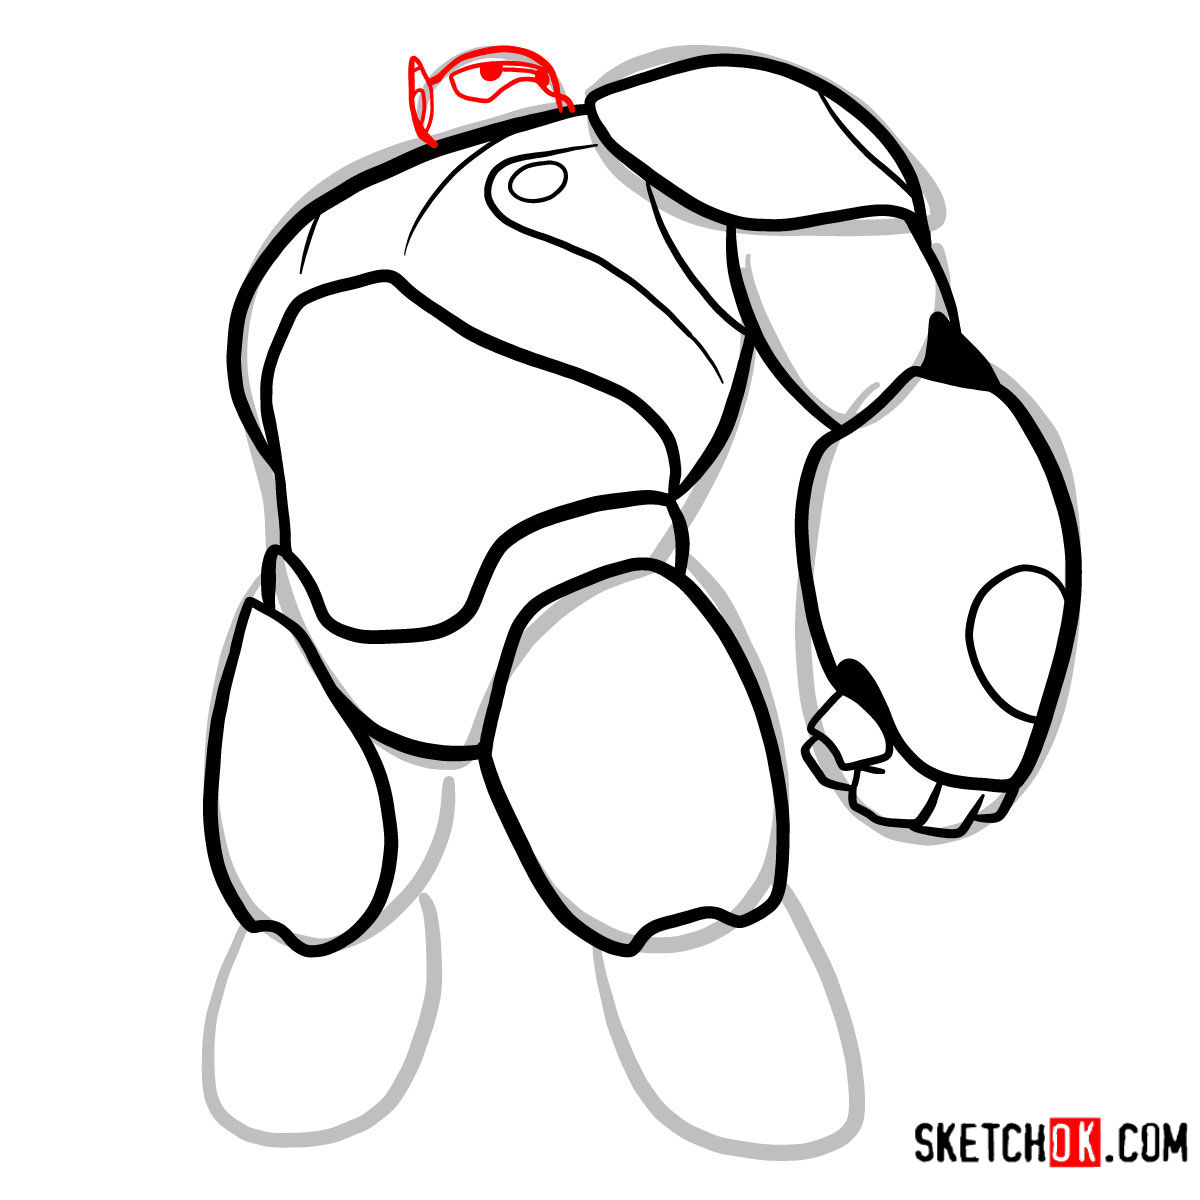
- Helmet’s Visor: While the film portrayed the visor as transparent, “Big Hero 6: The Series” showcased it in a captivating translucent blue.
- Similar Characters: To complement your drawing of Baymax, consider sketching other prominent characters like Hiro, Honey Lemon, or even Fred. Drawing them together can craft a dynamic scenario, bringing San Fransokyo’s tales to life on your canvas. And we also have a chibi guide for him
Decoding the Drawing Guide: Tips and Techniques
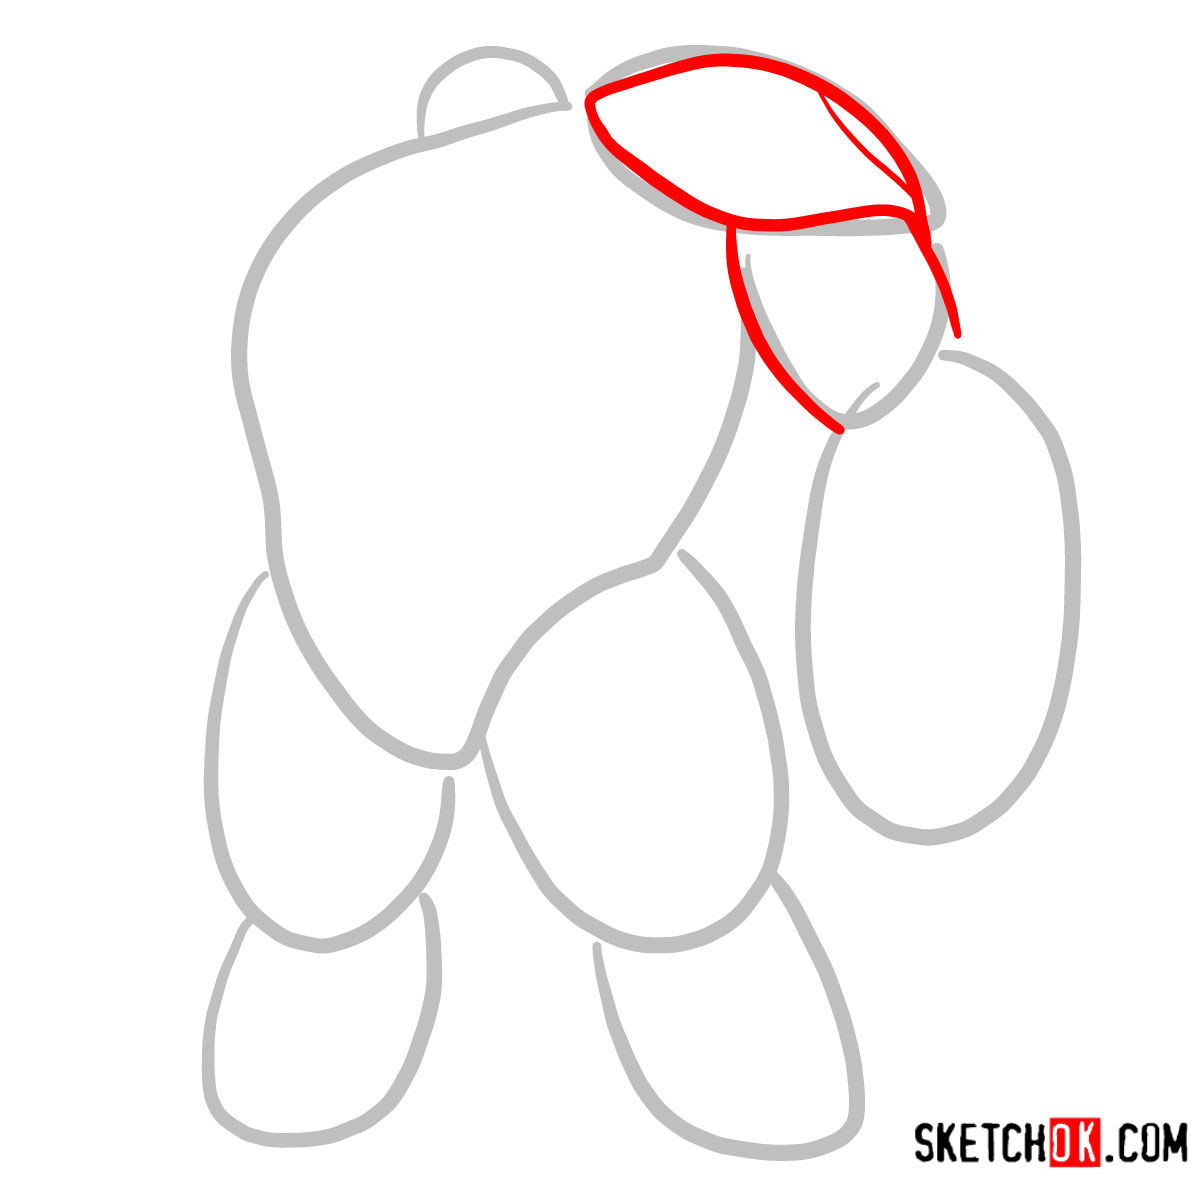
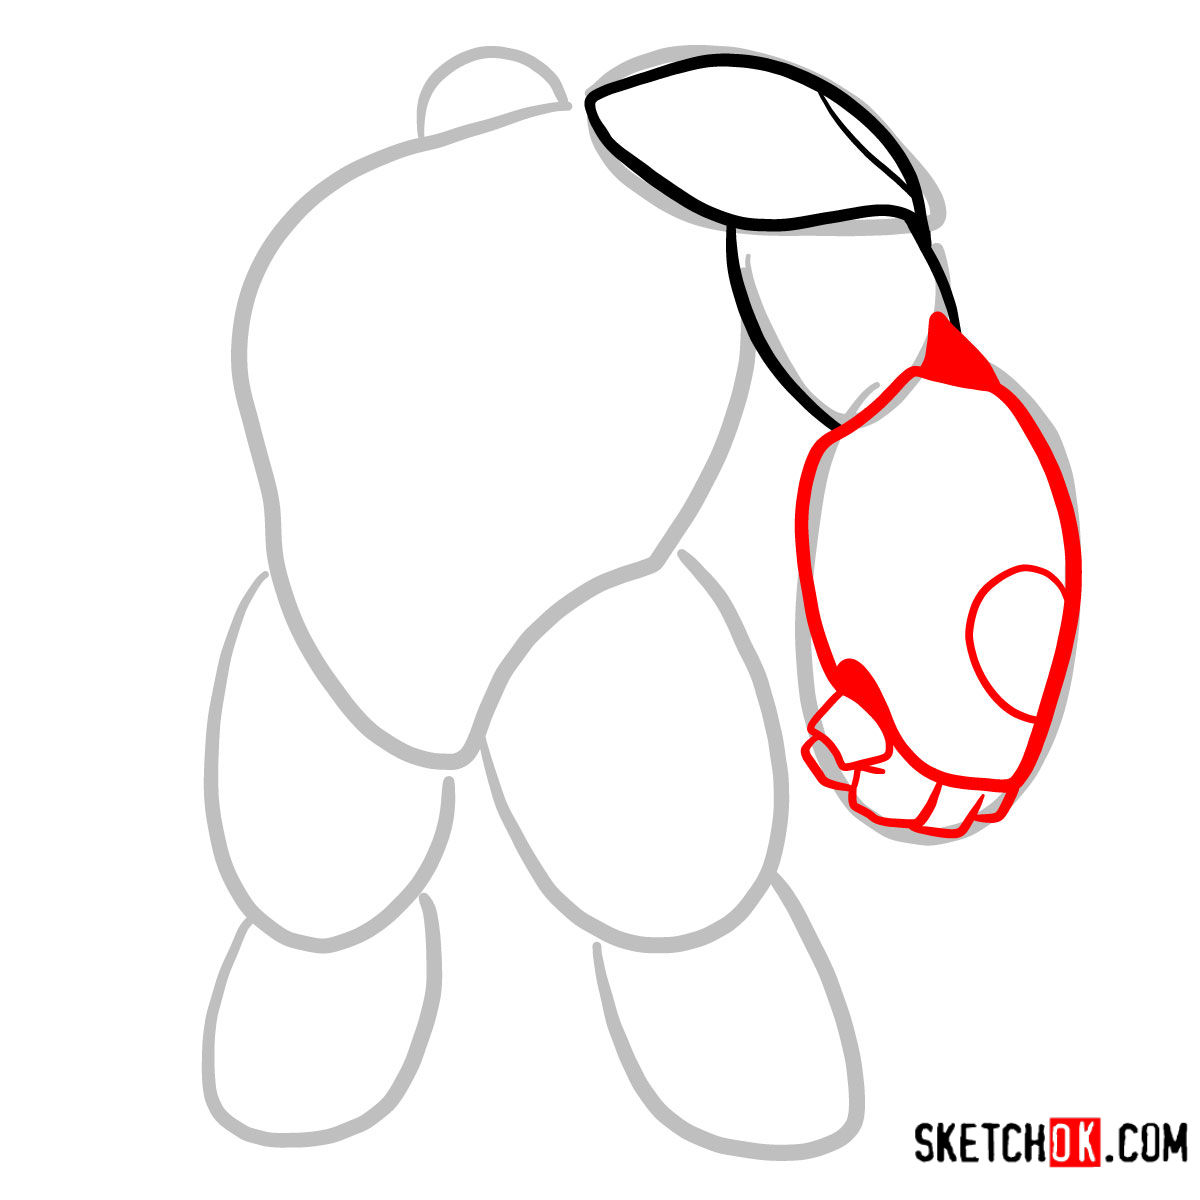
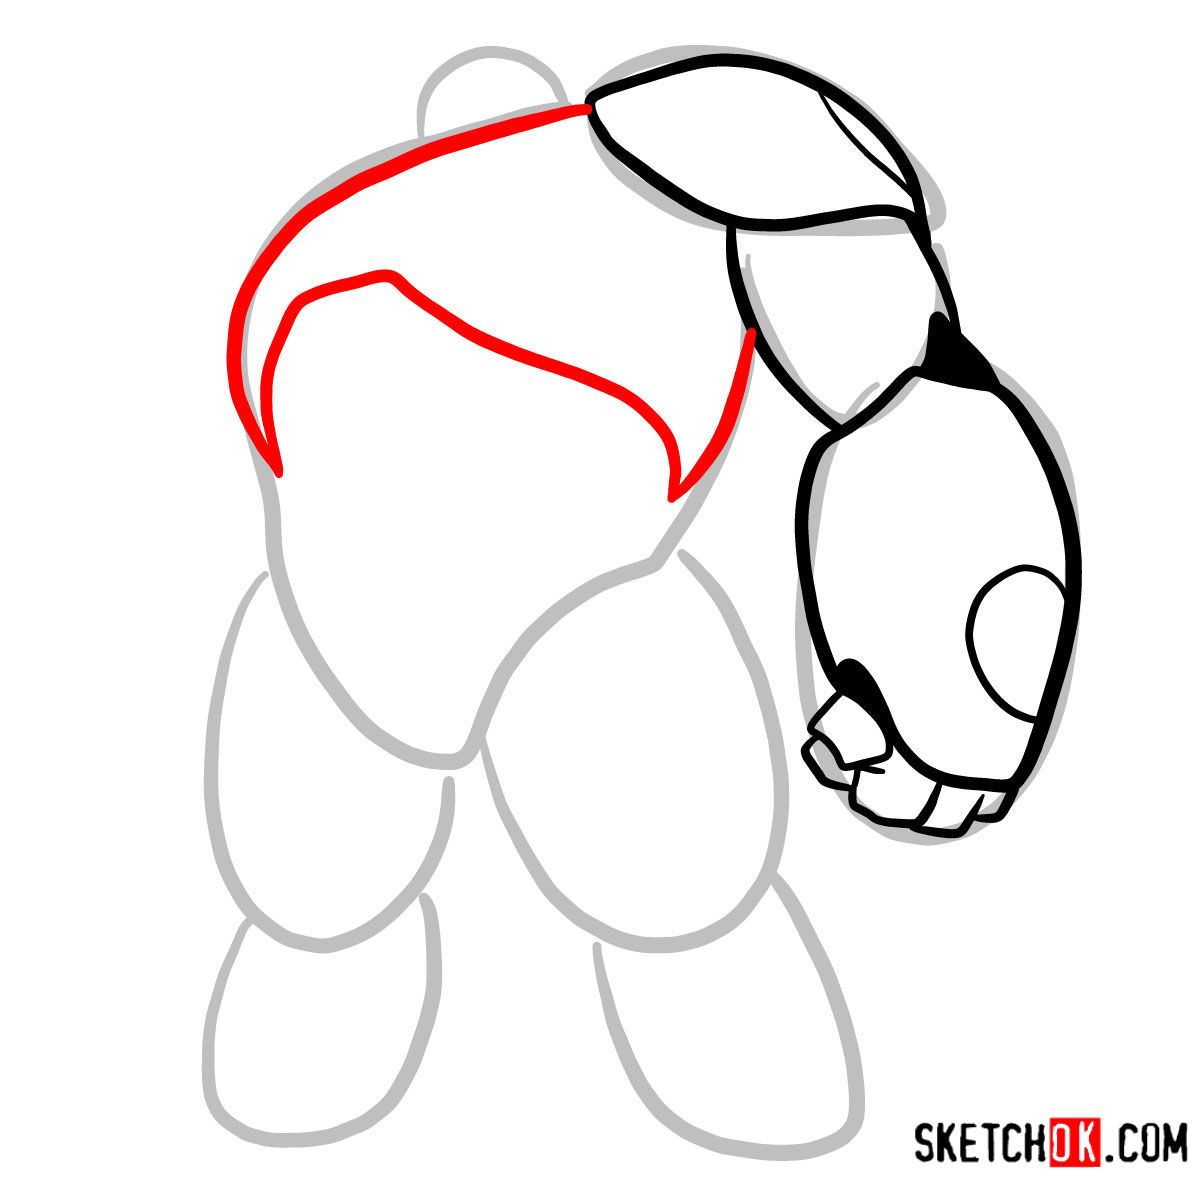
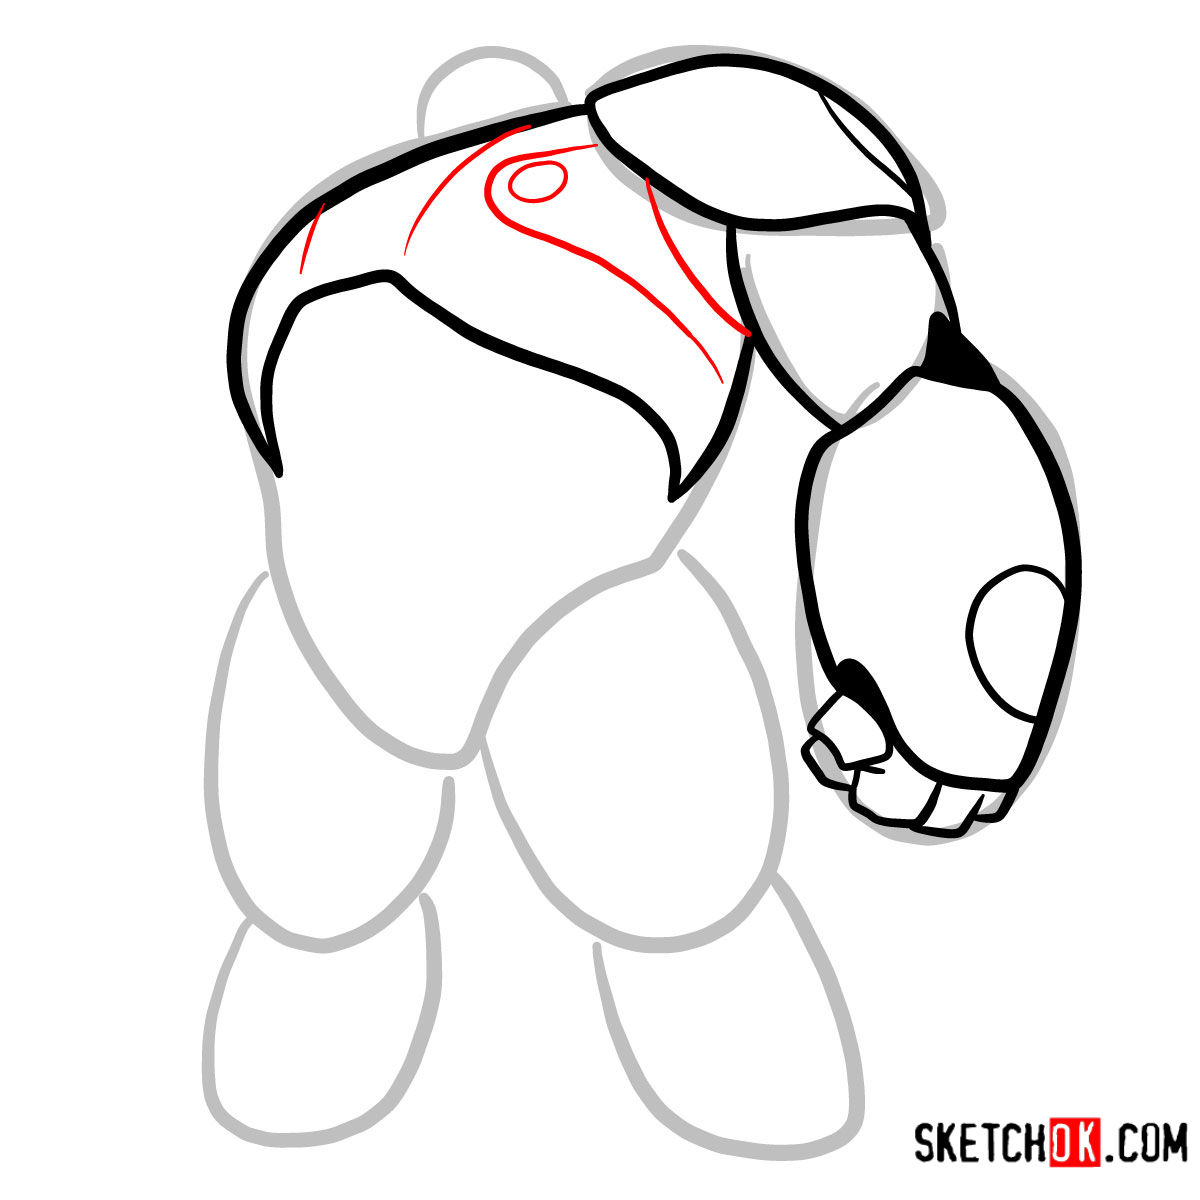
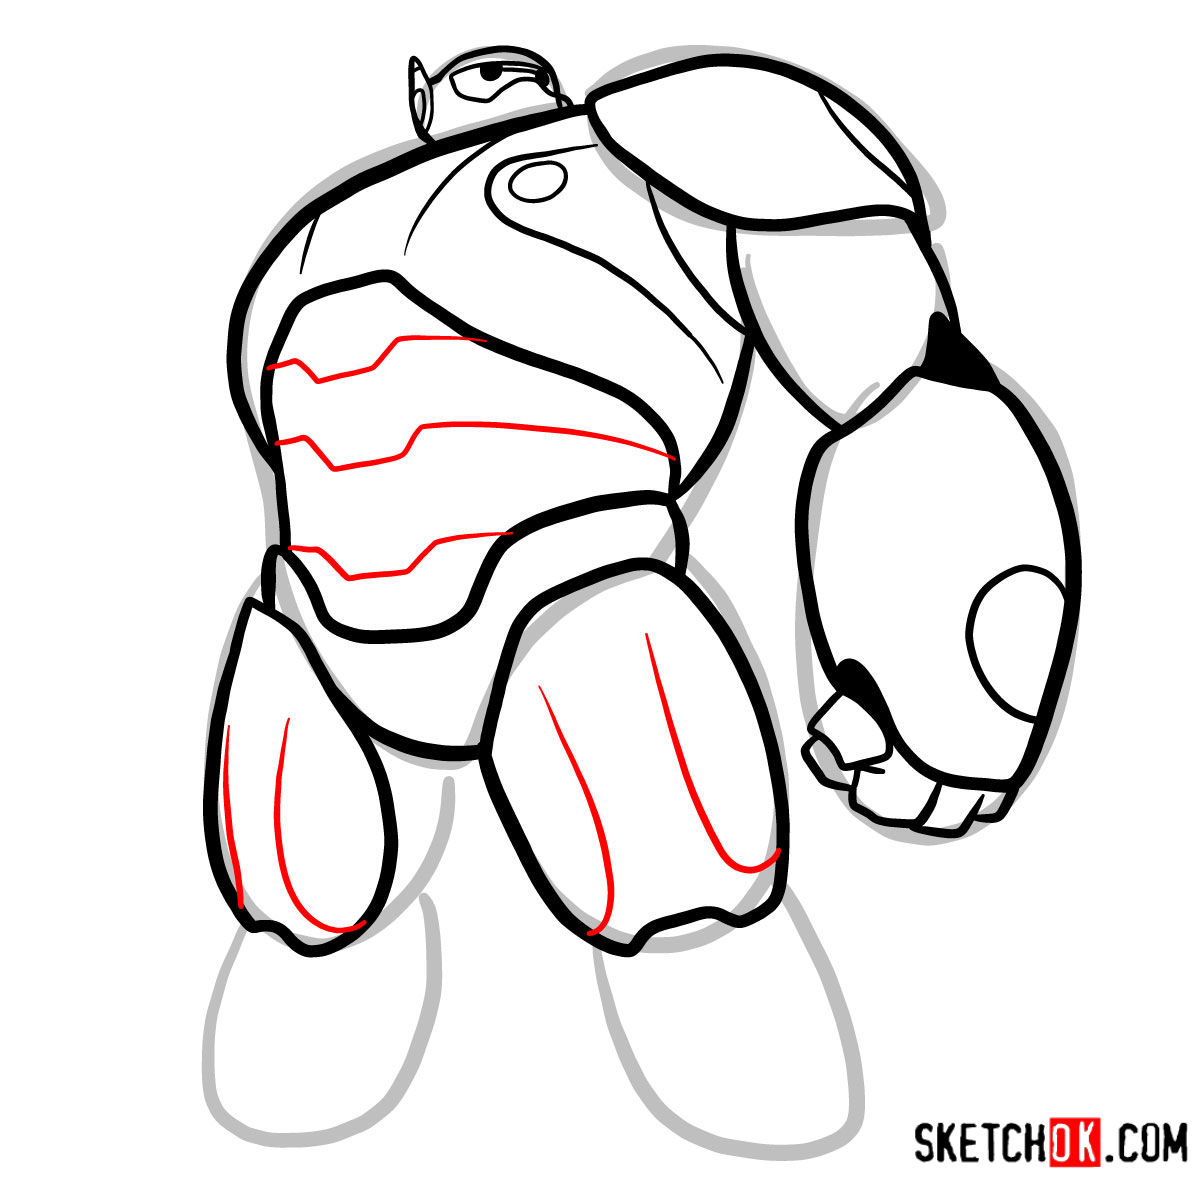
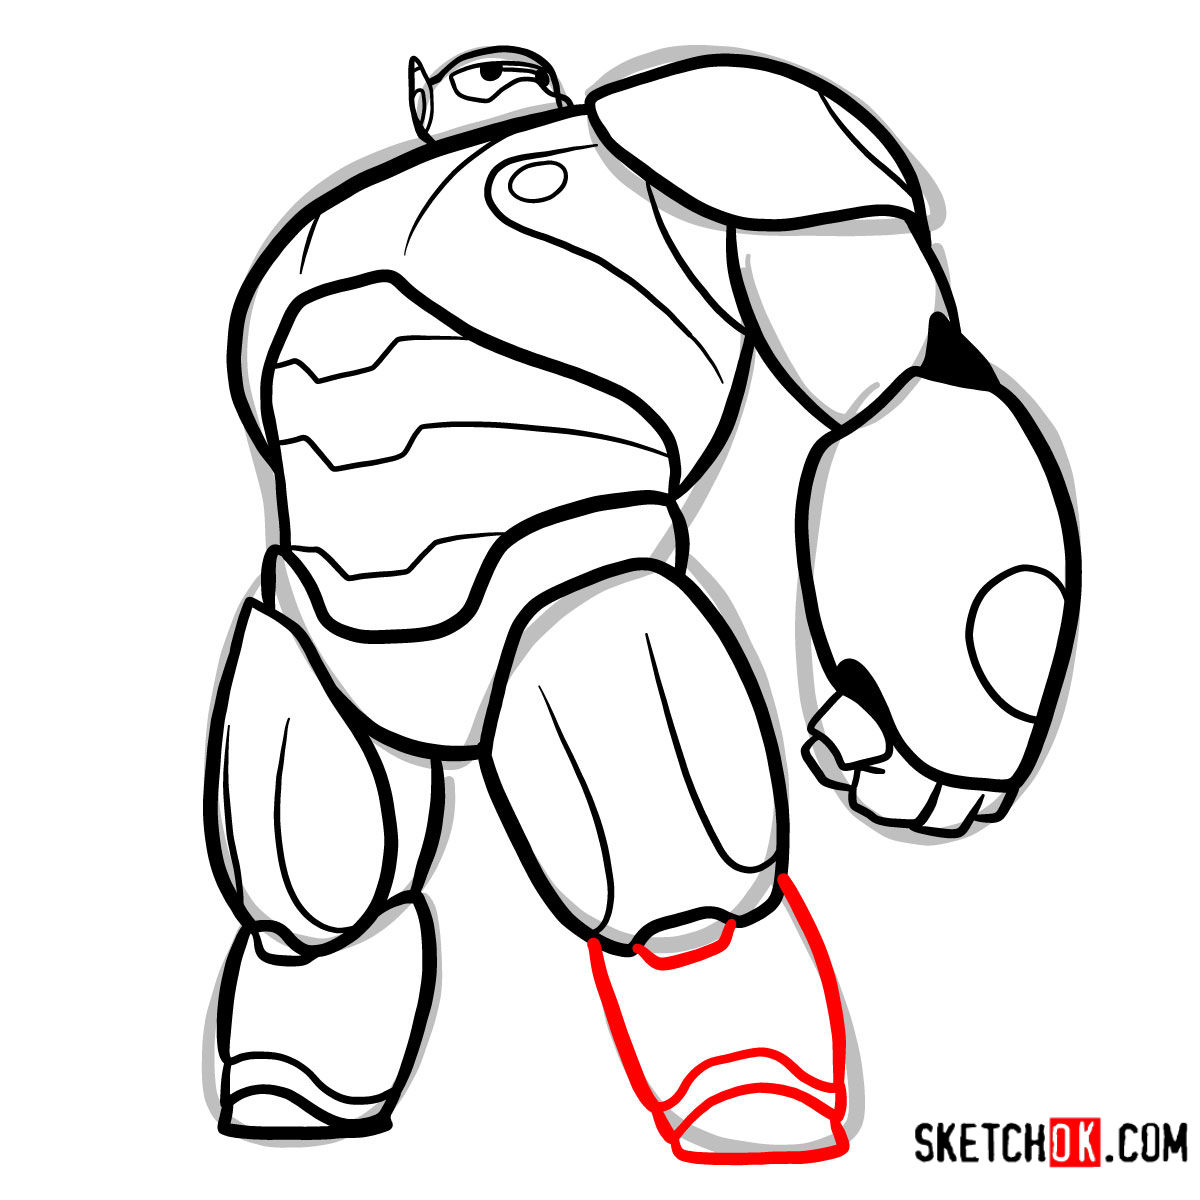
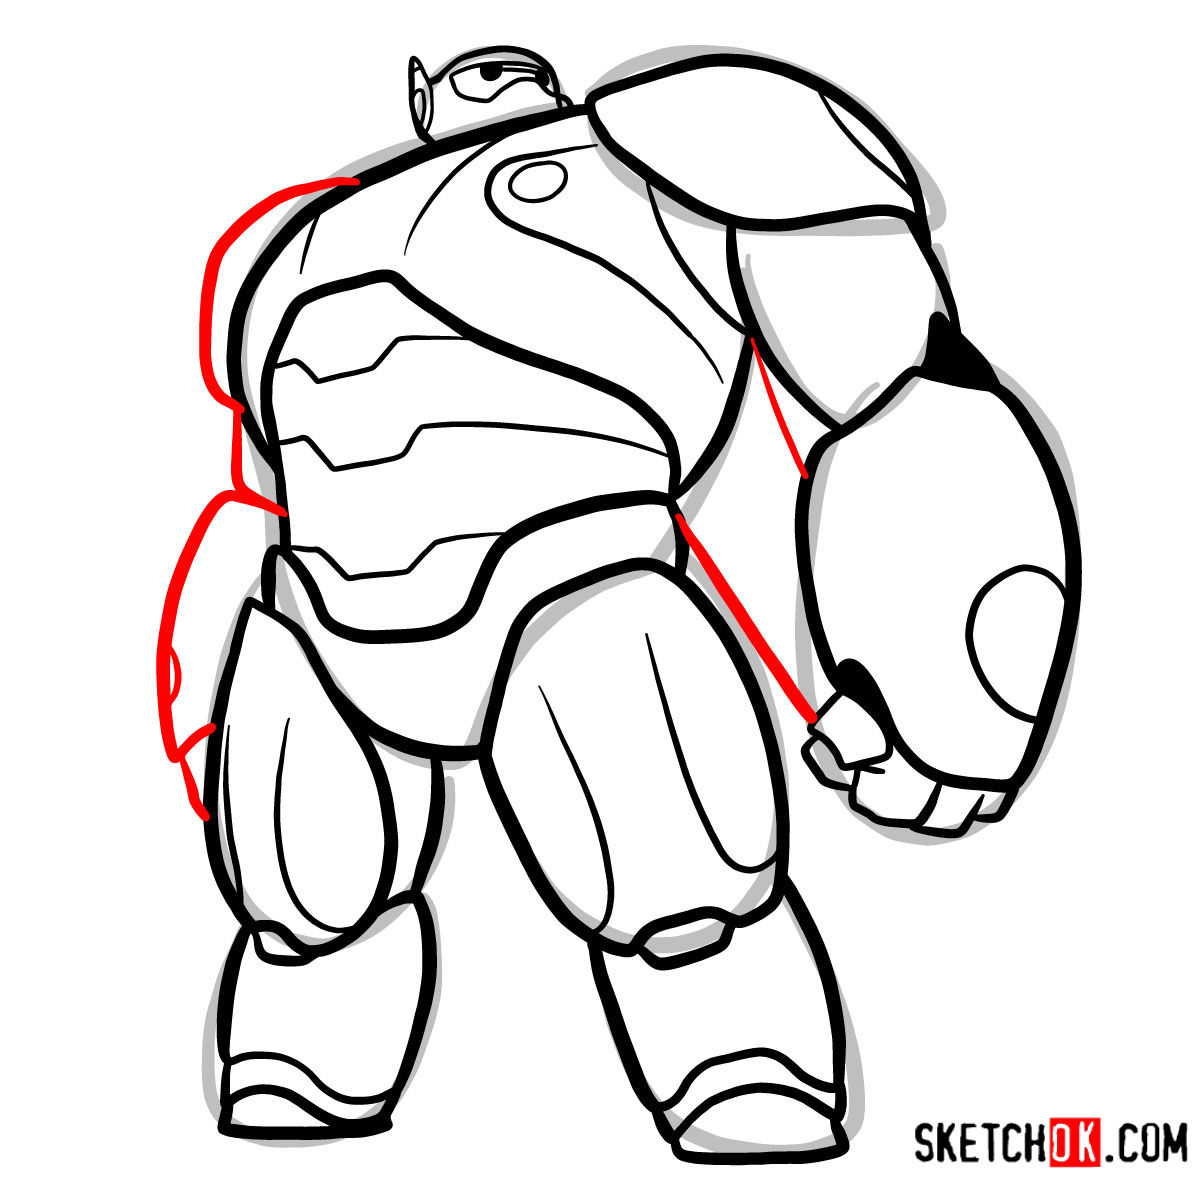
This guide consists of 12 precise steps, guiding you seamlessly from the foundational sketch to the final details. Here’s what each color signifies:
- Red Color: Represents the current step, steering your attention to intricate details.
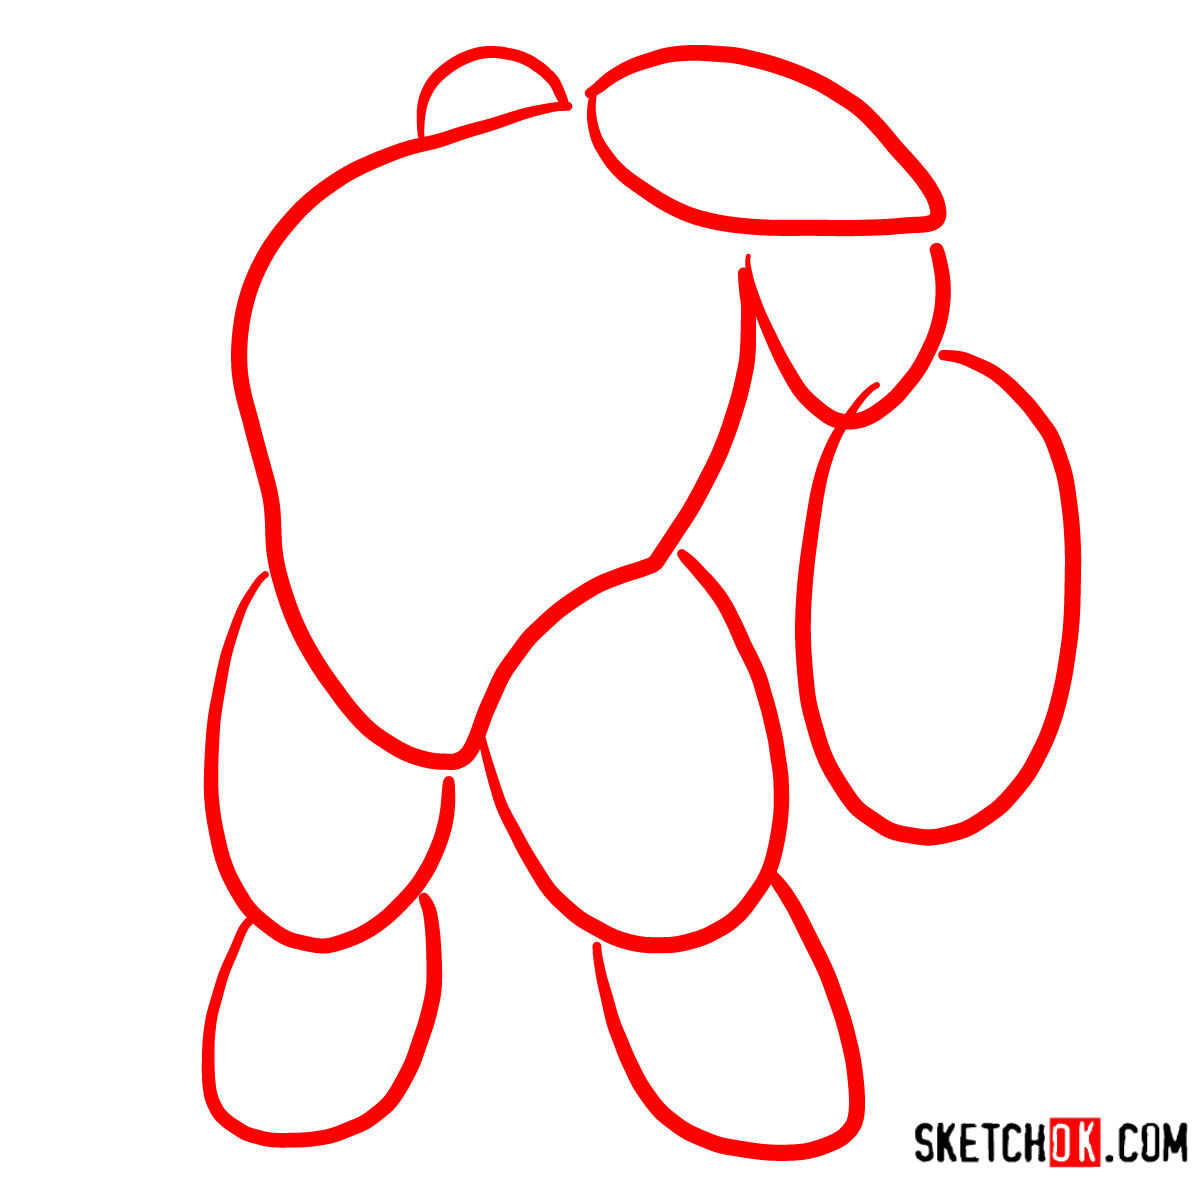
- Grey Color: Illustrates the fundamental sketch. Begin with gentle strokes to capture the basic structure.
- Black Color: Chronicles the lines you’ve meticulously drawn in preceding steps, ensuring you’re on the right path.
Start your artistic voyage with the basic sketch, emphasizing proportionality. Upon completion, if you opt to ink your masterpiece, ensure the ink thoroughly dries before erasing pencil sketches. This practice guarantees a pristine and smudge-free result.


FAQs on Drawing Baymax in Armor
What’s the best approach to capturing Baymax’s sleek armor design?
Given the armor’s metallic and polished nature, it’s essential to maintain sharp and defined lines, especially around the edges. Using a fine-tipped pencil or pen can assist in capturing the sleekness and intricate details of Baymax’s superhero armor.
Are there any additional elements I should consider while sketching?
Yes, given the armor’s enhanced durability and flexibility, ensure you capture the slight indentations and panel lines on Baymax’s body. These subtle details bring authenticity and depth to your sketch, elevating its overall look.
As we conclude this insightful journey on how to draw Baymax in his superhero armor, I’m humbled by your company and passion for art. Should this guide resonate with you, kindly share the link with fellow artists and enthusiasts. For those willing to support SketchOk’s ongoing mission, consider donating. Your contributions not only fuel our work but also empower you to suggest future tutorial topics. By prioritizing your suggestions, we ensure the art you love comes to life swiftly. Let’s stay connected; find us on Facebook, Instagram, and Pinterest. Until next time, happy sketching!