
Published on January 24, 2024
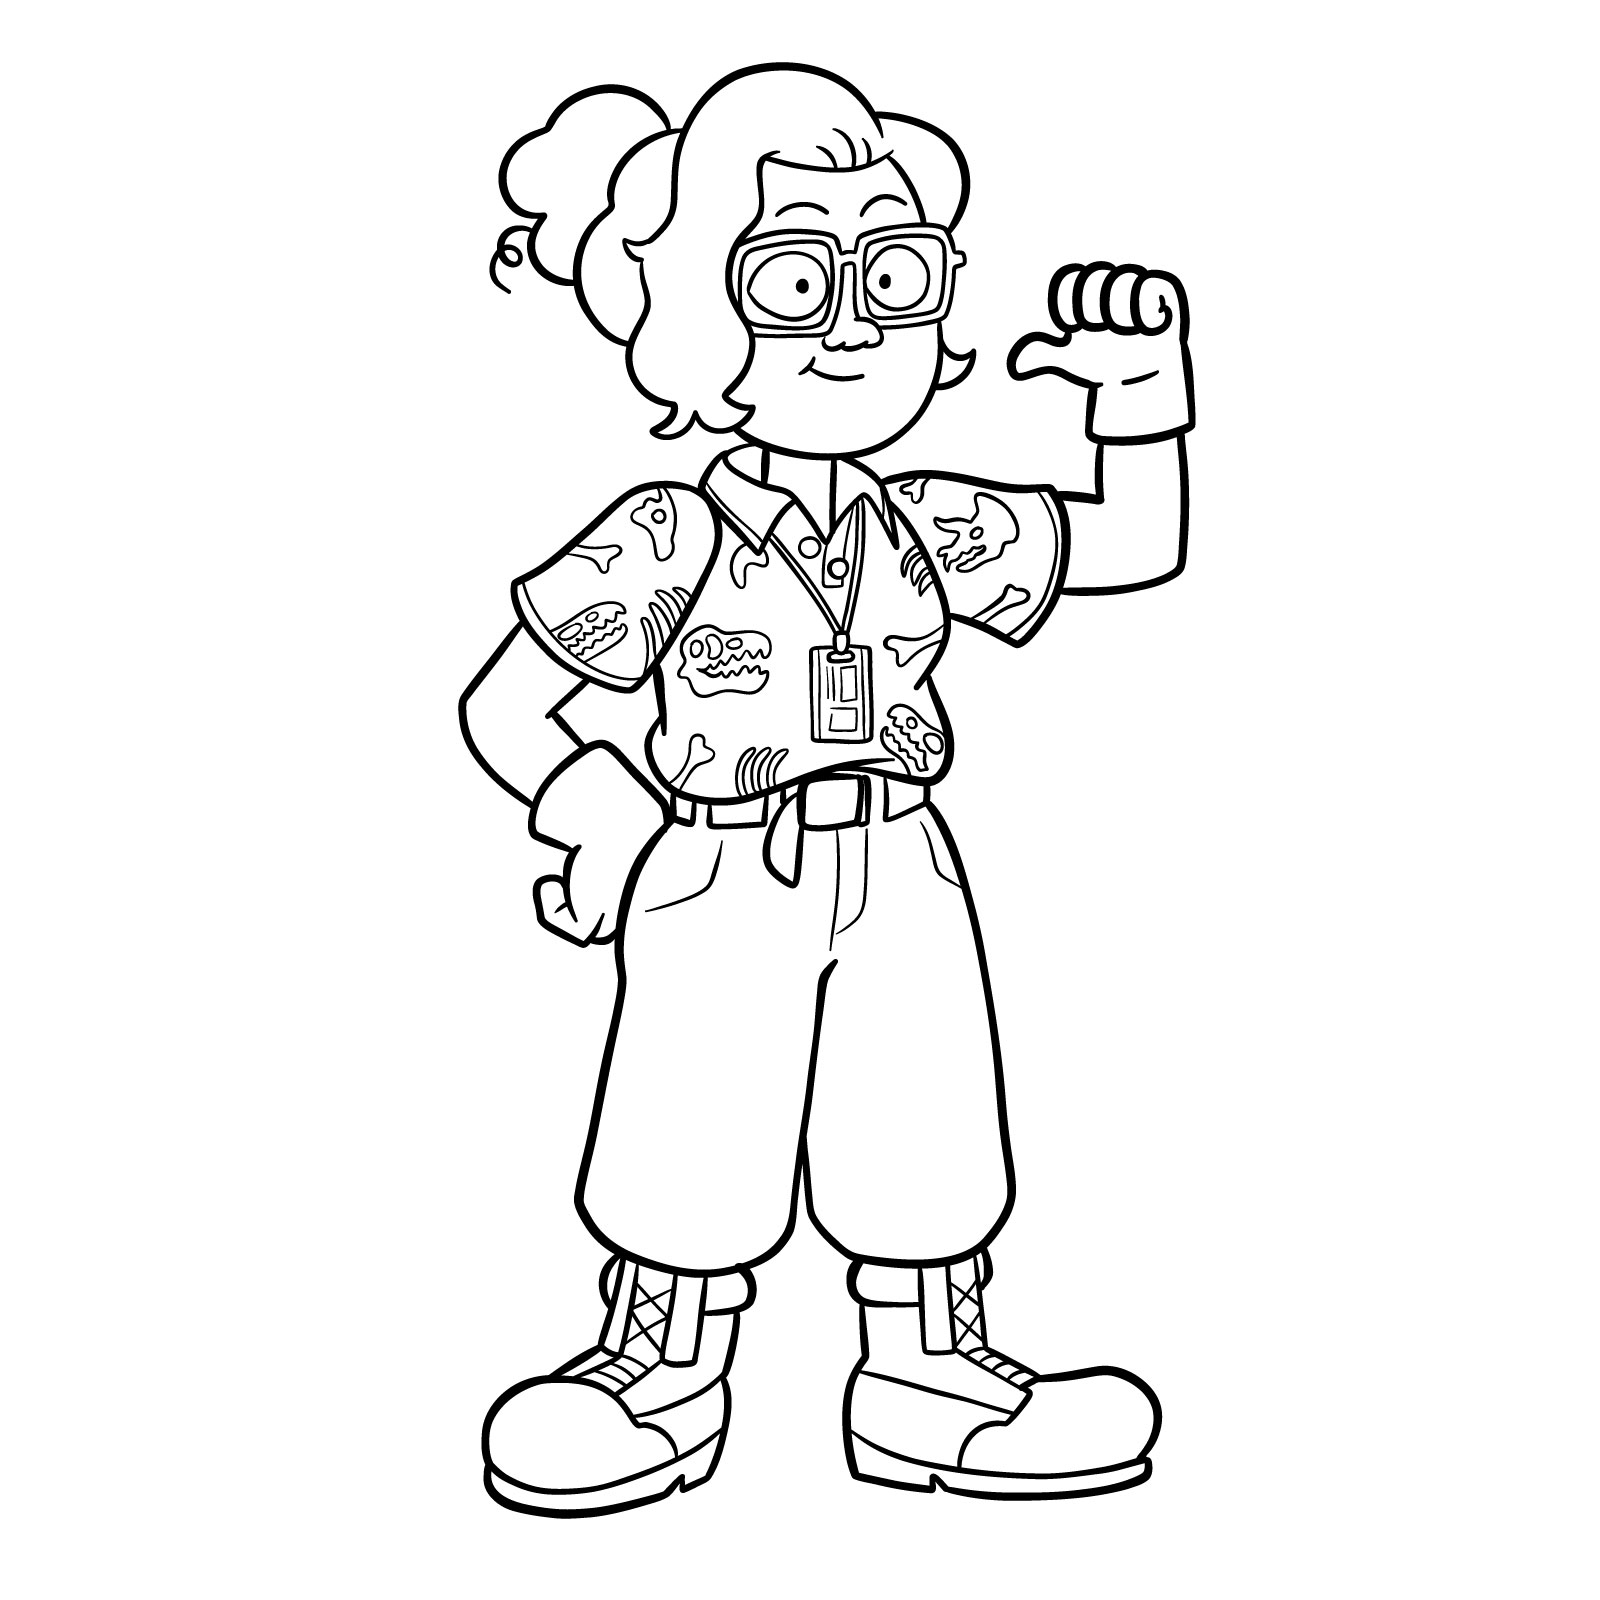
Today, we’re diving straight into a step-by-step guide on how to draw Dr. Jan from Amphibia. As the Museum of Natural History’s curator and a new ally to Anne and the Plantars, Dr. Jan’s character is as dynamic as her passion for cryptids and UFOs. This tutorial will help you capture her essence, from her distinctive red glasses to her expertly curated museum look. Let’s pick up our pencils and begin this artistic endeavor together.
Key Features of Dr. Jan’s Appearance
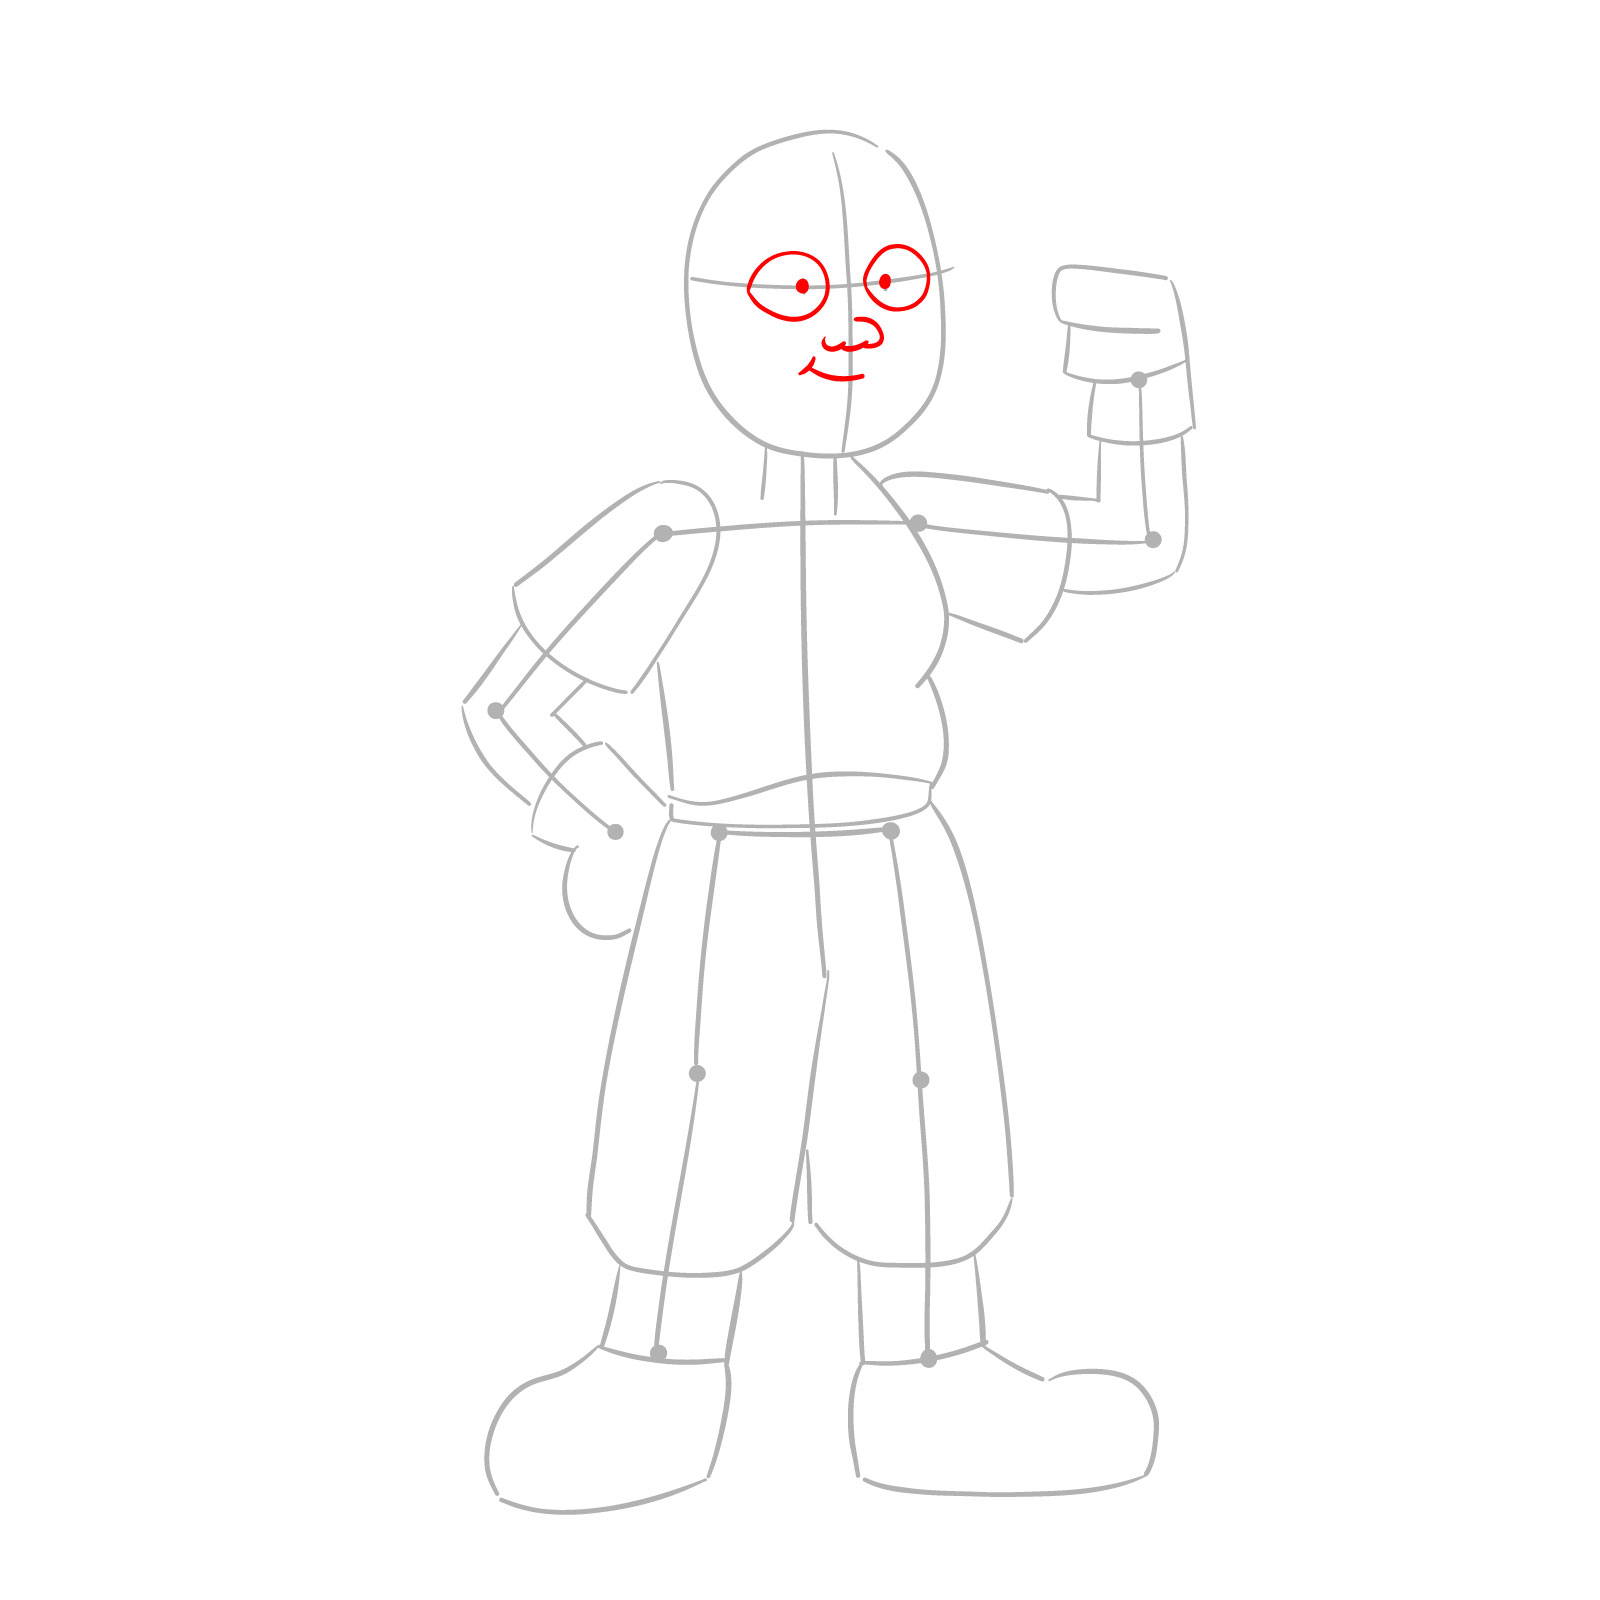
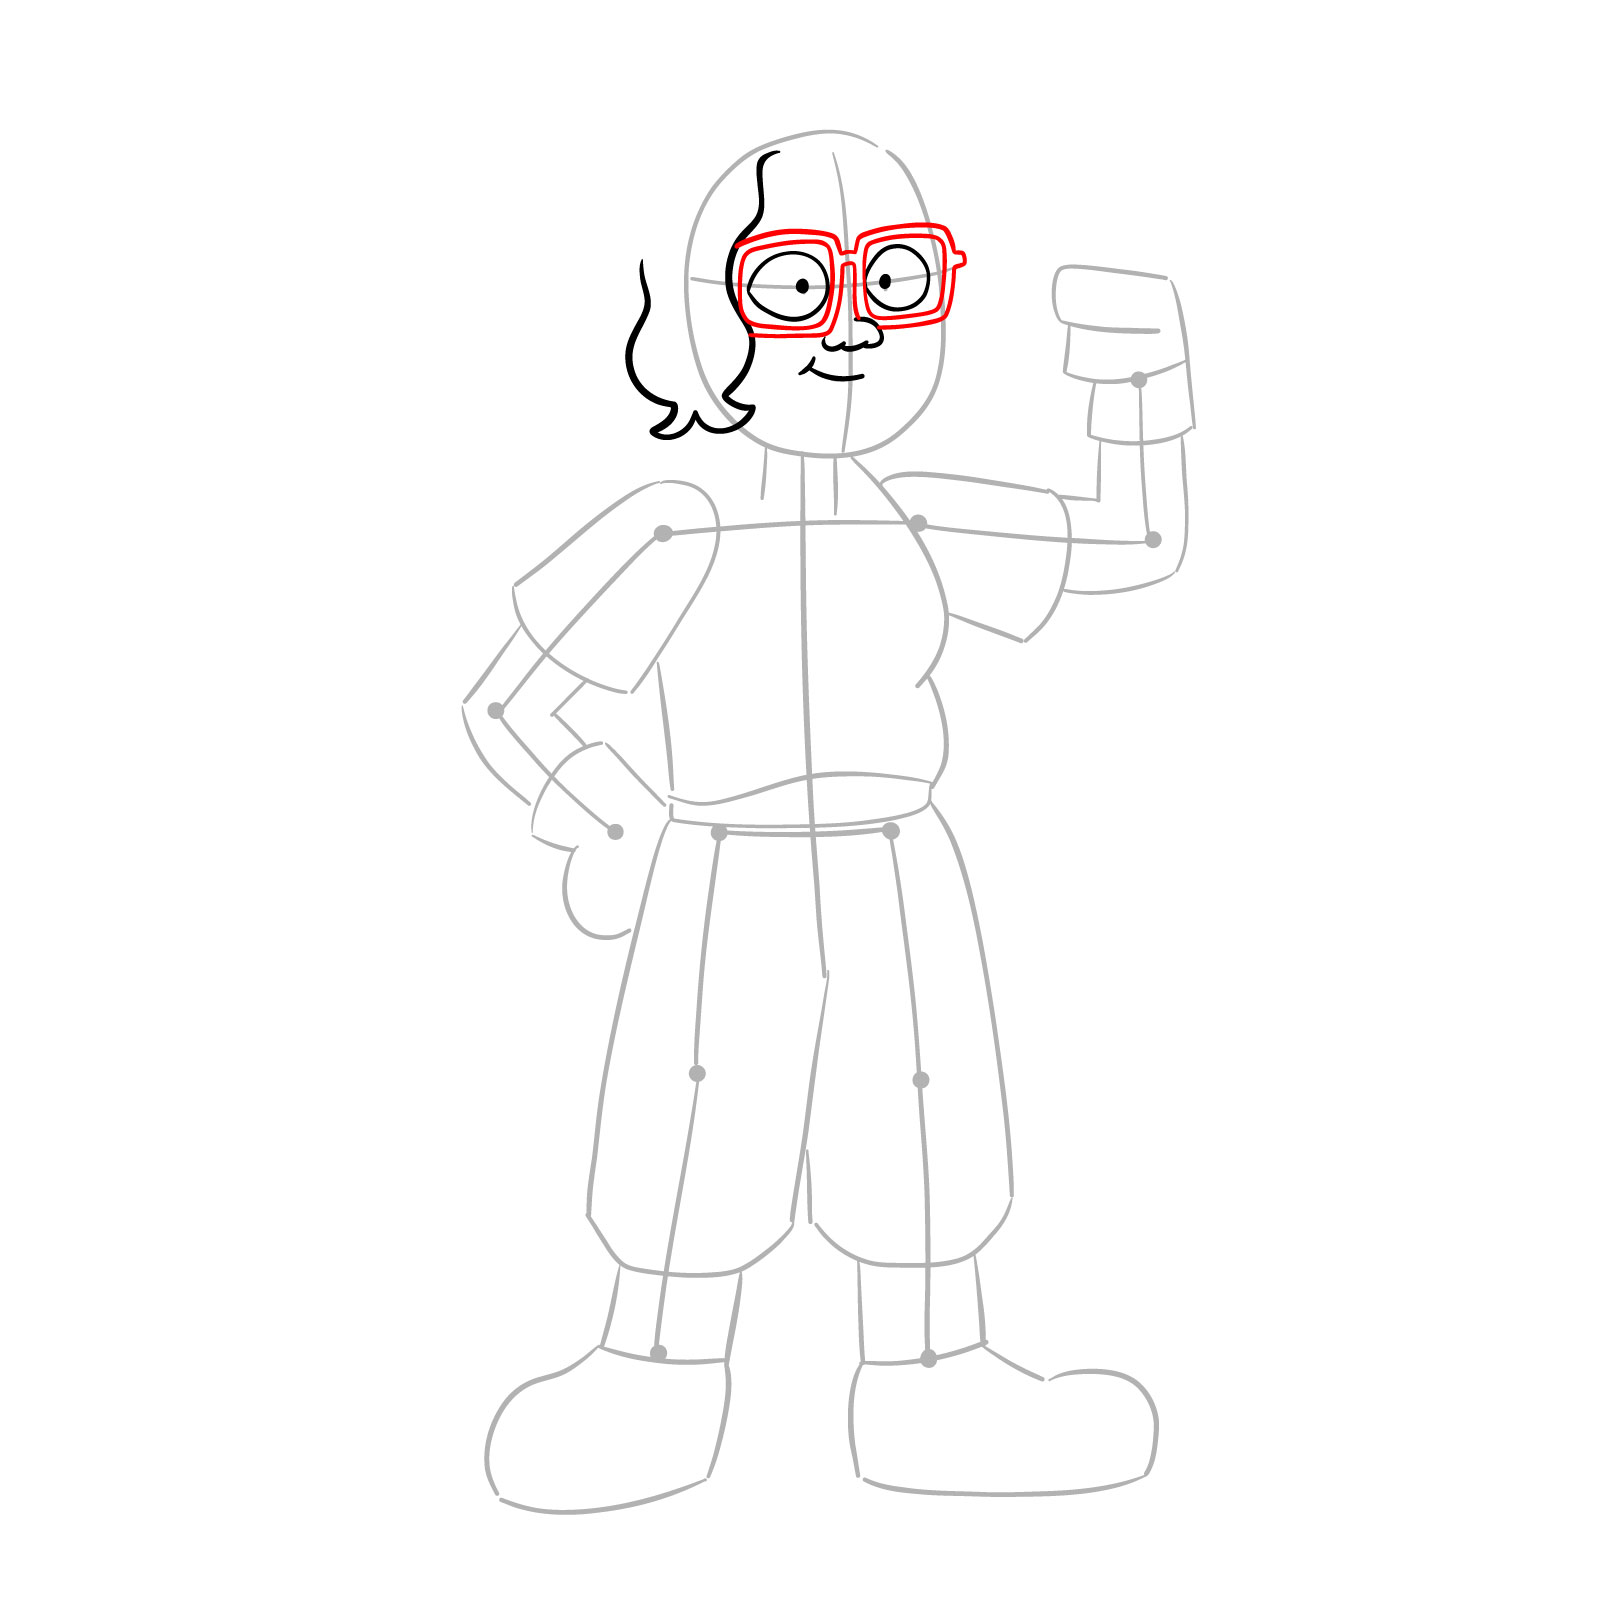
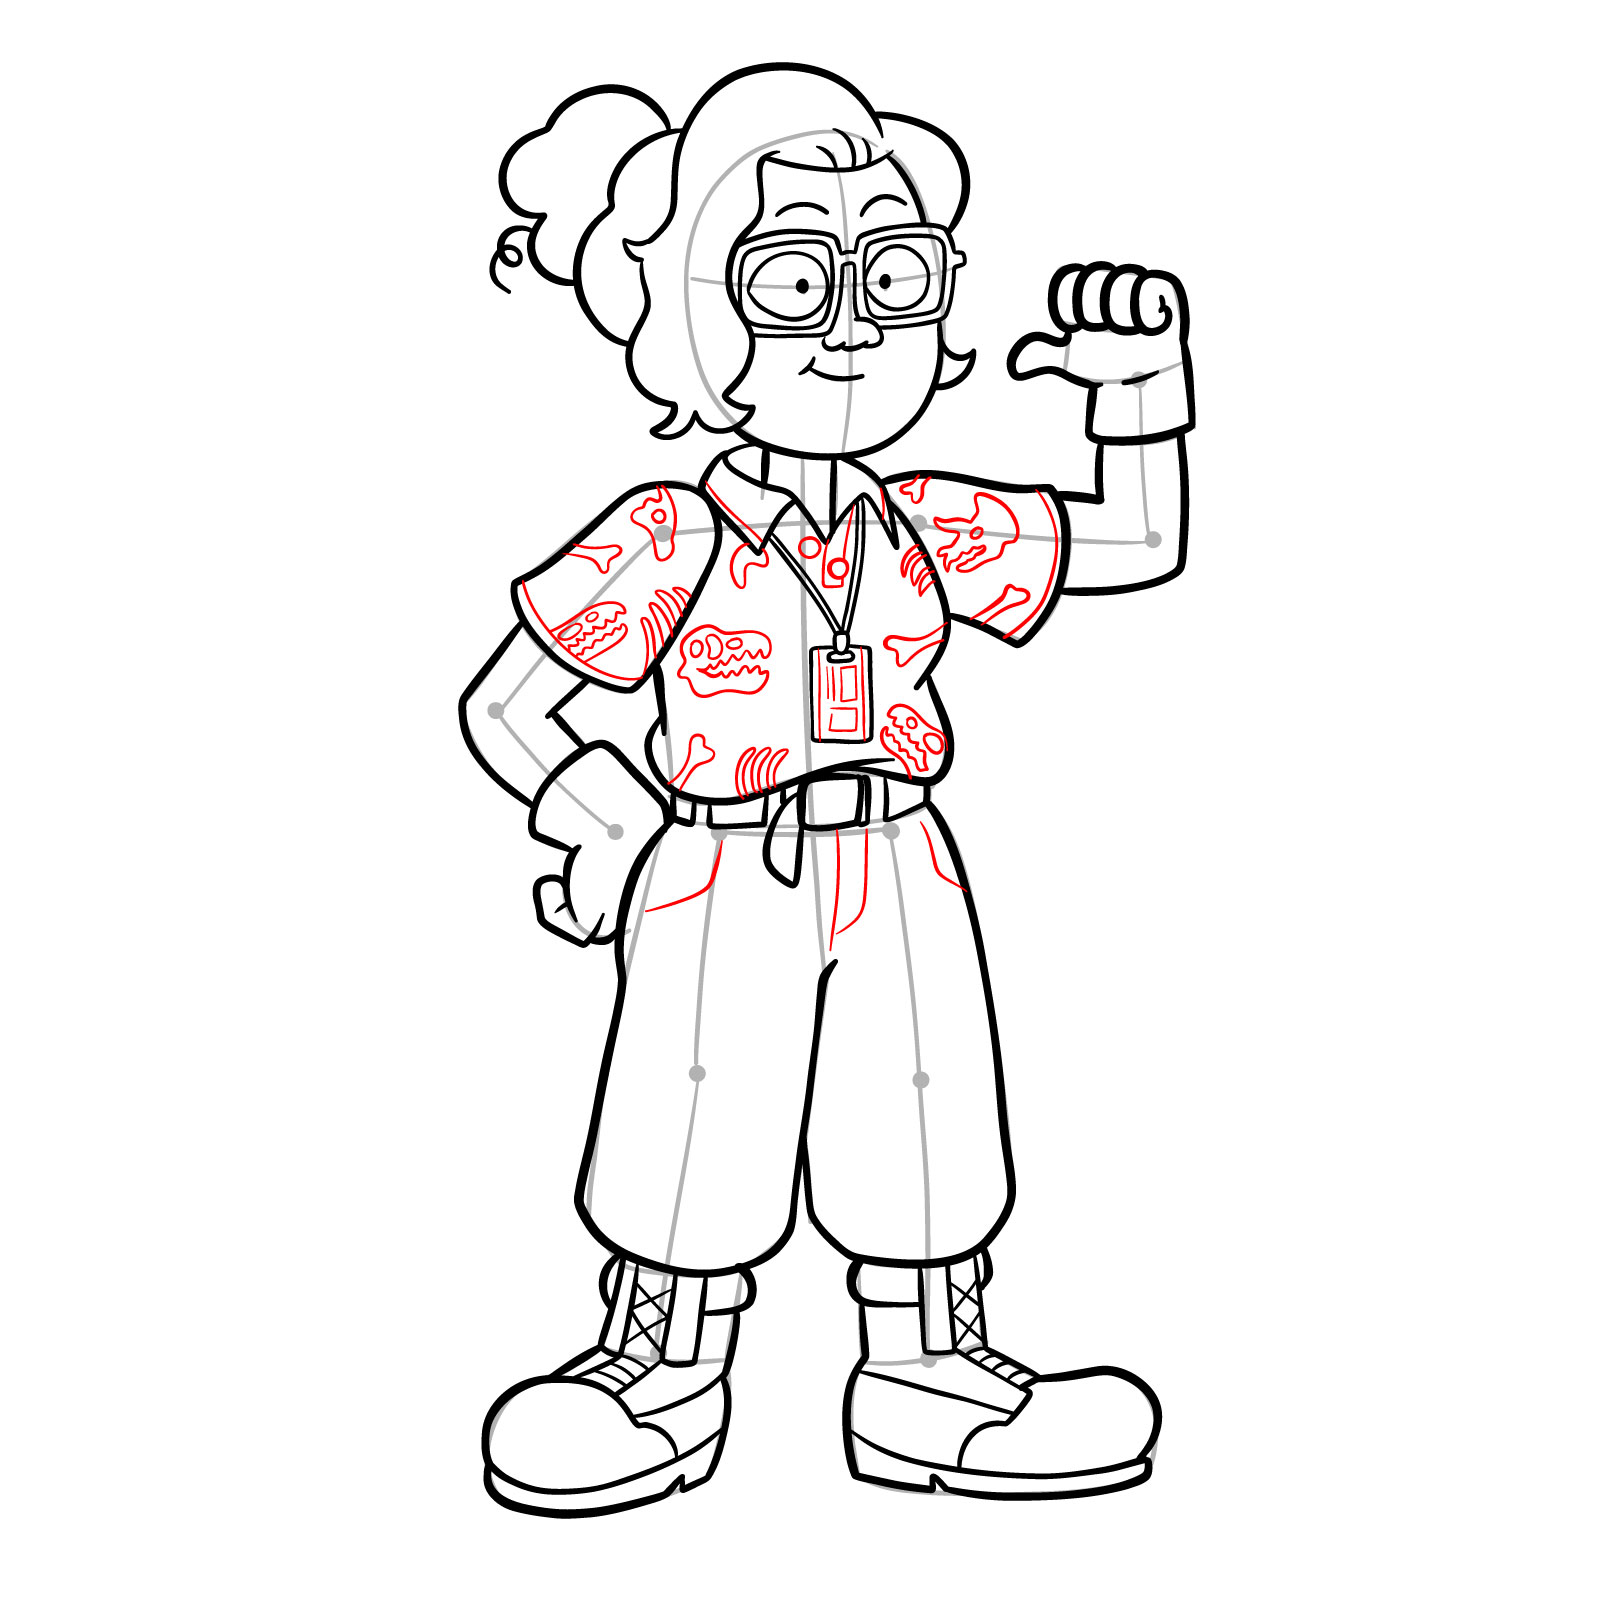
- Glasses: Dr. Jan’s red glasses are not just a fashion statement but an essential part of her identity, symbolizing her scholarly pursuits.
- Outfit: Her yellow shirt printed with dinosaur skeletons is a nod to her role at the museum and her khaki pants paired with a black belt add to her professional look.
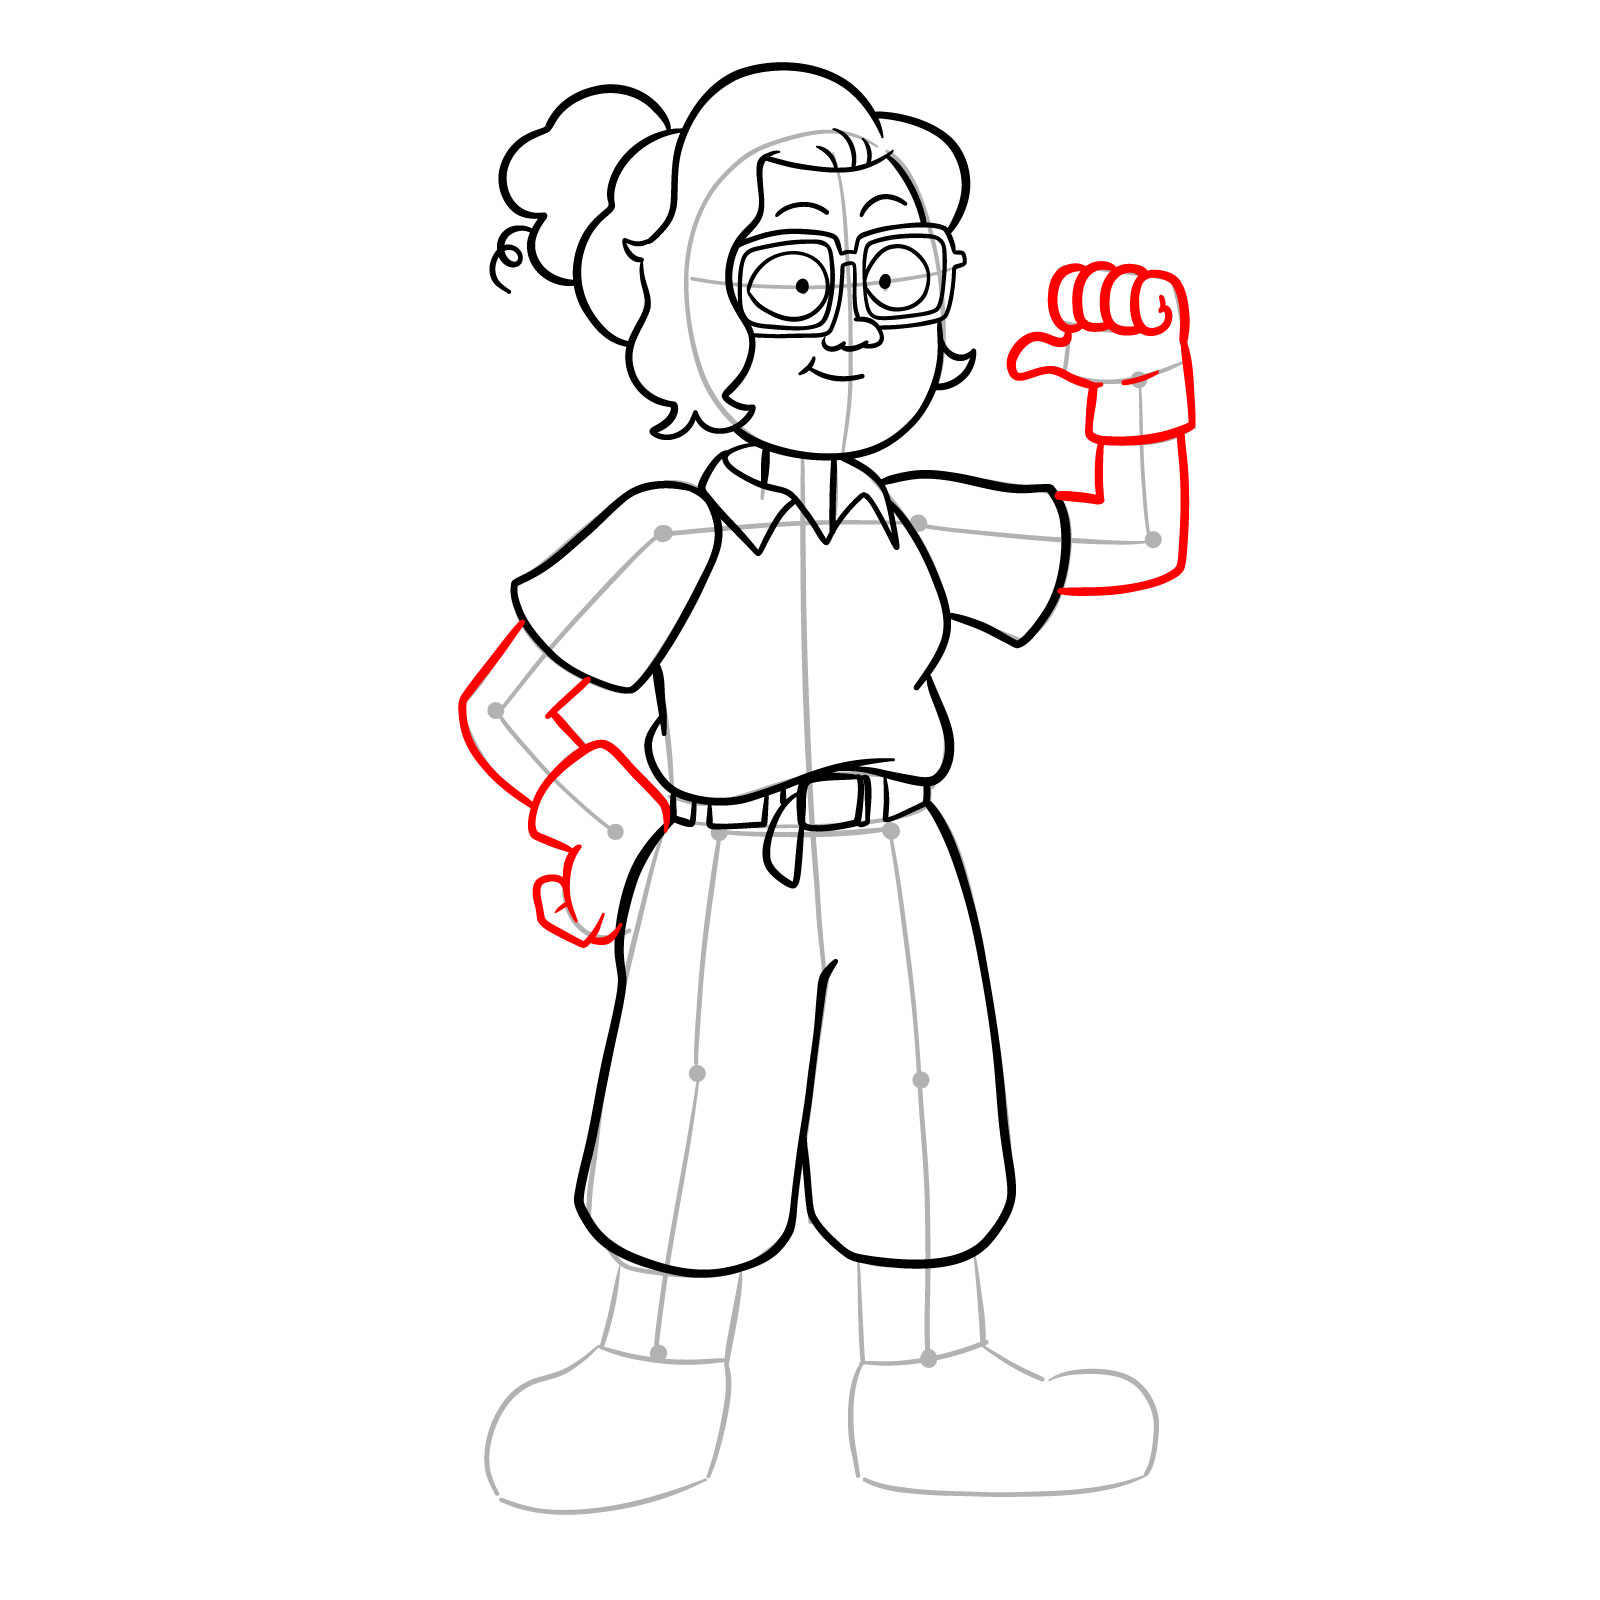
- Gloves: The yellowish white gloves she dons signify the careful handling of priceless artifacts and her hands-on approach in her field.
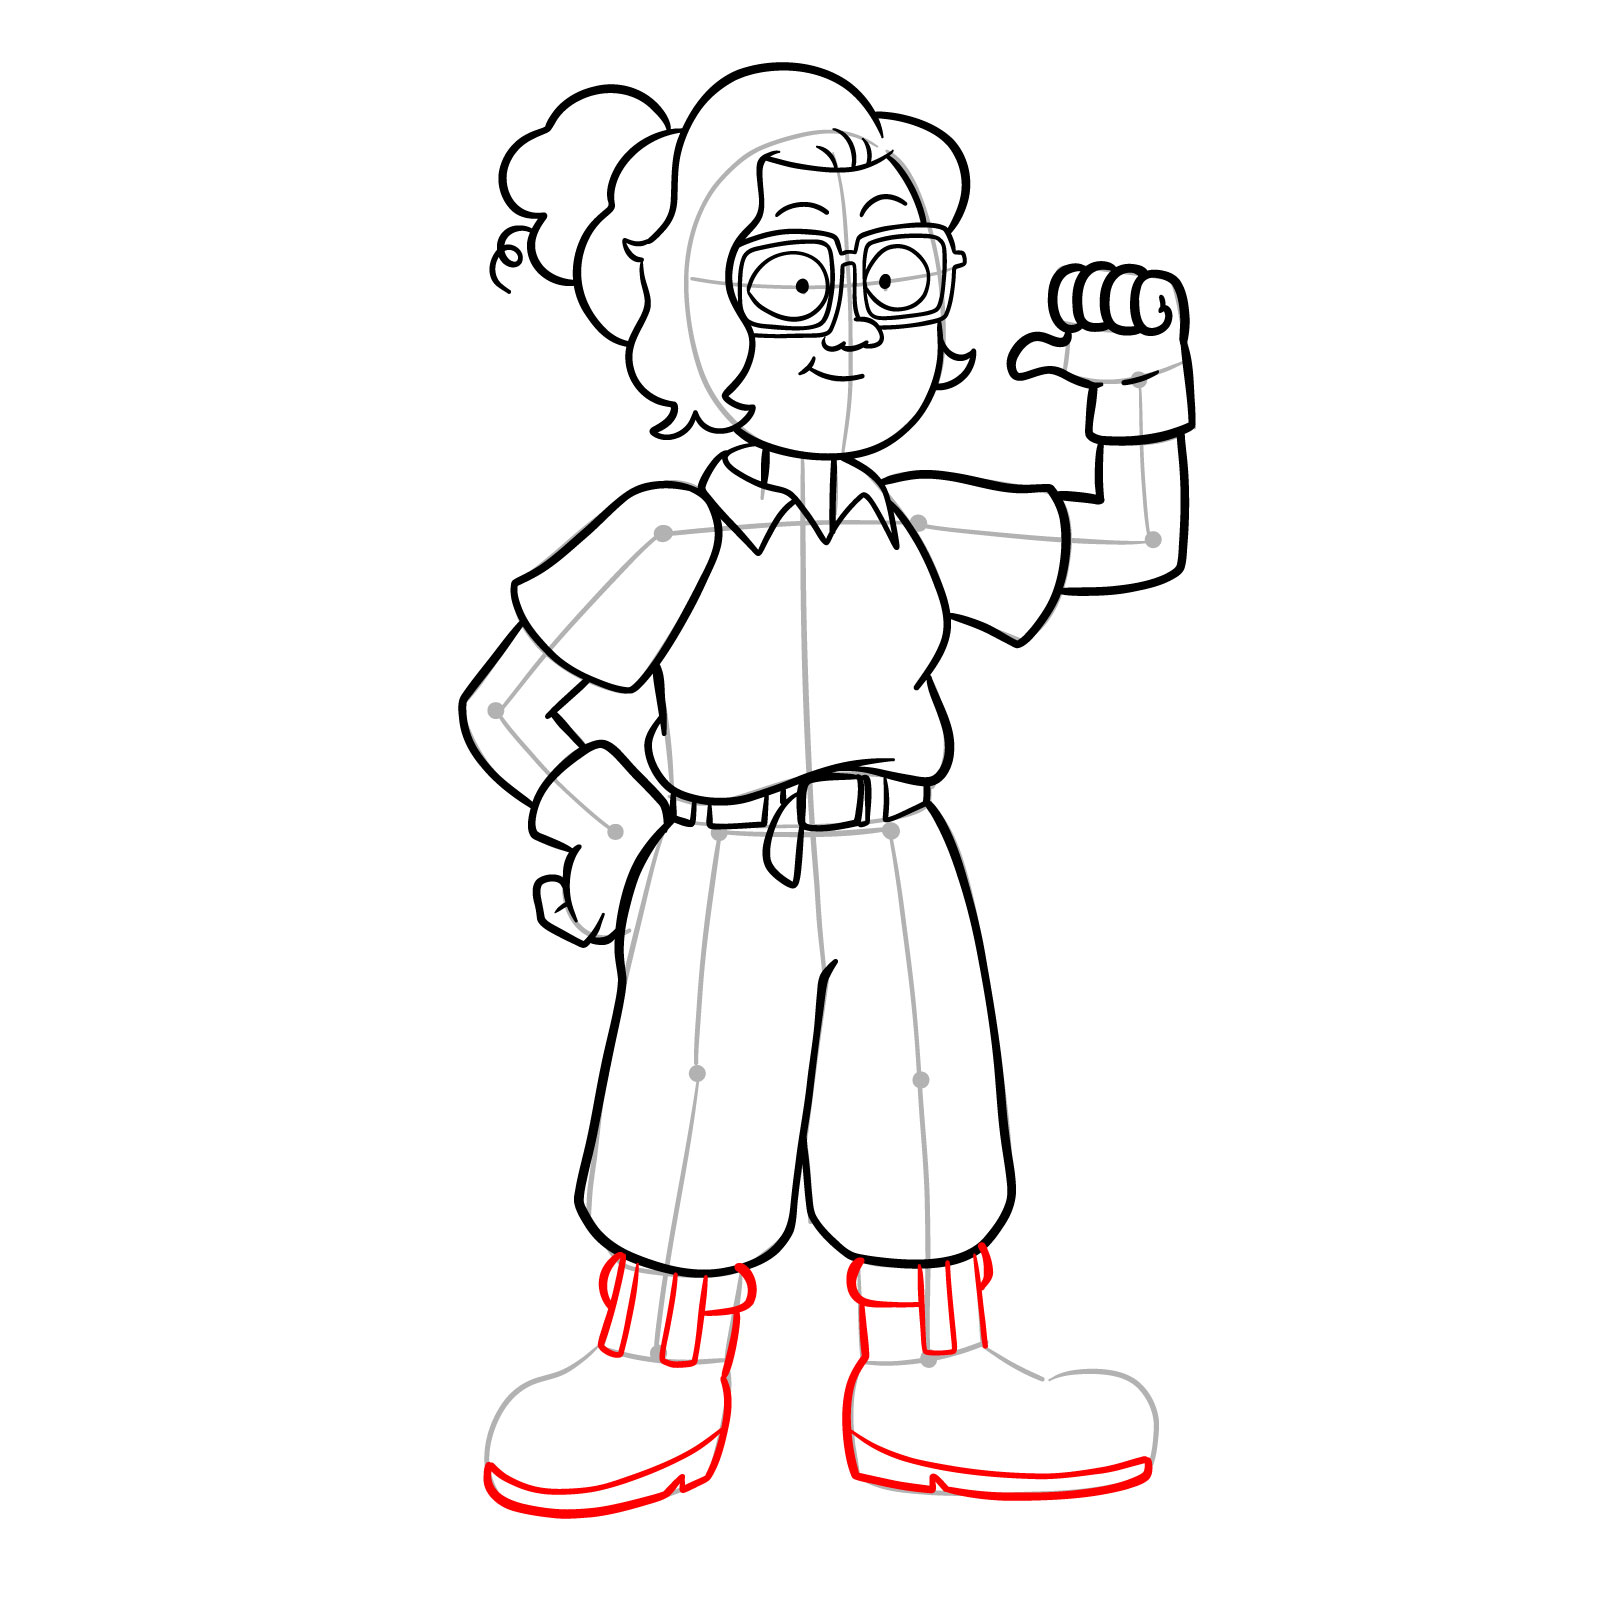
- Footwear: Dr. Jan’s purple-grey boots are both practical and stylish, representing her readiness for adventure.
- When drawing Dr. Jan, consider also exploring the relationships and scenes with characters like Anne, Sprig, or Polly, to create a narrative in your artwork.
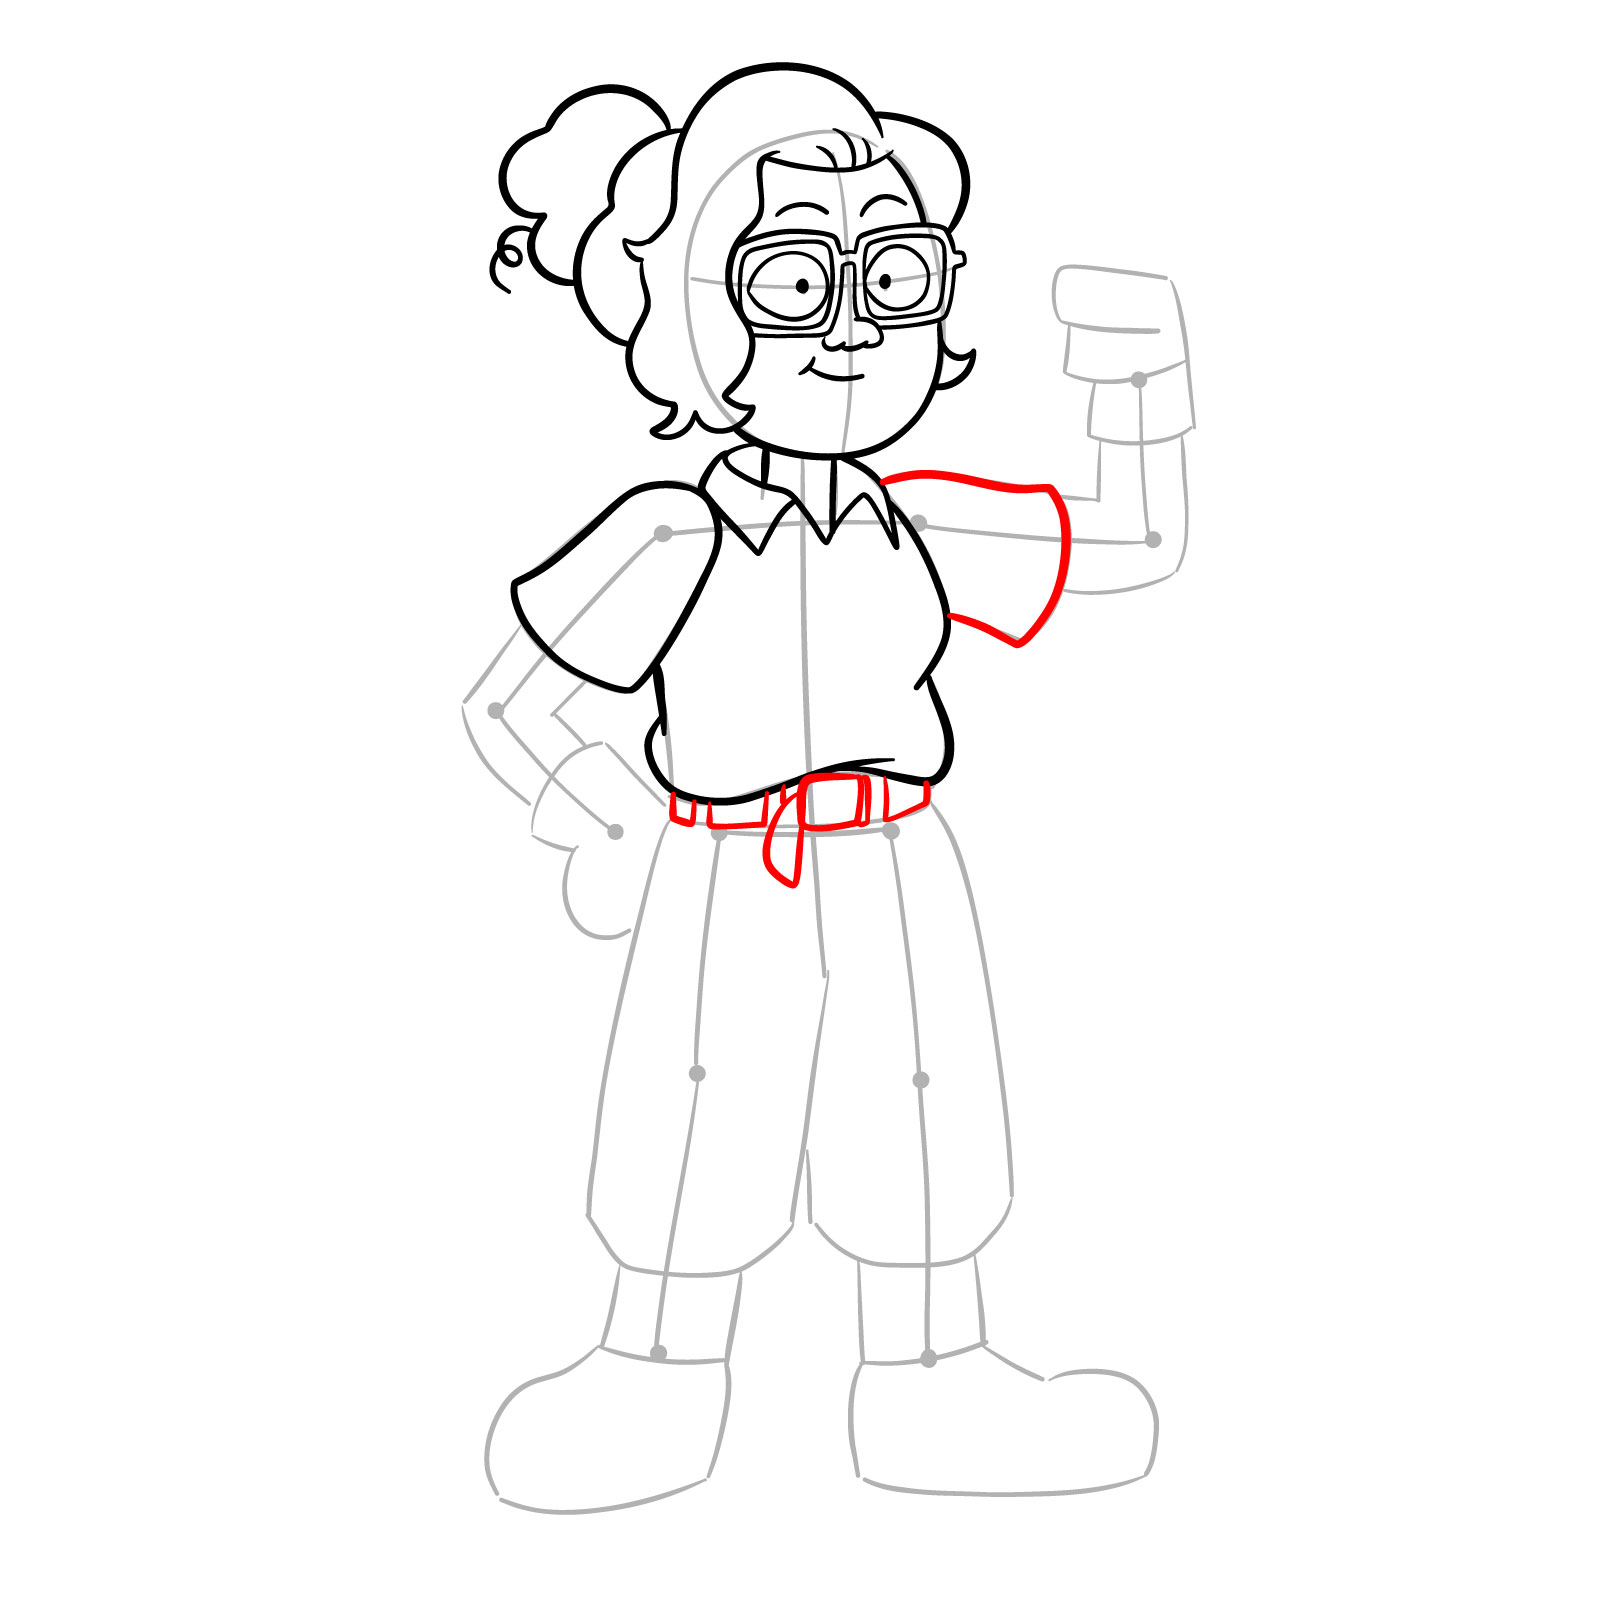
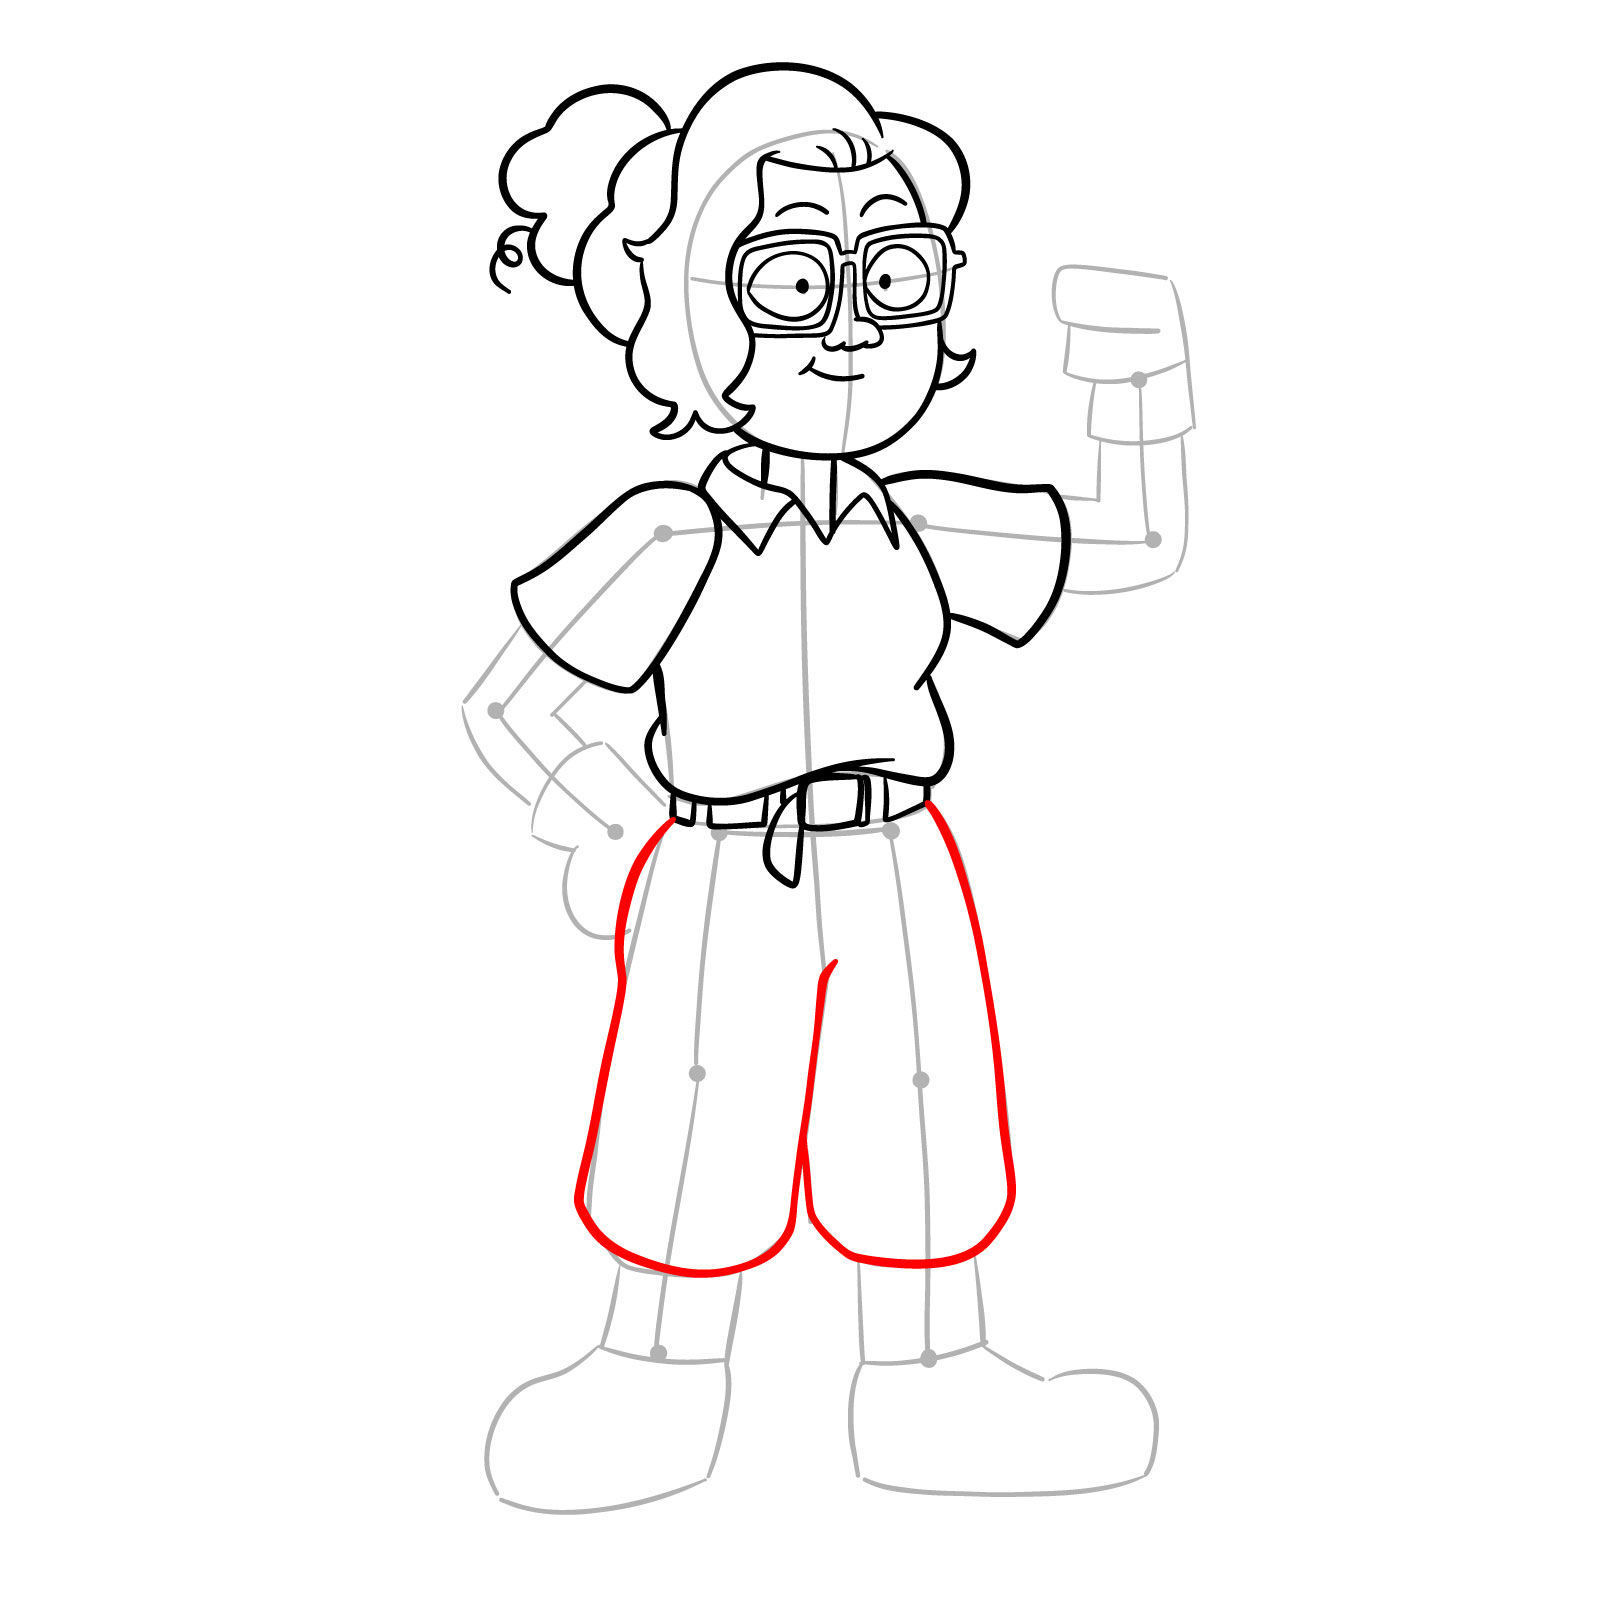
Dr. Jan Drawing Guide Breakdown
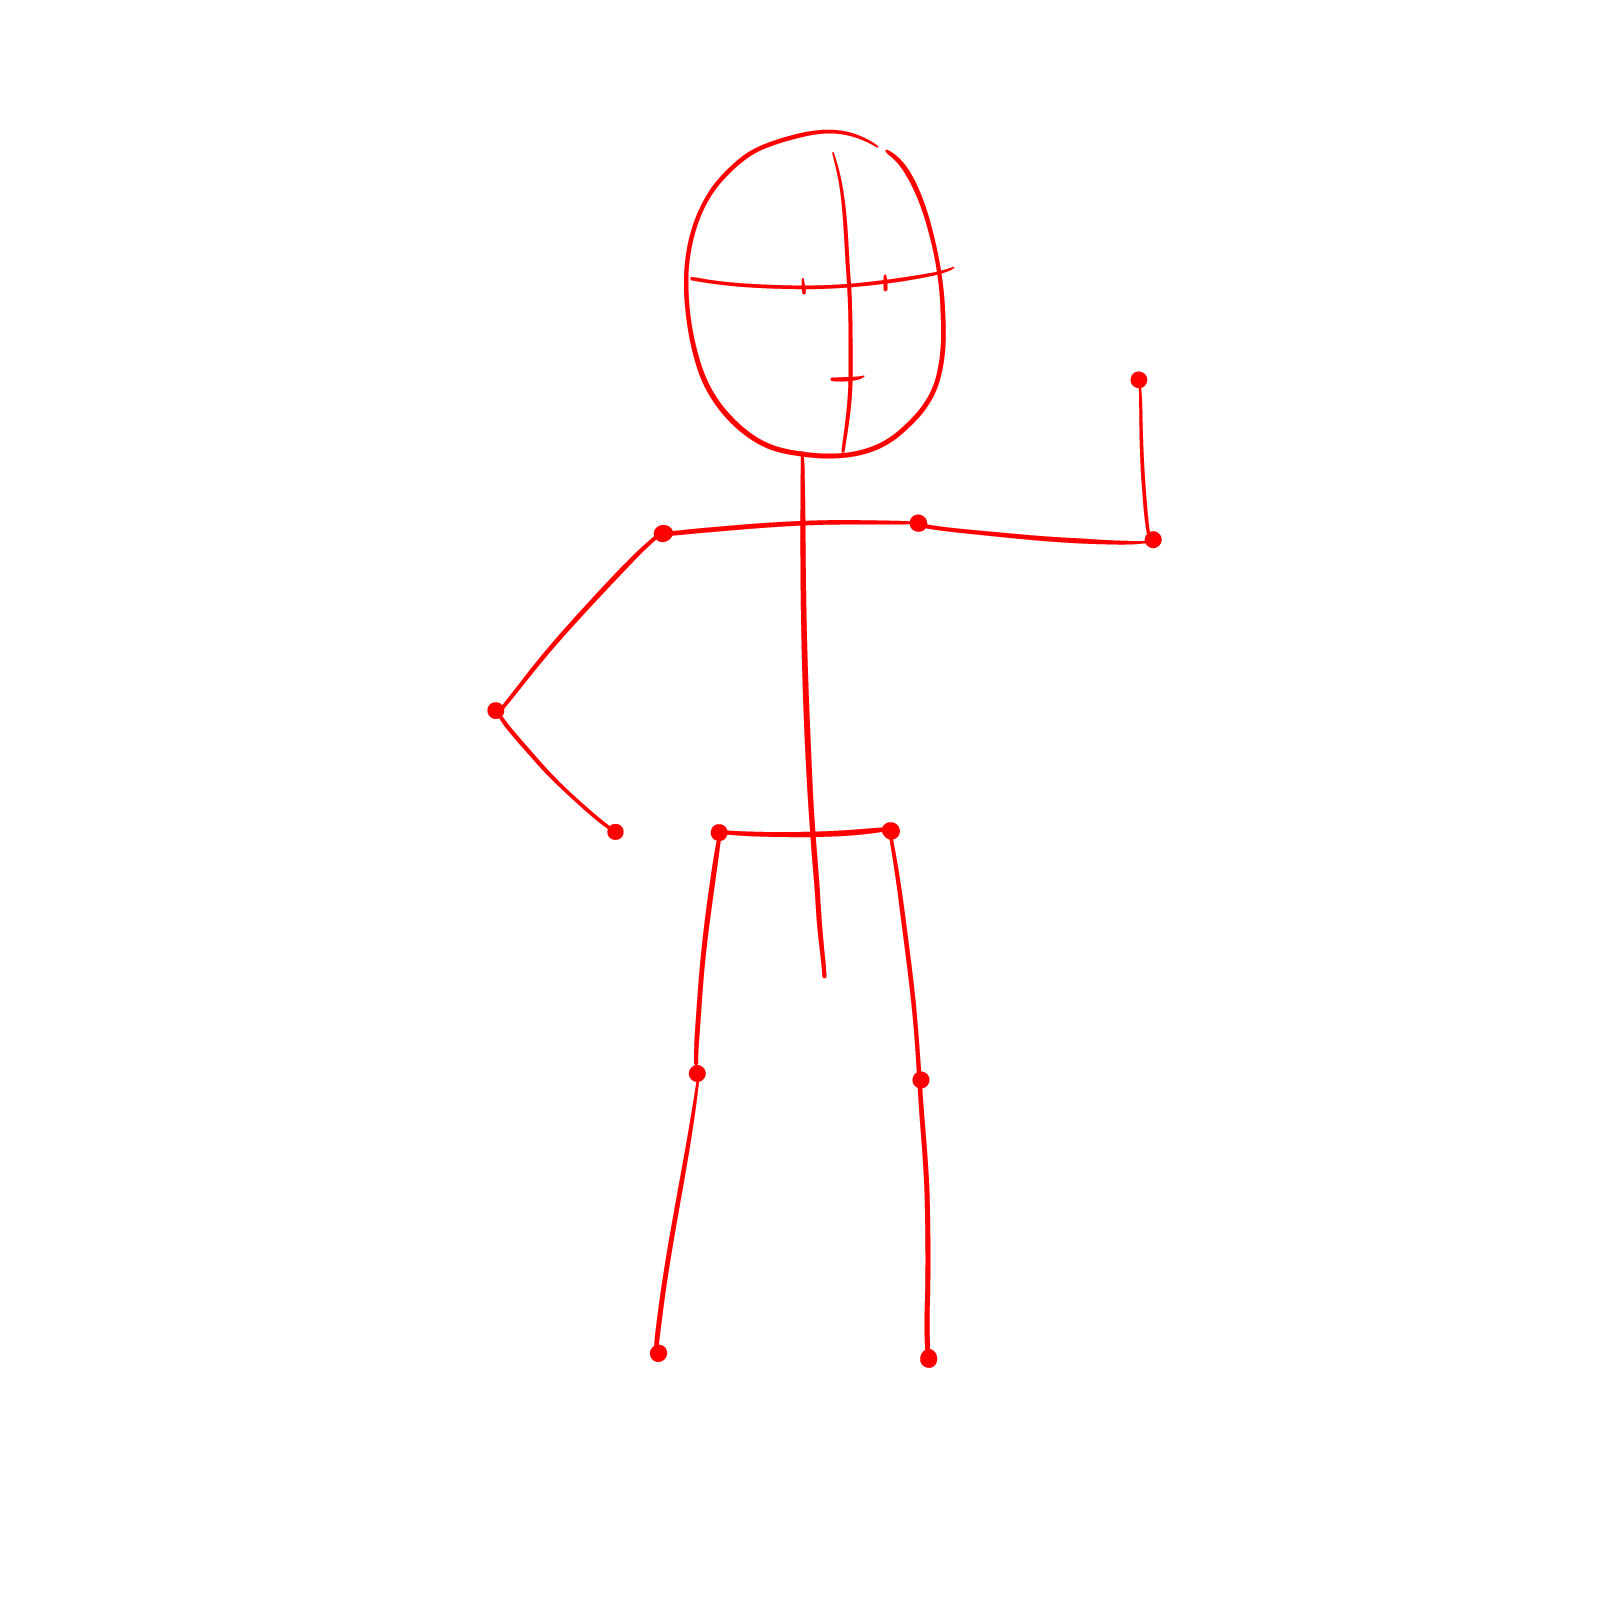
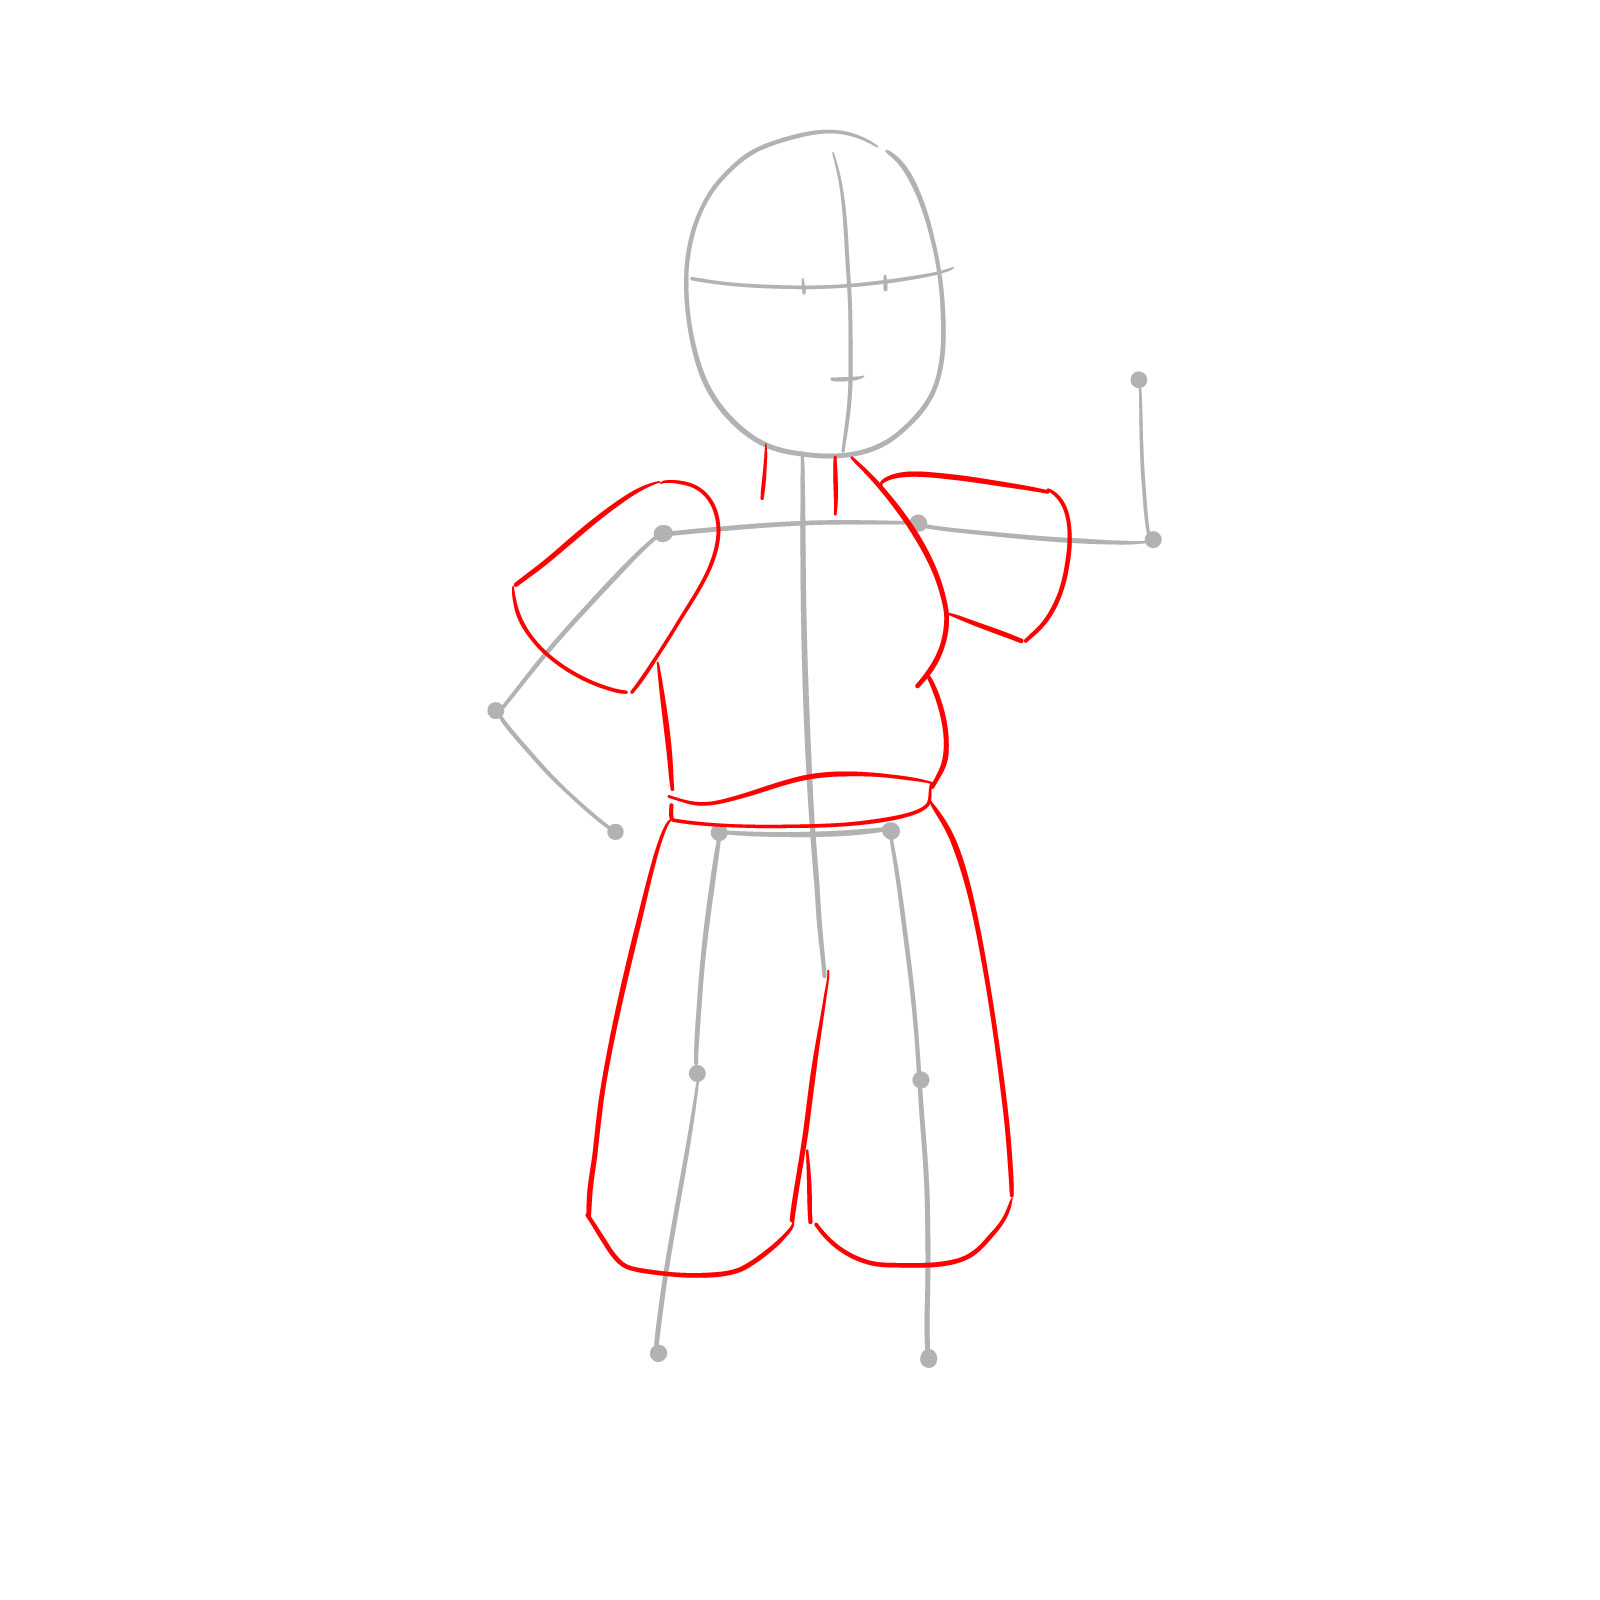
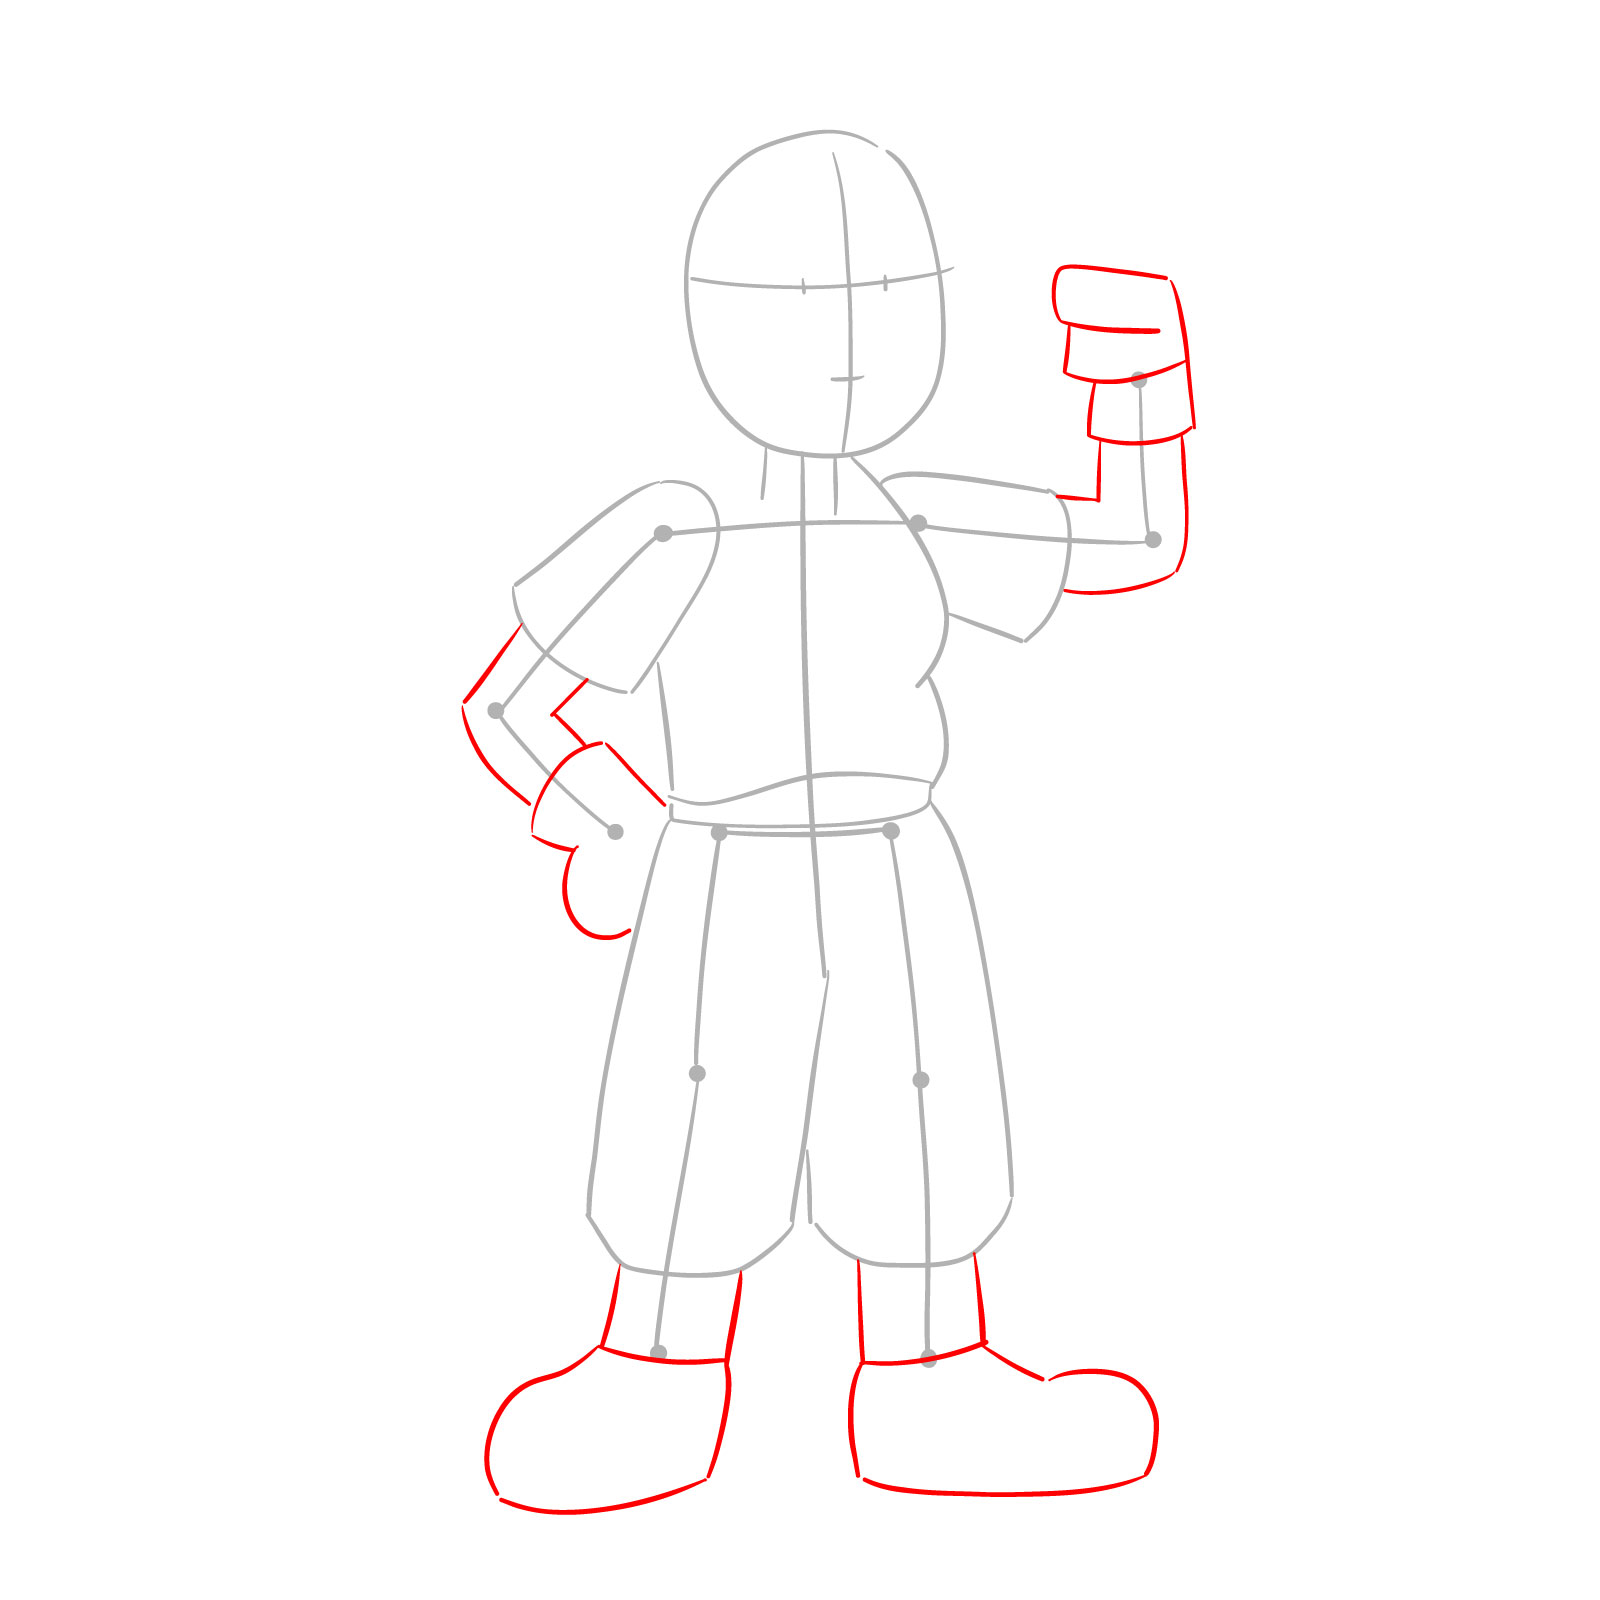
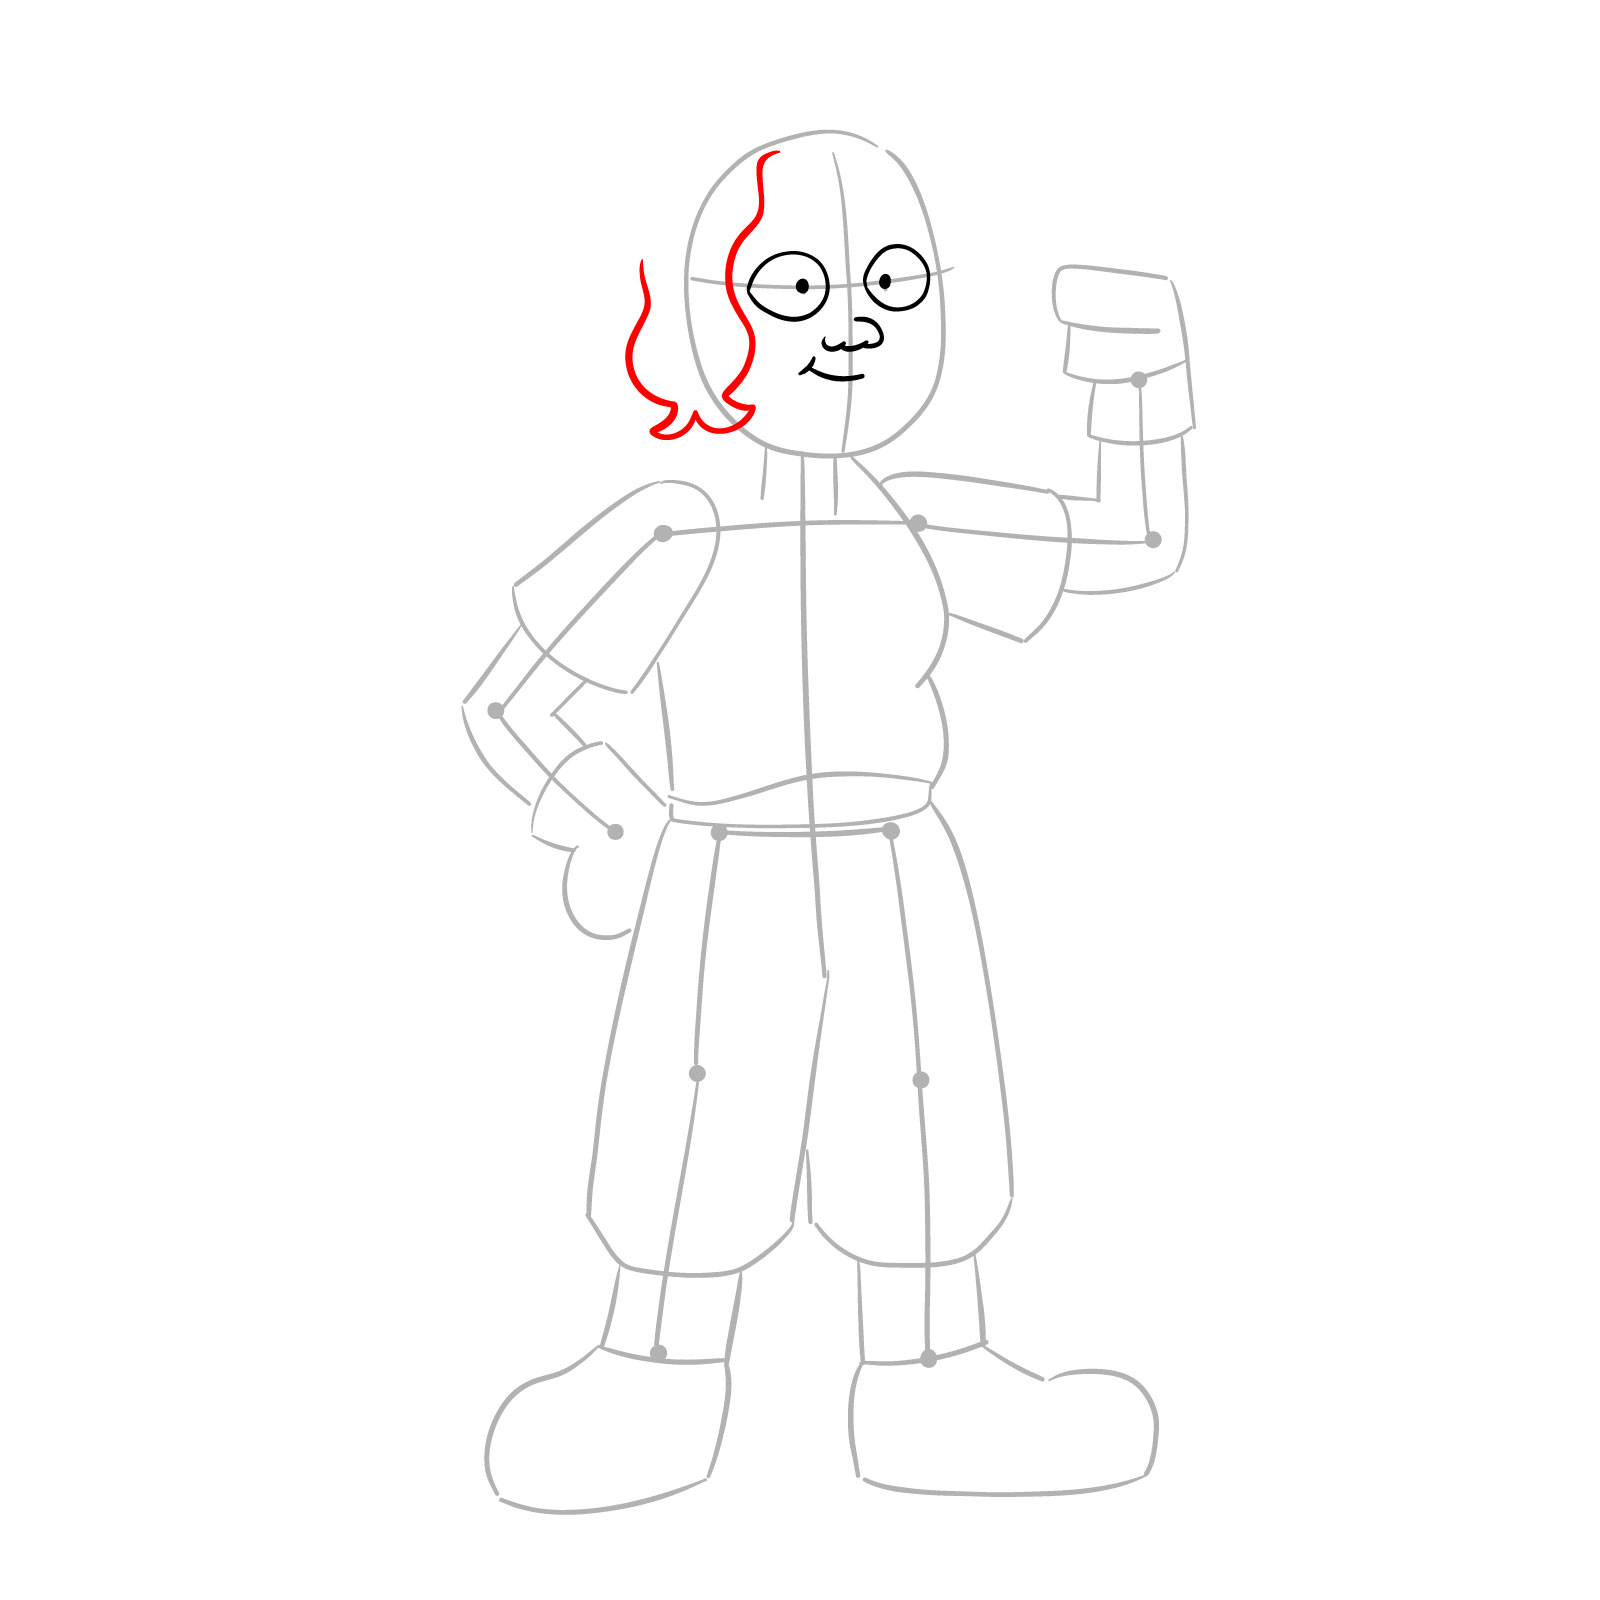
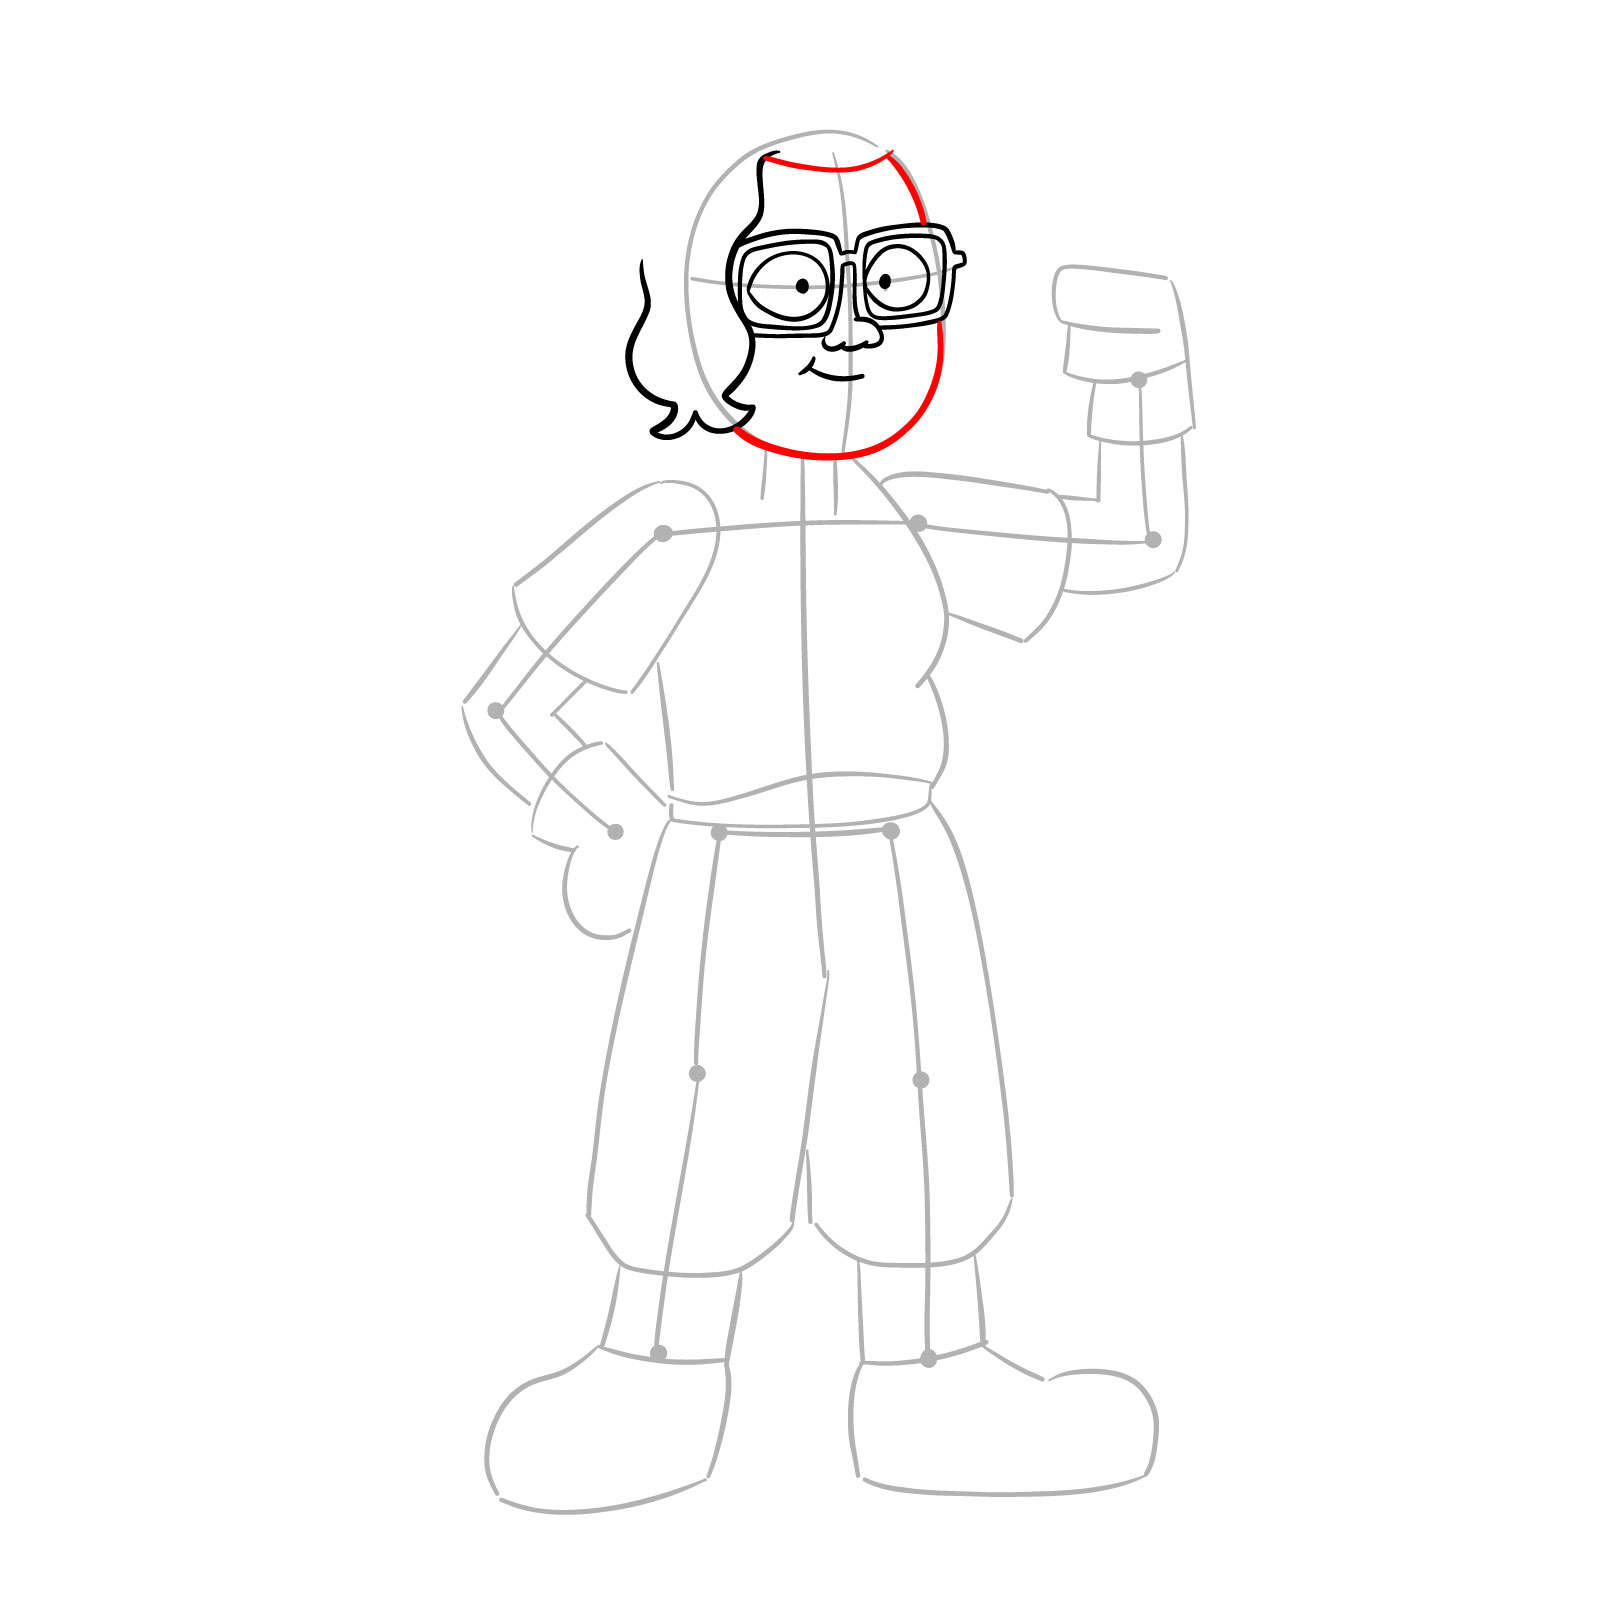
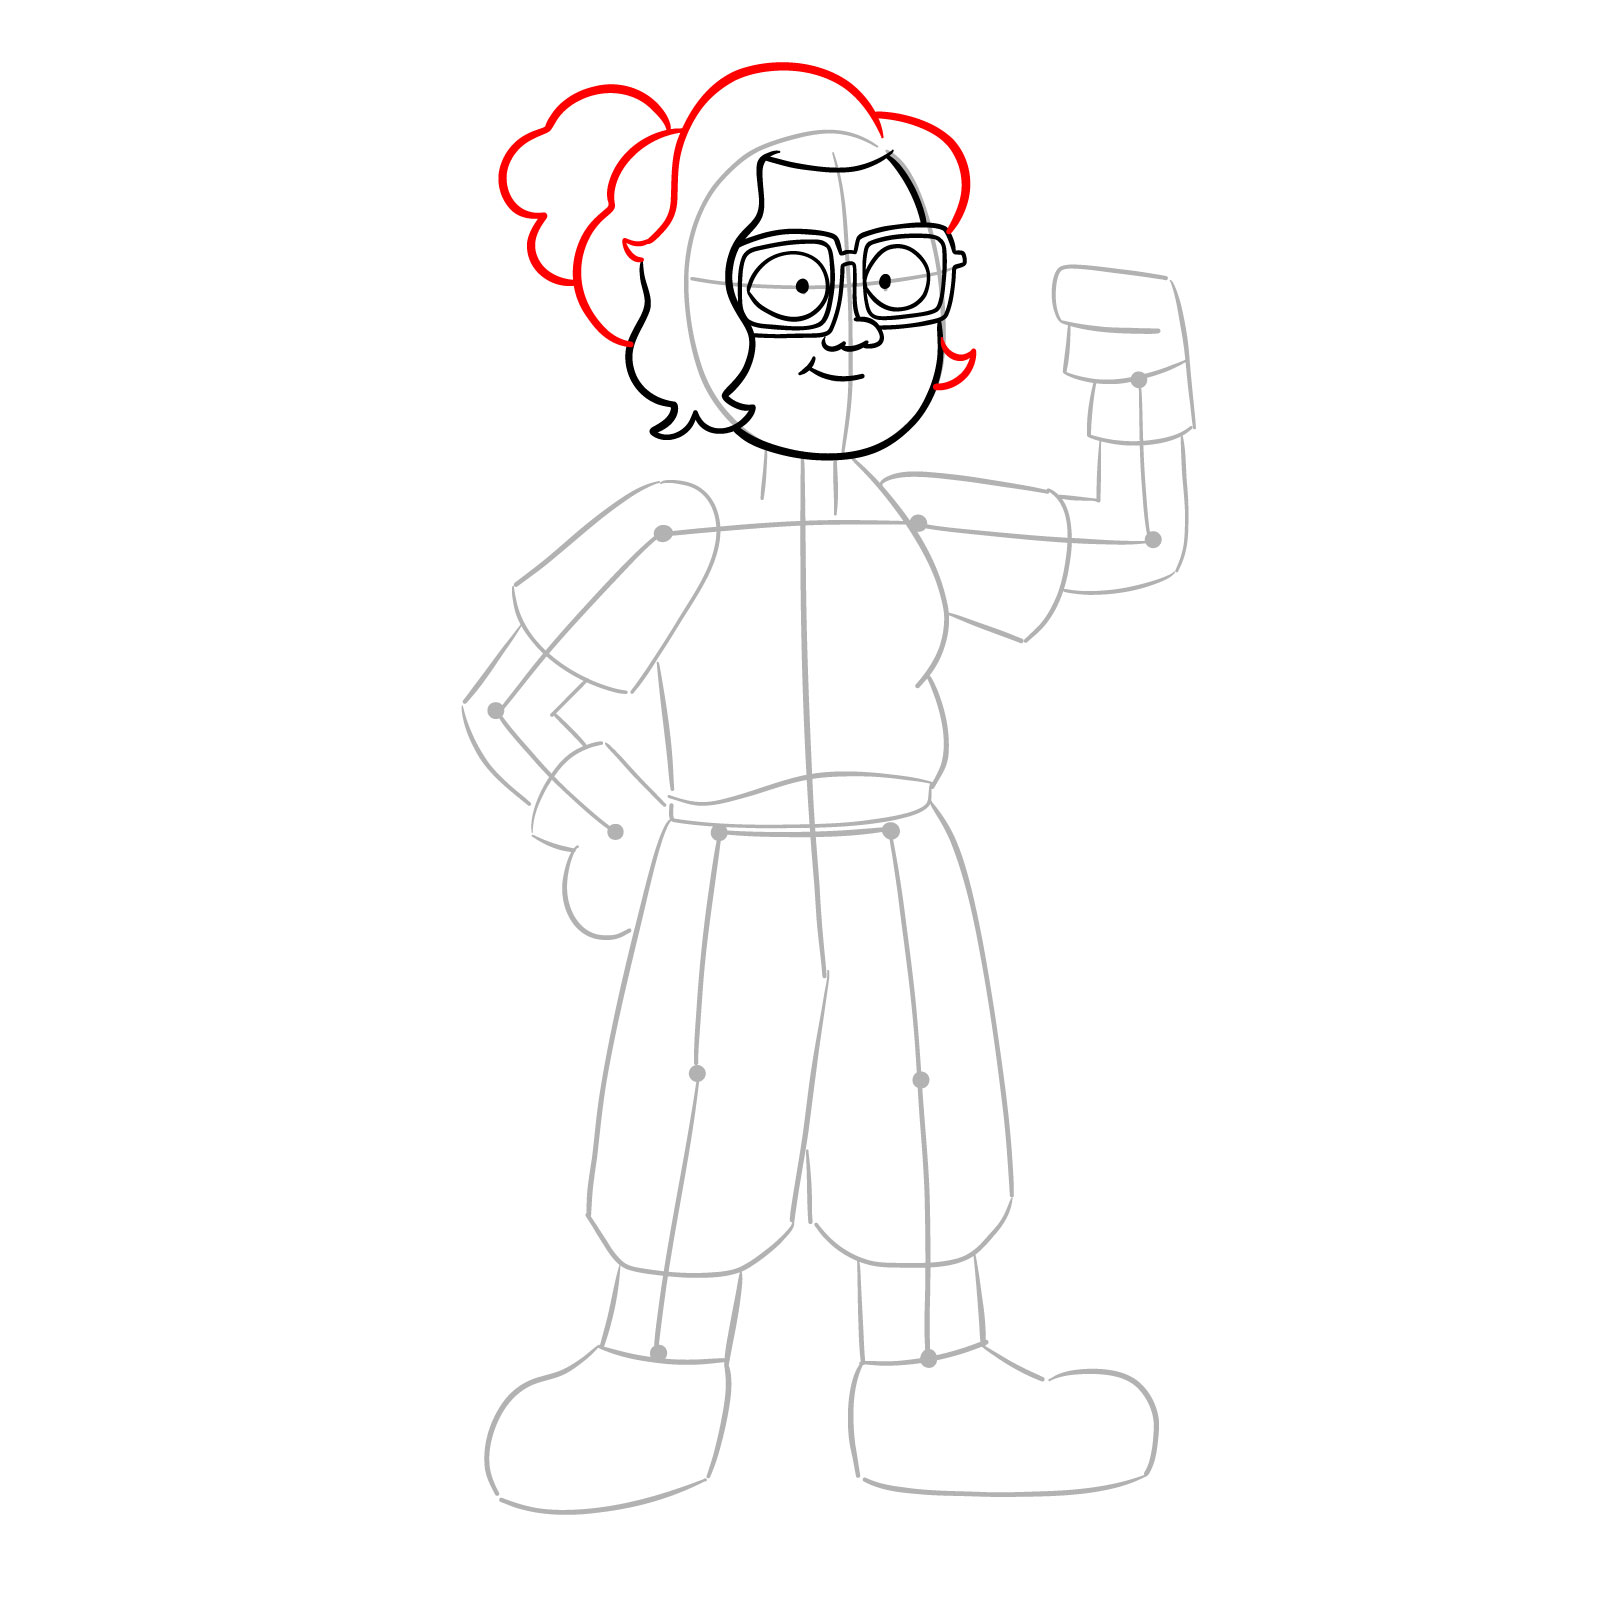
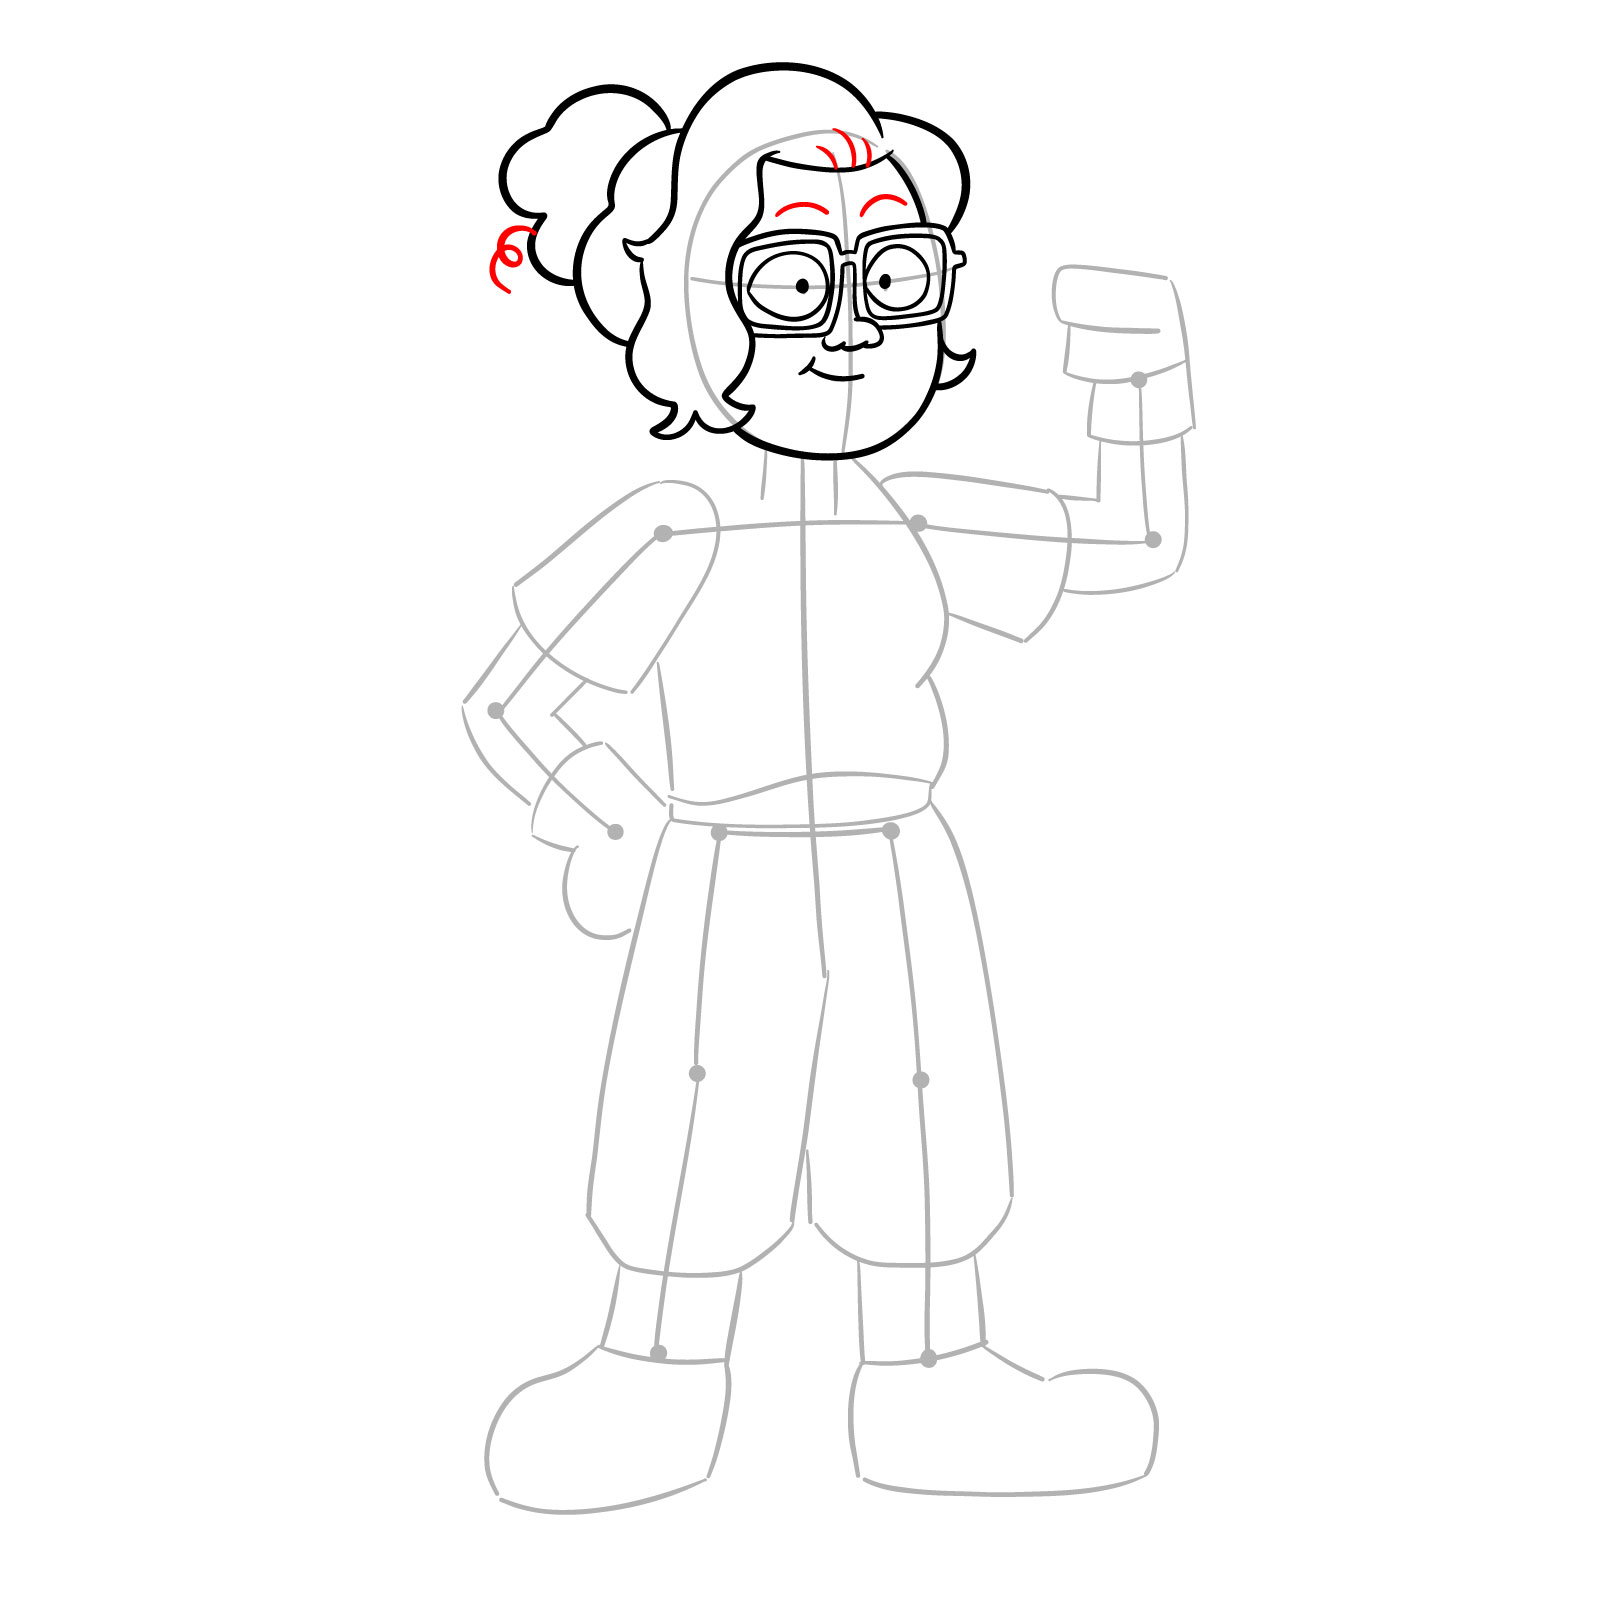
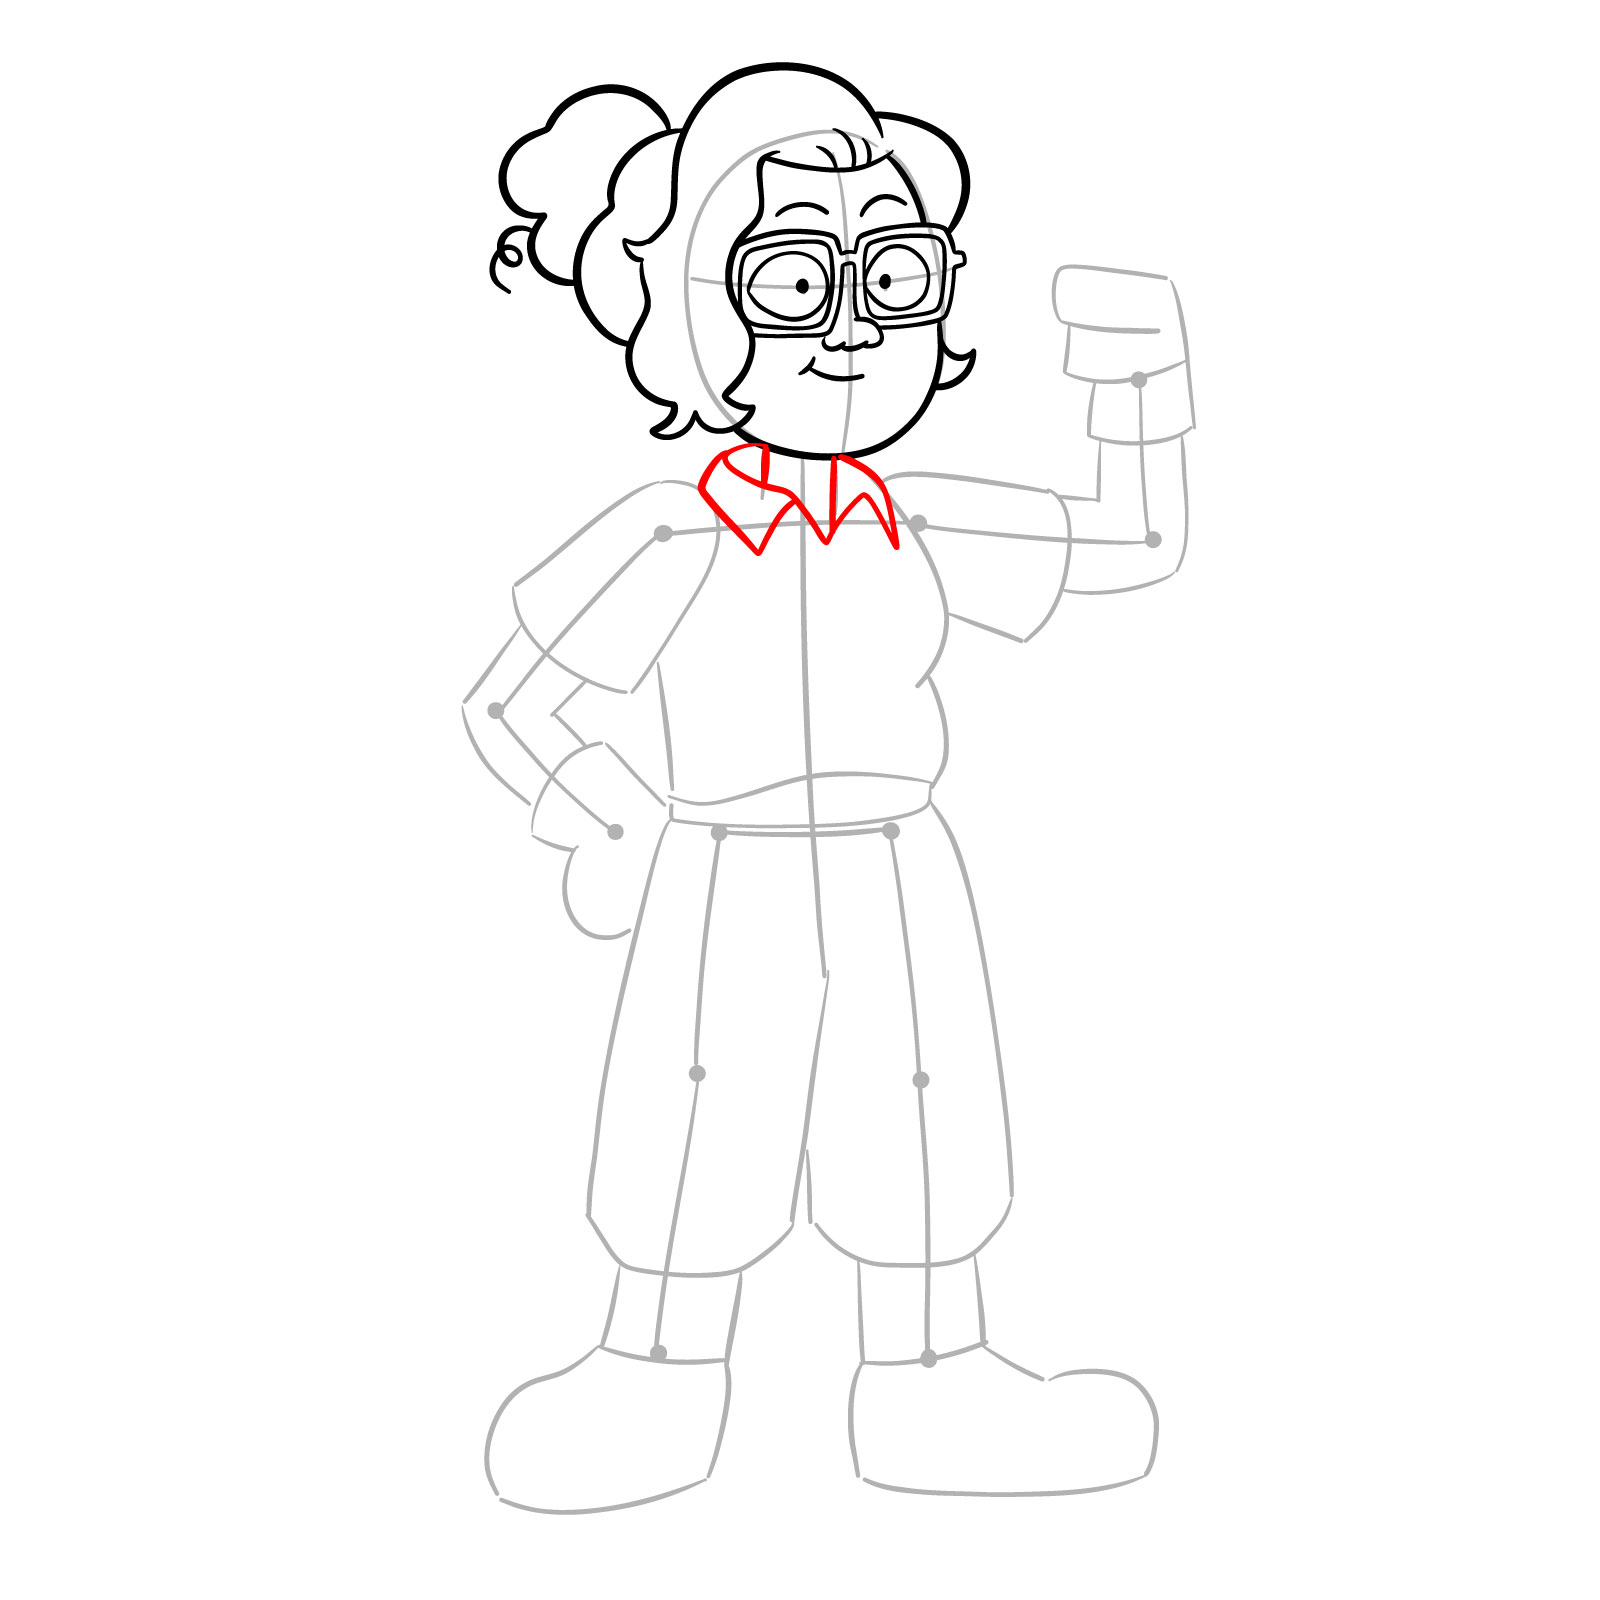
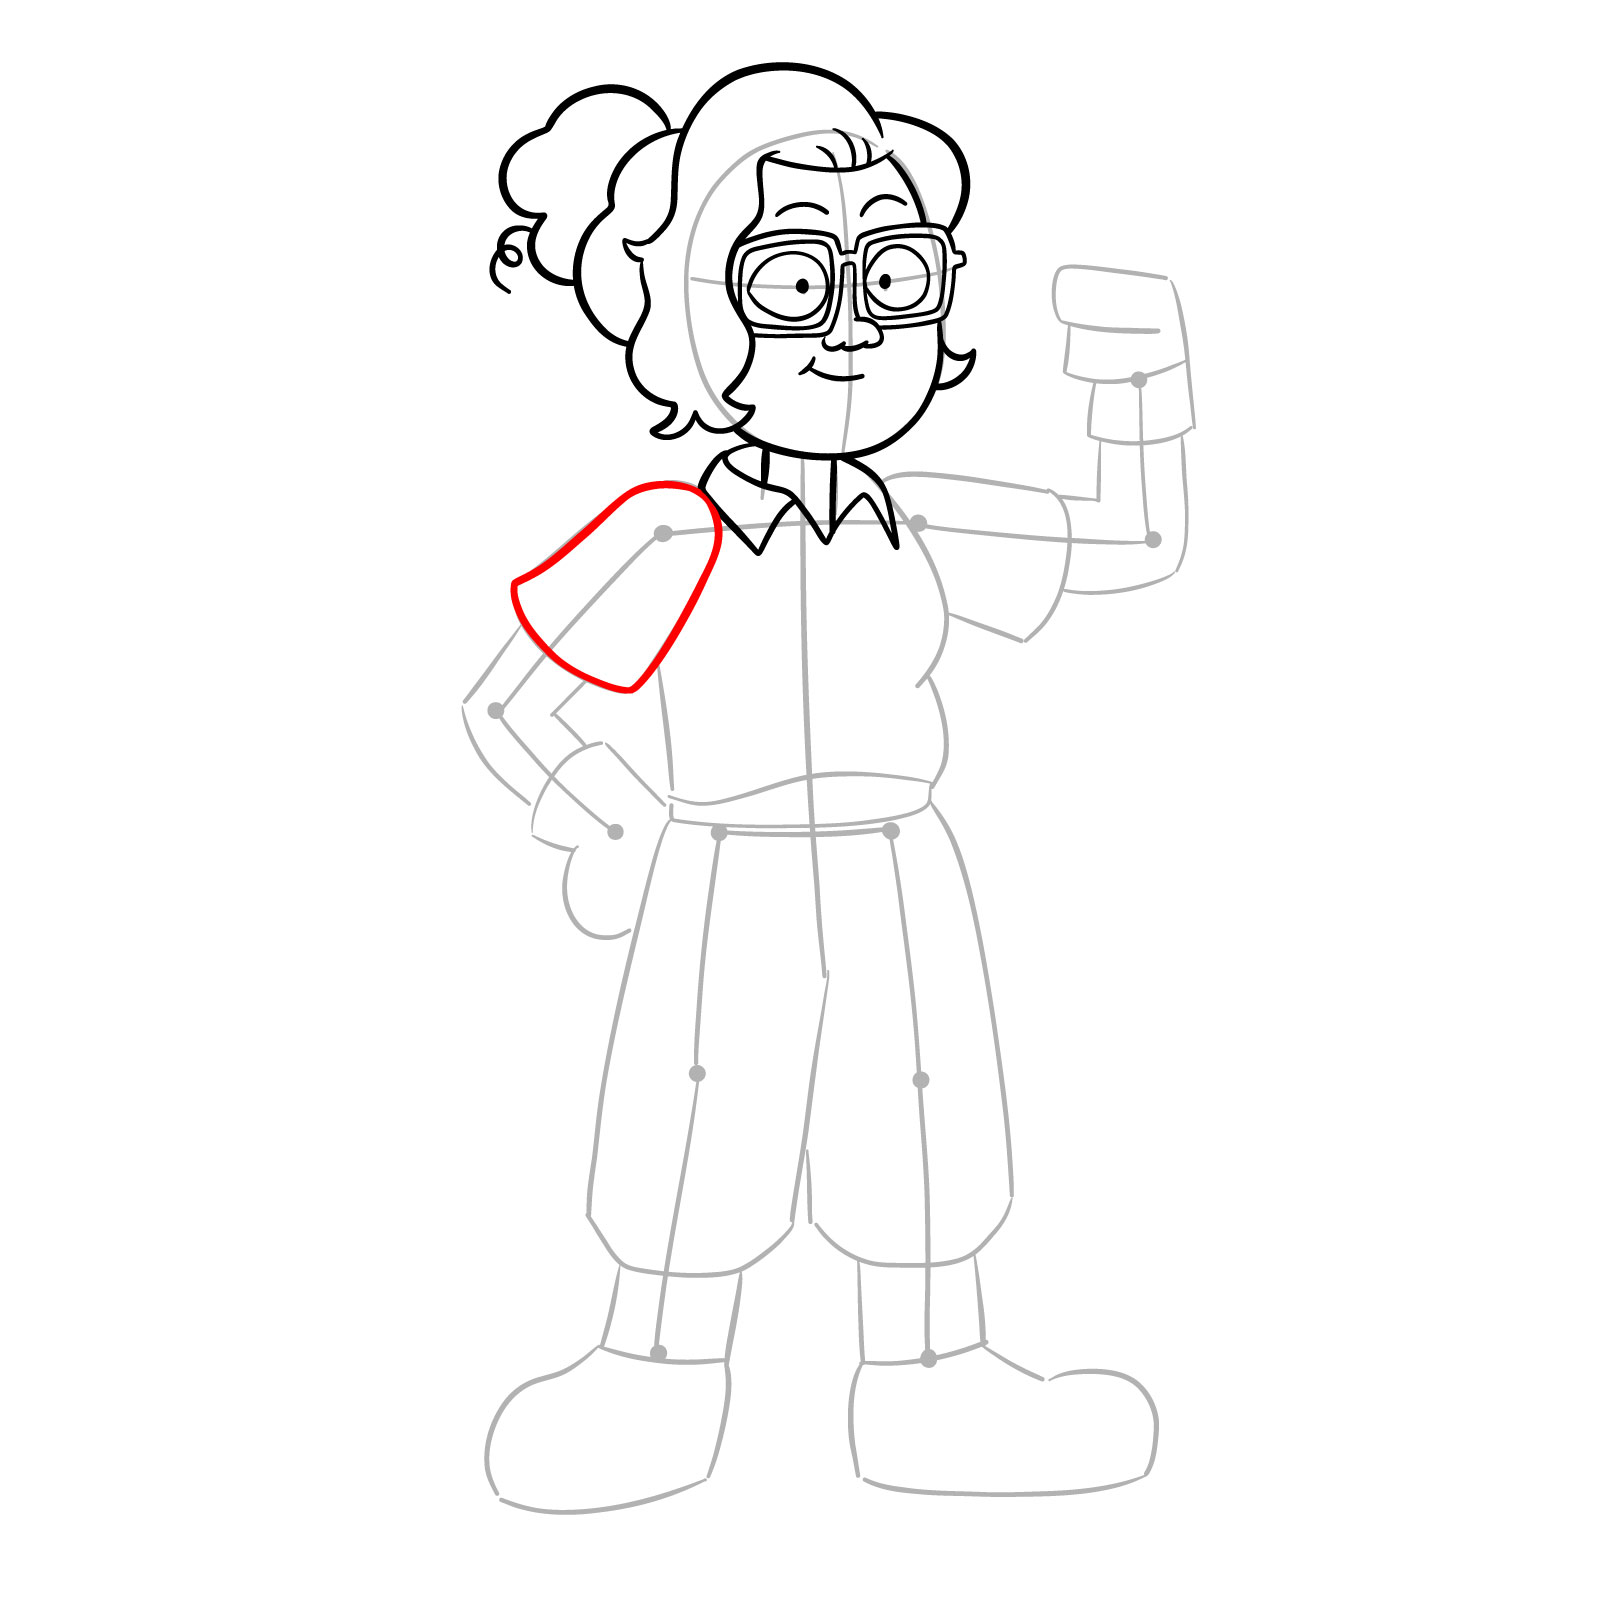
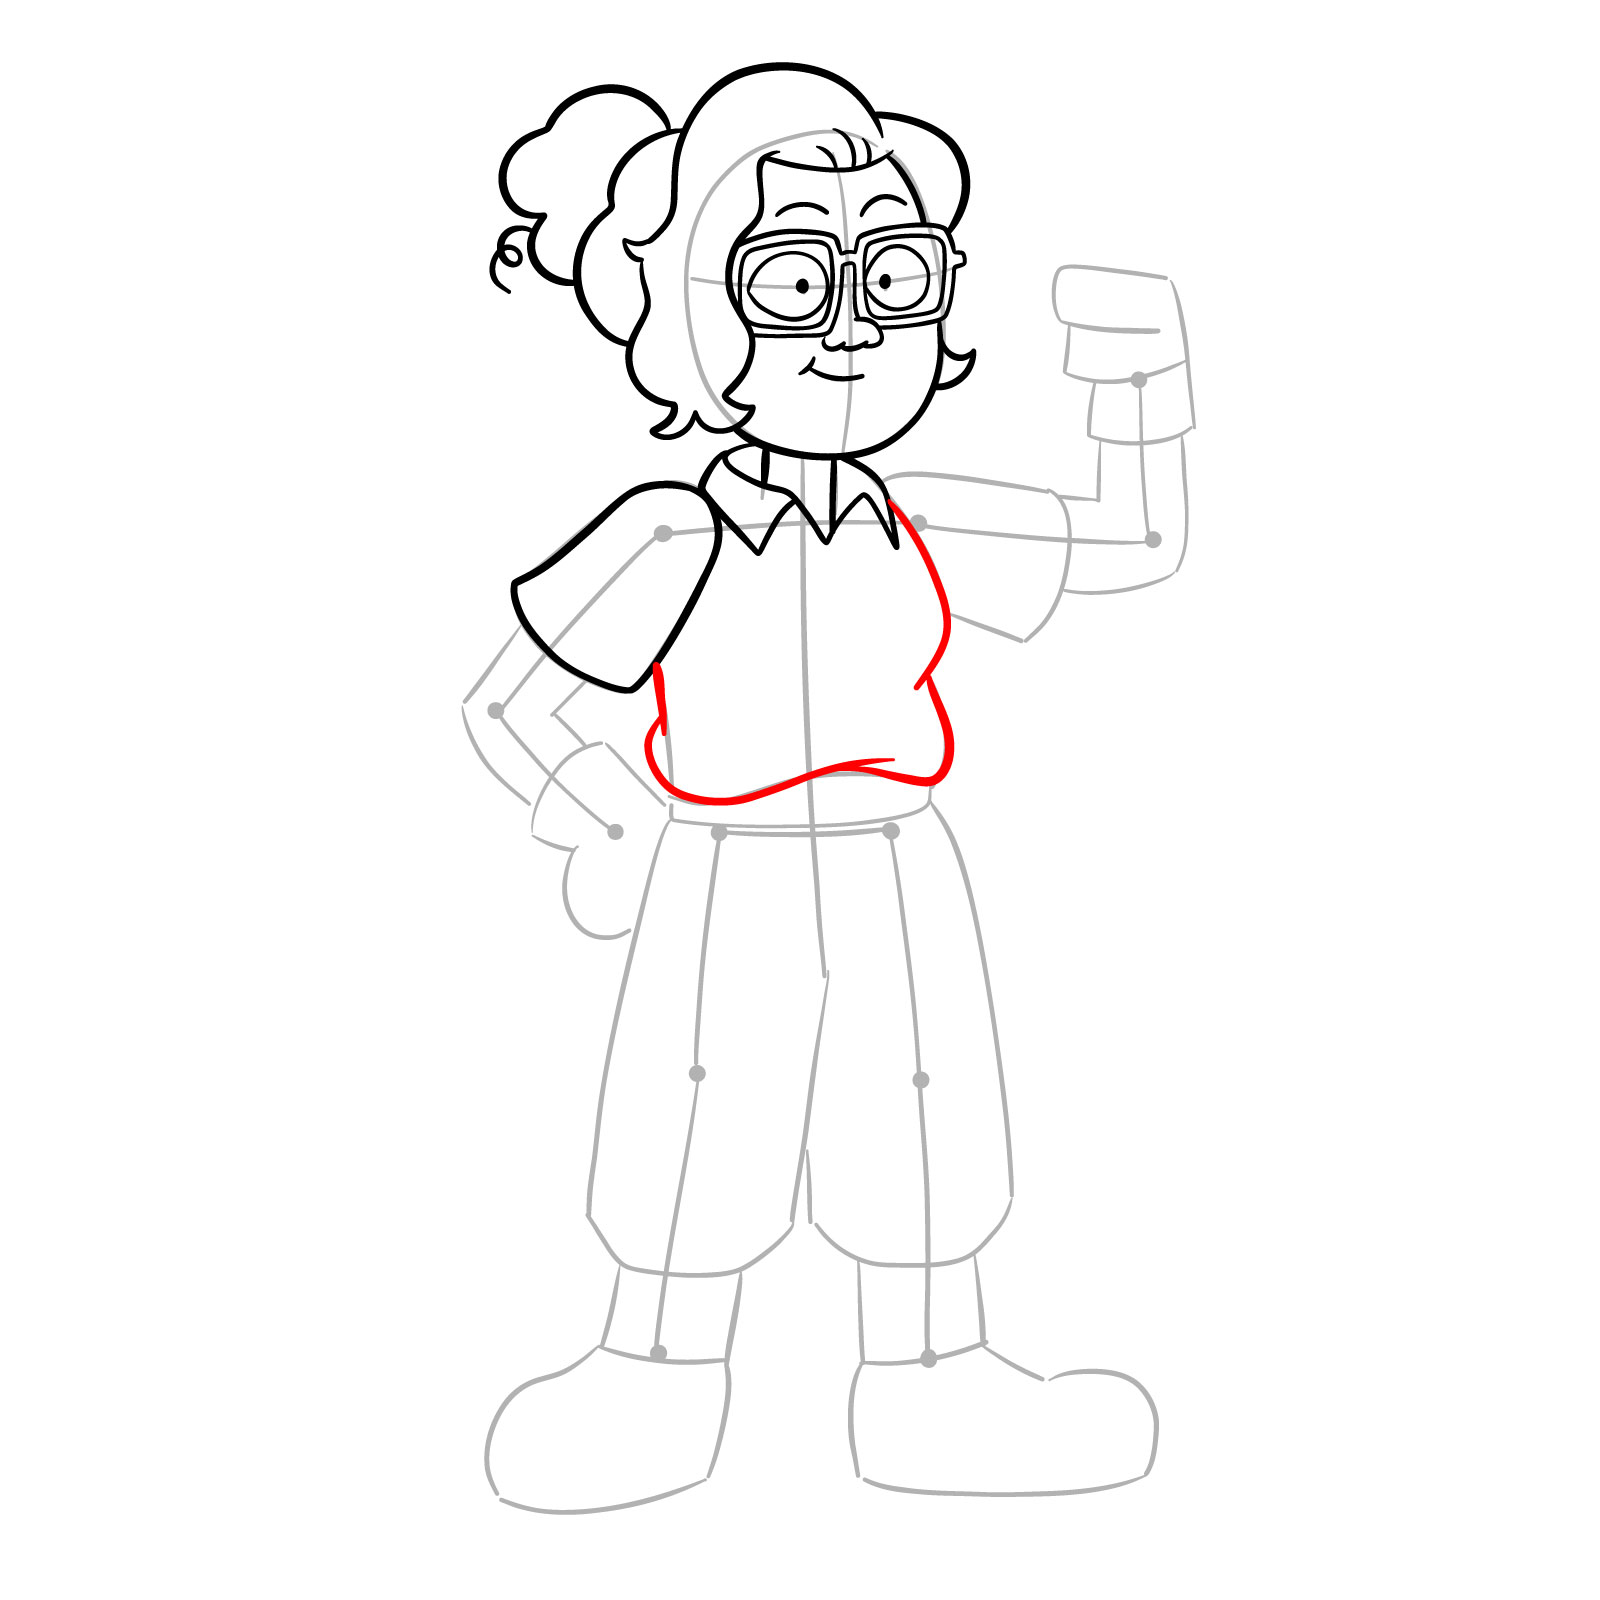
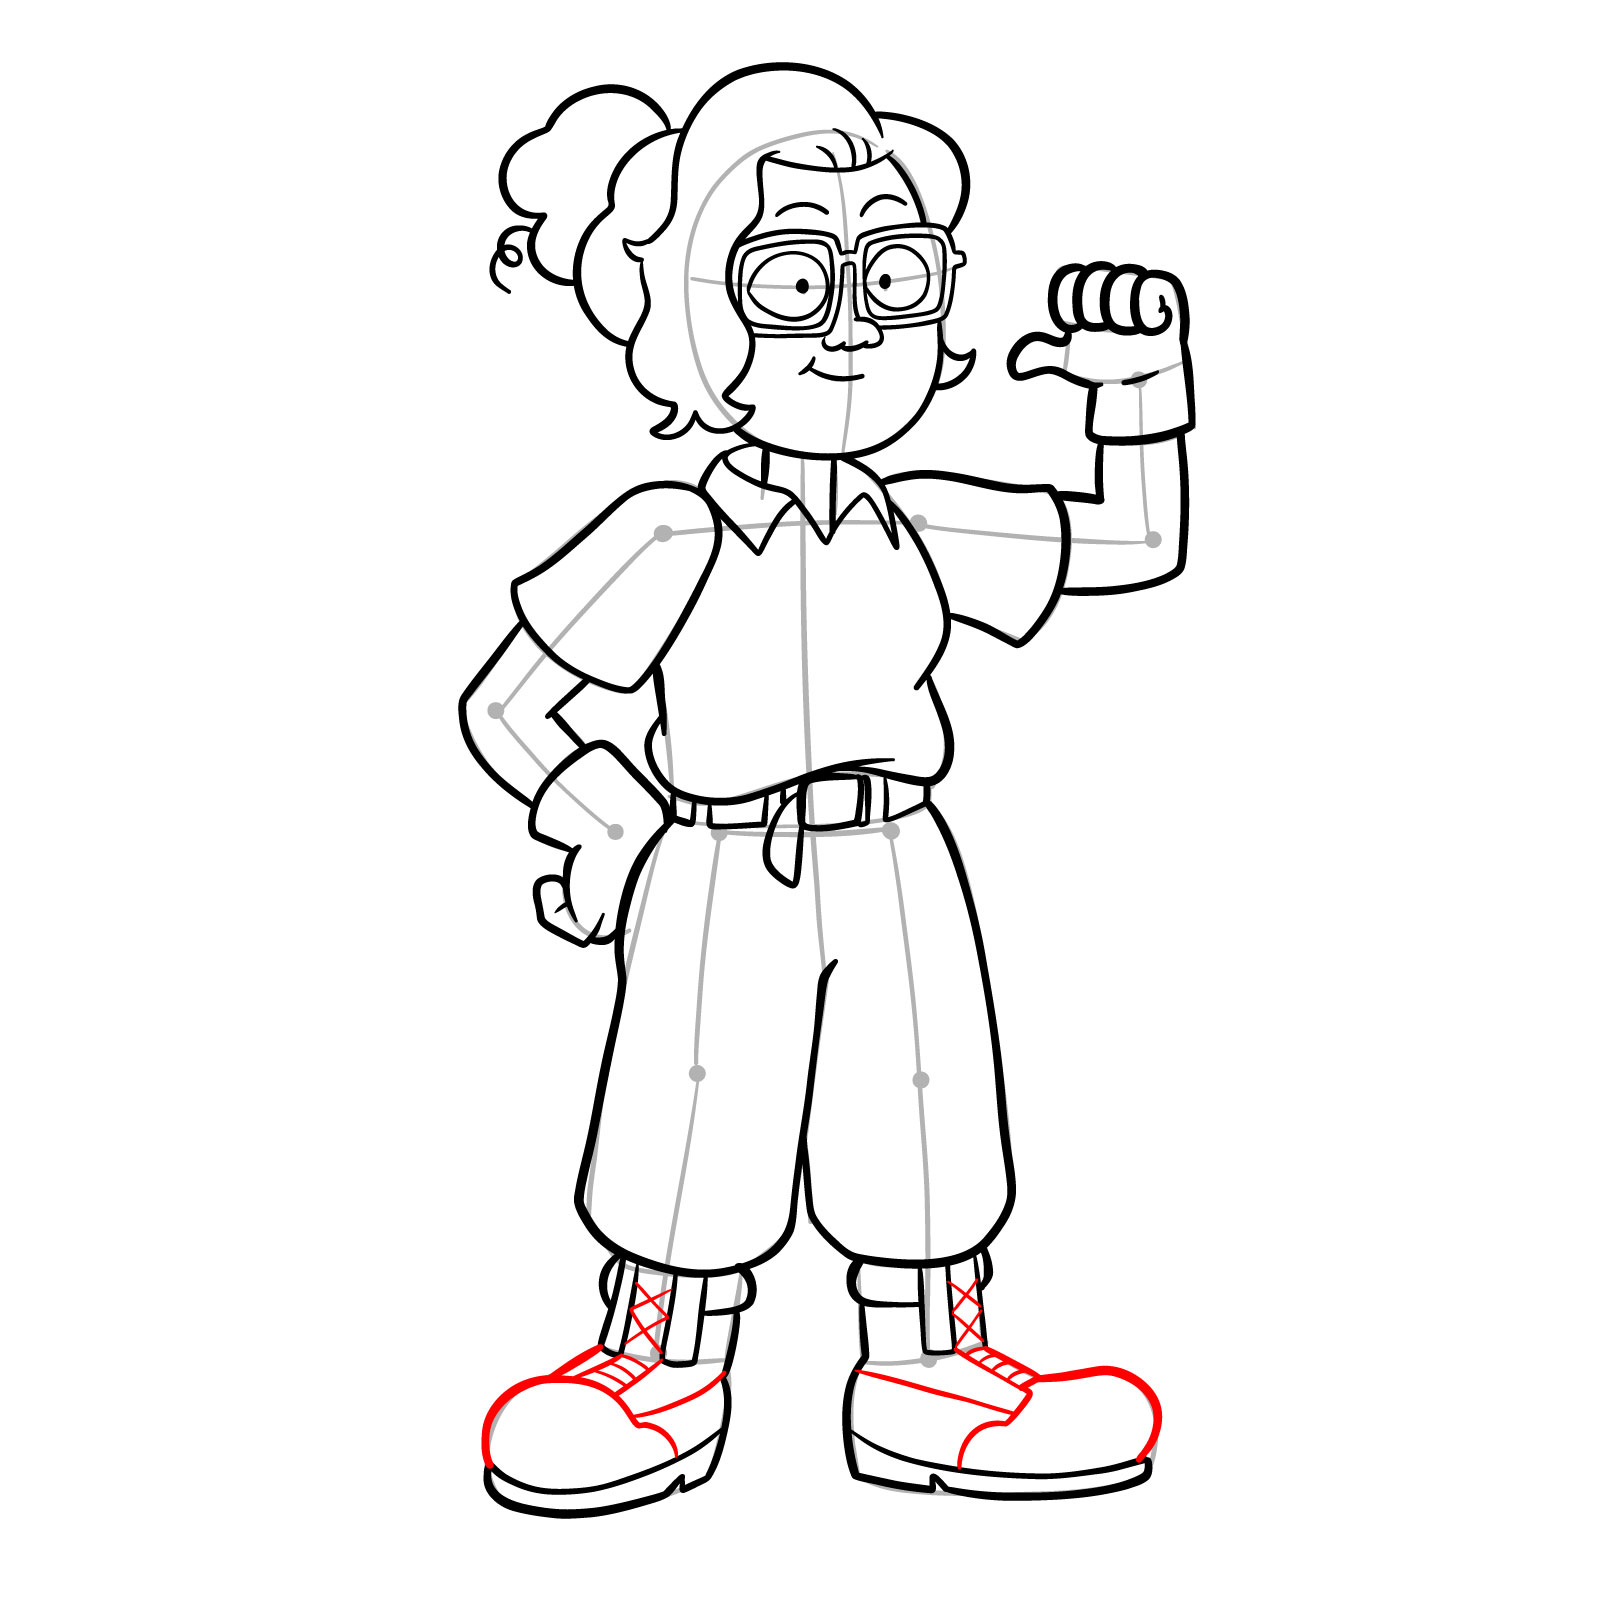
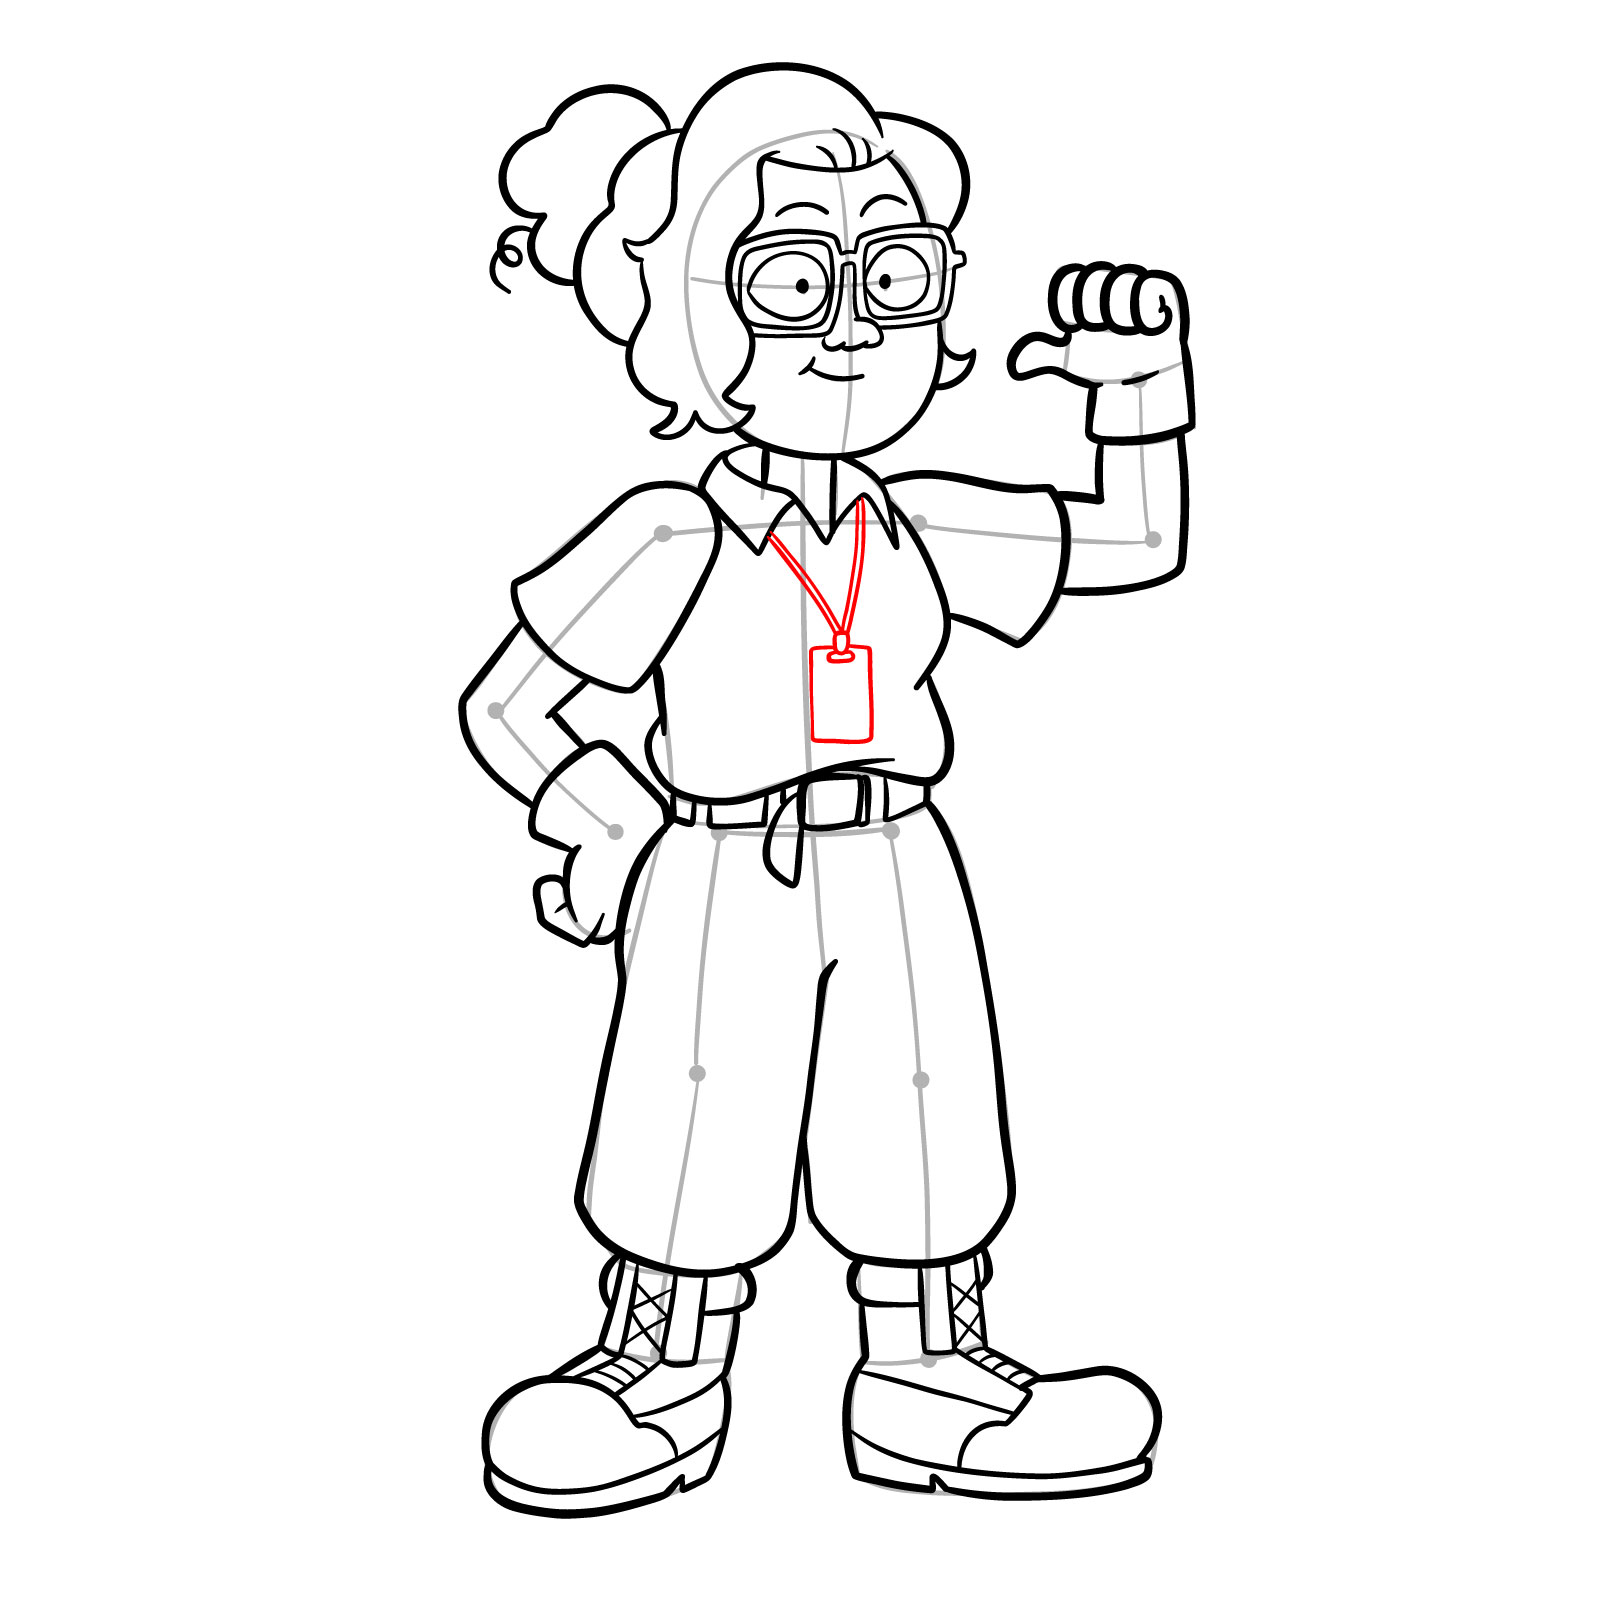
In this Dr. Jan drawing guide, we’ll follow a sequence of 20 steps. Each image in the series reveals a new layer of detail, gradually constructing the final picture. Here’s how to use the guide effectively:
- Red Color: Marks the current step to focus on.
- Black Color: Shows the lines from previous steps.
- Grey Color: Displays the basic sketch from the first stage.
The initial step involves laying down a basic sketch, setting the foundation for subsequent details. Once all steps are completed, you have the option to ink your sketch. Inking over the pencil lines should be done with patience, allowing the ink to dry to avoid smudging. Erasing the pencil sketch afterwards cleans up the artwork, giving you a crisp, finished piece ready for display or further embellishment.
Let’s Sum Up How to Draw Dr. Jan
That’s a wrap on how to draw Dr. Jan from Amphibia. By breaking down the process into simple steps, we’ve seen how a series of lines and shapes come together to form a beloved character. I encourage you to share your artwork, engage with fellow artists, and most importantly, enjoy every step of your drawing journey.
Don’t forget to follow SketchOk for more great content:
- YouTube: SketchOk on YouTube
- Facebook: SketchOk on Facebook
- Instagram: SketchOk on Instagram
- Pinterest: SketchOk on Pinterest
- TikTok: SketchOk on TikTok
Stay creative, and I’ll see you at the next guide on how to draw your favorite characters!