
Hello everyone, today I’m here with another guide on how to draw Ally, the robotics expert from the animated series Amphibia. Known for her genius and kind-hearted nature, Ally is a beloved minor character who brings a lot of charm and tech-savvy to the table. Whether you’re a fan of the show or just looking to hone your drawing skills, this tutorial will walk you through the steps to bring Ally to life on paper. So grab your pencils, and let’s get started on capturing her character in your artwork.
Focusing on Ally’s Features
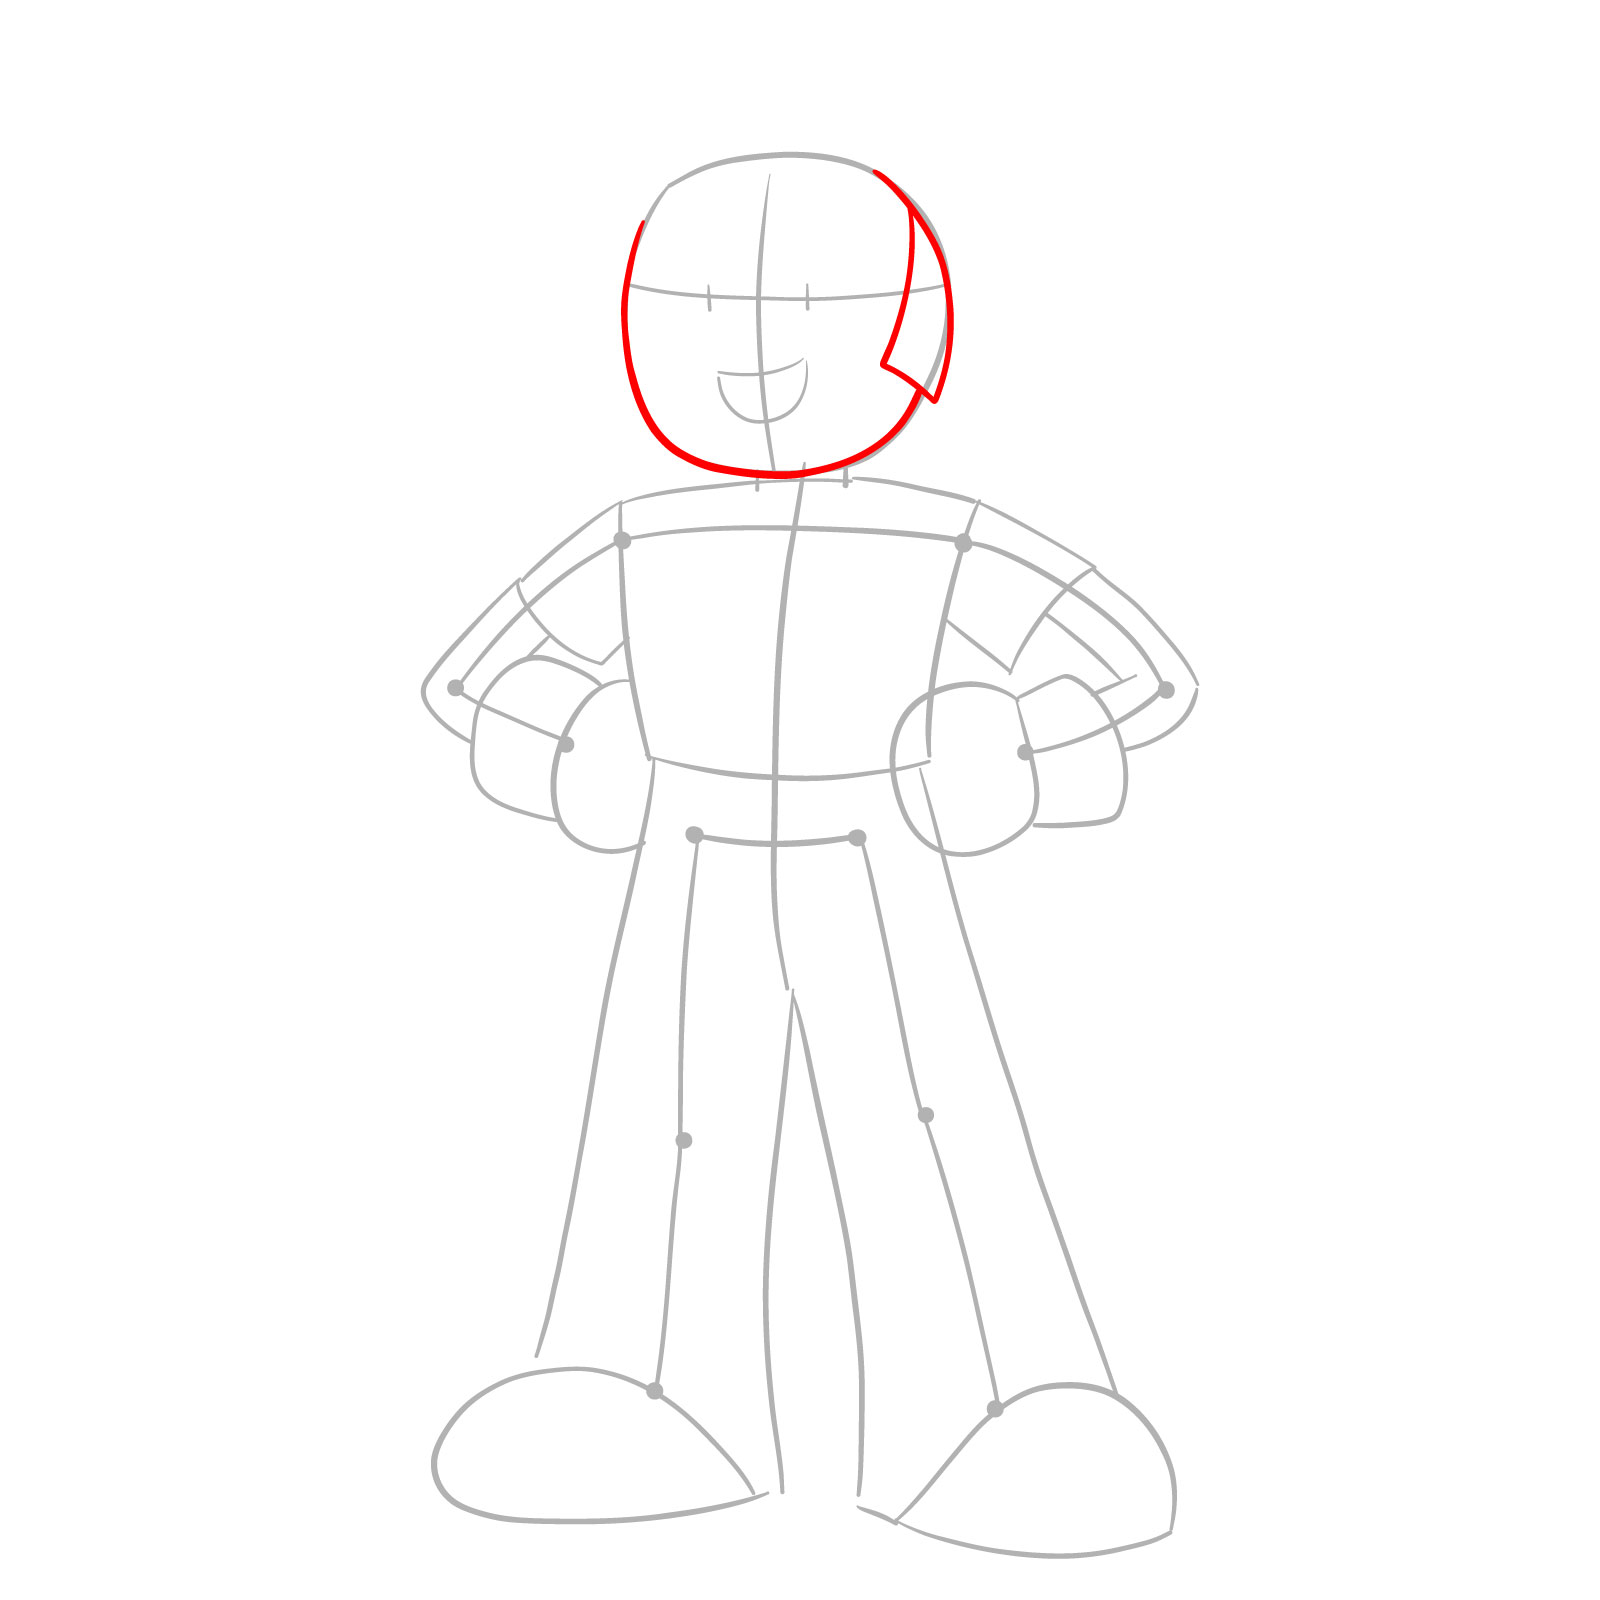
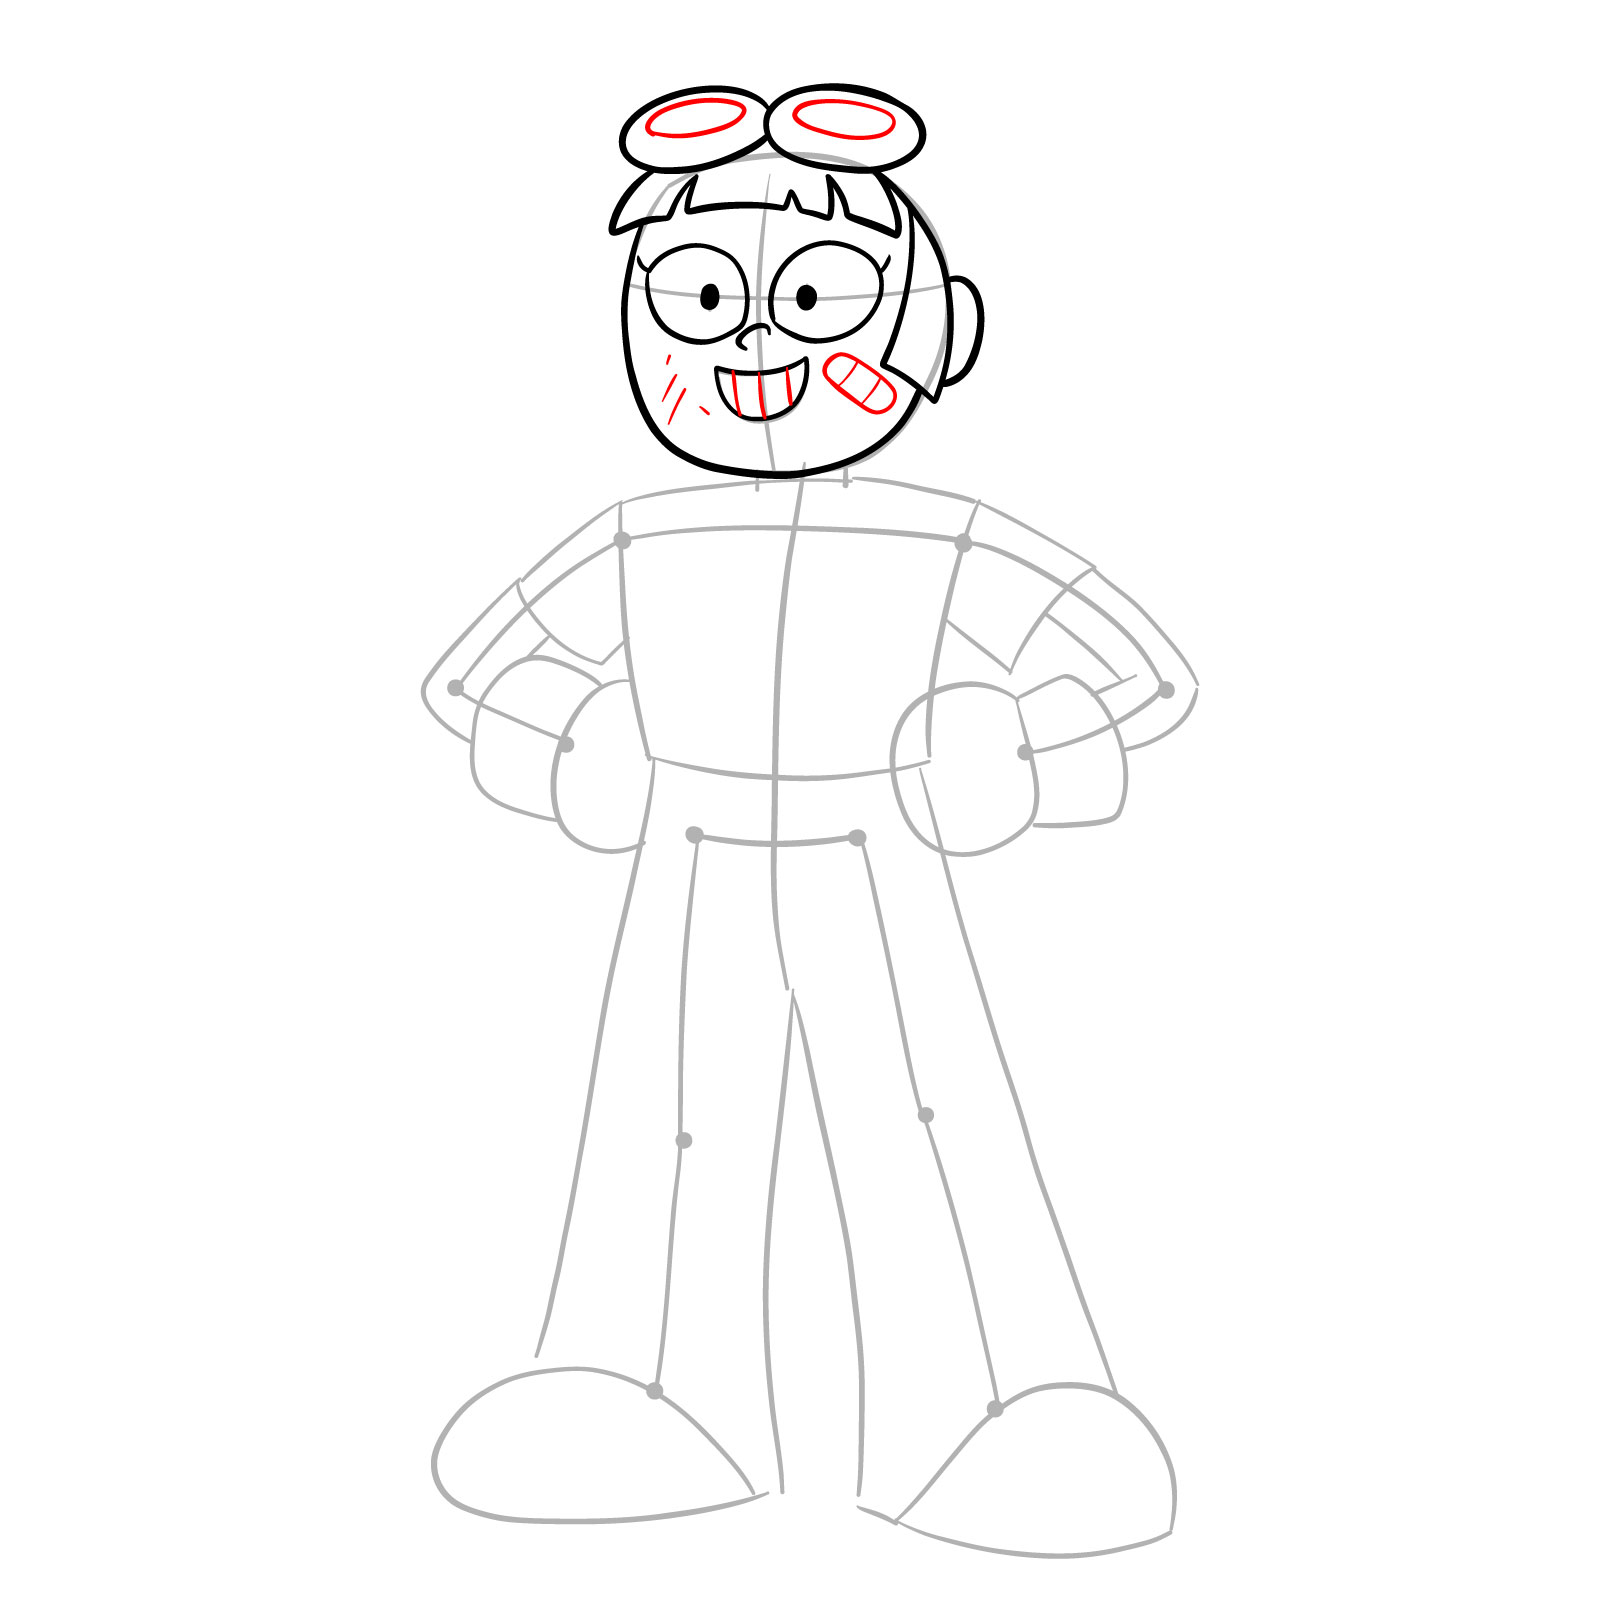
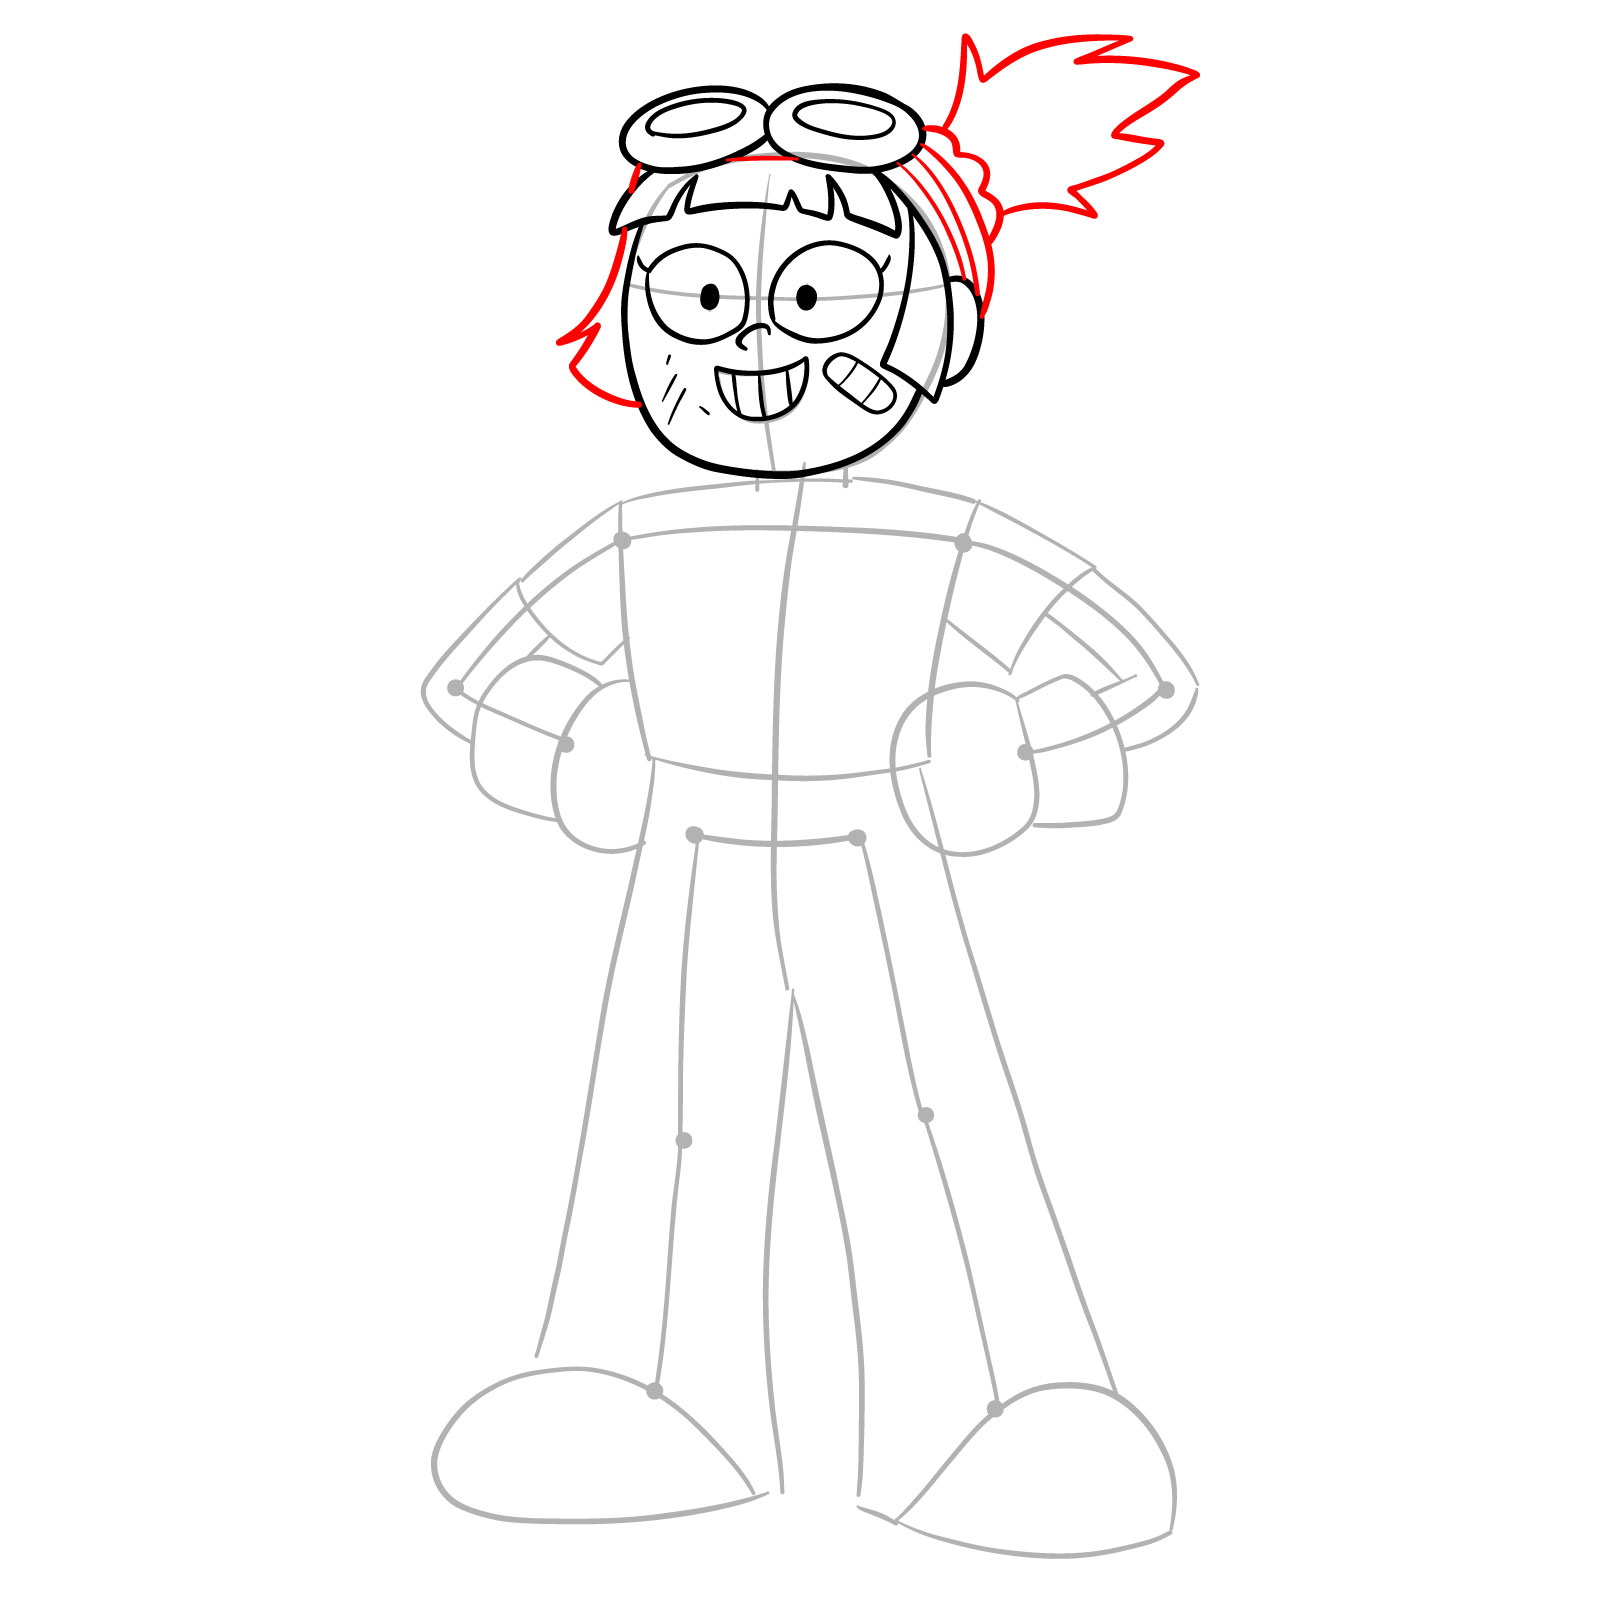
When drawing Ally, it’s crucial to pay close attention to her distinctive features that set her apart from other characters. While drawing, you’ll notice her wide, expressive eyes and her spiky hair, which add to her energetic personality. Her outfit, which includes a utility jacket adorned with various tech-related patches, highlights her expertise in robotics. Pay particular attention to the pockets filled with tools, which reflect her readiness to jump into action. Also, her large, clunky shoes give her a grounded presence, indicative of her stable and reliable nature. Remember, these details are not just attributes of her appearance but also extensions of her character. For fans of Amphibia, capturing Ally’s look wouldn’t be complete without considering her dynamic with other characters, like Polly and Jess, which could inspire you to create scenes featuring them interacting with their robotic creations.
Understanding the Step-by-Step Drawing Guide
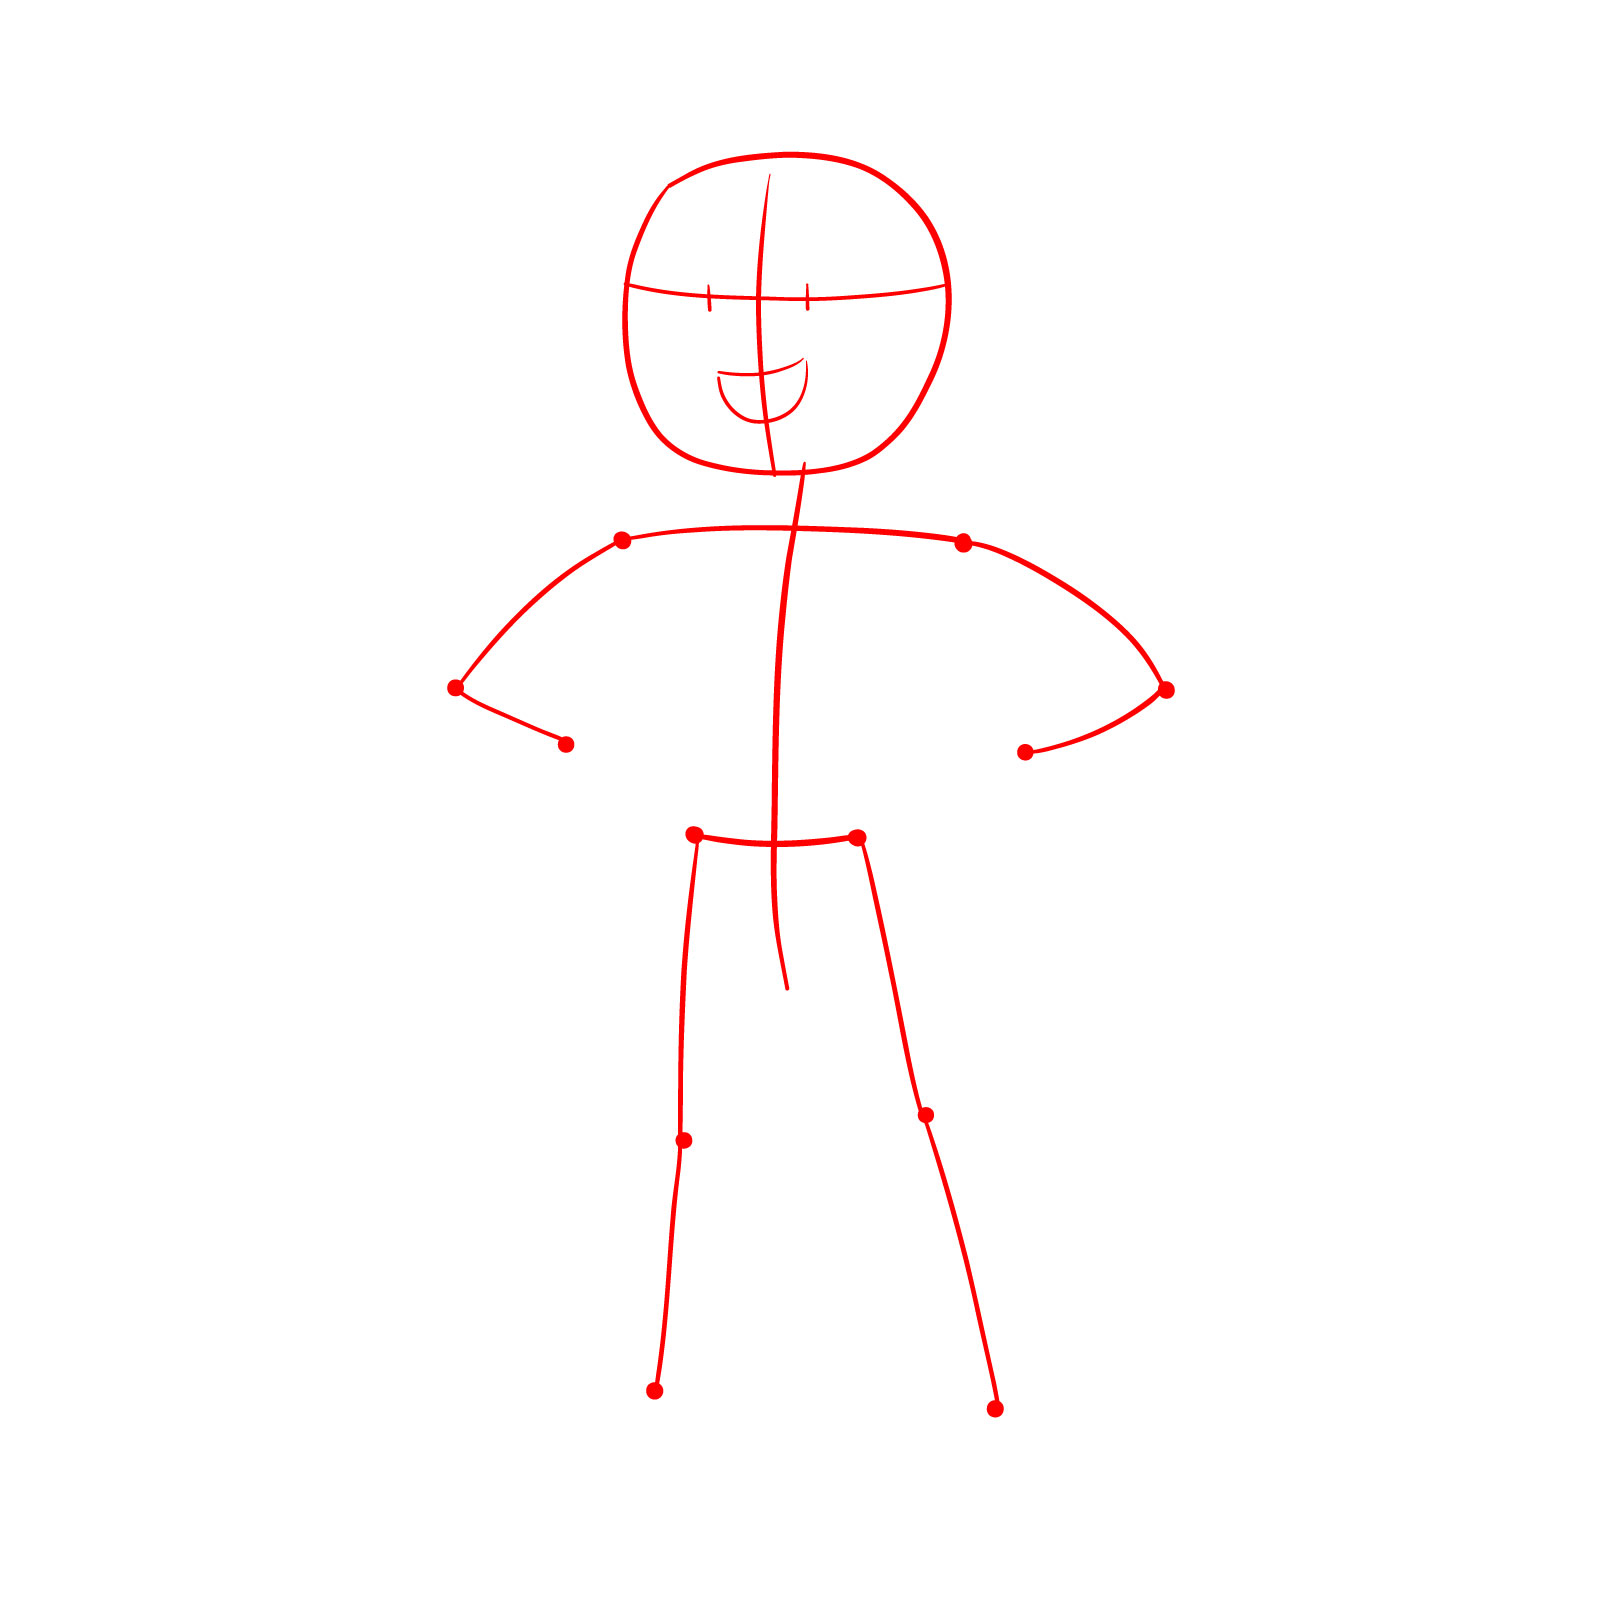
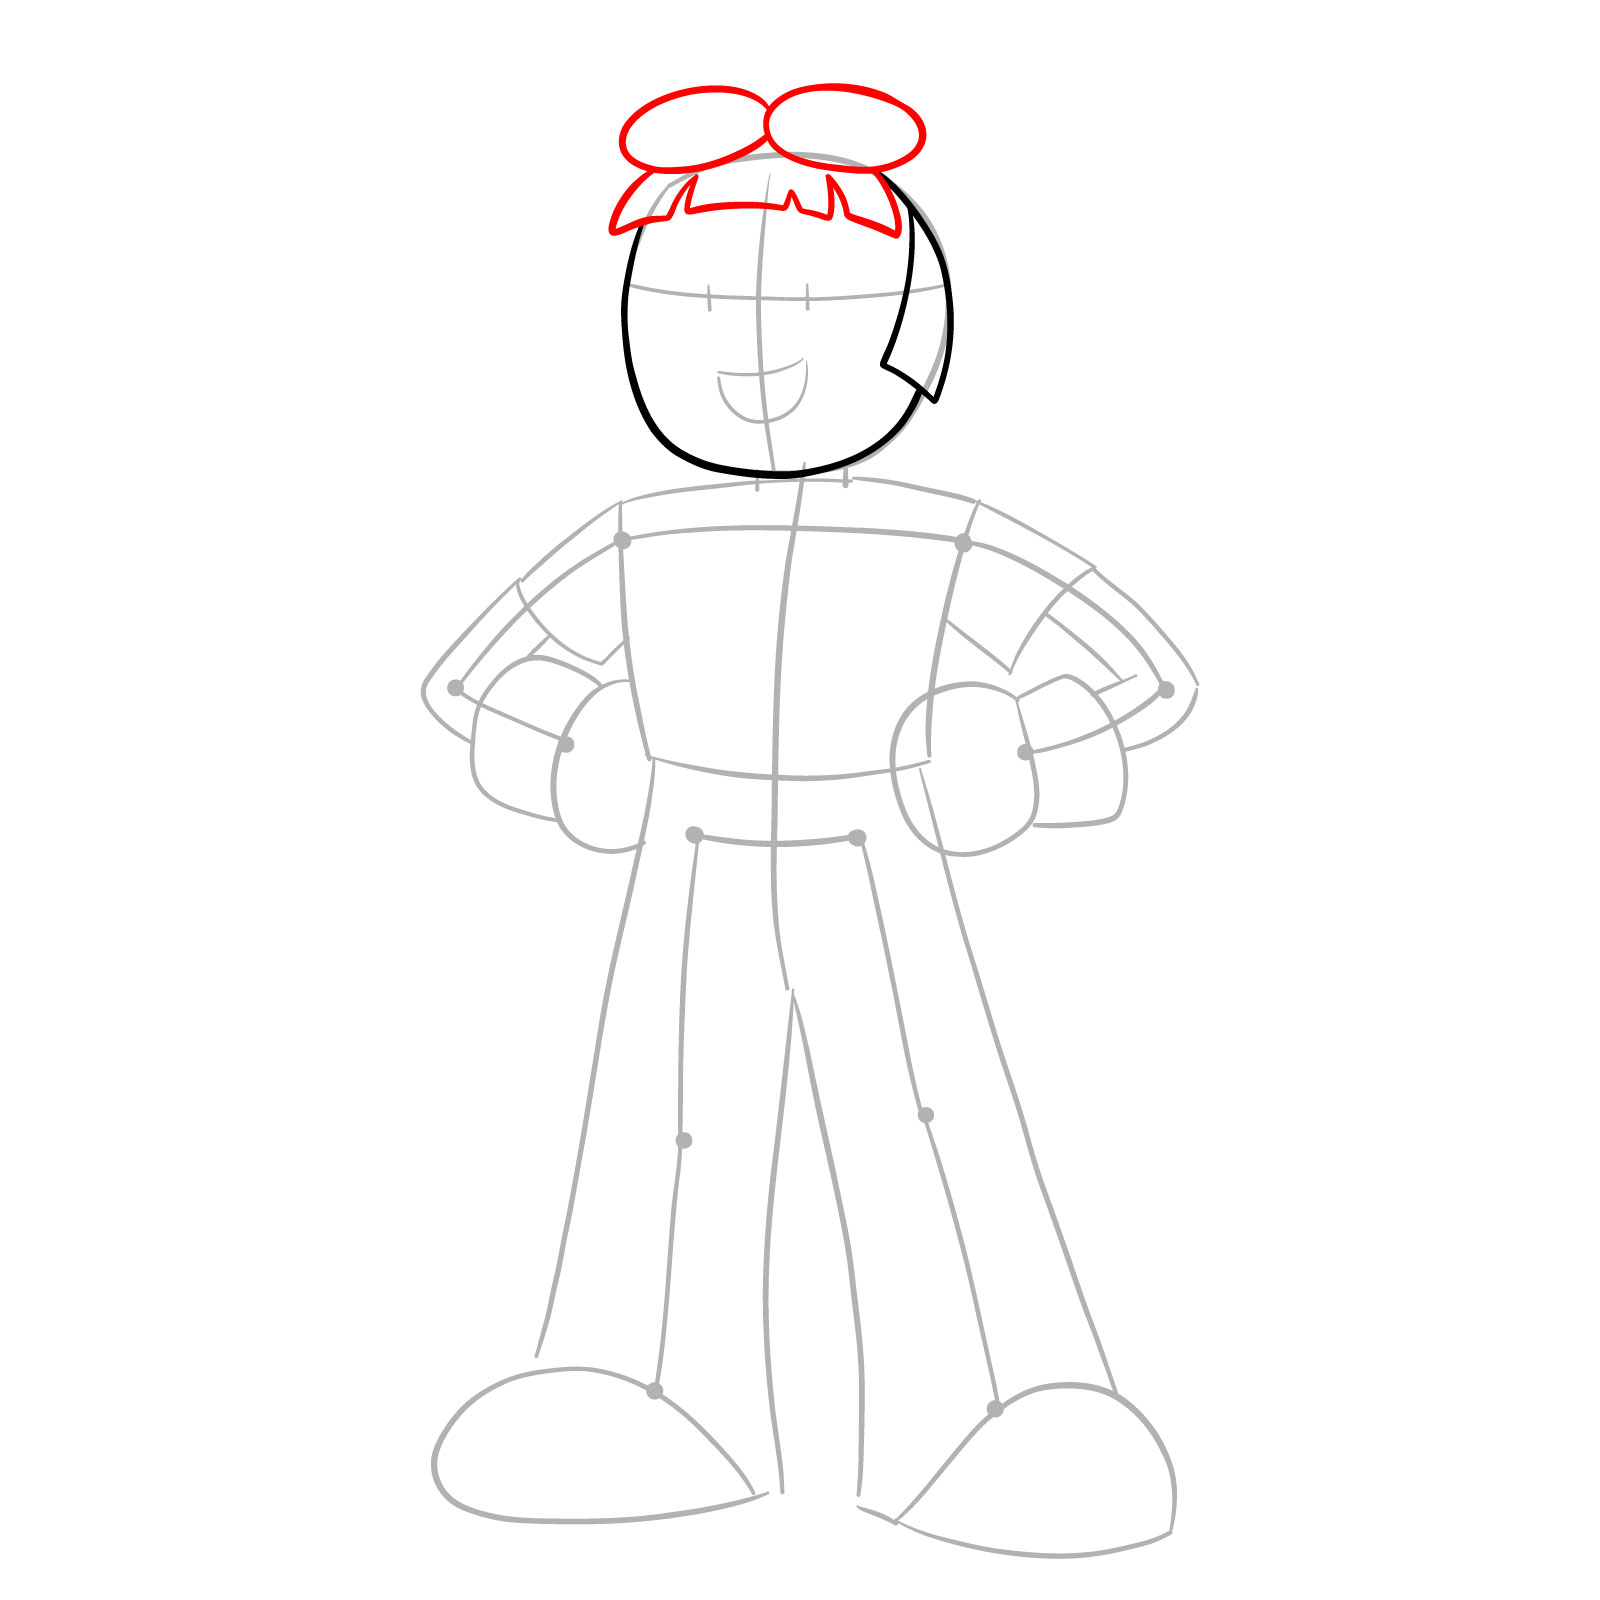
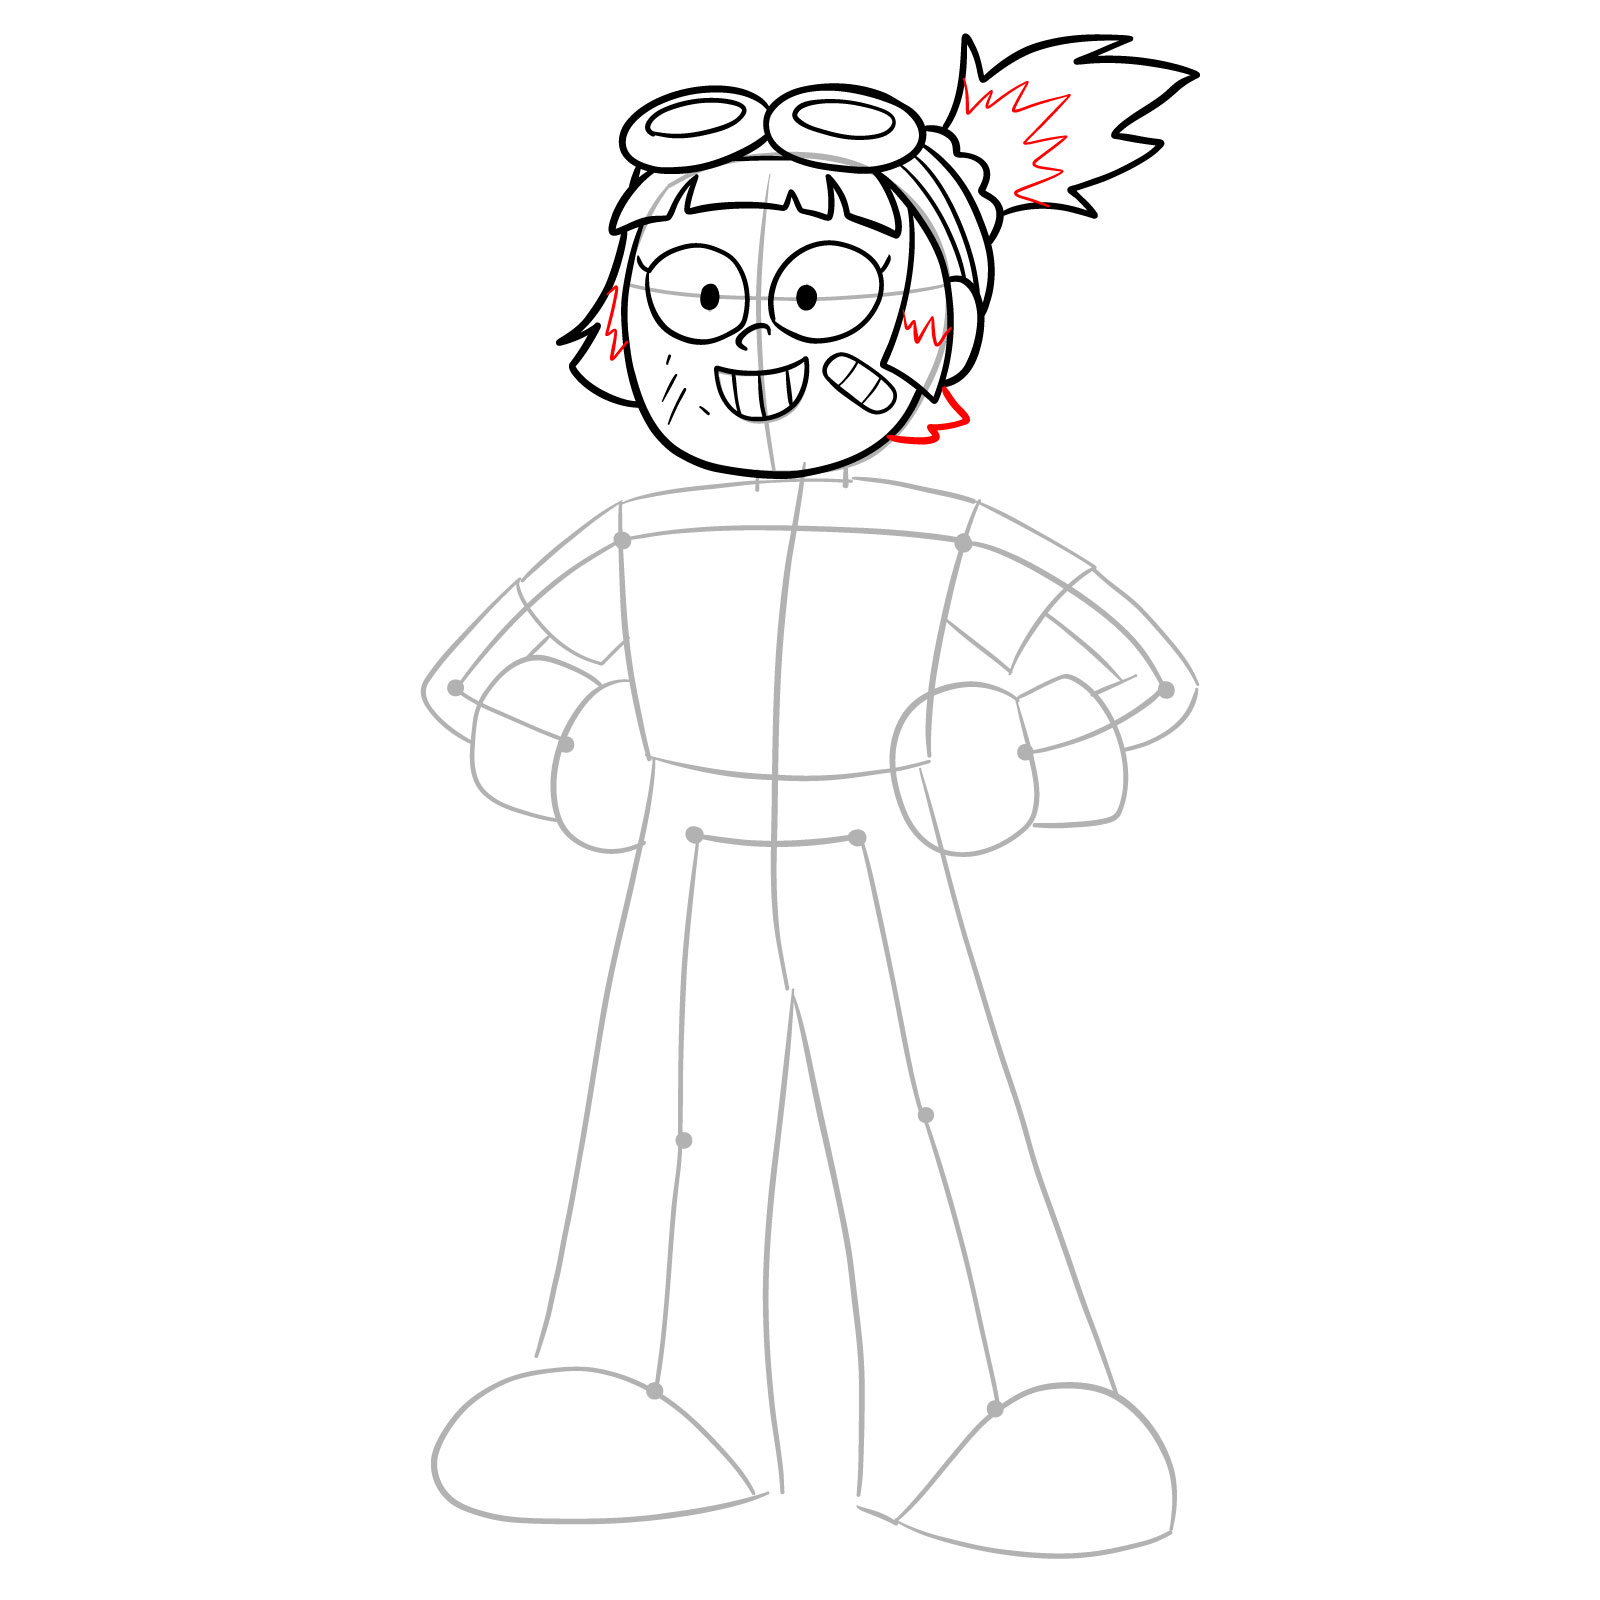
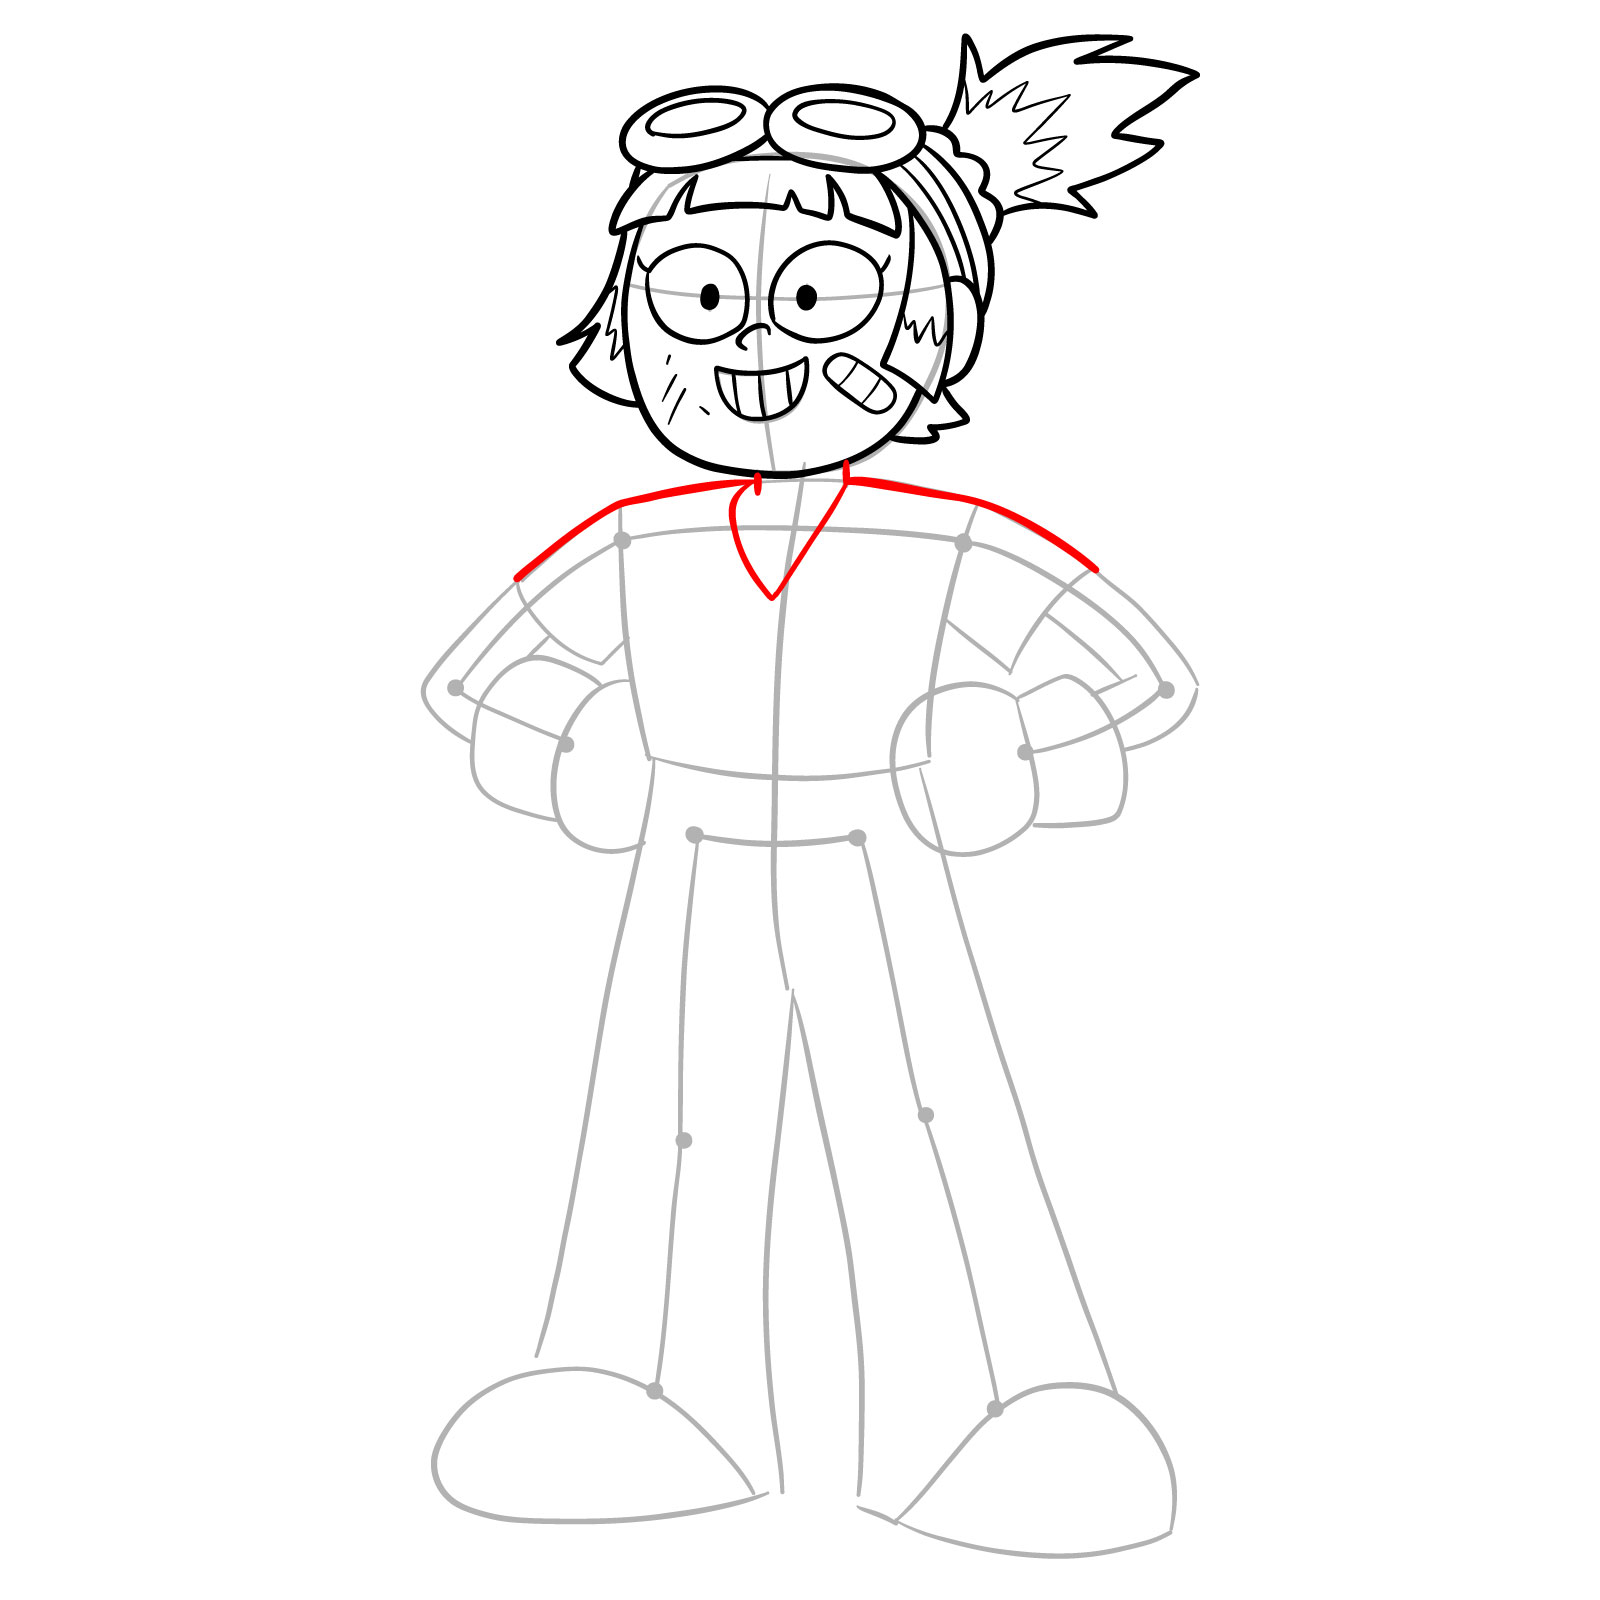
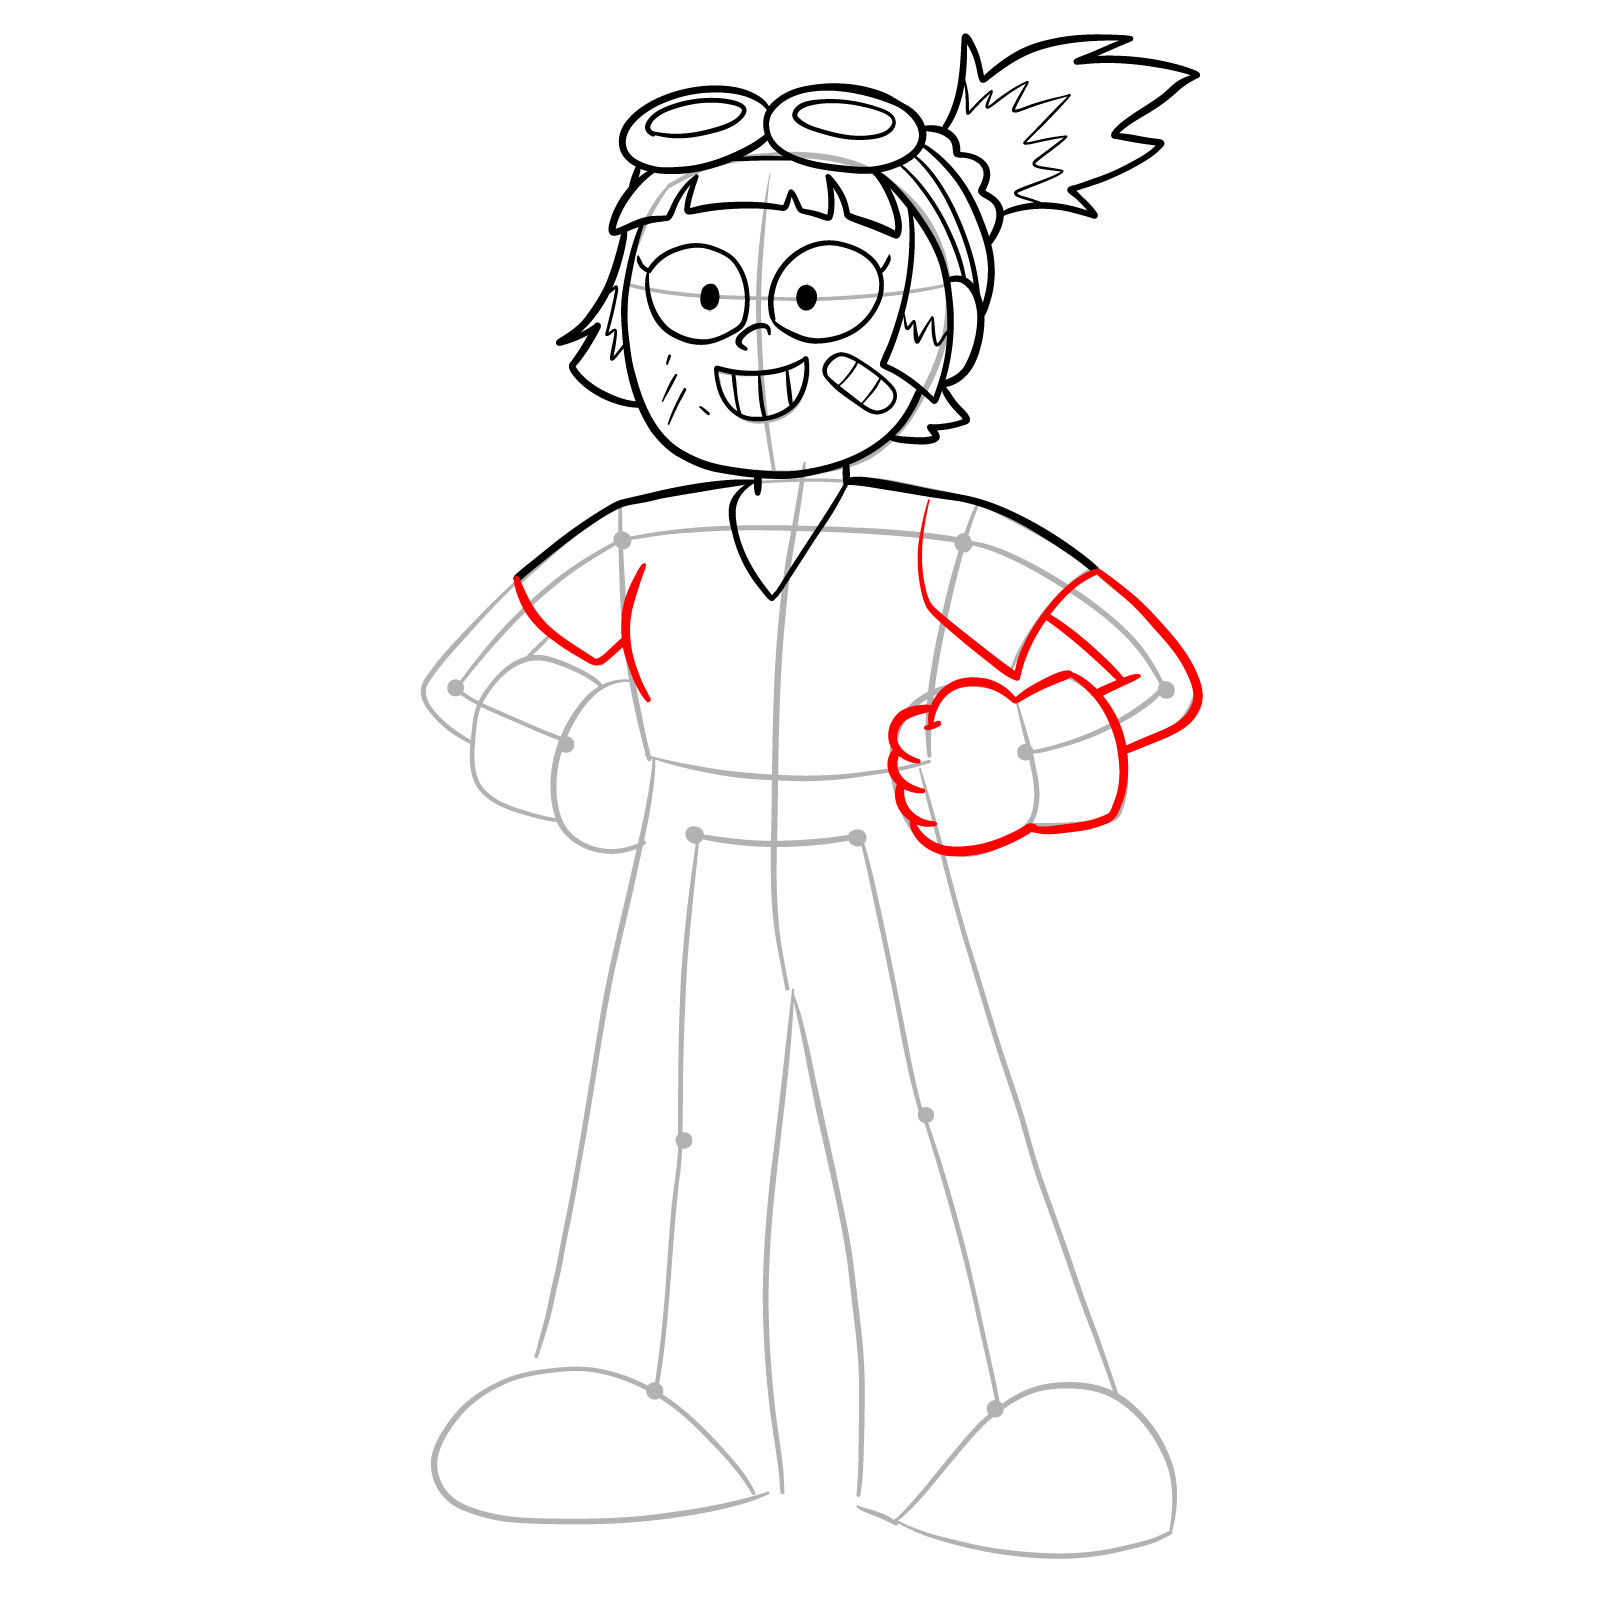
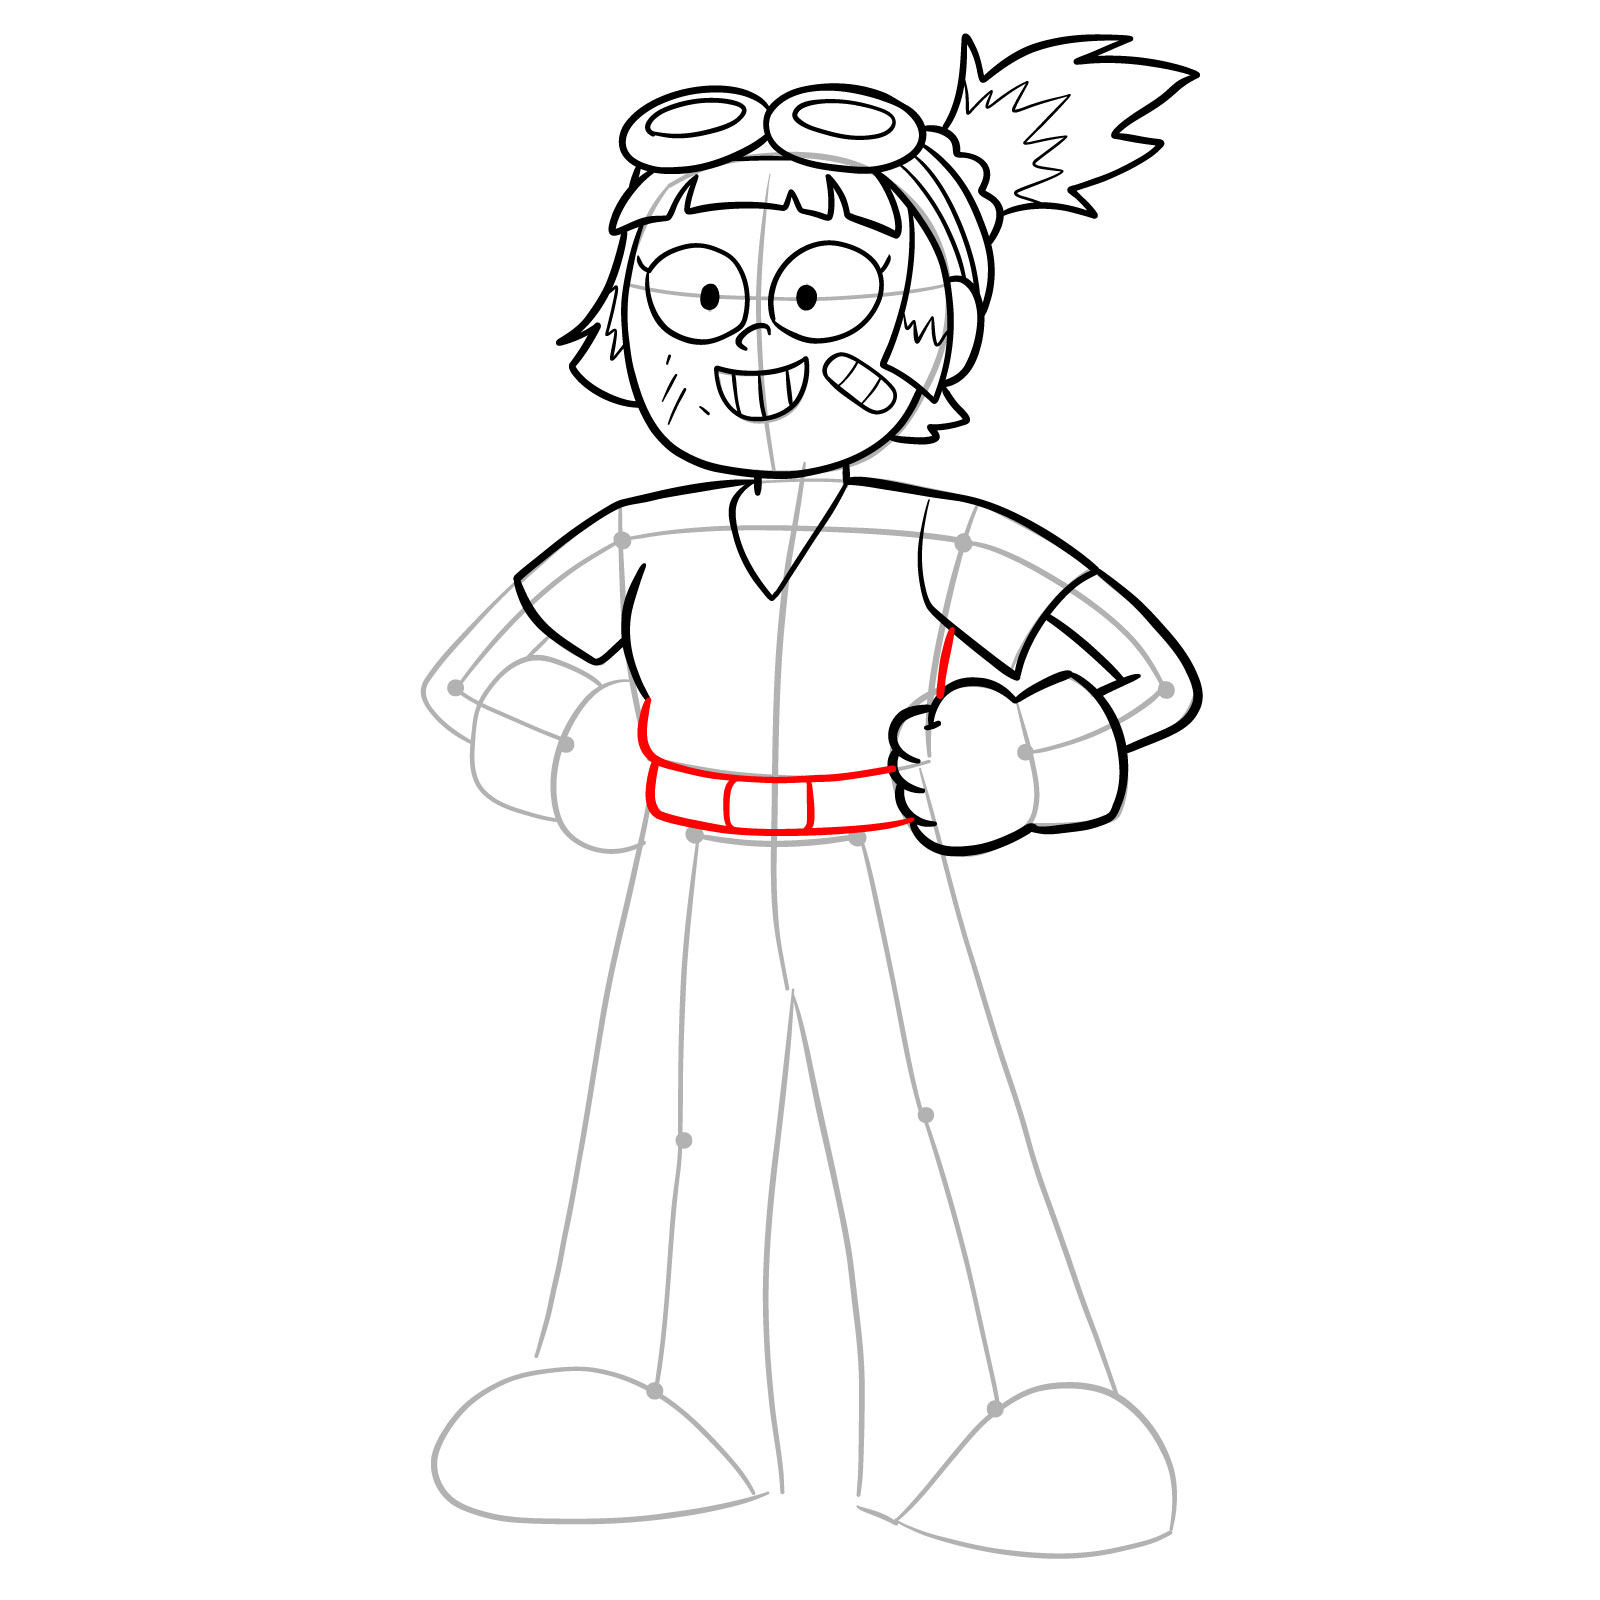
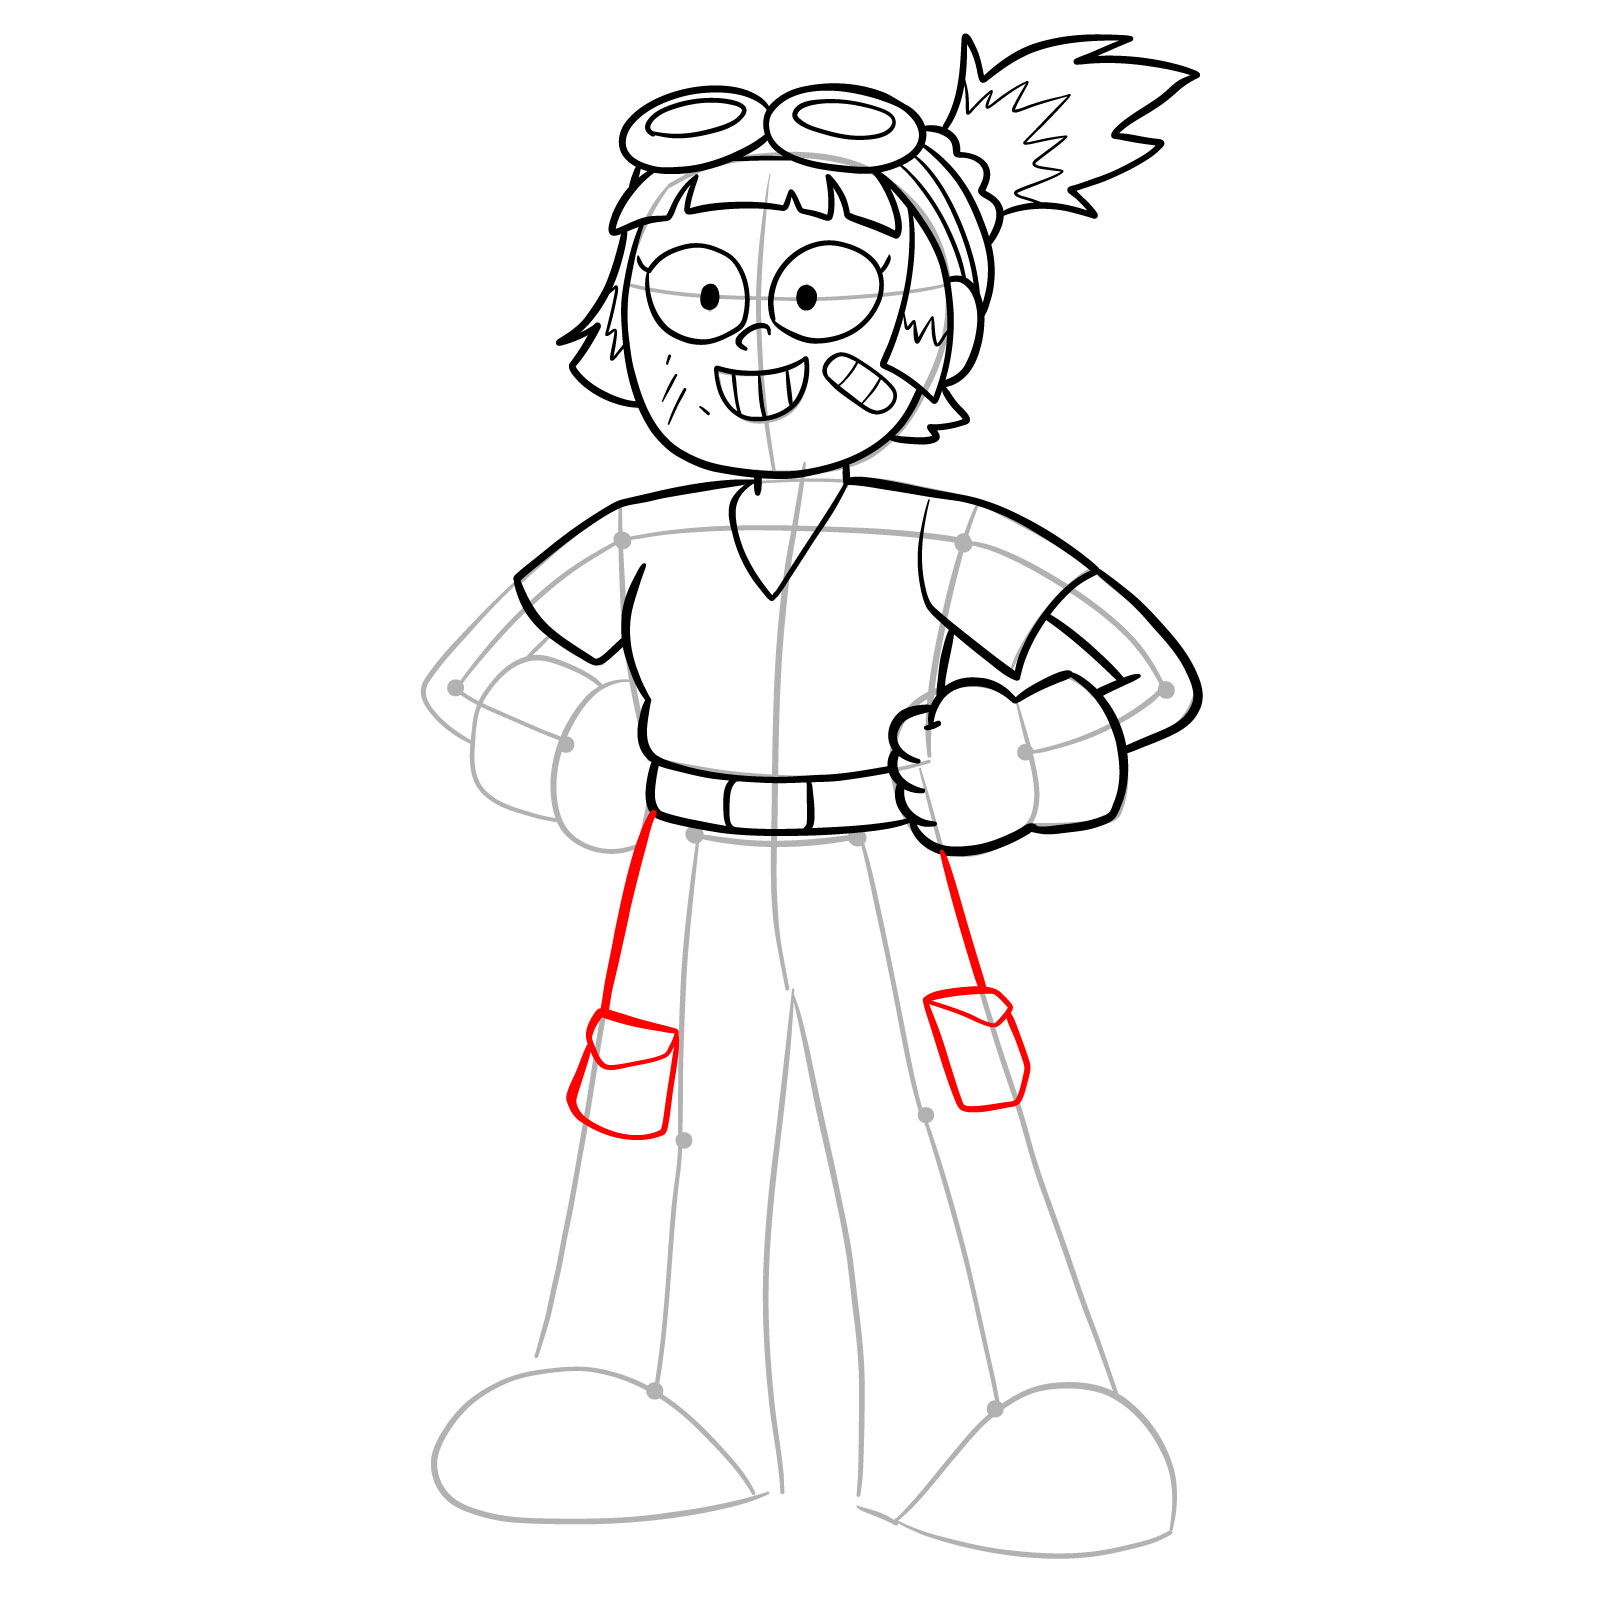
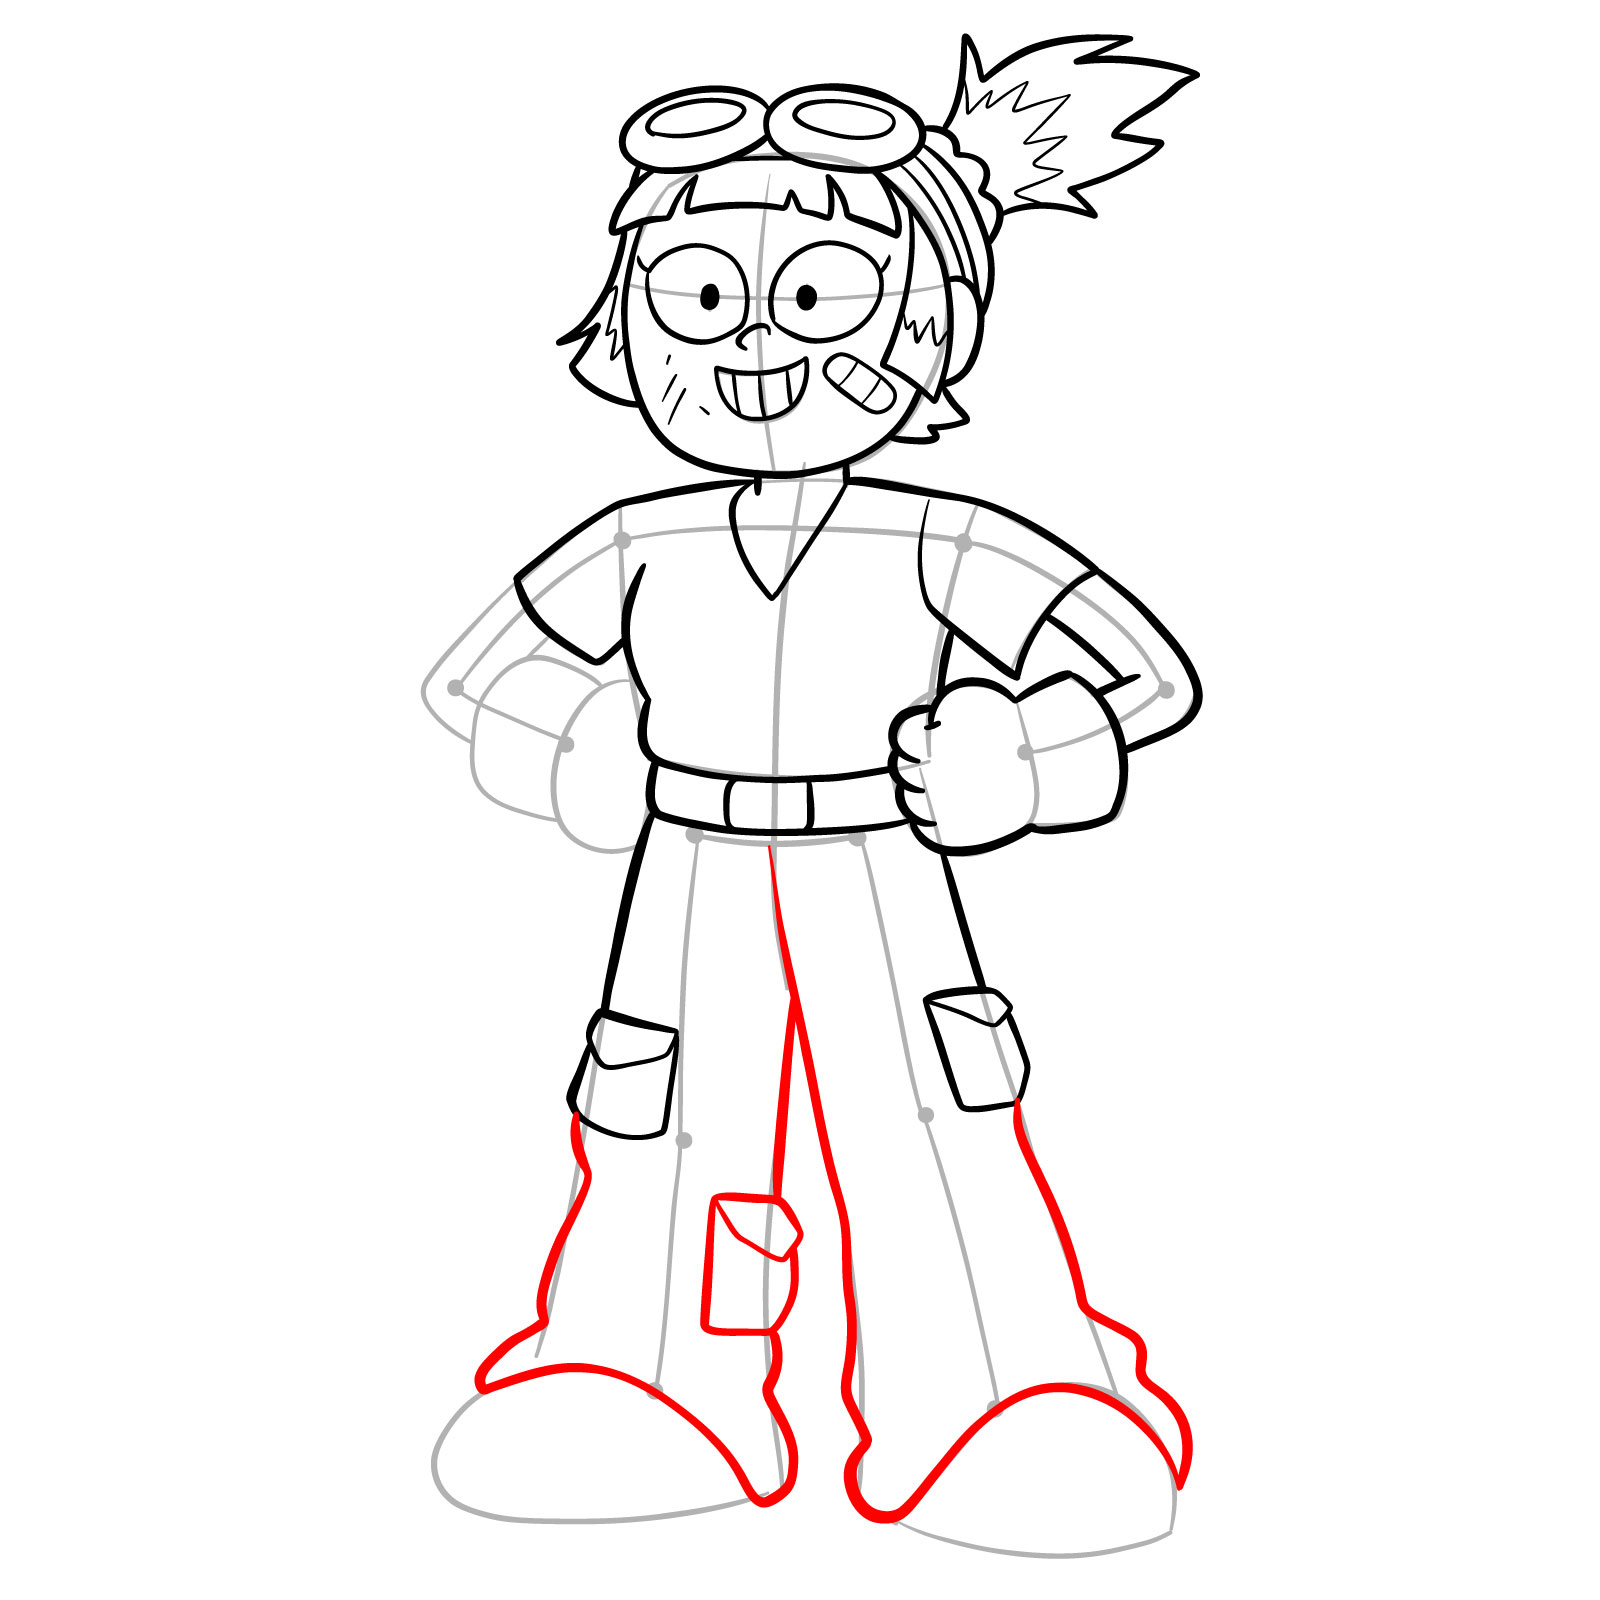
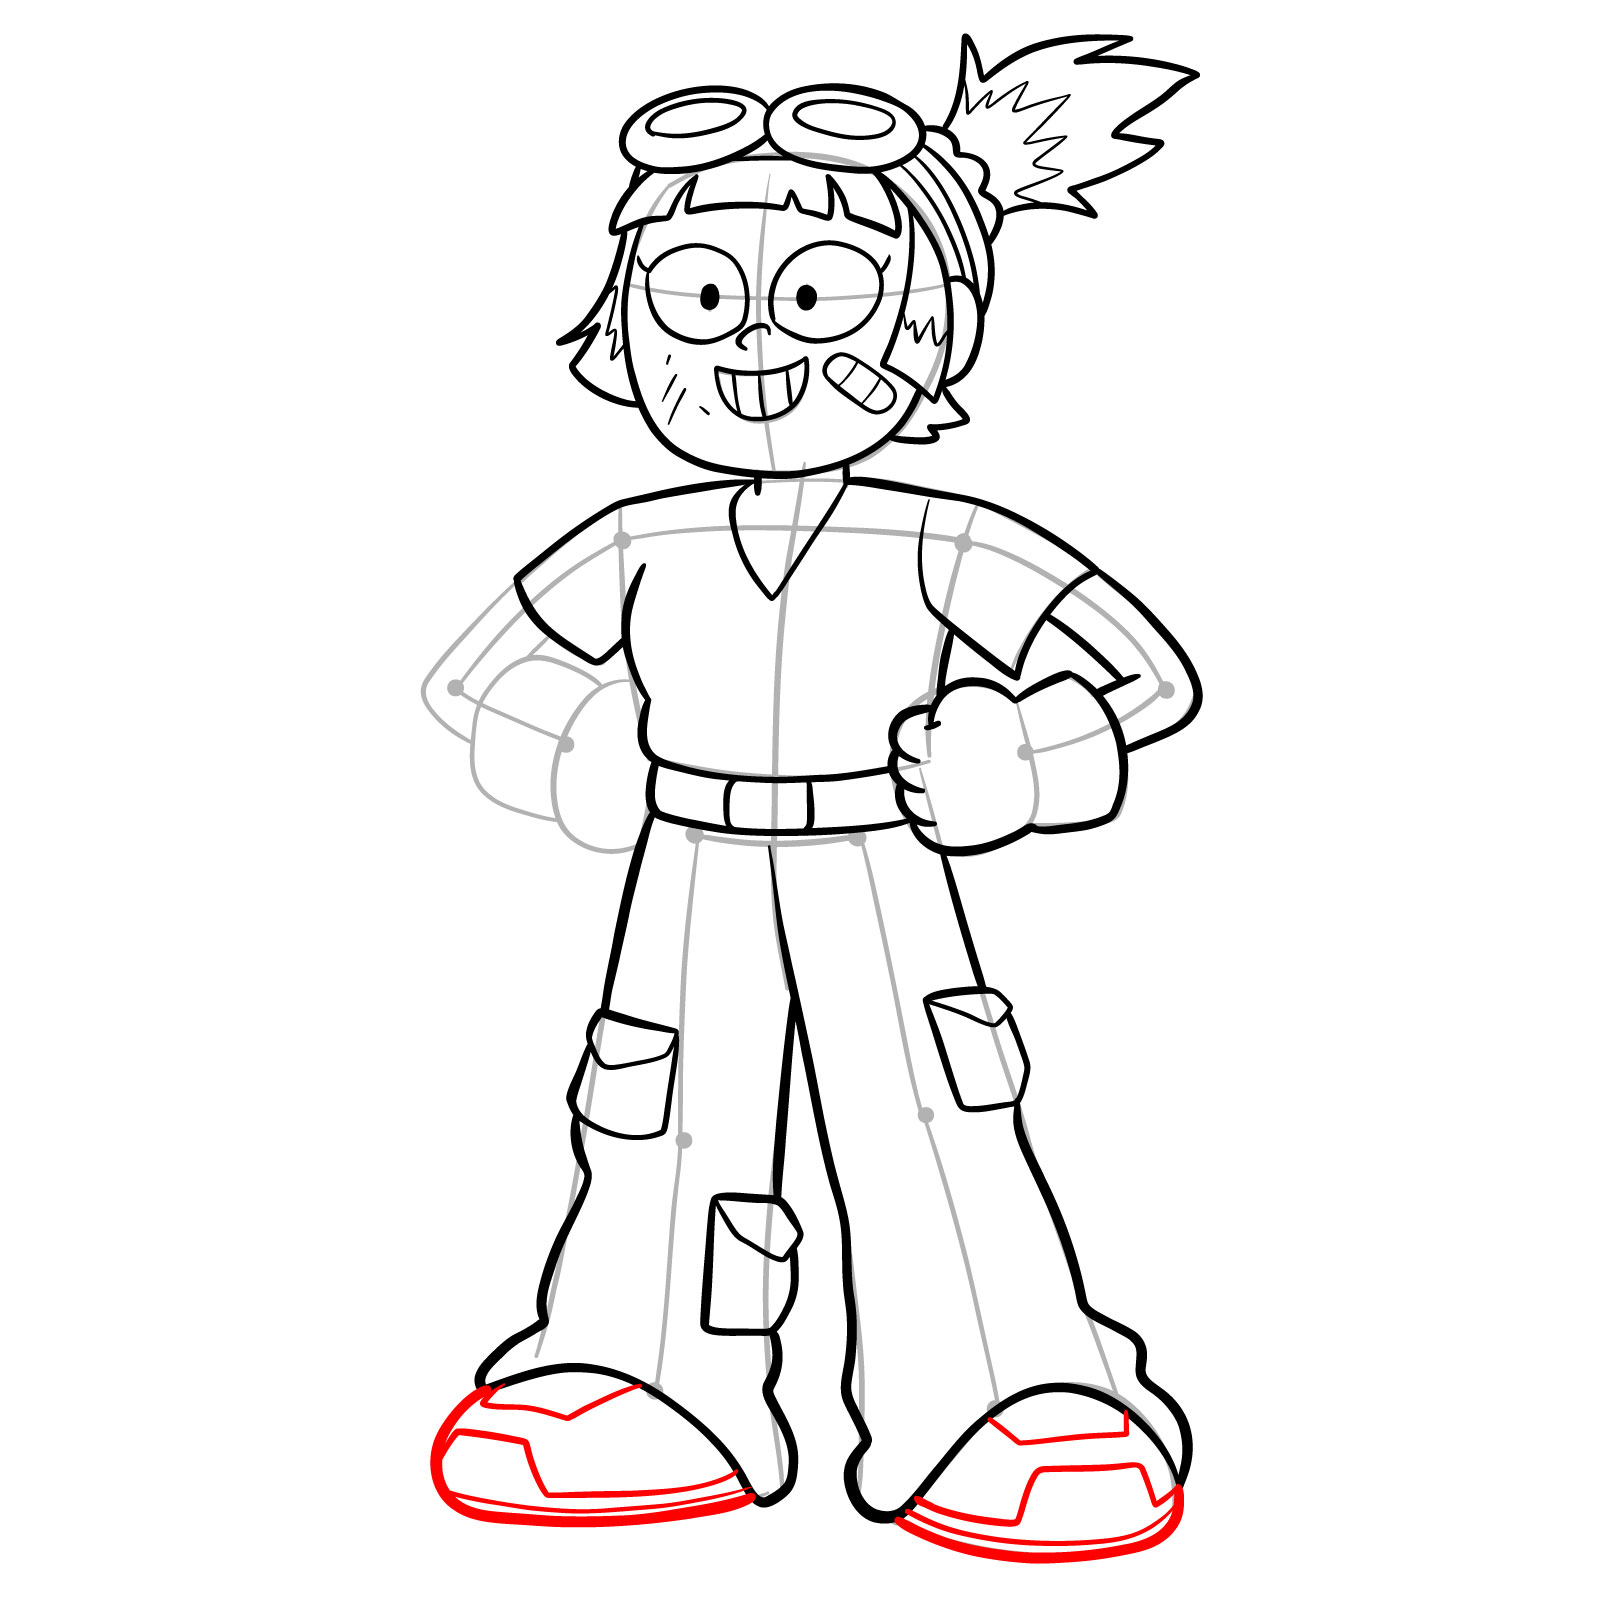
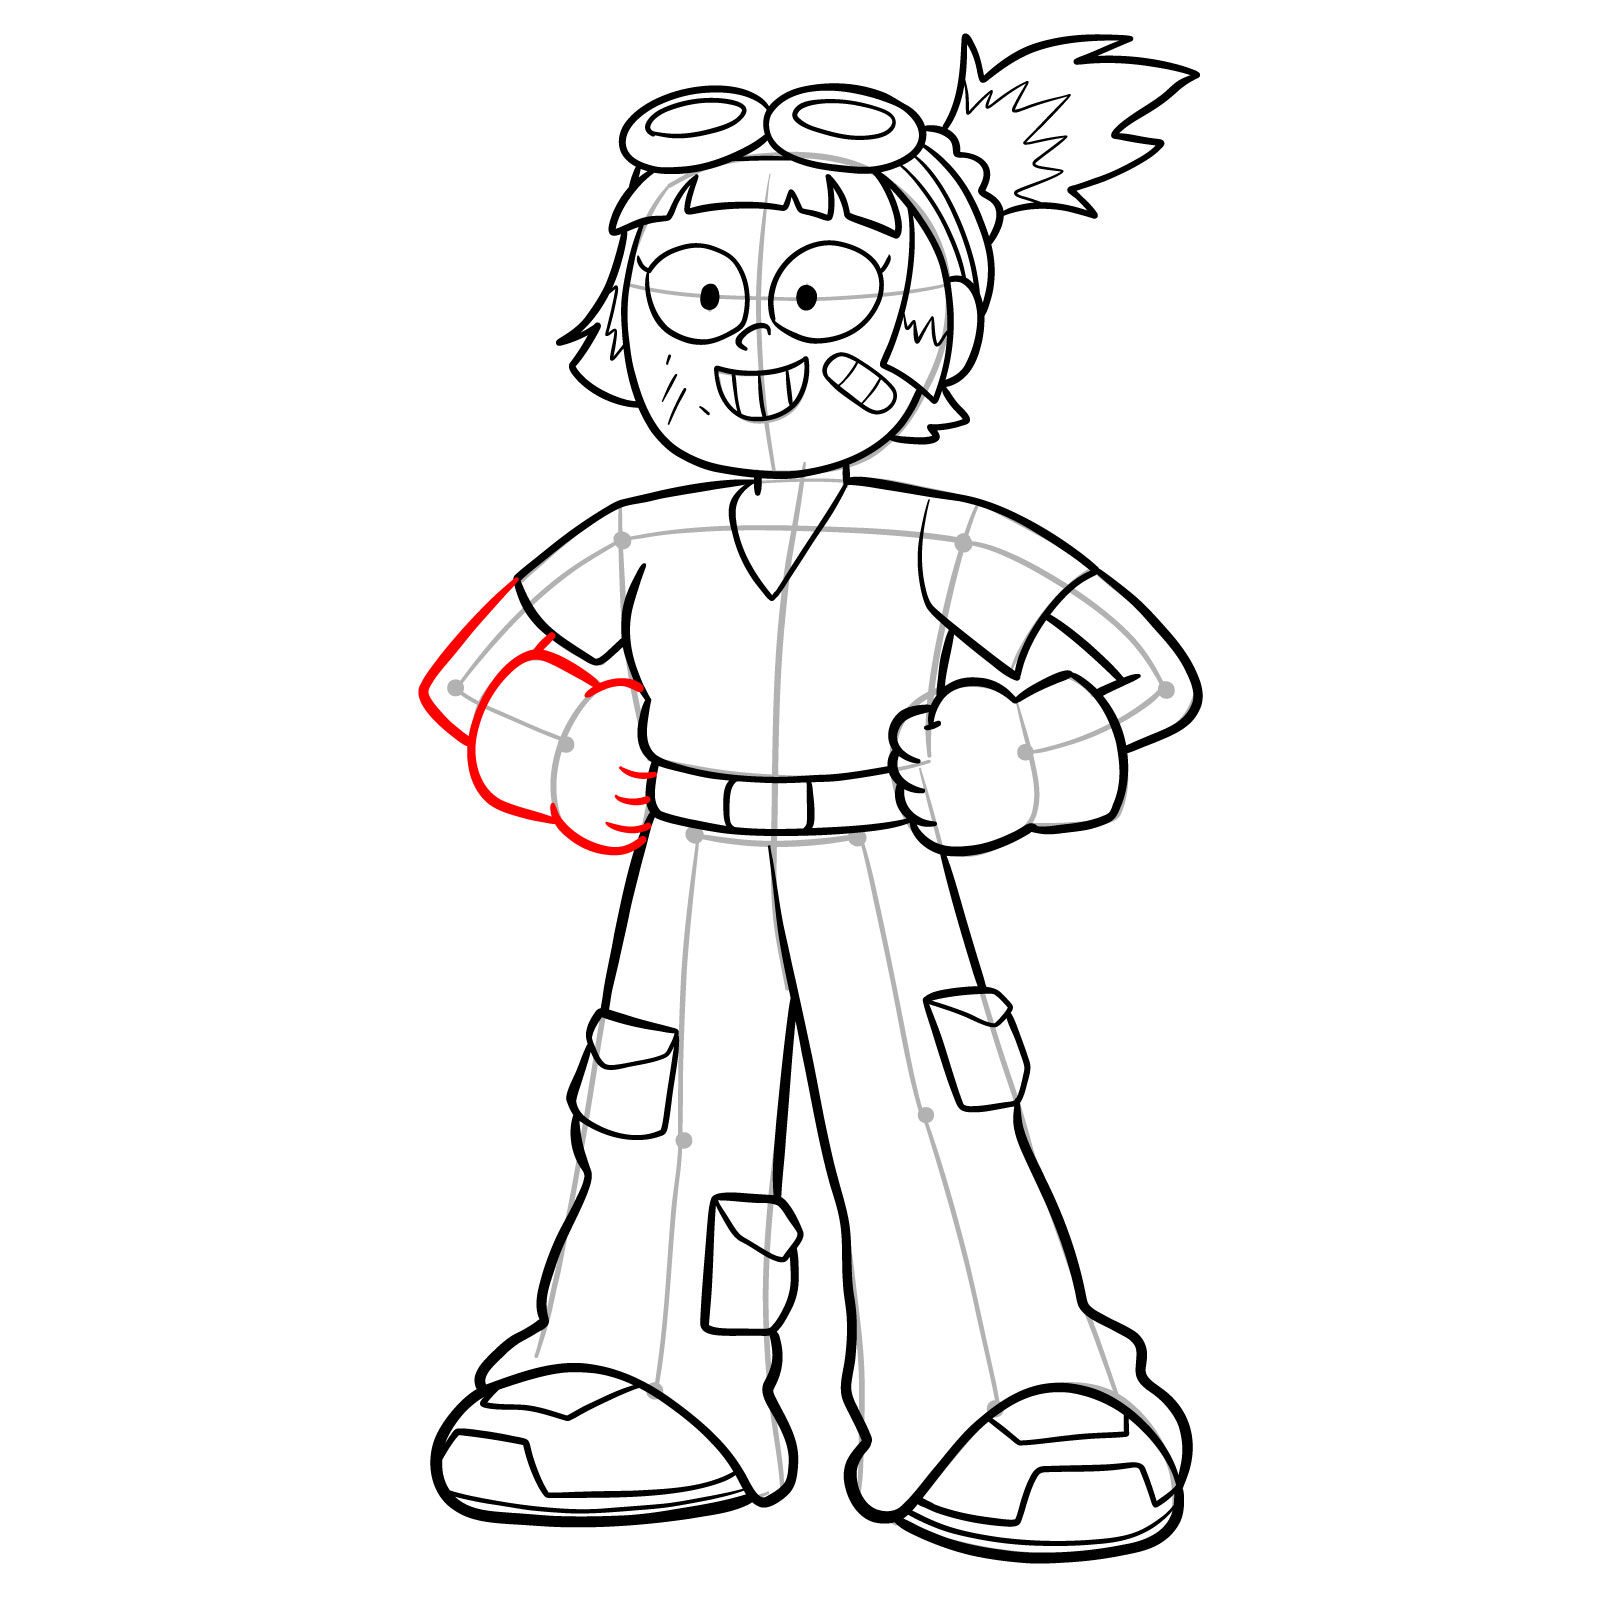
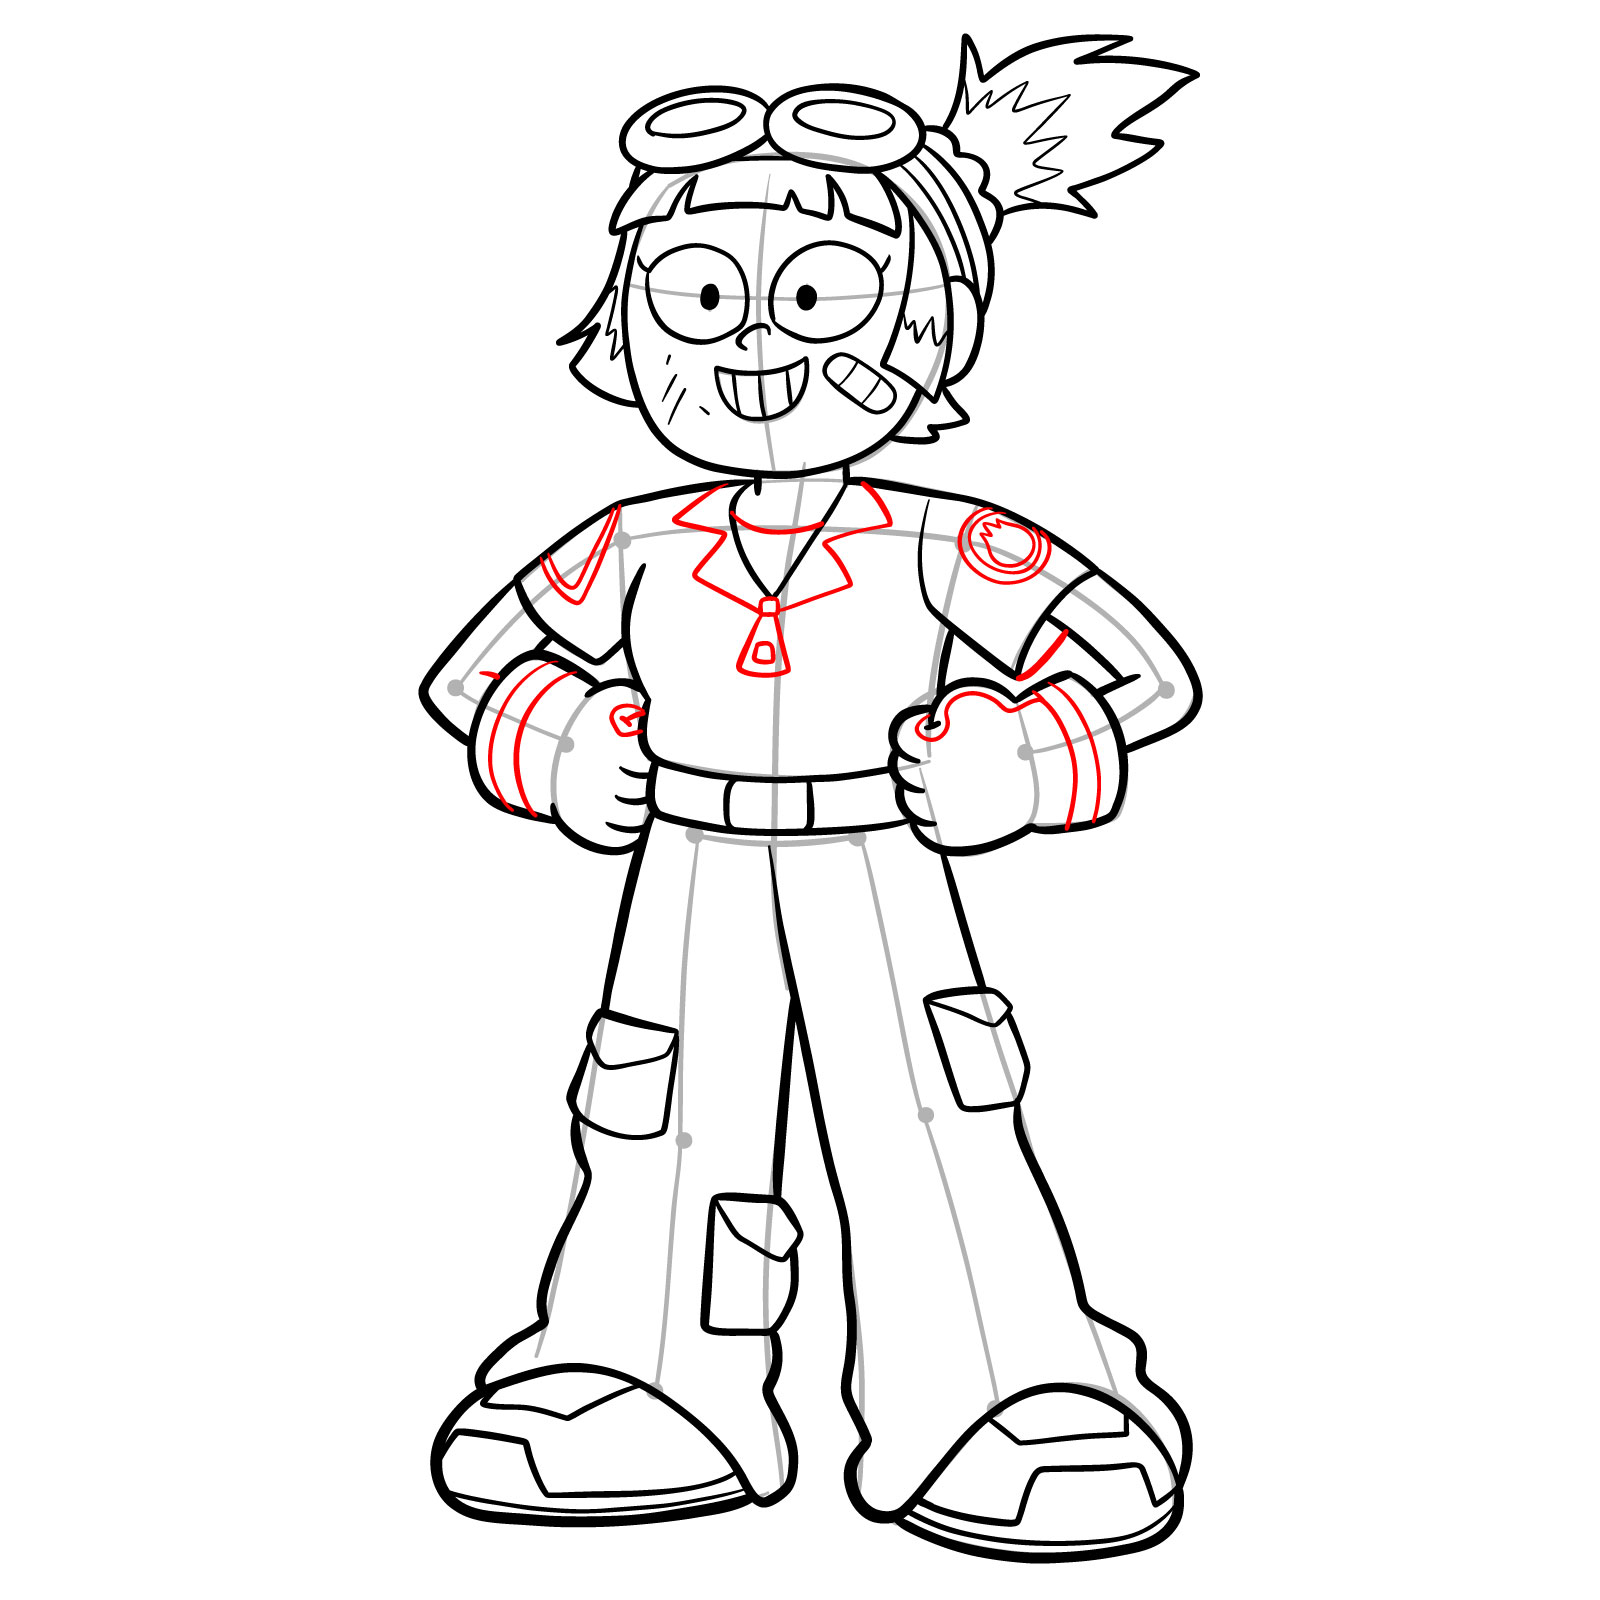
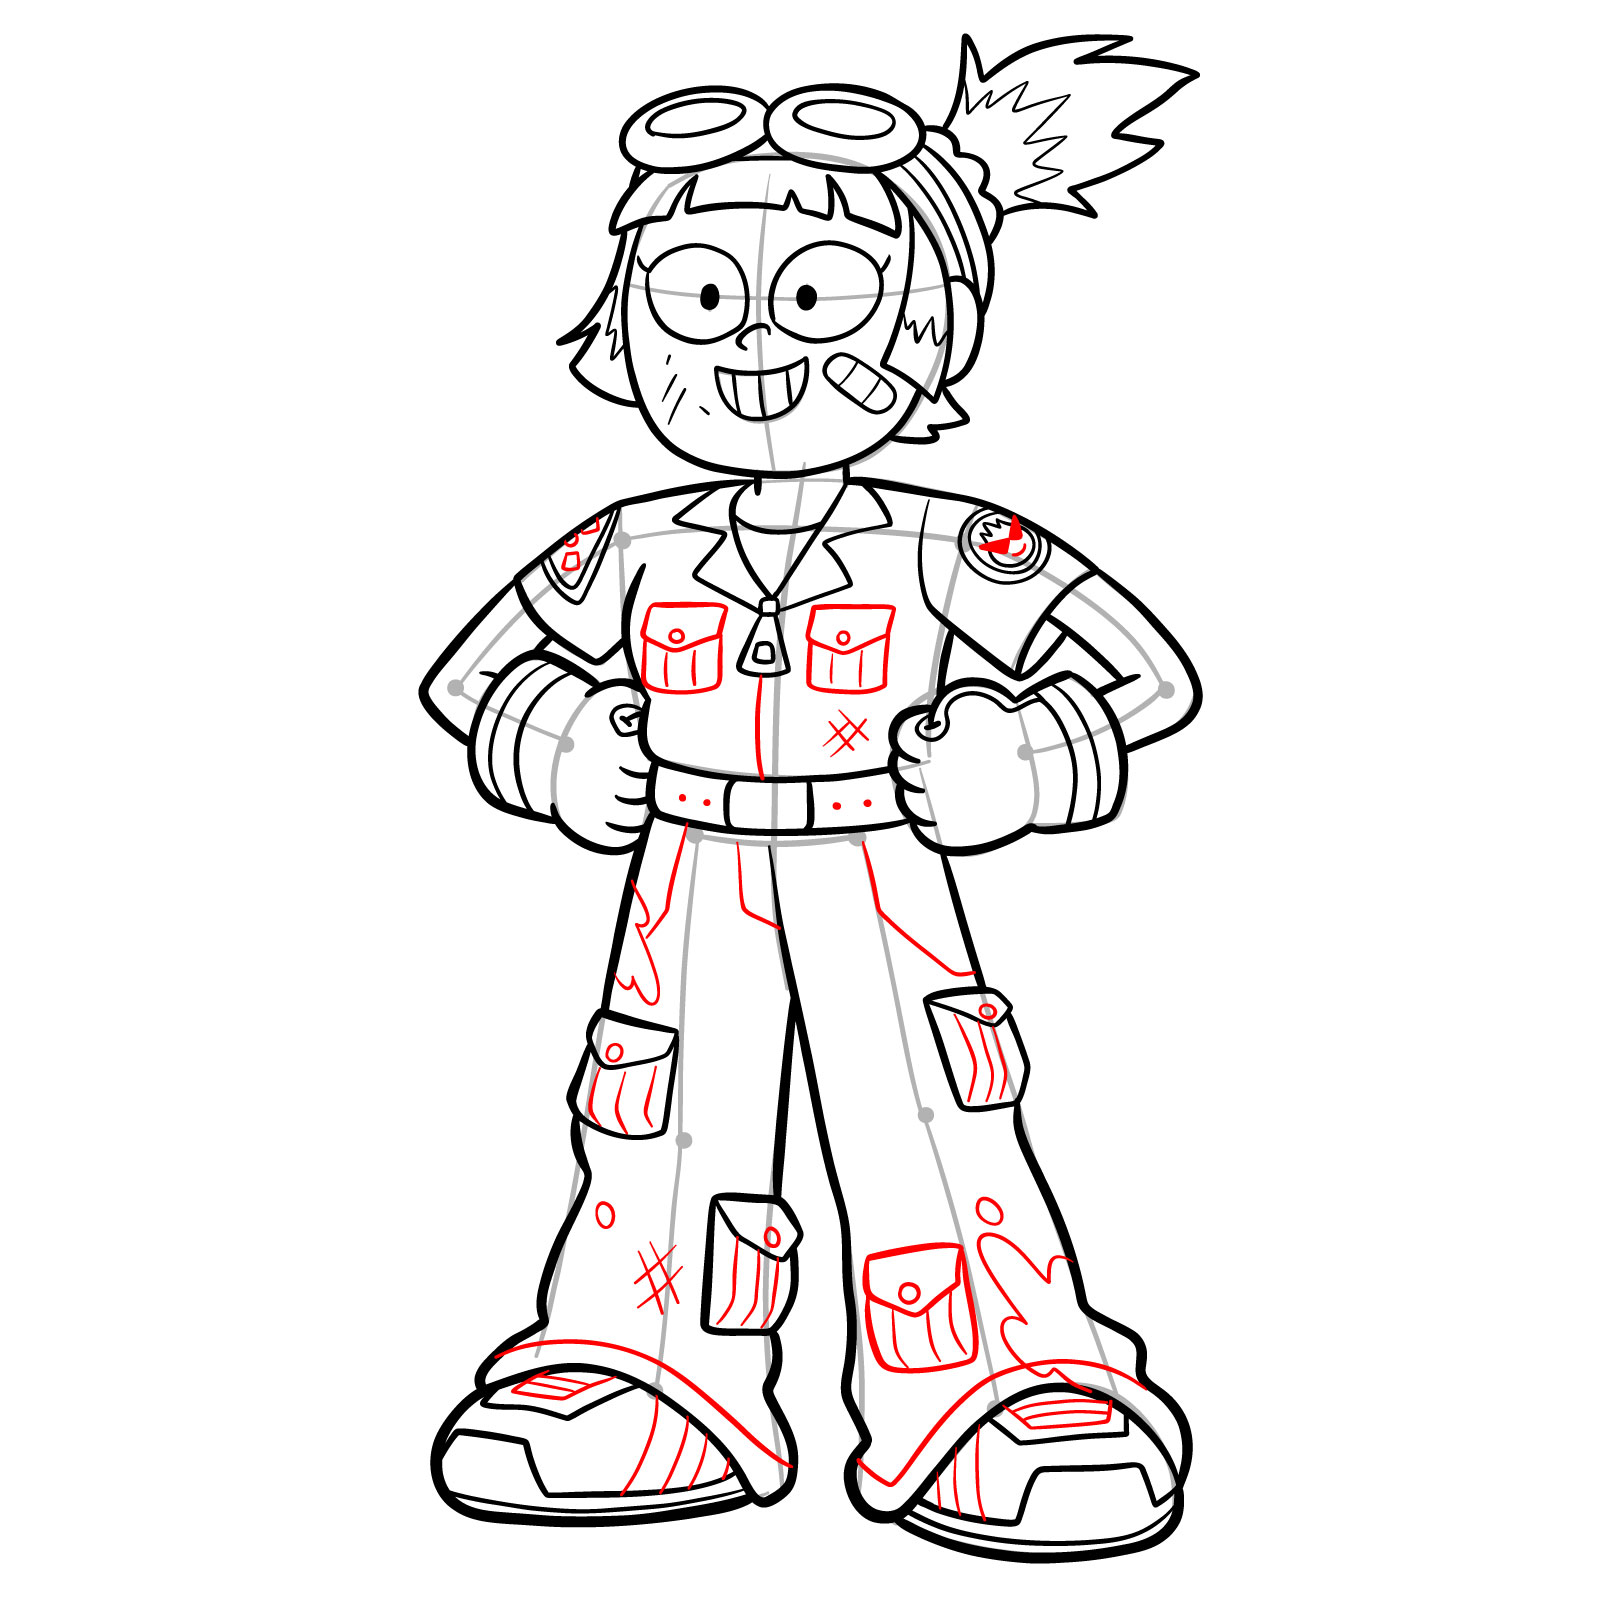
This guide is meticulously designed to assist you in the drawing process through a series of 19 images, each representing a progressive step towards completing your illustration of Ally. Starting with a basic sketch, the guide simplifies the drawing process into manageable parts. Here’s how to interpret the color coding in the guide:
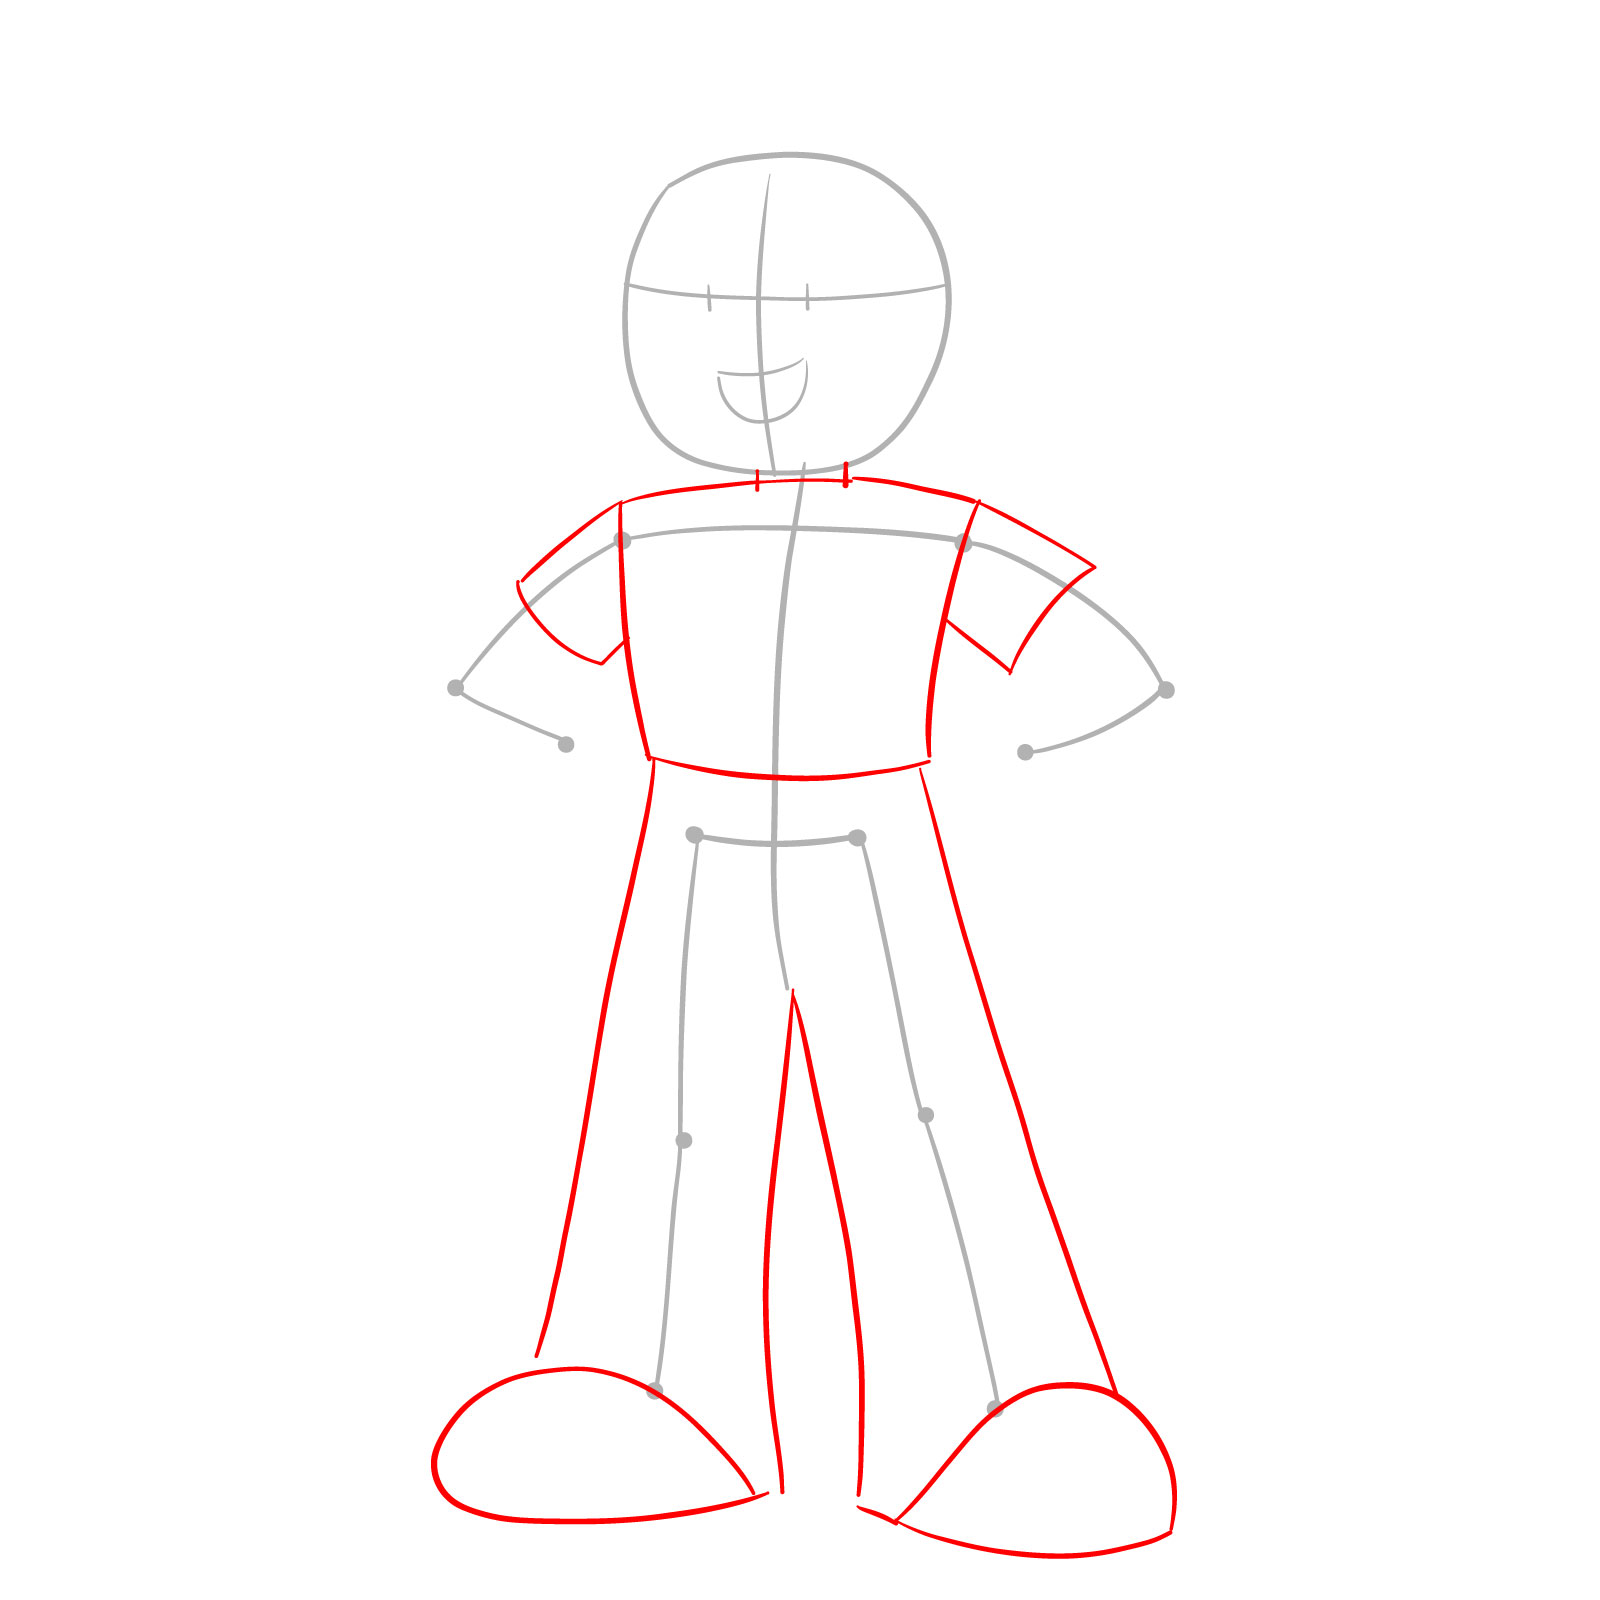
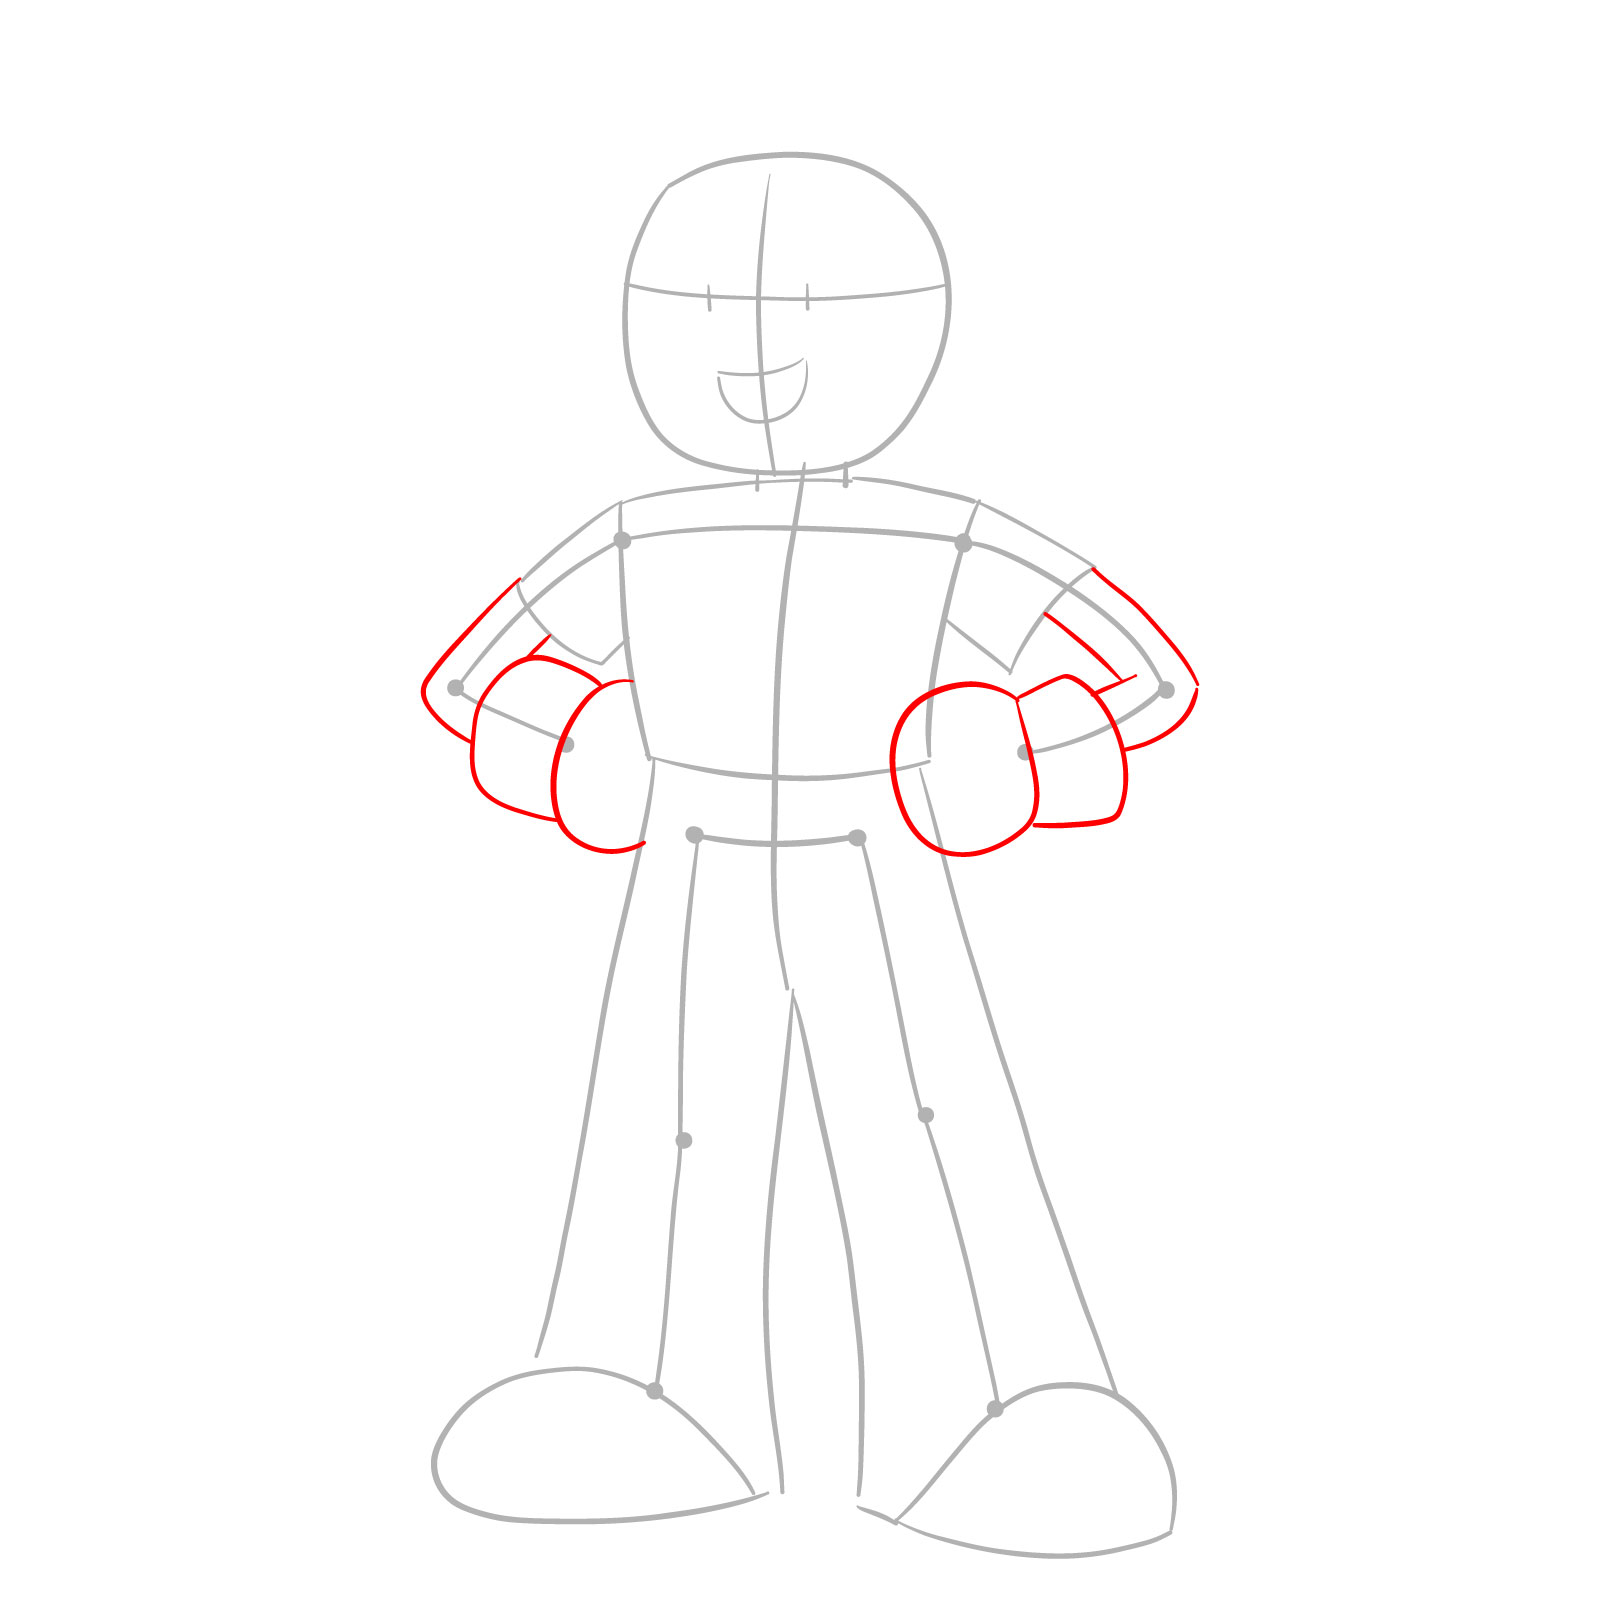
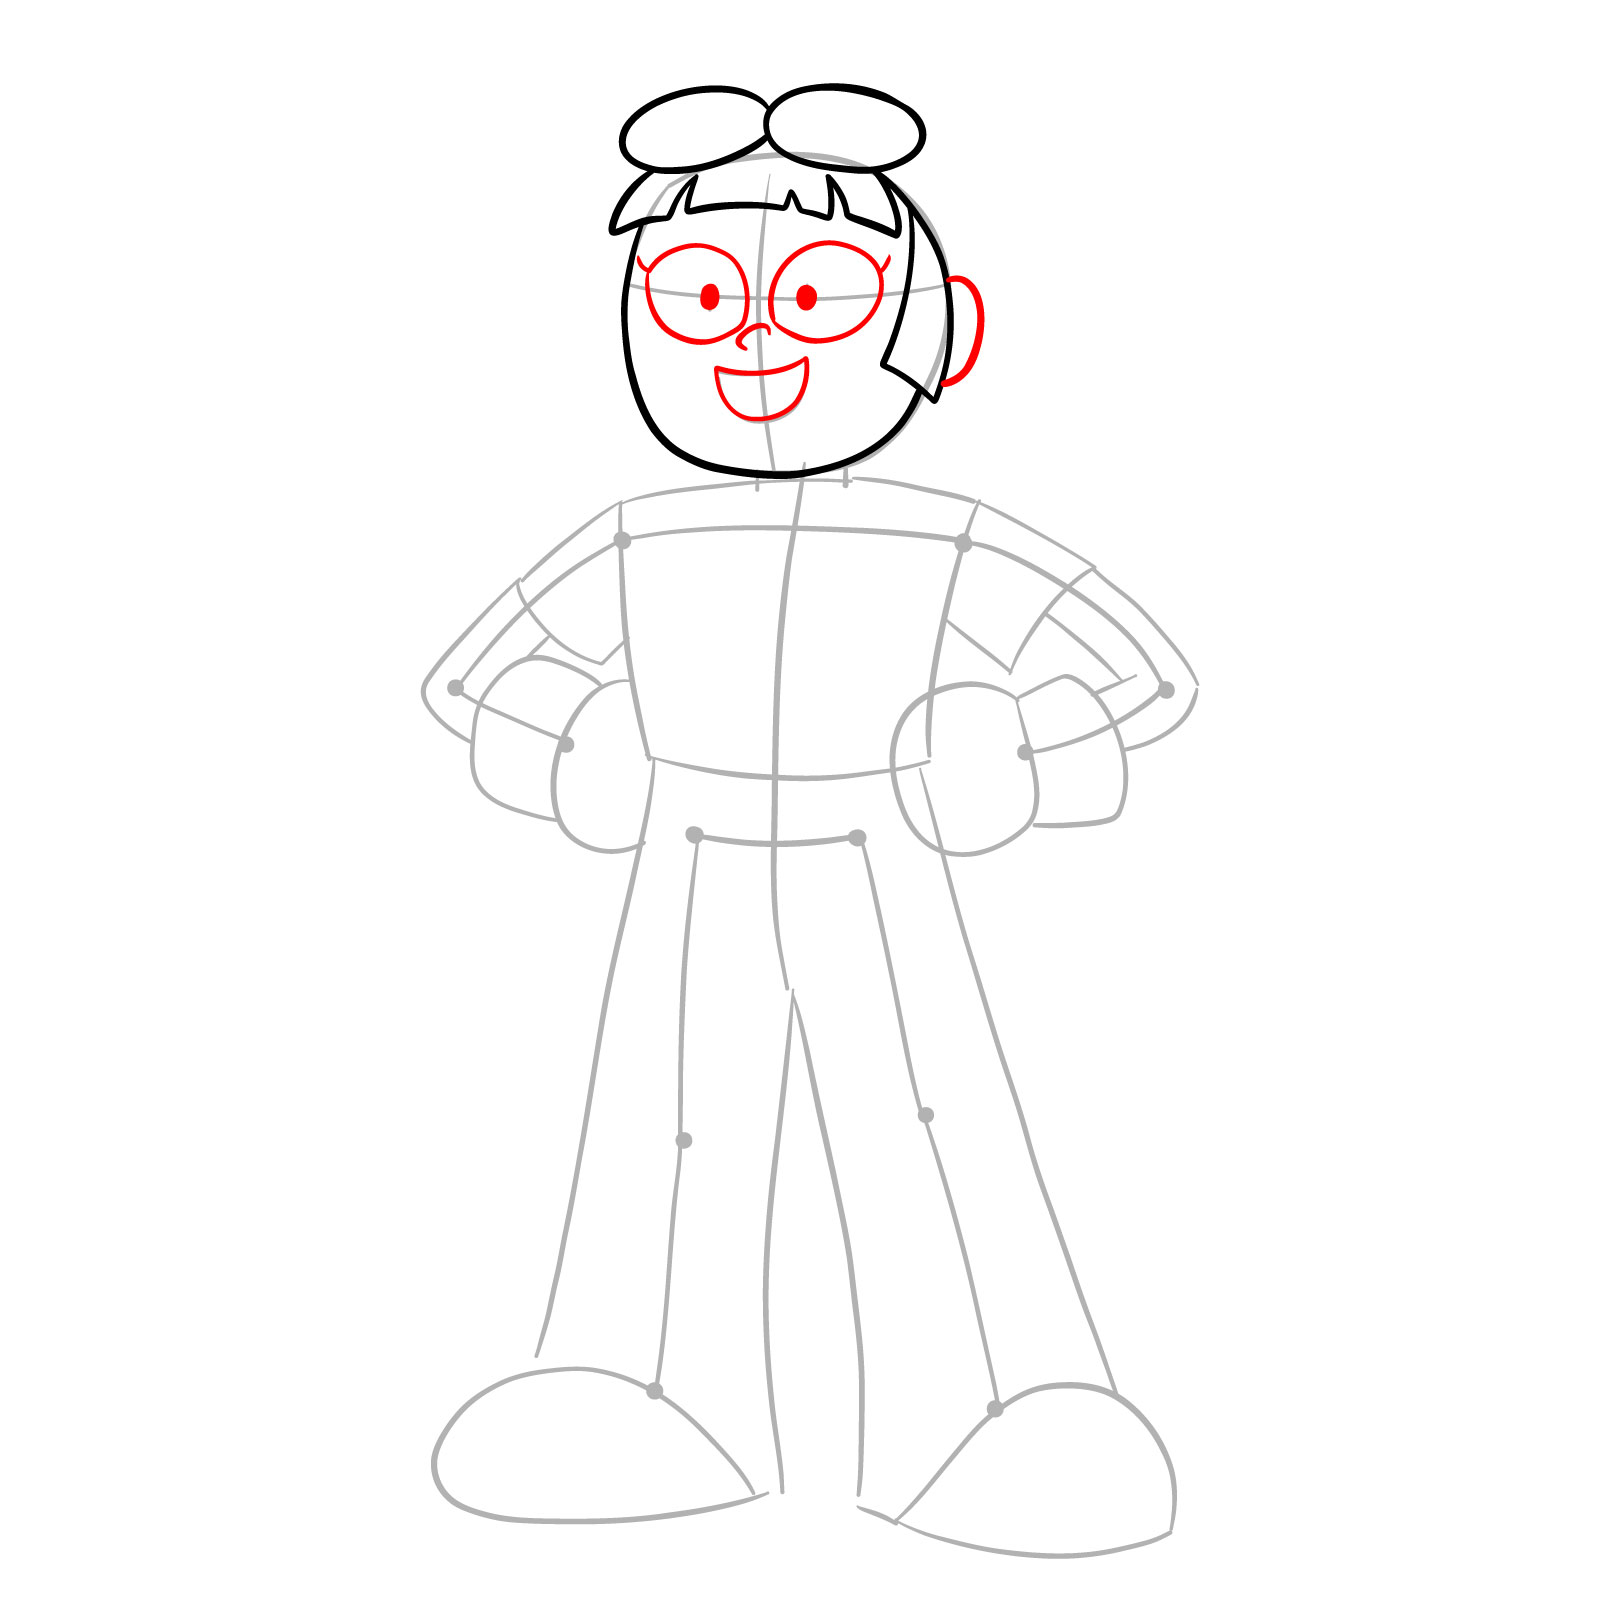
- Red Color: Highlights the specific elements you should be working on in the current step.
- Black Color: Represents the lines and details you’ve drawn in previous steps.
- Grey Color: Indicates the initial sketch lines that provide a foundation for your drawing.
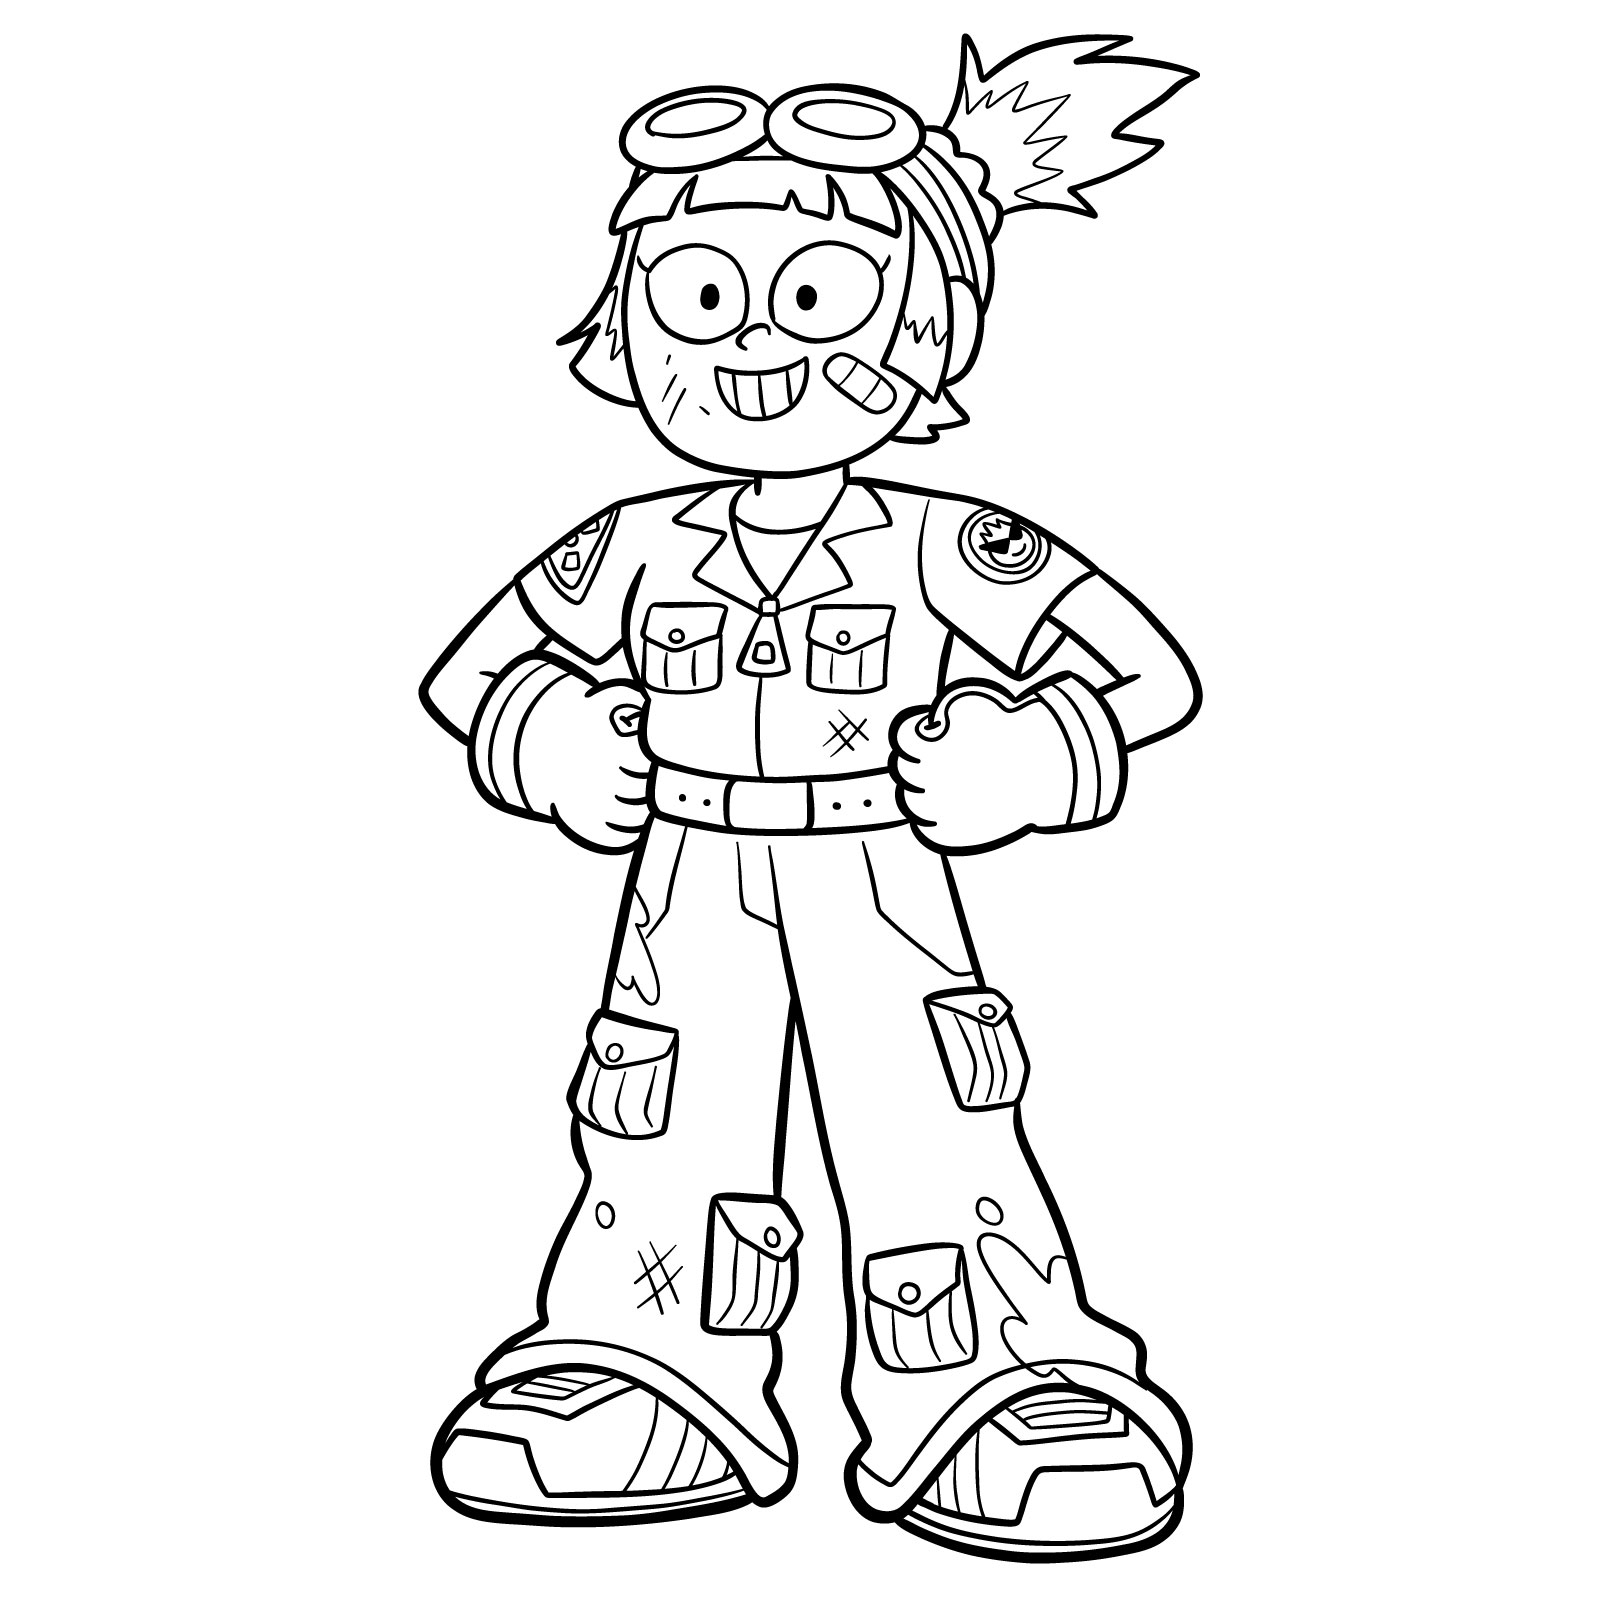
In the final stage of the guide, you have the opportunity to ink your sketch. Inking should be done with a steady hand and a suitable pen, going over the pencil lines you’re confident about. It’s crucial to let the ink dry completely to prevent smudging. Once dry, gently erase the underlying pencil marks to reveal a clean, polished drawing. This step not only enhances the visual appeal of your artwork but also prepares it for any color application if desired.
Following this drawing tutorial will ensure a structured and enjoyable experience as you watch Ally take shape on your canvas.
I hope this guide has made the process of how to draw Ally clear and enjoyable. Remember, each step is an important part of the journey, and by following them in order, you’ll see your drawing come to life. Don’t hesitate to revisit any step if you need to, and take pride in each line you draw. As the creator of SketchOk, I invite you to share your finished drawings with us and join our growing community of artists.
For more tips, updates, and tutorials, make sure to follow SketchOk on our social media channels:
- YouTube: SketchOk on YouTube
- Facebook: SketchOk on Facebook
- Instagram: SketchOk on Instagram
- Pinterest: SketchOk on Pinterest
- TikTok: SketchOk on TikTok
By joining our community, you’ll be the first to know about new drawing tutorials and get plenty of inspiration for your next creations. Keep drawing, keep sharing, and let’s grow together. See you on the next guide on how to draw!