Last Updated on May 14, 2026
Whether you’re a seasoned artist or a beginner eager to delve into the world of Pokémon, our step-by-step tutorial is here to help you learn how to draw Omanyte, a charming Rock/Water-type Fossil Pokémon first introduced in Generation I. Through this guide, you’ll not only develop your sketching skills but also build a deeper appreciation for the artistry that defines the Pokémon universe.
The Omanyte Overview: Know Your Pokémon
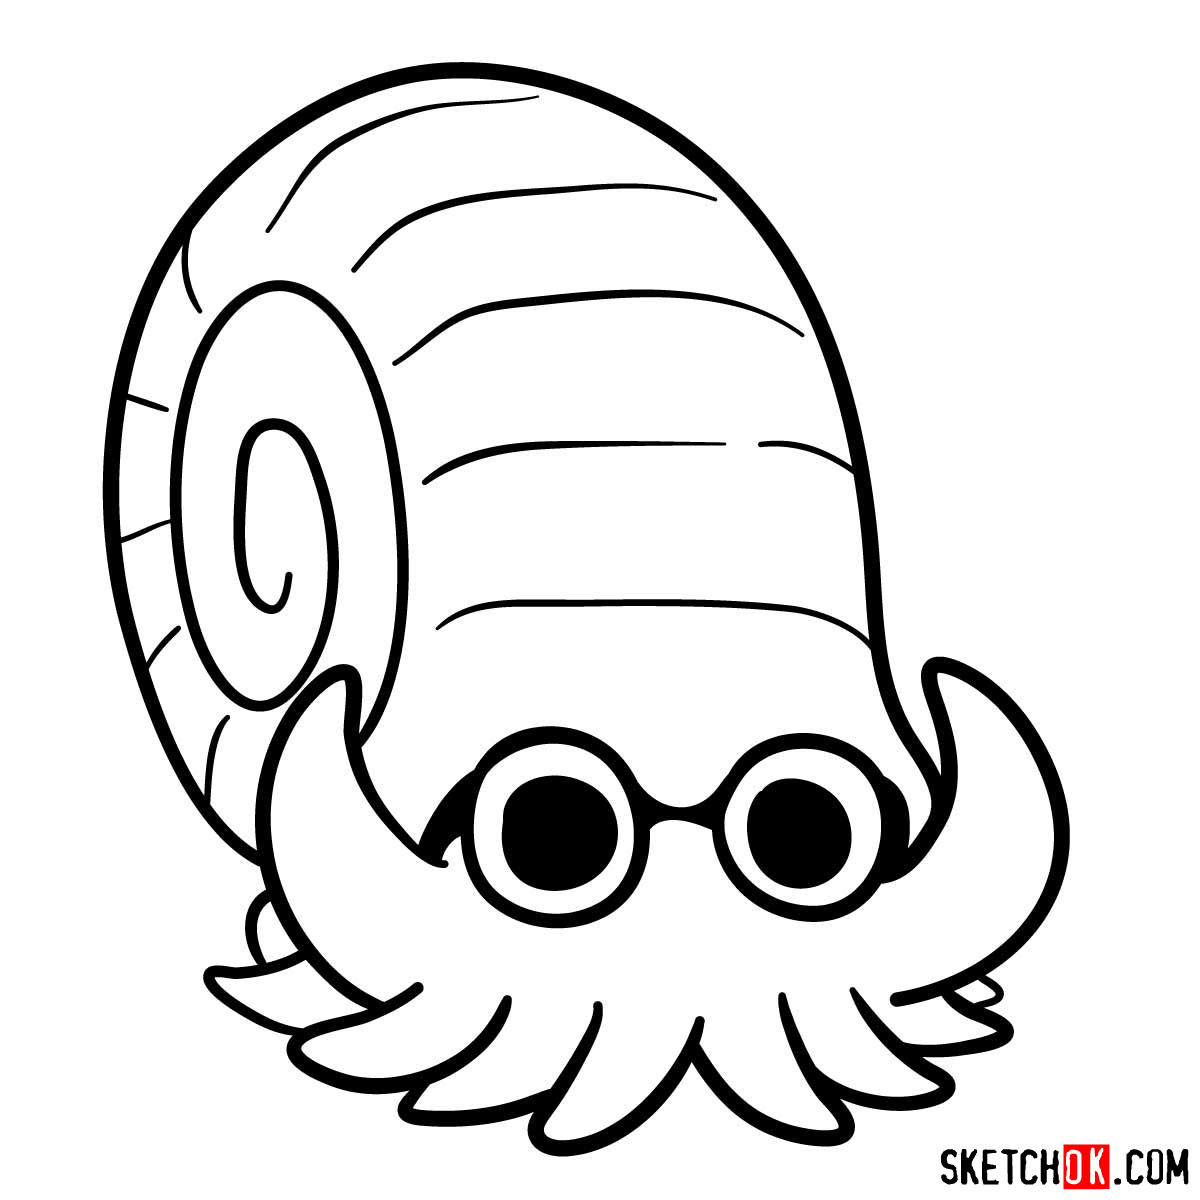
Omanyte, a nautilus-like Pokémon, hails from a species that perished millions of years ago. Despite its extinction, Omanyte has remained a captivating figure among Pokémon enthusiasts, and with good reason.
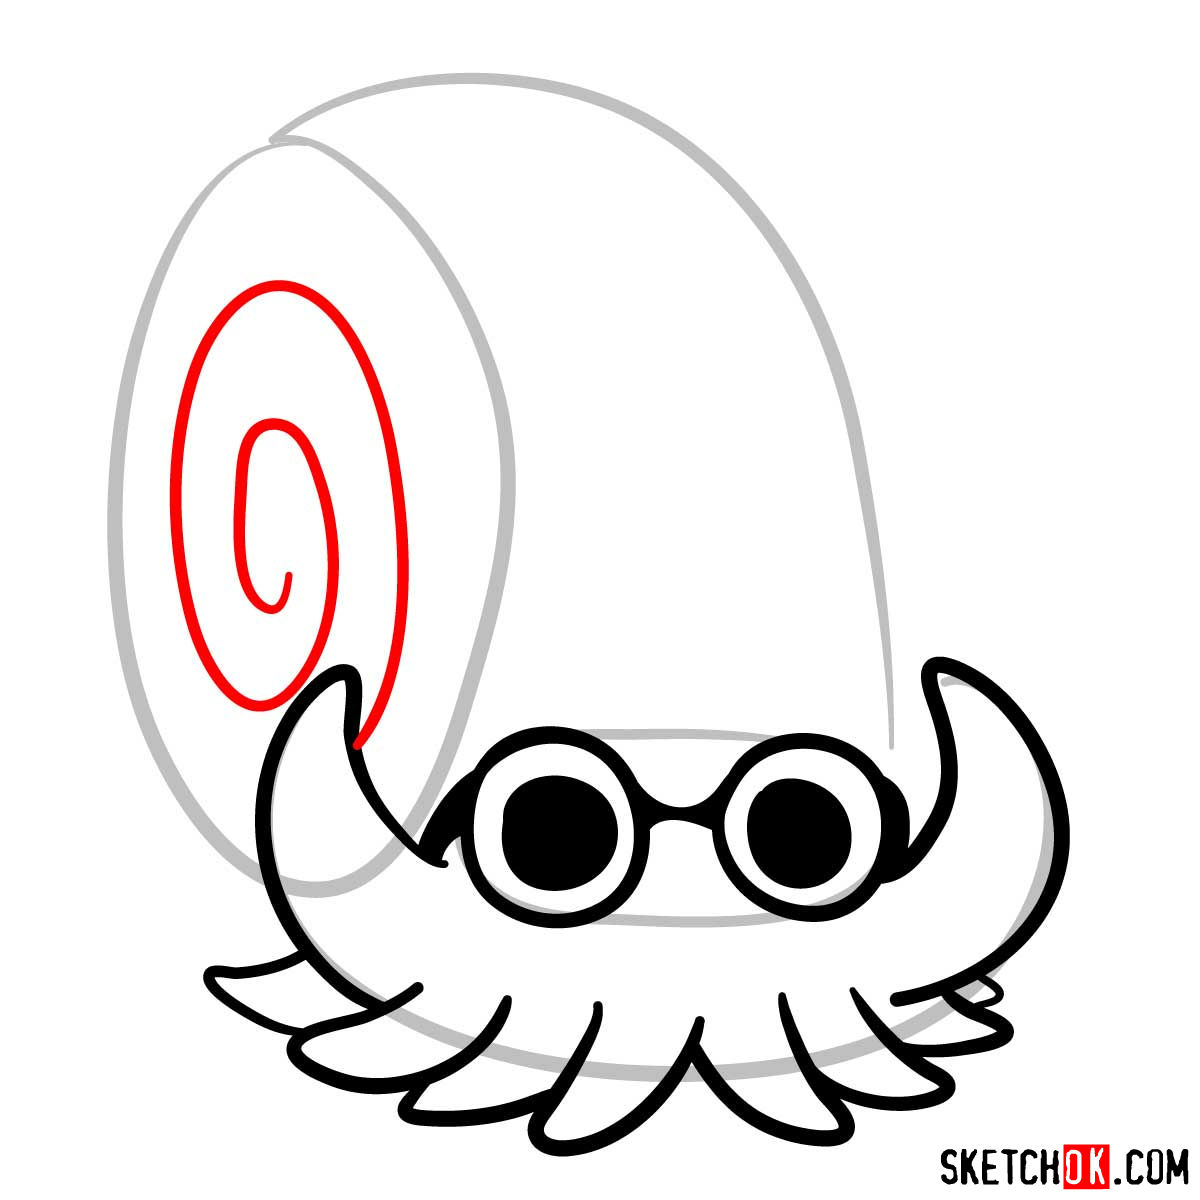
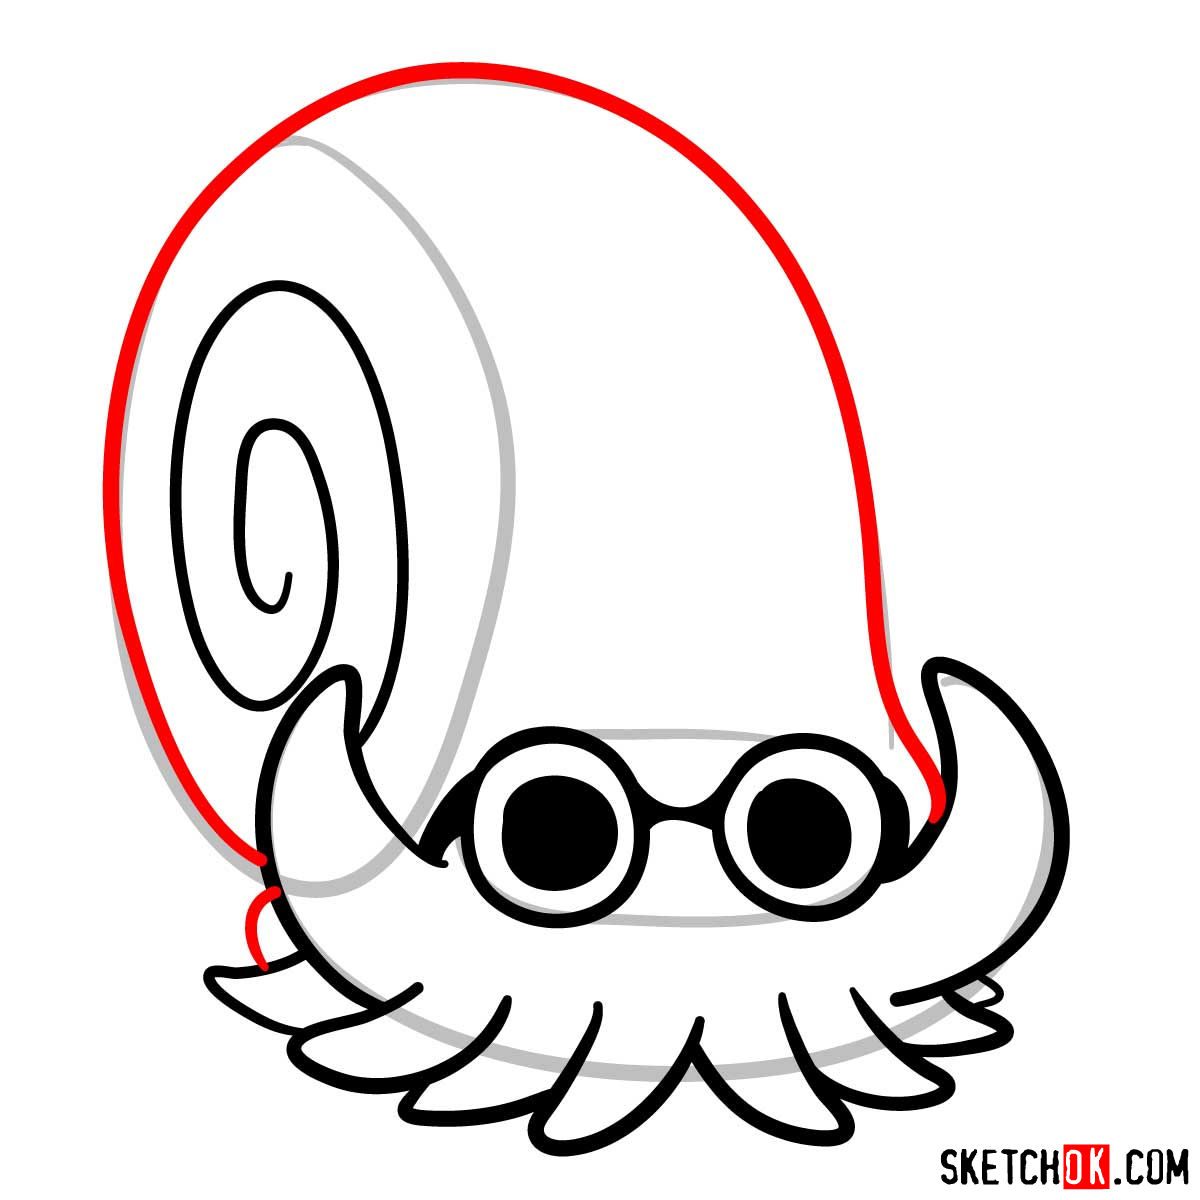
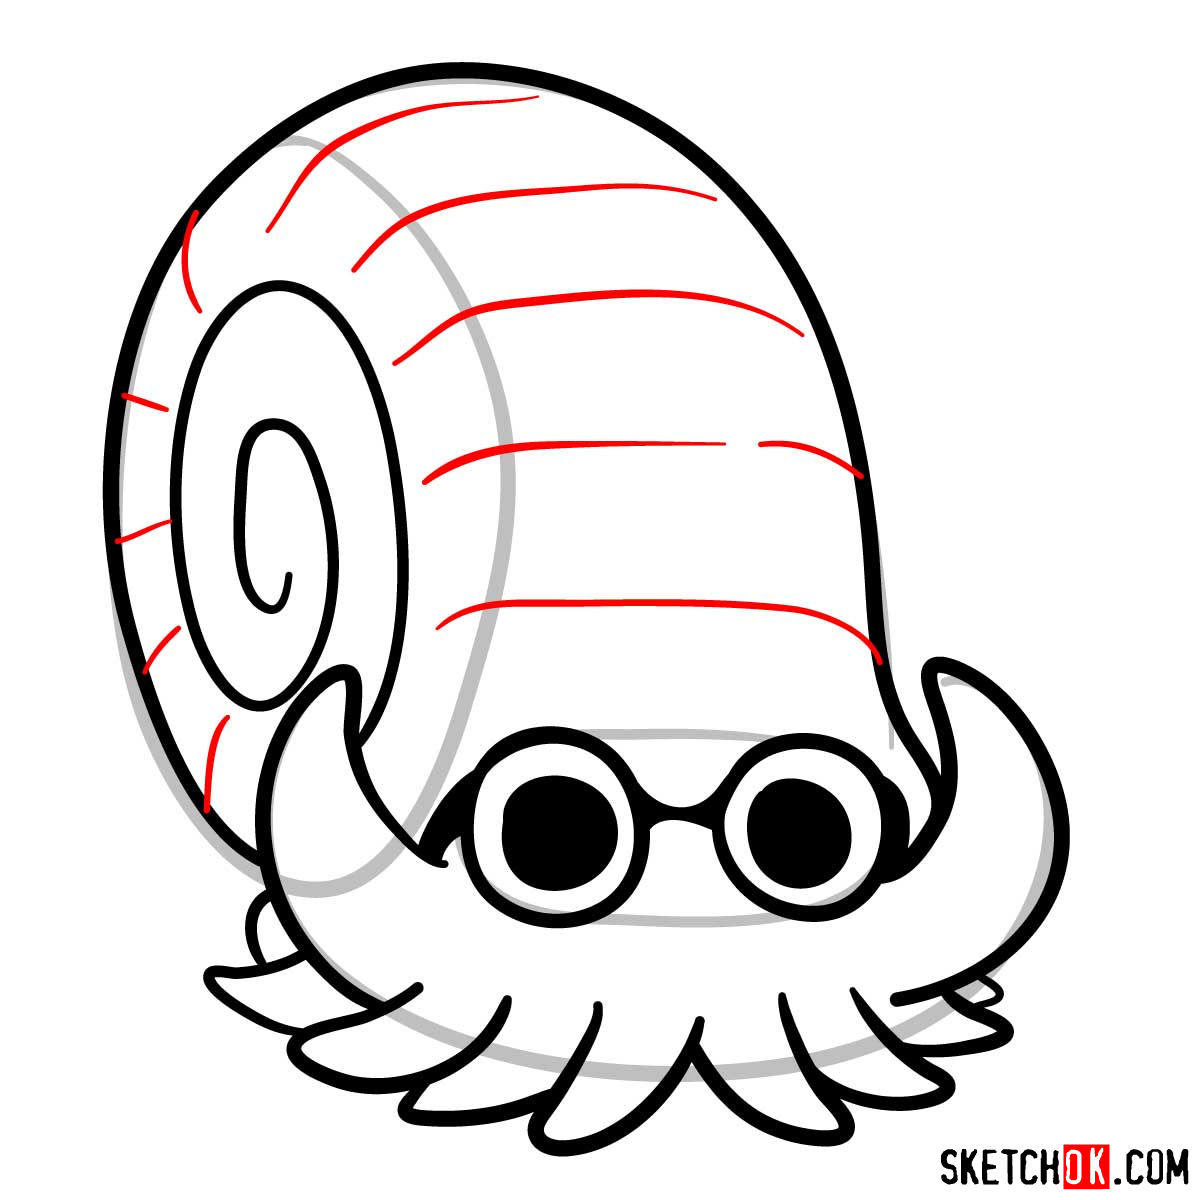
- Appearance: Omanyte’s distinctive features include a robust shell that provides a reliable defense against adversaries. Its shell, with its mesmerizing spiral pattern, is undoubtedly a central focus when drawing.
- Tentacles: This Pokémon is known for its numerous tentacles that it used to navigate along the seafloor. While sketching, pay attention to the unique curvature and positioning of these tentacles.
- Eyes: Omanyte’s large, protruding eyes, peering out from beneath its shell, are essential to capture its unique charm.
As you sketch Omanyte, you might want to consider adding its counterpart, Kabutops, into your drawing. Other relevant Pokémon to pair it with include Gyarados, the fearsome water serpent, and Kingler, the powerful crab Pokémon.
Understanding the Guide: A Color-Coded Journey
Our drawing guide is designed with an intuitive color-coded system to streamline your sketching process:
- Red Color: The red lines in each step represent the elements you need to add in your current step. Pay particular attention to these areas as they are critical to your Omanyte’s progression.
- Black Color: The black lines are the remnants of your previous steps. They provide the continuity and coherence of your drawing.
- Grey Color: The grey lines showcase the basic sketch and proportion, guiding your initial strokes in the first step of the tutorial.
The tutorial is designed in 9 stages, with the initial step focusing on creating a basic sketch. This foundation paves the way for the finer details of your Omanyte drawing.


Now that you know how to draw Omanyte Pokemon, try setting the drawing aside for a day or two and then sketch it again from memory, since that second attempt is usually where the skill really sticks. New guides get added to SketchOk regularly, and you can keep up with them on Pinterest, where each tutorial has a post for sharing your work in the comments. Video versions of some guides also appear on the YouTube channel if you prefer watching the process instead of following steps.