Last Updated on May 13, 2026
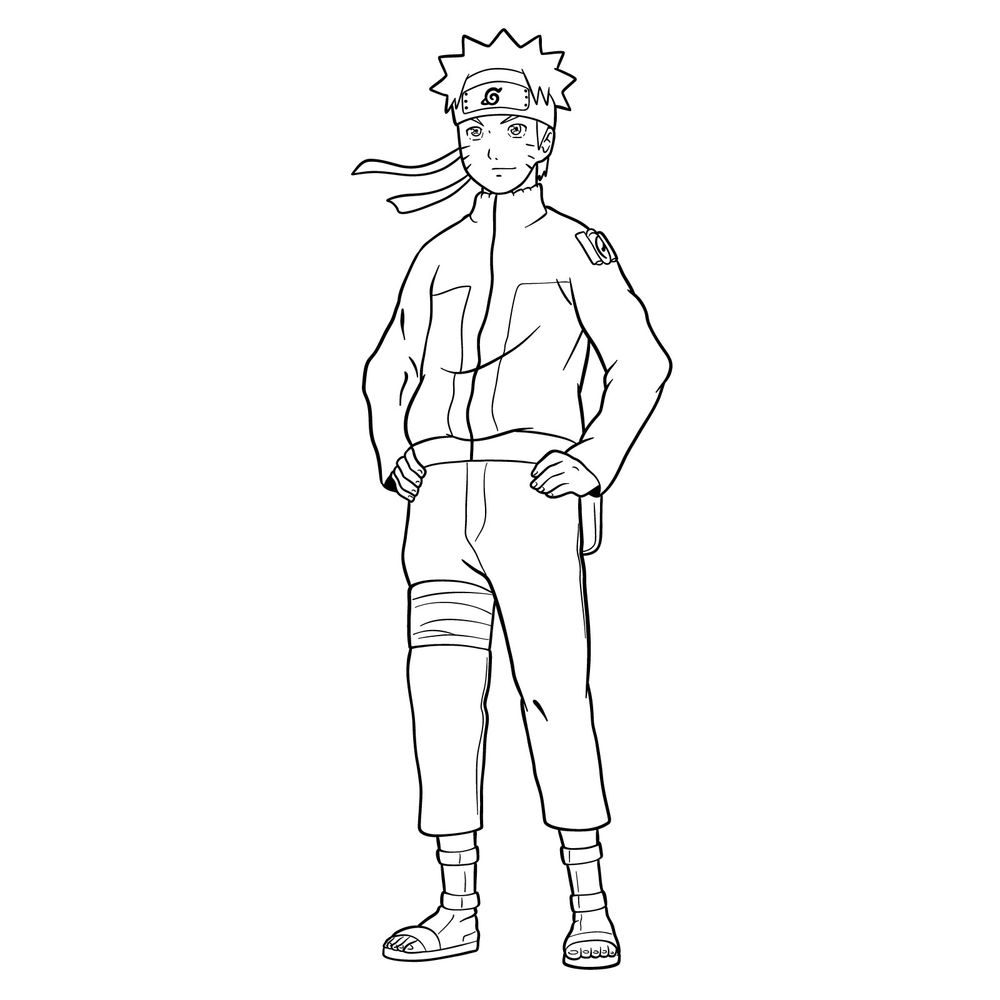
Naruto’s teenage design from Naruto: Shippuden keeps his signature look while making a few updates. His outfit is more structured, his stance is confident, and his accessories remain the same but with added details. In this guide, I’ll walk through how to draw teen Naruto step by step.
Key Features of Teen Naruto’s Appearance
- Spiky hair with a slightly more refined shape.
- Konoha headband with a flowing fabric tie.
- Whisker-like cheek marks.
- High-collared zip-up jacket with a shoulder guard.
- Fitted pants with a bandage on one leg.
- Open-toed ninja sandals.
- Confident pose with hands resting on his hips.
Once you finish this drawing, you might want to try sketching Naruto from Team 7, his Baryon and Six Paths Senjutsu modes, or other characters like Sasuke, Sakura, or Kakashi.
Understanding the Step-by-Step Guide
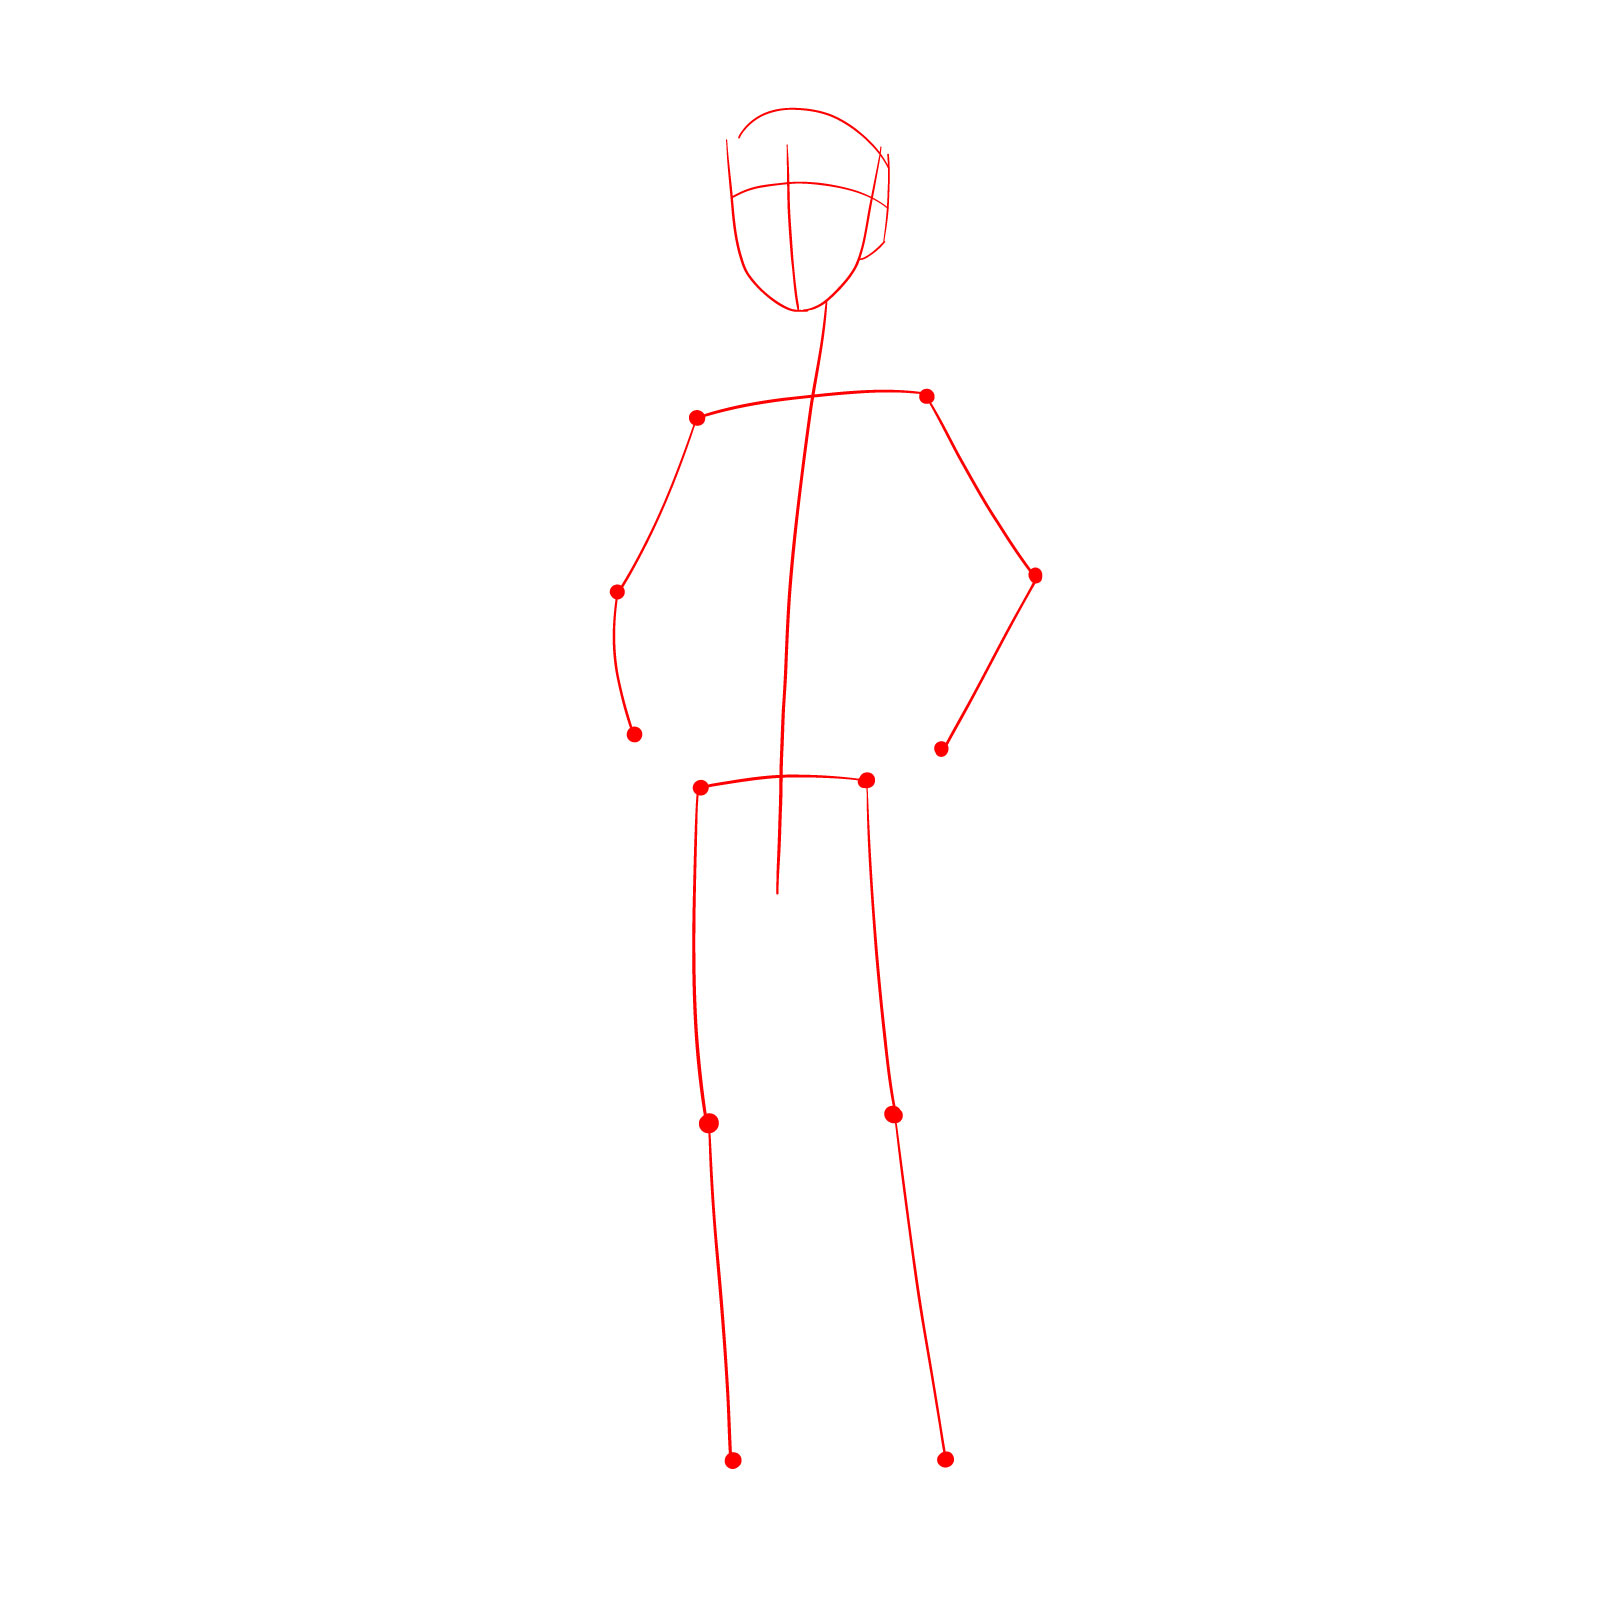
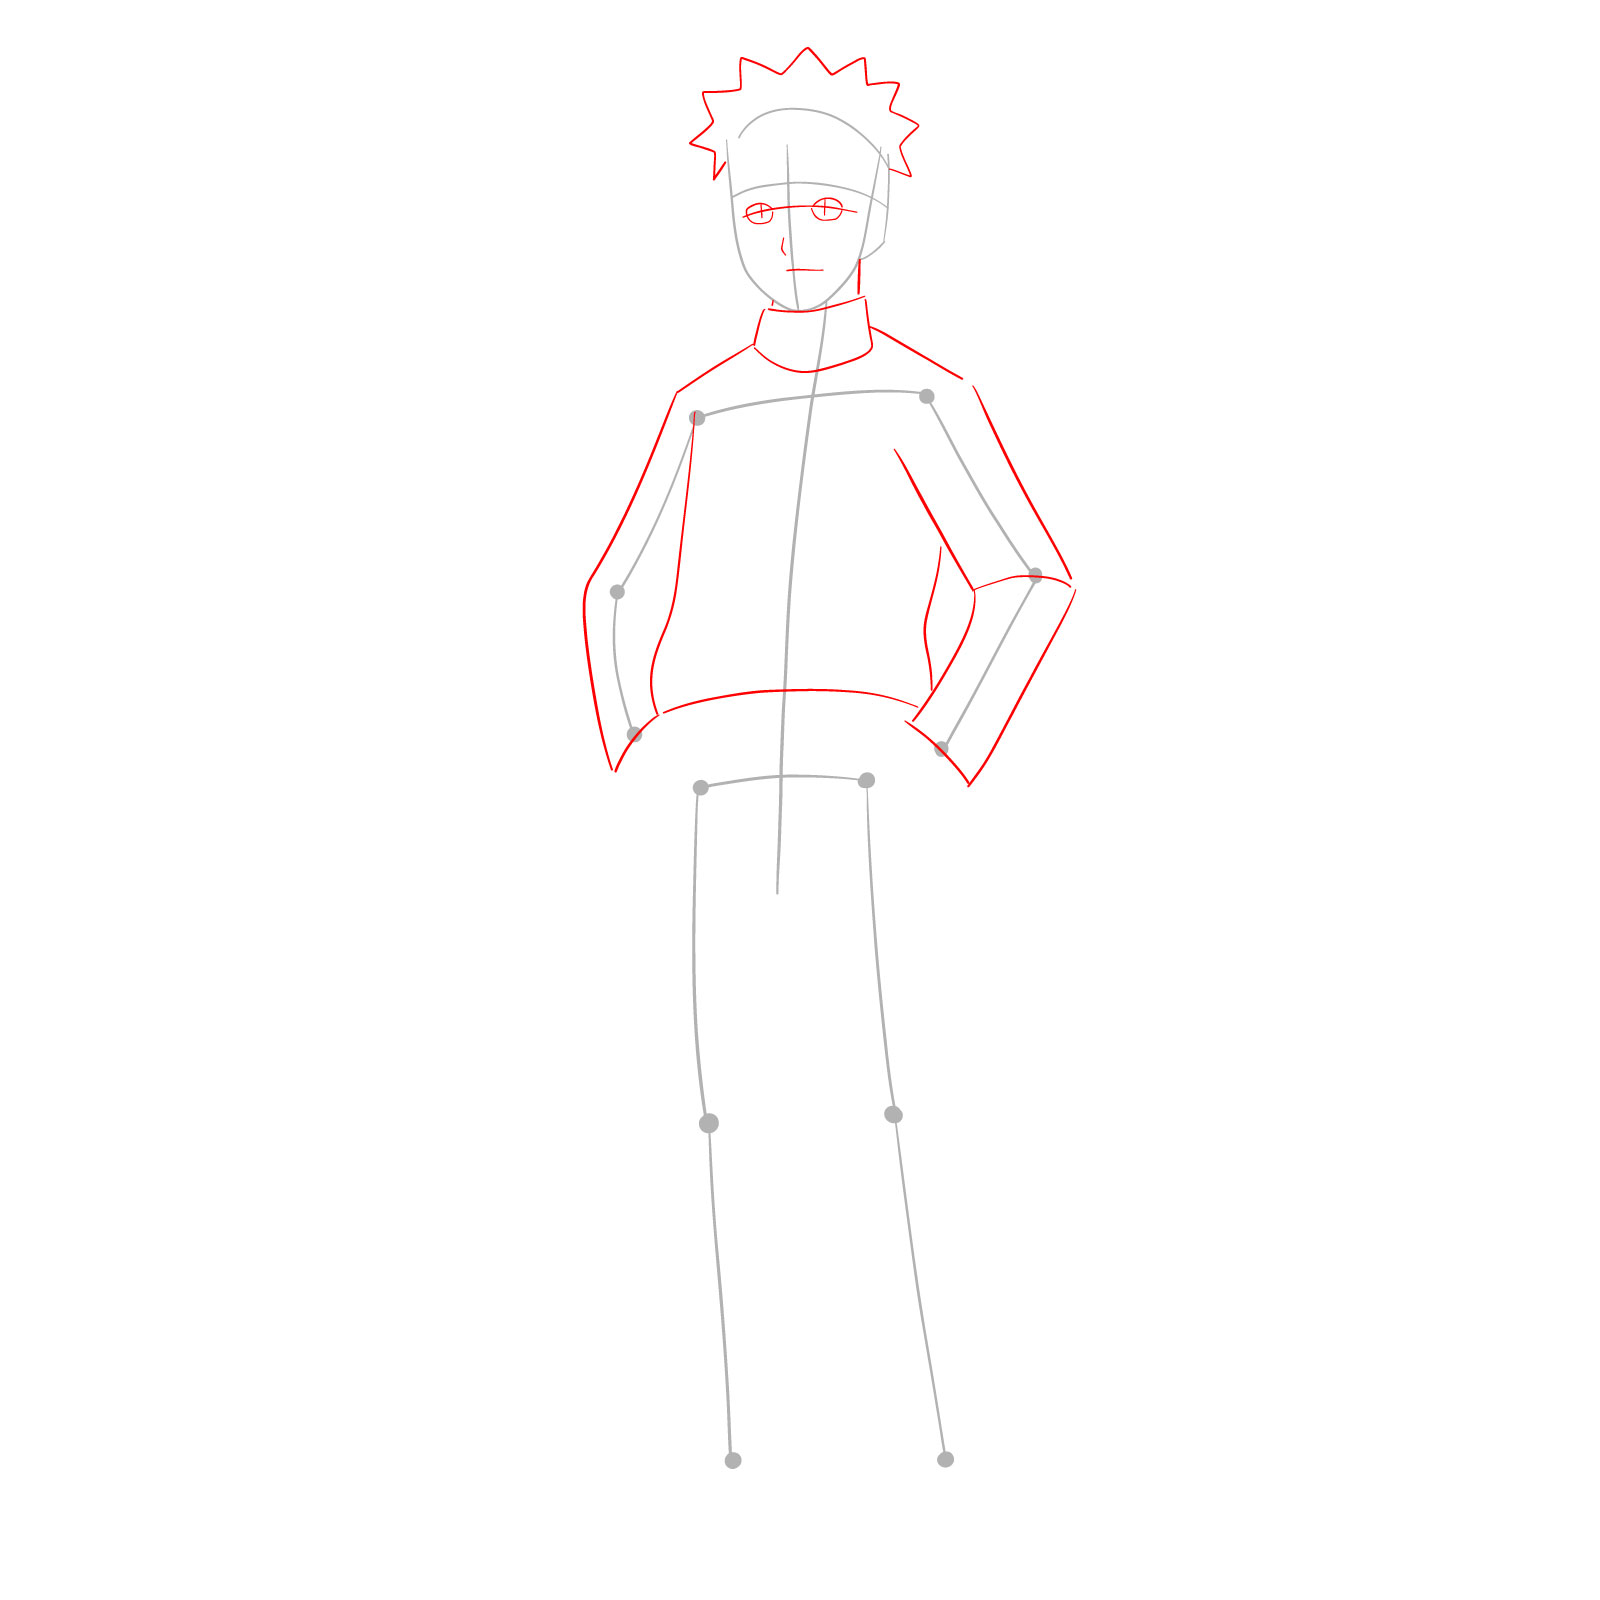
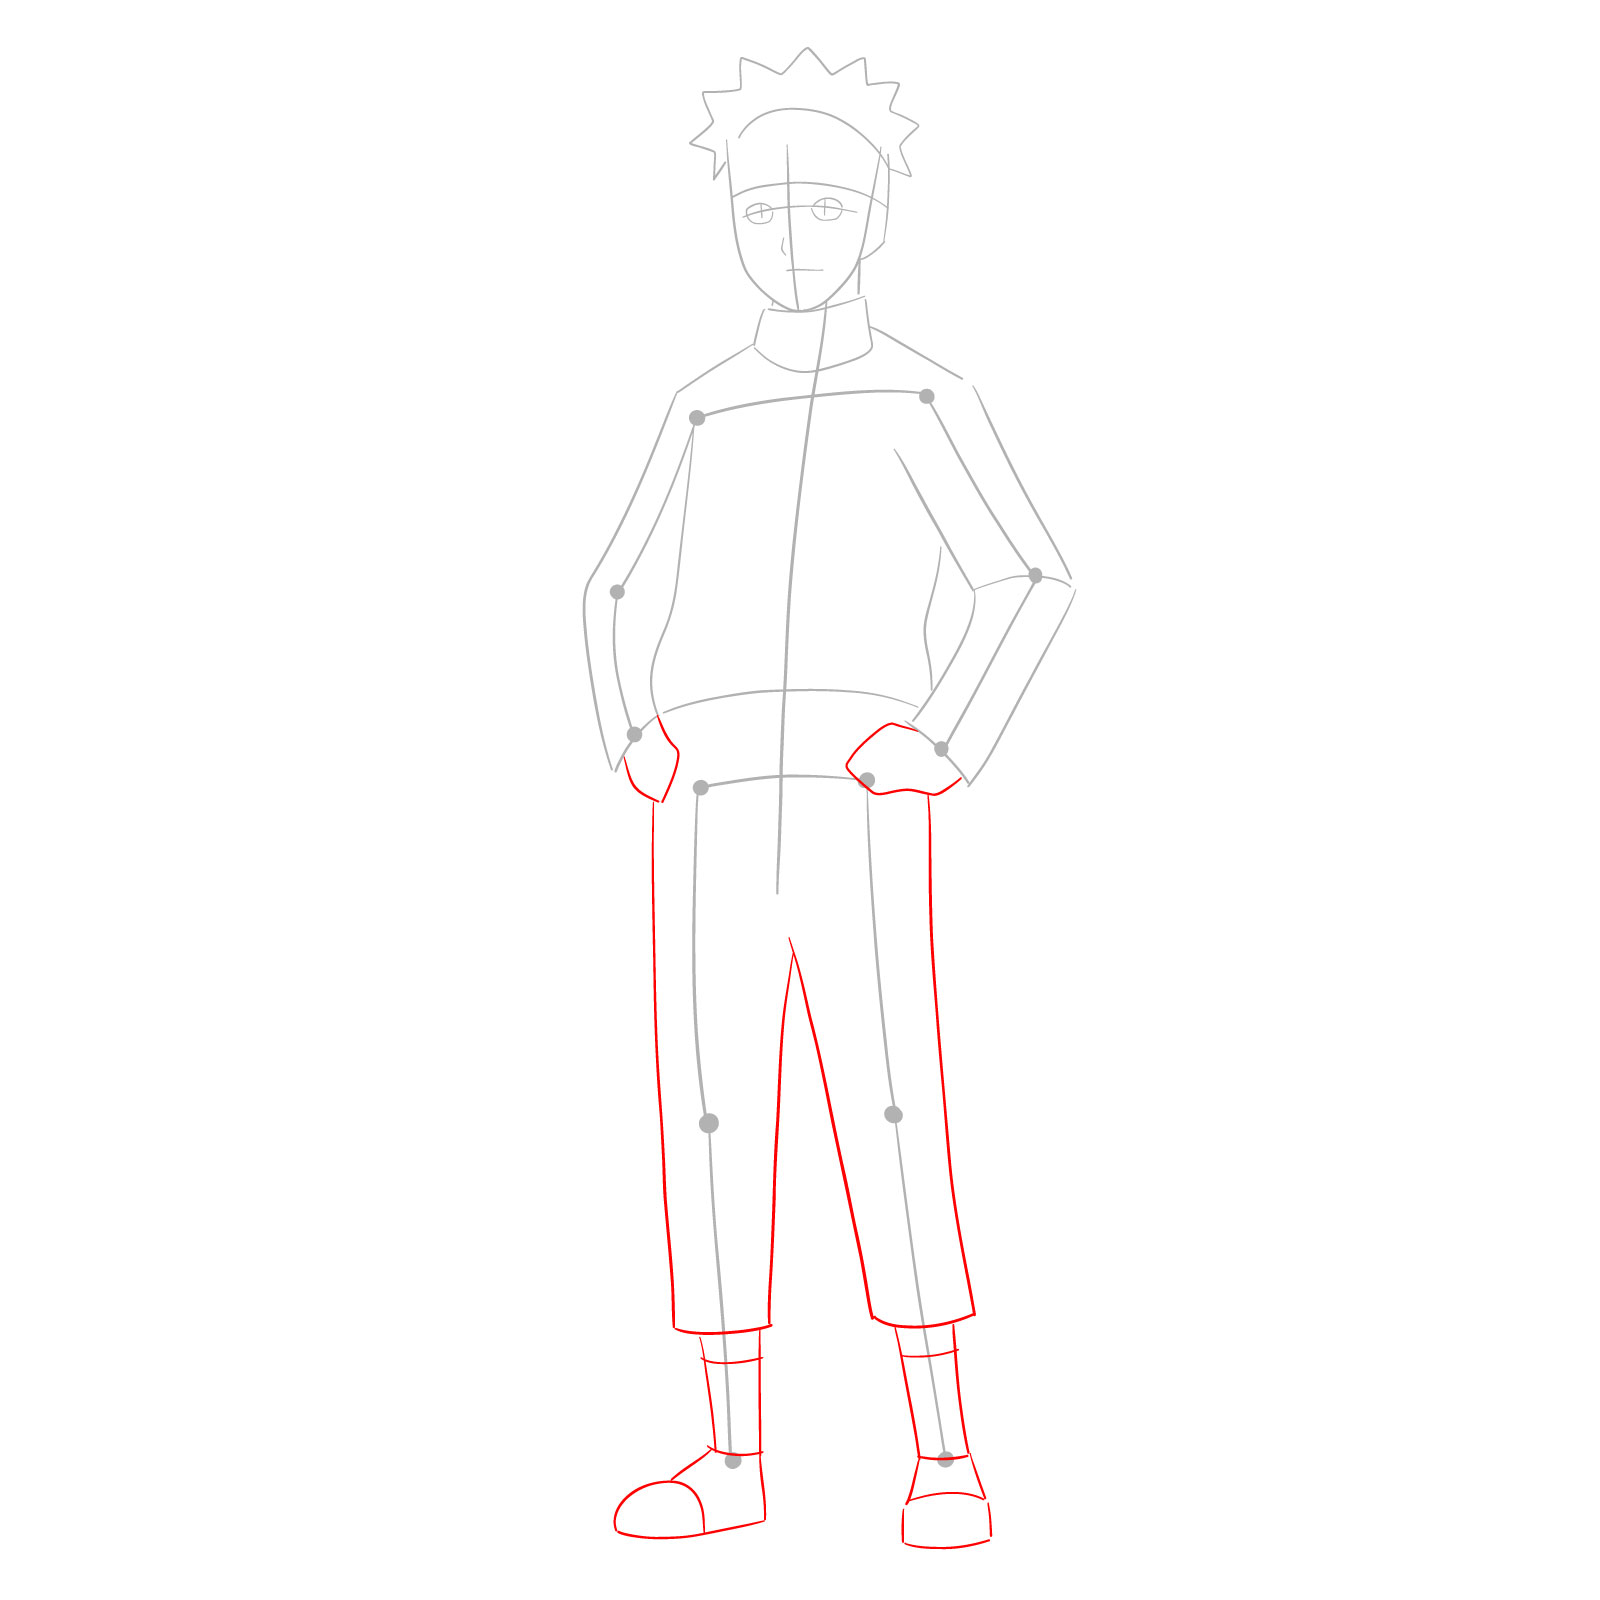
This guide follows a simple color-coded system to help you through the process:
- Red Color: Highlights the current step to focus on.
- Black Color: Represents the lines already drawn.
- Gray Color: Shows the basic sketch as a foundation.
By following these steps, you’ll be able to recreate Naruto’s Shippuden look with accurate proportions and details.
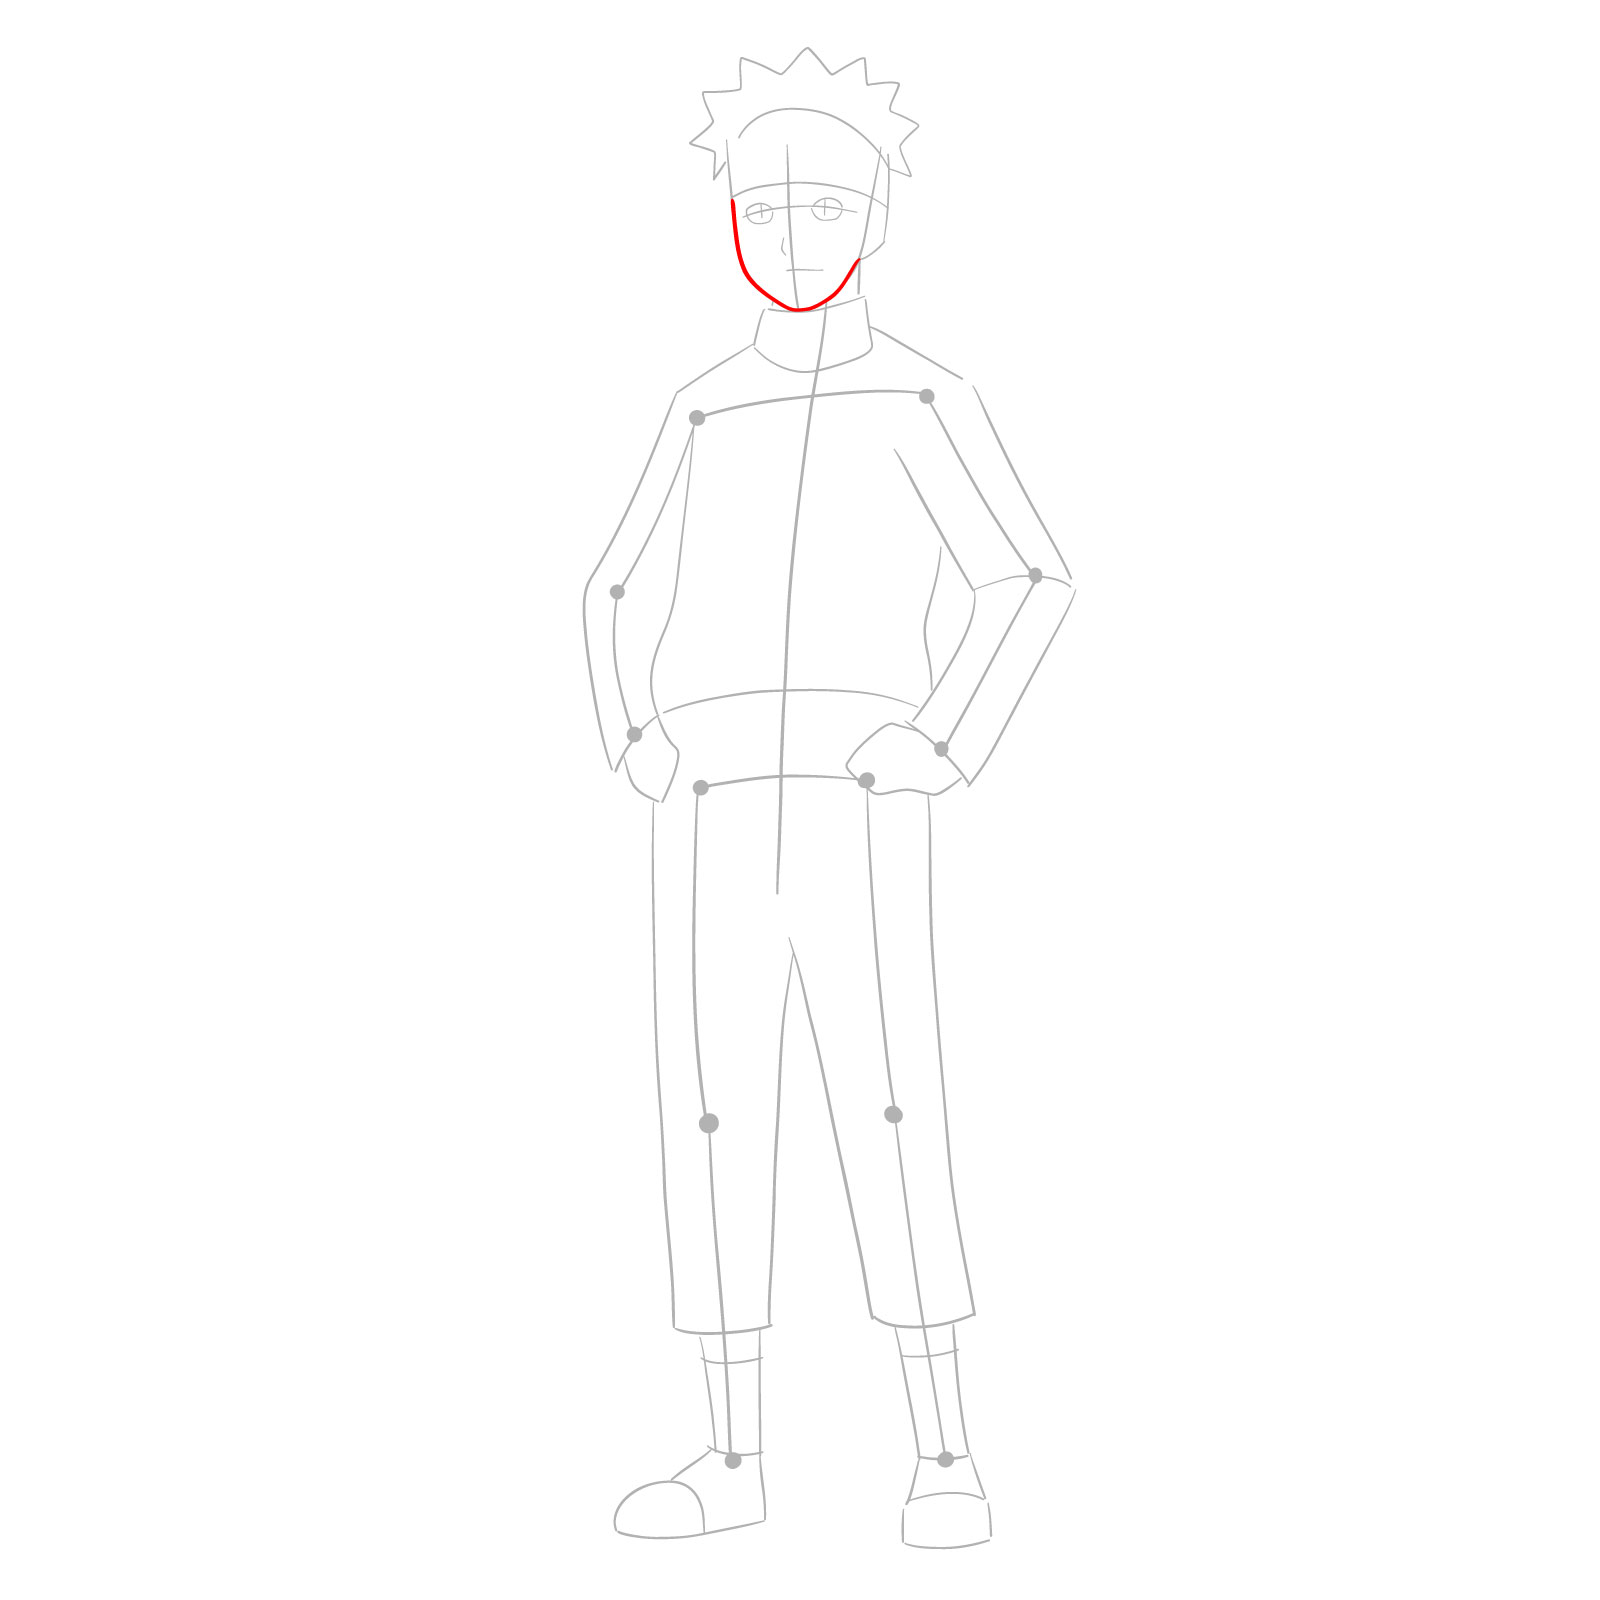


Working through the steps to learn how to draw Teen Naruto can feel a little tricky at first, especially nailing his spiky hair and those bold whisker marks, but a lot of those shapes tend to click way better on a second pass. Naruto is one of those characters where the more you draw him, the more natural his features start to feel. If you want a steady stream of new guides landing in your inbox, there’s a signup form at the top of the page where you can get a weekly batch of fresh tutorials.
